Back in the studio making my favorite thing… MORE MUGS!!!
Finally getting around to finishing up the porcelain cylinders & threw & stamped last week. So I started by trimming the stamped cylinders now that they are leatherhard. After trimming, I put them back under plastic so they don’t dry out too much.
Then I pulled handles for all of them with some more porcelain. I like to set them up with the handle-curve already established.

When the handles set-up enough to work with them, and they’re no longer squishy,
I cut out the section of the handle I want to use.
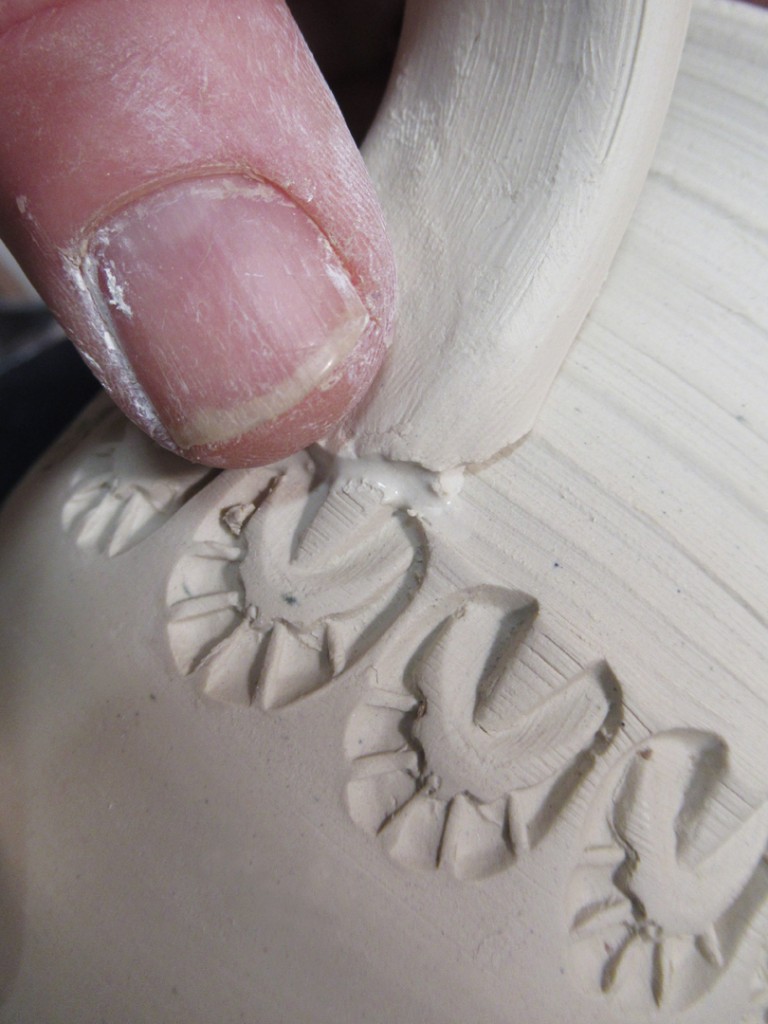
A bit of scoring & slipping for the top attachment… score both sides, slip on one.

A little smoosh.. a little smudge… and a little wiggle to get it to attach well.

After smoothing the top of the handle into the mug, I then do the same to the bottom
attachment of the handle. I like to do the top one first so I can actually “see”
the curves & proportions of the handle as I attach the bottom…
cutting, altering and changing things along the way.

A little blending… a little smoothing…
until it looks like it part of the mug, and not just slapped on the side!

Score… Slip… Attach… Smooth… Repeat…
Score… Slip… Attach… Smooth… Repeat…
Score… Slip… Attach… Smooth… Repeat…
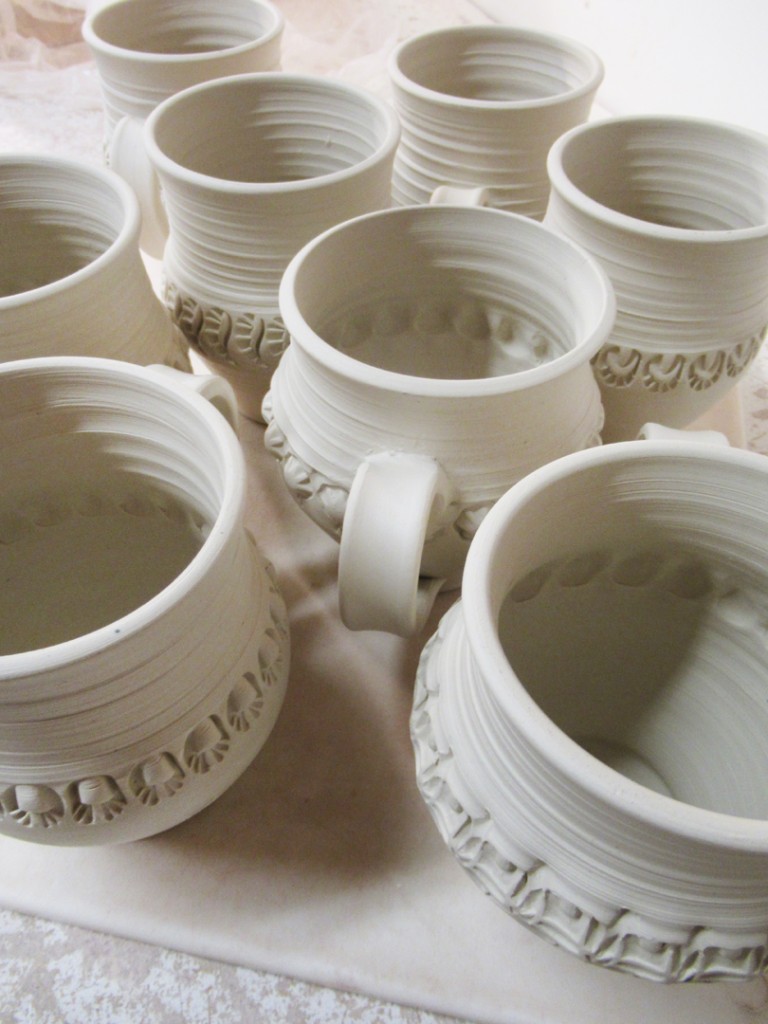
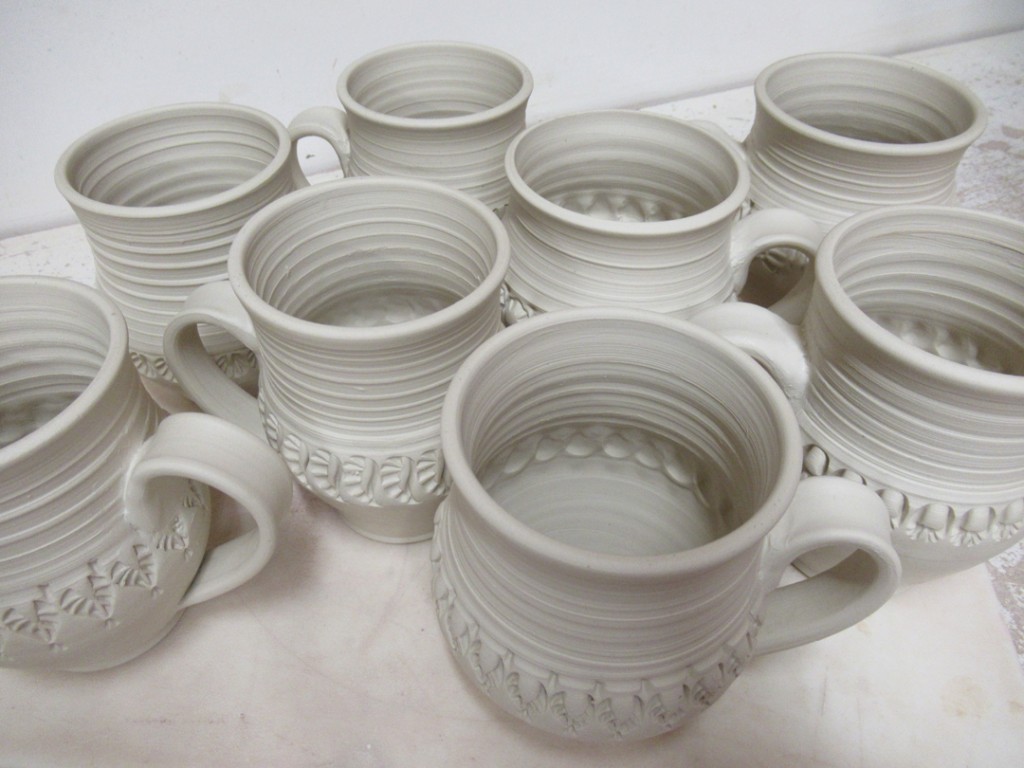
Soon enough the batch of mugs was complete.
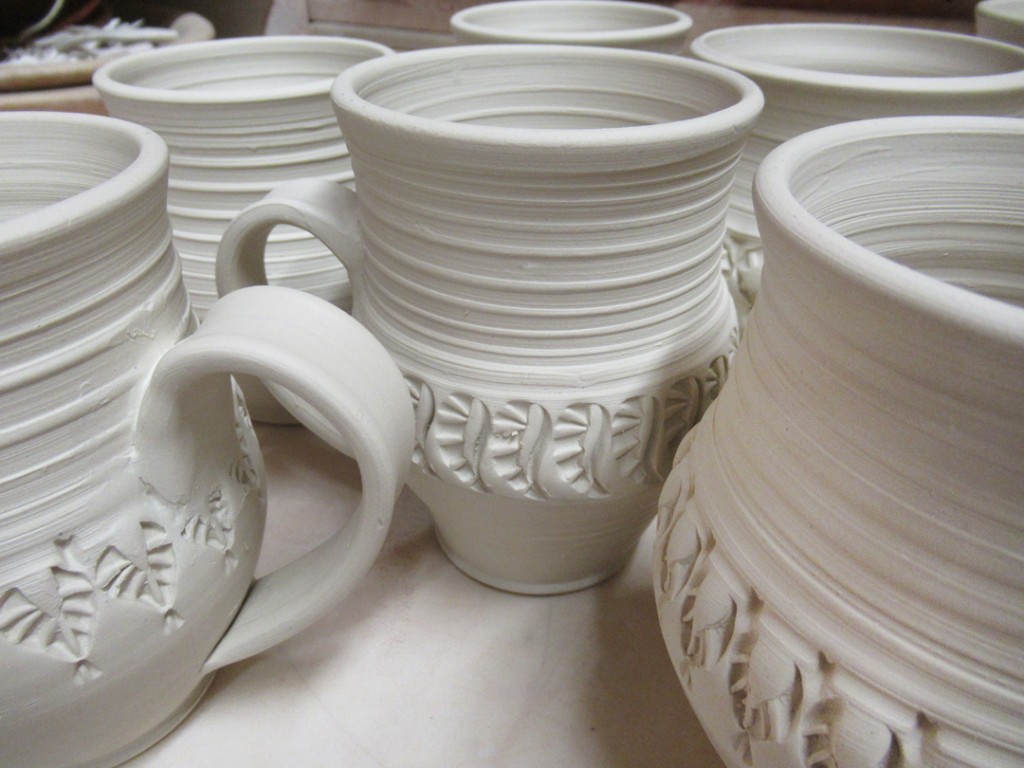
All cylinders stamped, trimmed and now well-handled!

Even better from the side… at least I think so…


And for now they’re under wraps for the night…
so that the moisture levels can even-out a bit before I open them up to dry!

Thanks, excellent step by step instructions, and great photos. I haven’t made low handles in a while on mugs, but I remember they balance the weight of the mugs well.