Gary Jackson: Fire When Ready Pottery
A Chicago potter’s somewhat slanted view of clay & play
Categories: holiday, pottery, process, production, terra cotta

Friday…
After the Lillstreet staff party on the rooftop, I threw a LOT of pieces & parts.
Throwing both stoneware and terra cotta in alternating “waves”  and trying to clean up
everything between each so that things didn’t get all mixed up!

Saturday…
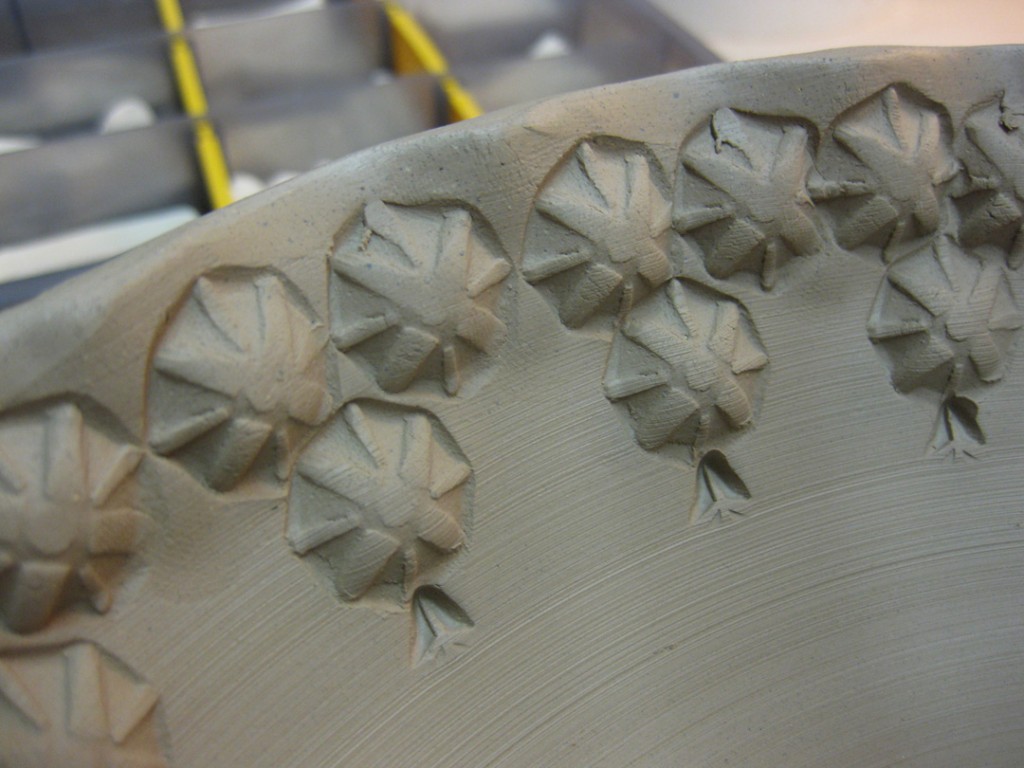
When I came into the studio, I altered the cylinders into oval shapes & stamped them.
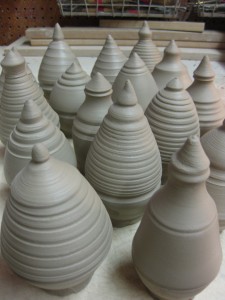
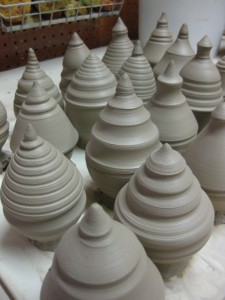
I also started giving some shape to the pumpkins… both large & small. Turning the smooth,
round thrown shapes into irregular pumpkins!

Sunday…
I attached bottoms to the oval cylinders and added some more details to the pumpkins.
First it was the stems, then it was carving the Jack O’Lantern faces and warty-bumps!

Monday…
I added colored slip details to the ovals, and painted the pumpkins with colored underglazes.
Painting the pumpkins really brings them to life.
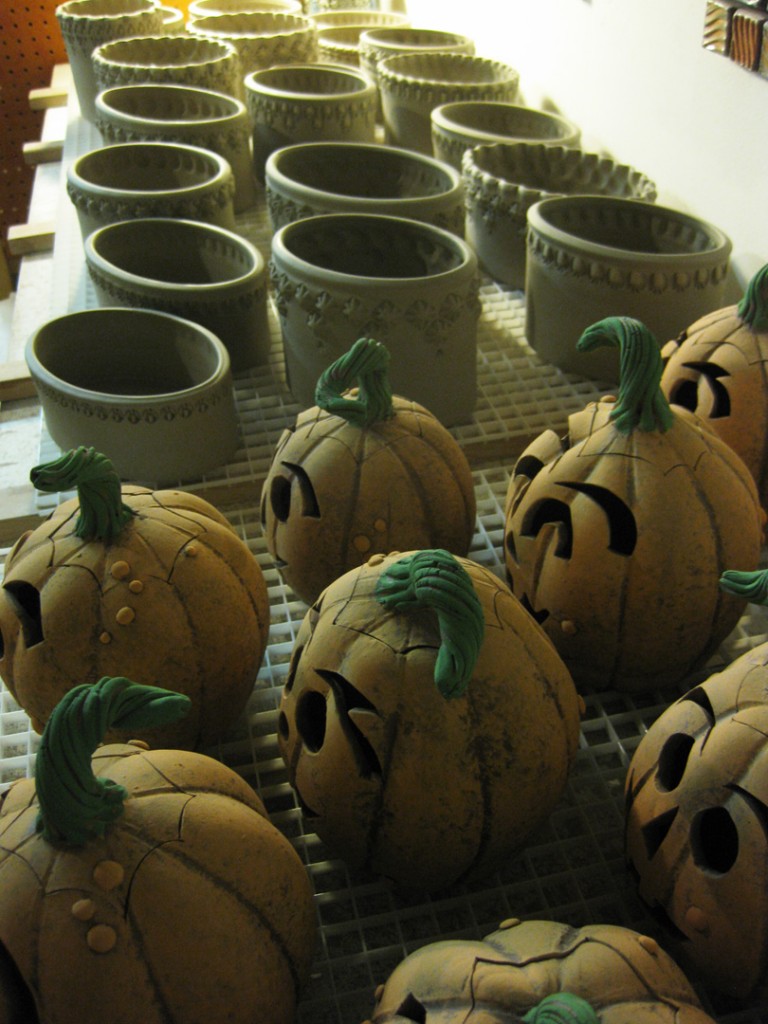
And now, everything is sitting in front of a couple fans overnight… as they are being “rushed”
to get into an electric kiln tomorrow night. I even placed them all on plastic grids elevated on
wood sticks so that air can circulate under the pots as well… hoping to dry them faster &
more evenly!!! And if all goes well, everything will come out well. And the Halloween novelties
I was so motivated to complete will make it to the Barrington art fair in time!!!

I also took a lot of photos throughout the production line.
Coming soon… I’ll be posting some step-by-step process pictures of all three shapes!
Categories: bowls, pottery, process, production, stamps

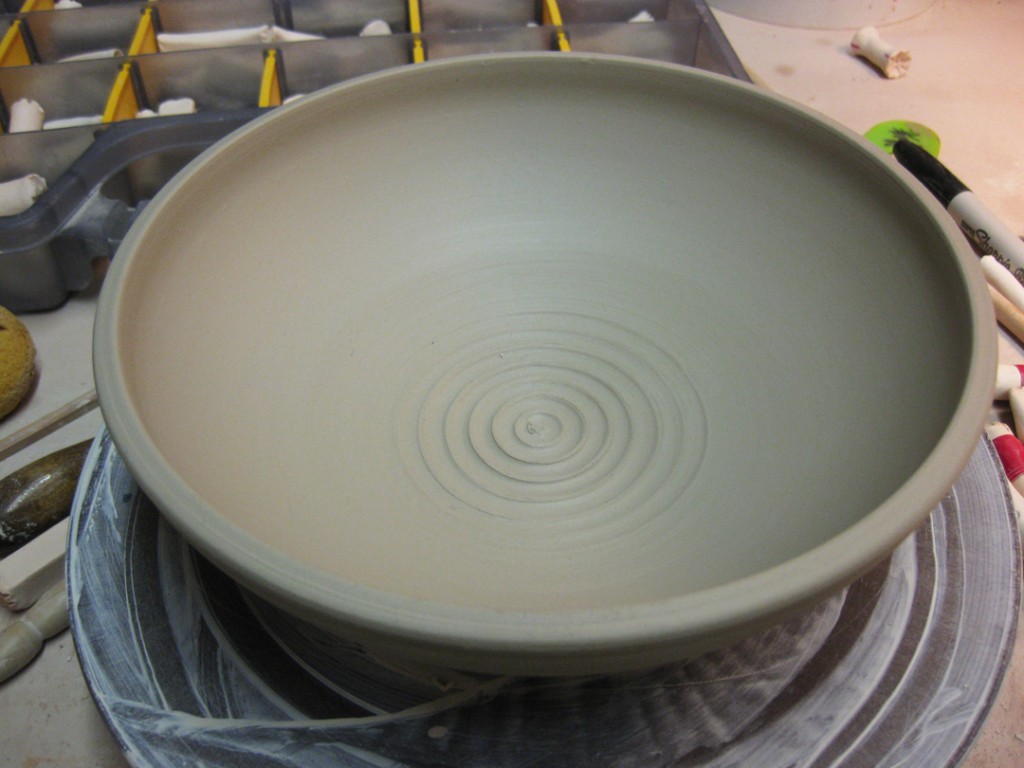
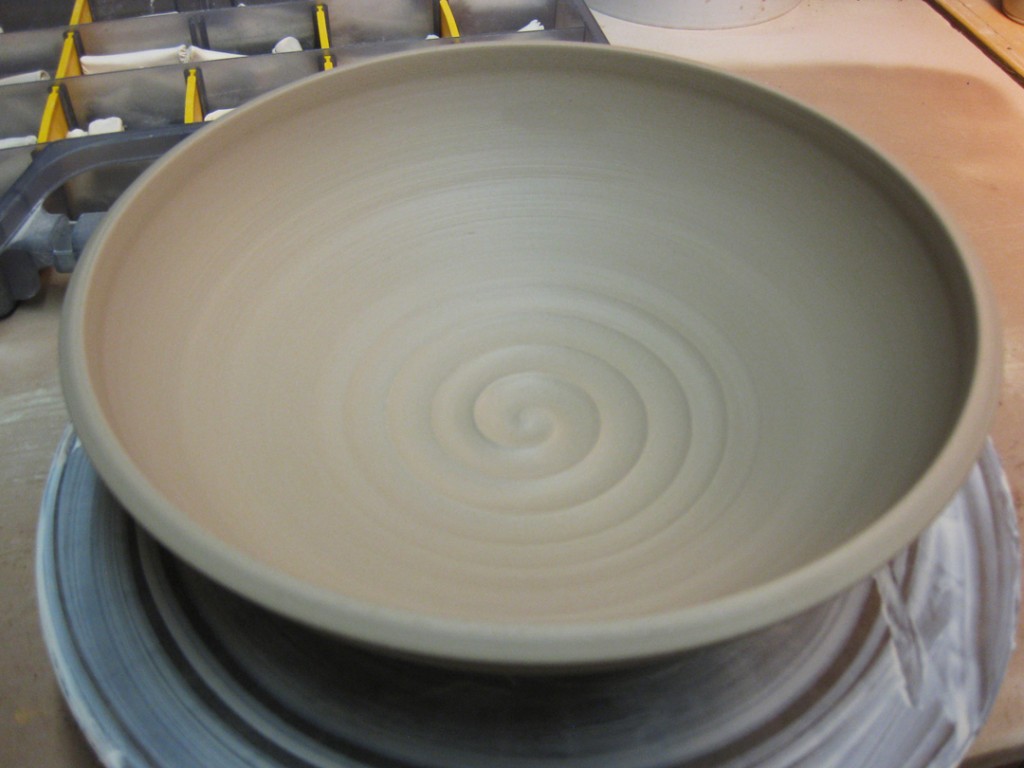
Bowl #1… a simple serving bowl, in desperate need for some surface decoration!

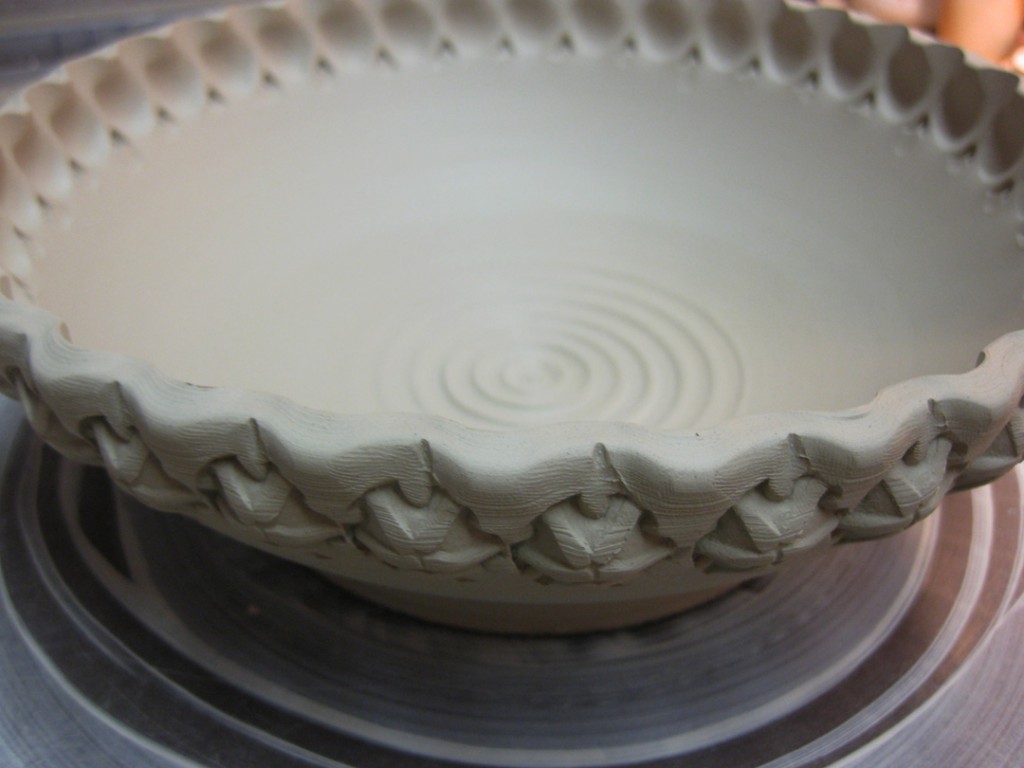
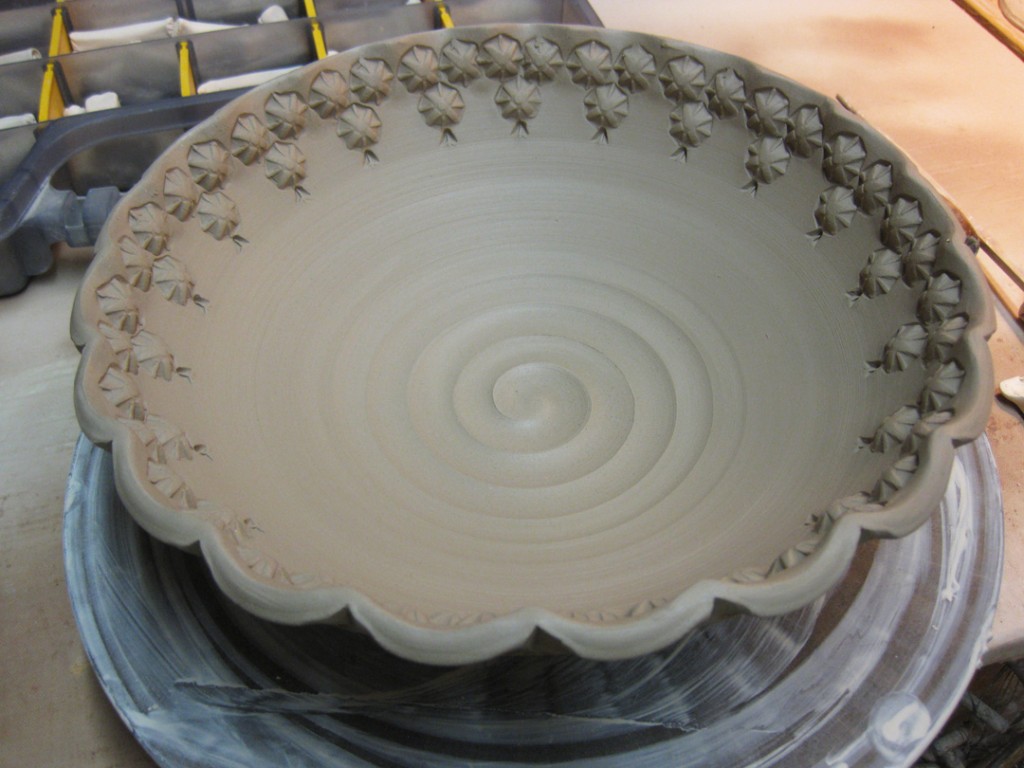
Bowl #2… a little lower, a little flatter and too plain to leave alone!

Categories: art fair, process, production

So I just looked at my calendar… and had a momentary panic
when I realized that “Art In The Barn” is just a week away.

Sure, I’ve got plenty of work from my latest soda kiln…
but I always think I need to make more. And I’ve got a couple days, right?!
So why not put the pedal to the metal and make some things quick!

Tonight I threw a LOT of pieces!!! Multi-tasking between stoneware & terra cotta.
Trying my best to not contaminate one or the other too much. I really thought
I needed to make more Halloween novelties in time for “Art In The Barn.”
But, I was pretty sure I can’t make enough to fil the entire electric kiln, so why not
make some more ovals as well? You know how I love making ovals…
almost as much as making mugs?!!!

Categories: holiday, ornaments, process, production

It’s never too soon to start making new Christmas ornaments… right?!

Categories: glaze, kiln firing, pottery, production, stamps, textures

It’s always so exciting to see what happened while the kiln was firing.
You glaze them and imagine one thing… sometimes they work, sometimes
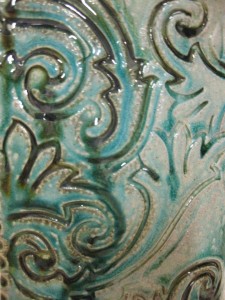
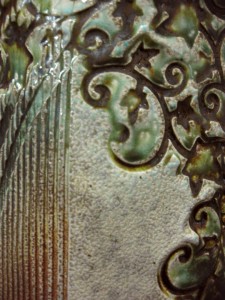
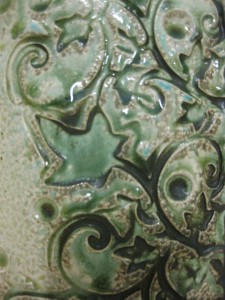
they don’t, and sometimes… it’s just a wonderful surprise!!!

Categories: clay, process, production, studio

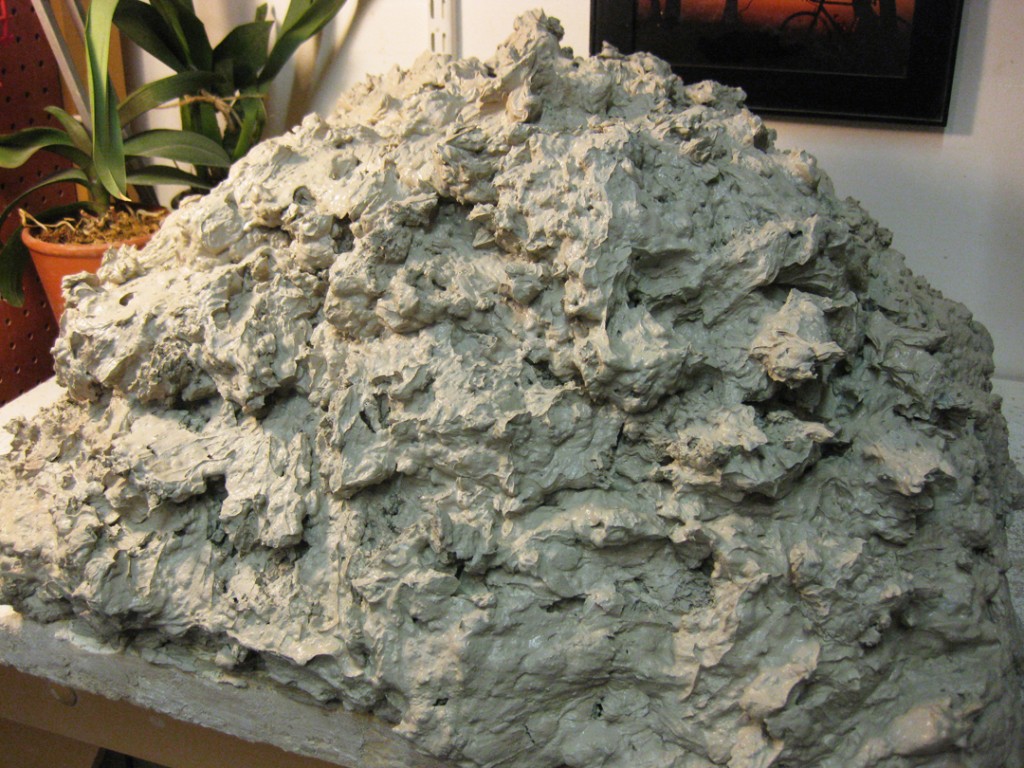
As part of today’s “must-clean-studio-while-firing-kiln” program, I just plopped
out another huge pile of reclaim clay onto my plaster bat. This is the second half
of the scraps that Amy bequeathed to me earlier this year. Yippee – more free clay!!!

Categories: kiln firing, process, production

So I finally finished glazing & wadding my pieces. Exhausted. Relieved.
Once they’re all done, the go onto my rolling studio cart (that my Dad made for me),
and we all go downstairs on the freight elevator. A little rickety, but still much
better than carrying everything by hand down to the first floor!

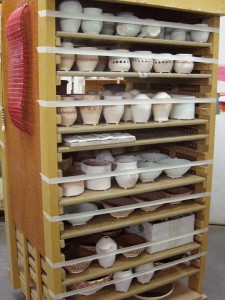
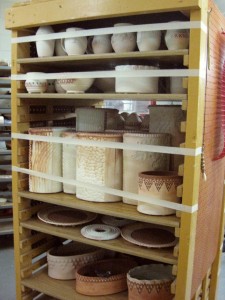
And yes, that is masking tape stretched across each shelf acting as a “safety belt” to keep
the pots from hopping off the shelves as they jiggle down the hall & elevator.

Take the tape off, and I’m ready to start loading. The back stack is always the quickest.
I think it’s the fact that it’s one shelf, no seam and you have a whole cart of possible pieces.
When you get to the front, it’s two shelves with a seam between shelves to contend with…
and the selection of pieces left on the cart is beginning to dwindle. So it’s all a big game
trying to get everything in, packed well, but not too crowded, but crowded enough to get
my money’s worth! Too loose and everything doesn’t make it in. Pack it too tight and
the soda atmosphere doesn’t have any room to travel around the kiln –
and you end up with some dry pockets!

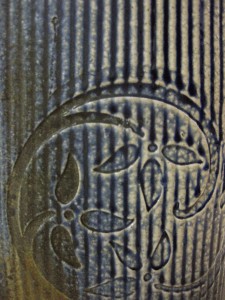
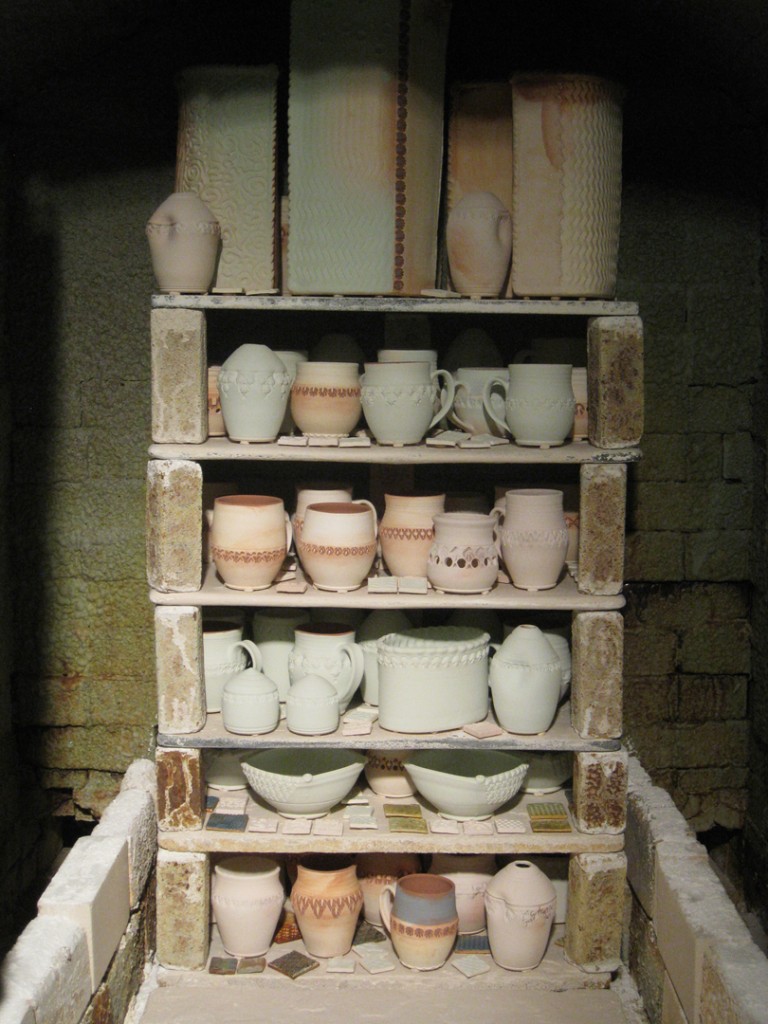
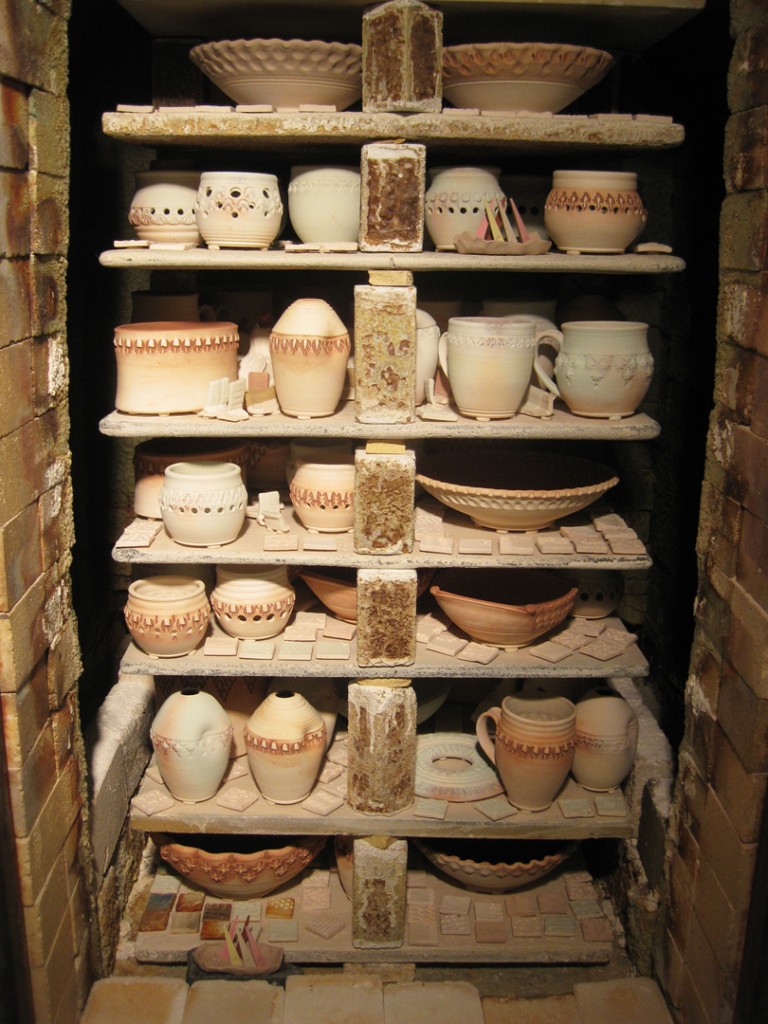
So here’s a glimpse of the back stack…. with tall, textured slab vases all the way to the top!

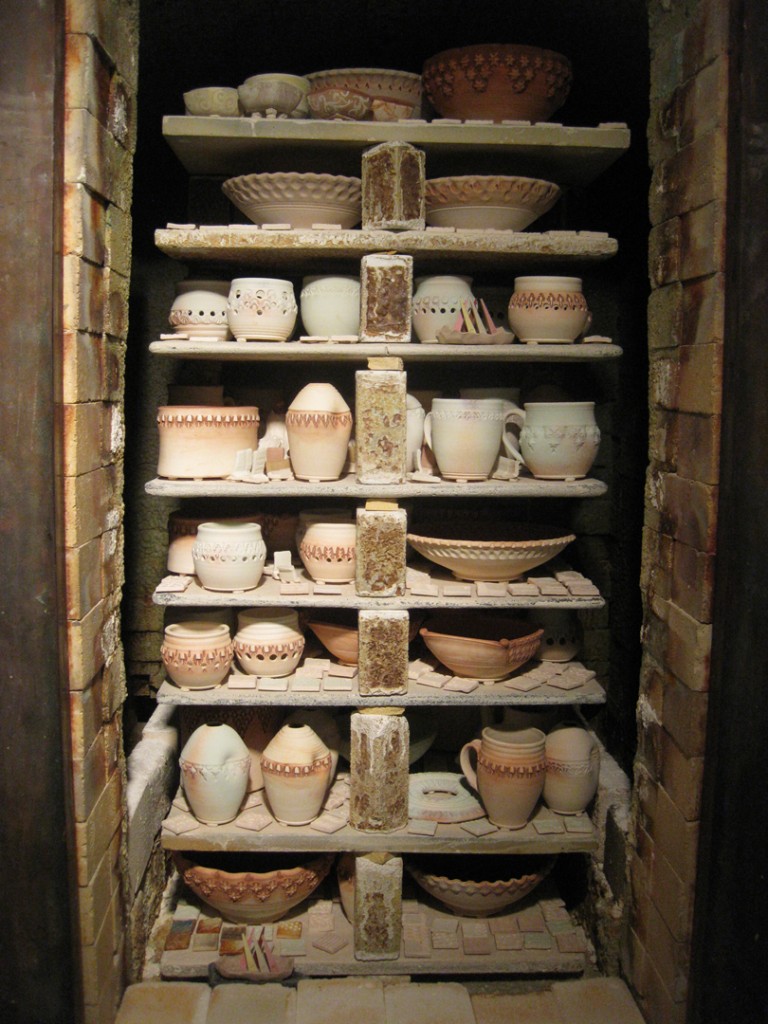
And here’s the completed front stack. Complete with cone packs… which I have
a tendency to forget until it’s too late and I’ve already started bricking the door.

Now that it;s all packed, the front door is bricked into place and it’s good for the night.

Categories: glaze, kiln firing, process, production, studio

There are still far too many naked pots in my studio.
I just unloaded my second bisque kiln.  I now officially have a LOT OF POTS
to glaze & wad before I can ever start loading tomorrow night. Yikes!!!
Not quite sure how & when this is all going to get done?!

Categories: glaze, mugs, pottery, process, production, studio

When you make a big batch of mugs…
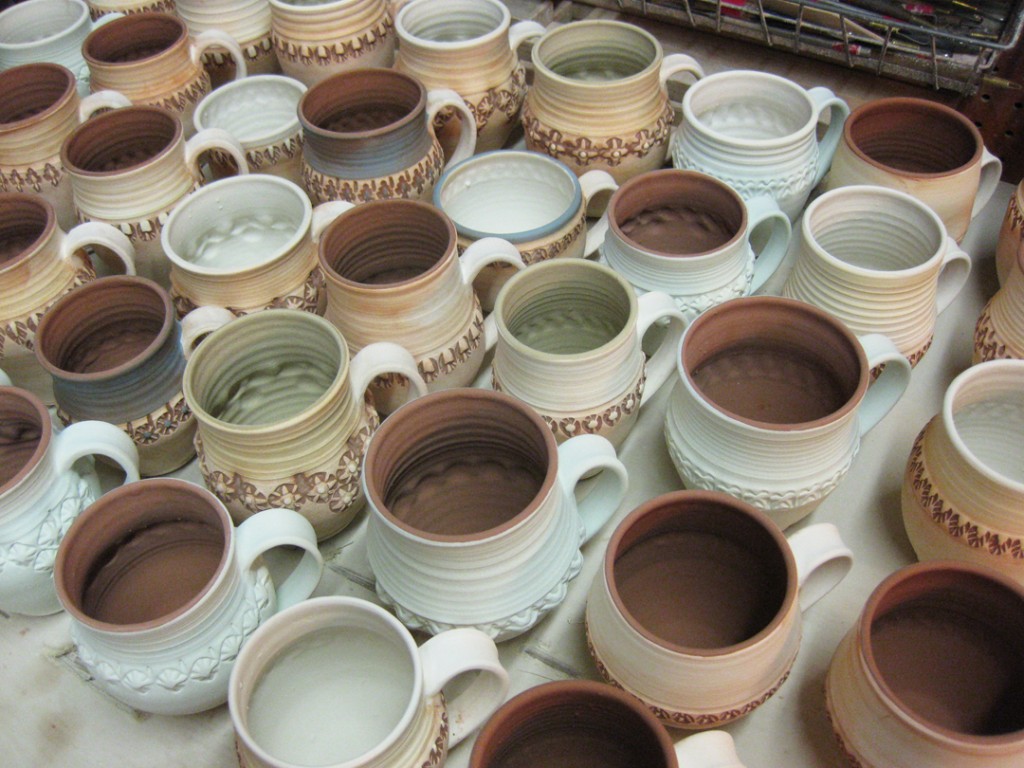
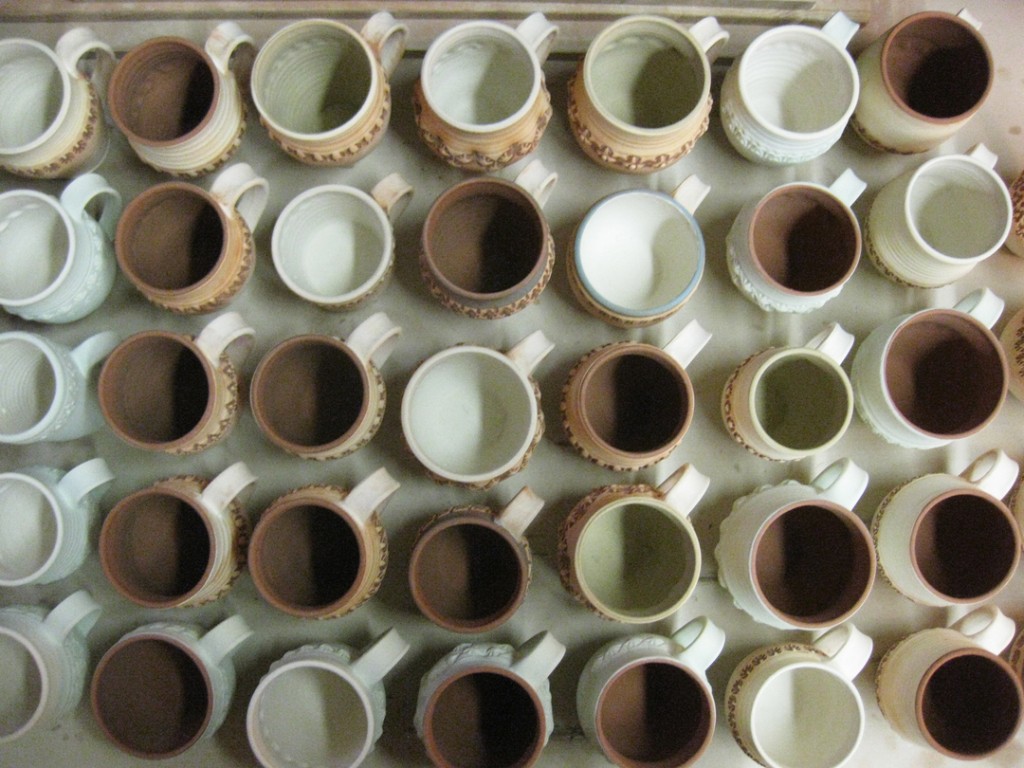
at some point, you’ve got to glaze a big batch of mugs!

Same mugs… just a different, possibly cooler perspective…

Categories: kiln firing, process, production

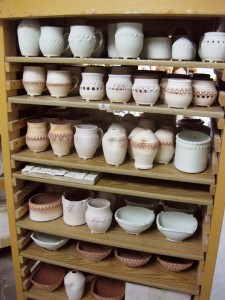
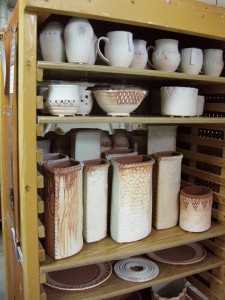
After drying overnight, everything was “pretty much” dry.
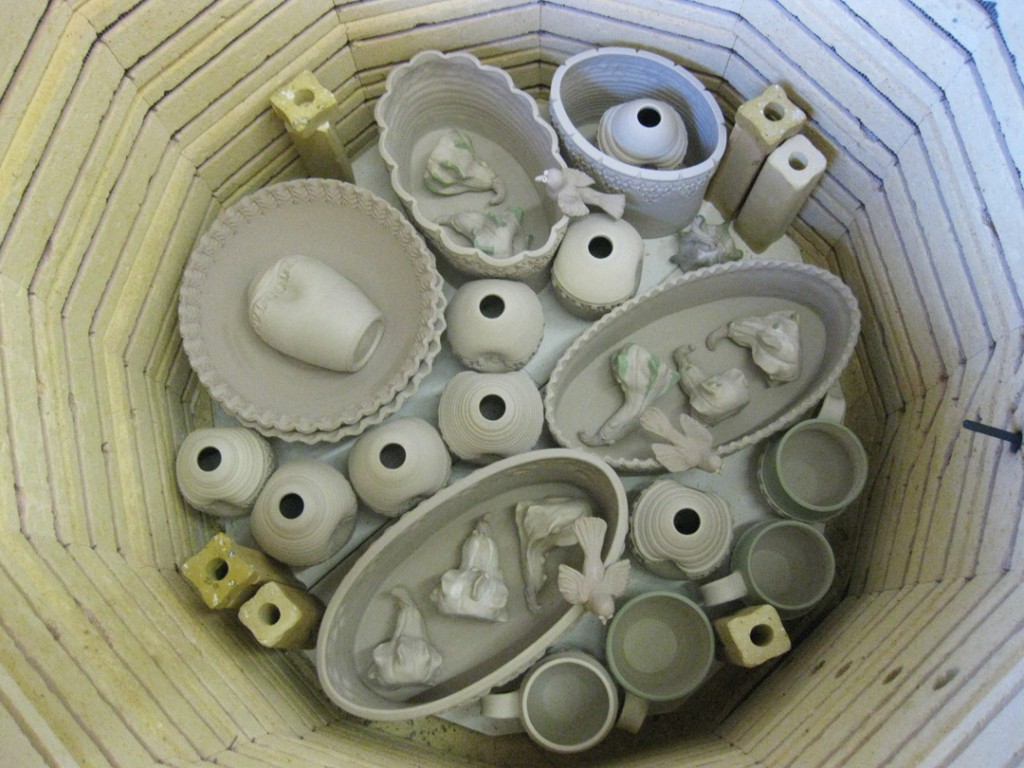
So I loaded everything into one last bisque kiln. I’m firing my soda kiln
this Saturday, so it was important to get everything into this kiln. It wasn’t my
best job of loading… because I found myself with a lot of strange shapes & sizes.
Luckily, my studio neighbors Karen & Lisa were there with some “filler” to help
take care of some of the holes. You know how I LOVE a well-packed kiln!!!

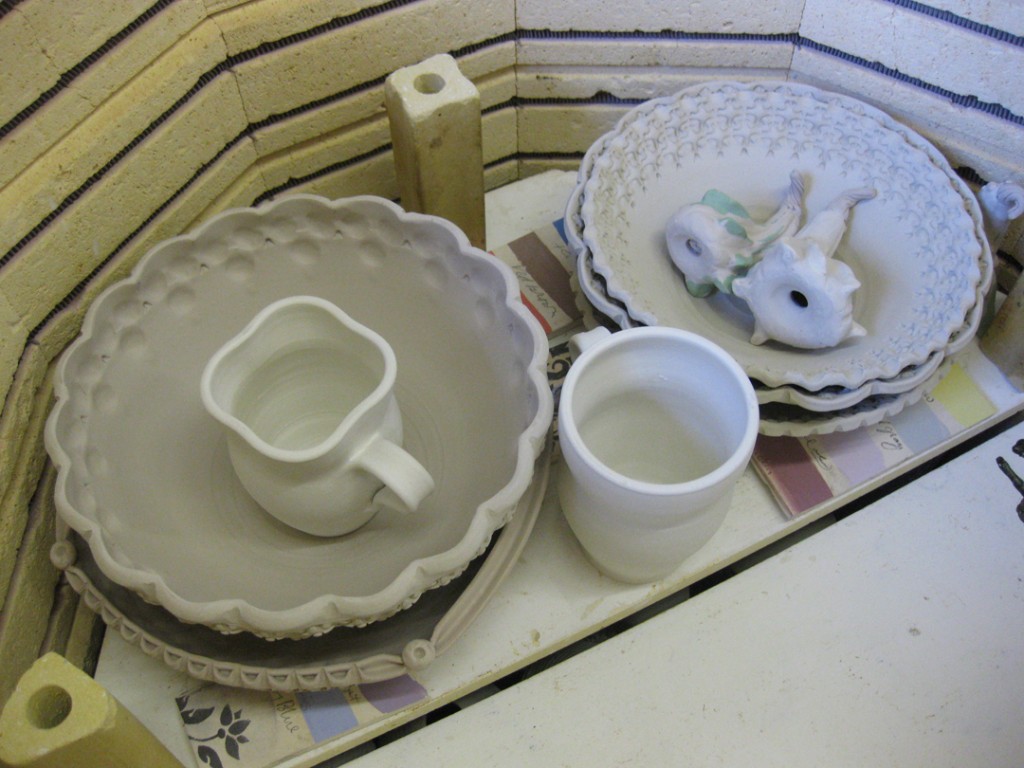
Layer #1 -Bowls, ovals, dispensers, mugs & gourds!

Layer #2 – half a layer anyway... Bowls, gourds & “filler” from Karen & Lisa.

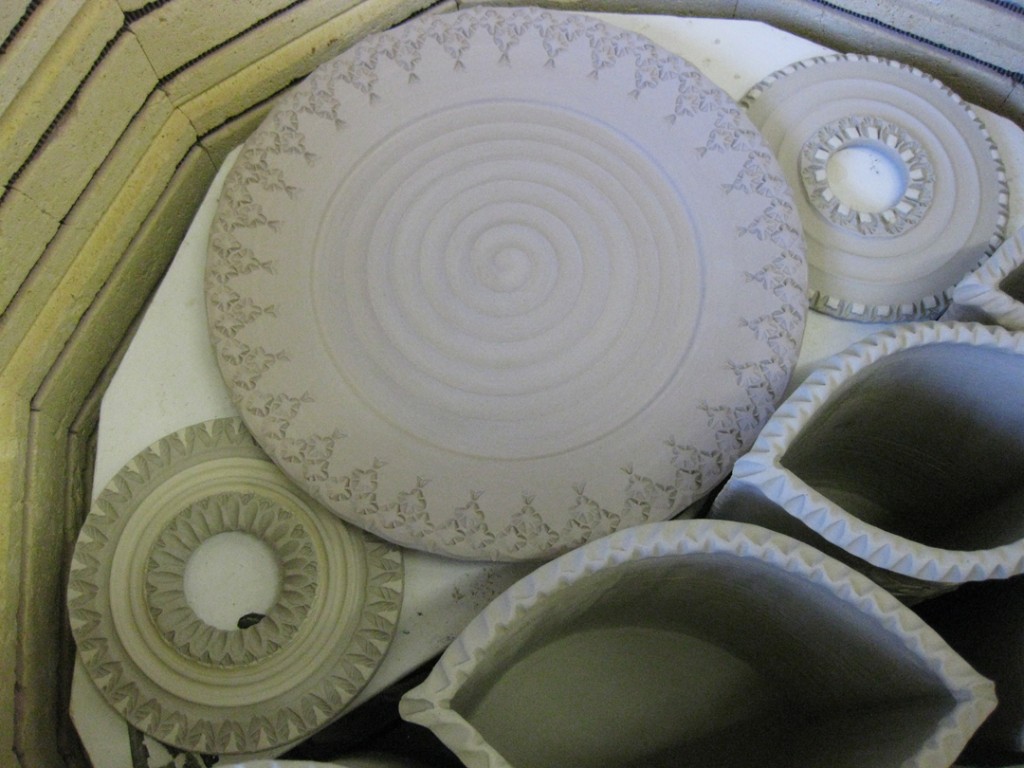
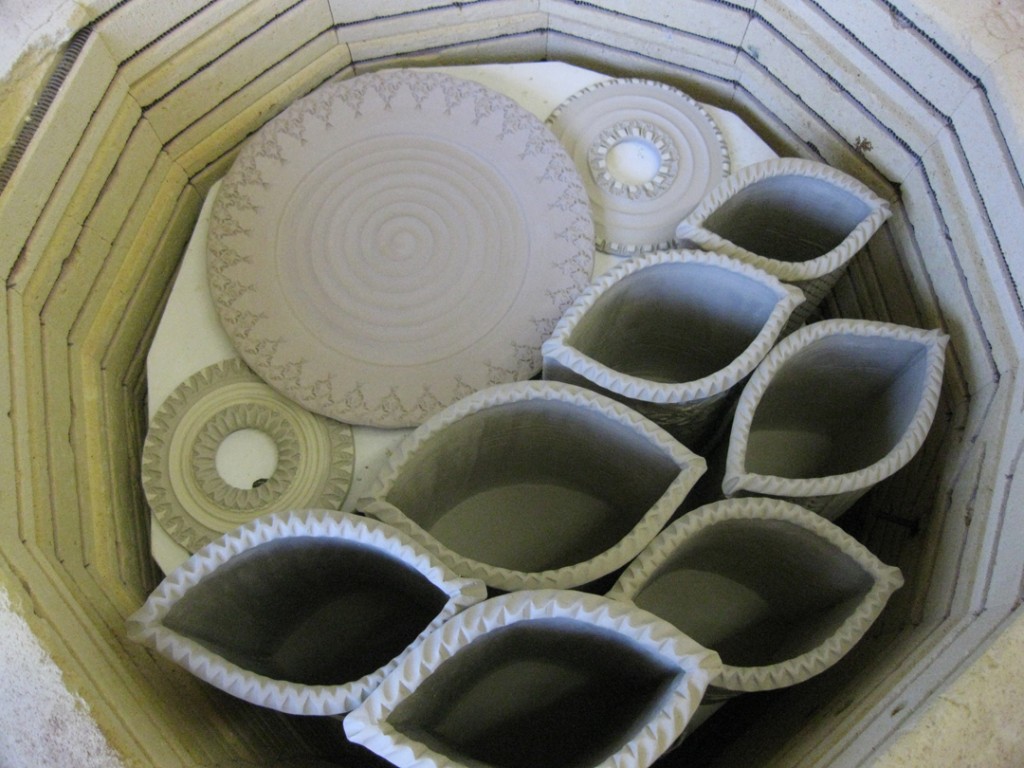
Layer #3 – not sure how to count this one?… is it another half shelf?…
or should I count the tall textured slab vases in this layer? Anyway… a platter & round fun!

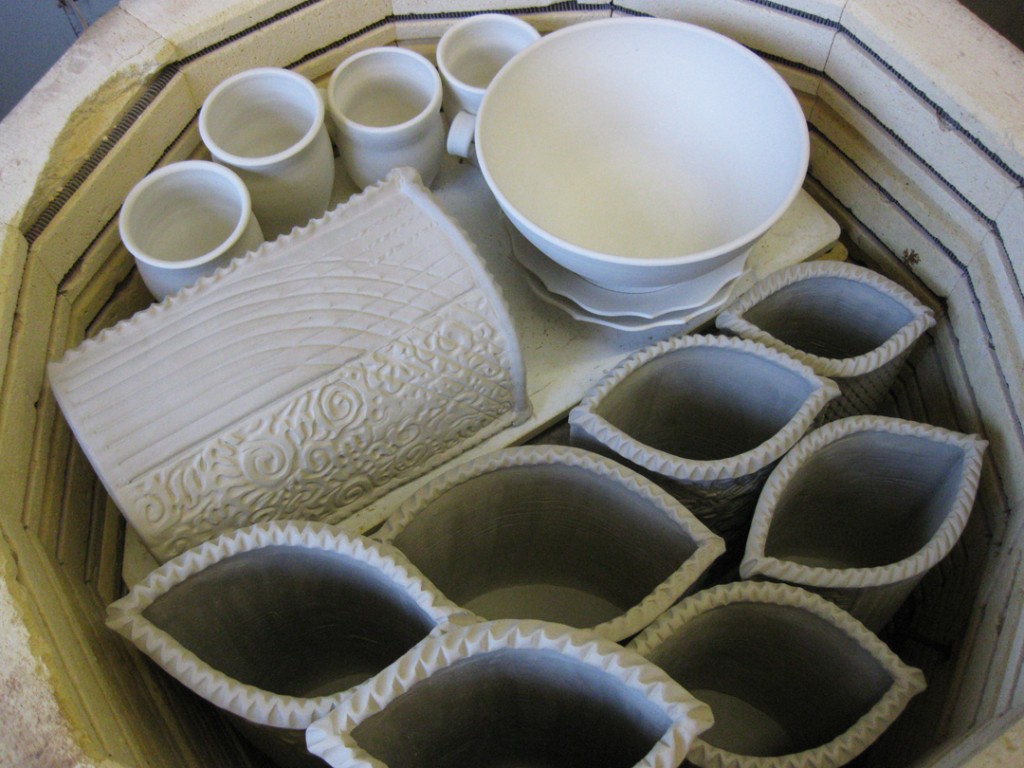
Layer #4 – another half layer with another slab vase that was too tall so I laid it down
on its side… plus more “filler” from Karen Patinkin!