Gary Jackson: Fire When Ready Pottery
A Chicago potter’s somewhat slanted view of clay & play
Categories: classes, lillstreet

Tonight was the last night of my beginning wheel class for Fall at Lillstreet Art Center.
It’s always so great to how far they’ve all come in just ten short weeks. We did a Bowl
Exchange and shared a Potluck. I made a pumpkin marble cheesecake… and gone!!!

Categories: holiday, lillstreet

After turning off my kiln, I joined a bunch of dun metalsmiths from the
Lillstreet Metal Dept. for a good, old-fashioned pumpkin carving party.

Thank you Pam for inviting me… even though she was “cheating” with power tools
while the rest of us used old-school, kids-proof scoops & knives!

Categories: art fair, artists, lillstreet

Some of the students of Lillstreet Art Center are currently being featured in the gallery.
It’s always fun to see how talented the students are – and to see their work being featured.
So often, all of the work gets finished, comes out of the kiln and goes straight home.
No one ever gets to see everyone elses pieces after they’re finished. There is a lot of great
work there at great prices. I think there are a lot great prices there… and I think that many
of the students need a class in pricing their work?! If you want to snatch up some great
pieces, be sure to hurry in. However, there are also a few people in the show who have
priced their pieces on the high side?! Apparently they have a pretty high opinion of
themselves and their work?! I’m just sayin’…

Either way… the Member Show runs through the week. Hurry in today!!!

Categories: art fair, artists, studio

If you’re looking for something artsy to do today, I’ll be working
in my studio all day as part of the Ravenswood Artwalk 2012.
Many artist studios & galleries all along Ravenswood Avenue are open today
& tomorrow. Start your tour by stopping in my studio on the second floor of
Lillstreet Art Center – then follow the maps & signs for a full day of art fun!
I won’t be there tomorrow… ‘cuz it’s the Apple Cider Century!!!

Click here for more information – Ravenswood Artwalk 2012.

Categories: bowls, classes, lillstreet, process, production

Last night was one of my favorite demos every session. It was the night when my beginner’s
learn how to make a bowl on purpose… instead of a cylinder gone bad. I show them the basic
techniques to make a bowl with a smooth, refined curve on the interior.

Once we finish the first bowl demo, I dismiss my students so they can get back to throwing –
and trying to make a bowl or two while it’s still fresh in their minds. At the same time,
I continue to throw a few more bowls. This time, I threw eleven not quite “matching”, but
relatively close bowls. Once I had them all thrown, I had my class reassemble for “Part Two”
of the demo. When I show them that “it’s just clay” and you can do quite a bit to decorate
it and make it your own! So we moved through pretty quickly with the intention of “introducing”
some concepts, techniques & tricks to get them over the “preciousness” of every piece.

Here’s a quick overview of my eleven bowls… that used to be the same. Now?…
not so much.

A little overwhelming at first… so let’s break it down a bit…

BOWL #1 – Simple fluted rim… with a pinch and a twist!

BOWL #2 – Simple fluted bowl times two! If four are good, eight are better, right?

BOWL #3 – Flared out flange… waiting for some stamped decoration when it stiffens up!
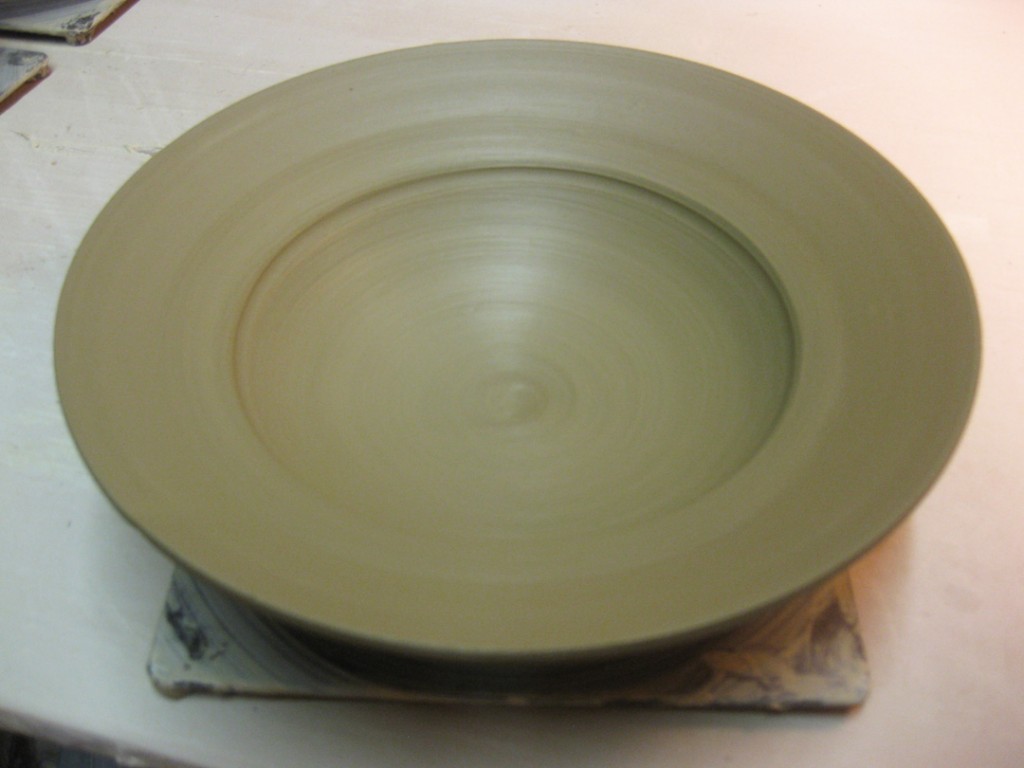
BOWL #4 – Flared flange bent upwards… looks like a handle over the top will tie it together!

BOWL #5 – Split rim with four pinches and gently squared off a bit.

BOWL #6 – Split rim pinched back together evenly in eight places.

BOWL #7 -Basic introduction to white slip… leaving a little extra thickness to make
a groovy swirl in the bottom. A little “surprise” for good glaze pooling!

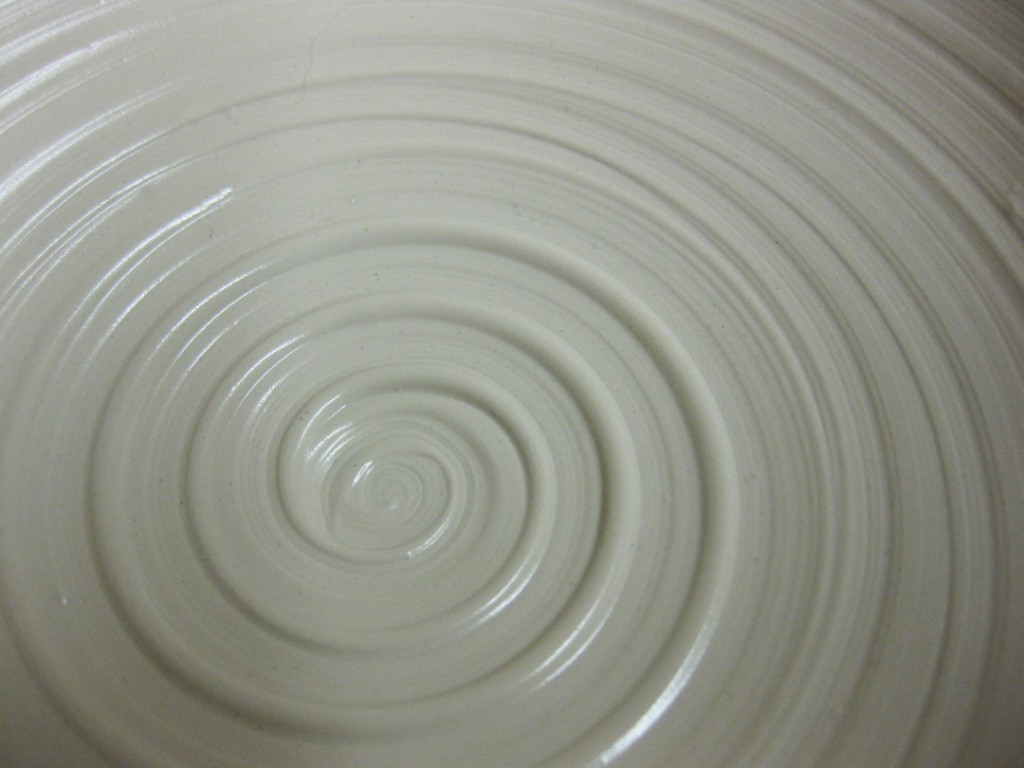
Bowl #8 – After covering with white slip, I dragged a wood tool through the slip while it
was spinning on the wheel to create a dramatic spiral.

Bowl #9 – Rhythmic chattering through the white slip while it spins on the wheel.

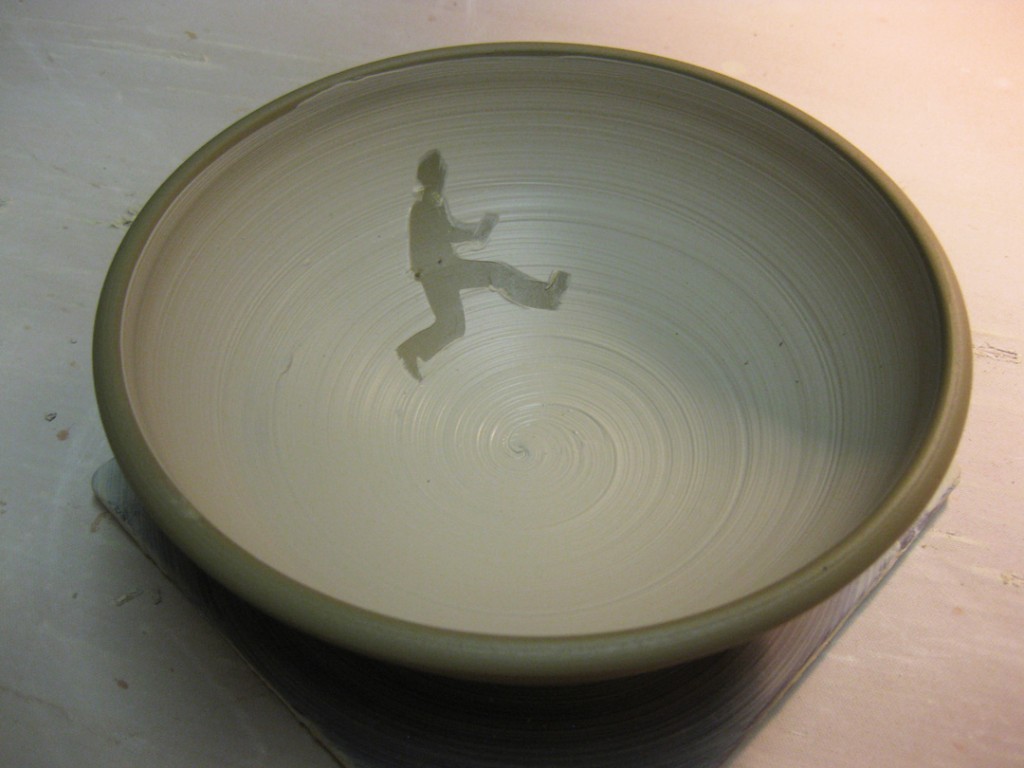
Bowl #10 – A little newspaper cut-out stuck onto the clay with water… then carefully slipped
over completely. The newspaper character is carefully pulled out after slipping.
Bowl #11 -Using a normal tool in an unconventional way… the corner of a wood rib
pressed in to create this “snowflake”-esque pattern in the bottom of the bowl.

The bowls are now wrapped up in my studio stiffening up a bit. A few of them need some
extra “detailing” before I can call them done. There’s some stamping to be done, and
some additions & refinements to be done. And of course, trimming for them all.


Categories: lillstreet, summer camp

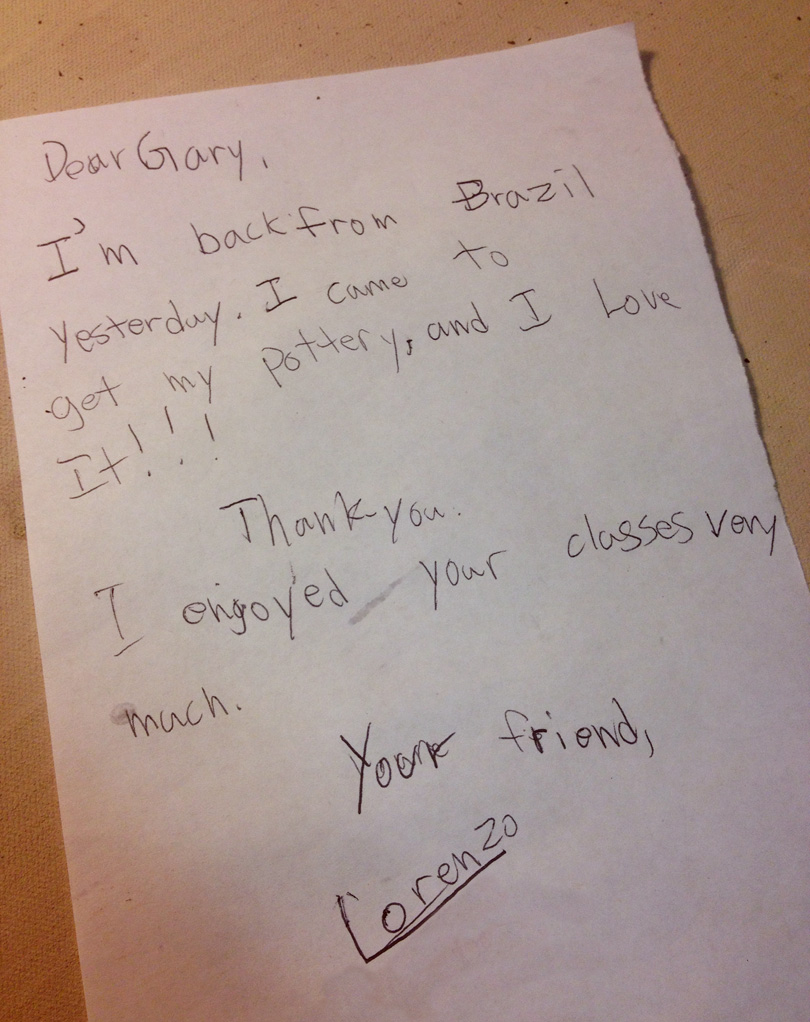
When I got to the studio tonight, I stopped by my teacher’s mailbox pouch to get my students’
shelf labels. I also found this wonderful note from one of my favorite summer campers.
Completely making my day. So heart-warming that a kid would be so thoughtful. And knowing
that I’ve done something along the way to touch a part of his life.

Thanks Lorenzo – you’re a great kid!!!

Categories: kiln firing, lillstreet, textures

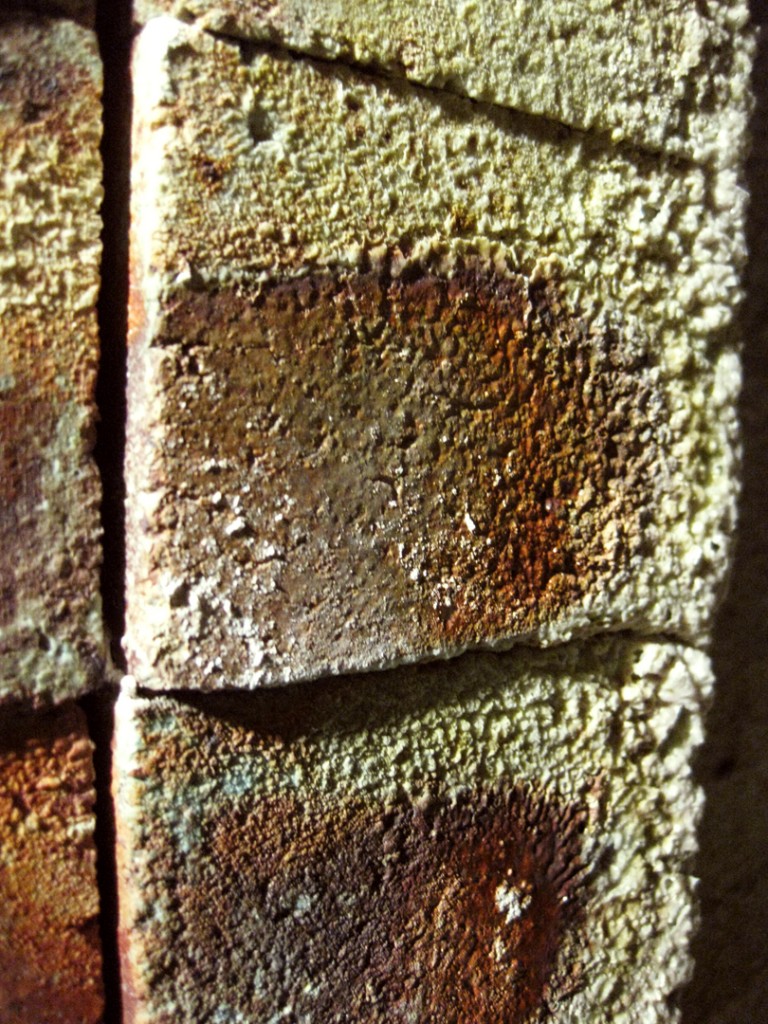
I just love the range of colors in the flashing and the crusty build-up of the soda
on the bricks on the sides of the doorway. From the dark browns, through the reddish hues,
with hints of greens & turquoise going into the crusty whites. All created “naturally” by
the flames escaping through the bricked kiln door and leaving their mark along the way.

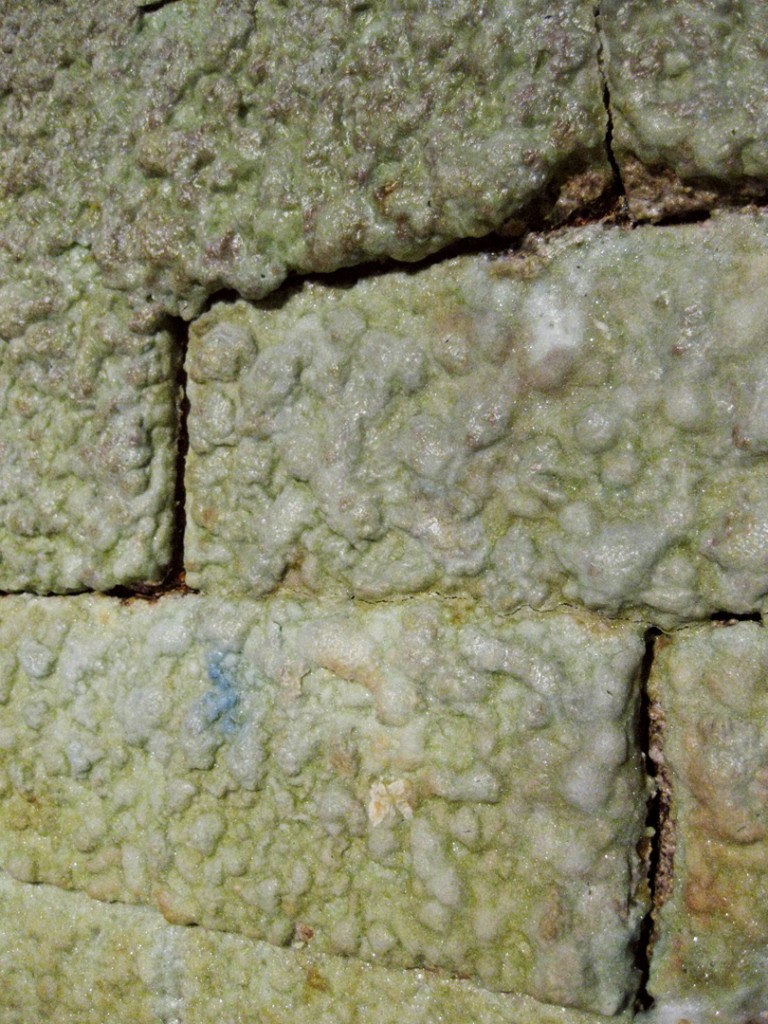
And the somewhat “lunar” textures of the back wall bricks from the intense soda build-up
from firing after firing of the Lillstreet Art Center soda kiln.

Categories: classes, lillstreet

The Summer Session at Lillstreet Art Center begins next week.
I will again be teaching Beginning & Advanced Beginning Wheelthrowing class
on Tuesday night… and there are only SIX openings left. Don’t get left out!!!

Stop in at Lillstreet Art Center or, even easier, register online – click here.

Categories: classes, lillstreet

Hard to believe that Summer is coming to an end soon, but…
Tonight was the last wheelthrowing class of our Summer Session at Lillstreet
Art Center. So we celebrated with a great potluck with tons of great treats!
We now have one week off… and then the Fall Session starts up again on
September 11th. So sign up today – as my class is filling up fast!

Click here to register online with the Lillstreet website!

Categories: classes, lillstreet, process, production, stamps

Last Tuesday, I did some repeat demos for my class for those that missed them
the first time… or didn’t find them quite as easy when they tried to do them!
Totally fine by me. It’s their class and I’m more than willing to demo whatever they want.
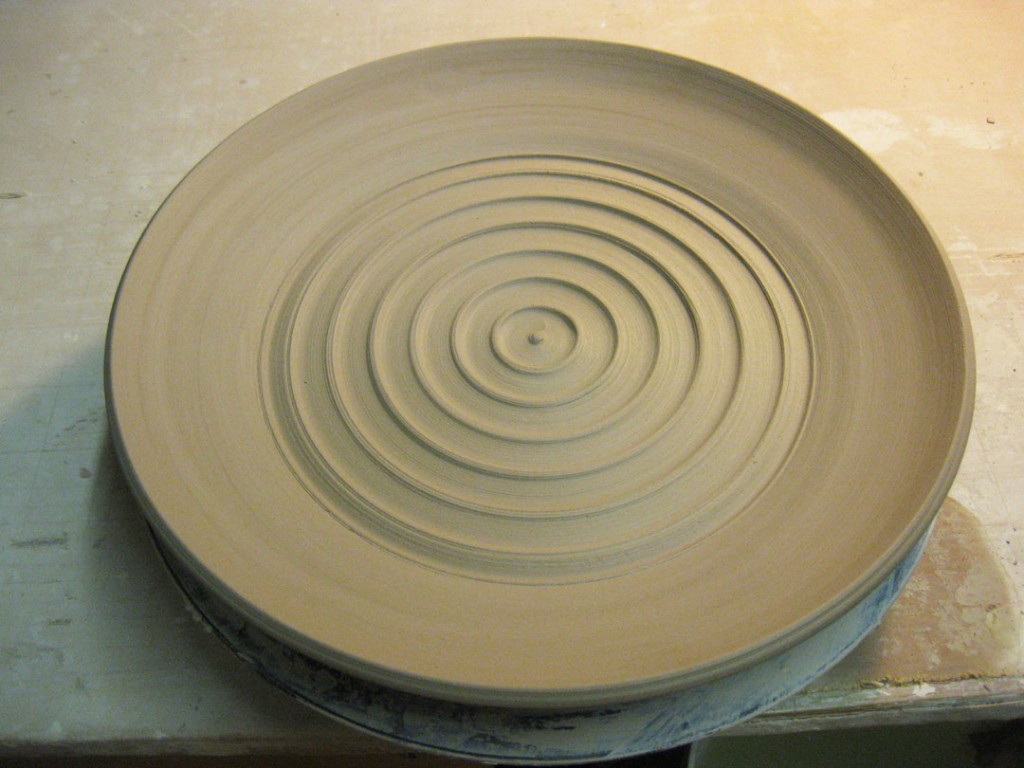
And now I find myself with another demo platter thrown and waiting to be stamped.
Well, tonight was the night. First, I started by unwrapping the original platter which was
finally to a good state of leather-hardness to be stamped… just a little softer than
“trimming leather-hardness” typically is.

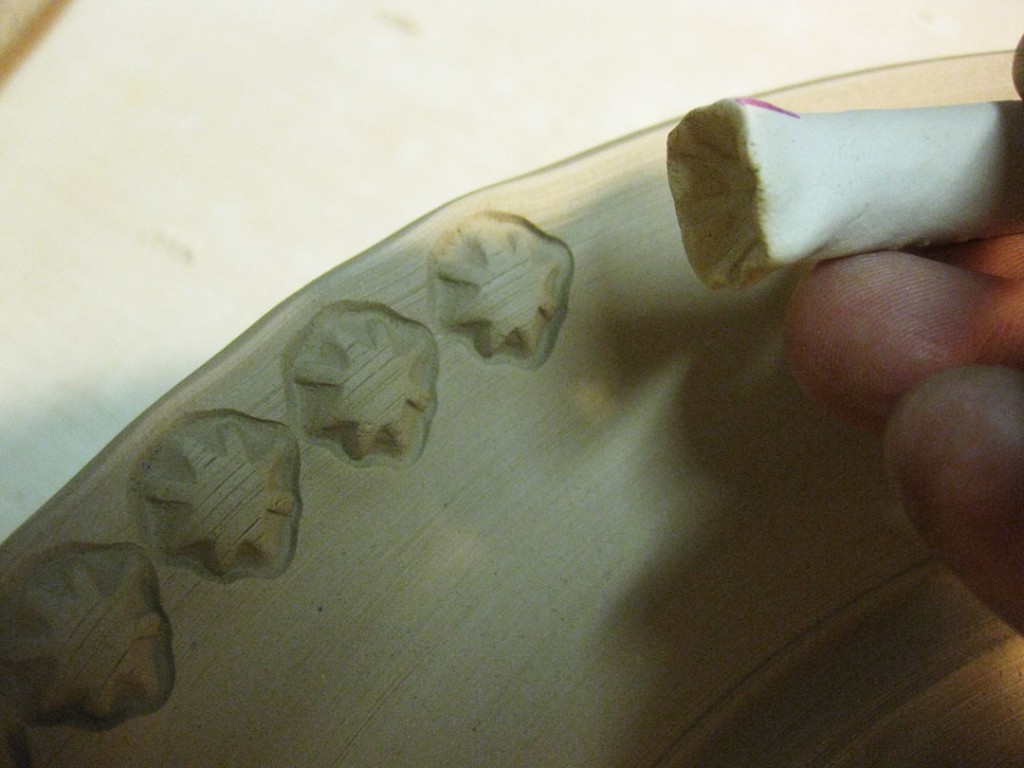
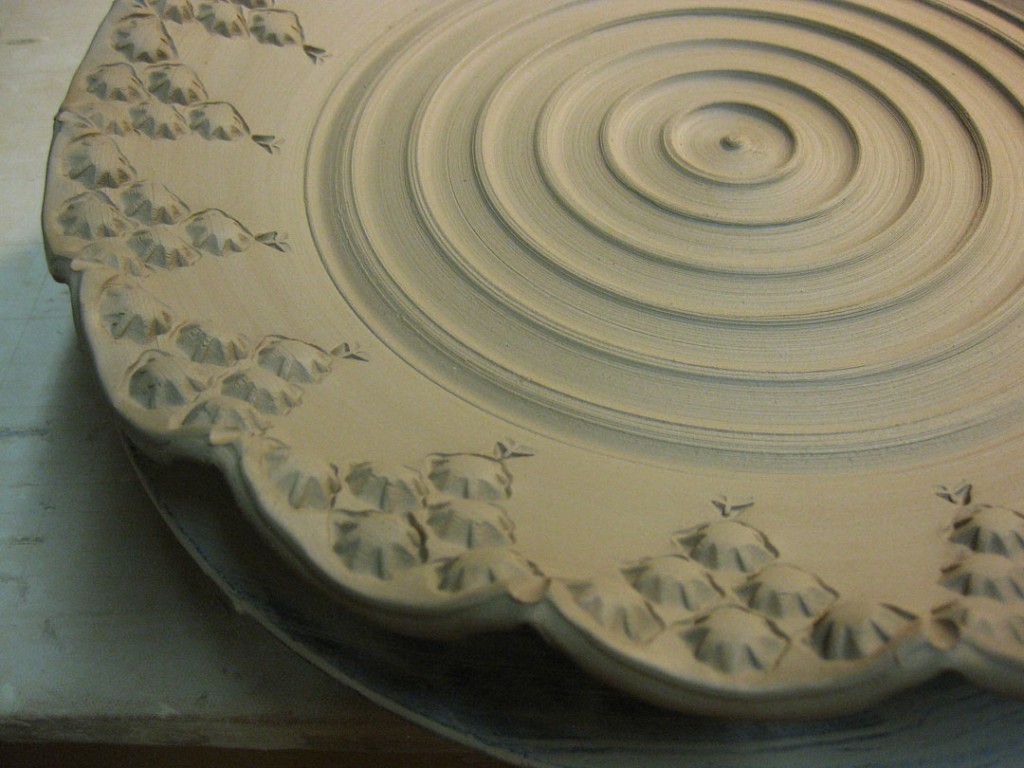
Then I start by making the first row of impressions with the chosen stamp pressed in one,
by one, by one, by one… again, and again, and again… until you get all the way around
to the other side! And I always have my fingers crossed that they’ll line up just fine!!!

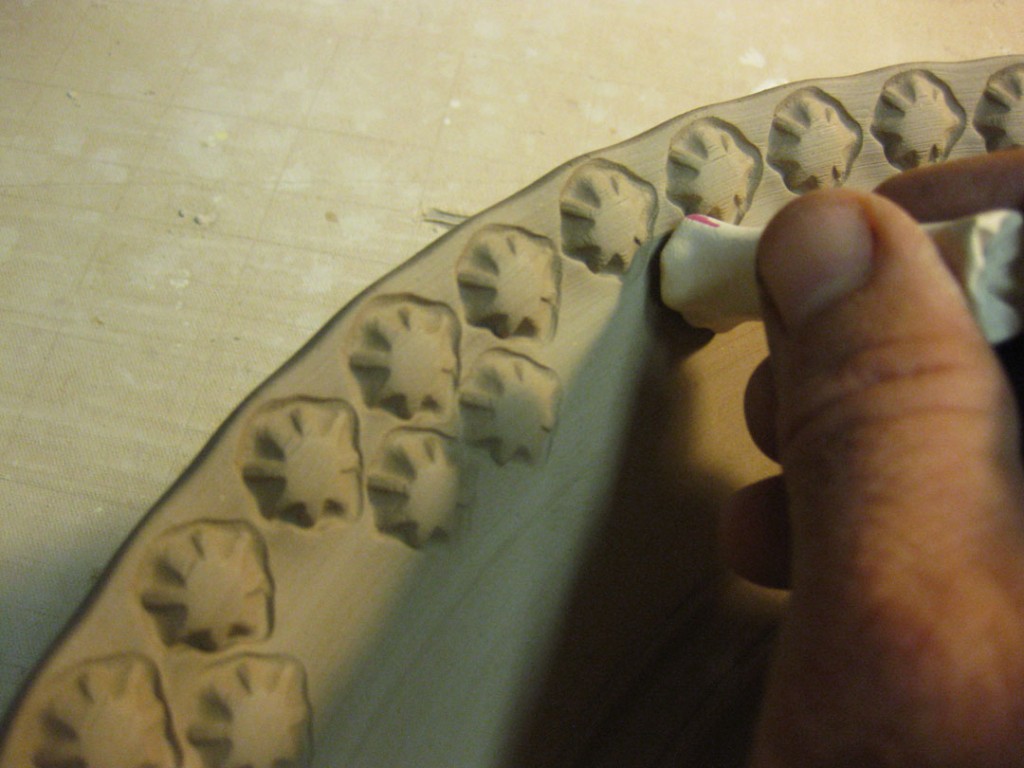
Then it’s time for a second row of stamps to start the pattern…

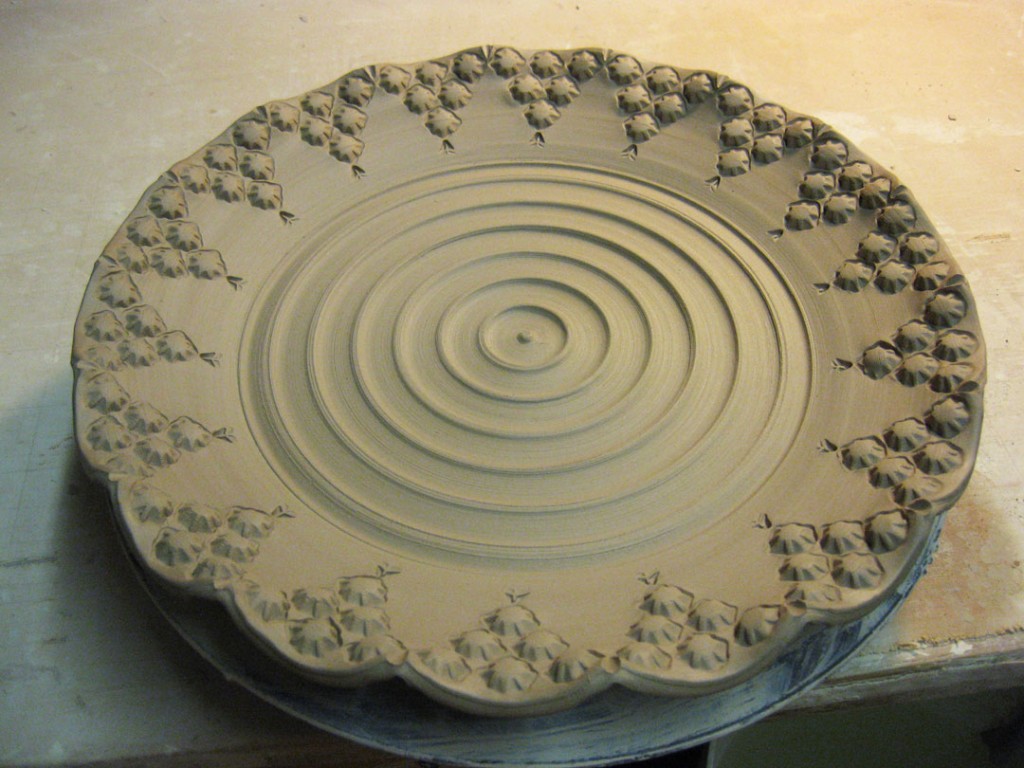
After a couple more stamps, and a few smaller accent stamps at the bottom of each point
and the stamping portion was done.

Then it was time for a little rim fluting & curving to give the platter a gentle undulating
design. A simple touch to give the platter a completely different look.

Here’s a close-up of the curved rim – just before wrapping it up with plastic for the night.
So now it’s a waiting game until it is dry enough for trimming.