Gary Jackson: Fire When Ready Pottery
A Chicago potter’s somewhat slanted view of clay & play
Categories: bowls, sgraffito, surface decoration, tools

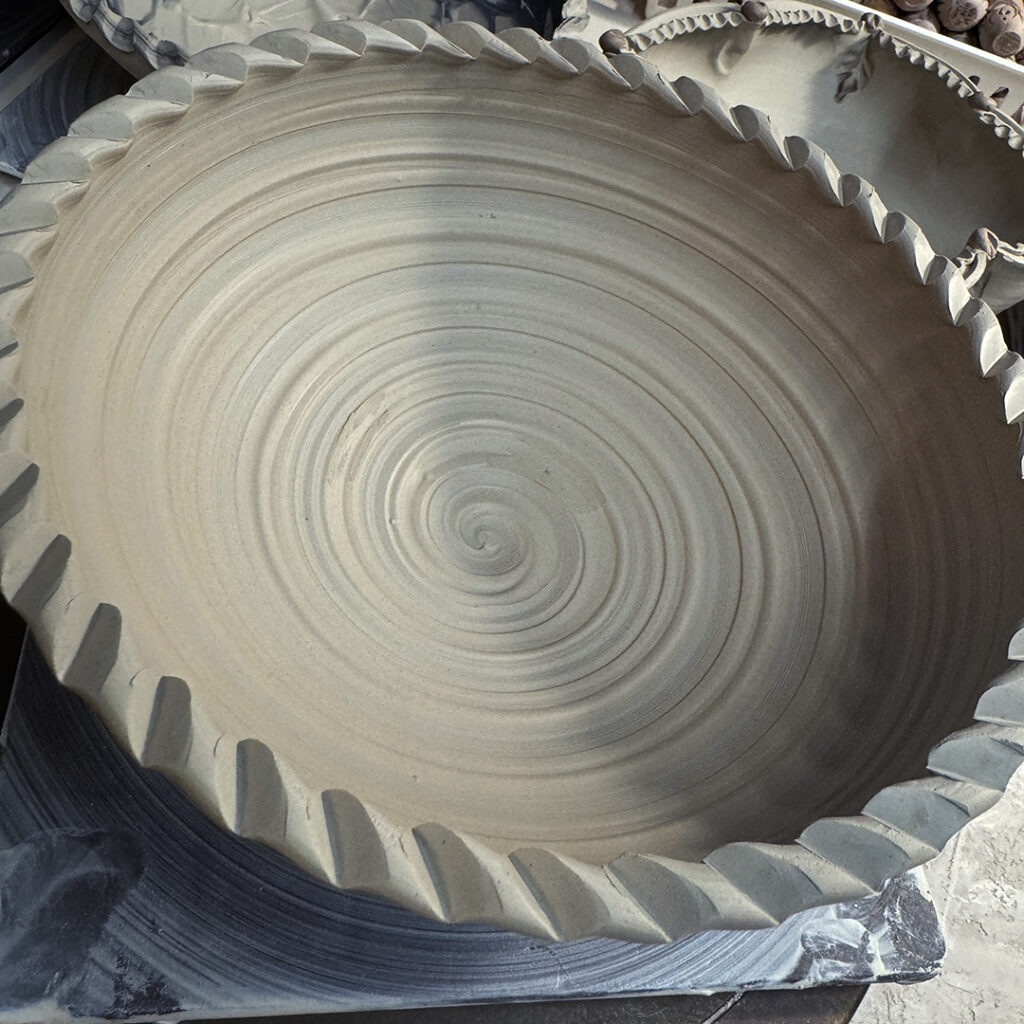
Just doing a little more detailing on one of last week’s class demo bowls. We started with an ombre’ slip gradation from black to white slip in class. Then I did a little stamping along the rim. Followed by some carving through the slip using one of my favorite DiamondCore Tools for crisp, clean lines.

Categories: nature, textures

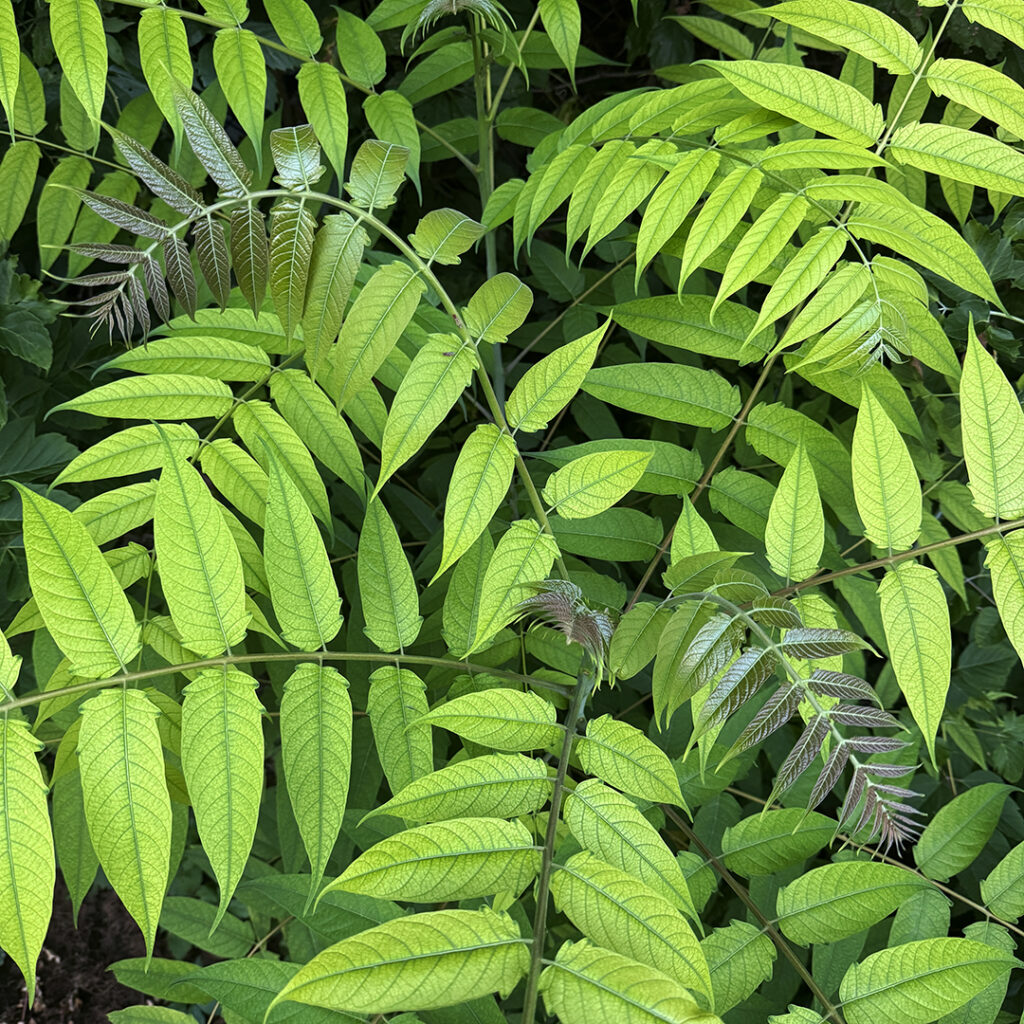
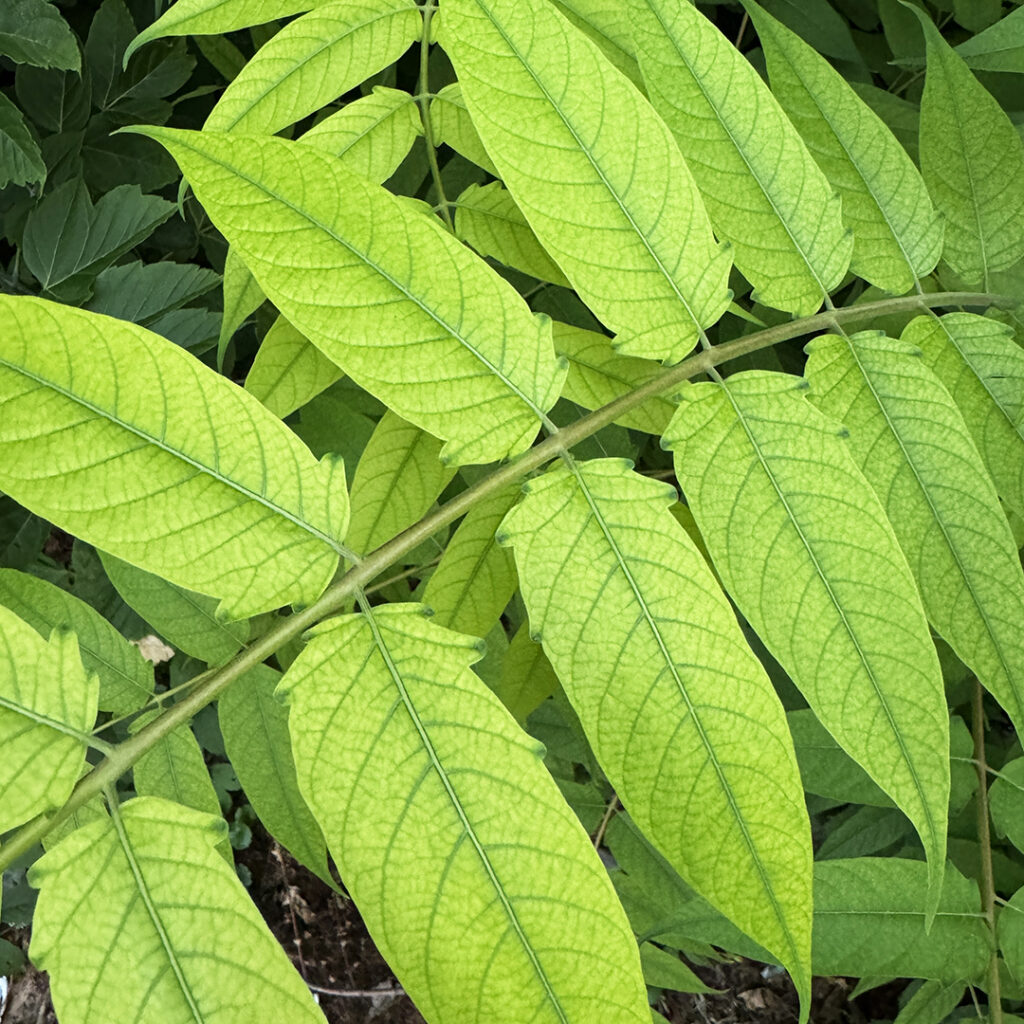
After last night’s crazy storms, it’s nice to have some natural serenity of wild plants growing along the railroads… gracefully arching with great colors, contrasts & textures. Perfect for a natural Texture Tuesday.

Categories: weather

We just had some crazy storms roll across Chicago… torrential rains, gusting winds & a few tornadoes in the area. We hunkered down & watched the weather radar from the “safety” of our classroom at Lillstreet tonight. I’m just hoping that everyone made it home safely & not too much damage from the storms. Me?… a bit of flooding in the basement & the street out front is flooded… and it’s STILL raining!!! But I’m home safe & dry. Hoping everyone else is too!!!

Categories: stamped, stamps, vases

Little tiny pots need little tiny stamps, right???
I mean, just because they’re smaller doesn’t mean they should go unadorned!!!

That would just be wrong…

Categories: art fair

Mark your calendar… and plan on enjoying some art this weekend in the park by Lyons Elementary School in Glenview! I’ll be there once again this year under my white tent with my pottery. And the forecast looks pretty great for this weekend so far! Fingers crossed… for good weather & we hope to see you there!!!

For more information – click on www.glenviewartleague.org

Categories: bowls, stamped, surface decoration

After last Tuesday’s class demo on making “not-so-basic-bowls”… there may have been a bit more detailing that happened up in my studio?! HA!!! After a couple nights under plastic, I pulled the demo bowls out and started stamping & indenting the rims to make them even more fun & even less basic!!!

Categories: surface decoration
Categories: platters, stamped, stamps, surface decoration

Just finished my first week of Summer Camp…
and just decorating another platter in my studio after the kids have left!

Categories: bowls, classes, surface decoration

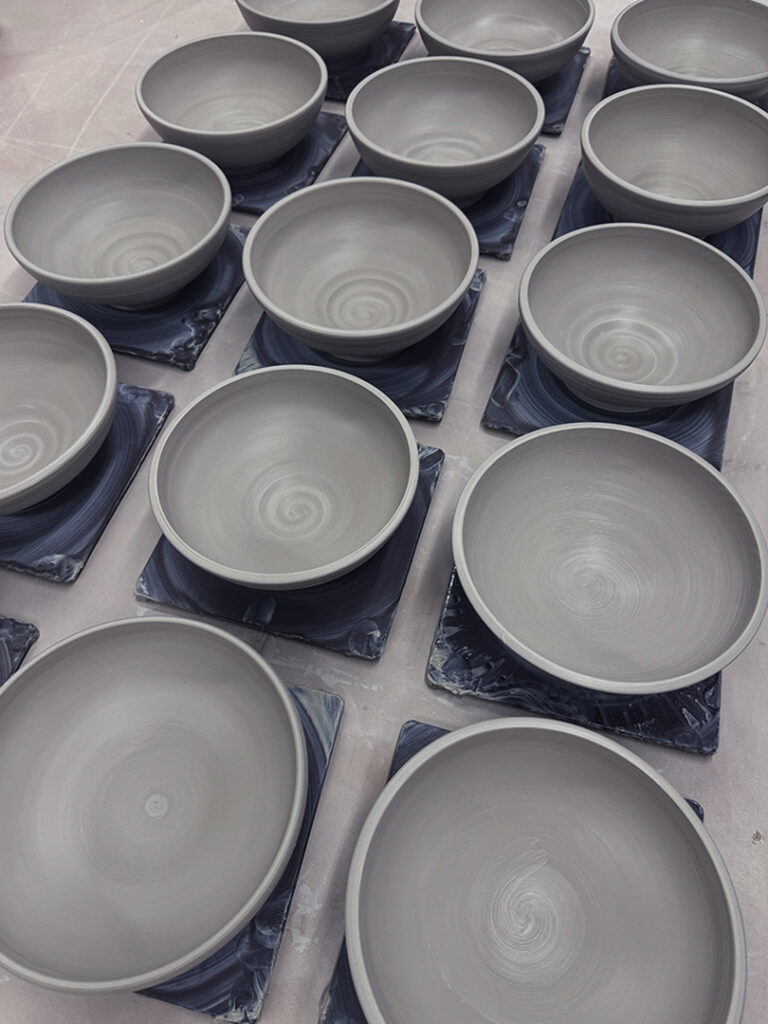
So this week was “bowls on purpose, instead of cylinders gone bad” demonstration night for my Tuesday night Beginning & Advanced Beginning Wheelthrowing class. So we started by discussing what makes a good bowl… a nicely rounded interior, no beginner’s ledge, intentional rim, and all of the other things to watch out for!

So then I did a throwing demo for my students, and showed them how to make a nice bowl INTENTIONALLY, instead of a cylinder gone bad! After the demo session, my students all went back to their wheels to start practicing & making bowls of their own.

Meanwhile, I threw a bunch of bowls so that we could “play” with them later in class!!!

After my class had some time to throw their bowls, and I finished with mine…
we re-grouped at my demo wheel so that I could show them a few quick tricks & techniques to make their bowls “not-so-basic.” My feeling is pretty much that the wheel kinda makes a round bowl for you… but it’s up to each person to make it their own!!! So I just wanted to add a few “possibilities” to their arsenal of tricks to play with. So here they are…

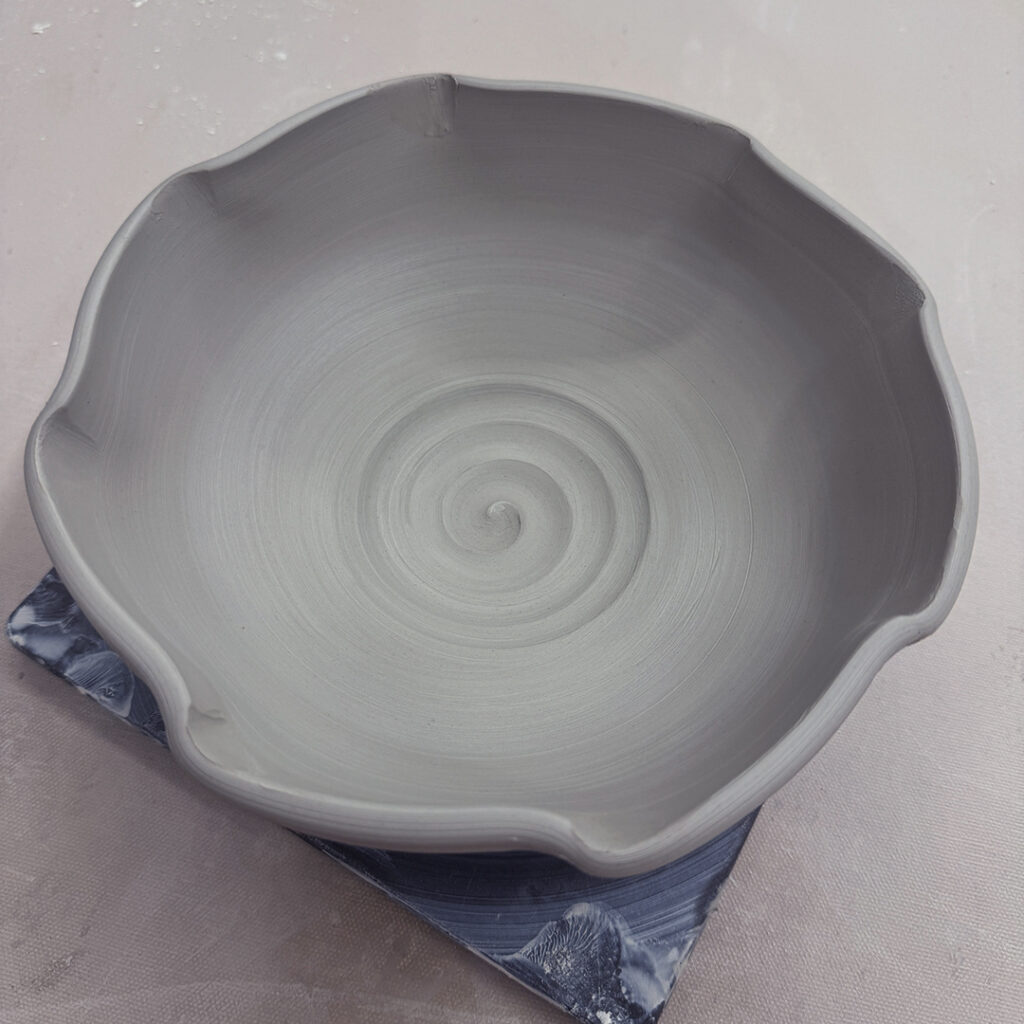
Bowl #1 – Four fluted edges… and a nice spiral.

Bowl #2 – and if four fluted edges are good, maybe EIGHT are even better?!

Bowl #3 – A flared out flange… bent out over the edge to create a “wider” rim.

Bowl #4 – And if a one-inch flared flange is nice, maybe a larger one is even better?

Bowl #5 – Then I combined the flared flange with some fluted accents.

Bowl #6 – A split-rim pinched back together in eight places!

Bowl #7 – Another split-rim pressed-in on two sides. There’s “a very good chance” that there might be a handle up & over from pinched part to pinched part to make it a “basket” bowl.

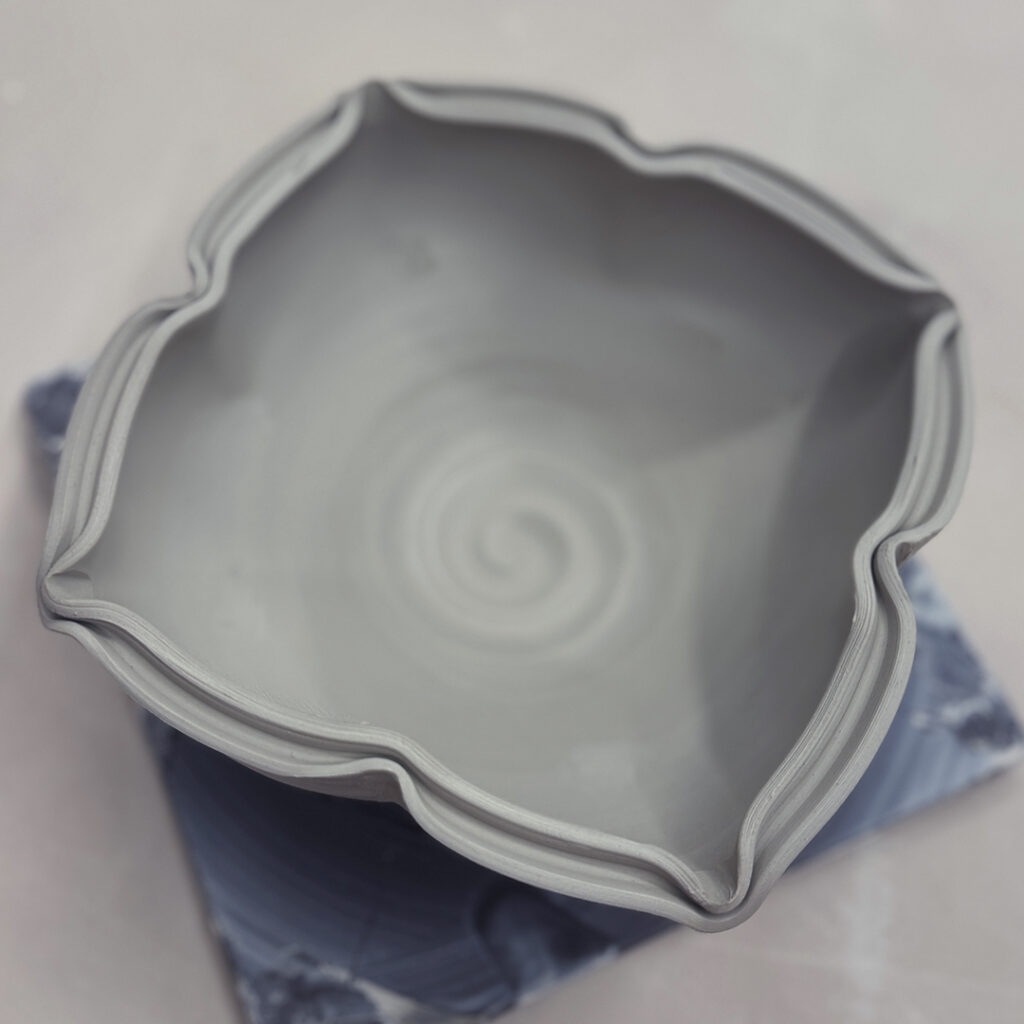
Bowl #8 – Another split rim – pressed in on four sides to create a kind of quatrefoil effect.

Bowl #9 – Another split rim pressed in at four points, and pressed out at four points! Kind of a lotus pattern.

So after doing a bunch of altered rims, I introduced them to colored slip. And how they can use some “thick” slip to add some details & textures to their bowls.

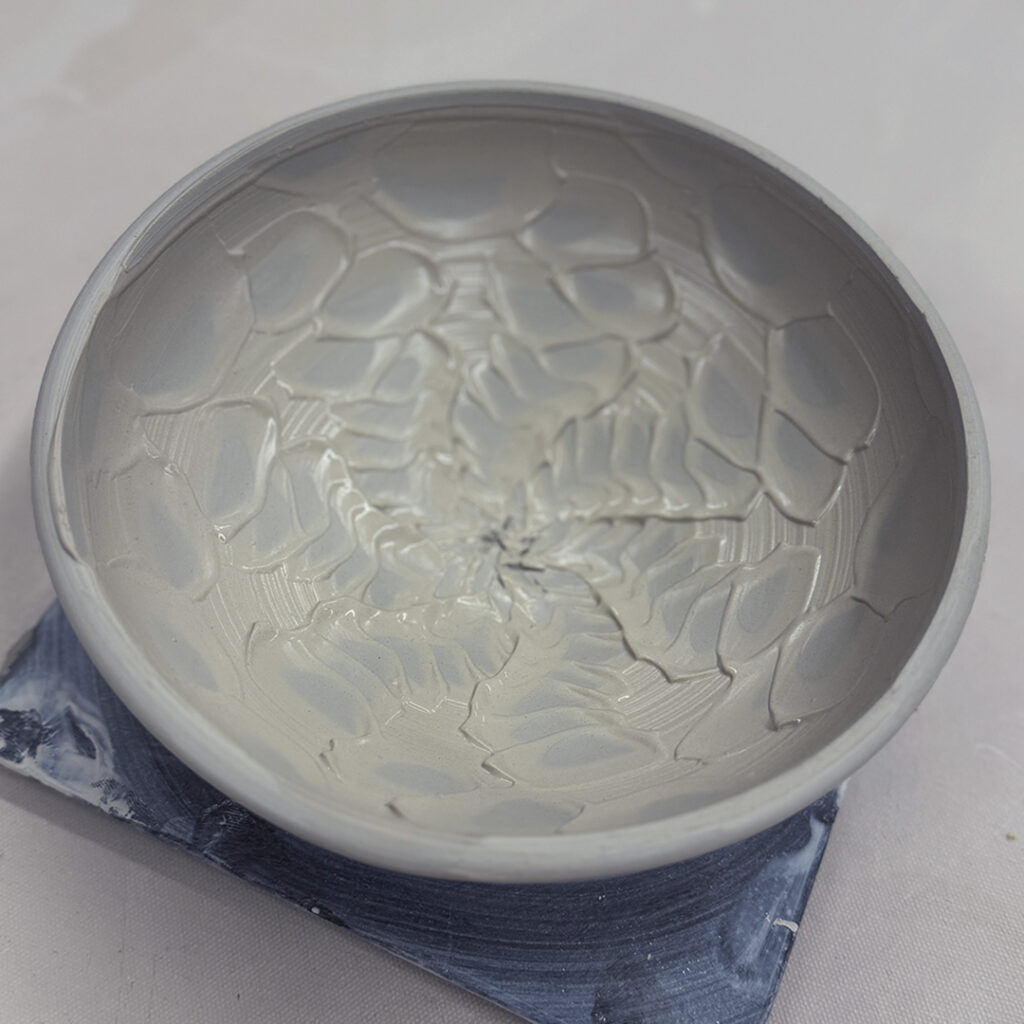
Bowl #10 – A layer of thick white slip with a spiral dragged through from the center up & out.

Bowl #11 – Another layer of thick white slip with banded drag-throughs… and a good chance that there “might be” some carving to be done through the thicker bands.

Bowl #12 – Thick white slip with some finger painting… just some squiggles from my index finger.

Bowl #13 – Thick white slip with some fun chattered texture & patterns… rhythmic tapping with a rubber rib… up & down, round & round, from center to rim.

Bowl #14 – An ombre’ blend of white slip to black slip… and again, a “good chance” there might be some carving coming soon!

Bowl #15 – And ombre’ blend of thick white & black slips… and a finger squiggled through.

Bowl #16 – Thick black & white ombre’ blend– and then chattered through the slip.

And for now they’re all “resting” safely in my studio under a bunch of plastic. Like I said, there might still some additional work don on these to make them EVEN MORE “not-so-basic”!!! Maybe a little stamping, carving & detailing… possibly?… allegedly?…

Categories: platters, process, surface decoration

So I finally have a “plan”… and I decided that soda-firing would be the better option to finish this amazing platter. My friend Kristen carved the pattern and I don’t want to “glop-it-all-up” with too much glaze filling it in. Instead, I waxed the interior section and then sprayed a thin layer of mustard slip around the rim. Being careful not to get too much in & avoiding drips. I will now let it dry, then bisque it. The wax will disappear from the interior then. I will glaze the center section, and probably do some glaze-inlay around the rim. The soda-firing should help accentuate the carved textures & the colored slip will hopefully pick-up some cool flashing marks during the firing. Fingers crossed… but we’ll need to wait over a month for my next soda kiln firing.

To see more of Kristen Holub’s cool carving technique… follow her on Instagram… @kayhoceramics