Gary Jackson: Fire When Ready Pottery
A Chicago potter’s somewhat slanted view of clay & play
Categories: pottery, process, production, studio

The weather may have been miserable today… too cold & rainy to play outside…
so I had some “quality time” to make some new pots in the studio!
“Hope springs eternal”… or, based on today’s weather… Spring hopes eternal!!!
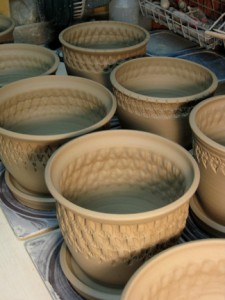
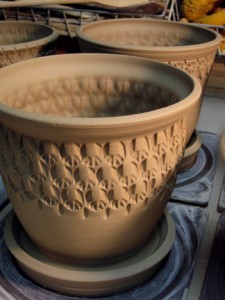
Either way… Spring is in the air… so it’s time for some new flower pots!!!

gary-jackson-flower-pots2

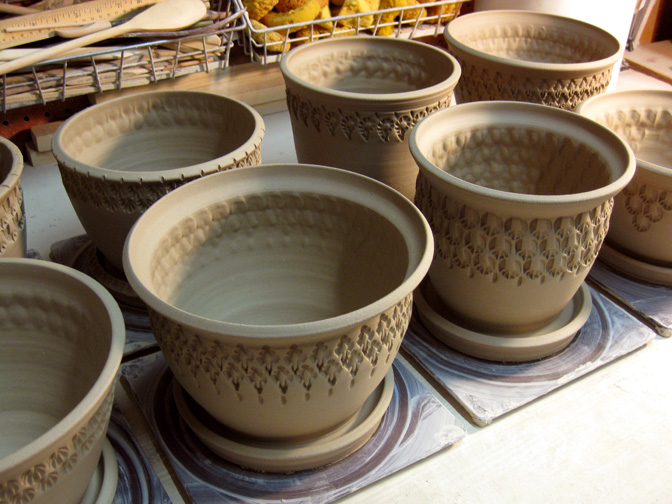
They’ve been thrown and stamped… now they just need to be trimmed, have drainage
holes pierced through, slip decorated, dried, fired, glazed and fired again!
Just in time for those summer plants on your back porch or windowsill!

gary-jackson-flower-pots1gary-jackson-flower-pot

Categories: production, studio

It may not be berry season yet…
but the new berry bowls are almost done in the studio! Just a couple firings…
a few plates to trim… and we’ll soon be ready for the season’s berries!!!

gary-jackson-berry-bowls

Categories: pottery, process, production, stamps, studio, tiles

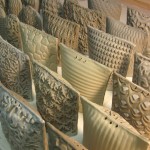
Spice it up with textures & tiles…
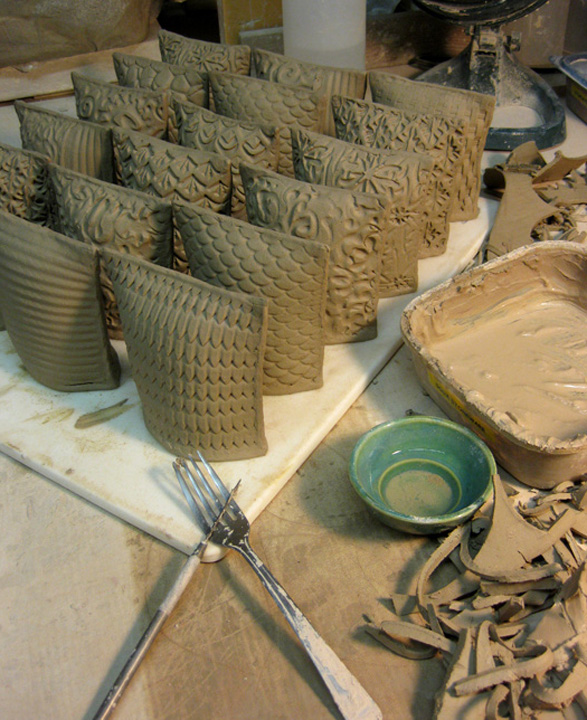
and trying to combine the two into new salt & pepper shakers!

So I’ve been working on a new batch of shakers that combine the textures
of my tiles, the soda fired colors & flashing – with the functionality of
salt & pepper shakers! They’re still in the works… with trays to come!

gary-jackson-tile-sp-production1

Once the shakers are built, I’m applying a thin coat of soda slip on some
of them to give them different colors & flashing effects to be created in the
soda firing atmosphere. Seen below before & after…

gary-jackson-tilesp21gary-jackson-tilesp11

Categories: pottery, process, production, stamps, studio

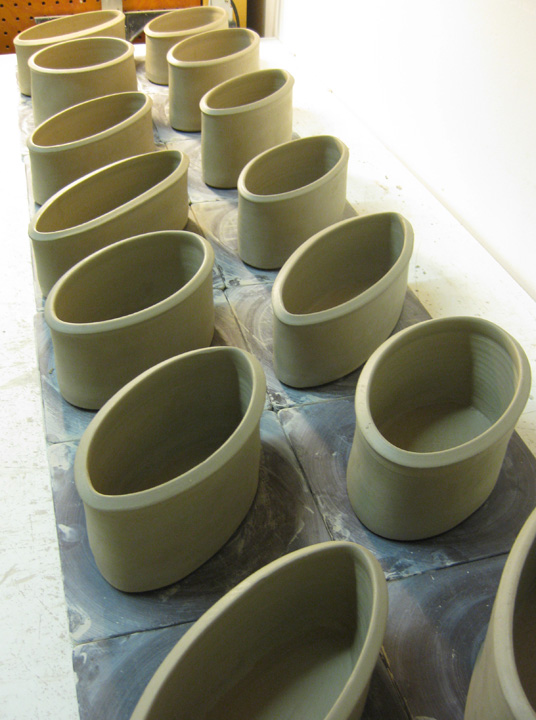
Back in the studio… making oval vases again.
First thrown as a bottomless cylinder, then squished into an oval, then
the floor is added… and then ready to be stamped! It’s ovals… before & after!

gary-jackson-ovals-plain2

gary-jackson-ovals-stamped

Categories: bike, photography, pottery, process, production, stamps, studio

So tonight I put some “finishing touches” on the mugs!

As part of the soda-firing process, a lot of the color accents achieved
come from colored slip applied to the surface. Slip is just watered down clay
with special chemical colorants added. These chemicals react to the
soda atmosphere and create dramatic colors and random flashing marks.
Slip generally needs to be painted onto the clay body while it is wet
or leather-hard. I typically paint the slip on after stamping, trimming
and applying handles. It’s usually the last step before I let the pieces air-dry.

Tonight I painted slip accents onto the mugs… both along the top rims
and some of the smaller details inside each of the stamps. Yes, it’s true…
each and every little stamp, one by one… each one with a touch of slip!

gary-jackson-slip-painting-mug

Now that they are all painted, I can let them air-dry… and then bisque fire
the mugs when I accumulate a kiln-full of greenware (dry clay). Once fired,
the mugs will be glazed and fired again. A few more steps in the process…

gary-jackson-mugs-drying

Categories: bike, nature, pottery, process, production, stamps, studio

One of my favorite things to make… mugs!

Many potters despise the process; mostly because of their fear of handles.
But I enjoy making the smaller, personal items that become part of people’s
everyday rituals. The morning coffee, the winter’s hot chocolate, the cup of tea
for those feeling under the weather… or in my case… ice cold grape pop!!!

So I’ve spent the past few days working in the studio on a new batch of mugs.
Nothing fancy – just trying to get back into the swing of things and restock
the “art fair inventory.” And I thought I would try to show you some of the steps
along the way.

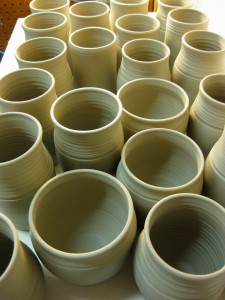
First, I start by throwing the basic cylinder shapes. I prefer to work
in “batches” instead of singles. I like the production aspect of it all.
Creating a quantity of something… then moving on to the next.
gary-jackson-thrown-cylinders

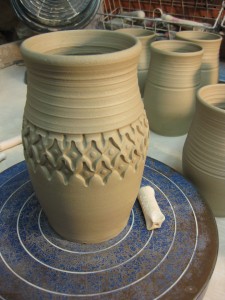
When they are a fairly damp “leather-hard” I begin the stamping decoration.
I make my own stamps out of a piece of clay. I roll it into a coil, carve a pattern
into both ends and bisque the stamp. One stamp pressed in repeatedly can create
a wonderful pattern around the cups. The trick is to get the pattern to line up
when you get back to where you started!!!
gary-jackson-stamped-mug

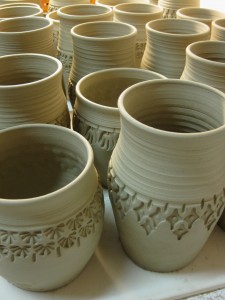
After they are stamped, the bottoms are trimmed. It’s a fairly simple process
where you turn the cylinder upside down on the wheel, center it, attach it,
and then trim away the excess clay while it is spinning. Think of it as very
similar to a wood lathe. Spinning fast, trimming fast. Trimming helps remove
the excess clay where it attached to the wheel, as well as allowing me to trim out
the bottom to create a finished looking foot ring.
gary-jackson-stamped-mugs

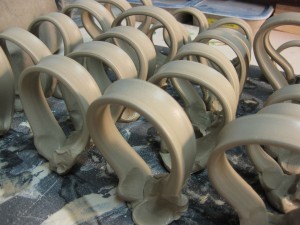
After trimming, the handles are pulled and allowed to stiffen up.
Once they are no longer sticky, wet or mushy, I can apply them
to the side of the cylinders to create a “not-quite-so-instant” mug!
gary-jackson-pulled-handles

To attach the handles, I cut out the section of the strap that I need…
then scratch & slip both the ends of the strap and the attachment points.
The scratching works like Velcro, the slip works like clay glue. Together,
it creates a strong bond when attaching clay to clay.

gary-jackson-attaching-handles

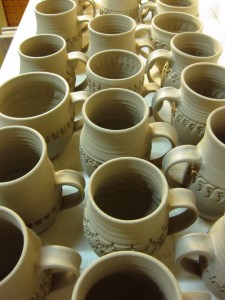
After attaching the handles, I take a few extra moments to smooth them out
and give them a finished look. I then set the mugs aside and cover them with
plastic to help them dry more slowly. I like to keep them covered for at least a day
to help the moisture level of the mug and handle equalize a bit before full drying.
gary-jackson-rows-of-mugs

Once the mugs are done and all handles are attached, I will paint some colored slip
on the mugs that are going to be soda-fired. The colored slip will help add some color
to the final mugs – as well as reacting to the soda environment of the kiln to create
some wonderful flashing effects.

After slip painting, the mugs are allowed to dry slowly. They then need to be bisque fired
to approximately 1850-degrees. This makes them hard yet porous. Next they are glazed,
wadded and fired again. The final soda firing takes around 13 hours to reach the top
temperature of 2350-degrees. The kiln will cool for a full day, and be unloaded the next.

All of that for a simple mug.
Categories: pottery, process, production, tiles

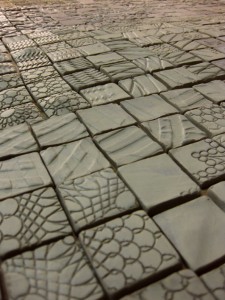
Tiles… tiles.. and more tiles!
I spent last night making a lot of tiles in the studio… more than I had planned!
Each tile is handmade from a slab of fresh clay. Each tile is textured by hand
creating one-of-a-kind tiles that will later be put together into hanging
wall pieces or installations. My sister has “requested” a wall installation
for her living room between some cabinets, around the wall mounted television.
So I’m back in production mode – making a lot of tiles! Many of them will be used
for her wall installation, while others will get to travel on the summer art fair circuit.

gary-jackson-tile-production22

This batch will be for the soda kiln, so not only were they textured,
most of them are also covered with a layer of soda slip which will help give them
different colorations in the final glaze firing. So now they need to dry, then be
bisque fired. When I get ready to do my next soda firing, they will all need to be wadded
individually, as well as given a quick wash of dissolved soda solution and some get
a minimal spraying of glaze for a splash of color. A lot of work for a little tile, huh?
Now multiply that by hundreds of tiles…

Categories: pottery, process, production, stamps, studio

So I’m back at the studio – trying to get back into the swing of things
and get the pottery production started up again. I figured a good place to start
would be by making some new stamps for the New Year! With even more to come…

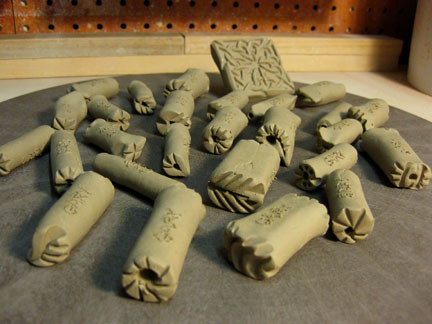
gary-jackson-new-stamps-2009

I make my stamps with fresh clay – and start by rolling out a coil.
I let the coil dry up a little bit so it’s not too soft & squishy. Then I will create
different patterns on both ends of the coil. That way, I get two stamps with each.
As the coil dries, I make sure to scratch my name into the side… you know how
things tend to “travel” around the studio?! When the stamps are dry, they will be
bisqued to make them solid, yet porous. They are then ready to use. You want to
make sure not to high-fire them as that would make them non-porous…
and they would stick more to the clay when making impressions.

Categories: art fair, pottery, production, studio

One week from today is my annual Holiday Home Show.
So I’m at the studio today firing another soda kiln full of new pieces.
Here’s a glimpse of the stacked kiln – before the door was bricked closed
and the firing began! This kiln will cool all day Sunday
and be unloaded Monday night… just in time for my big holiday show!

“My Home For The Holidays” Home Show 2008
Saturday, November 22nd & Sunday, November 23rd
10:00am-6:00pm

It’s the widest selection of work from Fire When Ready Pottery
that you’ll see all year – with pottery in every room of my condo
and my annual “Tired Of Shlepping Sale” at clearance prices!
It’s the perfect chance to start your holiday shopping.

Please contact me for address, directions & more details…

Categories: pottery, process, production, stamps, studio

With less than four weeks until my annual Holiday Home Show,
I’ve been trying to stay productive in the studio. Keeping pieces at different stages
in the process… some freshly thrown, while stamping slightly dried pieces,
then trimming the leather hard work. The it’s off for firing…

“My Home For The Holidays” Home Show
Saturday, November 22nd & Sunday, November 23rd
10:00am-6:00pm  -  always the weekend before Thanksgiving!

More updates to come… please e-mail me for complete information.