Gary Jackson: Fire When Ready Pottery
A Chicago potter’s somewhat slanted view of clay & play
Categories: process, production, textures

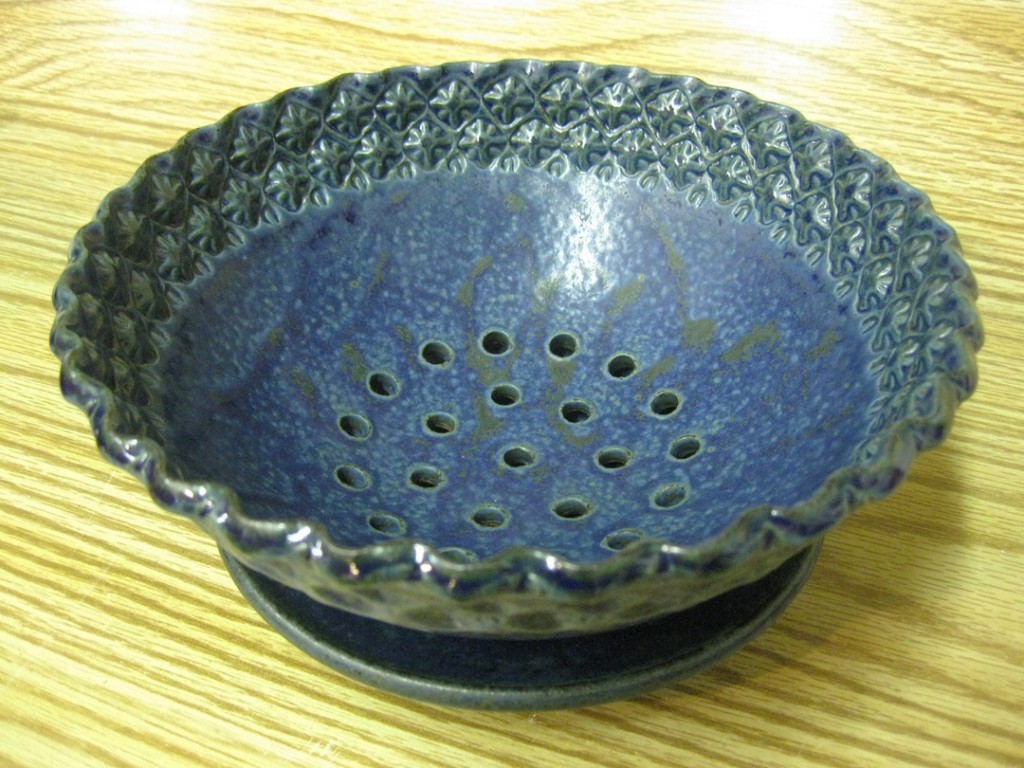
It’s amazing what a difference a little underglaze was can make!
Painted on all over, then the top surfaces are gently wiped off.
All of the textures & patterns pop-out and become even more dramatic!

One more firing, this time cone 10…. and these little treasures should be ready
just in time for the Hinsdale Fine Art Festival. Now just a couple weeks away…

Categories: production, textures
Categories: production, studio, textures

Back in the studio… and the texture fun continues…

Categories: production, stamps, textures

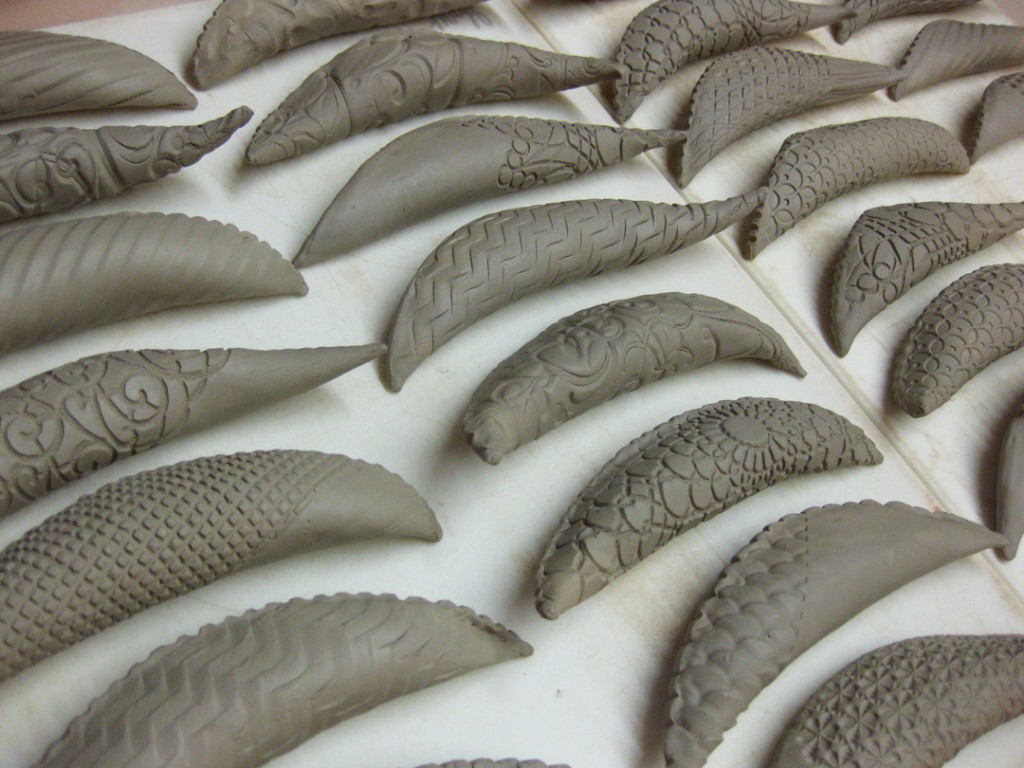
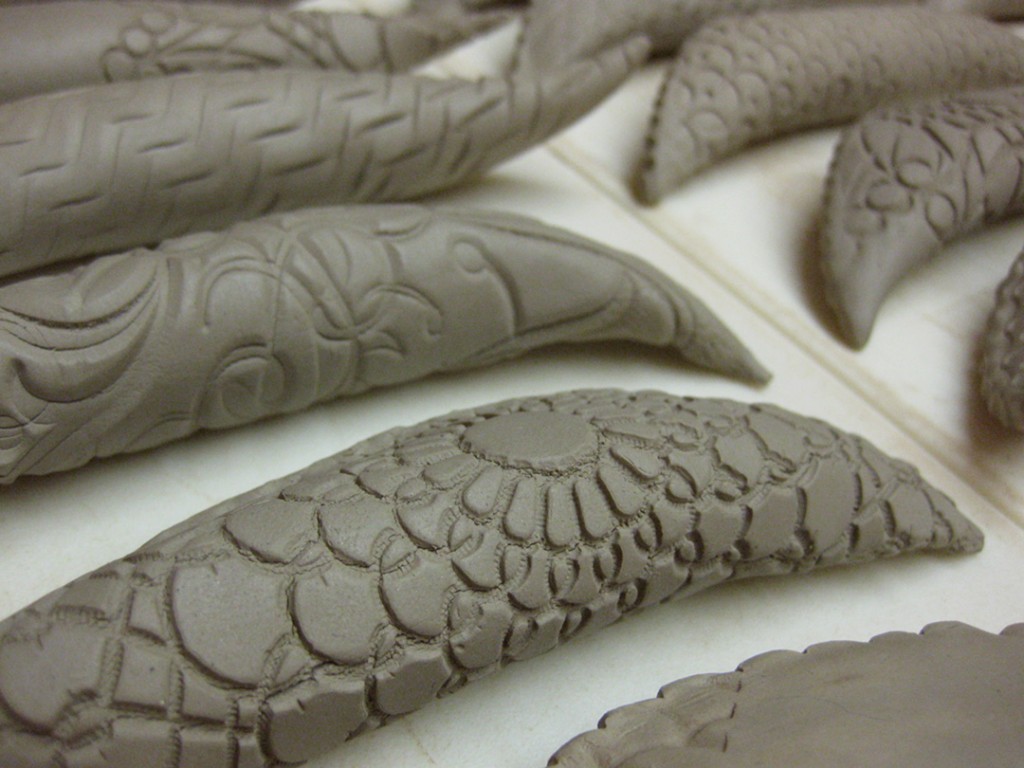
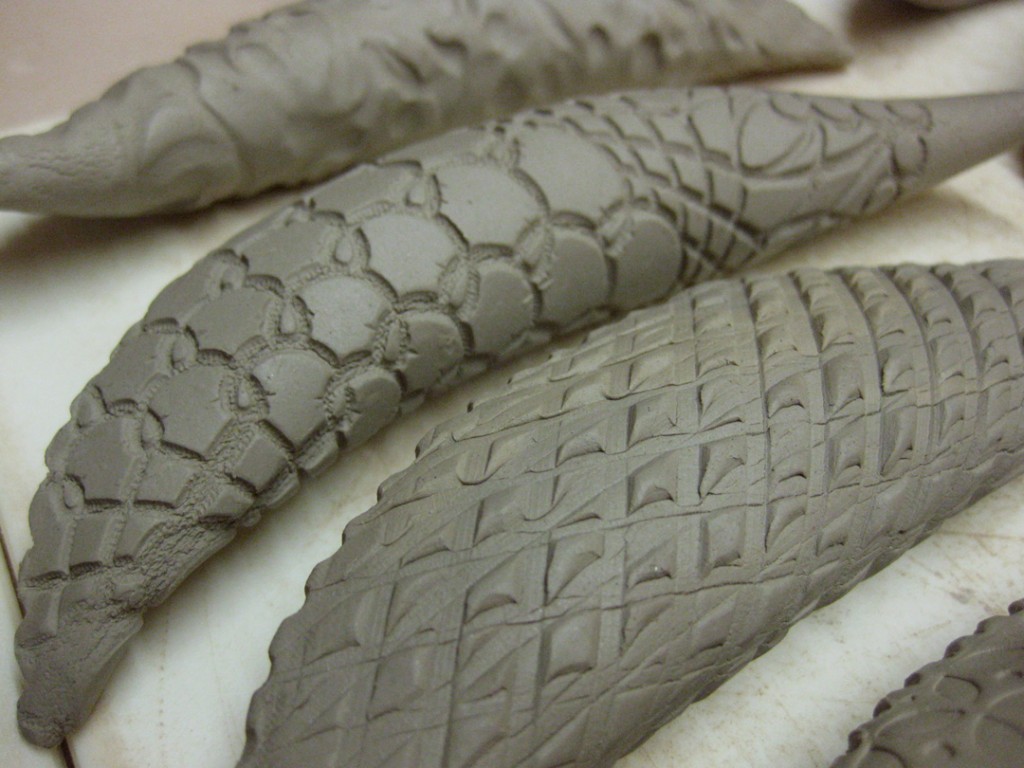
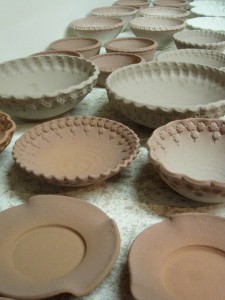
After I finished up my class demo pieces, it was time for some Texture Fun!!!
So I pulled out my texture tool collection and started making patterns…
which then started turning into a whole new project. We’ll see what develops…

Categories: glaze, kiln firing, pottery, production

This afternoon I unloaded another kiln. This time it was a regular cone 10 reduction kiln
that I shared with my studio-neighbor Karen Patinkin. We have a pretty sweet kiln deal –
I load the kiln, she fires the kiln, I unload the kiln… well, for the most part anyway.
So the kiln was fired on Wednesday, cooled all day yesterday and was ready to unload
this afternoon. It’s always fun to open a new kiln. To see how the glazes have developed
and changed the look of each piece. Ideally, the glaze will always make the piece look better.
Yet we all know that doesn’t always happen… so here are a few samples where it did work
as planned! More pieces for the upcoming art fair season!

Mental note to self… remember that this light wood laminate studio shelving is not
the best surface for quick photos of pieces straight out of the kiln. Especially when
those pieces might be glazed in a light ash colored glaze!

Categories: kiln firing, process, production, textures

For a very long time, on that long list of things to do…
I finally got around to making & firing some textured soda slip test tiles.
I acquired quite a few slips from my potter-friend Emily Murphy when she moved to
Minneapolis. And yet I tend to go back to the old “tried & true.” Maybe because I wasn’t
sure how all of the new slips would “react” in the soda firing atmosphere. So I made test
tiles with one of my favorite handmade rolling pins, painted on some slip and fired them
in the kiln. Of course, I also had to make little “props” to hold them vertical in the kiln.

I’m excited to have new samples of the slips – all with a good amount of flashing
to show the range of colors & effects you can get in the soda kiln.

Categories: kiln firing, pottery, process, production

After a very hectic firing day on Saturday, it was a great relief to open
the kiln today to find out that everything turned out perfect. Good soda coverage,
good colors, good flashing. It’s a relief to have a kiln full of work done for the
upcoming art fair season… this far in advance! So I unloaded tonight and took
lots of pictures along the way… and I promise to post them very soon.
Here’s a couple shots of the full kiln just to whet your whistle. More to come…

Categories: glaze, process, production

So while I was “trapped” at the studio all day long… even longer than expected…
I needed something to keep me busy. So I kept glazing. Remember the “two-week”
quickly kiln that I’m sharing with Karen Patinkin? Well, we’re finally getting around
to firing – next Wednesday. So I used today to glaze a bunch of pieces for next week’s
cone 10 reduction kiln. It’s been a busy couple a days!!!

Categories: kiln firing, process, production, textures

I’ve been planning in doing this forever… good intentions… but something else
always seems to come up. Until tonight. I finally got to it.

One of the best ways to get some good color in the soda kiln is with special slips
designed to “flash” in the soda kiln atmosphere. And it seems like I always fall back
onto my “favorites” that I use all the time. But when you look in my studio, I have
quite an assortment of slips. Many of them thanks to Emily Murphy who bequeathed
her “stash o’slips” to me when she packed up her studio and moved to Minneapolis.

So my plans has been to make test tiles for all of the slips… using one of my own
textures and firing them in one of my kilns. So I finally loaded them in tonight up on
the top shelf. I’m hoping to get some dramatic flashing results that demonstrate how the
slip reacts. My fingers are crossed… and I’m glad that my plan finally came together!

Categories: kiln firing, process, production

Tonight I loaded my soda kiln… after a LOT of glazing & wadding. It’s been days…
Seems like I’ve been glazing quite a bit over the past couple days. Trying to maneuver
through my studio glazing pots, and working my way around stacks of bisque.
It’s always a guessing game of how many pots will actually fit into the soda kiln.
So I try my best to gauge it as I go… and trying to wad each piece along the way so I
don’t get slammed in the end with just a ton of wadding! So it finally all came together…
and after four straight hours of loading “fun”… my soda kiln is all bricked up for the
night and waiting for the big firing day tomorrow!

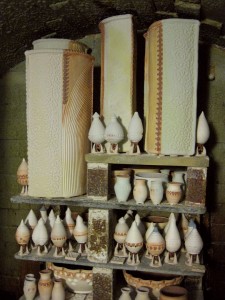
The soda kiln is three shelves deep. So I always stack the back shelf by itself,
all the way to the top. Trying to squeeze in as many pieces as I can, while still allowing
enough air space for the soda to travel through during the firing. Each time…
I get concerned that I’m packing it too tight!? But I really need to get my money’s
worth out of the kiln firing! So here’s the back stack…

And then I finally packed the stack in the front – two shelves in each layer. Piece by piece…
ornament by ornament… mini by mini… again, squeezing in as any pieces as I can.
Did I do too much?!… We’ll see when I open & unload the kiln Monday night.