08.01.2012
Once the demo bowls were detailed, I continued stamping!
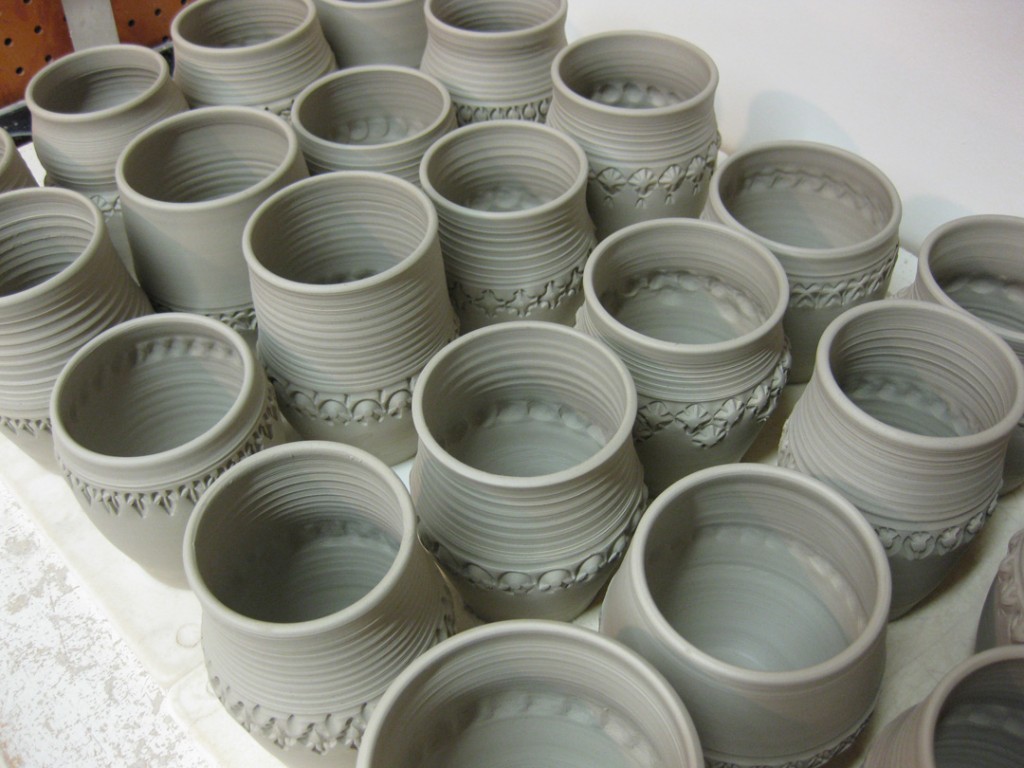
And tackled the latest batch of cylinders destined to become mugs!
Now that they’re stamped, next up is trimming, then handles, then slip, then drying.
Gary Jackson: Fire When Ready Pottery
A Chicago potter’s somewhat slanted view of clay & play |
Once the demo bowls were detailed, I continued stamping!
And tackled the latest batch of cylinders destined to become mugs!
Now that they’re stamped, next up is trimming, then handles, then slip, then drying.
So last night was my “basic bowl” demonstration for my wheel throwing class!
We were working on making each bowl different and unique. After class, I brought them
all upstairs to my studio so that I could do a little more work on them. So today after camp,
I spent some time refining & stamping the bowl samples. It will be fun to show my students
how they’ve all been transformed seemingly “overnight.”
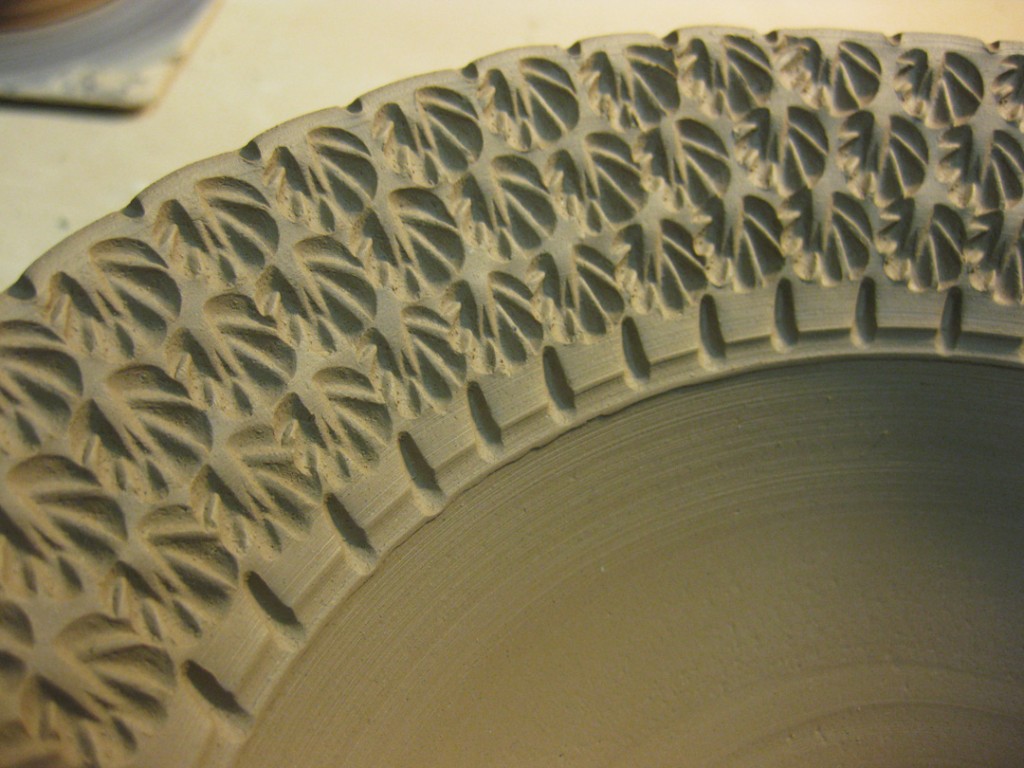
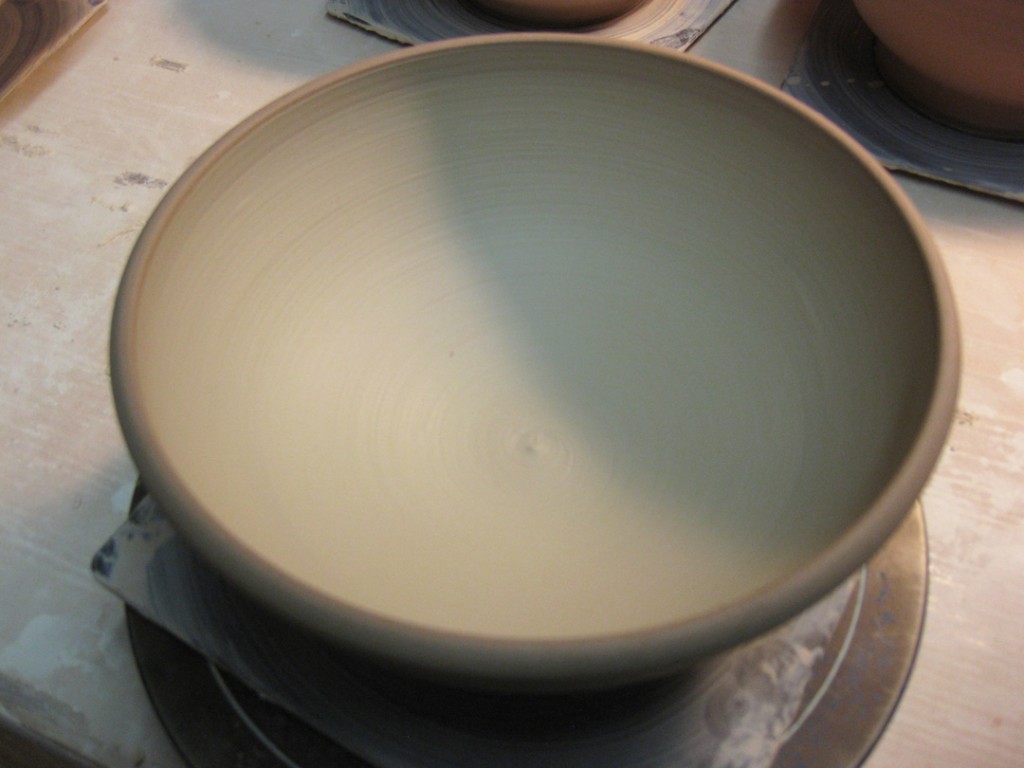
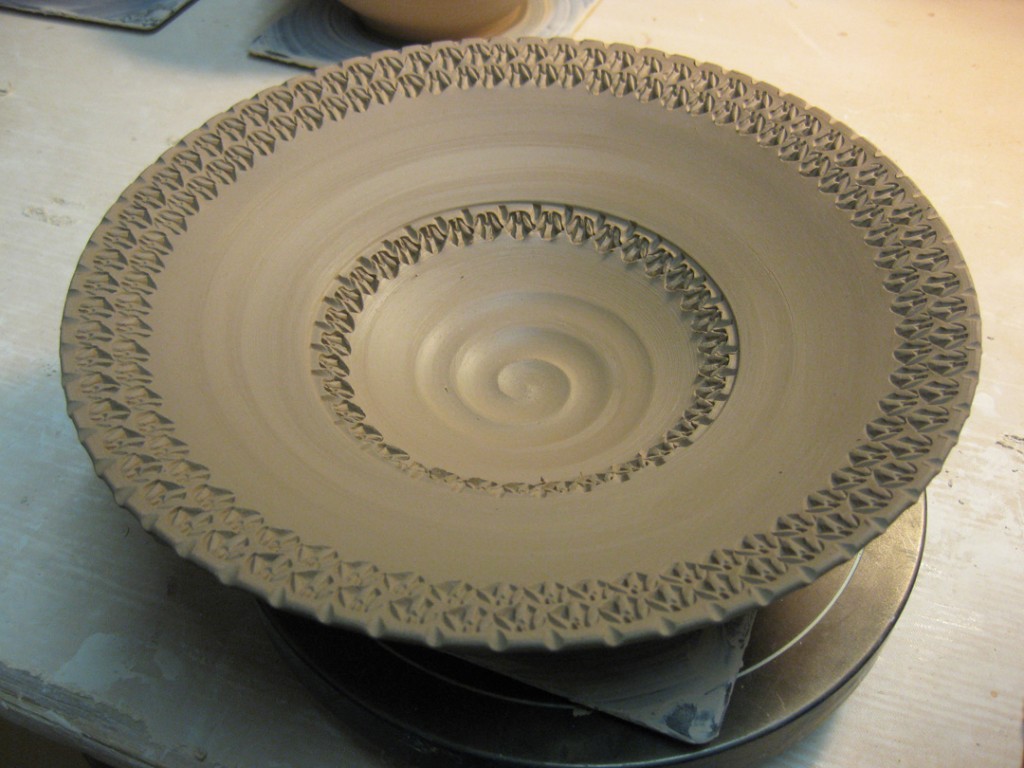
This first bowl has a flared out rim… plain & flat until you add some stamped fun!


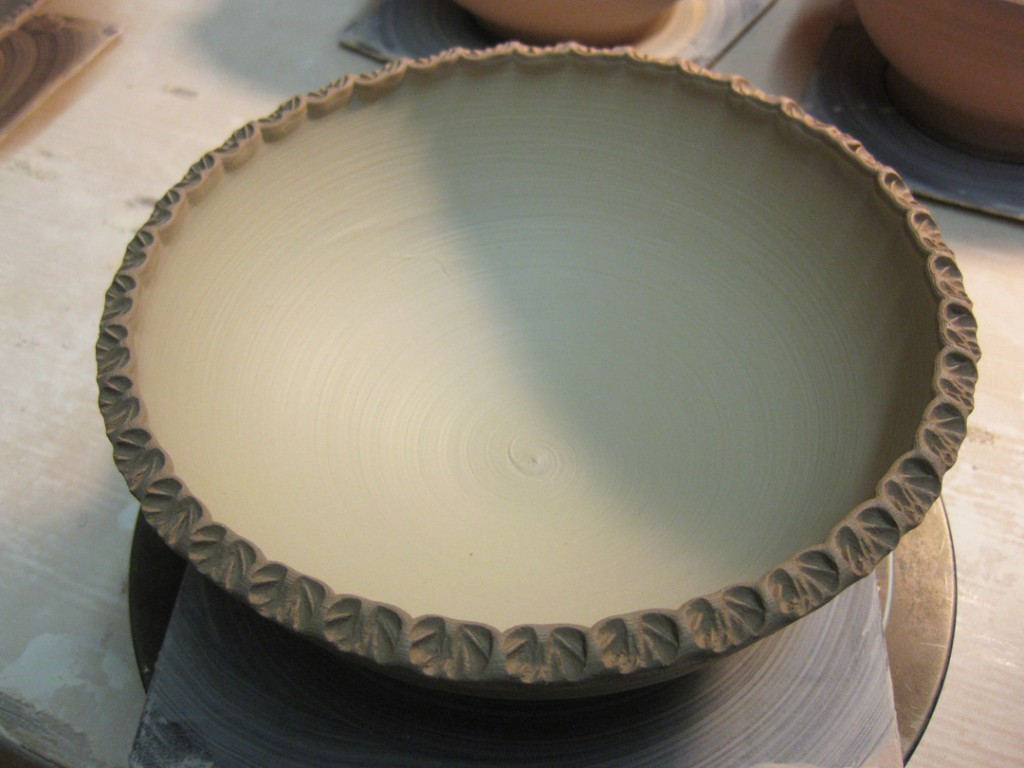
This second one has the same flared rim, but with the addition of fluted curves. A simple
ring of stamps keeps the gently undulation of the rim intact without overpowering it.

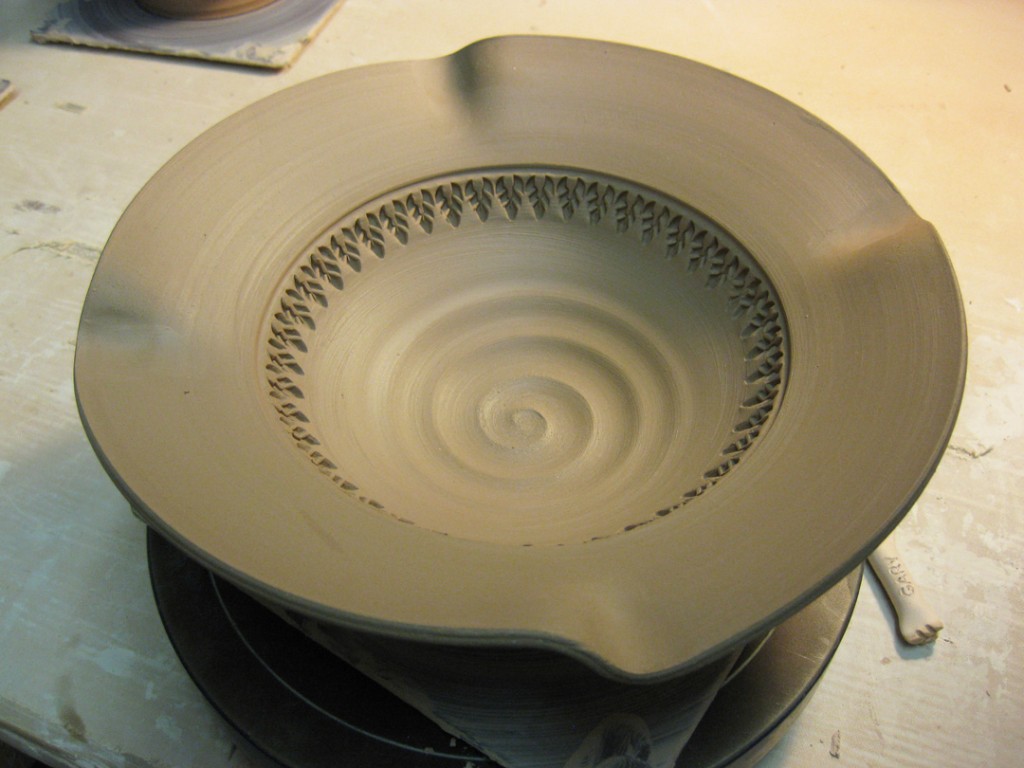
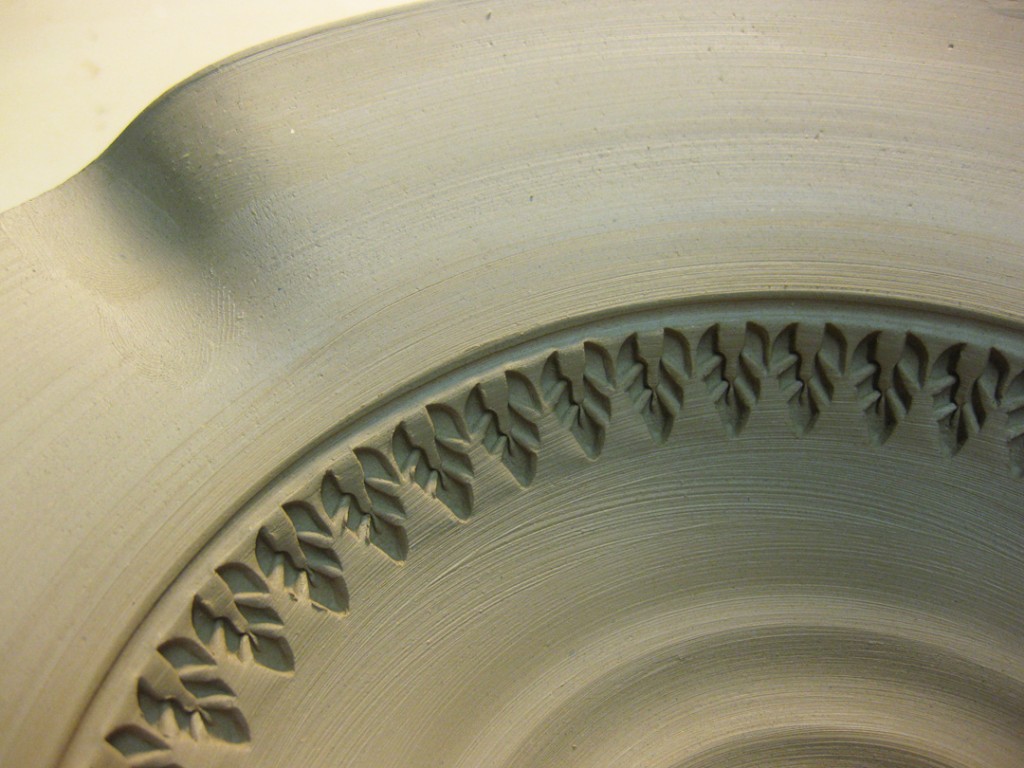
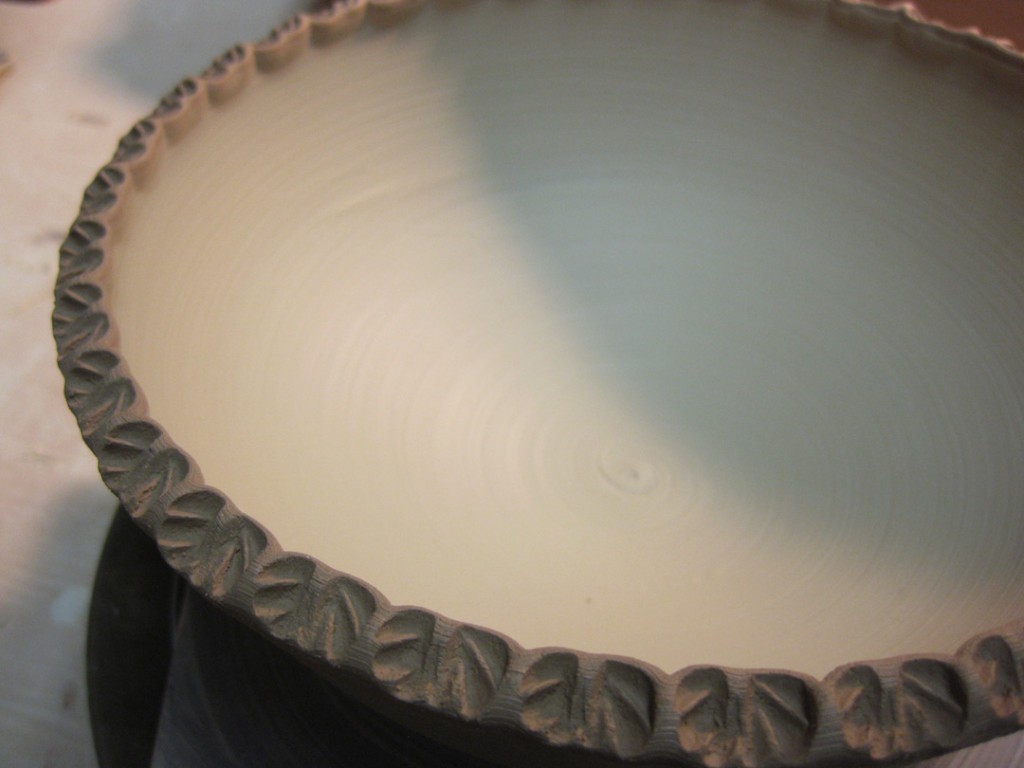
This third bowl had a simple, solid layer of white slip inside. Kinda plain & boring.
But a quick textured rim makes all the difference. One stamp… again, and again, and again!
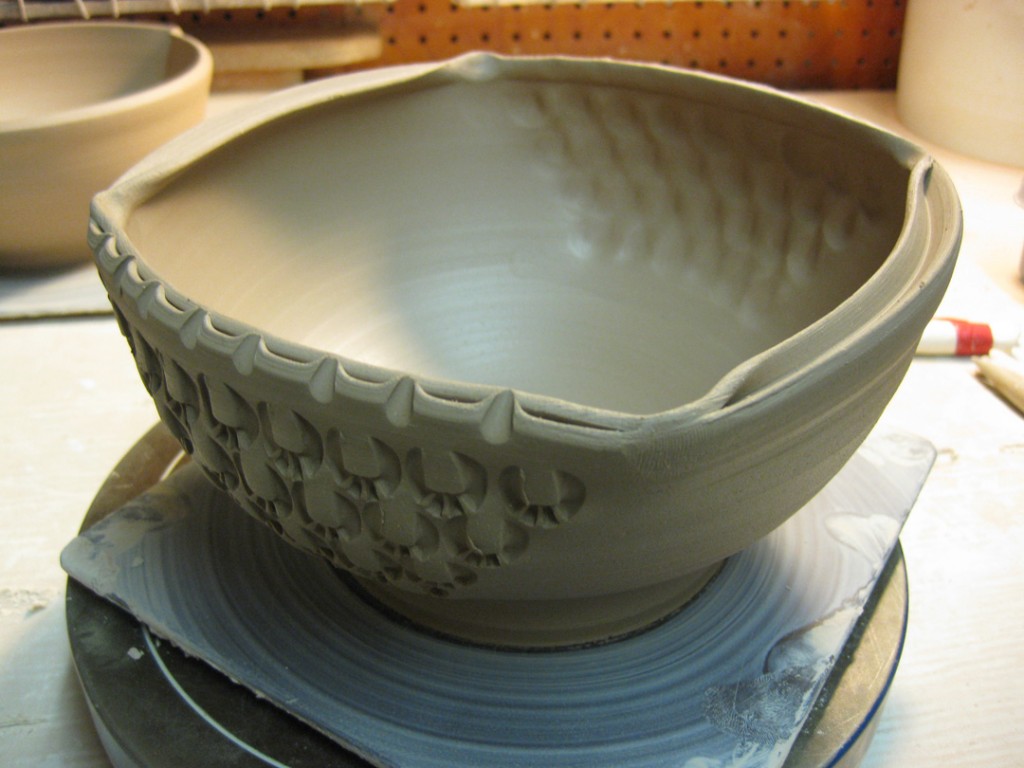
One of my students asked about a “squared-off” bowl form, so I took the split rim and
literally pulled out the corners to create a square-ish bowl. But it seemed a little predictable.
So I decided to highlight two opposing sides as a “canvas” for some fun stamping,
and changed the split rim on those same sides!
With a wider flanged rim, I originally though I was going to stamp the whole thing.
But then I thought “hey, I do that all the time.” So I forced myself to try something a
little different. Nice… but I’m not quite sure if I like it or not?

So there it is, the demo behind the demo. The “magic” that occurs in my studio after class
ends. The bowls are still wrapped overnight and waiting to be trimmed and finished. I may
actually add some more “fun” to the bowls before they done and ready for the bisque kiln.

Part One of tonight’s class demo was about making bowls on purpose…
not a cylinder gone bad. Part Two was how to quickly turn 10 “matching” bowls
into 10 “unique” bowls with just a few quick tricks!
So I did the basic bowl demo to show my students how to make a bowl “the right way.”
Then, as they went back to their wheels to make their own bowls, I quickly threw nine more
basic bowls. We regrouped for Part Two where I showed them fluting, flaring, slipping,
swirling, chattering and other fun tricks! My main goal for the night is to get them over the
fear of playing with their clay. To show them that you can push it further, twist it, bend it,
shape it. That each piece doesn’t have to be so precious. That if you let yourself try a few
new things you might just make something special along the way. So go ahead…
play with your clay!!!


After the two-part bowl demo, we also did some slip painting, throwing off the hump,
throwing spouts and stamp making. It was a very busy class tonight. I kinda felt like
I had some making-up to do after missing the last two classes due to my extended
FIREFLY trip to Dover?!
After camp, I was back in the studio trying to get myself back into full production mode.
Gotta start somewhere… so why not start with my favorite form?! MUGS!!!


One bag of B-Clay… a stack of square bats… and a pile if wedged balls of clay. Ready to go!
About an hour of throwing with an hour of Olympic coverage, and I had two dozen cylinders
off the bats, wrapped up and put away for the night. Hoping to stamp them all tomorrow
in between camp & teaching my adult class!

Okay, so lets back it up a bit… here’s the story about my HGTV Journey.
From the very beginning when they contacted me… up to tonight’s big HGTV debut!
It all started with a quick e-mail from the show Producer Nicole. Apparently, the show’s
host, Meg Caswell, likes to feature a local Chicago artist in most of her HGTV room
renovations. After some Internet searching, she landed on my blog. They contacted
me and asked if I might be interested in taking on the project. They were looking for a
Chicago ceramic to help them by making custom, handmade kitchen cabinet knobs
for an upcoming kitchen remodeling episode.
Of course, my first response was “YES – of course!!!”
But then my second thought was about how much I dislike special orders & commissions.
I debated for about 30 seconds and then dove right in!
I sent Nicole back an e-mail with some questions trying to nail down specifics. My
biggest concern was the tight turn-around time to the filming date & the install deadline.
Making handmade kitchen cabinet hardware is not a quick process. No clay piece is.
It not only takes time to actually form the pieces, but more time to dry, fire, stain,
fire again and attach the hardware pieces. I wanted to make sure I would be able meet
their deadlines before I accepted the challenge. Once I committed to Nicole…
the excitement kicked in!
With a couple e-mails back and forth, and some some input from Meg along the way,
Nicole and I pretty much nailed down what we were going to make… and Meg agreed!
They sent me the “style board” for the project which show the basic “vibe” or “mood”
of the new room design.

She explained “he” is Greek, and”she” is African-American. That there were using a lot of
Mediterranean inspired colors and textures, and they thought that the shapes and textures
of my Relic Rattles might give it a bit more of a Contemporary Tribal look.
As the filming day got closer, my studio got cleaner!
The night before, I cleaned my studio cleaner than it ever has been. Staging everything for
filming – facing everything, spacing everything, trying to make everything look good for TV.
It was an early morning when the filming day finally came round. And hot.
Filming was one of those surprisingly hot & steamy March days in Chicago. So early in the
year that no one had turned the air conditioning on yet. It wasn’t too bad until they turned
on all of those studio light in my tiny little space! Then it got really sweaty. And I was
positive that I was sweating right through my shirt!
So we filmed in my studio for a couple hours. Meg and I worked together to determine
what shapes & patterns we were making for the kitchen. Then it was my chance to get her
dirty and play in the clay. I showed her how I was going to make them, and she gave it at try.
I think she realized that it’s not quite as easy as she thought.
We also filmed some other footage of me working during different stages of the process.
It was funny to watch them filming in my small little studio. Trying to move around with
all of their cameras, lighting, crew, lighting, etc. And to be on the other side of the camera
with a wireless microphone recording every word… and the makeup artist right there
trying to make us look our best – and like we weren’t sweating it all off immediately!
The kitchen cabinet hardware we decided upon was a variation of the shapes I make
as Relic Rattles. They stared as textured little pods just for fun. You know how much
I love kiln-filler! So these silly, little “pods” have now taken on many different shapes
& forms… and now… they’ve become TV Stars too!!!
And now for the process…
To make the forms, I start with thin slabs of clay that I pull by hand. No slab roller.
No rolling pin. Just my hands, gravity and inertia. When I get the clay to a good thickness,
I press in the textures. The shapes are then cut out and cleaned up a bit. With a lot of
scoring & slipping, I form the shapes and keep the air trapped inside. Sometimes the “pods”
seem to flatten out a bit… so I literally “blow them up” like a balloon to keep them puffed up.
After it’s sealed, I poke a small hole with my needle tool, put it up to my lips and blow into
the clay. You can feel the “bulging” happen, then I press it together with my lips to trap
the air inside. Some last minute detailing on the edges… and Stage One is done. Oh yeah…
did I mention that you need to poke a tiny little hole somewhere so it doesn’t “explode”
as it shrinks during the drying process?


Once the pieces were almost dry, I made holes through one side where the hardware
was going to be added later. I had to guess how big to make the hole so that the shrinkage
rate wouldn’t make it too small for the hardware. Once they were punched, it was time
to dry. And then the first bisque kiln firing to cone 06.

Once bisqued, I painted them all with a coat of watered down iron oxide.


Once they were all covered, I gently wiped off the top surface with a damp sponge.
The goal is to clean off the top surface, but still leave good amount inside each of the stamped
impressions. The fun part is if you wipe too much out, you can always add some more
back in and do it again.

After wiping them all down, they were ready for the second firing – this time to cone 10.
Which is approximately 2350 degrees in a gas reduction kiln.


The high temperature firing makes them incredibly hard and vitrified. The clay takes on
a much darker color, and the remaining iron oxide was gives a nice warm hue on the surface
and a darker contrast line in the grooves. Luckily, I guessed well with the hole diameter
and the size is perfect even after two rounds of shinkage in the firings.

Then I attached the knob hardware to each piece. I epoxyed the metal hardware into place
through the back and attaching to the backside of the front piece. Once that layer of epoxy
had dried, I filled it in with a few more layers to make sire it was quite strong.

So that’s that. The work was done. The pieces fired. The hardware attached.
The show Producer stopped by my studio to pick them up so they could install them.
Mission accomplished. Now the waiting game to find out when it will air on TV.
And then… oh, but wait there’s more…
As if hours of footage in my studio weren’t enough… they called me back.
The show Producer asked if I would be available to come to the client’s home to film
some footage of me working with Meg to install the knobs onto their new cabinetry.
Of course I said yes… more TV time?!… I’m in!!!
So I showed up at the house to meet up with the film crew. I got a quick tour of the kitchen
as they were setting up the lighting and staging the kitchen for “The Big Reveal.” After a
quick trip to the make-up artist, and then to the sound guy to wire me up with a microphone,
I was finally ready for my time with Meg in the kitchen… as we installed a few knobs!
Sadly, that portion didn’t quite make it onto the screen. I’m sure it’s sitting on the
cutting room floor somewhere still.
But it was great to see how my custom cabinetry knobs & handles looked in the kitchen!
It was weird to finally see the “style board” come to life with MY handiwork in place.
The square knobs were installed on the kitchen cabinets. And the horn shapes were installed
horizontally onto the drawers. They turned out to be a beautiful compliment with the dark
ebony stained woodwork.


So funny to see how the kitchen came to life as we installed more knobs around the kitchen.


Of course I was a big fan of the glass tiles… very aquatic, very Mediterranean.
And the copper sink which worked so well with some of the “oranger” tones in the knobs.


While I was there waiting for filming, in between takes and while they were styling everything,
I did take a little “photo tour” of the kitchen to share with those who may have missed the show.


Oh yeah, and I “just happened” to bring a couple mugs with me as a gift to the homeowners!
Isn’t it great how they “just happened” to match the color scheme of the kitchen SO well?!
No mere coincidence I might say... My kitchen “house-warming gift” to them.

So that’s my story. By now I hope you’ve watched my “big debut” on HGTV…
and I hope that you don’t think I made too big of a fool of myself?!!!
It’s all in the editing…
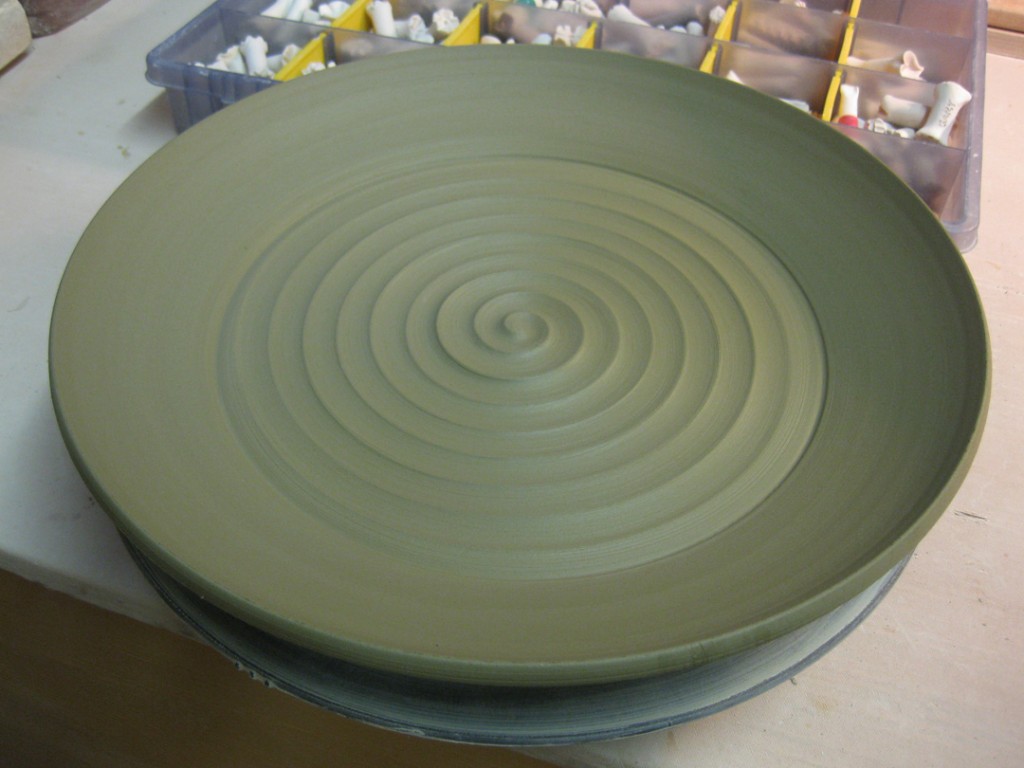
Last night’s class demonstration was plates & platters. My beginners are progressing
quite nicely… cylinders, bowls, mugs… and now plates! I explained to them that plates
are fairly easy to throw, and that the drying & trimming of them is the hard part.
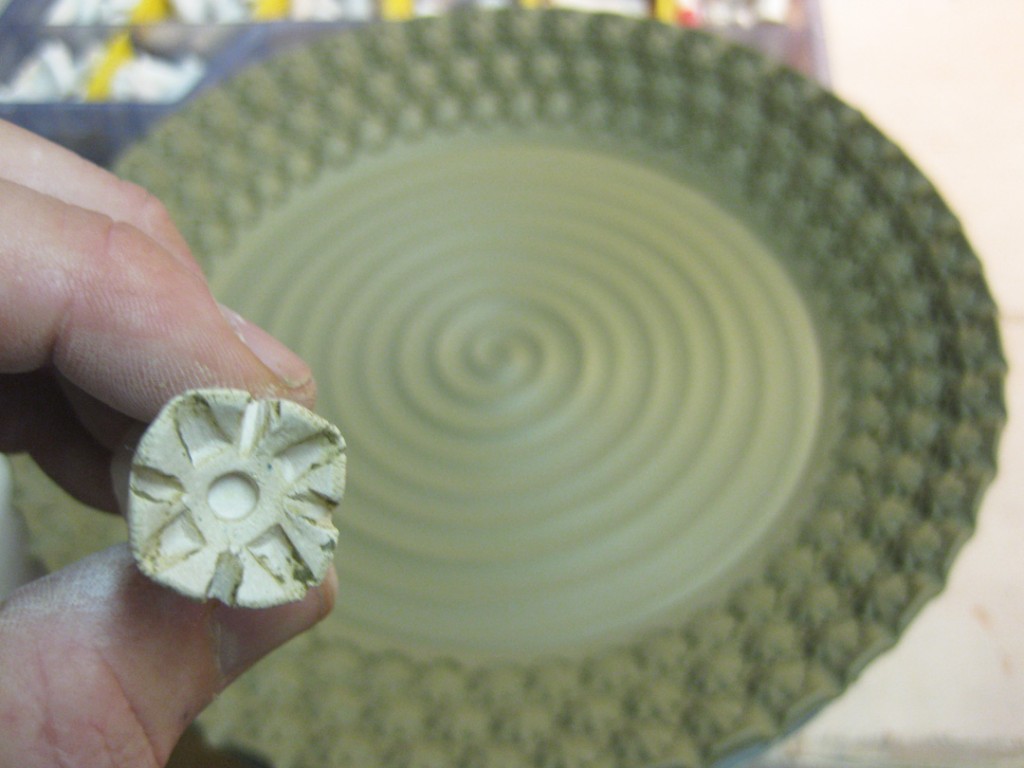
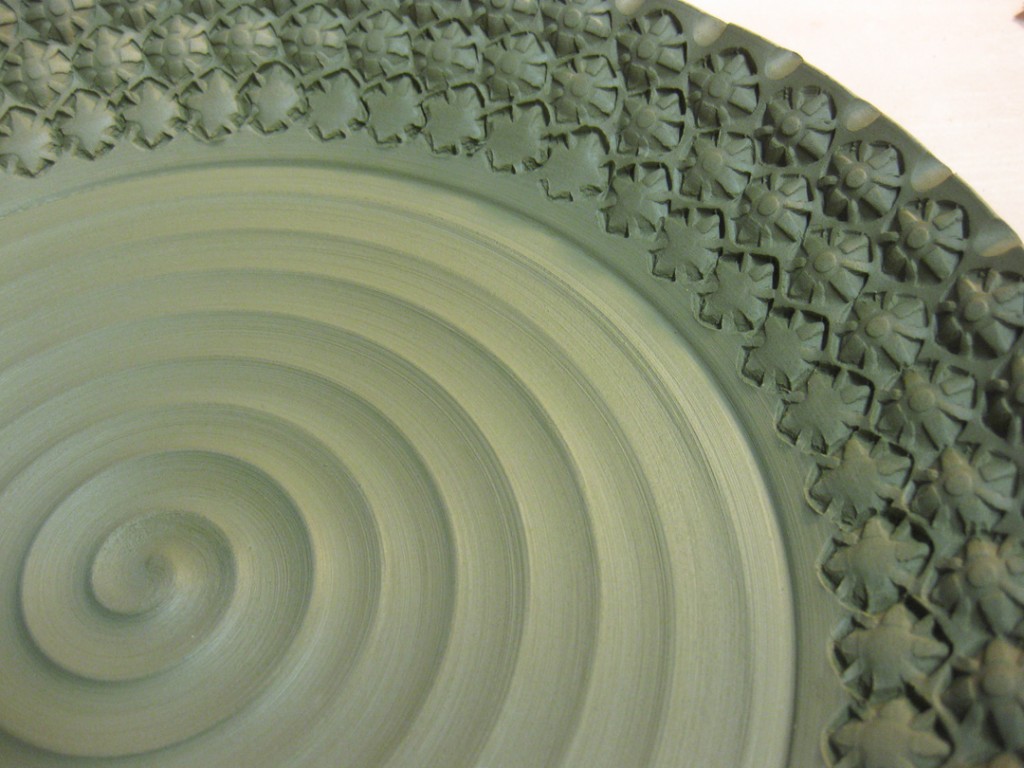
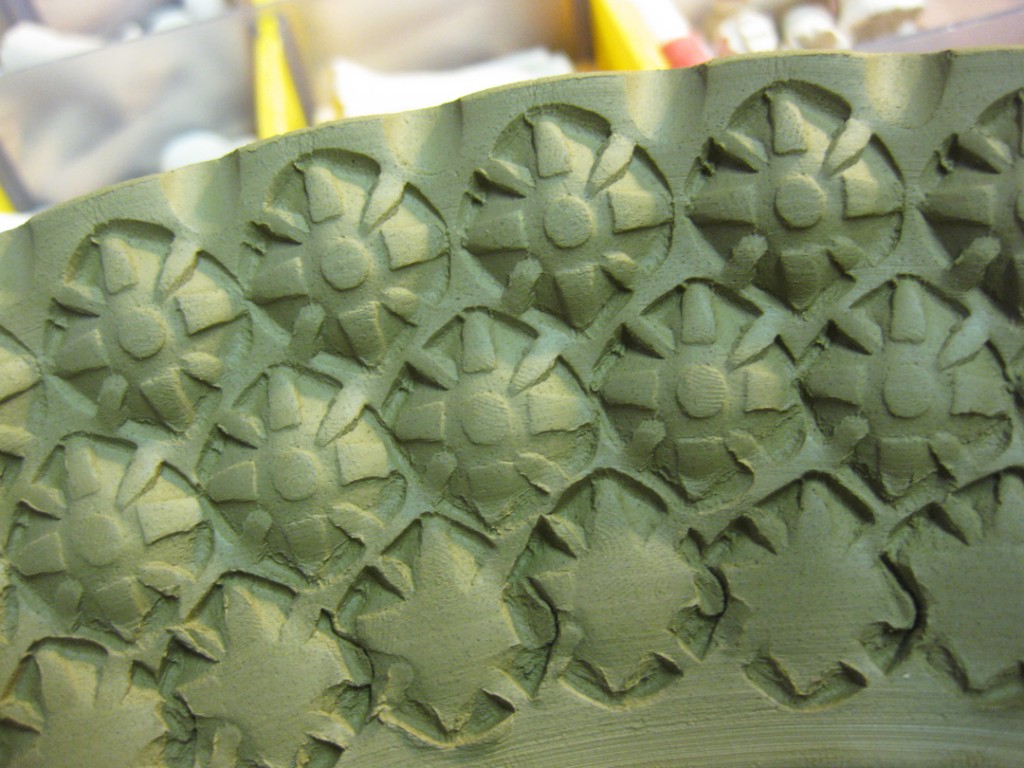
In class I threw two plates. But of course, I can’t leave a plate plain…
so tonight I stamped them up!
The class demo four-pound plate…

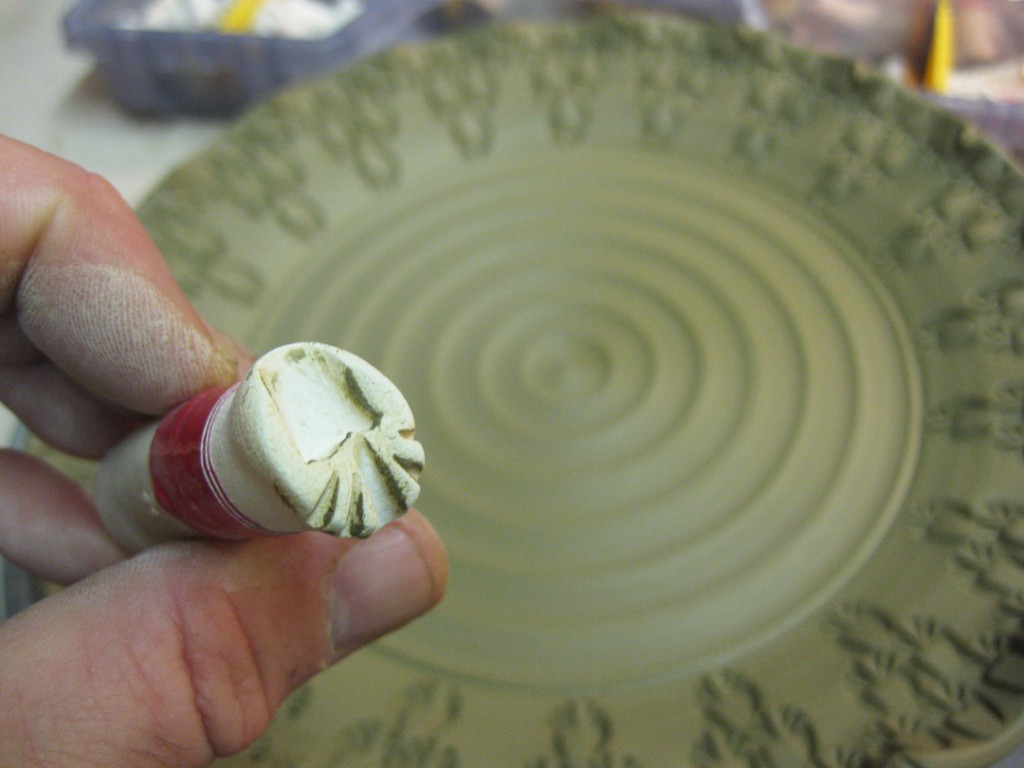
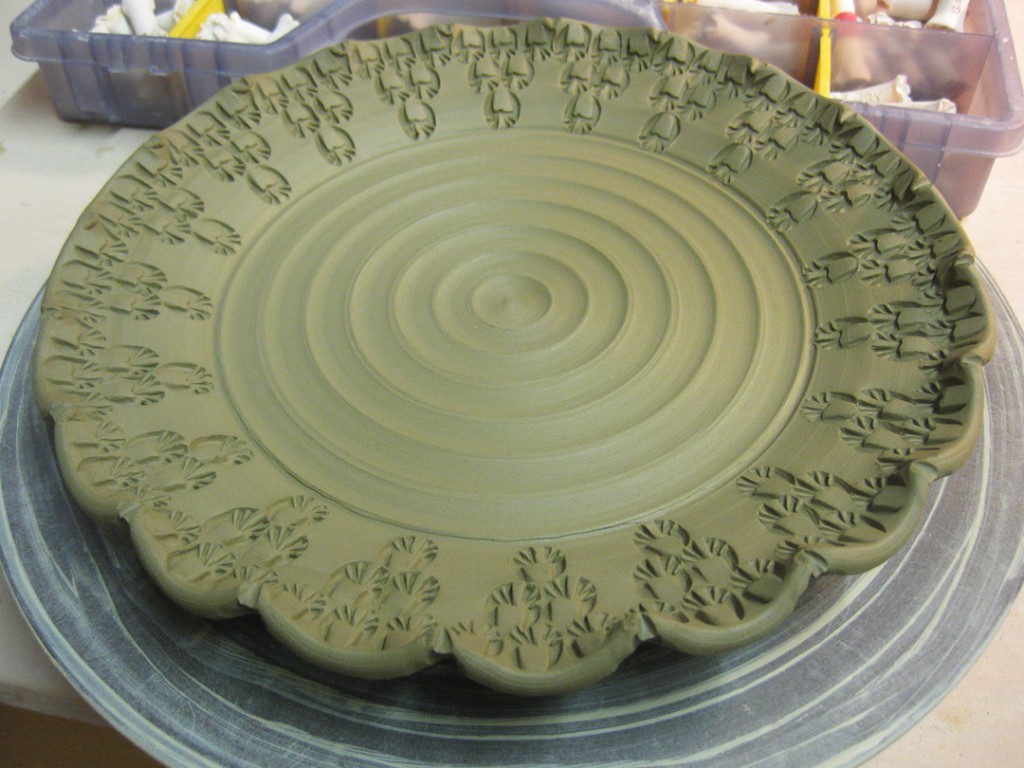
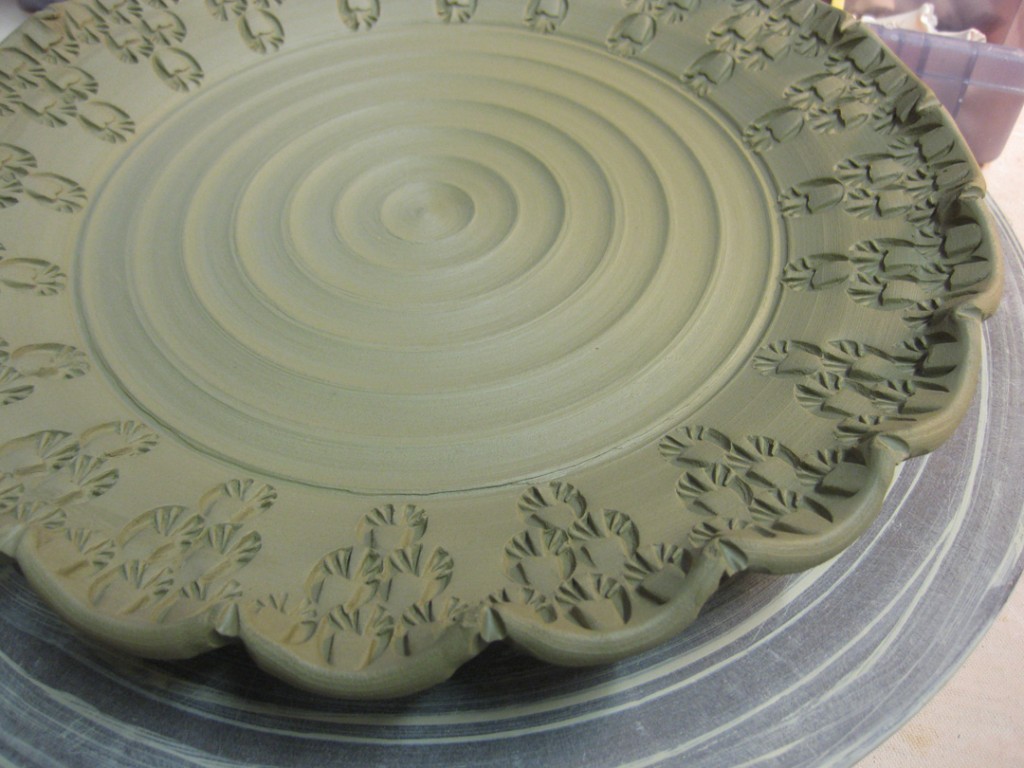
And now for the six-pound platter…

Plus, we have new clay at Lillstreet Art Center. For years we’ve had the same selections
of stoneware, B-Clay and porcelain. We’re now trying something new from Continental Clay.
It’s Stoneware with Ochre… which from what we’ve seen turns out to be a dark chocolate
brown after firing in a cone 10 reduction kiln. This is my first time trying the new clay…
hence the slight “greenish” hue in the clay. It was fun to throw with… although the color
was a little off-putting.
After three days of glazing & wadding, I finally loaded my kiln tonight.
And it might be my tightest packed kiln yet?! So now it’s time for a couple hours
of sleep, a quick shower and then it’s pack to the studio to get the firing started!
But first… a few photos…
Here’s my studio cart filled to the brim with glazed & wadded pots.
Thanks again to my Dad for making me a wonderful cart that works so well.
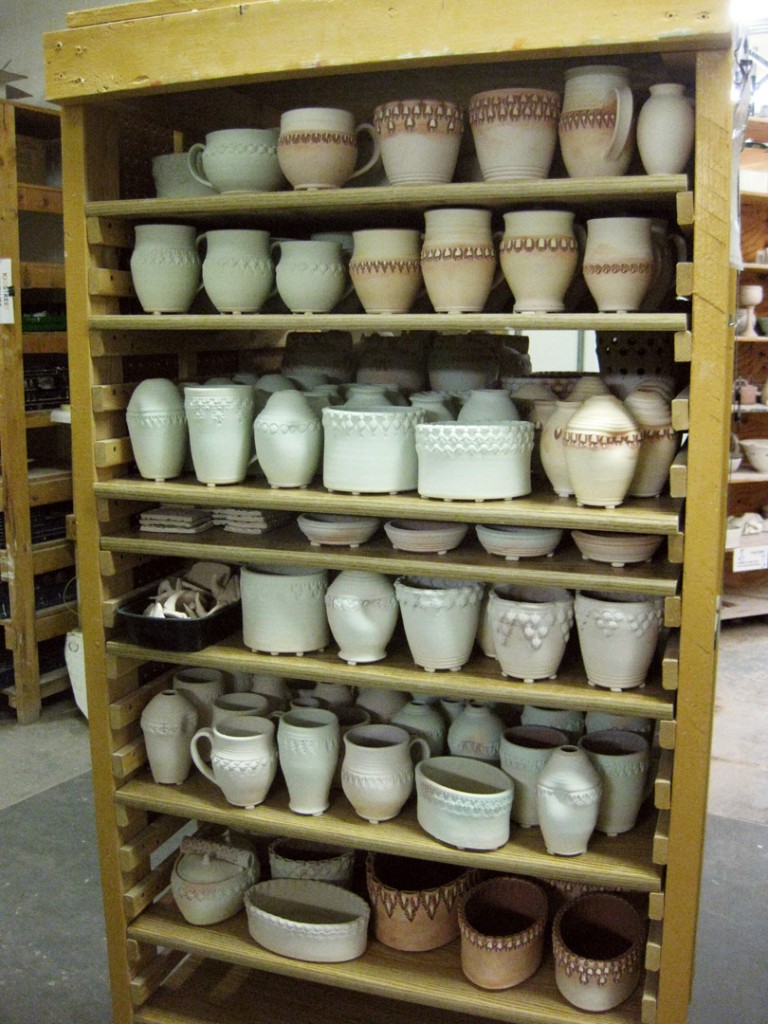
And here’s the Lillstreet soda kiln empty… just waiting to be filled up!
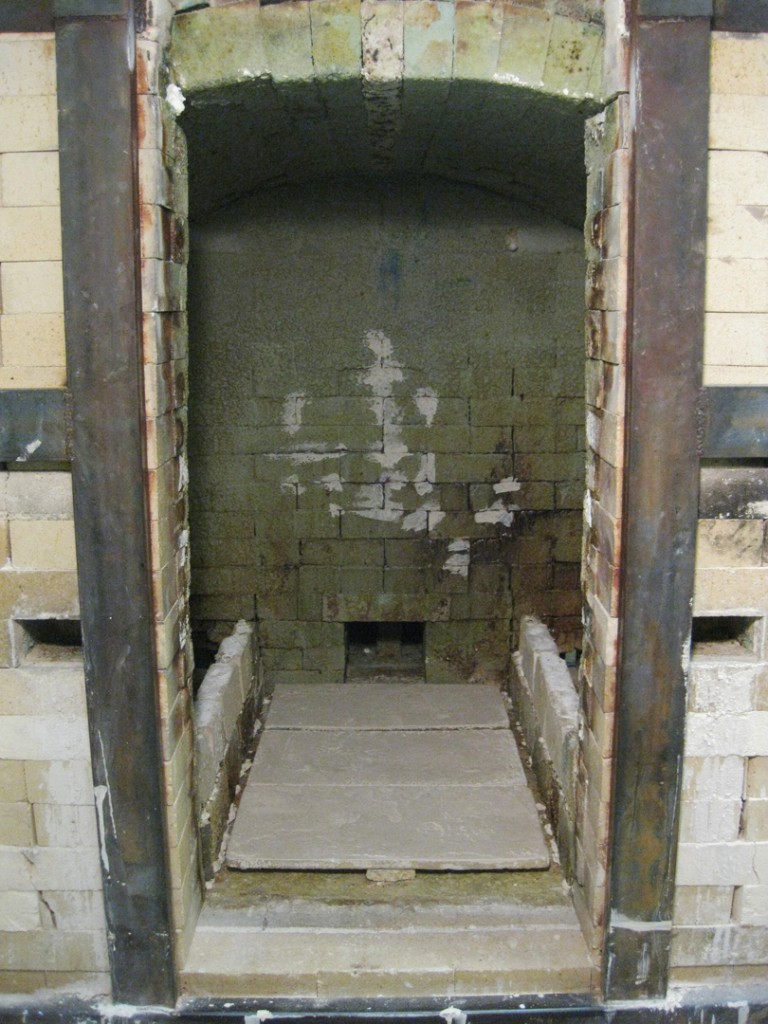
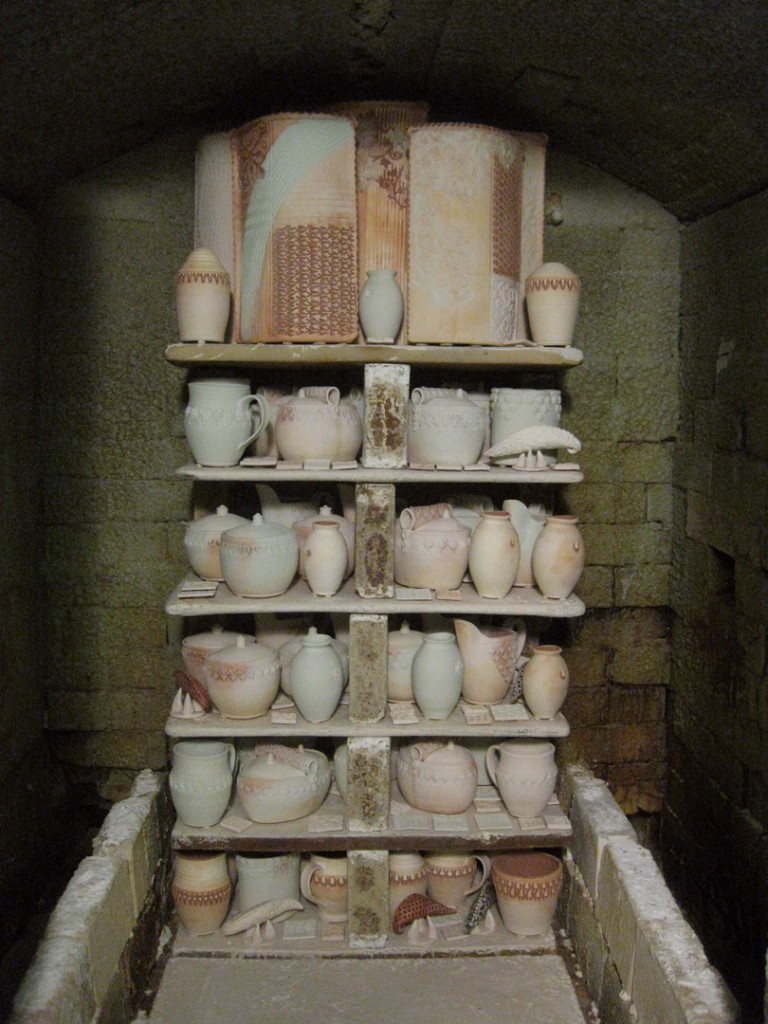
After about an hour of loading, the back stack was finished. I have a lot of work, and wanted
to get the most bang for my buck, so I packed the kiln pretty darn tight. Barely any kiln shelf
is showing as every surface has a pot or a tile covering it! I’m pretty pleased with myself…
notice how close to the arch my tall textured slab vases fit right in there!!! Sweet…
Part way through the front stack, I realized I didn’t have quite enough large pieces glazed.
So I went back up to my studio to glaze a couple more oval casseroles and a few serving
bowls. Then it was back down to finish off the loading!

I always find the front stack (of two shelves deep) to be a little tougher than the back stack.
I think it’s because the back stack is smaller and earlier on… so you still have a lot of sizes
to choose from and feel like you have a LOT of room to fill still. When you get to the front
stack, reality starts to set in and you start to realize you might not be able to squeeze
everything in?! Along the way, you start to get creative. I decided to split the two-shelves
into two separate stacks. And when I got to very end, I ran out of tall pieces, so I “floated”
a kiln shelf instead of leaving any dead air space at the top.
So, close to five hours later, my kiln was loaded… at long last.
Tonight’s glazing marathon was quite productive…
and yet I’m expecting another even longer marathon tomorrow night!
Still a lot of bisque waiting on my shelves?!!! So much to do still…

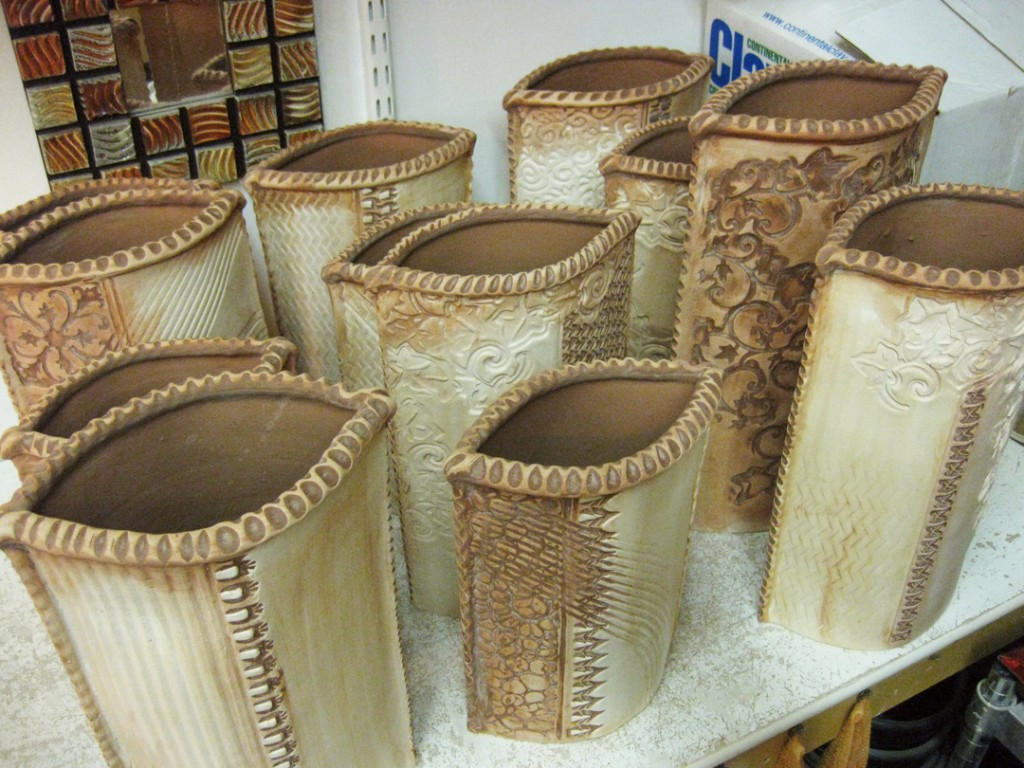
After driving back into the City from Midway Airport, I had to swing past
the studio to unload my latest bisque kiln. And everything looked good.
Not a single “explosion” from my “still-too-damp-to-fire-but-going-in-anyway”
textured slab vases! I knew that they had to fire while I was away in Delaware
if there was to be any chance of getting them into Friday’s kiln loading!

Back to back kilns… So tonight I unloaded my last bisque kiln, and immediately
re-loaded it with another batch of greenware. This may not be my finest packed
kiln ever, but it was more about getting all of my textured slab vases into the kiln!
Kiln Layer #1 – A collection of mugs, bowls, ovals and some more “kiln filler”
that didn’t quite make it into my last kiln!

Kiln Layer #2 – A large porcelain platter by my studio neighbor Karen Patinkin.
Without this layer, I would have had an extra 3-inches at the top. And you know how
I hate to leave extra space in my kilns! So I slipped in Karen’s platter to fill the space!

Kiln Layer #3 – With a collection of textured slab vases… with the newest, not-quite-dry-yet
ones upside down so the moisture doesn’t get trapped. Somehow it make me feel better
knowing that damp bottoms have space to breath! Plus, a few glazed terra cotta planters
from my cousin’s visit from Minnesota with his kids! They’ll be excited to finally get their
projects back so they can start growing their gardens!

Kiln Layer #4 – A couple more textured slab vases – but these were too tall to fit in.
So I laid them down sideways! Plus, a couple more terra cotta planters!

It’s all loaded tonight… but I felt it might be a good idea to let it sit overnight to give
some of the pieces a chance to dry a bit more. So I’ll turn it on tomorrow with a little
pre-heat time and fire it slowly.
a
|
Gary Jackson: Fire When Ready Pottery
Lillstreet Studios ∙ 4401 North Ravenswood, Chicago, Illinois 60640 ∙ 773-307-8664 gary@firewhenreadypottery.com |