07.06.2013
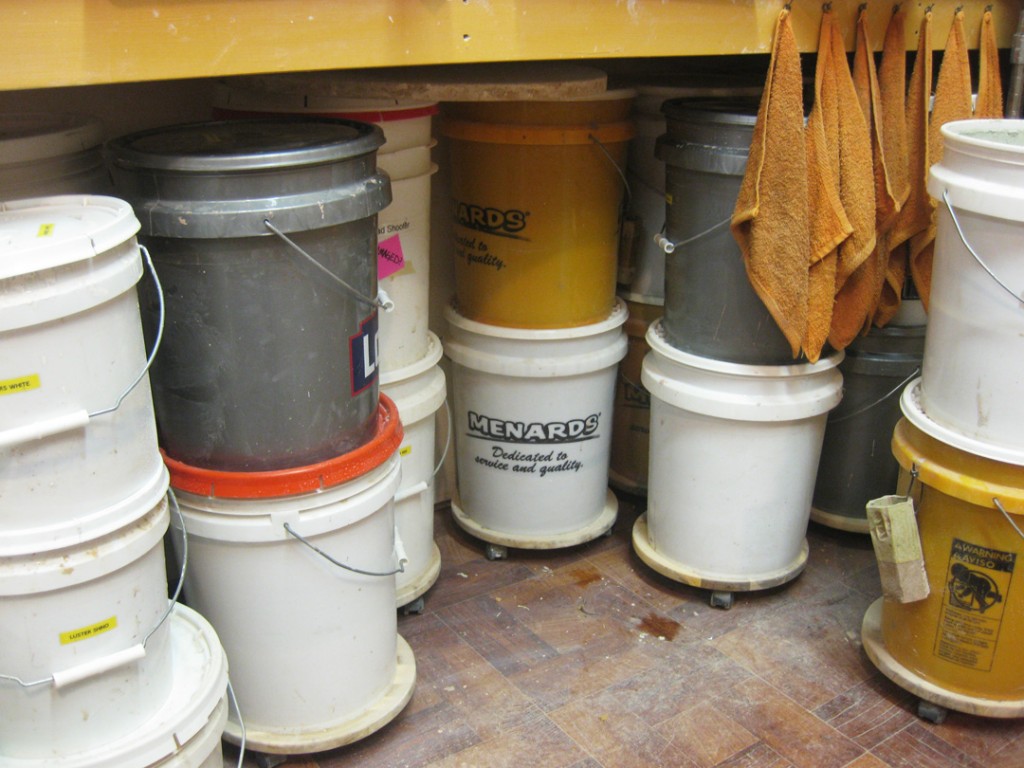
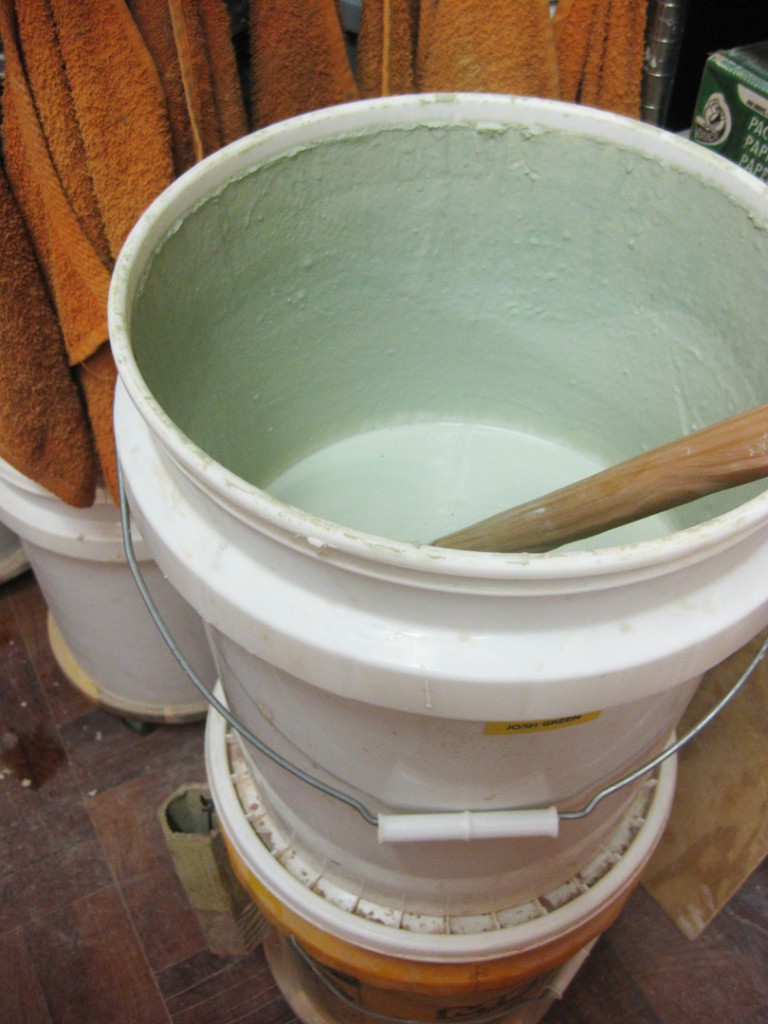
As much as I hate glazing, you’ve got to start somewhere. So I’m getting ready to pull out the buckets, stir ’em up and start the dipping! Let the glazing begin…
Gary Jackson: Fire When Ready Pottery
A Chicago potter’s somewhat slanted view of clay & play |
As much as I hate glazing, you’ve got to start somewhere. So I’m getting ready to pull out the buckets, stir ’em up and start the dipping! Let the glazing begin…
This morning I’m finishing up some new wheelthrown & stamped ikebana vases for this weekend’s art fair in Hinsdale. Just in time for a couple stems of Spring flowers to make a special splash of color on your table!


My morning ride was interrupted by rain. No sunrise. No fun. Just a few miles before I had to turn around. So now I’m home tackling a big box of tiles getting ready to assemble a few more “ClayQuilts” for this weekend’s art fair. It takes a lot of time & planning to make them look so “random”!!! Who knew???
I’m trying to finish up a few loose ends. Tonight I matched up the new salt & pepper shakers with their terra cotta trays. Glad that they all fit together… even though I was more than a little concerned as I kept watching the trays shrink. I was afraid they were going to end up too small. But no… they worked out perfect. And now they’re perfectly matched!!!


I know it’s a little tough to determine scale in these photos. So this should help…


There’s a limited supply of these… headed out the door tomorrow to the Schaumburg Prairie Arts Festival. Not sure how long they’ll last…

I also found a box full of fortune cookies waiting for me when I got into the studio. My friend Marian had fired them in her cone 10 kiln for me. I love making kiln filler… and I’m glad I could help fill someone else’s kiln too!!! And a nice surprise to find them done. How fortunate.
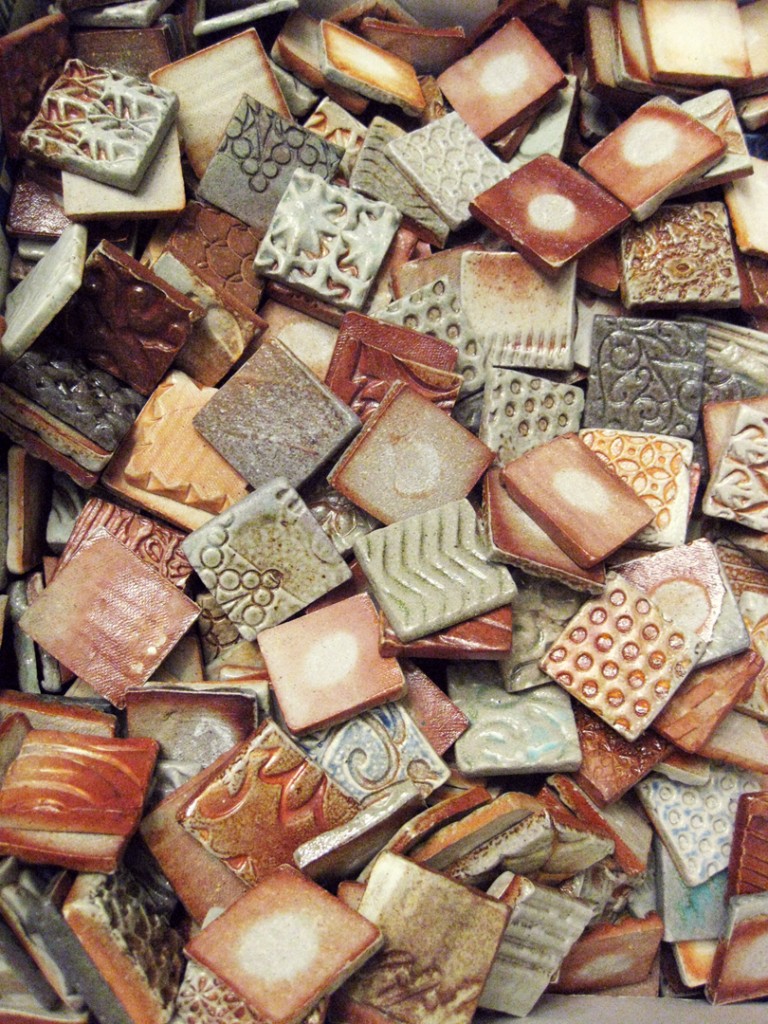
I unloaded my latest electric kiln last night and got out these cute little terra cotta trays. They’re small & textured… ready to be matched-up with my new salt & pepper shakers!

Yep… made ’em in February.
You know, part of my monthly Holiday Ornament Challenge with Sarah Chapman.
Then it took almost three months to get them into a final soda kiln firing.
But I think they were worth the wait.

Now I just need to add wire rings to hang them from. Here’s a few sneak peeks…


While my soda kiln was cooling today, I took a chance to make some terra cotta planters & trays. I figure I’ve got a few hours today to make things, and then a couple days to dry & fire them before they’re ready for the Schaumburg Prairie Arts Festival this next weekend. Gotta love a good once-fired terra cotta project!!!!

And some small terra cotta trays for my new salt & pepper shakers. I just hope they fit?! I measured, but these look a little smaller than I expected? And now they’re going to shrink when they’re fired?… uh oh…


An empty kiln holds such potential. Ready to be stacked layer by layer, shelf by shelf.
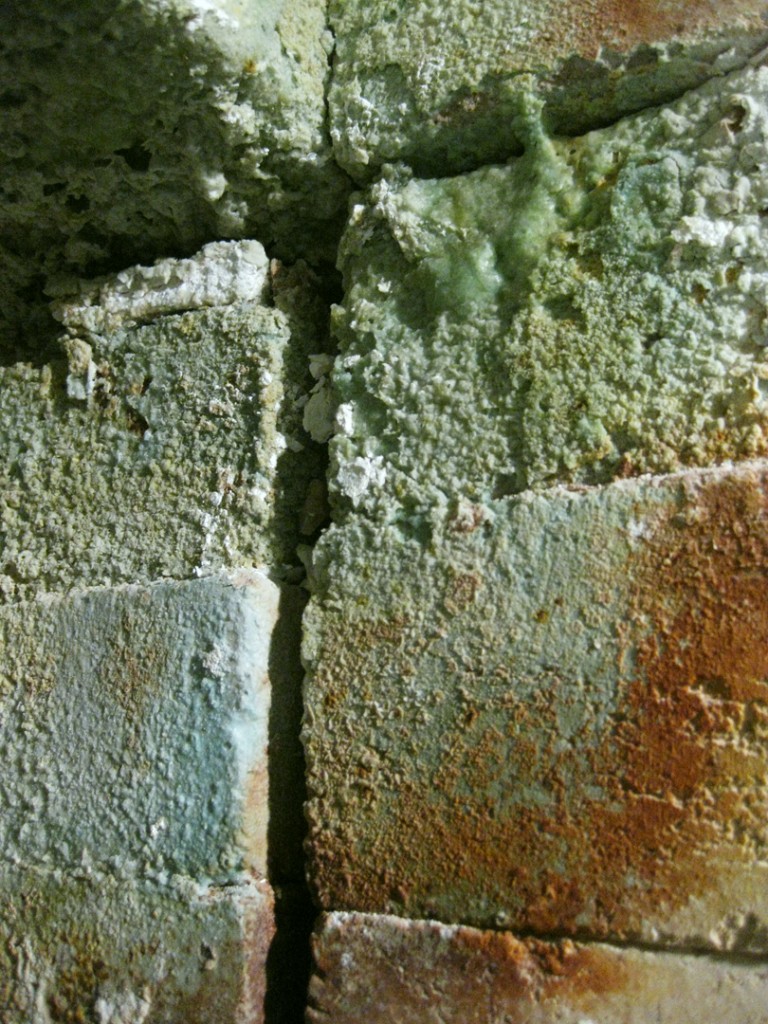
Of course you need to take a second or two to admire the kiln. To appreciate the colors and crustiness of the bricks. Over the course of many firings, the soda build-up changes colors and “eats-away” at some of the bricks. So it’s actually bad for the kiln, but kind cool to look at. Except for the arch of the kiln.. which has definitely seen better days. Remember the definition of an arch… well it generally refers to a curve somewhere. Sadly, the arch of our soda kiln doesn’t look too curved any more?! Uh oh… and yes, the next picture is the top “curve” of the arch… and I use that term loosely…


So I start with loading the back stack which is just one shelf deep.

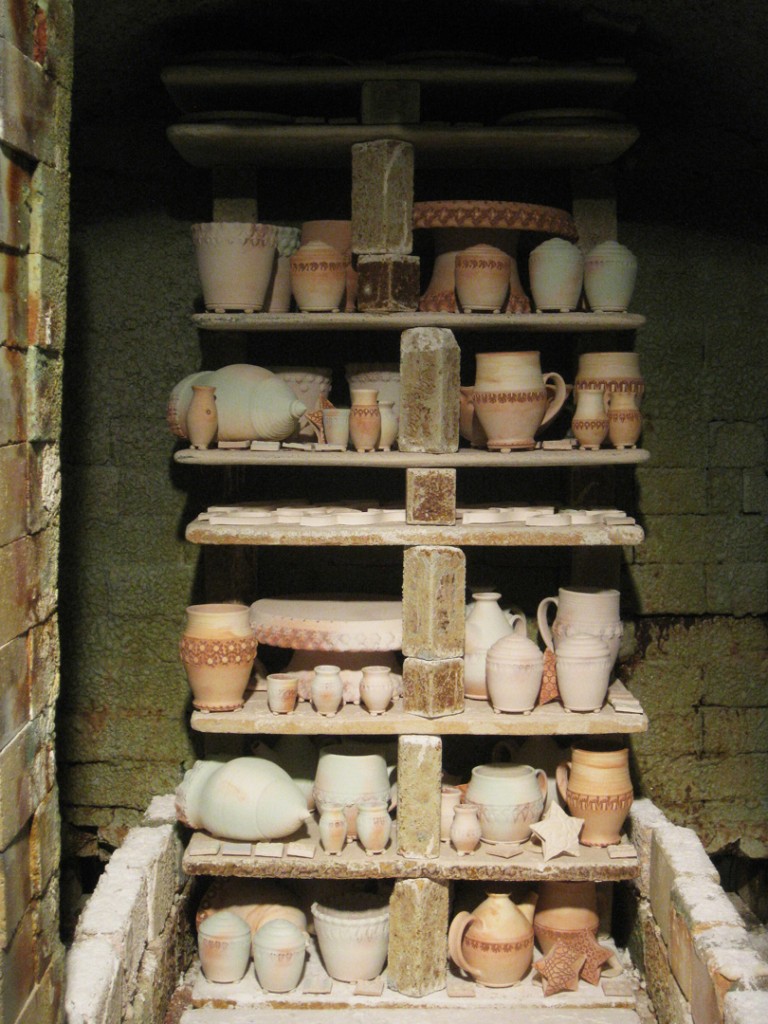
Once the back stack is done, you can start the front stack which is two shelves deep. At this point it’s always a delicate balance of packing as many pieces into the kiln as possible… versus keeping enough air space around the pieces so that there’s plenty of air movement during the firing to distribute the soda. I have a tendency to pack my soda kiln tighter than most. I want to get in as much as I can!


Once the kiln is all stacked & packed, it’s time to close up the front door… brick by brick.

Once the kiln is closed, I turn on the burners for about 15 minutes to get some heat in there to dry out everything overnight. So I came home for a very quick sleep so I can get back to it early tomorrow morning to get the kiln started. The earlier I start, the earlier I can finish firing!!!

So I’ve been glazing a lot. Getting ready for my upcoming soda kiln. Glazing. Cleaning. Wadding. Getting them all ready for their trip downstairs to the soda kiln. At this point, I have one side done of my rolling cart. It’s a LOT of the smaller pieces. The ones that seem to take so much more time. But the good side is, that once my rolling cart is full of glazed work, I know that it pretty much equals a full soda kiln load. So I have one side done… more glazing & wadding tomorrow!!!

And yes, I’ve once again added on my masking tape “safety belts.” As I need to roll my cart down the hallway, take it down the rickety freight elevator, and then roll i tall the way onto the kiln room, I have found that some pots like to “jump off” the cart if you’re not careful. So a few “safety belts” help keep everyone safely in place!
|
Gary Jackson: Fire When Ready Pottery
Lillstreet Studios ∙ 4401 North Ravenswood, Chicago, Illinois 60640 ∙ 773-307-8664 gary@firewhenreadypottery.com |