Fall is in the air, and I’m already planning & making pieces for my upcoming Holiday Home Show. And if I’m going to hit my annual goal of starting the show with 100 MUGS… I’ve got to make some more!!!
Mark your calendar now for my annual Holiday Home Show…
My Home For The Holidays Home Show – 10:00am-6:00pm
Saturday, November 22nd & Sunday, November 23rd
Always the weekend BEFORE Thanksgiving!
More details to come…
Tonight I did a LOT of stamping. Turning “plain” cylinders into stamped forms which will become mugs soon. So now they’ll sit under plastic wrap until I have time to trim them. Once they’re trimmed, they’ll get handles attached and some color slip accents. Then onto the kilns for bisquing & glazing…
So now they’re set aside, under wraps, drying up a bit… waiting to be trimmed.
So Bowl #1 of my class demo was the “plain” smooth one. The bowl that was the basis for all bowls to follow. Tonight I trimmed the bowls and had “trouble” leaving it plain. It’s so not me. So I figured a little carving here & there couldn’t hurt, right?
So I started to carve out a pattern using the rounded edge of my loop trimming tool. I started with a smaller one for the first couple rows, and then switched to a slightly larger one for the rest of the carving marks.
So much better than the “plain” bowl, right??? And thanks to Amy Higgason of Pigeon Road Pottery for the carving & detailing inspiration. She came and did a quickie workshop for my class a few session s ago and taught everyone this technique. So easy. So beautiful. So much better than a “plain” bowl.
And if a full coverage of loop tool carvings is good… why not add a knick of the sgraffito tool in the center of each one? Because you can… and I did. Thanks again Amy.
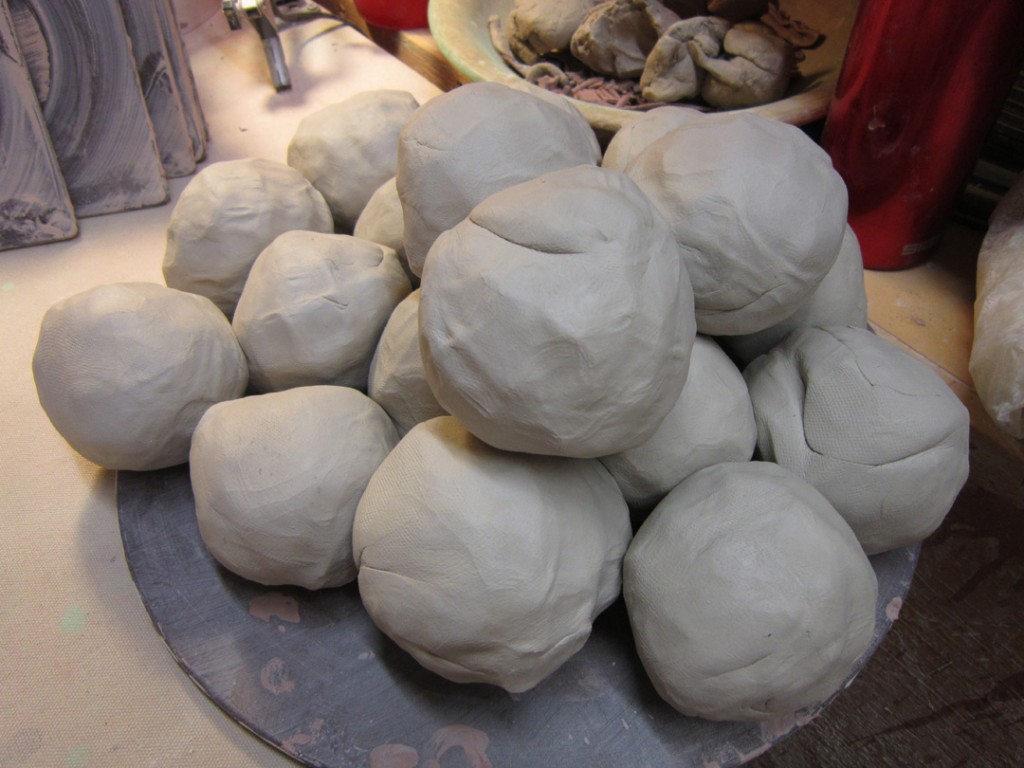
After detailing the bowls, I decided to start another batch of mugs. You know how I LOVE making mugs!!! They’re my favorite. And if I’m hoping to start the Holiday Home Show with a 100 mugs again this year… I’ve got some makin’ to do!!!
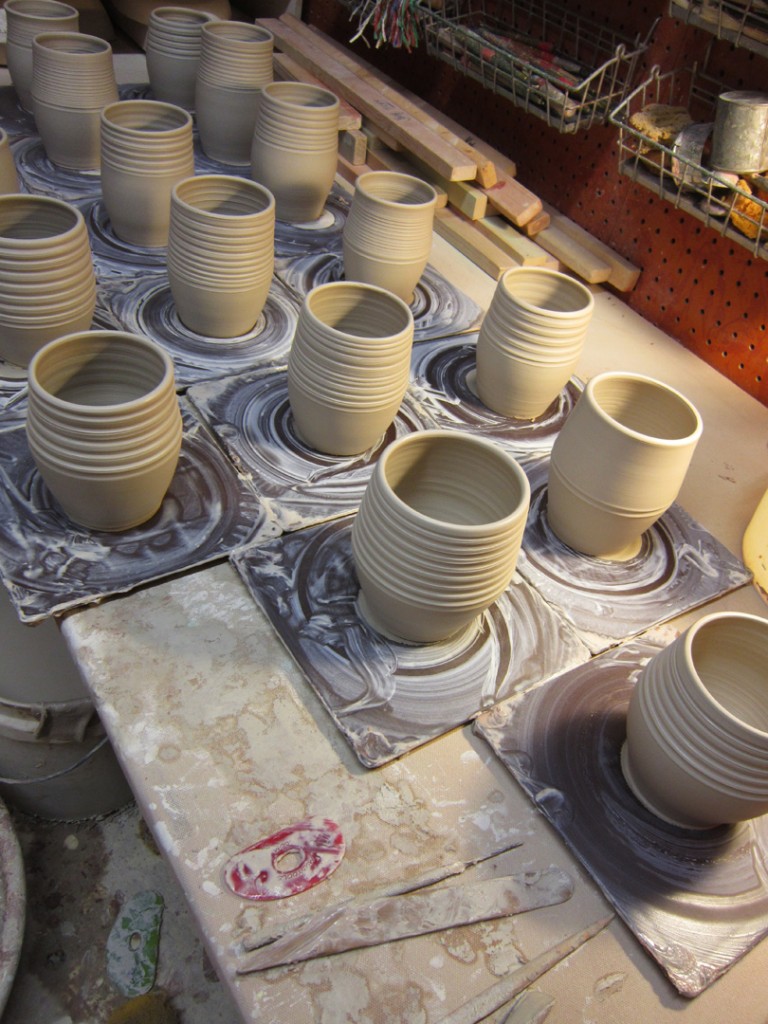
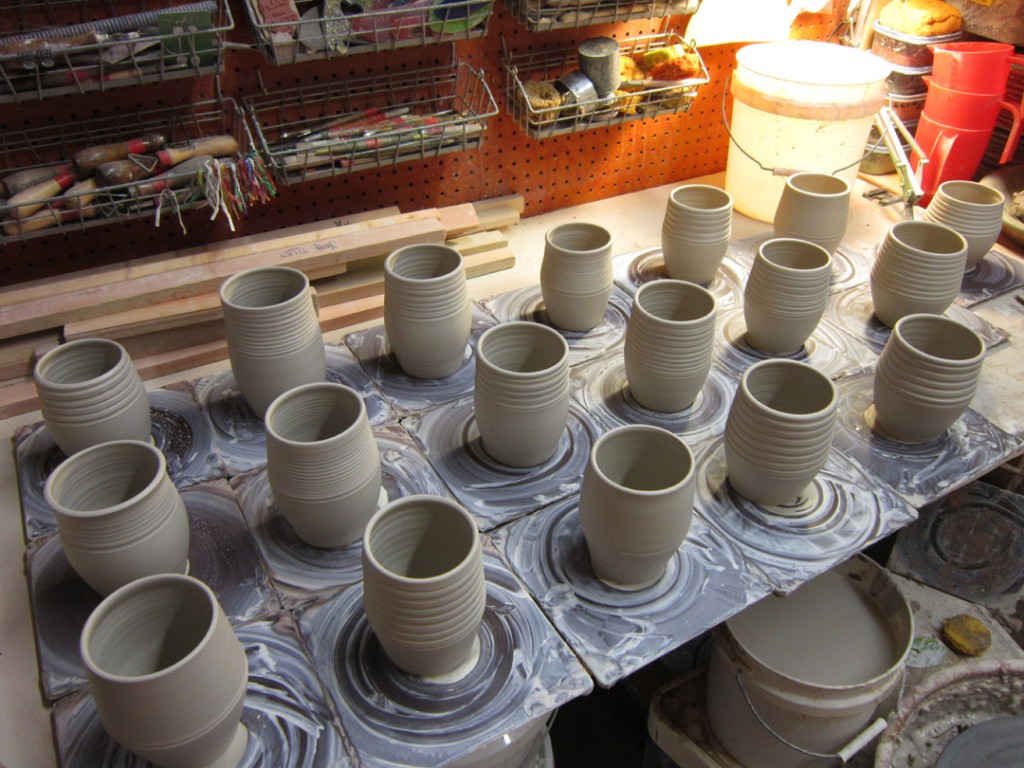
And from those balls of clay I made 18 cylinders. Each one a bit different.
Thrown on square bats – because I love throwing everything on a bat.
After they stiffened up a bit, I carefully removed them from the bats and placed them on a plastic ware board. A great way to condense space… and free up my bats for another round of something!!! They’ll all stay under wraps until I have time to stamp them all… maybe tomorrow???
Okay, so there’s been some talk about Ghouls of late.
Yes, I’ve been in the studio making this year’s addition to the holiday collection.
Said “Ghoul” is currently in the kiln trying to be fired for the second time. The “plan” is to debut the new Ghoul here once I know that the kiln actually worked. Here are the characters currently in the “Ghouls Collection” from previous years. There is a VERY limited quantity of some of these left before the get “retired.”
If my kiln ever gets fired, the newest addition will debut at “Art In The Barn”
and be first come, first served. No dibs. No saves.
Sure, I should be finishing the Cats… but I needed a little diversion.
And I also need some new necklaces for the kids at ART IN THE BARN. So I started by drawing a little pattern for a new Ghost necklace.
Then I set to cutting them out of a thin slab of porcelain. A little smoothing, blending, bending and animating… and a tray of ghostly necklace started to take shape!
Tonight after teaching my class, I had to stay late into the night putting final touches on the Black Cats. Detailing, cleaning, smoothing and adding feet & tails.
Each one with a personality of their own.
After finishing all two dozen, they’re sitting out overnight so they can dry up a bit. And then tomorrow night I need to do a LOT of painting with underglazes, add a layer of clear glaze and load them into the kiln. You gotta love single-fired, low fire terra cotta projects in an electric kiln.
And while