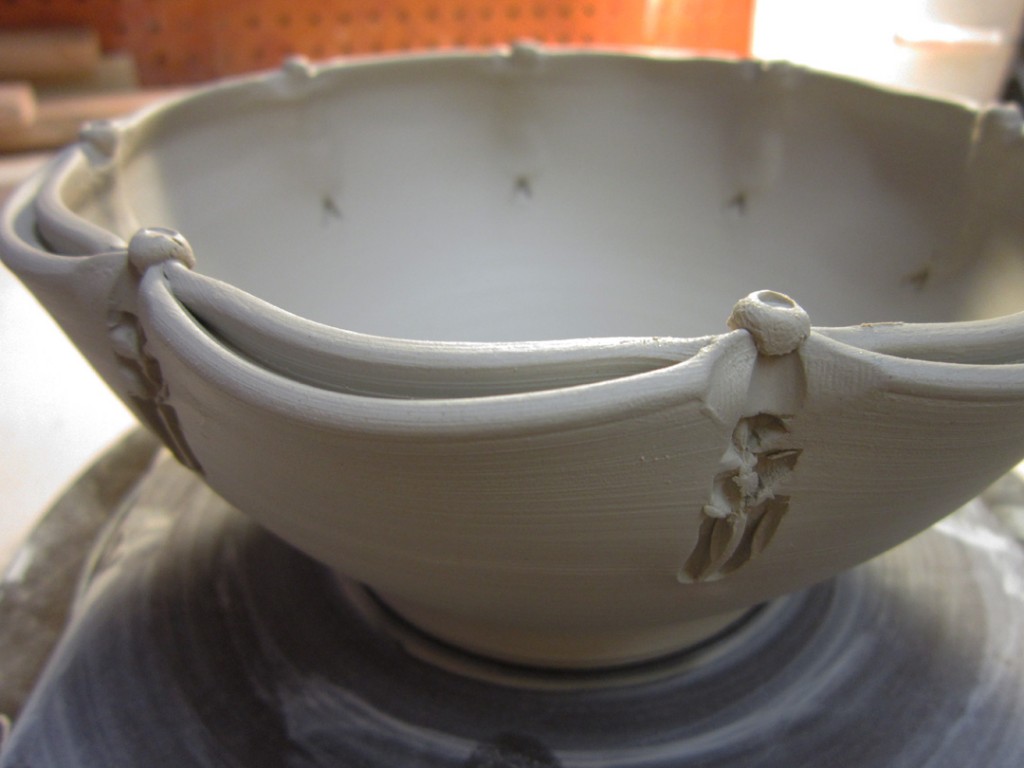
Tonight I washed the dust off of some old bisque pots.
They’ve been on my studio shelf a little bit too long… and needed some good dusting.
So I literally hosed them down at the sink. Now they’re drying overnight so I can glaze them this weekend. Some new pots getting ready for the Hinsdale Art Fair in two weeks!!!
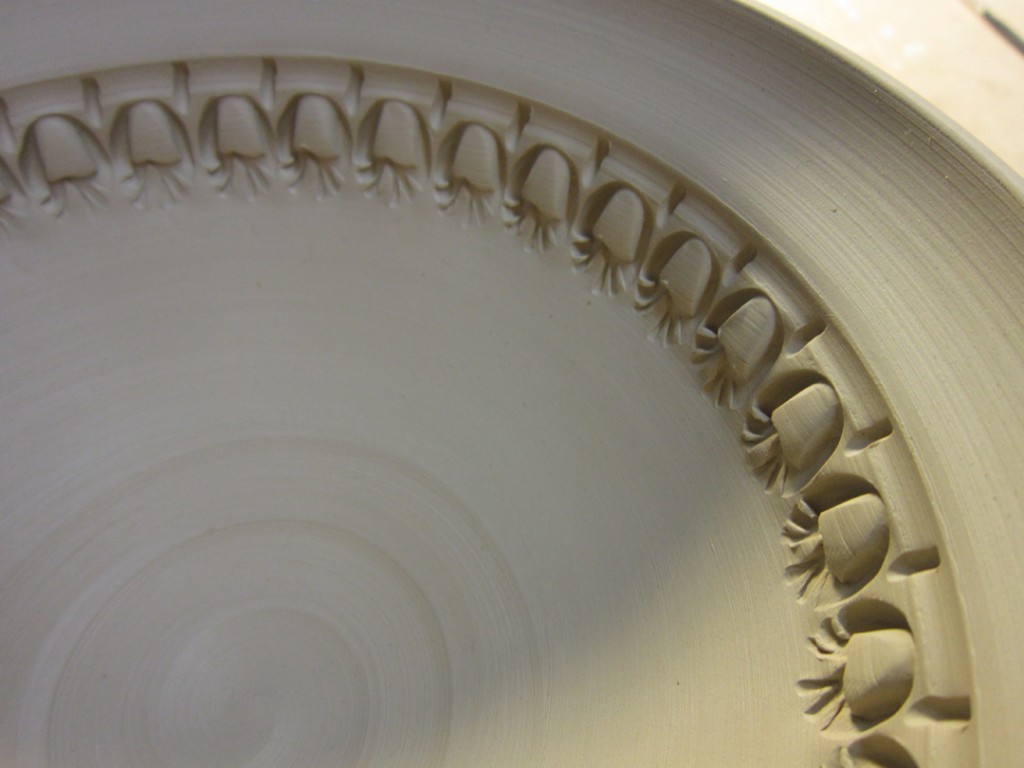
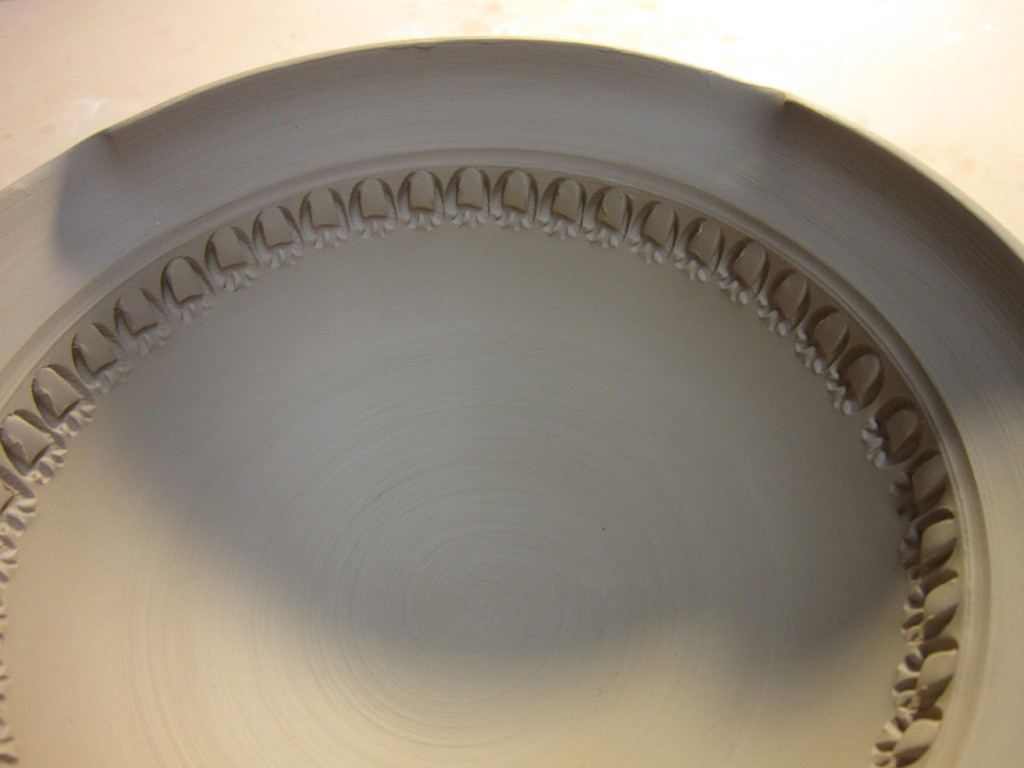
More stamping & trimming last night. Trying to finish up some of my last pieces before I need to switch to drying, firing, glazing & firing again!
Bowl #1 –
Bowl #2 –
Bowl #3 –
Bowl #4 –
Those who really pay attention to my blog might remember that there were six large bowls in this latest batch. Where are the other two one may ask?! Well… there’s a very god chance they might show up in a video format some time soon. Allegedly…
Tonight I tackled my newest batch of vases. I threw them on Sunday and they’ve been wrapped up since then. Tonight I stamped them for some great surface decoration. Some with “banded” patterns on the shoulder of the vase. Others with a full texture all the way down to the bottom.
Vase #1Â
Vase #2
Vase #3
Vase #4
Vase #5
Vase #6
Vase #7
Vase #8
So for now they’re stamped and wrapped.
Tomorrow I’ll do some trimming and adding of colored slip accents.
Tonight I continued working some decorative “details” onto the bowls that I threw for my class Tuesday night. As a quick reminder, we started the class demo with a tutorial on how to make a nice bowl “on purpose” instead of a cylinder gone bad. I then threw fourteen more bowls and then had the students rejoin the demo for some quick altering & decorating tricks. What started out as 15 very basic round bowls quickly gets transformed into 15 unique bowls with just a few alterations.
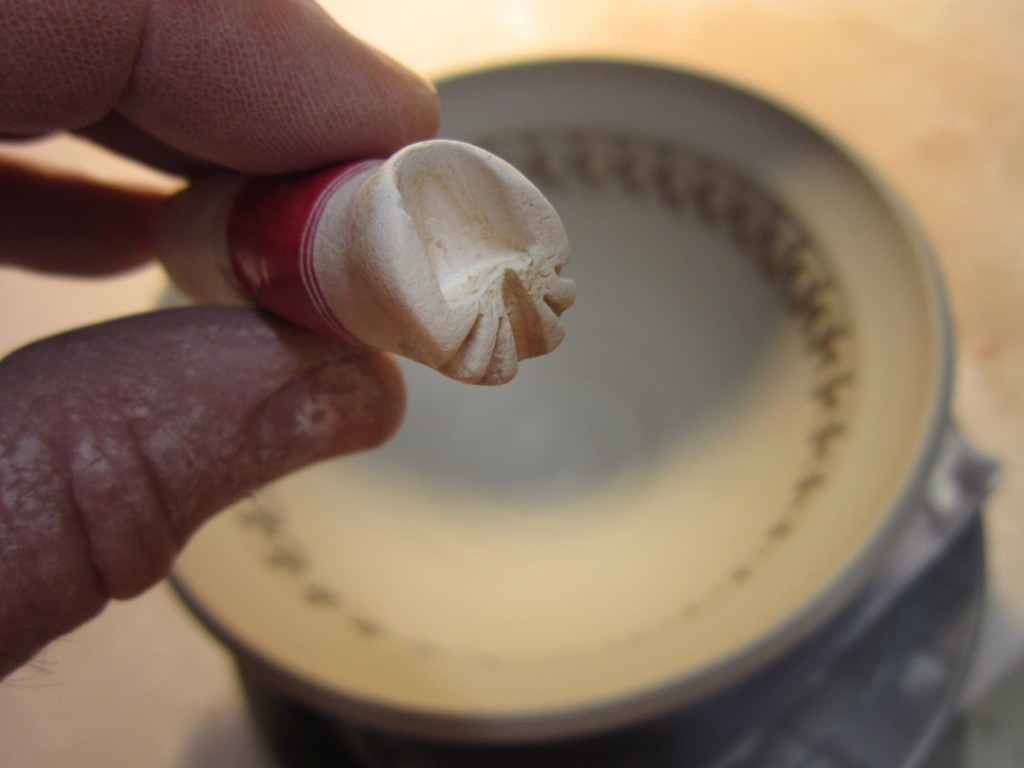
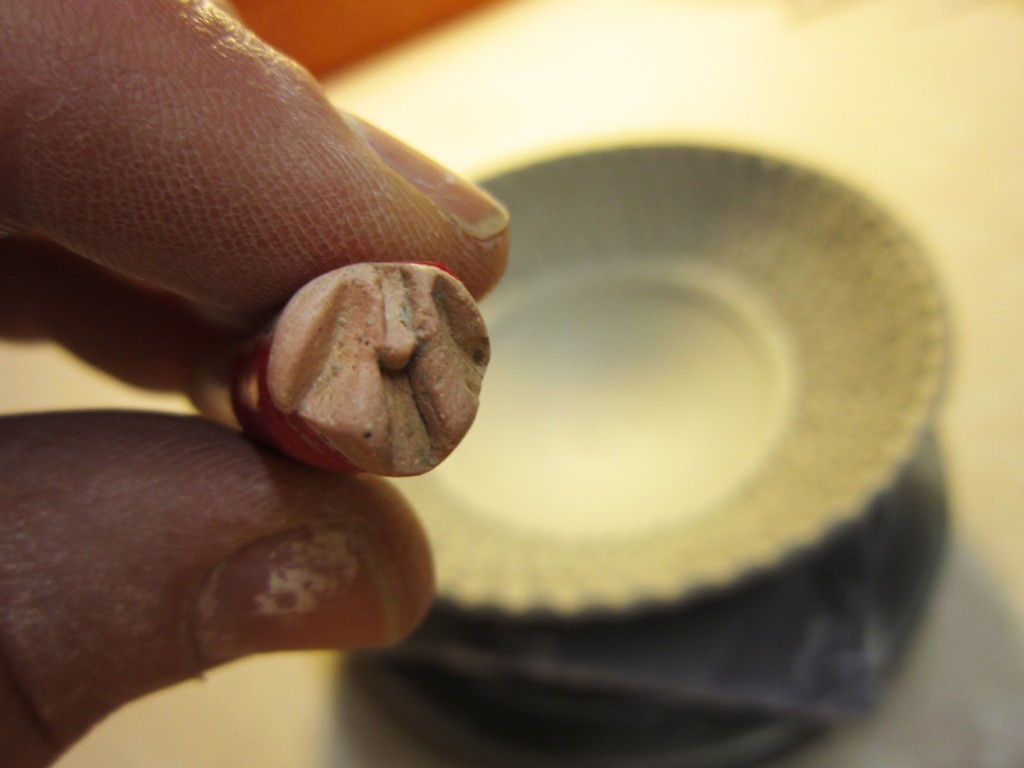
So you know I sometimes have ‘trouble” deciding when something is done. You may have noticed that I have a slight tendency to continue embellishing well beyond the norm. With that said, I continued decorating tonight in my studio. The blog post prior to this will show you what the bowls looked like before this evening’s festivities!!! While this post shows you the bowls after stamping, as well as the stamp that did the “magic” impressions!
Bowl #1 –
Bowl #2 –
Bowl #3 –
Bowl #4 –
Bowl #5 –
Bowl #6 –
Bowl #7 –
Bowl #9 –
Bowl #10 –
Bowl #10 –
And now they’re “done”… at least for tonight. Under wraps…
hoping to trim them and do a bit of final detailing tomorrow night.
Last night in class we did my favorite demo of the session.
I taught my students how to make a good bowl “on purpose” instead of a cylinder gone bad. And how to avoid making those “beginner mistakes” of corners, edges, divots, and ledges. After making the first bowl for my students, they all went back to their wheels to continue throwing, while I threw fourteen more basic bowls. We then reconvened for a demo on altering & decorating each of the bowls. My goal is always to show them a few tricks. To teach them some fun techniques. And to encourage them to play with their clay. That each piece is not so precious… and that they need to play, alter, twist & push it further.
If it gets messed up, who cares!?
Squish it up, wedge it and start over.
It’s just clay.
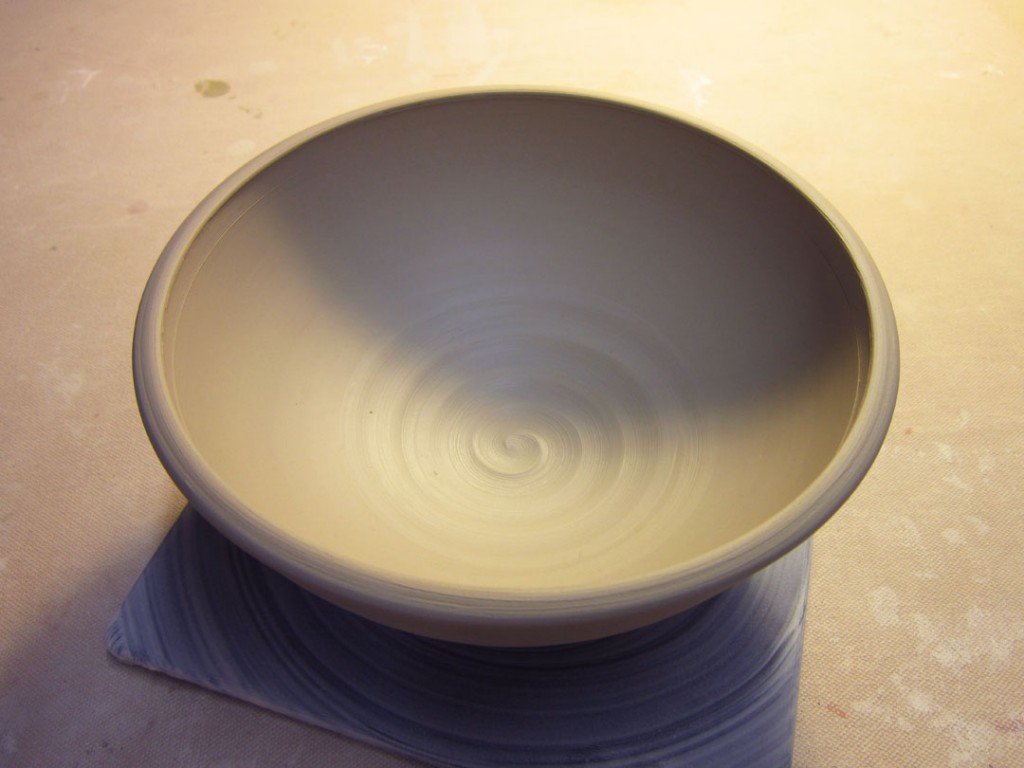
Bowl #1 – The basic bowl. All of my demo bowls started out looking just like this.
Plain. Round. Simple. And desperately needing something fun…
Bowl #2 – Rim fluted in four places.
Bowl #3 – And if four look good… eight might be better. Fluted rim in eight places.
Bowl #4 – Flange flared out.
Bowl #5 – Flange flared out and fluted.
Bowl #6 – Wide flange flared out… for one of those “fancy” tiny restaurant desserts!
Bowl #7 – Four indentations using the side of my wooden knife to “square” the bowl.
Bowl #8 – A stylized flower pressed in with a metal dragonscale tool.
Bowl #9 – Split rim, and then pinched together in eight places.
Bowl #10 – Split rim with an altered shape… kind of a lotus flower contour.
Bowl #11 – Mazzerine slip with a spiral dragged through using the round end of my wooden knife.
Bowl #12 – Mazzerine slip banded & squiggled with the round end of my wooden knife.
Bowl #13 – Thick white slip “squiggled” with my fingers while spinning on the wheel.
Bowl #14 – Thick white slip chattered with a rounded rib while spinning on the wheel.
Bowl #15 – A newspaper stencil letter, covered in slip and then peeled out.
So for now, they’re under wraps in my studio… most of them will get a little detailing.
Some will get stamped. Others will get stamped…
oh wait, did I say some of them will get stamped?! Surprise!!!
A quick batch of square textured tiles…
gotta dry them fast, keep them flat and try to get them into tonight’s bisque kiln.
Fingers crossed… and drying on plastic grid so they can get air exposure on both sides to minimize warping! And I’m hoping that I have “guessed” at my clay shrinkage rate correctly, as I’m shooting for 4-1/4″ squares when fired.