06.26.2016
Categories: mugs, production
More cylinders. More mugs. More FUN!!!


Gary Jackson: Fire When Ready Pottery
A Chicago potter’s somewhat slanted view of clay & play |
Just making a couple larger bowls. I find it’s easier to throw them larger and shape them of the clay is in the firmer side to start with. Easier to throw, but a bit tougher to center. These started out with about 6-pounds of clay each.

After they were thrown & shaped, the let them set-up overnight under some plastic. Then they were good for stamping & detailing.


Here’s the second large bowl in sharp contrast to the smaller cereal bowls on the bats nearby.


The outside is stamped with larger stamps. The inside shows the finger divots and smaller accent stamp. The rim is fluted and detailed.


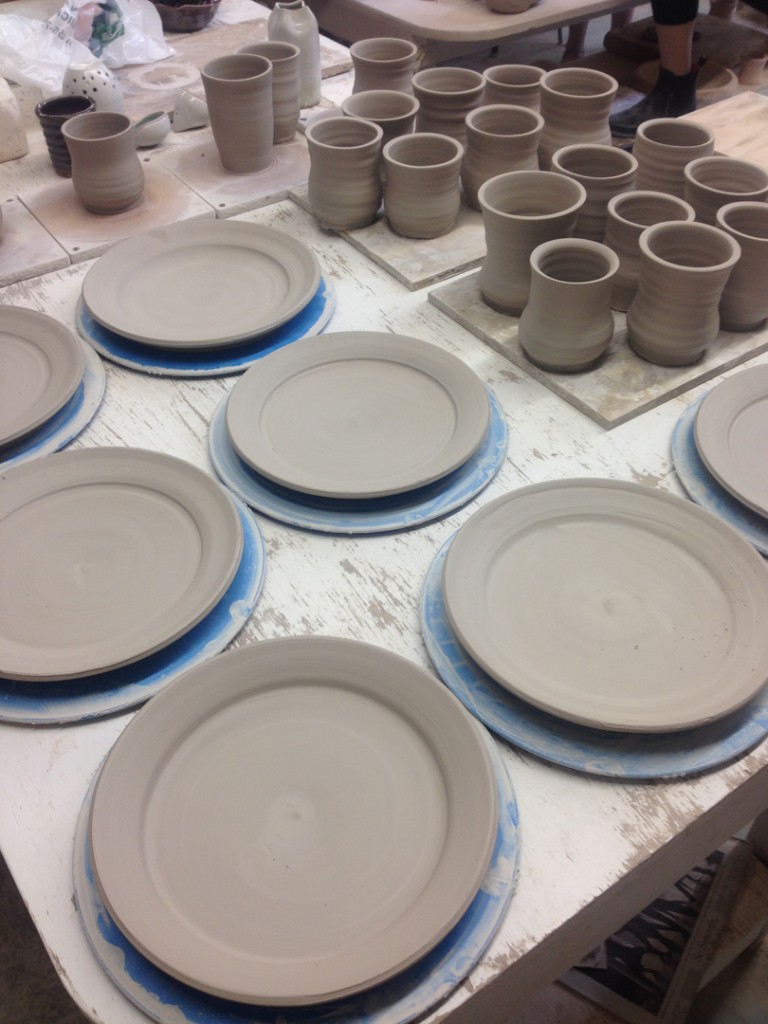
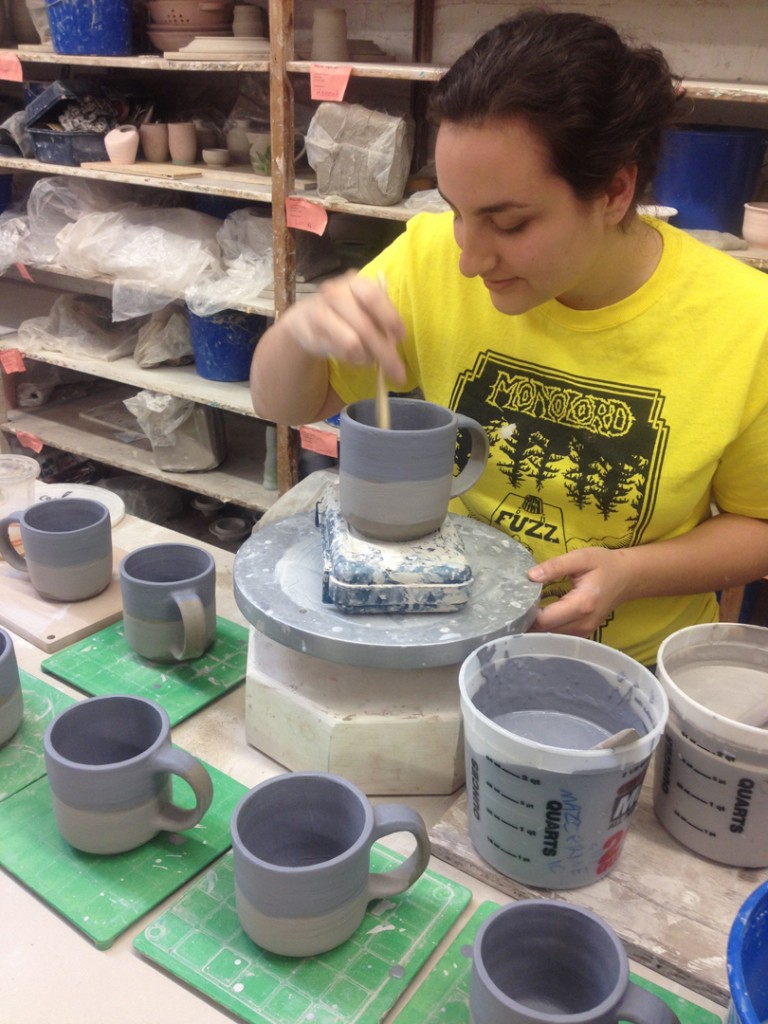
Last night in class it was great to see so many of my students cranking out the work. Megan had plates & cups everywhere, Natalie was slip decorating a full set of mugs with her “Starry Night” design, and everyone else was up to their elbows in clay! Hard to believe we’re already at Week Nine of classes… so proud to see how far they’ve come.

With just a few days left, I’ve decided to crank out a few terra cotta pieces for the Schaumburg art fair. My soda & cone 10 kilns are done, but I can still squeeze in one last cone 04 electric kiln filled with once-fired terra cotta pieces. People have been asking about the birdhouses I made a couple years ago… so why not make some more?! They’re textured terra cotta. The sides will be stained with black underglaze to help accentuate the textures, and the rooftops will be colored with bright underglazes and then glazed clear. Just hoping that they dry quickly… they’ve got to get into the kiln tomorrow!!!


Just one of the many mugs that has been inlaid with temoku glaze, wadded, loaded and was fired in my soda kiln Saturday. The kiln has been cooling and now I get to unload tonight. Can’t wait to see how this mug, and all the others, turned out!?

Here’s the back stack of the kiln… loaded piece by piece, shelf by shelf, post by post.

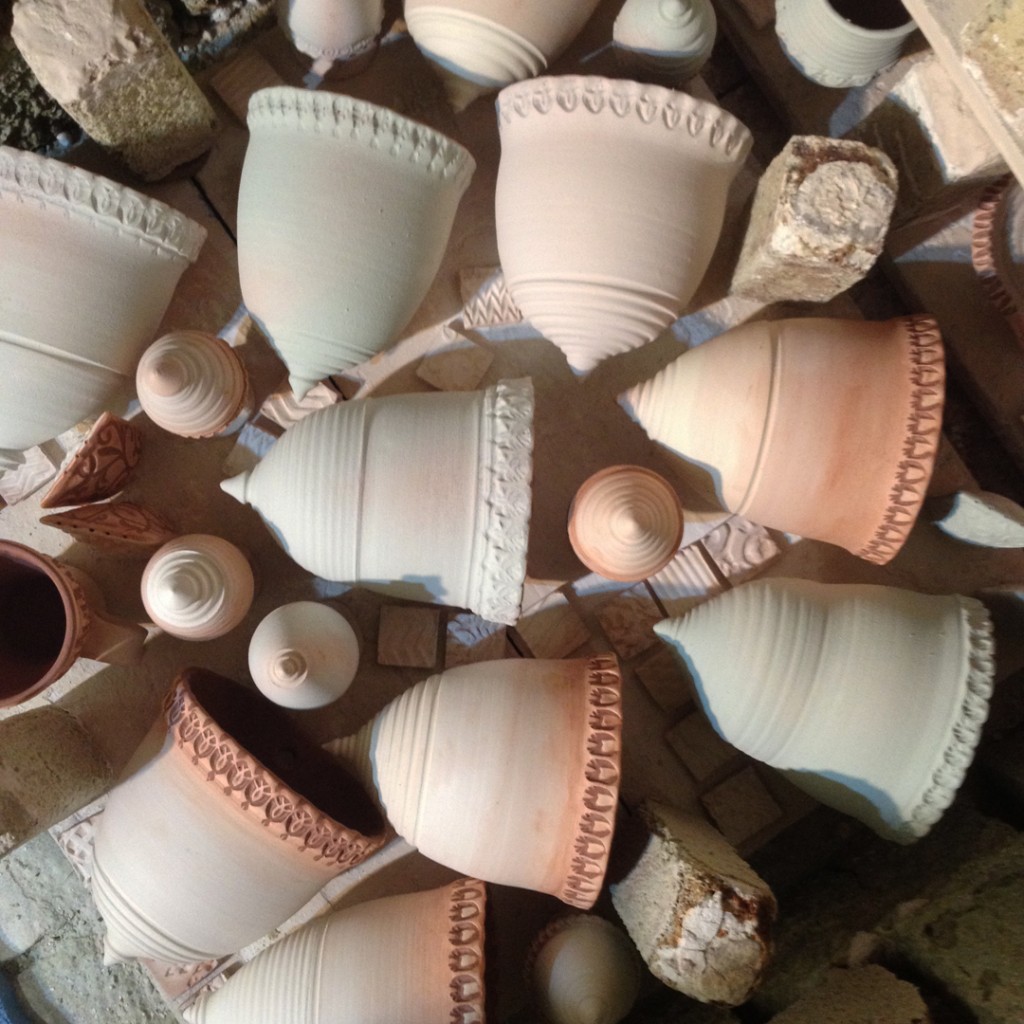
And a quick bird’s-eye-view of some wall pocket vases & ornaments mixed together.
So after a couple hours of focused kiln loading, my kiln was finally full. Pretty much everything fit in… just a few “strays” that will hopefully sneak into the next firing. Pretty pleased with my loading… it took quite awhile, but there’s not any spare space unused in this kiln Hopefully it’s not packed too tight for the soda mixture to fly around inside and hit all of the pots. I guess we’ll find out Monday when I unload?!
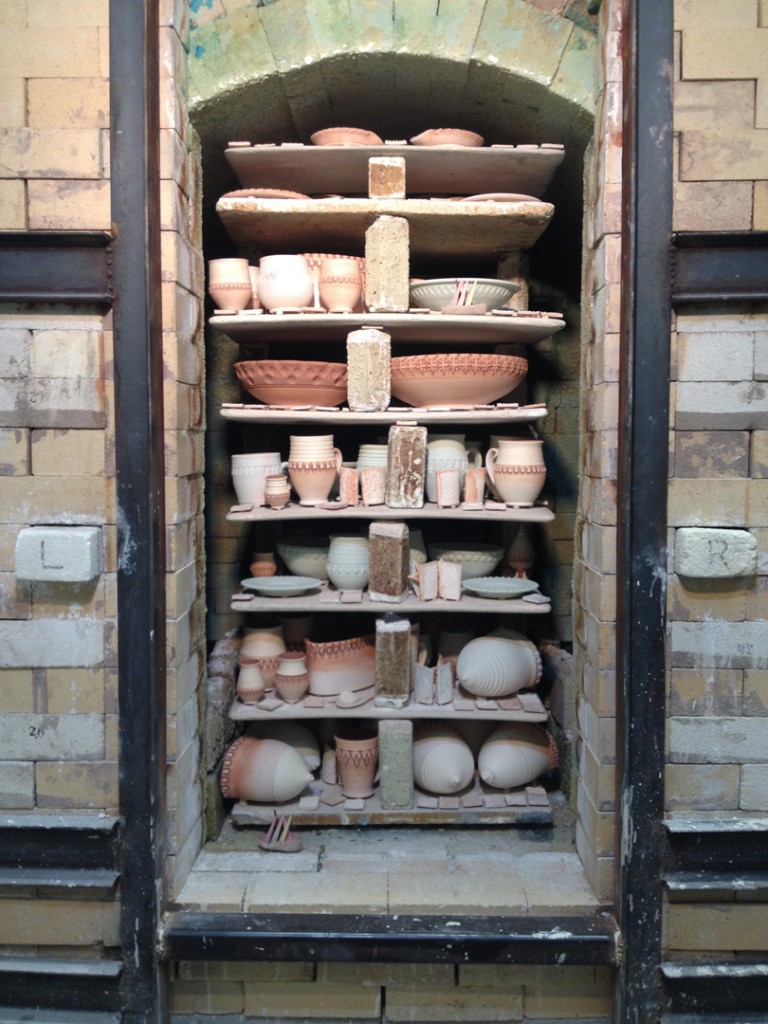

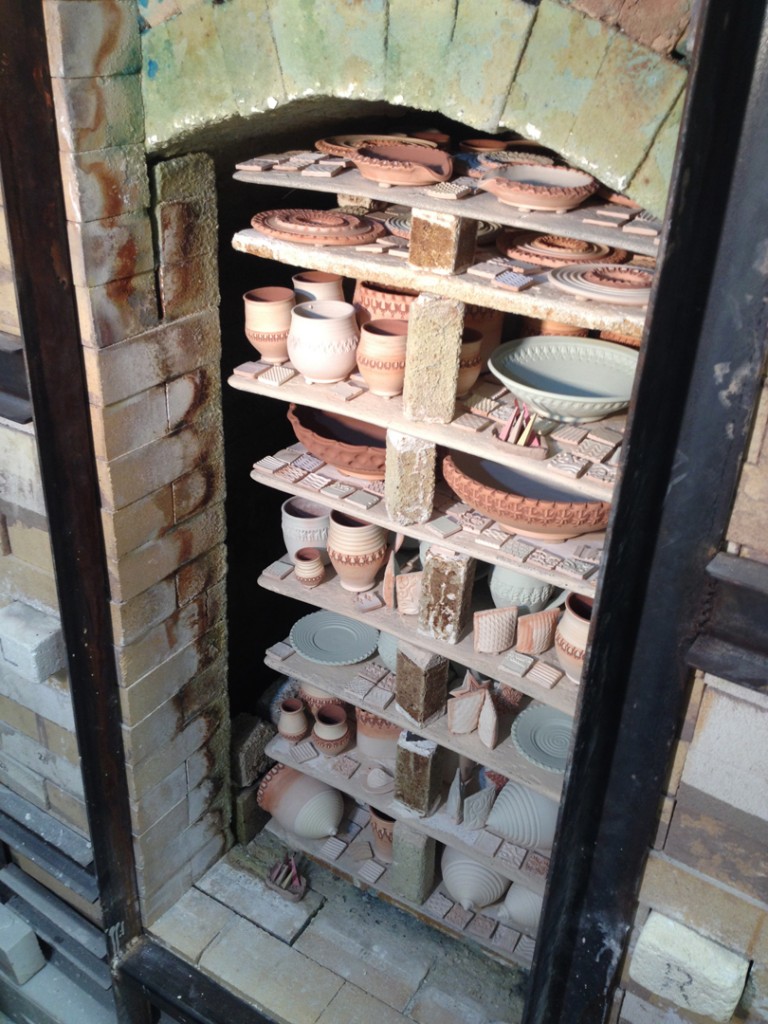
Time to close it up, brink up the door… then add a little heat to dry things out.
I’ll be back early tomorrow morning to get it all started.
My studio cart is pretty much full… which means I’ve glazed & wadded enough pots to fill the soda kiln. Of course it’s kind of a guessing game of how it will really fit when stacked in the kiln.

A few quick masking tape “seat belts” and my cart is ready to make the trip downstairs to the kiln room. The masking tape helps keep pots from jumping off while they ride down in the rickety freight elevator!
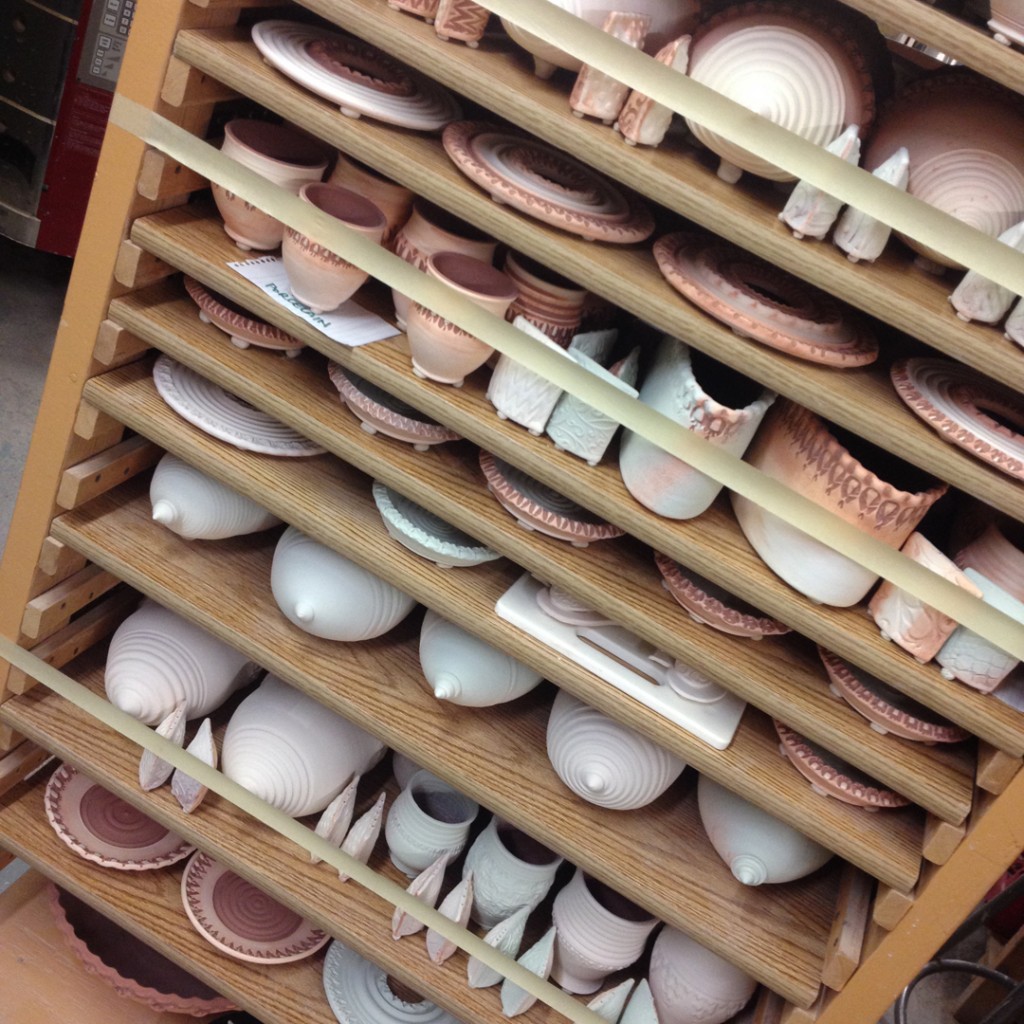


The glazing continues… and it’s pretty much taking over my studio!!!
And making quite the mess on my wedging table.
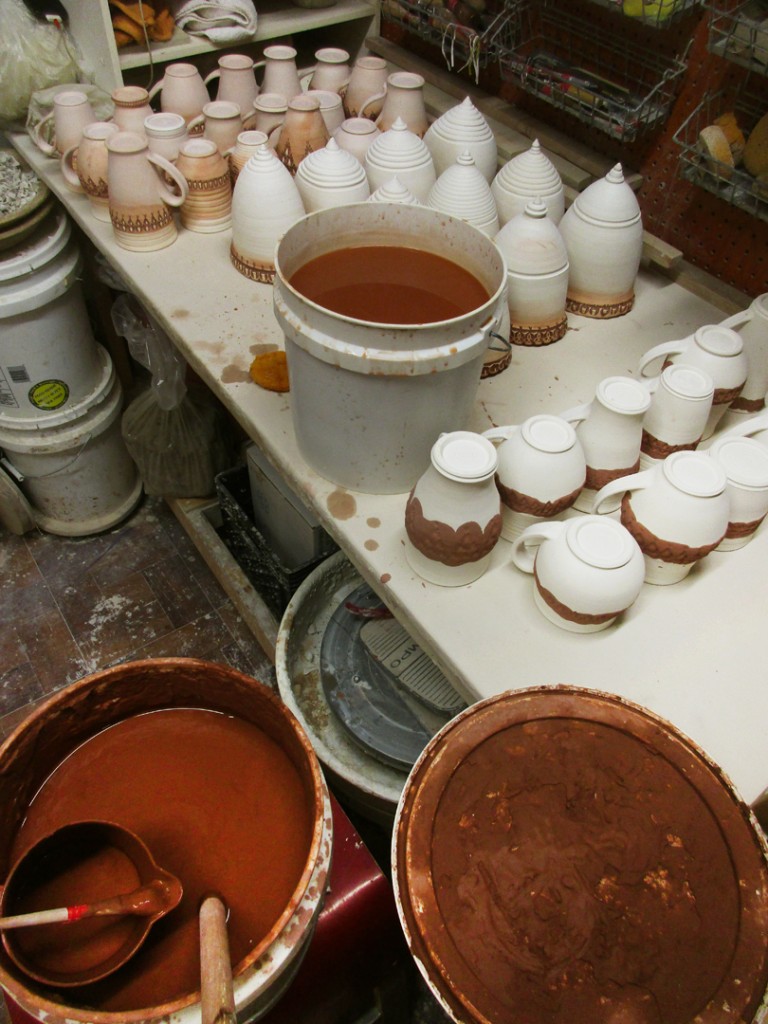
Since this is a soda firing, a lot of the surface “glazing” will be created by the soda atmosphere in the kiln. So I typically leave a lot of the exterior clay unglazed. Instead, I like to fill the stamped indentations with temoku glaze.
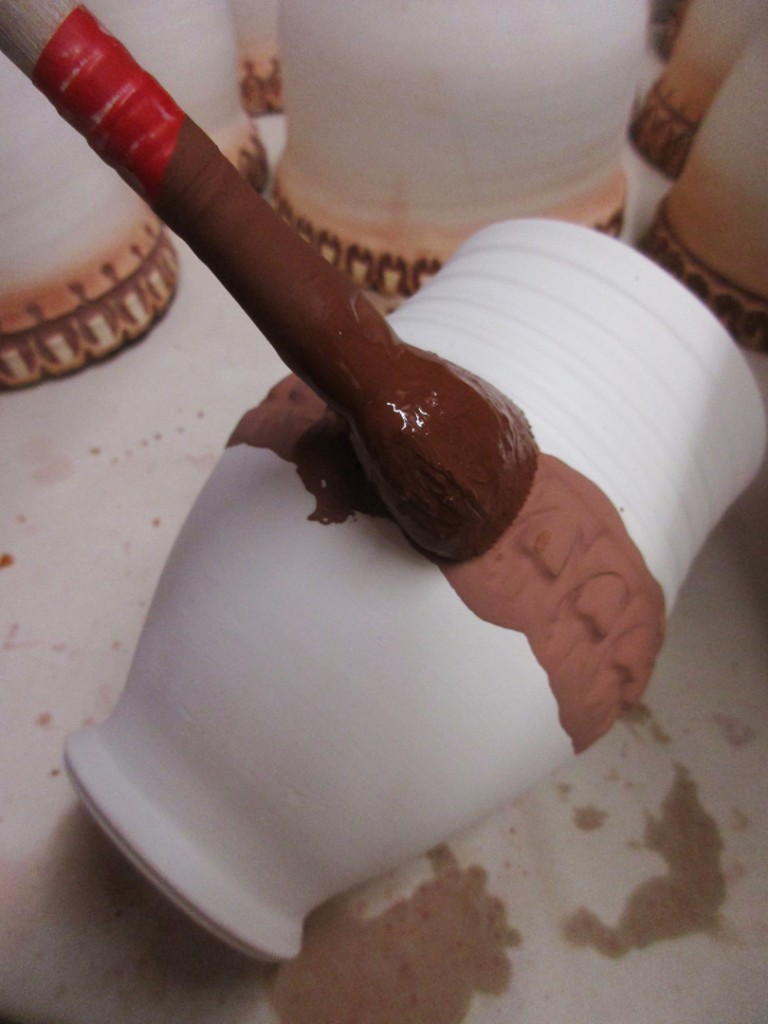
After painting over all the stamps with glaze, I then take a damp sponge and gently wipe off the top surface. Leaving the glaze in the indentations to help highlight the stamped texture.
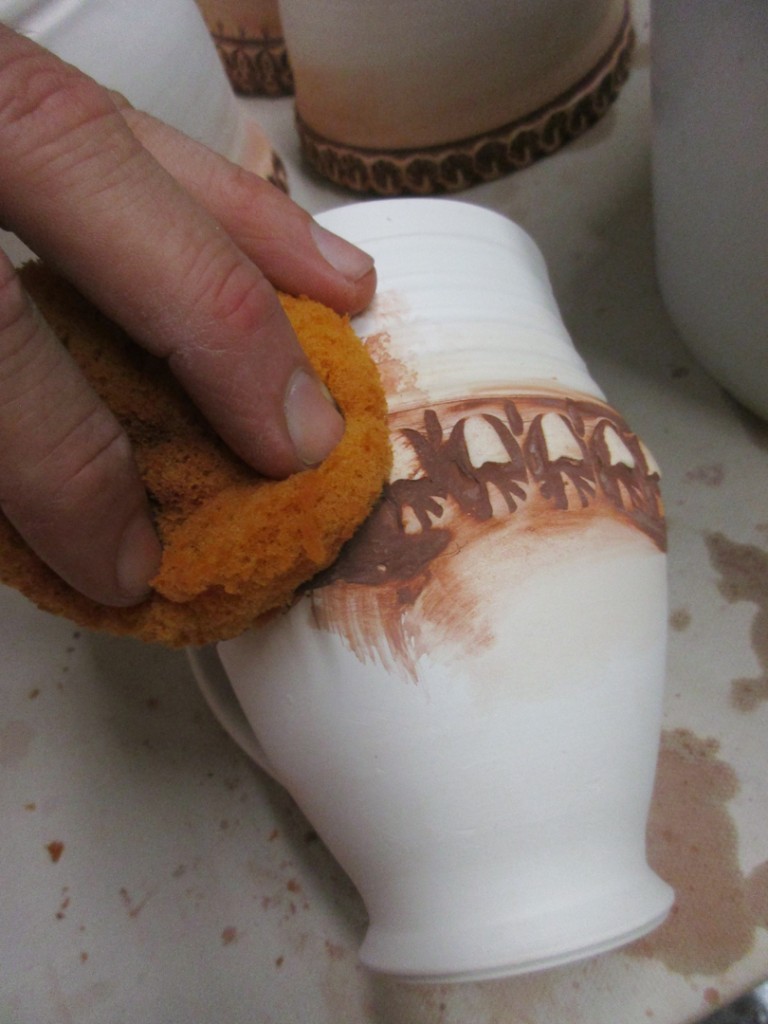
Wiped clean, ready for wadding and the on to the kiln!

Had to start somewhere… so first up were these simple ikebana vase disks.

|
Gary Jackson: Fire When Ready Pottery
Lillstreet Studios ∙ 4401 North Ravenswood, Chicago, Illinois 60640 ∙ 773-307-8664 gary@firewhenreadypottery.com |