07.23.2018
Bisqued, waxed and waiting to be glazed.


Gary Jackson: Fire When Ready Pottery
A Chicago potter’s somewhat slanted view of clay & play |
Bisqued, waxed and waiting to be glazed.
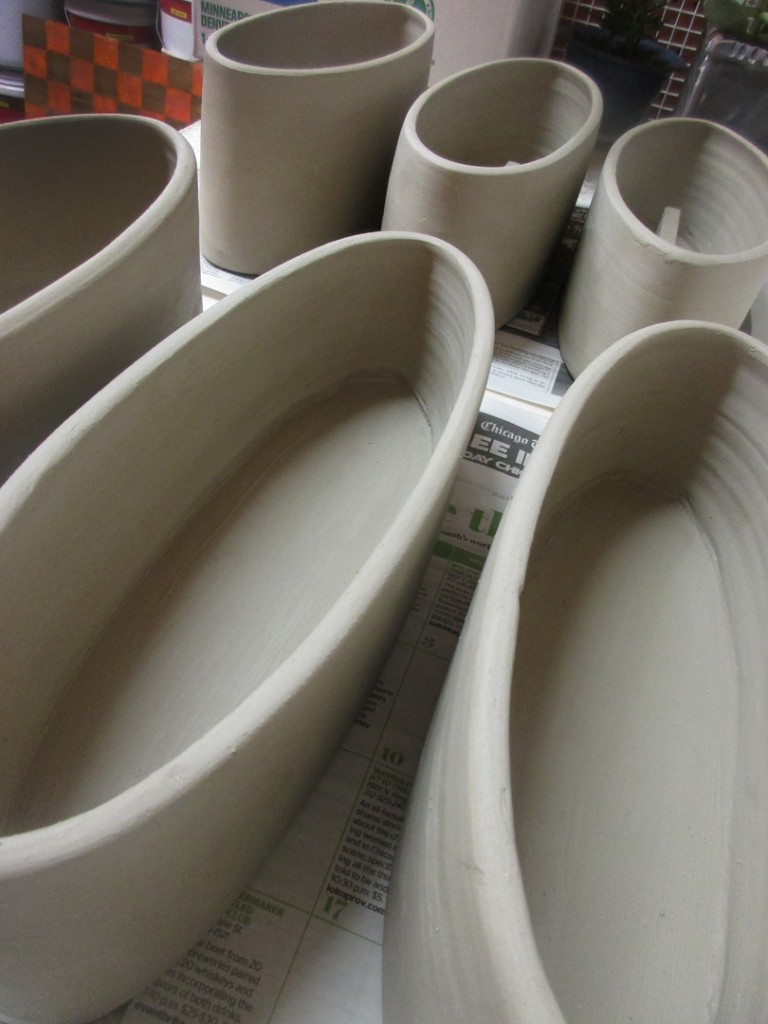
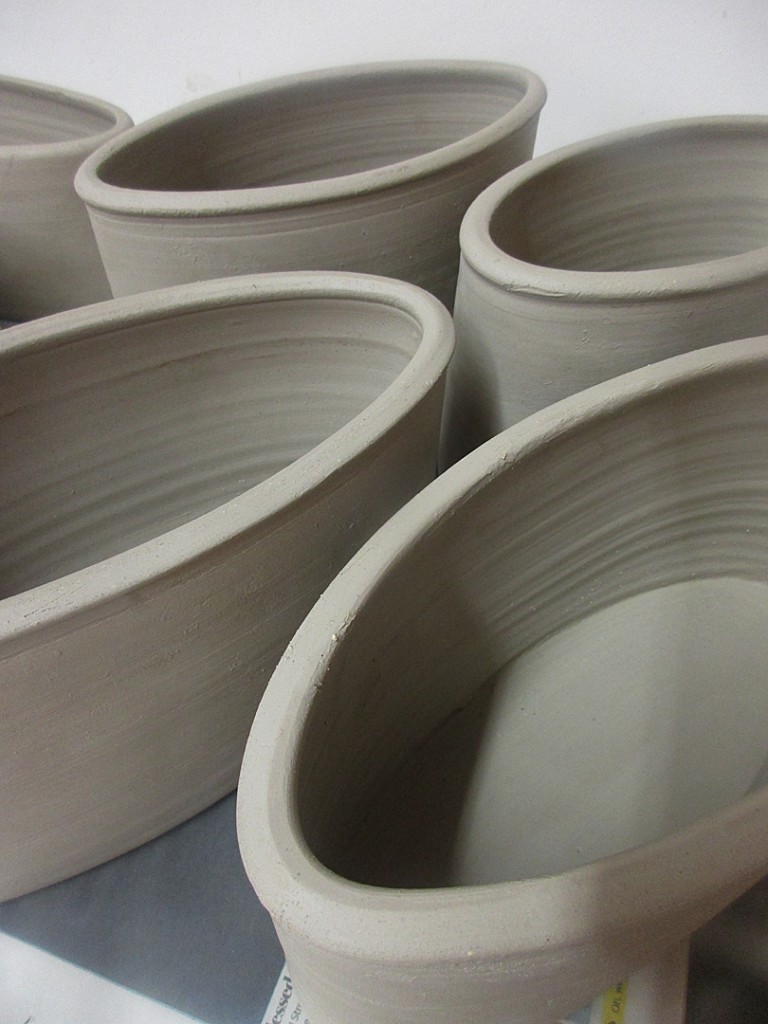
So I started with some bottomless cylinders that I had already finessed into ovals. Then I added a smooth slab bottom, scored & slipped, and let them sit overnight after roughly trimming the slab with a smidge of a margin. I placed them on newspaper and under plastic. My hope was that the bottom slab might stiffen up a bit, but the rest of the cylinder would stay moist. And it worked. I also add a small tile weight inside so that there is no extra bulging or warping overnight. Not sure if there would be… but why not take the precaution just in case?
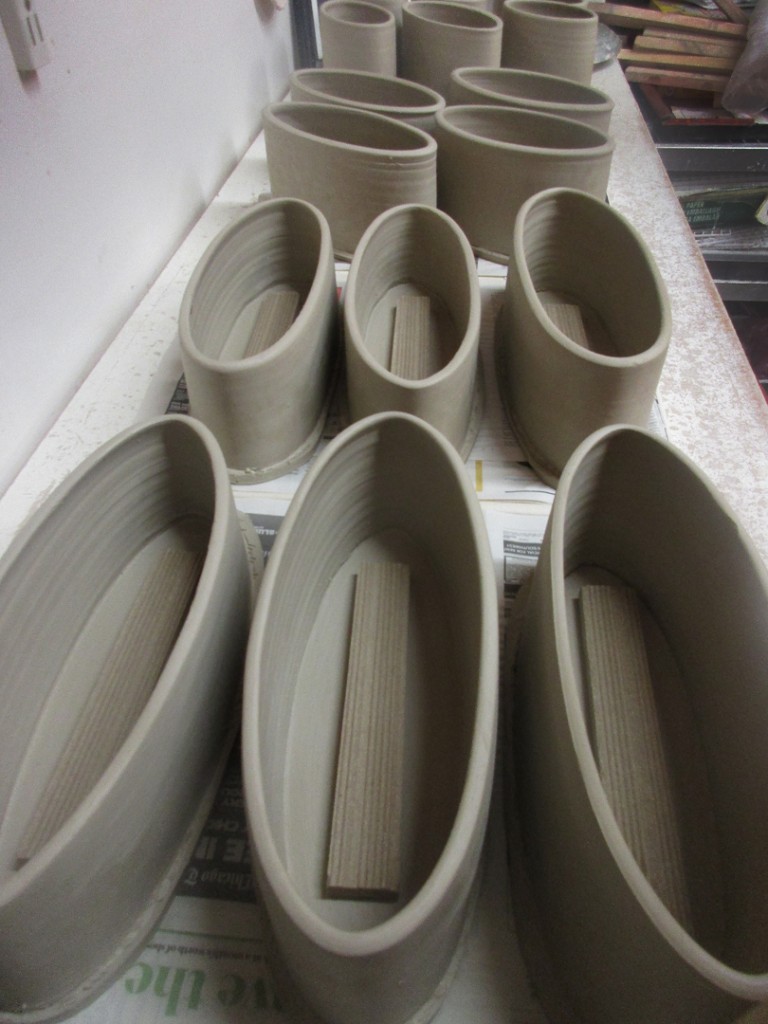
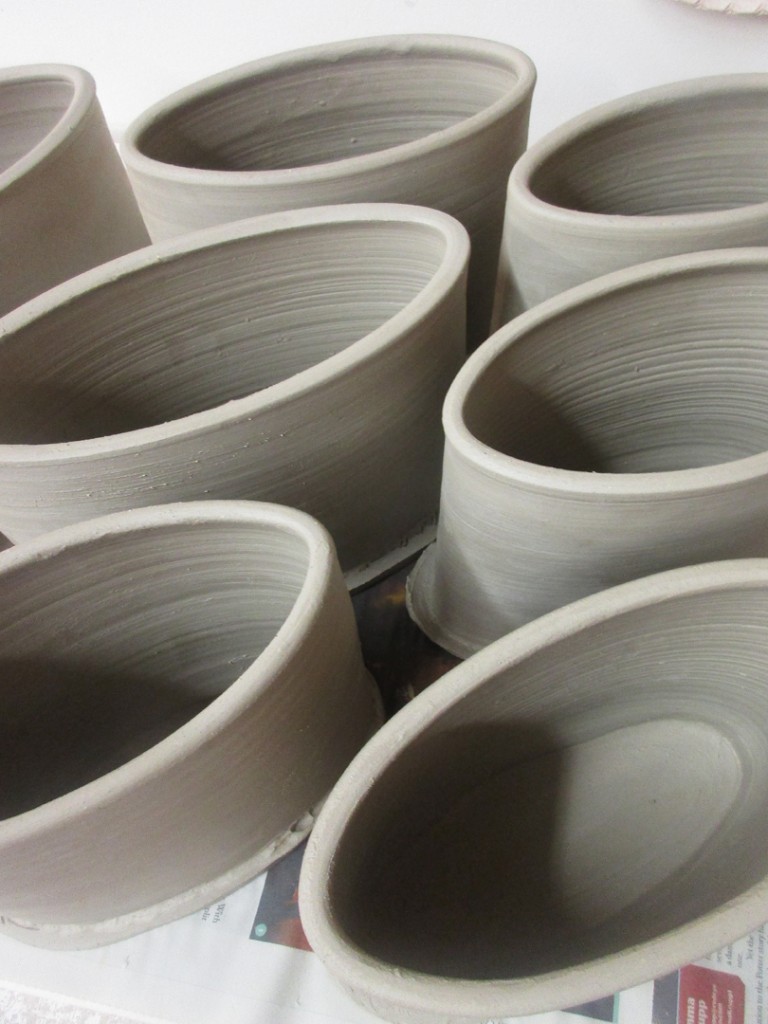
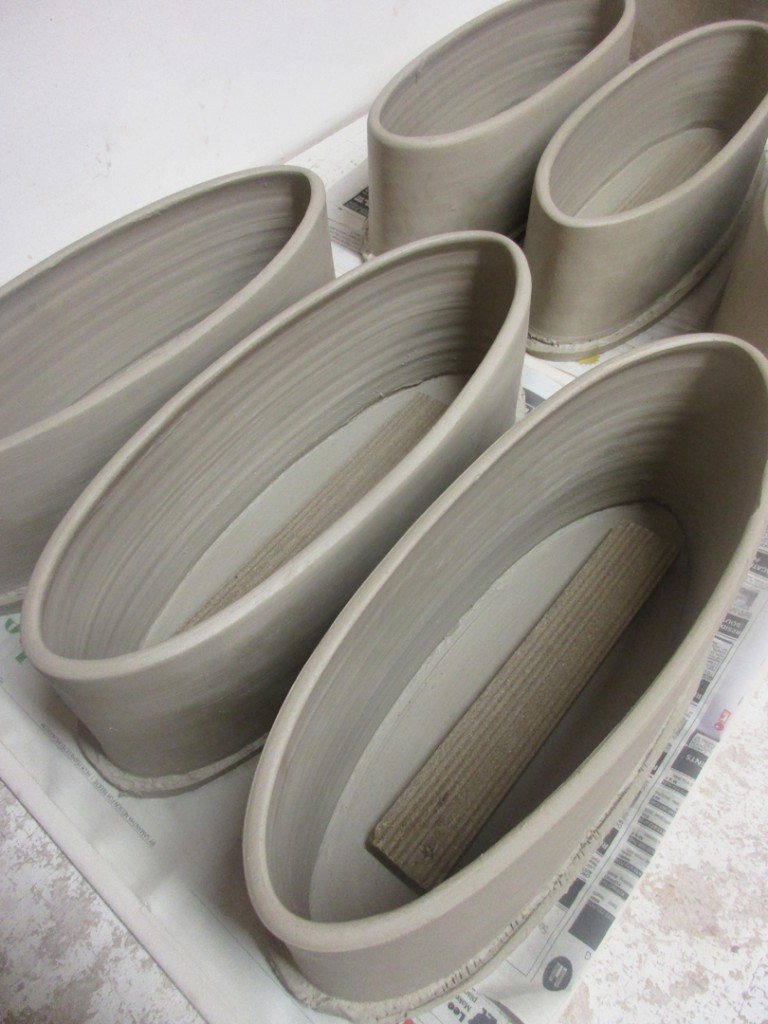
So today I came in to smooth out the bottoms for a more finished edge.
I start by cutting the bottom slab margin off with a needle tool.
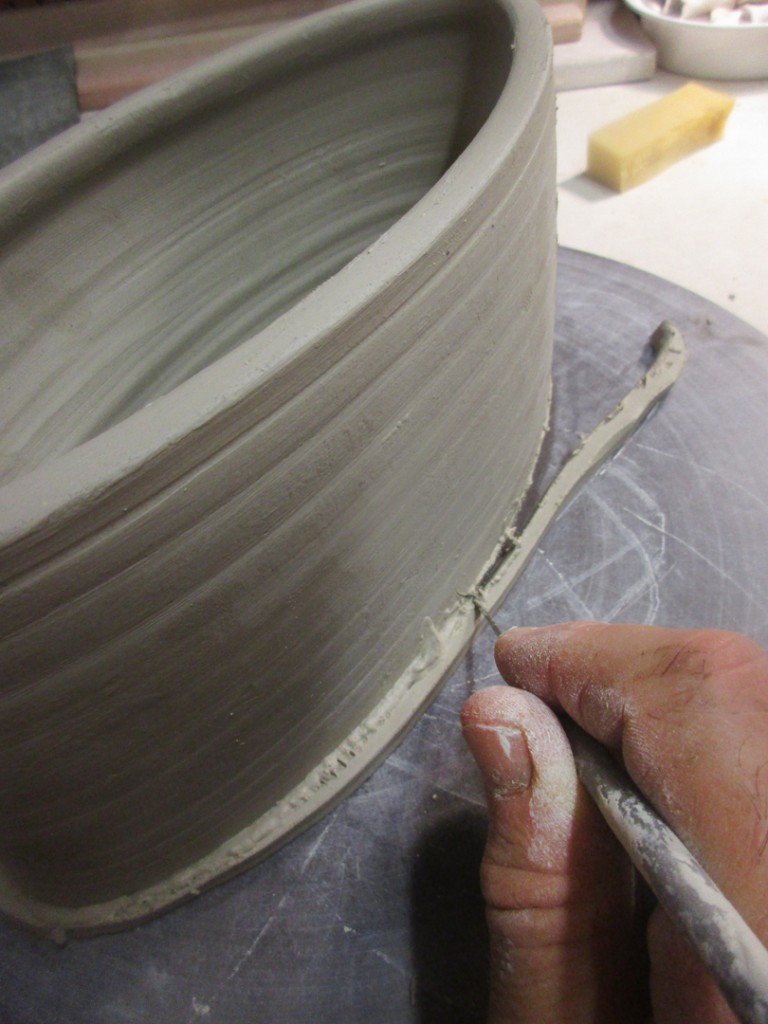
Then I flip it over and do a light tapping with a paddle to compress the attachment
and create a bit of a beveled angle along the bottom edge.

More fun with a good action shot, right?
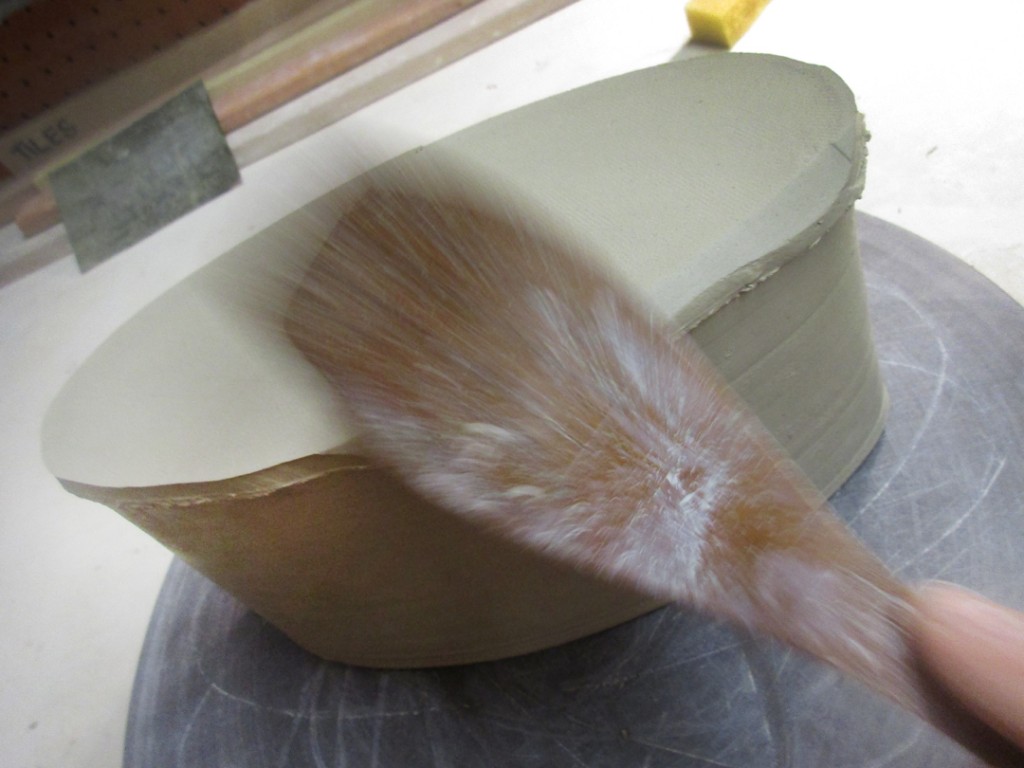
Then I take a stiff green Mud Tool plastic rib to “shave off” the excess clay that bulged out during the paddling.

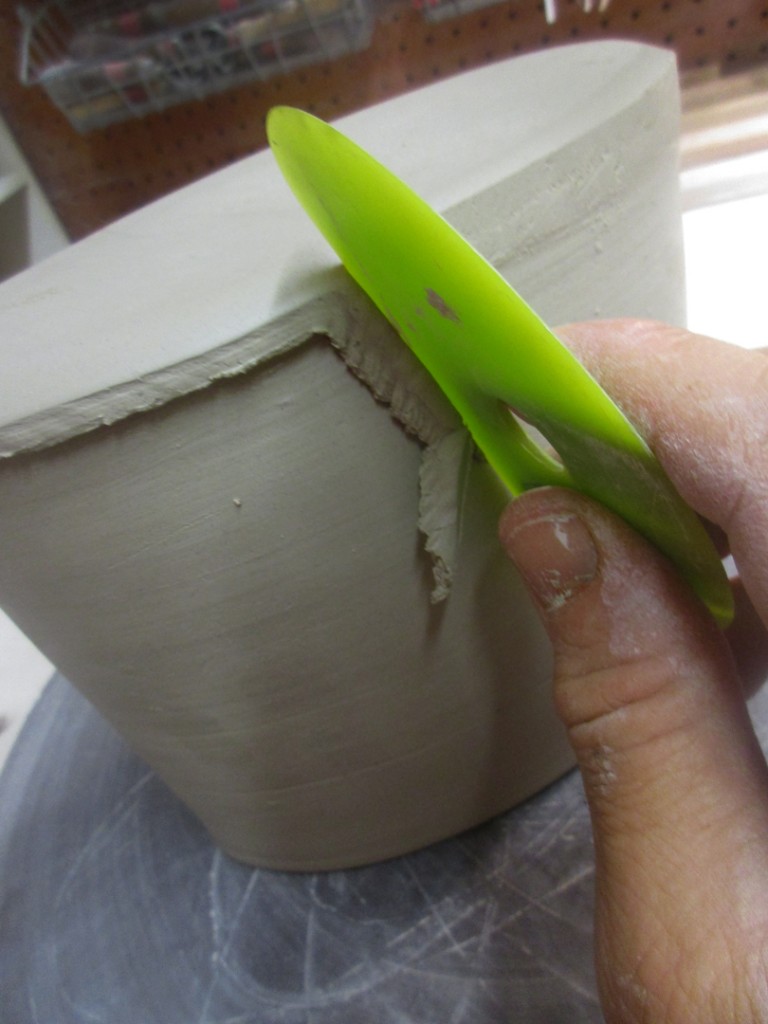
And then I do some gentle smoothing & refining of the edge. Establishing a good beveled edge, as well as smoothing out the attachment so it looks like it might have been all one piece from the start.

At this point the “could be” done… but I have more plans for these ovals!!!
So they’re wrapped up overnight so I can continue working on them tomorrow after camp.
There’s got to be some texture somewhere, right???


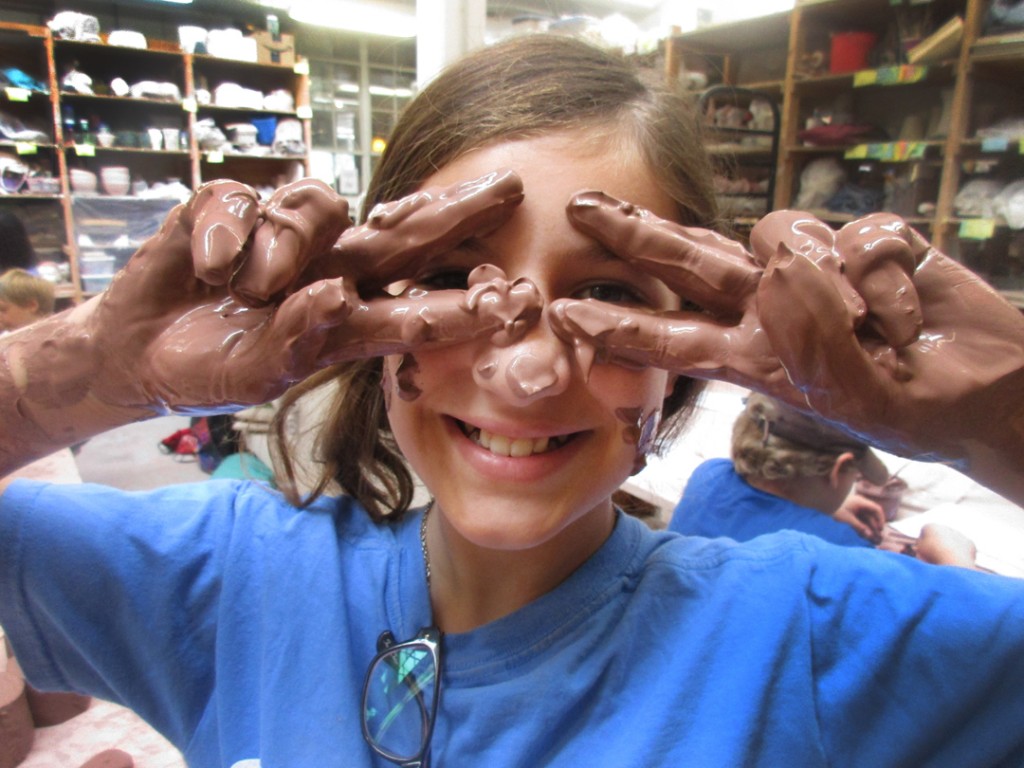
Apparently no one can resist a bucket full of smooth & creamy terra cotta slip?!
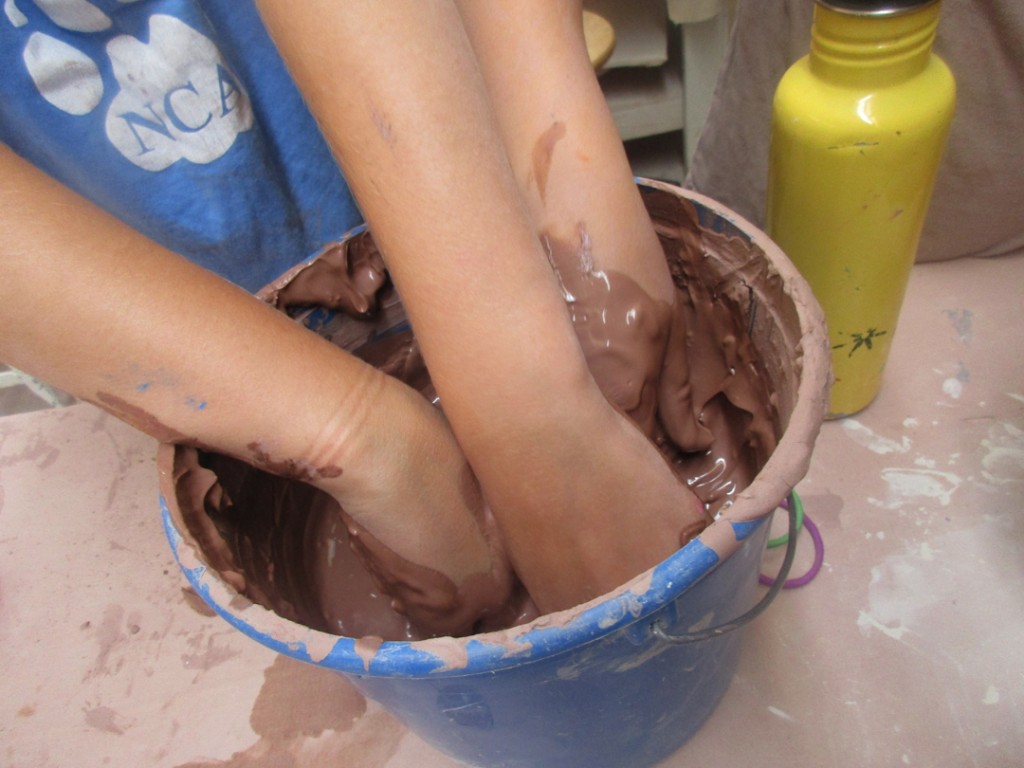
As part of camp, I teach the kids how to make slip.
Actually, it’s kind of a “punishment” for letting their clay dry out too much to use.
We try to keep everything under plastic while they’re working to avoid drying out.
But sometimes they just “forget.”
So to encourage them to remember, I make them flatten the clay out so we can let it dry completely. The next day the use a rolling pin to pulverize it as best they can so we can re-hydrate it back into a nice smooth slip. Apparently, the “punishment” is a bit too FUN for the campers!!!


Just finishing some colored slip accents on the last batch of mugs. These ones will be soda-fired so the slip colors should become more vibrant & reactive to the soda atmosphere. Couple more to go, and then calling it a night… as that sunrise bike ride comes around pretty darn early in the morning… followed by another full day of Summer Camp!

Got some stamped cylinders… stamped ’em… and now they need handles.
So I pulled these handles and let them set-up a bit before starting to attach them to the cylinders…. and it’s MUGS here we come!!!

Kicking off the day with a pile of wedged clay balls…
oh, what to make?… what to make?… why not start with “my favorites”???

A quick batch of soon-to-be-mug cylinders! You know how I LOVE making mugs!!!


Another platter fully stamped with one stamp all the way around…
one by one… by one… by one…


Label, stamp. Label, stamp. Label, label, label. Stamp, stamp, stamp.
The second wave of postcards are headed off to the Post Office
just in time for the second daily pick-up!

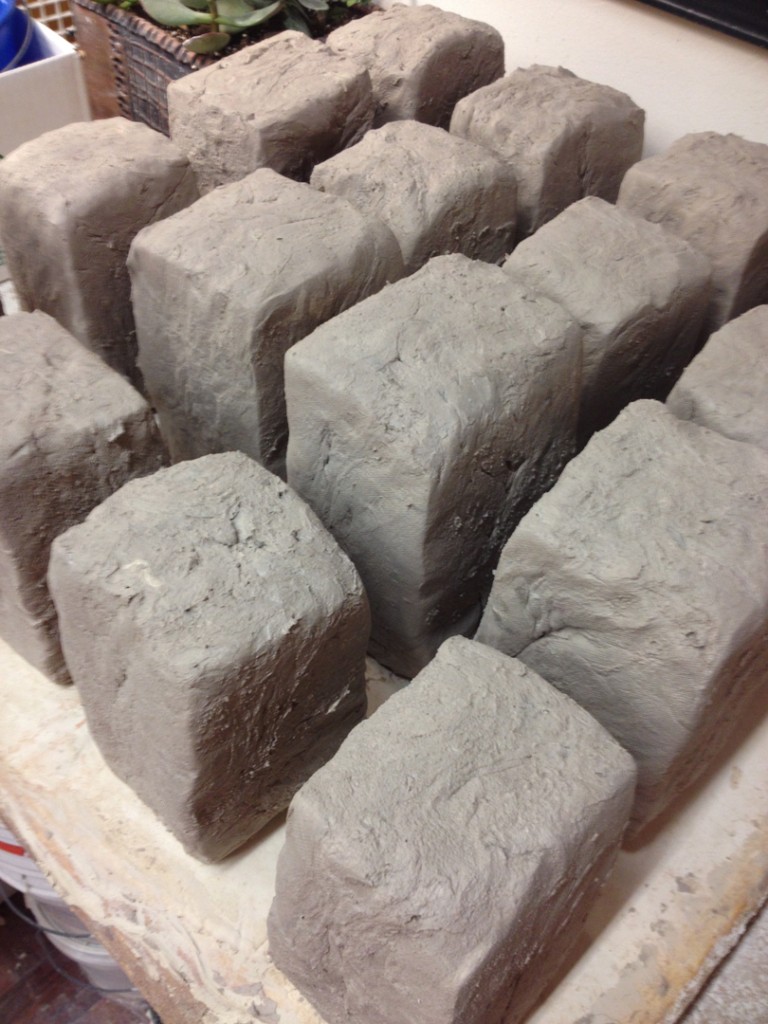
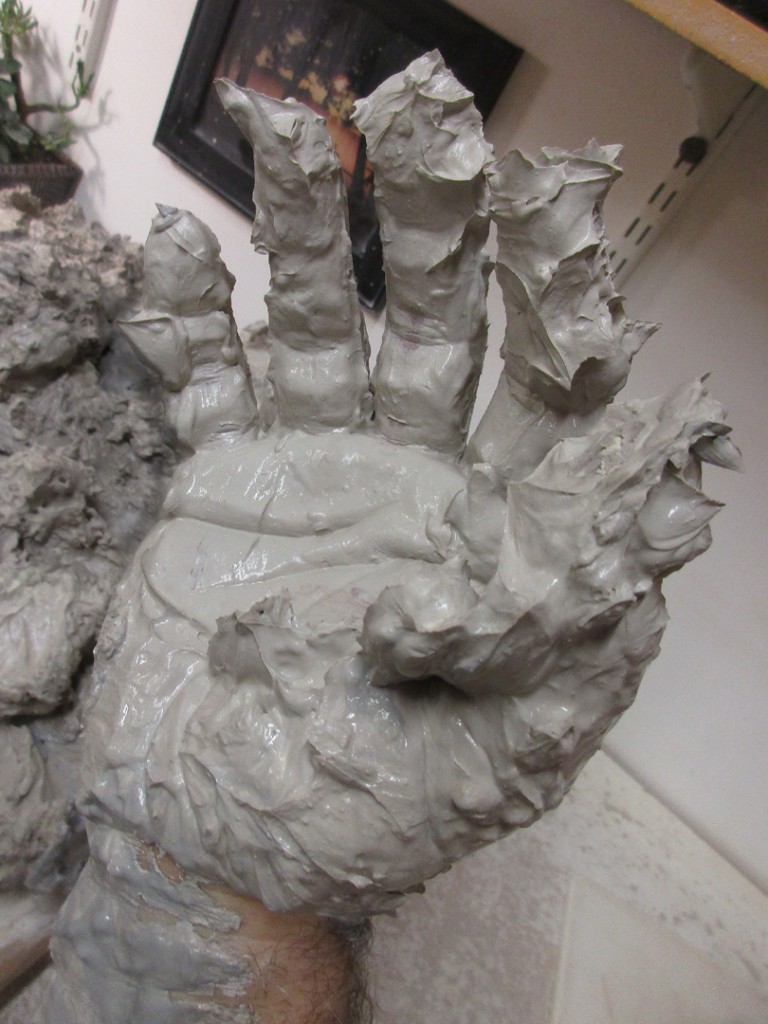
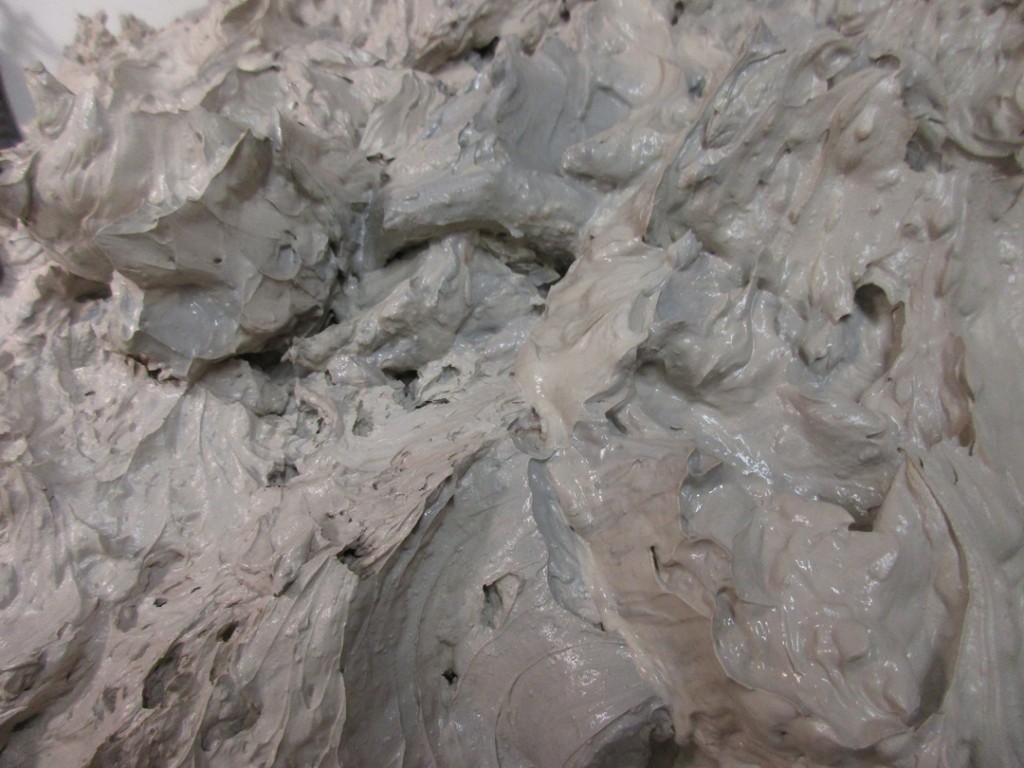
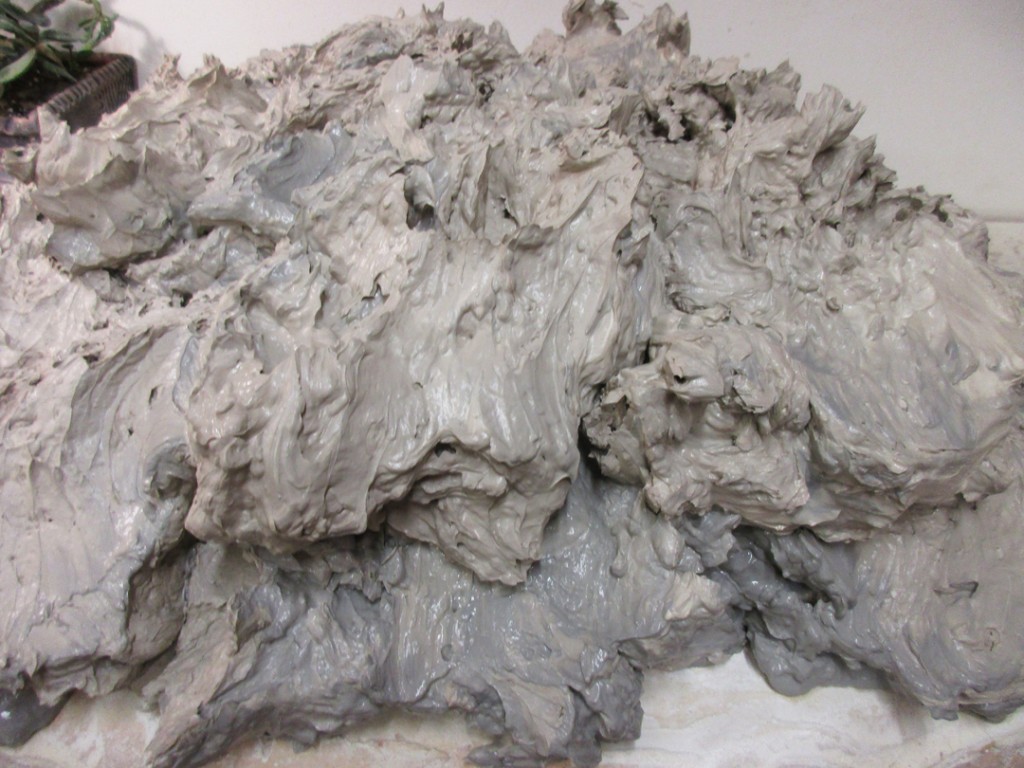
After some time stiffening up on my plaster bat, my latest batch of reclaim clay
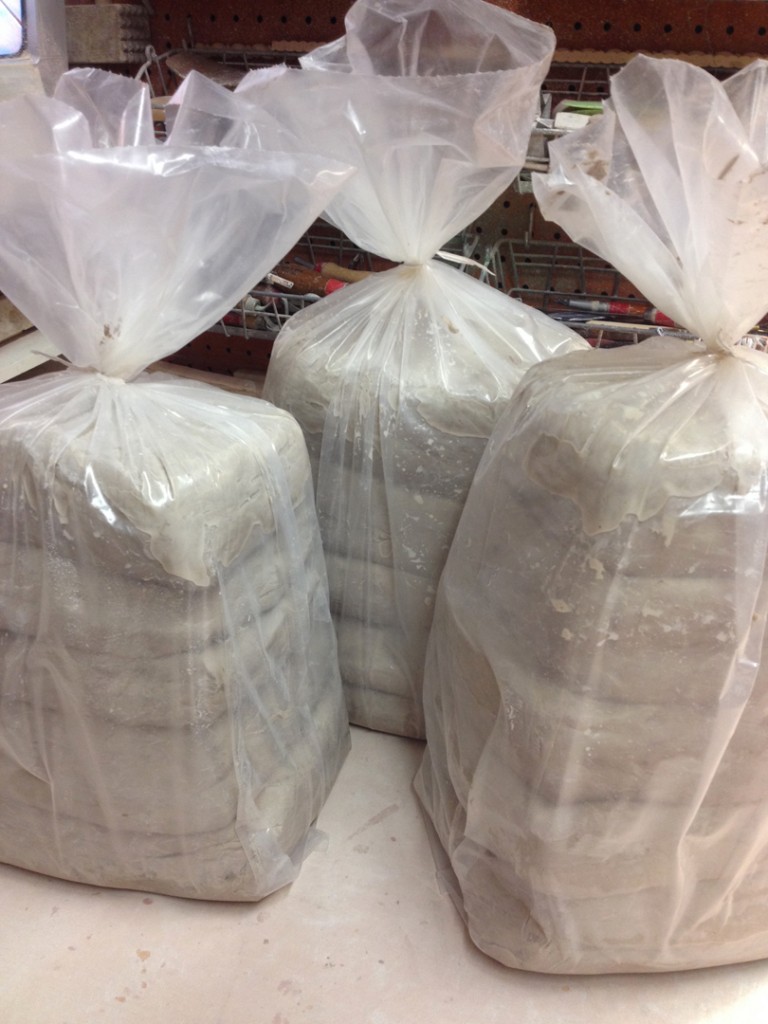
was finally ready to pound up last night after a “slight” bit of wedging and bagging up.
I’ll let it sit for a while longer… before I start doing a “real” wedging
and actually making work out of this FREE CLAY!!!
|
Gary Jackson: Fire When Ready Pottery
Lillstreet Studios ∙ 4401 North Ravenswood, Chicago, Illinois 60640 ∙ 773-307-8664 gary@firewhenreadypottery.com |