02.23.2021
Celebrating another TEXTURE TUESDAY with a few close-up detail shots! Crackled slip textures thanks to the magic of sodium silicate!


Gary Jackson: Fire When Ready Pottery
A Chicago potter’s somewhat slanted view of clay & play |
Celebrating another TEXTURE TUESDAY with a few close-up detail shots! Crackled slip textures thanks to the magic of sodium silicate!
Funny story…
While I was making these crackled slip vases, one of them “slumped down” a little as I might have bulged it out a bit too far. I let it sit on my work table while I made more… mocking me… always looking at it thinking that the shape was bad. Questioning if I should just squish it up and do it again. But then I remembered one of my students Dan who always tries to flip-over his slumping pots to see if gravity will “un-slump” them. I figured what do I have to lose?! It was still firmly attached to the plastic bat, so I flipped it, tapped it a few times and then hung it upside down overnight in a bucket with plastic over it. The next day… voila’… the slumped area had “stretched” back out and the curve was all better… and perfect for trimming!!!
Thanks Dan for the unwitting motivation! HA!!!

Well here’s the latest batch of mugs. All assembled & slip painted… some with orange, some mustard, some robin’s egg, and a few more colors of slip! All of which should show up better & more colorful after soda-firing!

Getting these ready for my next soda-firing… by adding some accents & details of colored flashing slips to my mugs. The slip may look a little creamy-white right now, but with the soda atmosphere during firing, this slip should turn a beautiful orange color!
Which just happens to be my favorite color… go figure!

Handles added. Mugs made.
Ready to start adding some colored flashing slips to them
before I call them done for the night!

Celebrating another MUGSHOT MONDAY
by making more mugs… and adding handles!

I’ve had this discussion before with my students…
“Can a mug be a mug without a handle?”
They seem to think you can as an “avoidance” to making handles…
I of course think not. I love making mugs. I love making handles!
They go together… by definition I believe.
After doing the crackle “trick” demo on a slab, I showed them how the same process works even better on wheelthrown pieces. So for this one I threw a basic cylinder and painted the outside with the “white slip sodium silicate mixture.” I put on a couple layers and then dried it a bit with a heat gun. Just for fun, we had also drawn some lines into the slip before expanding just out of curiosity. I mean, if we’re playing & testing, we might as well get as much “information” back from it as possible, right?


Then I pressed outwards to add volume to the cylinder with the wheel spinning… never touching the exterior with my hands… and the crackles just magically appear. The more you expand it, the bigger the crackles! So again, they were all duly impressed… and I must admit, I was pretty intrigued too!


After that first “pattern sampler” demo vase, I made a second one with the same “white slip sodium silicate mixture” but with little swipes through the slip all the way around. Again, I dried the “skin” of the slip quickly with a heat gun and then expanded it for the crackle to appear. I like this one even more… we might be onto something here… we’ll see…


And who knows… next session at Lillstreet I’ll be teaching a new “Surface Decoration” class on Thursday evenings. Pretty good chance this little trick might show up again then!!!
In my Thursday morning class, one of my students has been working with a “brick” texture mat and trying to get more of a weathered & worn surface. Rikke had been painting different slips on them after pressing her texture in. Today I demo’d how to make a slip “crackle” using sodium silicate and then stretching it. We pulled the slab, then added some bricks and I think she was quite pleased with the new “weathered & worn” surfaces. Now I can’t wait to see where this takes her & how the finished pieces turn out!!!


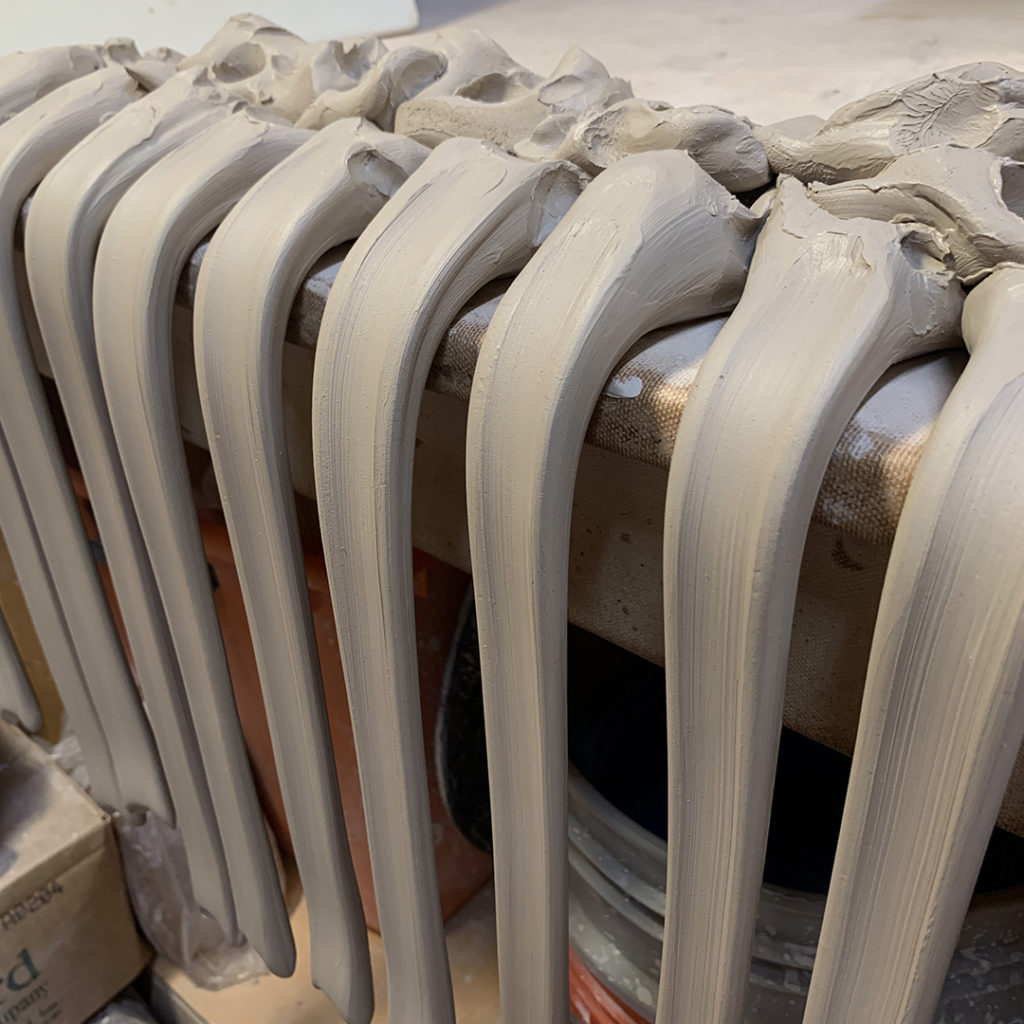
After teaching class this morning, I pulled some long handles and let them hang off the edge of my wedging table to stiffen up. For mugs I like to flip them to set the curve of the mug handles… but for these “basket” handles I wanted them a bit thicker, longer & straighter!
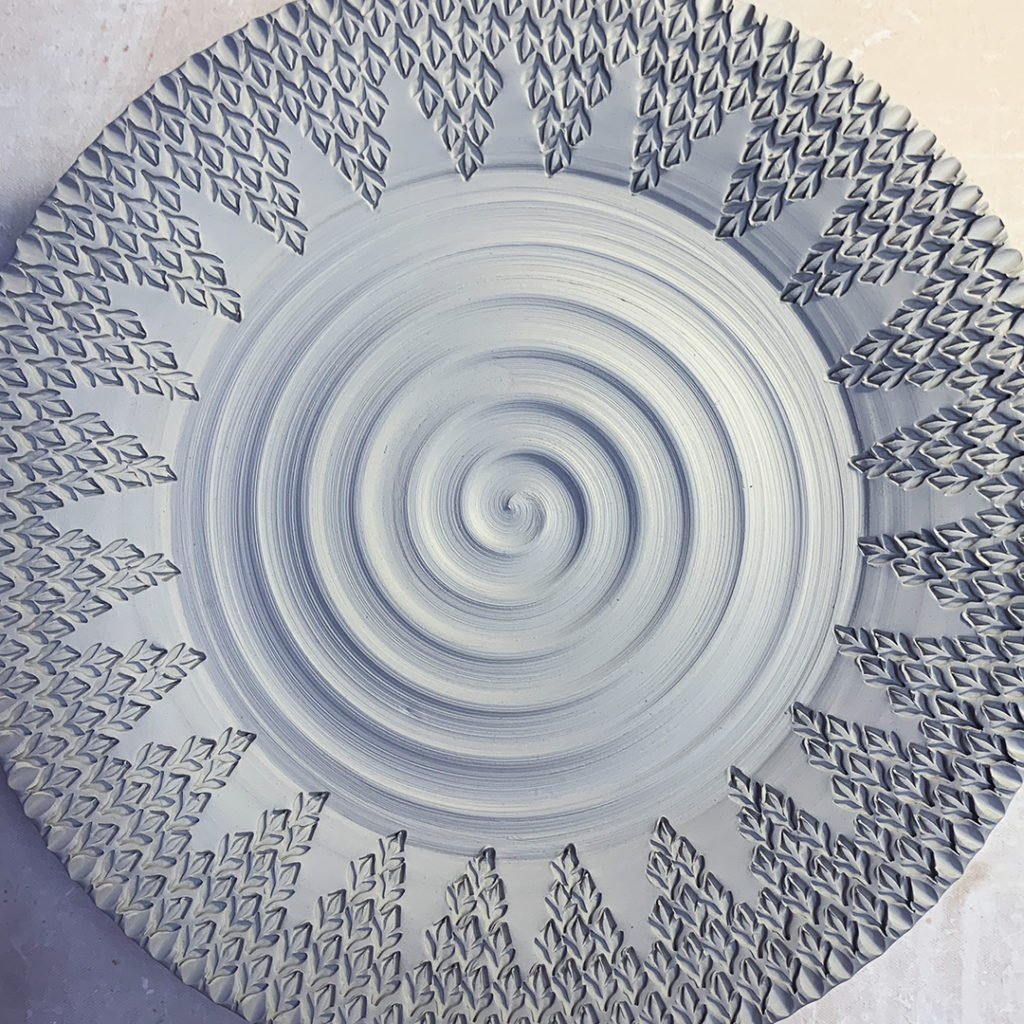
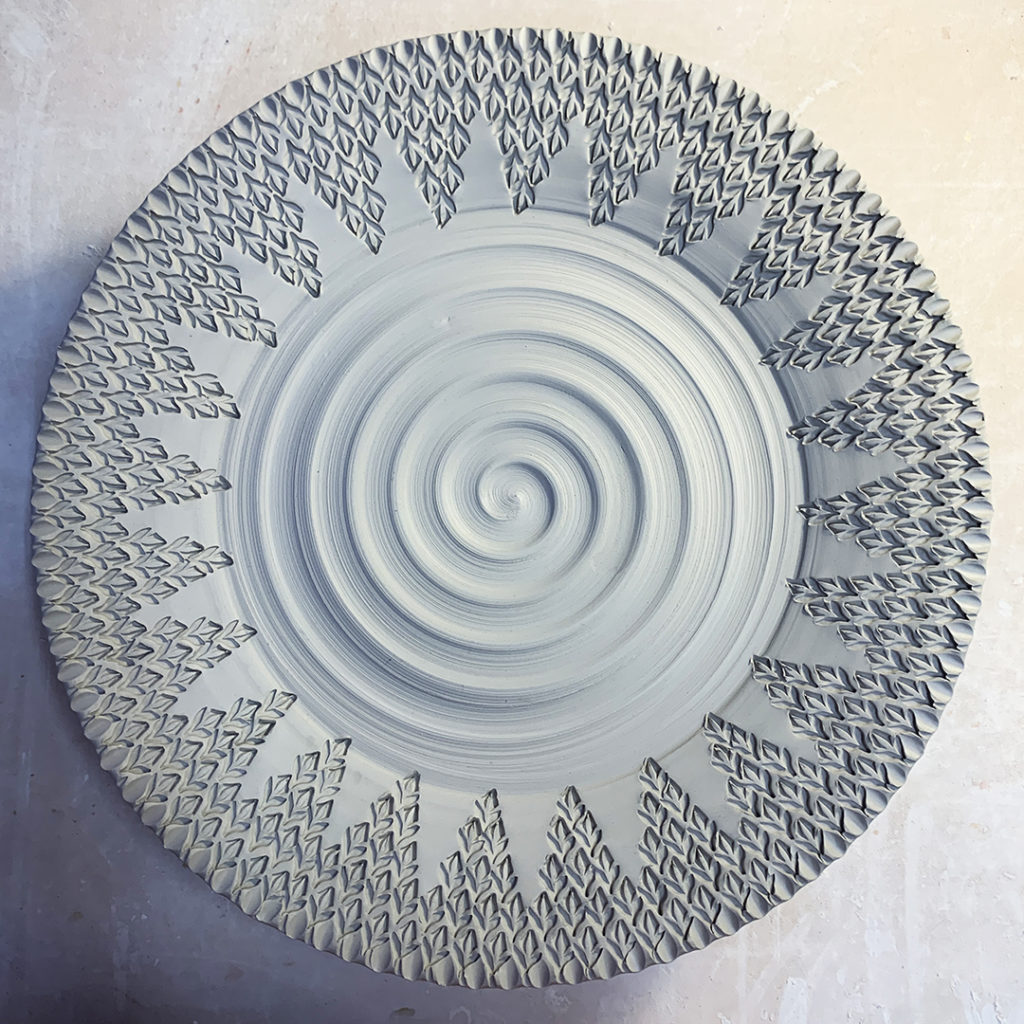
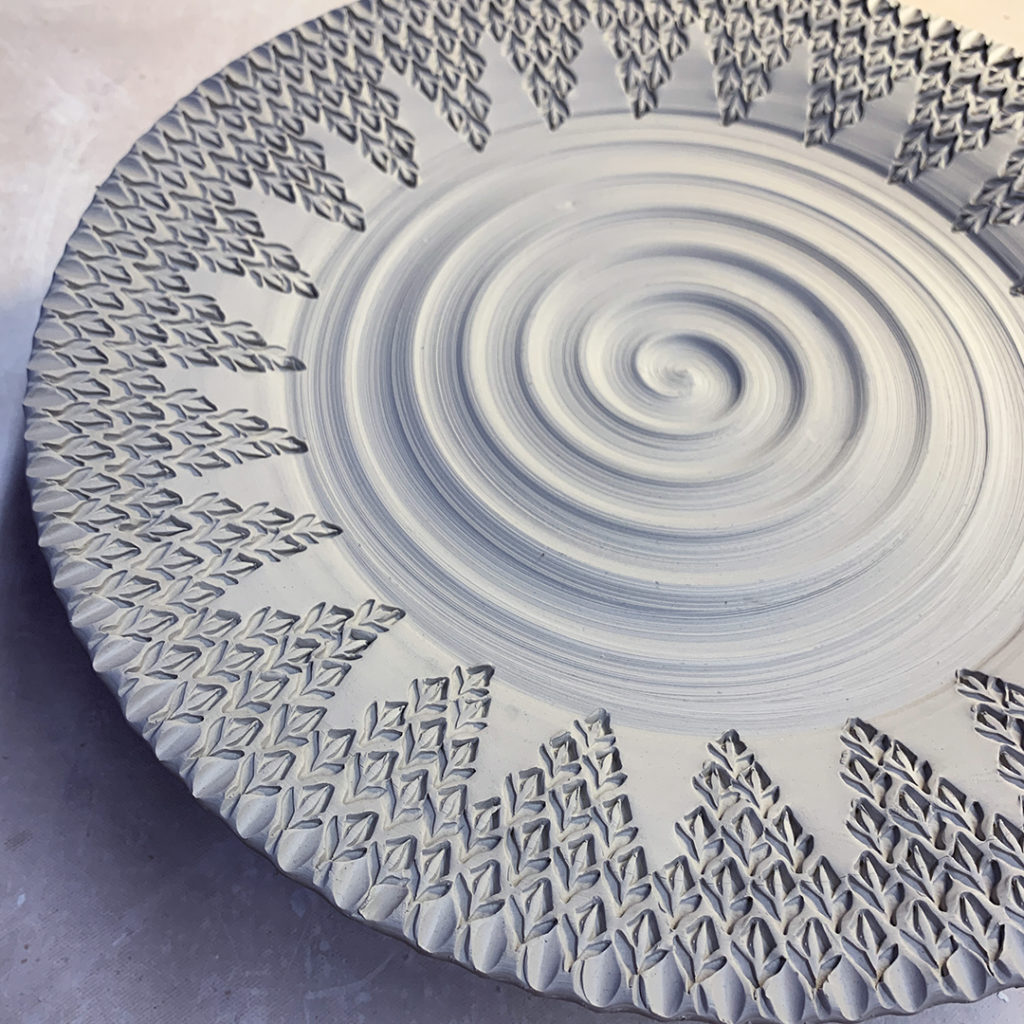
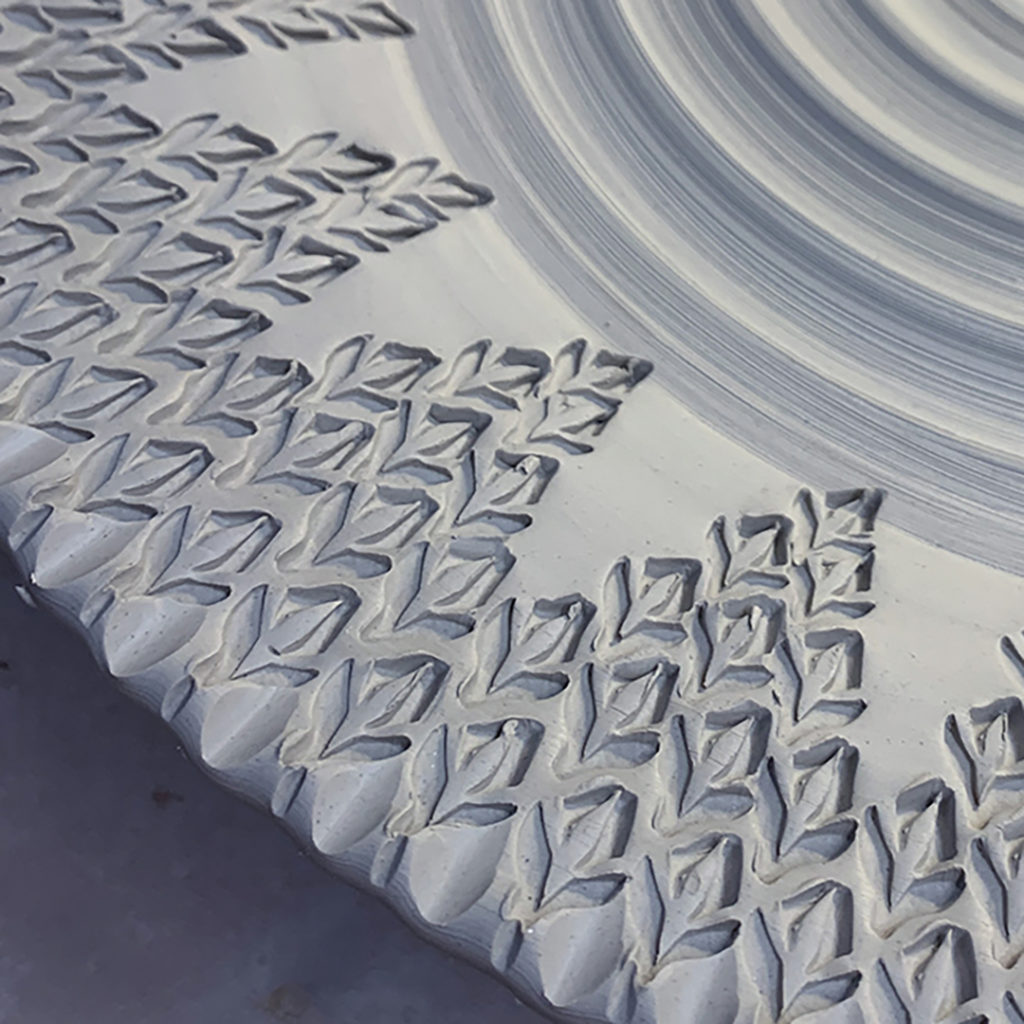
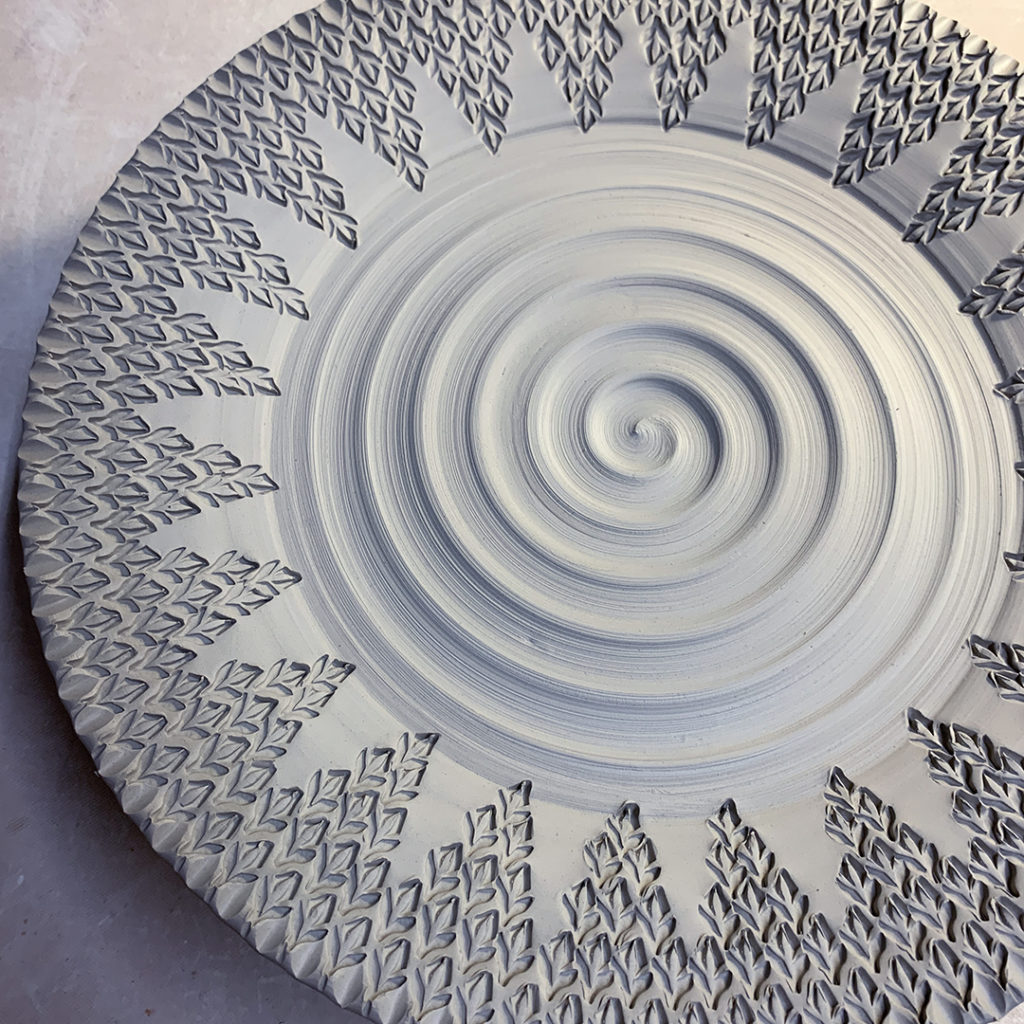
Celebrating another TEXTURE TUESDAY with a large stamped platter. Started as a plain class demo piece last week… but one single stamp pressed in over, and over, and over again made quite an impact. I’m digging the “starburst” effect that radiates out from the center!
|
Gary Jackson: Fire When Ready Pottery
Lillstreet Studios ∙ 4401 North Ravenswood, Chicago, Illinois 60640 ∙ 773-307-8664 gary@firewhenreadypottery.com |