Gary Jackson: Fire When Ready Pottery
A Chicago potter’s somewhat slanted view of clay & play
Categories: nature, pottery, process, production

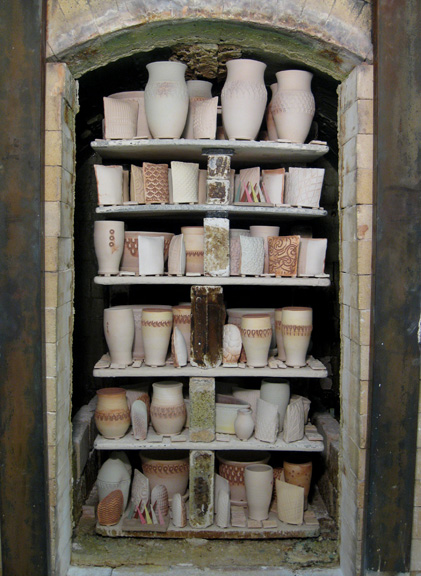
So today is the day that all of the work gets loaded into the kiln.
It’s a 3-dimensional, spatial relationship challenge! And I love it!

So you start at the bottom in the back – loading the first layer of pots.
Then you place the posts, as known as “furniture,” to raise the next shelf.
More pots, more posts, another shelf. More pots, more posts, another shelf.
All the while keeping the air flow and spacing in mind. Ideally, you want to
fill the space kind of evenly all the way to the top of the arched kiln ceiling.

It’s a great challenge to get as many pieces into the kiln while allowing for
proper air-flow to ensure good soda exposure and air flow throughout the kiln.
If it’s packed too tight the flames can’t get through the pieces and some of the work
comes out too “dry” and not “glazed” by the soda. If the kiln is packed too loosely –
I don’t feel that I have gotten my money’s worth in the firing!!!

gary-jackson-kiln-loaded

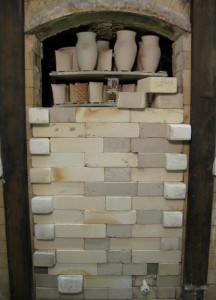
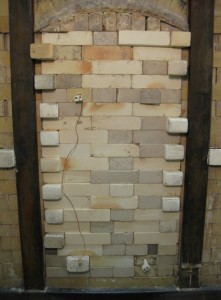
Once the kiln is loaded, the door is closed… one brick at a time!!!
With special cut bricks on alternating ends to help keep it tight side-to-side…
as well as carved arch bricks that fit along the top curve.

gary-jackson-kiln-door2gary-jackson-kiln-door1

Going, going…                                              …gone!

Categories: nature, photography, pottery, process, production, studio

As I prepare for my soda kiln firing this weekend, there’s been a lot of glazing
& wadding going on in the studio. Few people realize the huge number of steps
a piece goes through before it’s ready for use at the table. It’s not just a few minutes
of fun on the wheel… there’s countless hours of decorating, trimming, finishing
and firing… twice!

So I’m working every night this week trying to get everything glazed & wadded
for my firing. One of the benefits to the soda firing process, is that my glazing
is somewhat minimal. It’s mostly liner glazes and a few accents… with great
anticipation that the soda atmosphere will create the glossy “glazed” effect
on the sides of the work, along with some great flashing marks!

gary-jackson-glazed-in-process

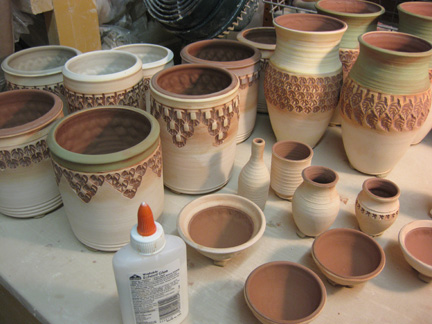
So every pot is glazed and cleaned up. You want to make sure that edges are crisp,
drips are wiped off and everything is ready to go. After liner glazes & cleaning, I then
glue on little balls of wadding to the bottom of the pots. Wadding is a “soda-resistant”
clay-like material that helps lift the pot off the kiln shelves during the firing. The
concept is that it will keep pots from sticking to the shelves if there is an excess
of soda build-up.

Once they are lined & wadded, I separate them into different categories… some
of them waiting to be lightly sprayed with accent colors. Just a bit of color to work
along with the colored slips I’ve applied before bisque firing and the color flashings
the firing will create in the kiln.

gary-jackson-glazed-on-table

Then the pots get stacked back onto my rolling cart… which will make the journey
downstairs, in the rickety freight elevator, tomorrow to the kiln room for loading.
My hope is that all pots & tiles will be wadded and ready to go by the end
of tonight’s studio session. We’ll see… still have a long ways to go!

gary-jackson-glazed-on-cart

Categories: pottery, process, production, studio

Like little soldiers ready to go into battle…
my new salt & pepper shakers are all lined up and ready to be glazed.

And since my soda kiln is loading this Friday night and firing on Saturday…
no better time to get started, huh?

gary-jackson-bisque-sp1

Categories: bike, process, sunrise

I submitted my income taxes late last night.
Feels good to have it done… thanks to TurboTax.
However… I paid a HUGE chunk of change to the IRS… thanks to no one.
I kinda expected it… but it was a LOT more than usual!!!
I’m trying to get over it.

Today is a new day.
Taxes are done – and there was a beautiful sunrise to start my day!
I’m moving on…

gary-jackson-416-bike-in-trees

Categories: pottery, process, production, studio

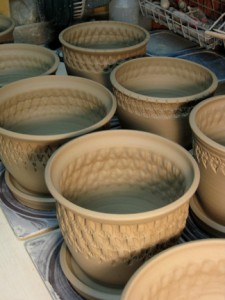
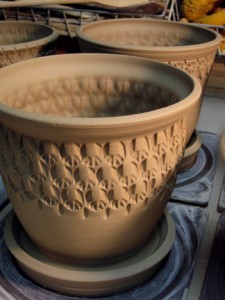
The weather may have been miserable today… too cold & rainy to play outside…
so I had some “quality time” to make some new pots in the studio!
“Hope springs eternal”… or, based on today’s weather… Spring hopes eternal!!!
Either way… Spring is in the air… so it’s time for some new flower pots!!!

gary-jackson-flower-pots2

They’ve been thrown and stamped… now they just need to be trimmed, have drainage
holes pierced through, slip decorated, dried, fired, glazed and fired again!
Just in time for those summer plants on your back porch or windowsill!

gary-jackson-flower-pots1gary-jackson-flower-pot

Categories: inspiration, photography, pottery, process, sunrise

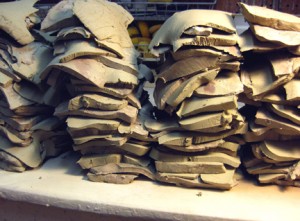
Oh, what to do with all those dry clay scraps?…
Well, turn them back into new clay again of course!!!
Yep, all of those dried trimming scraps can be re-hydrated into new clay
and used again to make a new pot!

So I take all of my trimming scraps and allow them to dry out completely.
I keep them in a large plastic bin for “safe keeping.” When there’s a good amount
of them, I fill the container with water just above the clay level. The water will soak
into the dry clay and allow it to “slake” down. After the clay has absorbed the water,
I let it sit for weeks… or at least until I feel I have time to deal with it.

When I feel that the dried clay is rehydrated, and the majority of the water has either
soaked in or dehydrated, I scoop out handfuls of the new clay mixture and place it on
a large slab of plaster. This will help draw the excess water out of the mixture. I typically
leave the pile of clay sitting on the plaster bat for a few days until enough moisture has
been drawn out and the mixture is now close to a normal clay consistency. Then, I take
the clay off the plaster bat and get ready for some “heavy lifting.”

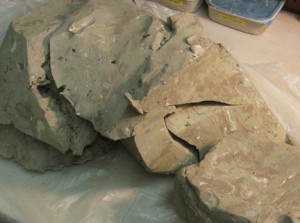
gary-jackson-reclaim1

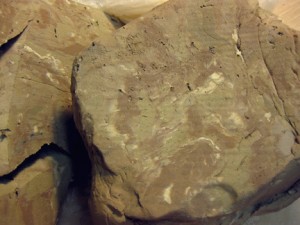
gary-jackson-reclaim2

As you can see, I don’t worry too much about what kind of clay scraps get into my reclaim.
In fact, some of my other studio mates don’t reclaim their scraps… so them give them to me!
You just need to make sure that all clay going into your reclaim bin is rated for the same
kiln firing temperature.

I then take slices of the new clay, and interleave them with layers of fresh clay straight out
of the box. As the majority of my work is fired in the soda kiln, I generally use fresh
soda clay when I’m layering so that I know that at least half of it is for the soda kiln.

gary-jackson-reclaim3

Now that I have stacks of mixed clays, I start pounding them together. It’s actually
easier than it sounds. Just pick up the entire stack, and slam it back down onto the
table. Cut it in half, stack the halves on each other – and slam it down again.
Slice-stack-slam-repeat. Slice-stack-slam-repeat. And so on… and so on…

gary-jackson-reclaim4

Seen above, I’ve only sliced, stacked & slammed once. See the layers are still apparent?
Assume you are starting out with 10 layers. Slam them down, cut it in half, stack it on itself…
now you have 20 layers. Repeat… and now you have 40 layers. Repeat… and now you have
80 layers. Then 160 layers… 320 layers… 640 layers… etc. So the more times you do it,
the thinner the layers become and the more incorporated your different layers become.

Once I have sliced & slammed the clay and feel that they clay is well incorporated, I pound
roughly into cubes and store it in recycled clay bags. This reclaimed clay is now ready to go!
Yesterday, I reclaimed over 175 pounds of recycled clay – that would have otherwise been
thrown away. Even better… with just a little effort, it’s like FREE CLAY !!!

Categories: pottery, process, production, stamps, studio, tiles

Spice it up with textures & tiles…
and trying to combine the two into new salt & pepper shakers!

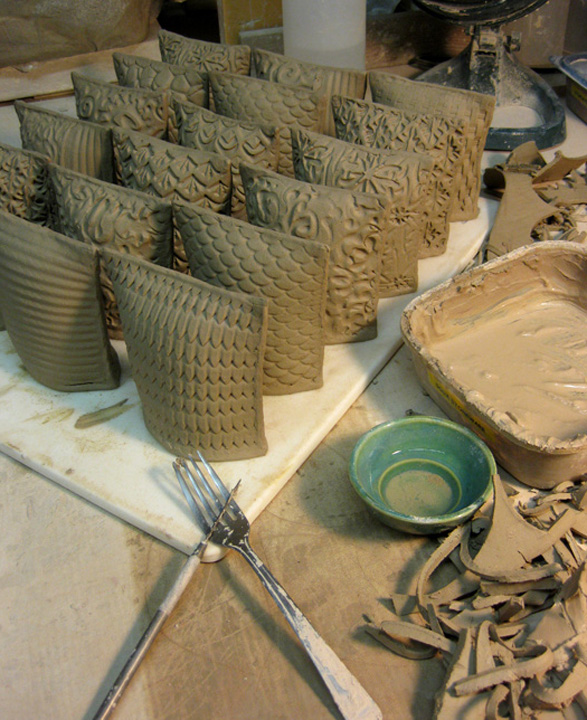
So I’ve been working on a new batch of shakers that combine the textures
of my tiles, the soda fired colors & flashing – with the functionality of
salt & pepper shakers! They’re still in the works… with trays to come!

gary-jackson-tile-sp-production1

Once the shakers are built, I’m applying a thin coat of soda slip on some
of them to give them different colors & flashing effects to be created in the
soda firing atmosphere. Seen below before & after…

gary-jackson-tilesp21gary-jackson-tilesp11

Categories: pottery, process, production, stamps, studio

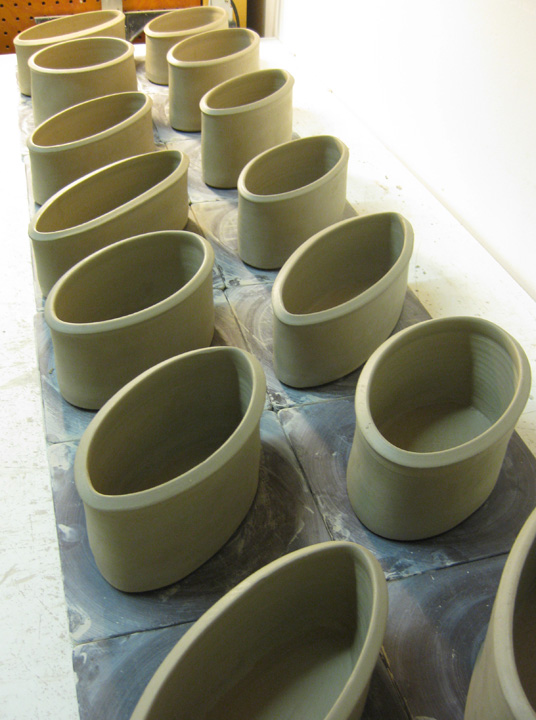
Back in the studio… making oval vases again.
First thrown as a bottomless cylinder, then squished into an oval, then
the floor is added… and then ready to be stamped! It’s ovals… before & after!

gary-jackson-ovals-plain2

gary-jackson-ovals-stamped

Categories: bike, photography, pottery, process, production, stamps, studio

So tonight I put some “finishing touches” on the mugs!

As part of the soda-firing process, a lot of the color accents achieved
come from colored slip applied to the surface. Slip is just watered down clay
with special chemical colorants added. These chemicals react to the
soda atmosphere and create dramatic colors and random flashing marks.
Slip generally needs to be painted onto the clay body while it is wet
or leather-hard. I typically paint the slip on after stamping, trimming
and applying handles. It’s usually the last step before I let the pieces air-dry.

Tonight I painted slip accents onto the mugs… both along the top rims
and some of the smaller details inside each of the stamps. Yes, it’s true…
each and every little stamp, one by one… each one with a touch of slip!

gary-jackson-slip-painting-mug

Now that they are all painted, I can let them air-dry… and then bisque fire
the mugs when I accumulate a kiln-full of greenware (dry clay). Once fired,
the mugs will be glazed and fired again. A few more steps in the process…

gary-jackson-mugs-drying

Categories: bike, nature, pottery, process, production, stamps, studio

One of my favorite things to make… mugs!

Many potters despise the process; mostly because of their fear of handles.
But I enjoy making the smaller, personal items that become part of people’s
everyday rituals. The morning coffee, the winter’s hot chocolate, the cup of tea
for those feeling under the weather… or in my case… ice cold grape pop!!!

So I’ve spent the past few days working in the studio on a new batch of mugs.
Nothing fancy – just trying to get back into the swing of things and restock
the “art fair inventory.” And I thought I would try to show you some of the steps
along the way.

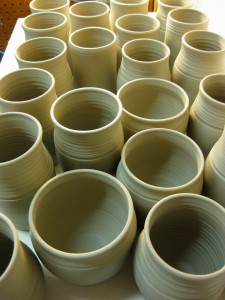
First, I start by throwing the basic cylinder shapes. I prefer to work
in “batches” instead of singles. I like the production aspect of it all.
Creating a quantity of something… then moving on to the next.
gary-jackson-thrown-cylinders

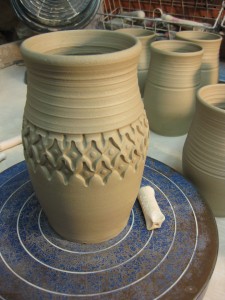
When they are a fairly damp “leather-hard” I begin the stamping decoration.
I make my own stamps out of a piece of clay. I roll it into a coil, carve a pattern
into both ends and bisque the stamp. One stamp pressed in repeatedly can create
a wonderful pattern around the cups. The trick is to get the pattern to line up
when you get back to where you started!!!
gary-jackson-stamped-mug

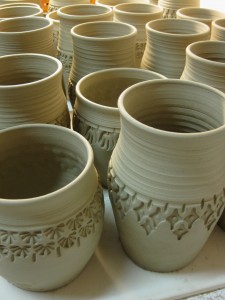
After they are stamped, the bottoms are trimmed. It’s a fairly simple process
where you turn the cylinder upside down on the wheel, center it, attach it,
and then trim away the excess clay while it is spinning. Think of it as very
similar to a wood lathe. Spinning fast, trimming fast. Trimming helps remove
the excess clay where it attached to the wheel, as well as allowing me to trim out
the bottom to create a finished looking foot ring.
gary-jackson-stamped-mugs

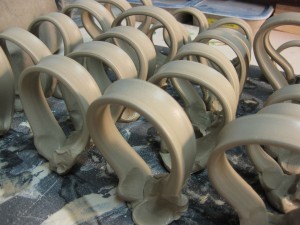
After trimming, the handles are pulled and allowed to stiffen up.
Once they are no longer sticky, wet or mushy, I can apply them
to the side of the cylinders to create a “not-quite-so-instant” mug!
gary-jackson-pulled-handles

To attach the handles, I cut out the section of the strap that I need…
then scratch & slip both the ends of the strap and the attachment points.
The scratching works like Velcro, the slip works like clay glue. Together,
it creates a strong bond when attaching clay to clay.

gary-jackson-attaching-handles

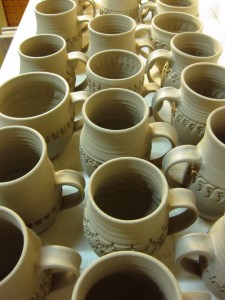
After attaching the handles, I take a few extra moments to smooth them out
and give them a finished look. I then set the mugs aside and cover them with
plastic to help them dry more slowly. I like to keep them covered for at least a day
to help the moisture level of the mug and handle equalize a bit before full drying.
gary-jackson-rows-of-mugs

Once the mugs are done and all handles are attached, I will paint some colored slip
on the mugs that are going to be soda-fired. The colored slip will help add some color
to the final mugs – as well as reacting to the soda environment of the kiln to create
some wonderful flashing effects.

After slip painting, the mugs are allowed to dry slowly. They then need to be bisque fired
to approximately 1850-degrees. This makes them hard yet porous. Next they are glazed,
wadded and fired again. The final soda firing takes around 13 hours to reach the top
temperature of 2350-degrees. The kiln will cool for a full day, and be unloaded the next.

All of that for a simple mug.