So while I was “trapped” at the studio all day long… even longer than expected…
I needed something to keep me busy. So I kept glazing. Remember the “two-week”
quickly kiln that I’m sharing with Karen Patinkin? Well, we’re finally getting around
to firing – next Wednesday. So I used today to glaze a bunch of pieces for next week’s
cone 10 reduction kiln. It’s been a busy couple a days!!!
I’ve been planning in doing this forever… good intentions… but something else
always seems to come up. Until tonight. I finally got to it.
One of the best ways to get some good color in the soda kiln is with special slips
designed to “flash” in the soda kiln atmosphere. And it seems like I always fall back
onto my “favorites” that I use all the time. But when you look in my studio, I have
quite an assortment of slips. Many of them thanks to Emily Murphy who bequeathed
her “stash o’slips” to me when she packed up her studio and moved to Minneapolis.
So my plans has been to make test tiles for all of the slips… using one of my own
textures and firing them in one of my kilns. So I finally loaded them in tonight up on
the top shelf. I’m hoping to get some dramatic flashing results that demonstrate how the
slip reacts. My fingers are crossed… and I’m glad that my plan finally came together!
Tonight I loaded my soda kiln… after a LOT of glazing & wadding. It’s been days…
Seems like I’ve been glazing quite a bit over the past couple days. Trying to maneuver
through my studio glazing pots, and working my way around stacks of bisque.
It’s always a guessing game of how many pots will actually fit into the soda kiln.
So I try my best to gauge it as I go… and trying to wad each piece along the way so I
don’t get slammed in the end with just a ton of wadding! So it finally all came together…
and after four straight hours of loading “fun”… my soda kiln is all bricked up for the
night and waiting for the big firing day tomorrow!
The soda kiln is three shelves deep. So I always stack the back shelf by itself,
all the way to the top. Trying to squeeze in as many pieces as I can, while still allowing
enough air space for the soda to travel through during the firing. Each time…
I get concerned that I’m packing it too tight!? But I really need to get my money’s
worth out of the kiln firing! So here’s the back stack…
And then I finally packed the stack in the front – two shelves in each layer. Piece by piece…
ornament by ornament… mini by mini… again, squeezing in as any pieces as I can.
Did I do too much?!… We’ll see when I open & unload the kiln Monday night.
Well, it’s Week #4 of the Spring Session at Lillstreet Art Center.
And most of my beginners are doing great… and those who aren’t,
are at least doing good and having a great time! So that counts for something, right?!
Tonight was “bowl night” in class and I demo’d how to make bowls on purpose
instead of a cylinder-gone-bad-and-oops-there-it-is-now-a-bowl. As we make the bowls,
I also encourage my students to design, alter & be creative with their bowls. Sure,
they need to make the typical round bowl. But I also like to open their eyes to some
of the other possibilities. There are a LOT of round bowls out there… why not express
yourself a bit to make that round bowl something special?! So, as part of the demo,
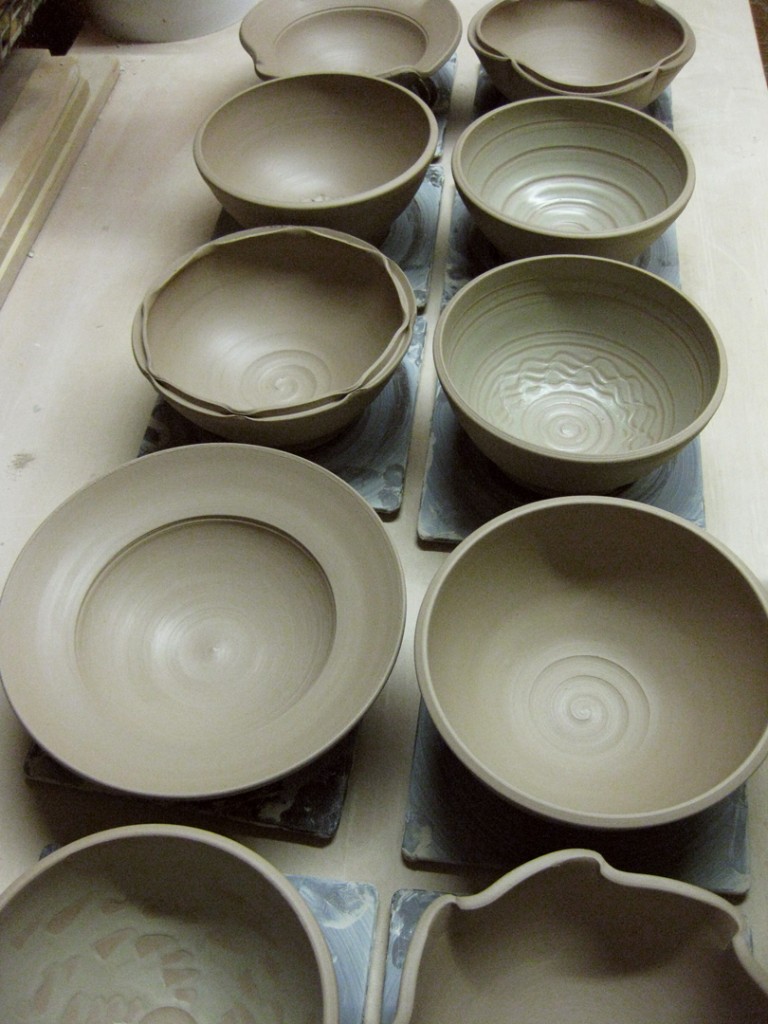
I threw ten “practically identical” bowls and then showed them how to do some quick
alterations, and introduced them to the world of colored slips! By the end of the demo,
the ten bowls were each very DIFFERENT bowls… and quick too!
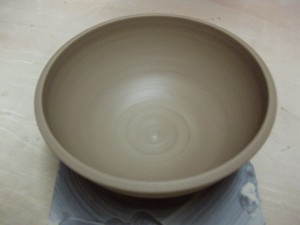
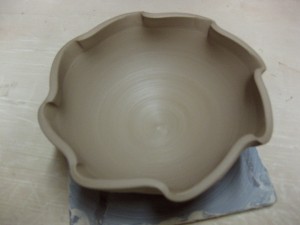
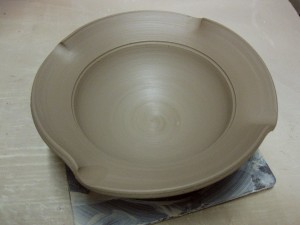
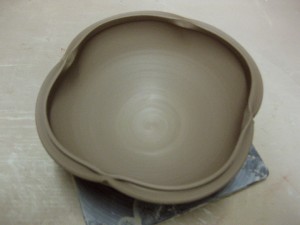
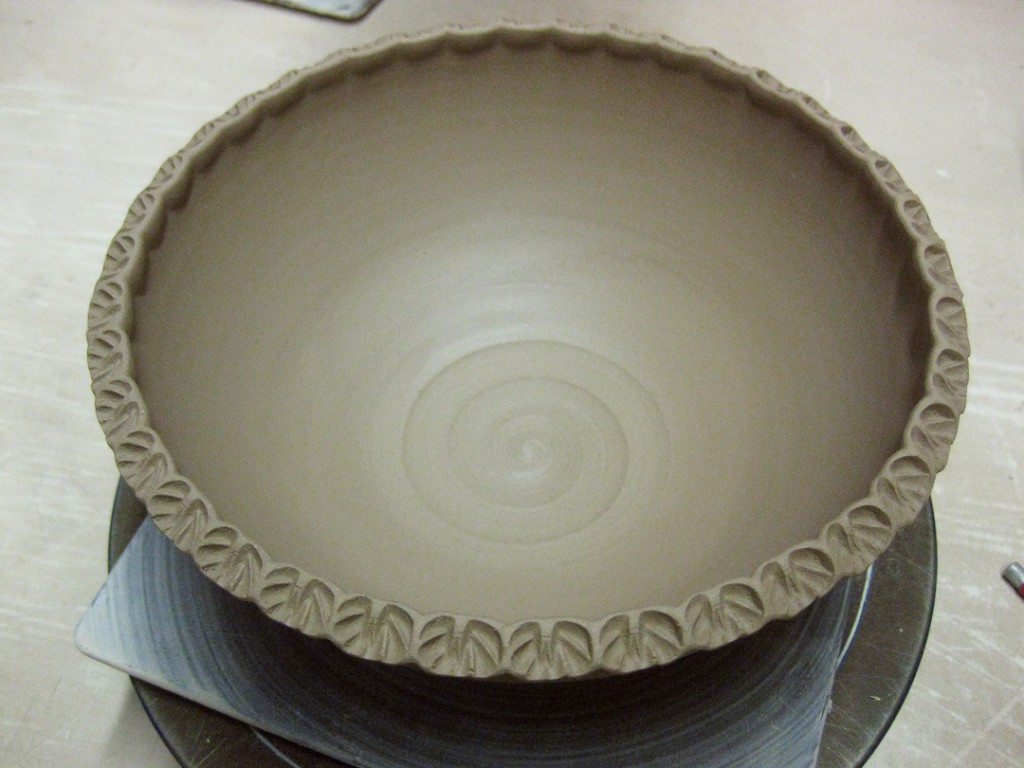
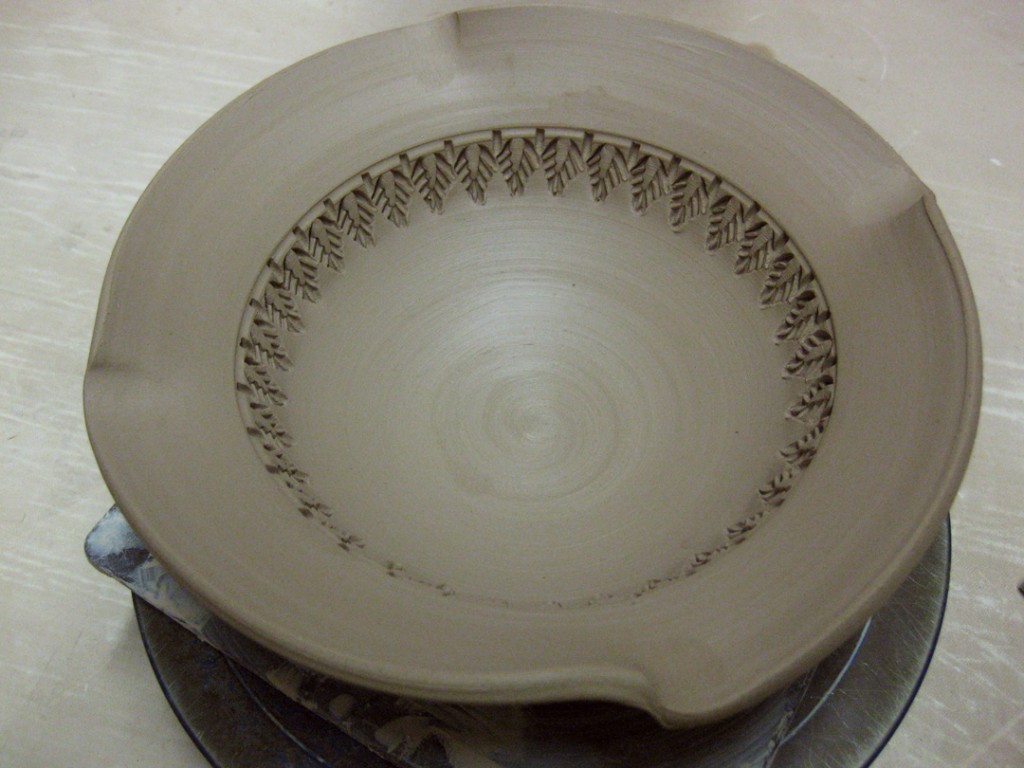
Bowl #1: Plain — Bowl #2: Fluted rim edges
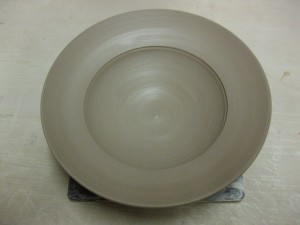
Bowl #3: Flared flange — Bowl #4: Flared & fluted flange
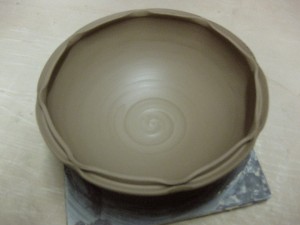
Bowl #5: Split rim & pinched — Bowl #6: Split rim, pinched & squared
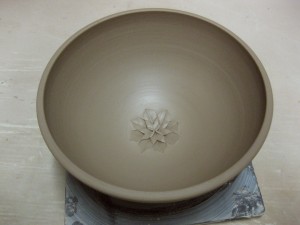
Bowl #7: Flower impression — Bowl #8: White slip spiral
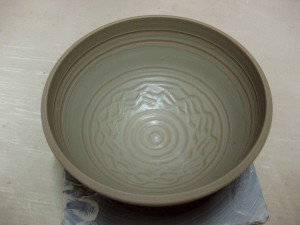
Bowl #9: White slip squiggles & line — Bowl #10: White slip chattered
Every time I do the bowls demo, for some reason every one is impressed by the ease and
simplicity of the little flower impression in the bottom of this bowl. A lot of people assume
that it’s a stamp… but instead, it a few impressions with a simple metal tool to create the
flower. I think I got the tool for a couple bucks at Chinese Clay Art. It always makes a
great “surprise” for someone eating out of the bowl when they get down to the bottom!
So there they are… bunches of bowls ready to set-up for the night, dry to leather-hard,
maybe some stamping, then some trimming before they head off to a bisque kiln.
With all of my new bisque work unloaded, it’s time to start the glazing process
for my next soda kiln. Luckily, for my soda pieces, I don’t need to glaze a lot.
I typically inlay glaze into the stamps, and then do a quick liner glaze… and that’s it.
So, here it is… I’ve started the glaze inlay process…
But there’s still a long ways to go…
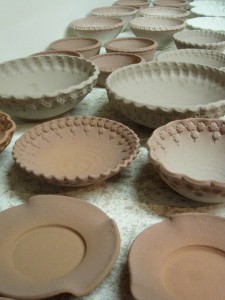
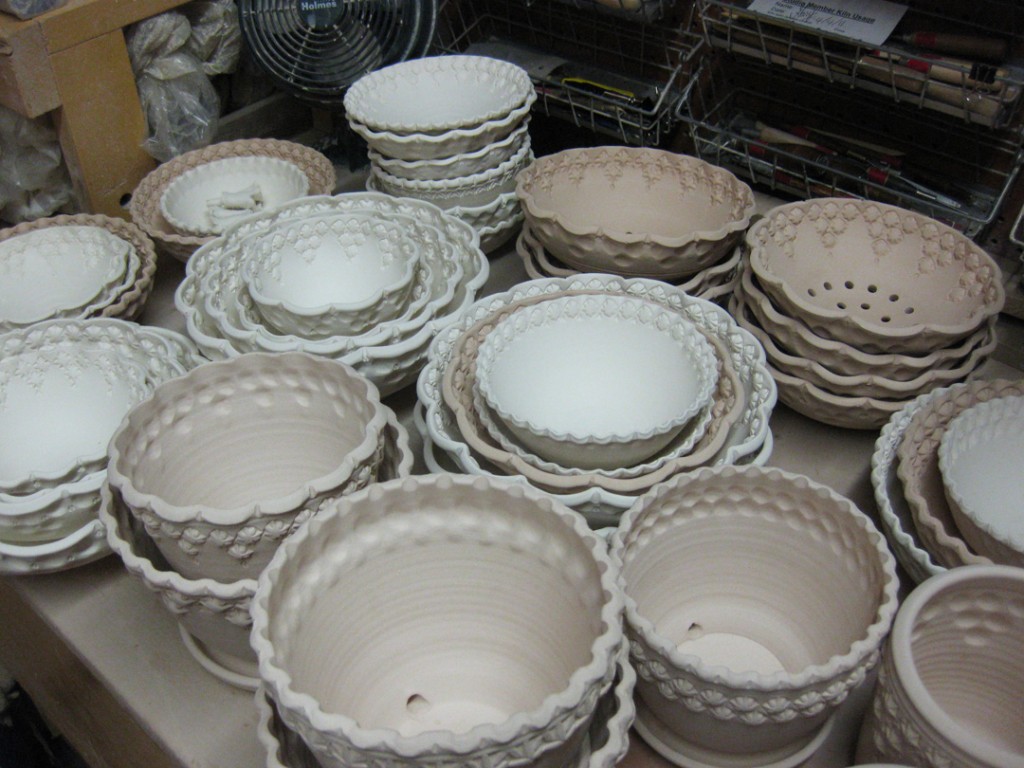
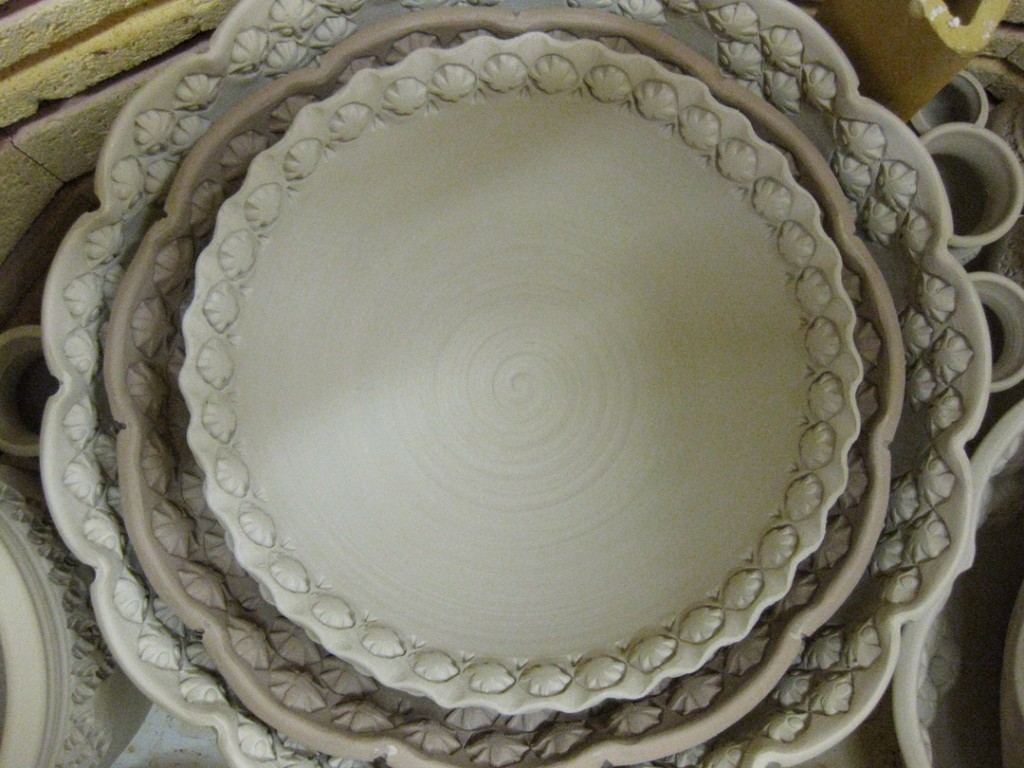
As I was loading the kiln, I was carefully stacking bowls…
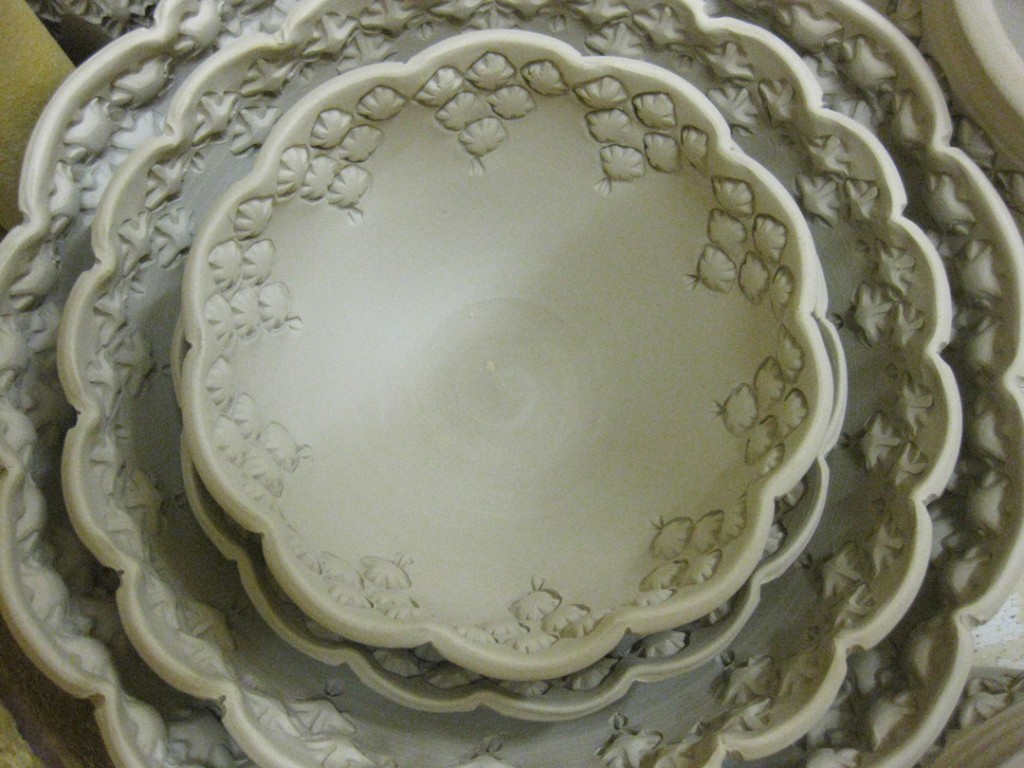
and began to notice how cool they started looking with the rhythmic repetition
of the curved & fluted rims, the details of the stamped details and the great shadows that
helped define the textures. I may have to consider this… and make some new nesting bowls?!
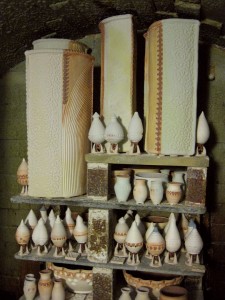
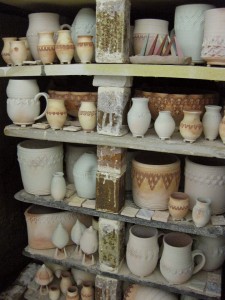
After weeks of working in the studio, it was finally time to load a bisque kiln.
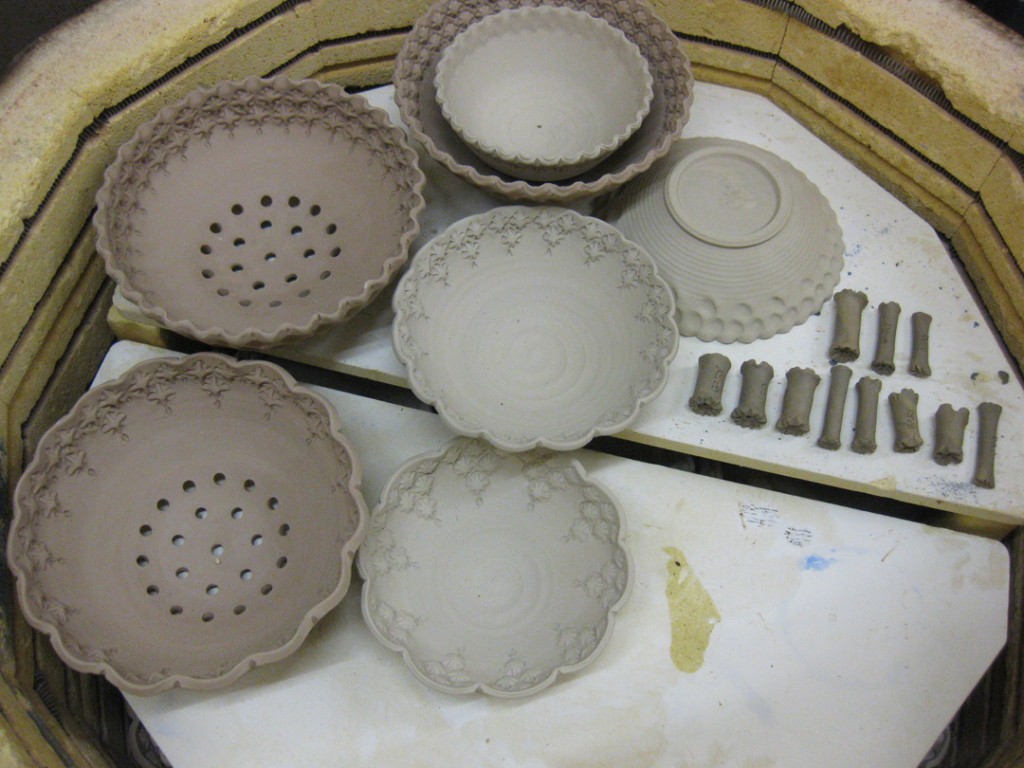
It’s always tough to determine how much will fit in the kiln. How many will stack?
How much will nest inside another. What will squeeze onto each layer? And so,
tonight I tackled the three-dimensional puzzle of stacking the kiln effectively.
You now how I hate to leave unused kiln space!!! It drives me crazy…
Layer One: flower pots, mini vases & more ornaments!
Layer Two: bowls, utensil crocks, mini vases & tripods!
Layer Three: bowls, berry bowls, utensil crocks and more tripods!
Layer Four: berry bowls, bowls… and some last minute stamps I made tonight!
And sadly, I didn’t do so good estimating this time. And there’s a little space left open
on the top layer of this kiln. I left a phone message with my potter friend Karen Patinkin
to see if she wanted to fill it in. The kiln turns on tomorrow morning… still waiting…
My answer is NO.
I love making small pieces that fit into all of the other pieces in the kiln.
Tumble stacked, piled together, nested, whatever it takes… a full kiln is a happy kiln!
I hate firing a kiln that is not well-packed. I feel like I’ve wasted space if it’s not full.
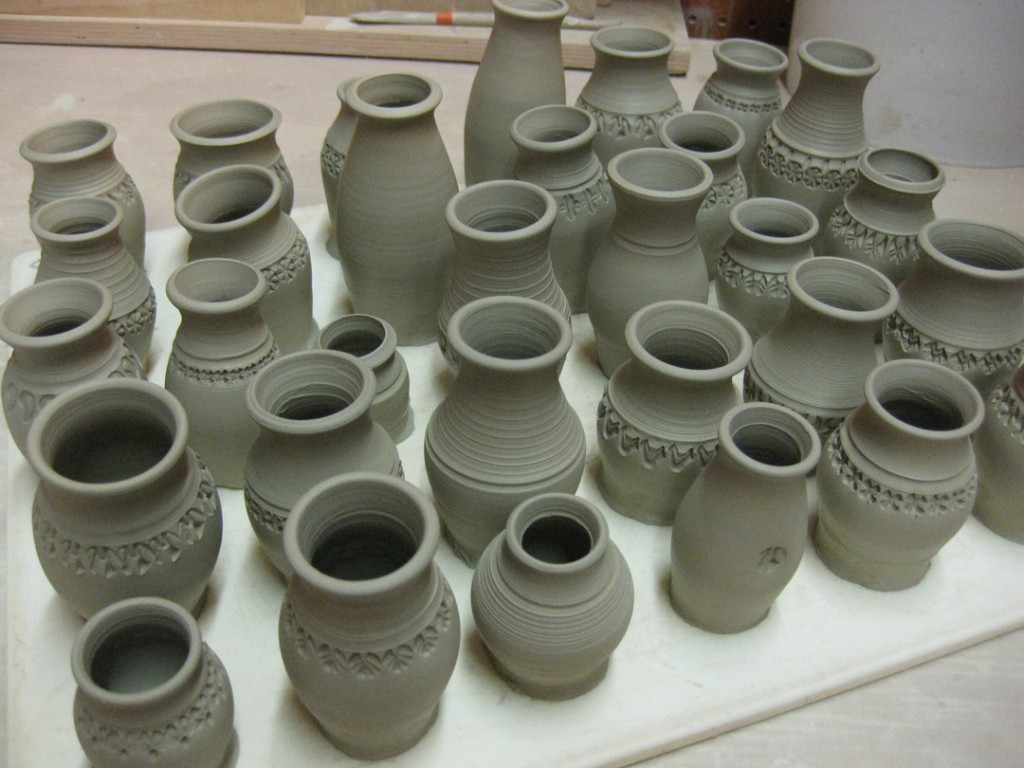
So the latest set of small bowls were intended to be “filler.” But then tonight I decided
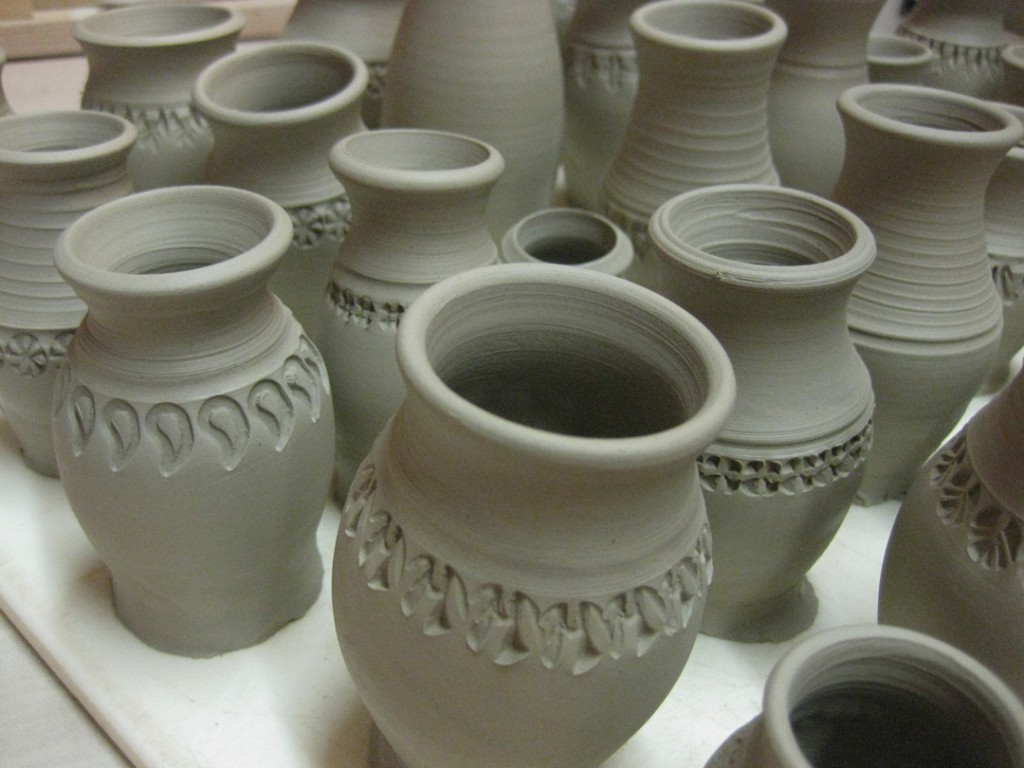
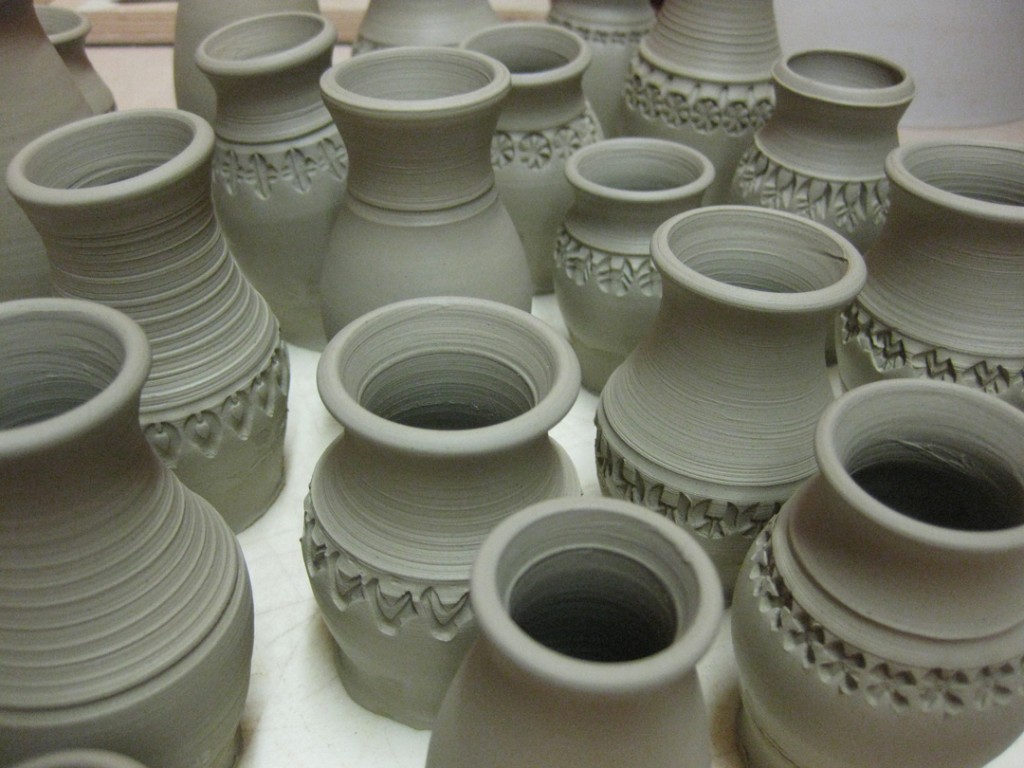
to make even more! And even smaller! This time… I made a full batch of miniature vases!
So I threw them all “off-the-hump” and let them sit for a few minutes.
Then I back-tracked and started stamping the first ones as they were already getting stiff.
So now there’s even more to trim!… and even more to pack into my next bisque!!!