Gary Jackson: Fire When Ready Pottery
A Chicago potter’s somewhat slanted view of clay & play
Categories: glaze, process, production

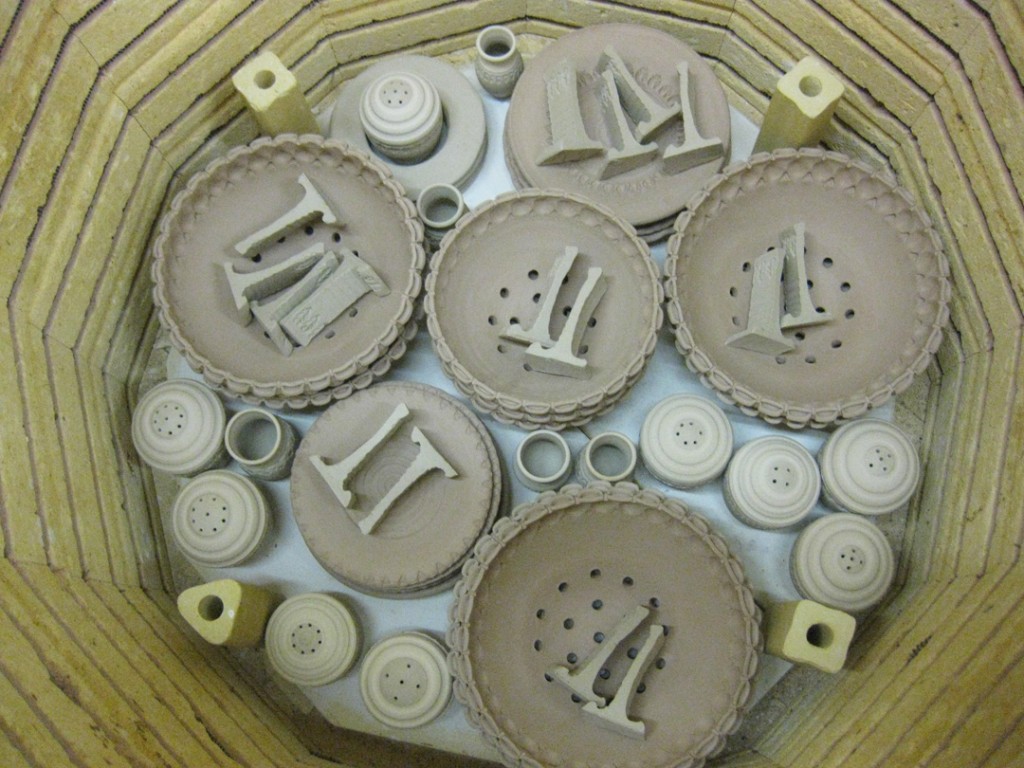
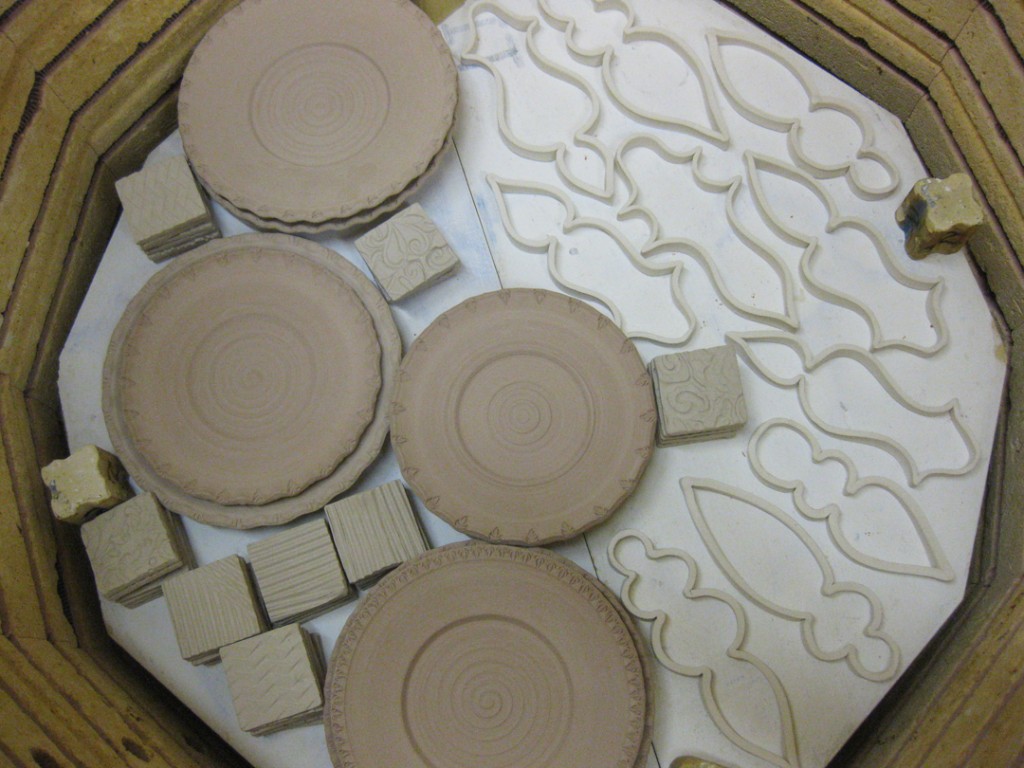
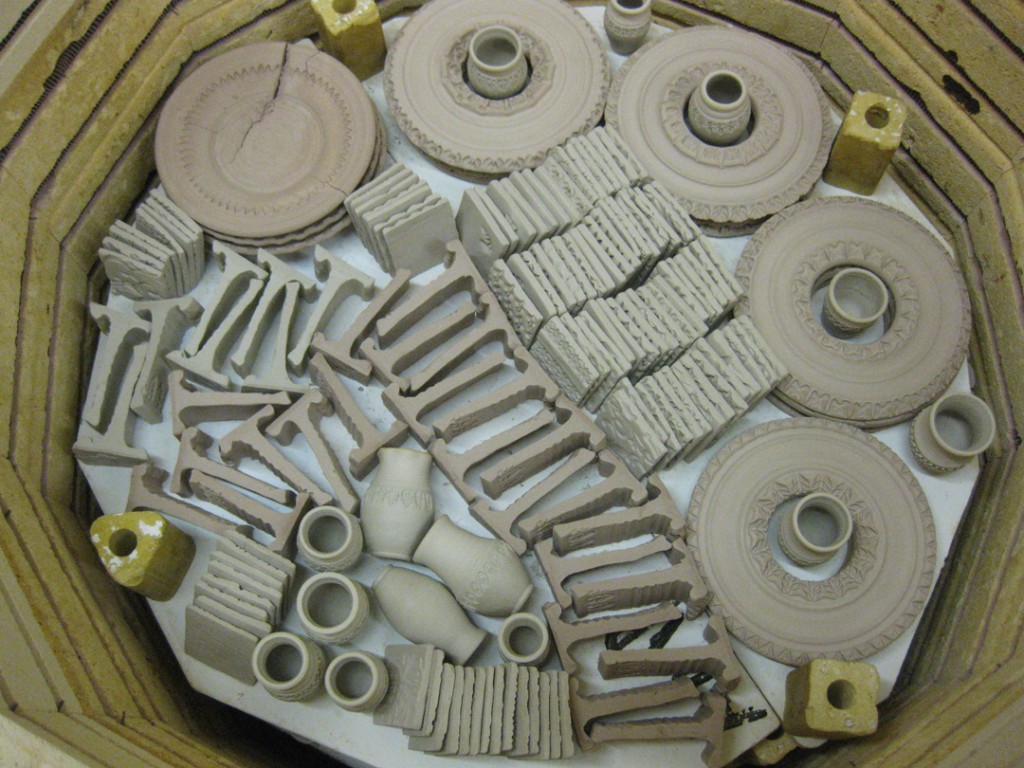
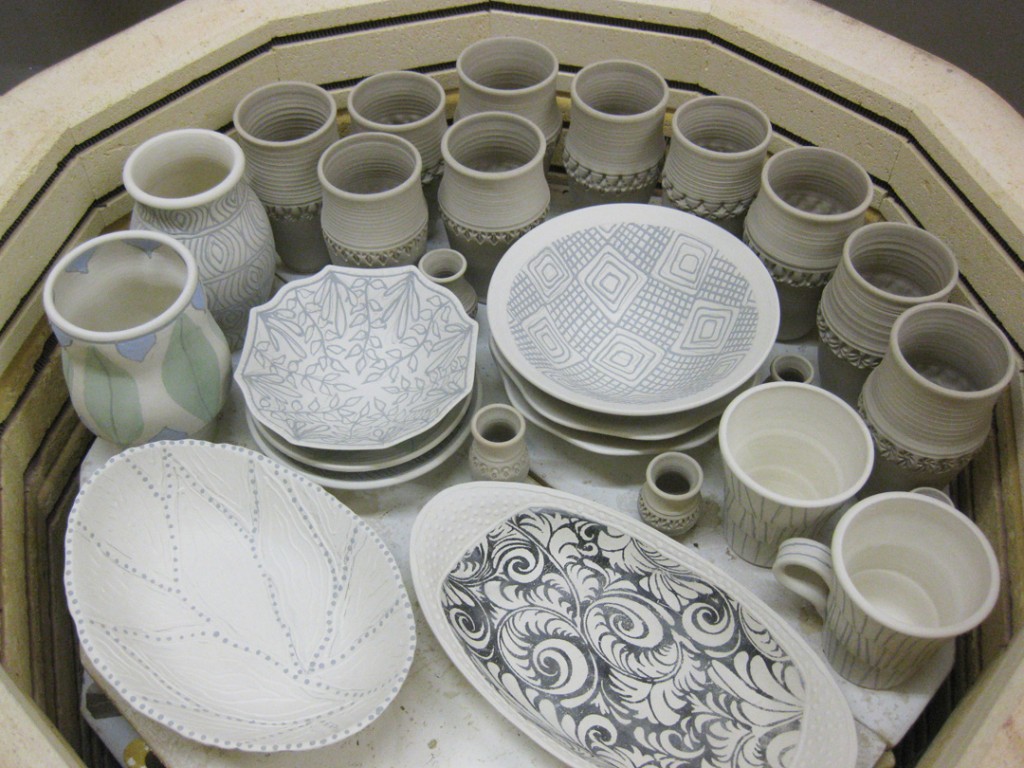
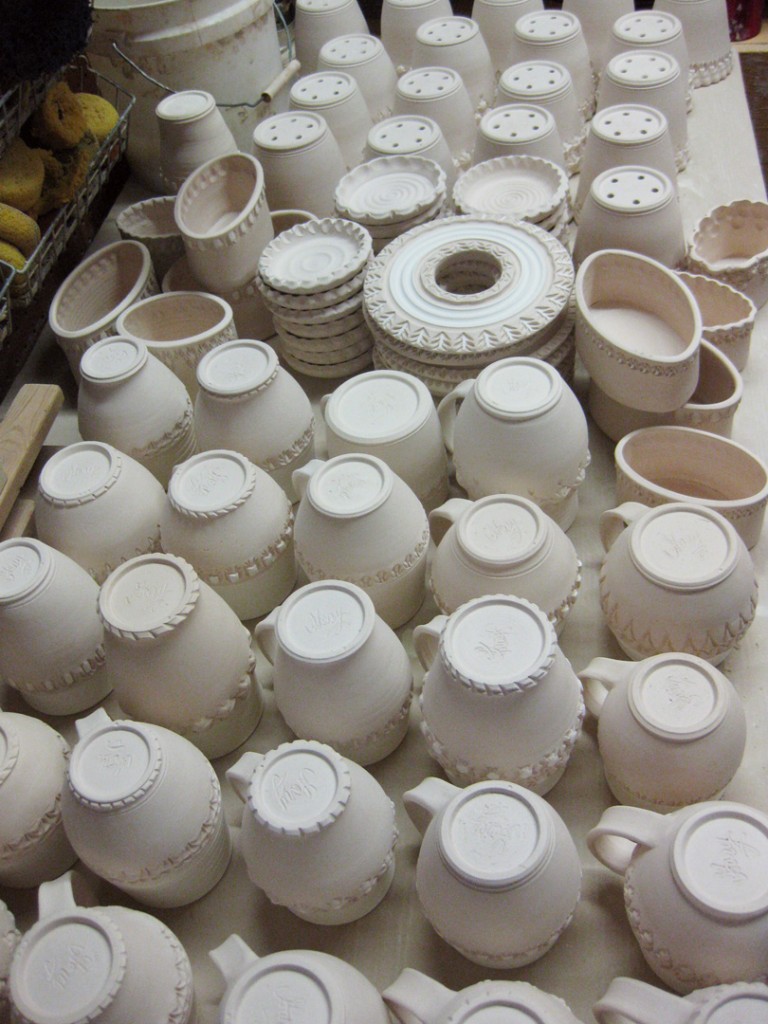
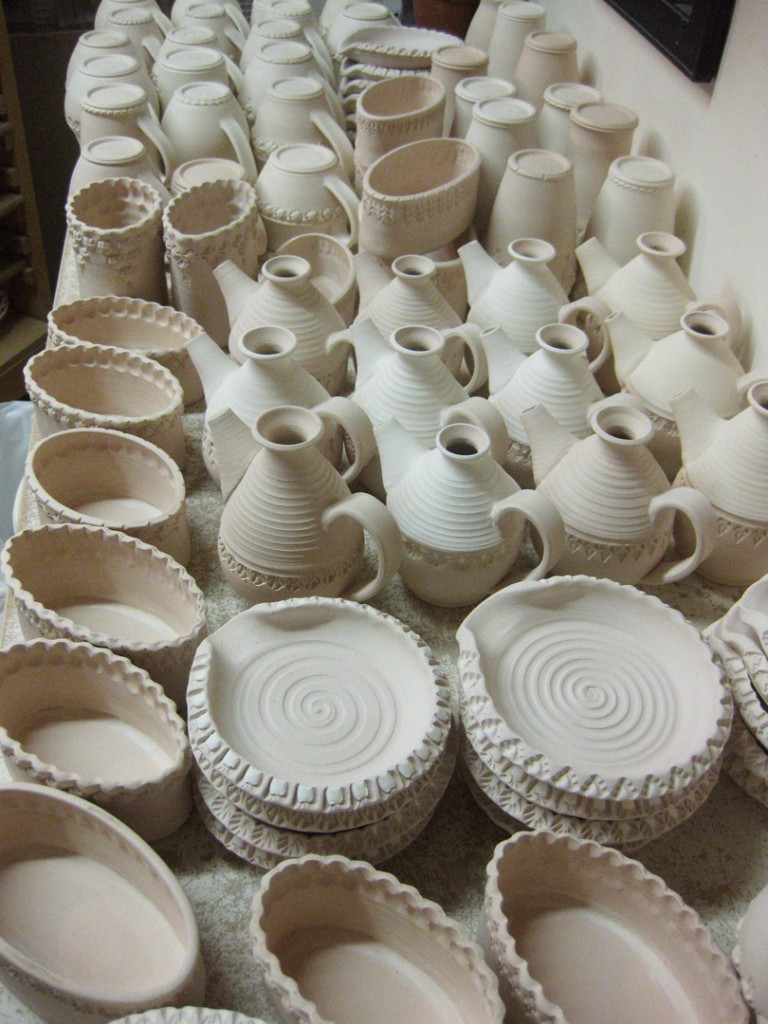
So I pulled out all of my bisque today to start the glazing process. Which I must admit is my least favorite part of the whole process?! Every time I start I keep thinking that I need to find someone to do this for me?! Ha… like that will ever happen?!

And this is just the first half…
there’s another bisque kiln firing that I still need to unload & glaze as well!

Categories: kiln firing, process, production

After my “greenware explosion surprise”... I was ready to some quick loading. Quick because I really wanted to get home for a goo night sleep in my own bed!!!

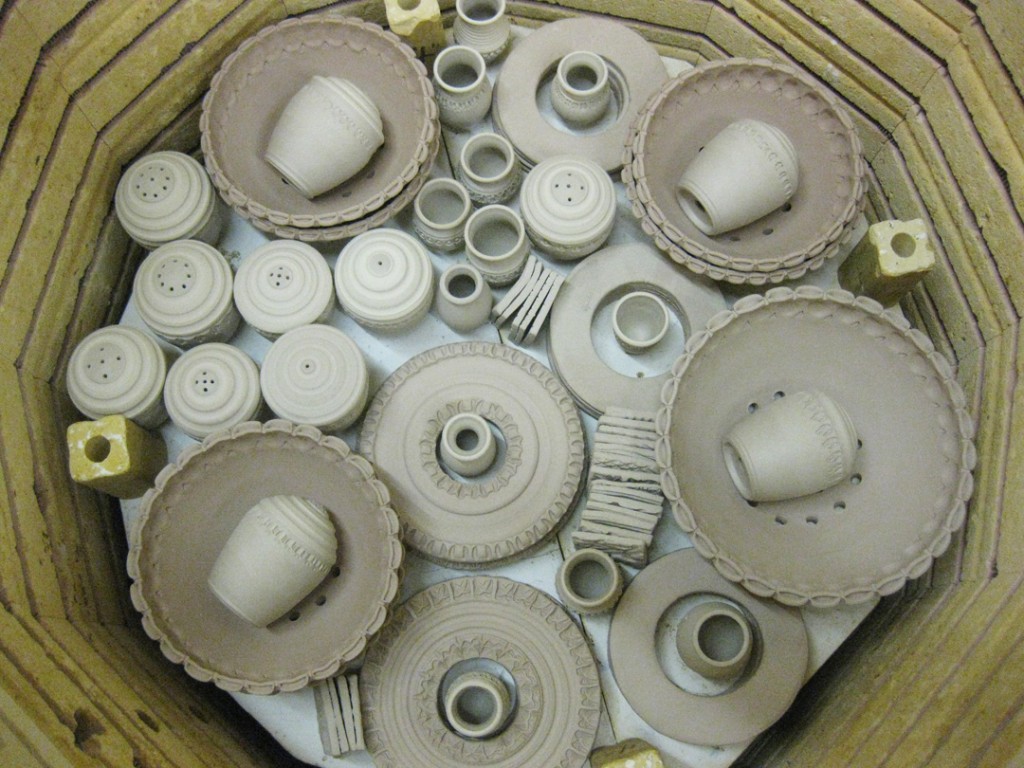
Layer 1 – bowls, salt & pepper shakers, mini vases & glaze test tiles

Layer 2 – plates for berry bowls, tiles and some porcelain Christmas ornaments.

Layer 3 – More berry bowls, salt & pepper shakers, ikebanas, tiles and mini’s.

Layer 4 – More ikebanas, more tiles, more glaze test tiles and the “exploded” greenware plates!
Really no good reason to glaze them… other than a souvenir and visual “evidence” of my story!

Layer 5 – tumblers, a couple mini’s and some porcelain pieces by studio neighbor Karen Patinkin.

Categories: kiln firing, pottery, process, production

After a LONG day in the car driving home from Minnesota, we finally made it to my parents house where we switched cars and I continued back into the city. It was late. I was tired. But I knew that I still had work to do. With my next soda kiln less than a week away, I knew that I had to fire one last bisque kiln if I was going to have time to glaze the pieces. So it was a very late night at the studio loading my bisque kiln.

So there I was bringing pieces in from my studio, and taking them down from the shelves in the kiln room. Only to notice some “explosions” on three of the berry bowl plates! And I have no idea what happened?! Three of the plates appear to have had “explosions” while I was out of town.

So here’s the sequence of events… I threw the plates. Dried them to a soft leatherhard. Did a little stamping. Dried some more. Trimmed them and then let them dry in my studio. The next day, I stacked them up and took them down to the kiln room for storage. There were five stacks of four plates. Now I know for a fact that I would never stack plates  if there was ever a chance they were still wet. So the tray of plates was sitting in the kiln room for a couple weeks while I continued to make more work in my studio. And I do this all the time. I frequently have trays of greenware drying until I load my next bisque kiln.

Anyway, when I took the tray of berry bowl plates down, three of the plates had “explosions” on them. It was the top two in one stack, and the top one on another stack. Cracked. Broken. Exploded. And if you look closely, you can even see some of the “rubble” that exploded up and out of the plate?! Someone suggested that maybe something fell and landed on them?… but if that was the case tey would have cracked downwards, not up! And so far… the best “solution” is that there was some moisture trapped inside even though they appeared to be dry. And then somehow the temperature in the kiln room exceeded normal levels… which would have to be hovering above 200-degrees for this kinfd of damage?! Any other possiblities? Any other thoughts on how this might happen???

Categories: artists, creativity, process, production

Just saw this on the Internet and had to share…
It’s a pretty cool, time-lapse video of potter Charan Sachar doing some fun slip trailing. Each on their own is not too intricate. Not too difficult. It’s a technique that I’ve done before, and showed my students how to do as well. But it’s the ease, clarity and consistency that he shows off in the video… again… and again… and again… it’s almost dizzying!

Click here to see the time-lapse video of Charan Sacher.

And then, it looks like they’re glazed & fired to finish them off… like most pots! But it’s the geometric patterns and slightly raised slip decorations that give them a pop of fun! And now I somehow feel like I need to go get a henna tattoo?!

Categories: process, production, stamps

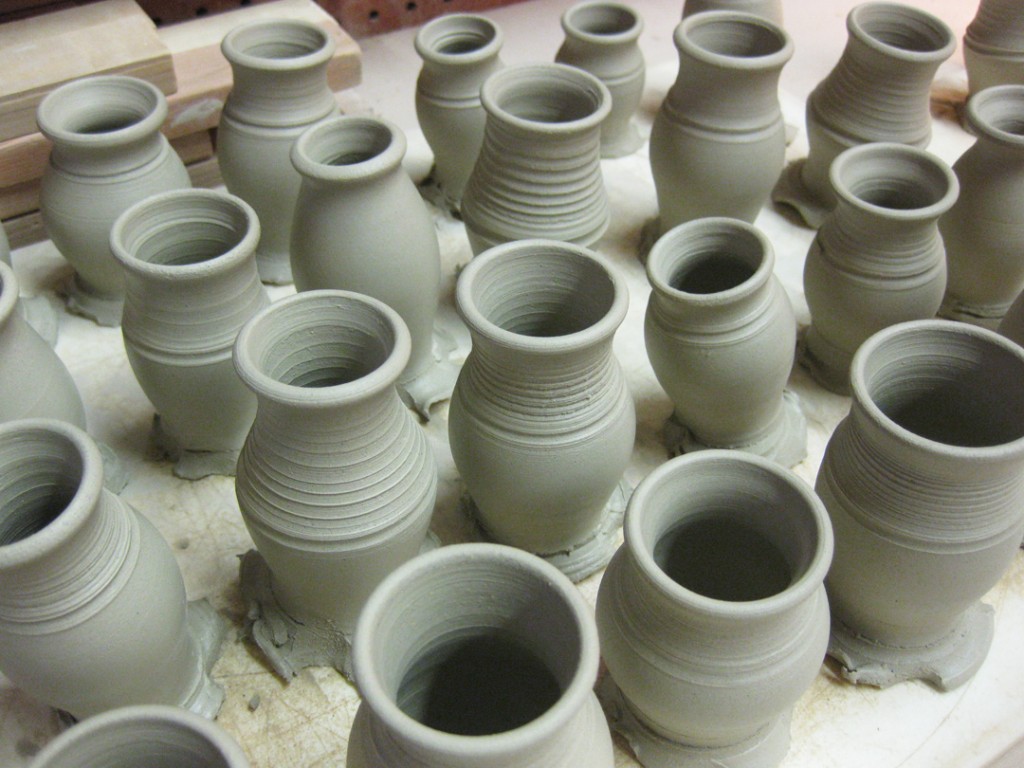
After finishing my salt & pepper shakers, I was onto my next project. Refilling my inventory of miniature vases. It’s pretty tough to wedged & throw such a small ball of clay. So I find it so much easier to throw them off-the-hump. Which really just means that I wedge a large ball of clay, and center it very roughly. No need to get it perfect. Then, I pull a small part up to the top of the hump and center just that little bit. Don’t worry about all of the clay below that little bit. Then you throw a small vase and cut it off. Pull up another small bit, center it and throw another small vase. Cut it off… repeat… again, and again!!!

And of course… smaller vases need smaller stamps!

A little stamping… on a little vase… with a little stamp!

Now they’re all stamped and wrapped up in plastic. Waiting to be trimmed and slip accented.

Categories: process, production

My salt & pepper shaker forms have been stamped and drying to a nice leatherhard. Now they just need holes… for the salt to go in, as well as to come out!!! And what better way than to do them with my power drill?! So much quicker & cleaner than drilling them by hand.

Put them together… aim… pull the trigger and make some holes!

As simple as that. As long as your clay is on the drier-side of leatherhard. If you clay is still a bit too moist, the drill will get gunked-up with clay and not give you clean holes.

Once I drilled them all, I added some colored slip accents to them all.

So now they’re all drying… getting ready for a quick bisque and then into my next soda kiln!

Categories: process, production, studio

Last night, after my IRS audit and incredibly yummy “lunch”…
I wedged up a bunch of small balls of clay. Each of them 3/4 of a pound.
And then started throwing them all. On the wheel that is… not against the wall…

They all kind of look like cupcakes at this point?! But I’m hoping that after some stamping, detailing & trimming, these might become even cooler. Maybe even cool enough to become salt & pepper shakers?!

Categories: bowls, classes, process, production, stamps, textures

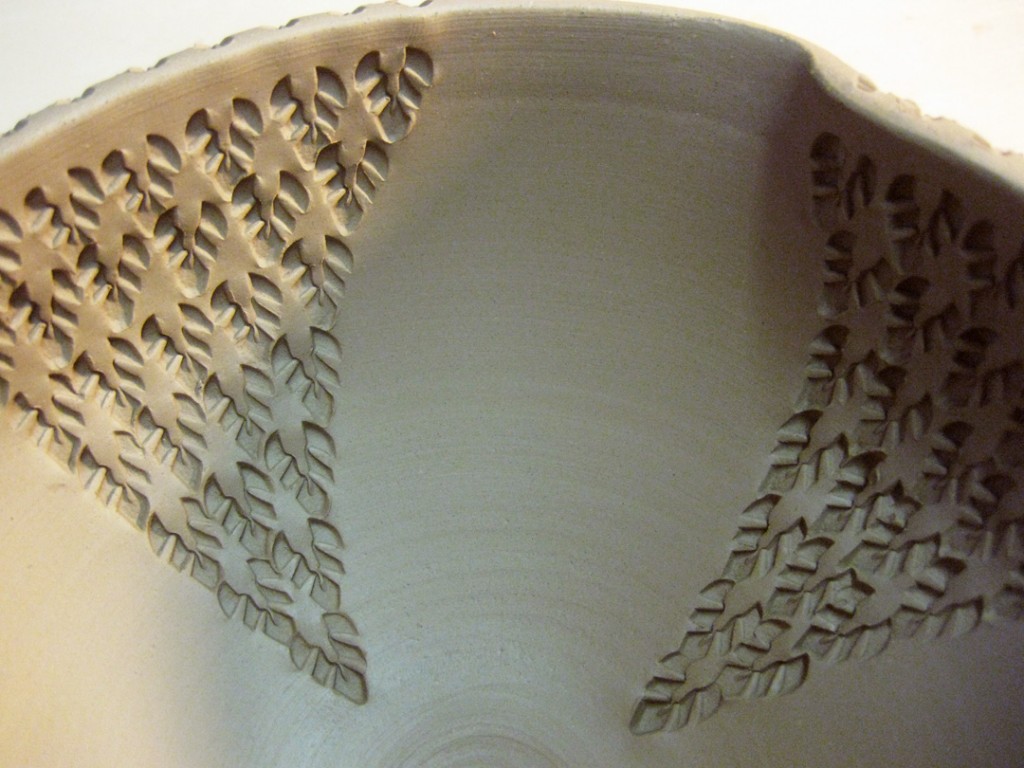
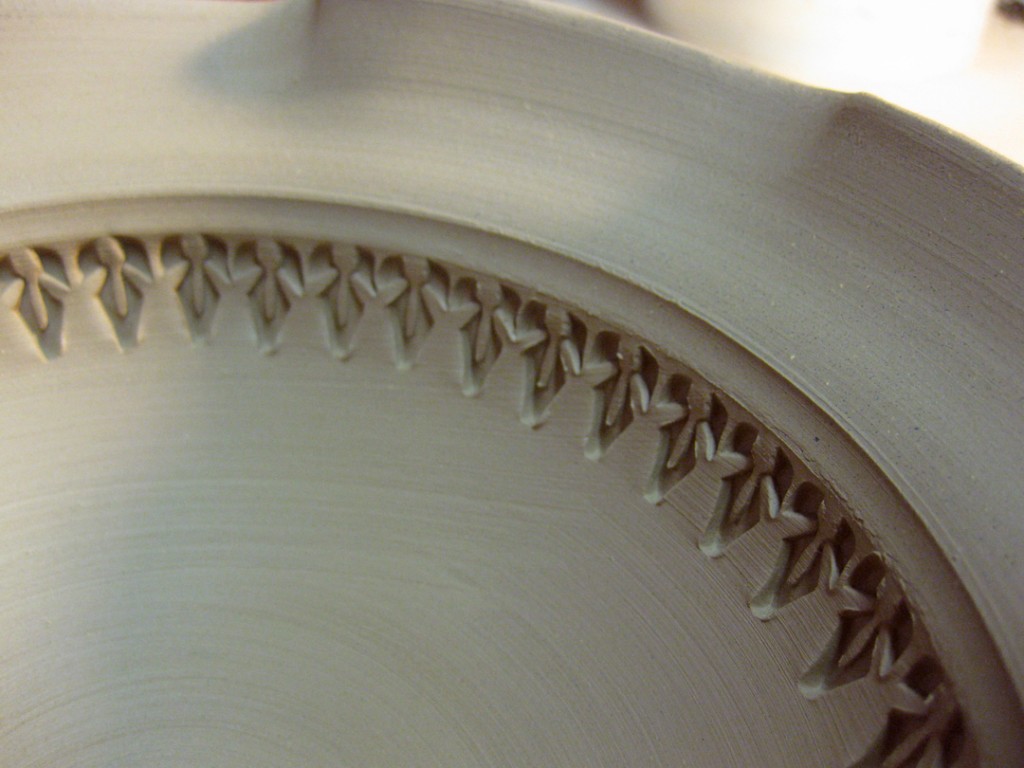
After Tuesday night’s bowl demo, I felt that some of the bowls needed a little “extra” lovin’. So last night I did some stamping & detailing to a few of the bowls. Unfortunately, my students aren’t around to see this part of the process. Hopefully this little “photo journey” will help clear up how the “magic” happens!

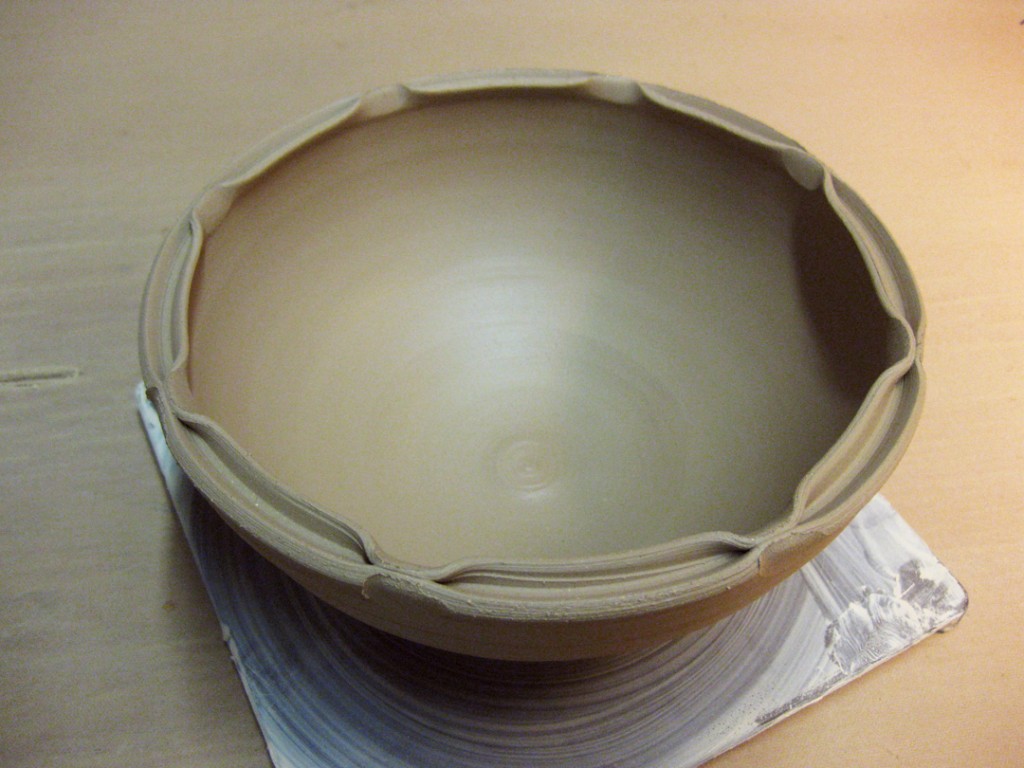
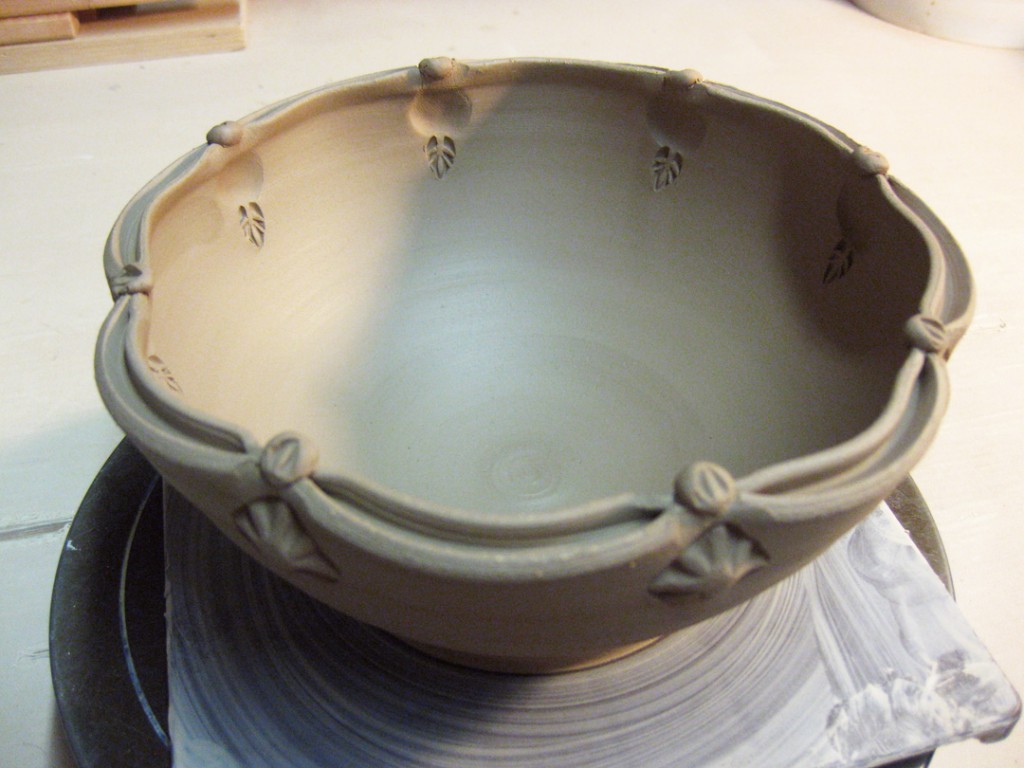
Bowl #1 – Originally fluted in four parts.
So I accentuated the four parts with some “sectional” stamping!
Playing along with the design & geometry of the bowl, now accented with stamps!

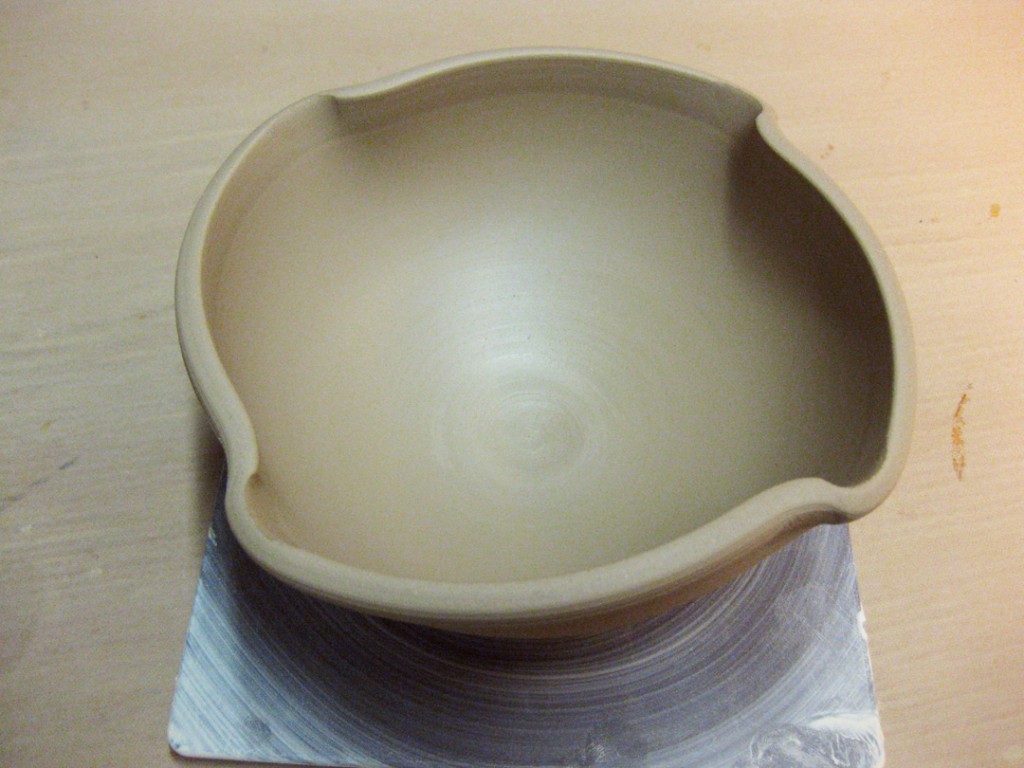
Bowl #2 – Originally a plain bowl with a bent-out, flanged rim.
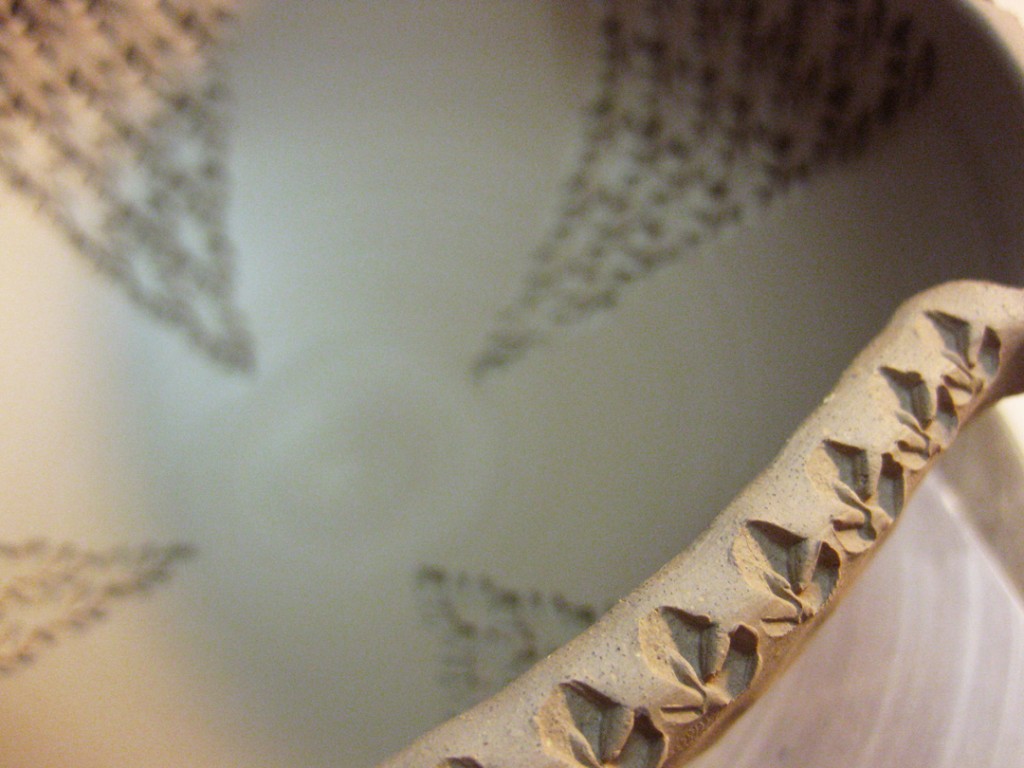
Now with a little accent border of stamped texture!

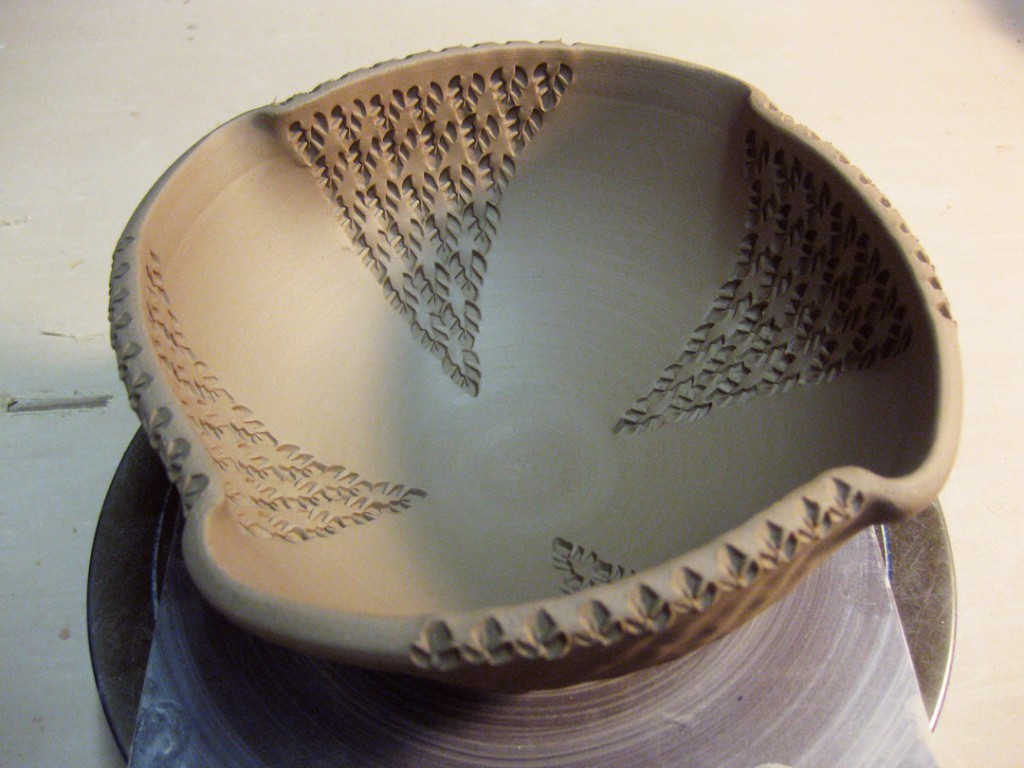
Bowl #3 – Originally a flared out rim & fluted edges.
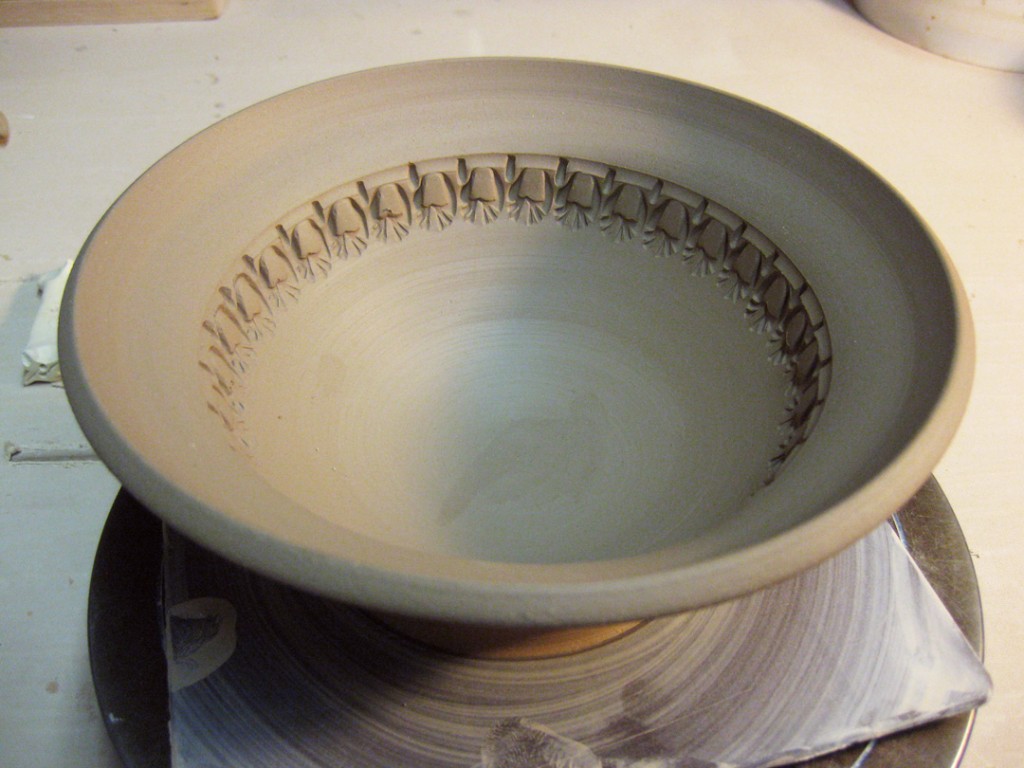
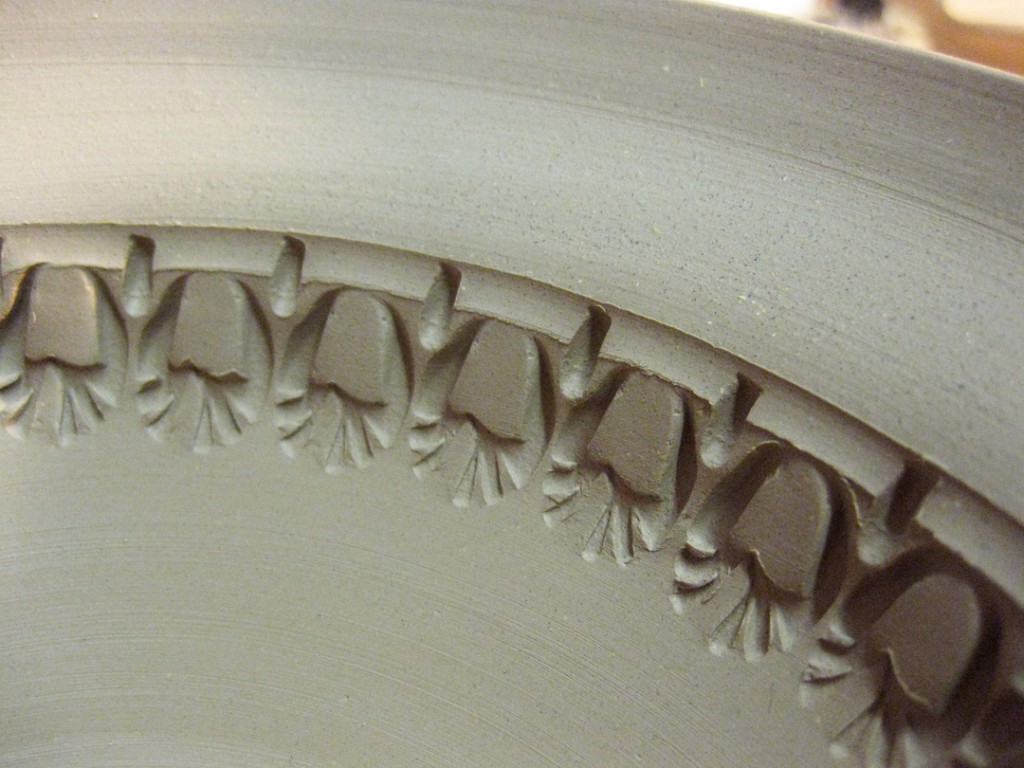
Now with a border of stamping just below the fluted fun.

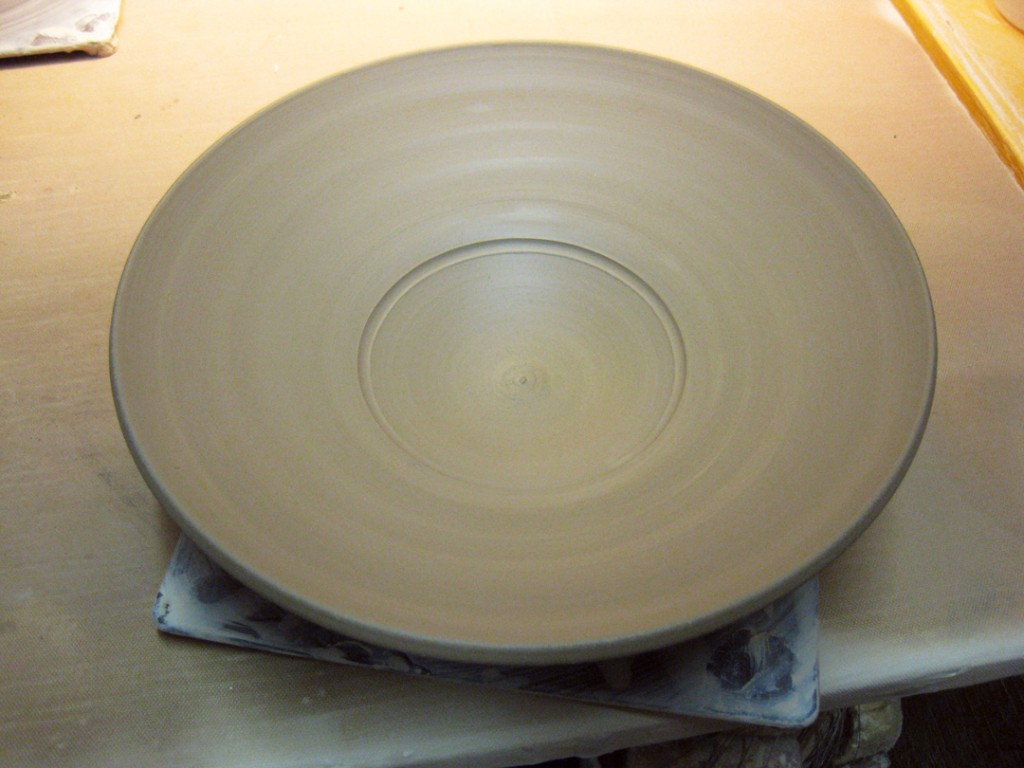
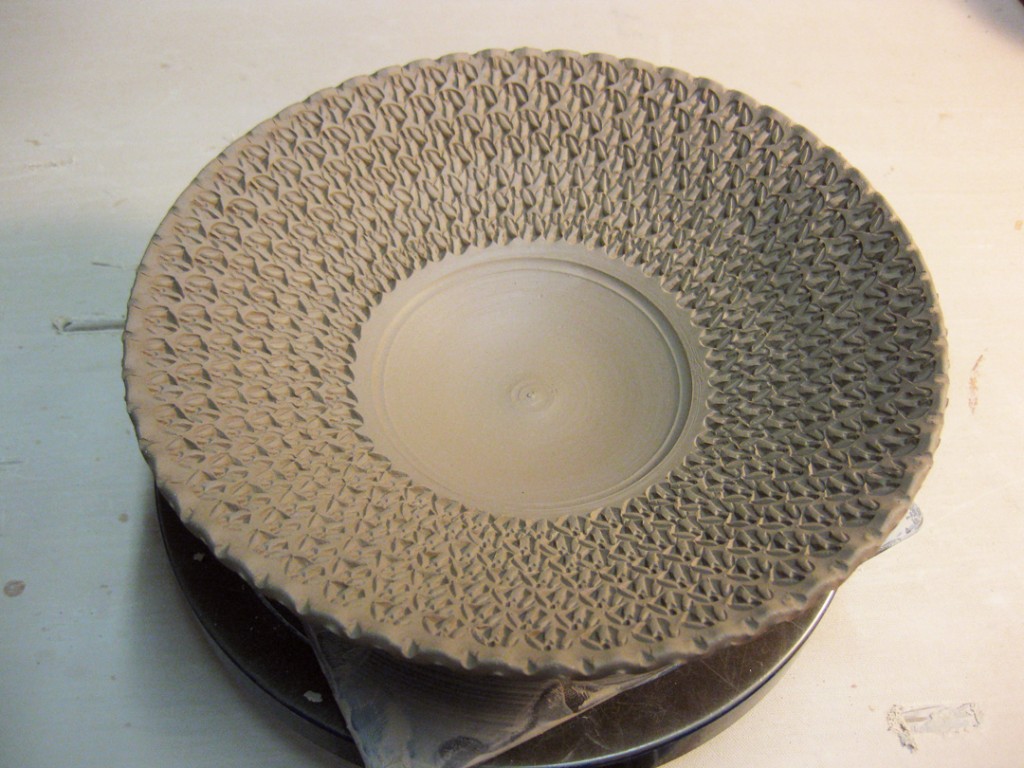
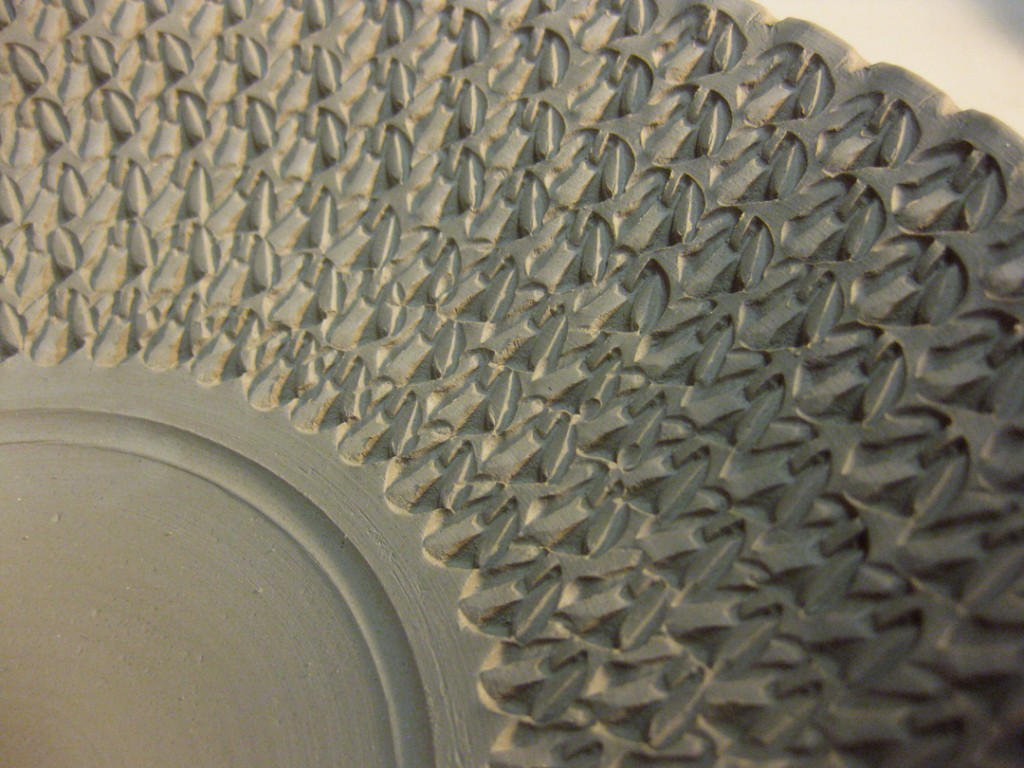
Bowl #4 – Originally a large plain flange on a small bowl.
Which is really just a great “canvas” to do some stamping, right?

Bowl #5 – This one was originally just a bowl with a split rim.
Now it’s stamped and pinched back together in all the right places!

Bowl #6 – In class we left this one with the split rim and pinched together in 8 places.
I added a couple stamps, some little add-ons and a bit of curving.

Categories: bowls, classes, lillstreet, process, production

Tonight was a big night for my class when they learned how to make bowls on purpose instead of a cylinder gone bad… whoops, here’s a bowl! So we started the night with a demonstration of how to make a proper bowl. Then, as my students went back to try their hand at the wheel, I continued to throw more bowls. Once I had finished the bag of clay, I had twelve basic bowls – all kind of the same size & shape. All of them basically round. All of them basically plain.
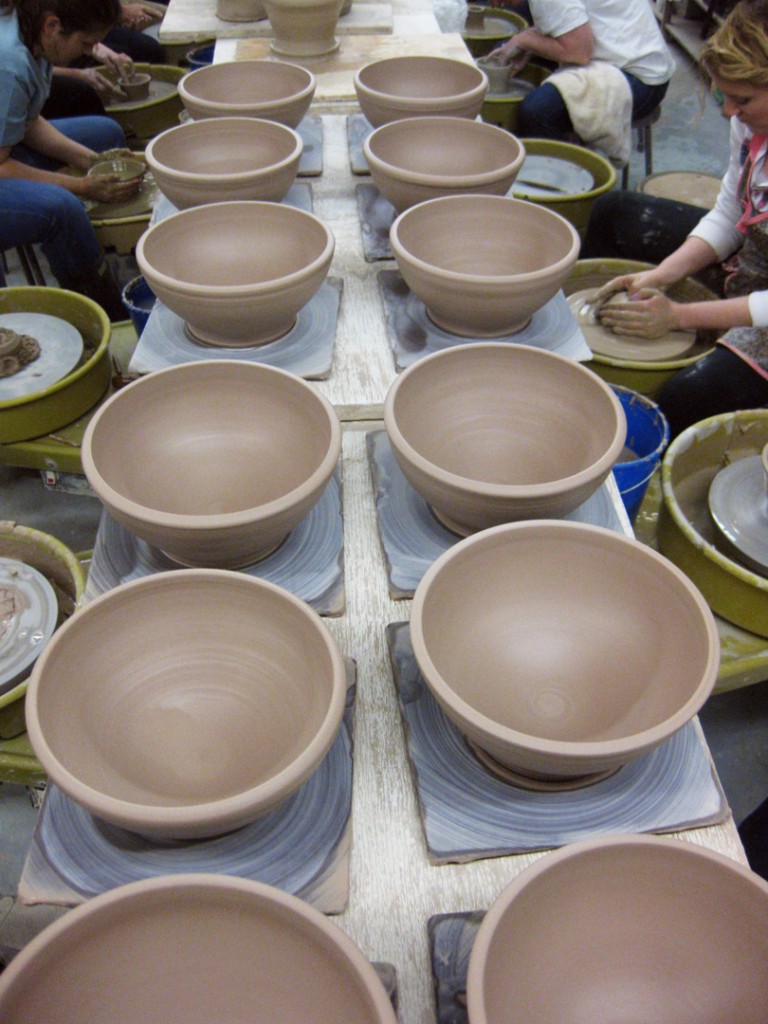
Part Two of the class demo is to convince my students to “play with their clay” and get it to do something fun. I try to instill in them that the wheel is only a tool and it’s up to them to be creative and turn it into a “work of art.”  To make it their own! So my goal was to show them a few quick tricks to turn each one into something different. Nothing too tough, just some fun options for them to play with! All of  sudden, we had twelve different bowls… no longer the basic round bowls we started with!
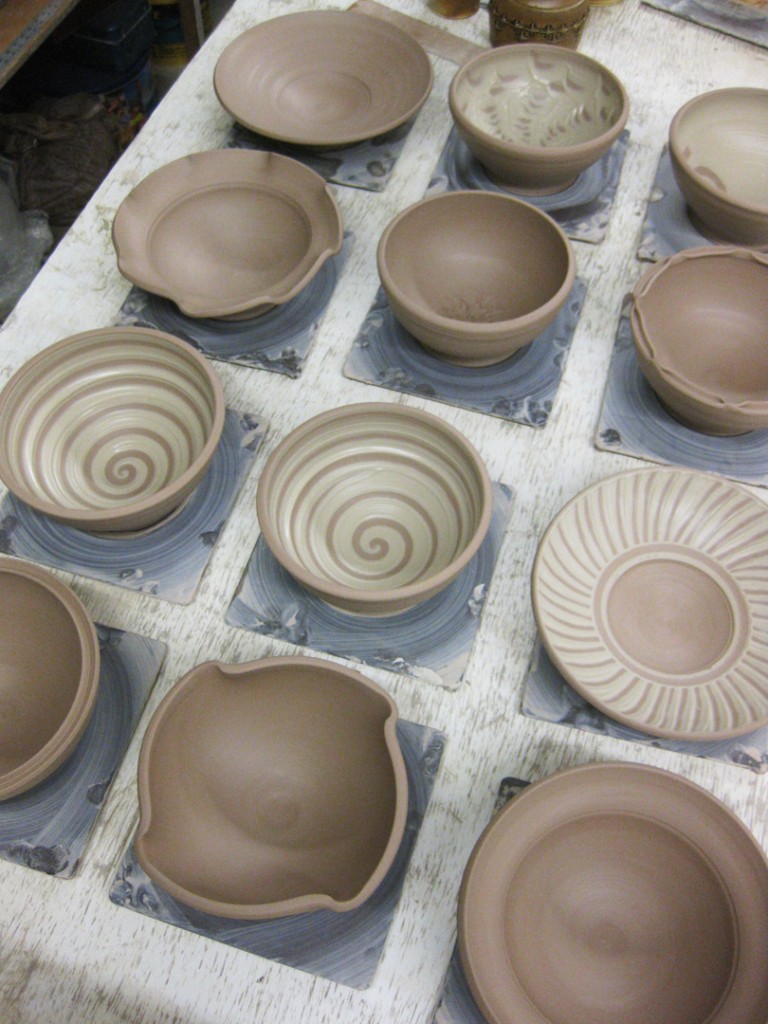
Here’s a quick look at them one at a time…

Bowl #1 – The simple round bowl with four fluted accents.
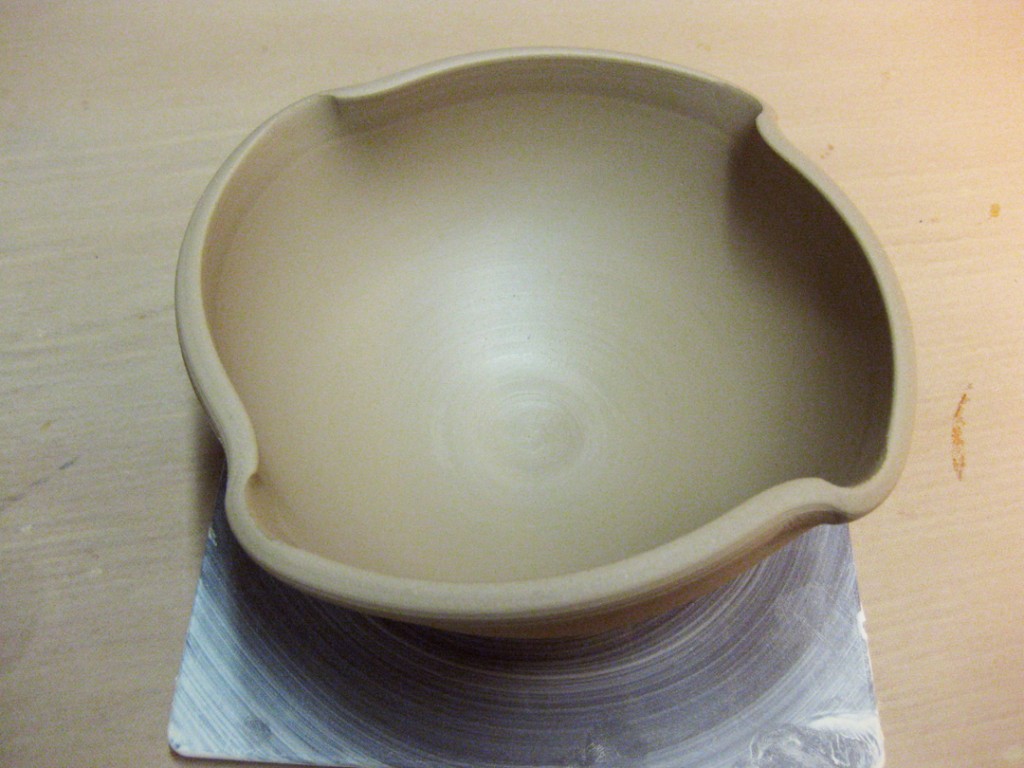
Bowl #2 – The simple round bowl with the top edge flanged outwards. This one will probably get stamped tomorrow night… a few stamps never hurt anyone, right?!
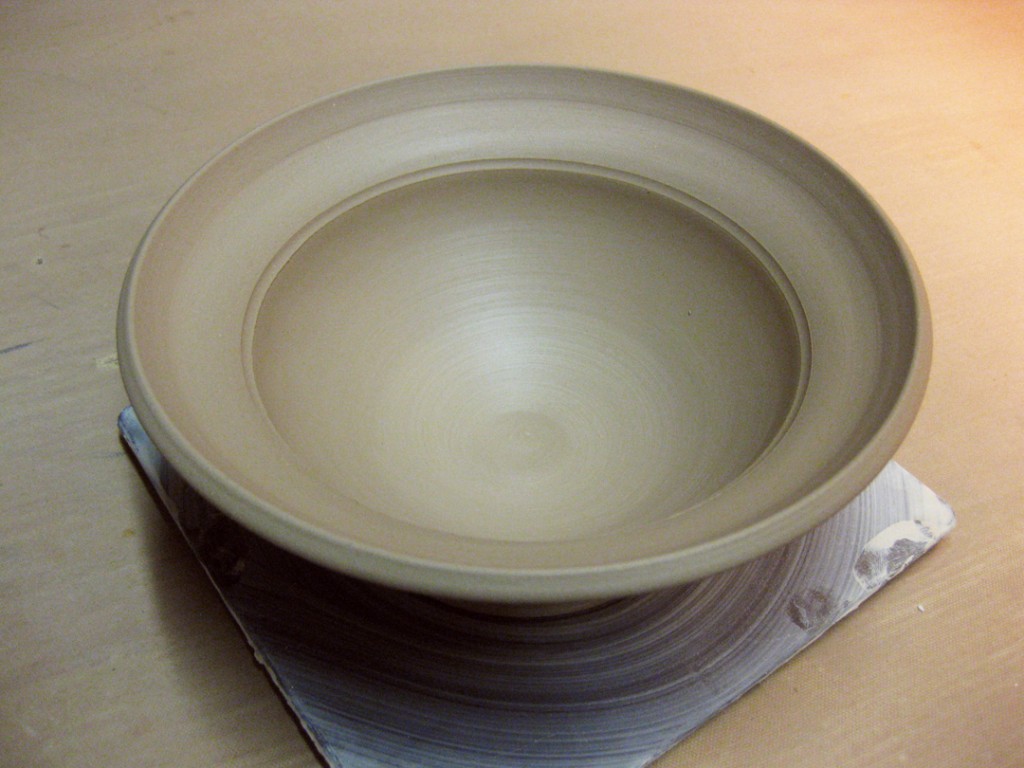
Bowl #3 – A combination of #1 & #2… with the flanged edge and fluted accents combined. Odds are some stamps might hit this one too?!
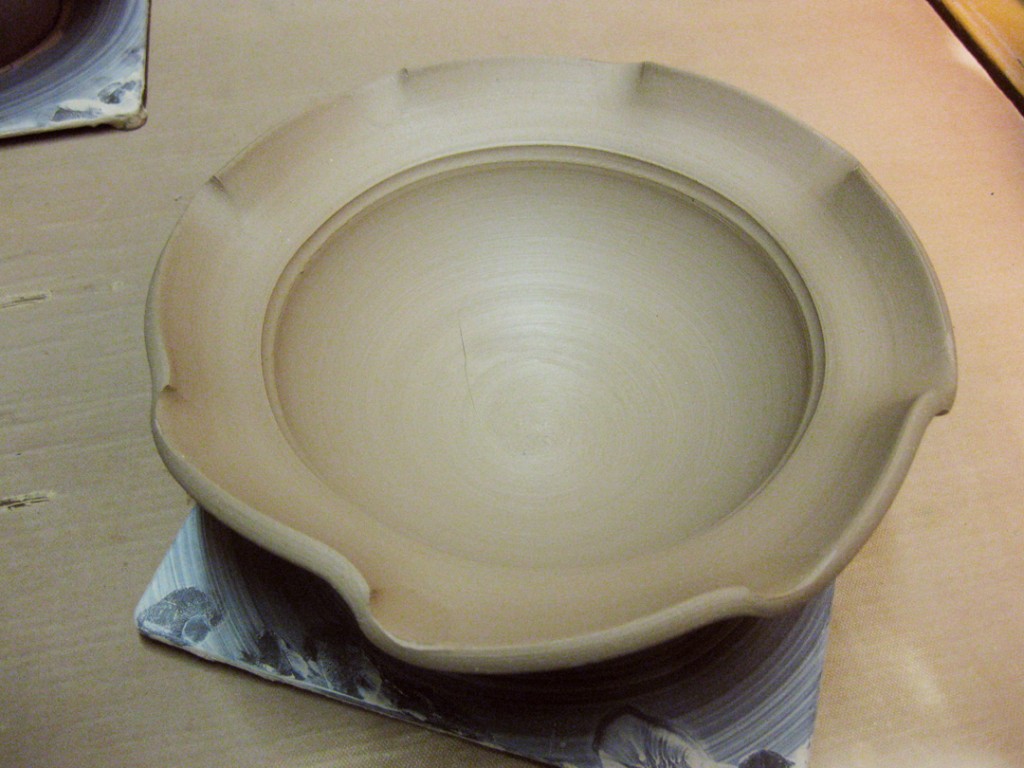
Bowl #4 – The simple round bowl now with an even wider flange flattened out. That wide flange is screaming for some fun surface decoration, right?!
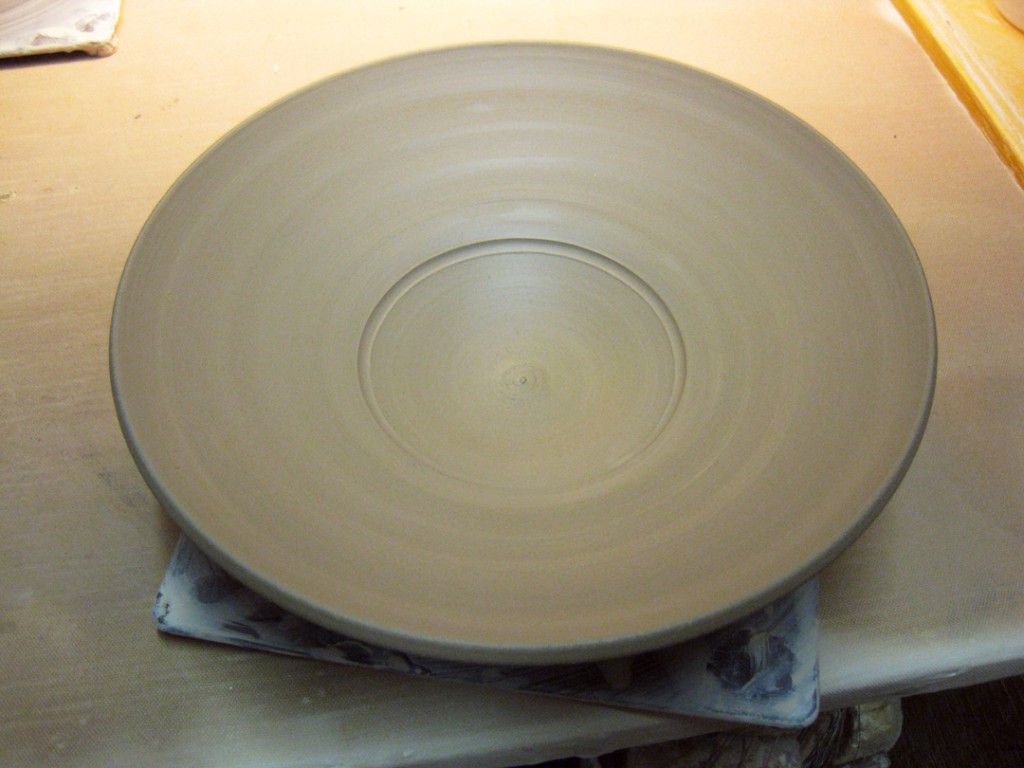
Bowl #5 – The simple round bowl with a split rim… done with the point of my wooden knife.
Kinda plain now… but this one will be stamped and fluted back together soon.
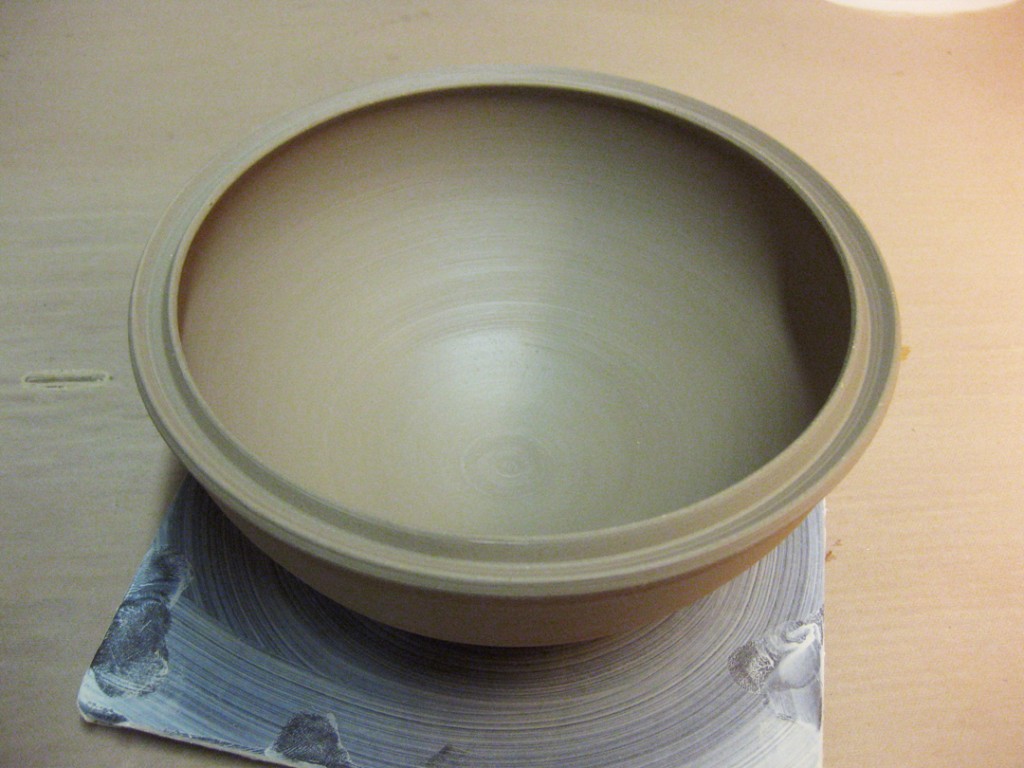
Bowl #6 – The same split rim technique, but this time pinched back together in places. The little pinch marks kind of bug me right now. For some reason they don’t look quite finished. So I’ll come up with something…
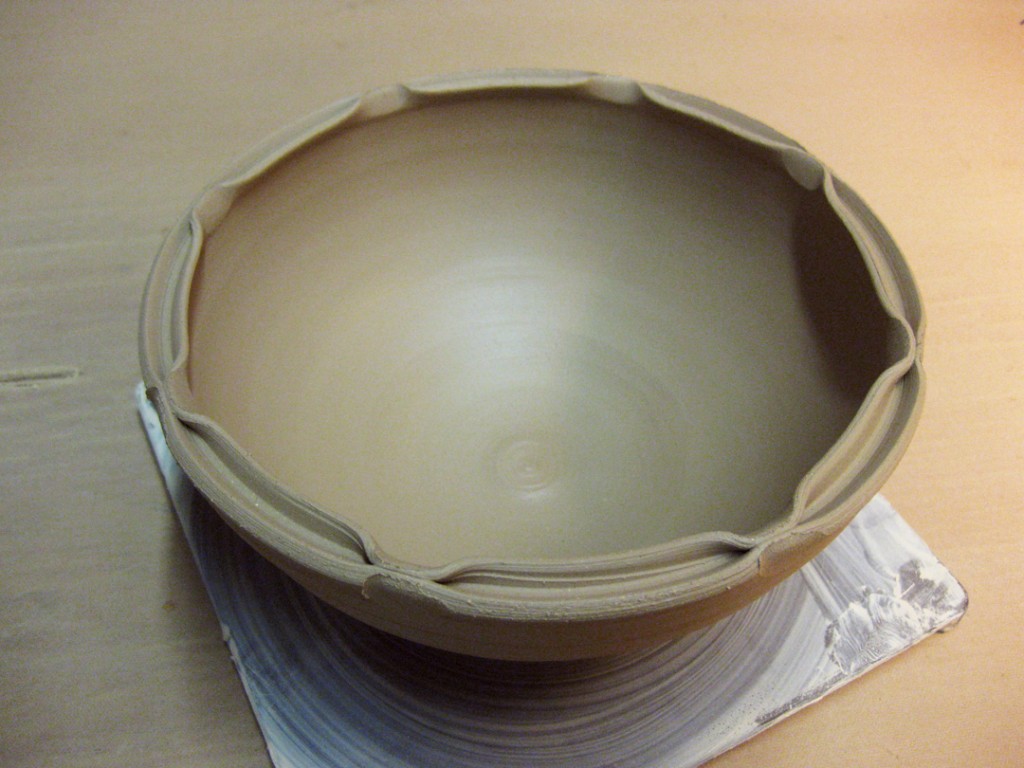
Bowl #7 – The simple round bowl with a small floral design made with a dragonscale tool pressed in a couple times into the freshly thrown bottom. Twelve impressions in case anyone’s counting?!
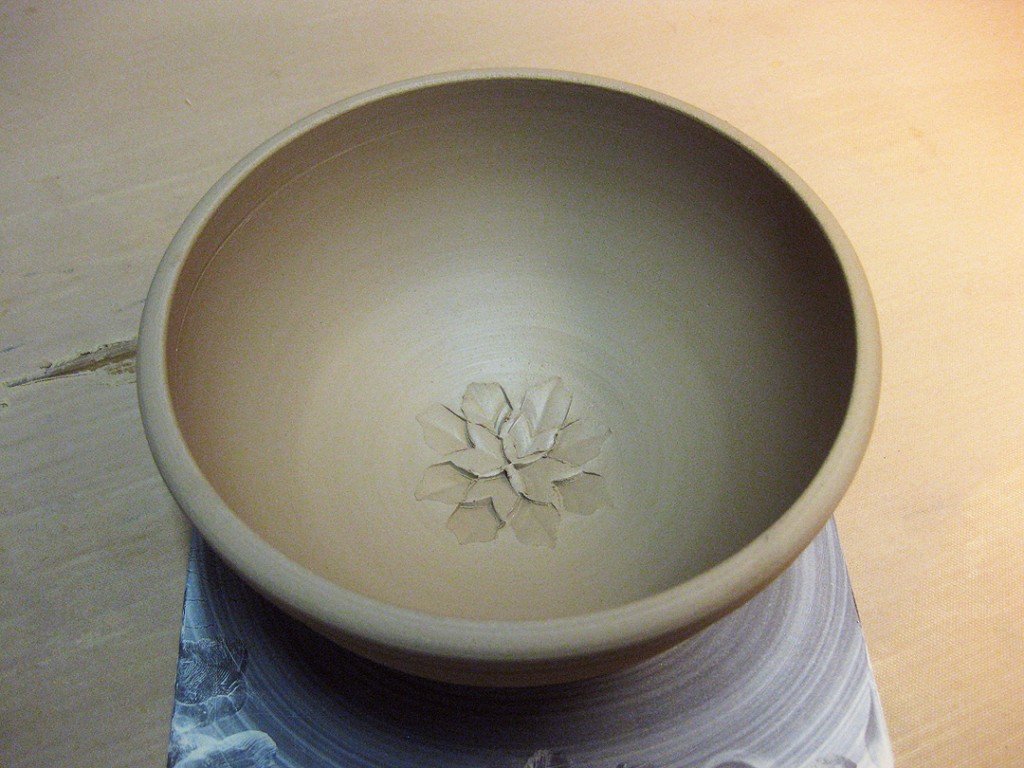
And then I introduced decorating with colored slip… or in my case, white slip…
Bowl #8 – I coated the interior and then dragged the round end of my wooden knife through it as the bowl was still rotating on the wheel. I especially love how the layer of slip creates some textures inside when dragged through it. The glaze should pool nicely in there somewhere…

Bowl #9 – Then we talked about what would happen if you goofed up halfway… so we stopped the spiral halfway up and finished with banded rings around the top.
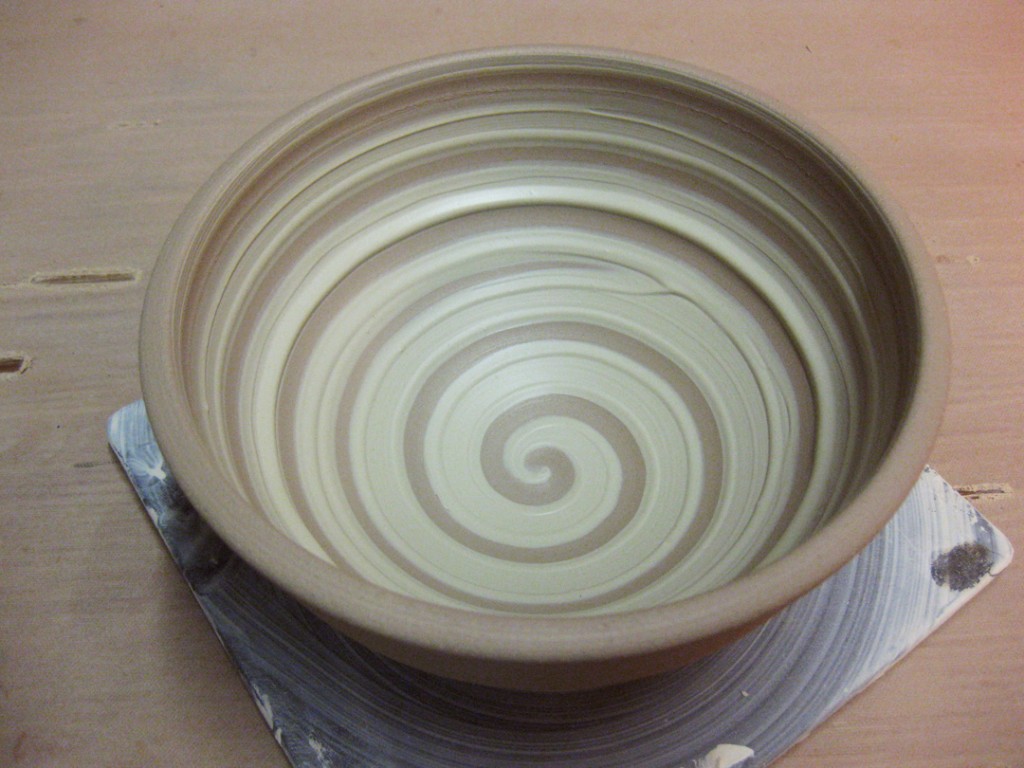
Bowl #10 – With the addition of slip, I showed them a way to make Bowl #4 with a decorated flange. I coated it with white slip, and then dragged through it with the rounded end of my wooden knife.
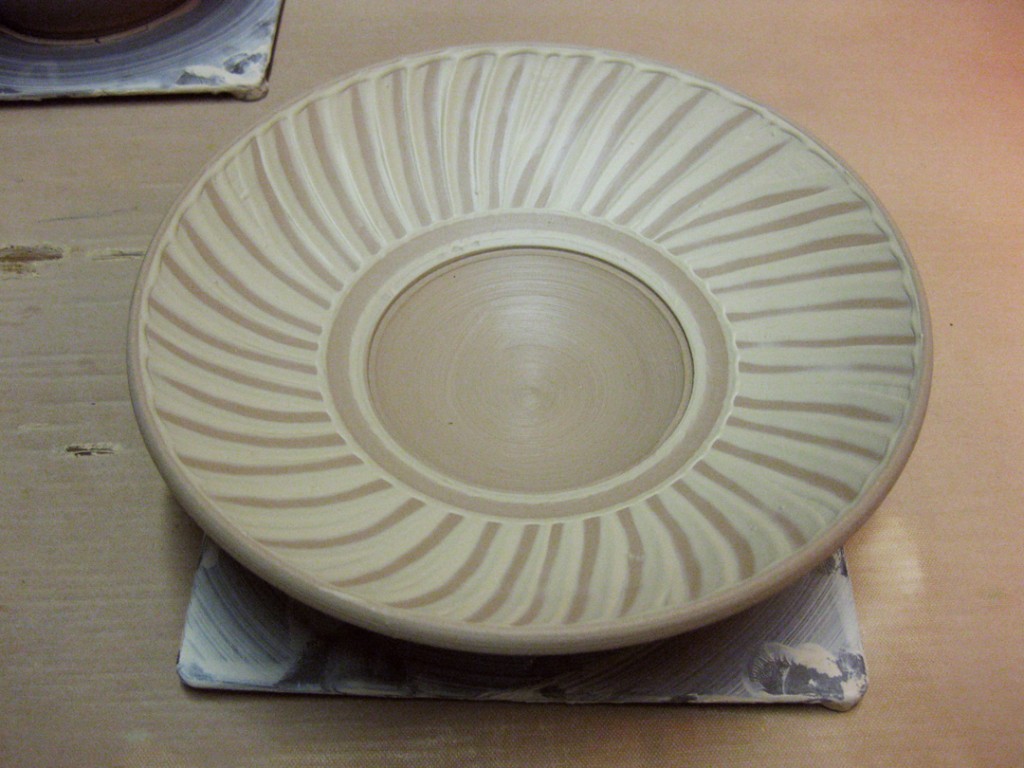
Bowl #11 – After a layer of white slip, I used my curved rib to chatter through it. The challenging part is that it’s a steady combination of chattering speed, wheel rotation speed and upwards movement all at the same time!

Bowl #12 – For the last bowl, I cut out the number five from the newspaper. I stuck it on with water, carefully painted over it with white slip, and then coated the interior of the bowl. I then very carefully peeled out the newspaper 5 to reveal the design.
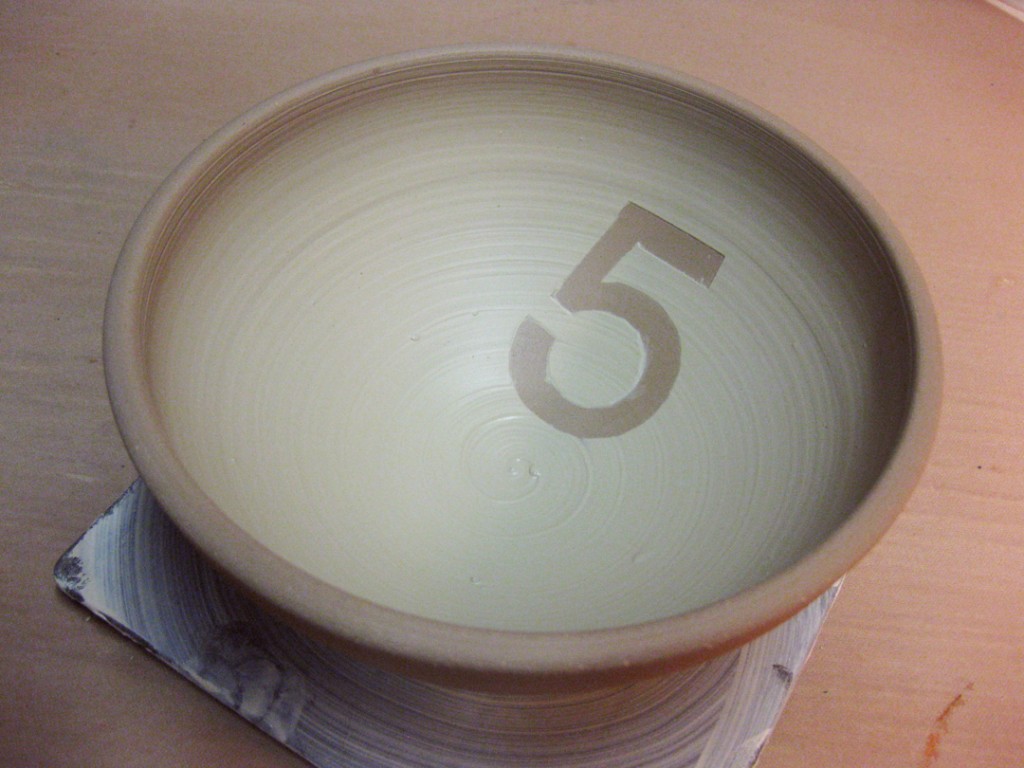
So now all of the bowls are safely up in my studio – wrapped up for the night. I hope to make it back to the studio tomorrow night to do some more stamping & detailing. And then when they’re ready, I’ll trim them up and send them off to the bisque. And in the meantime, I hope that my students are somehow inspired and ready to play a little more with their clay!
Categories: glaze, process, studio

Well, I’ve run out of bisqued test tiles. Yeah, the ones I made back in January, but who’s counting? Since I went through that first batch so “quickly”, I figured I needed to make another batch so I can get them bisqued and move forward!
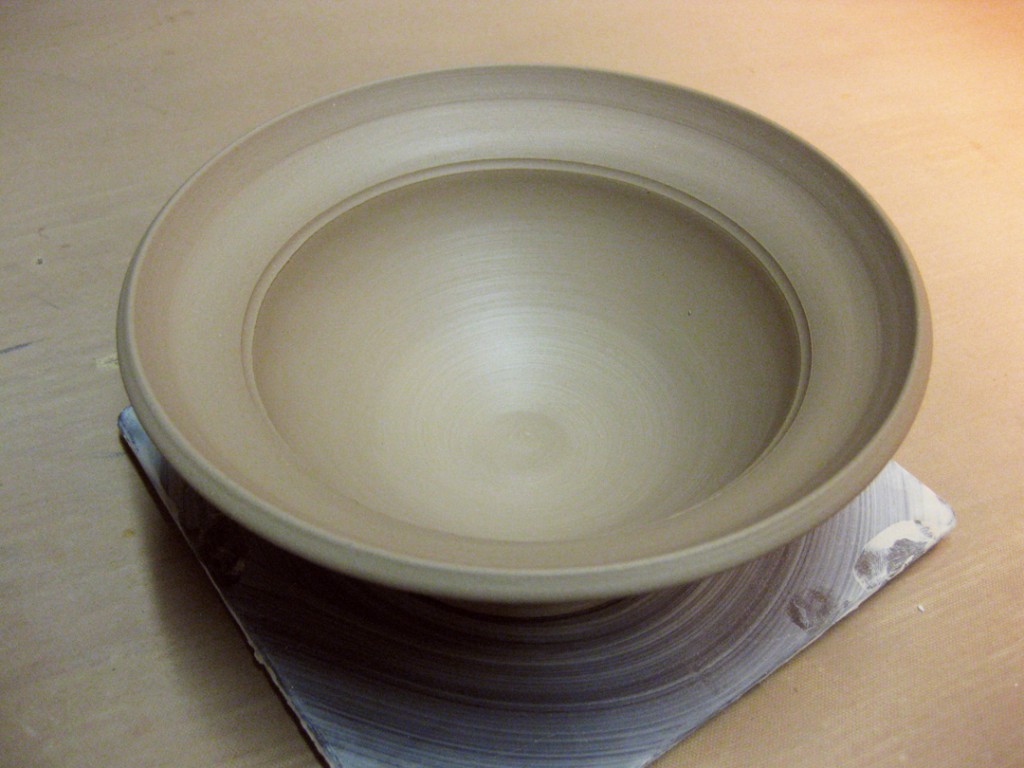
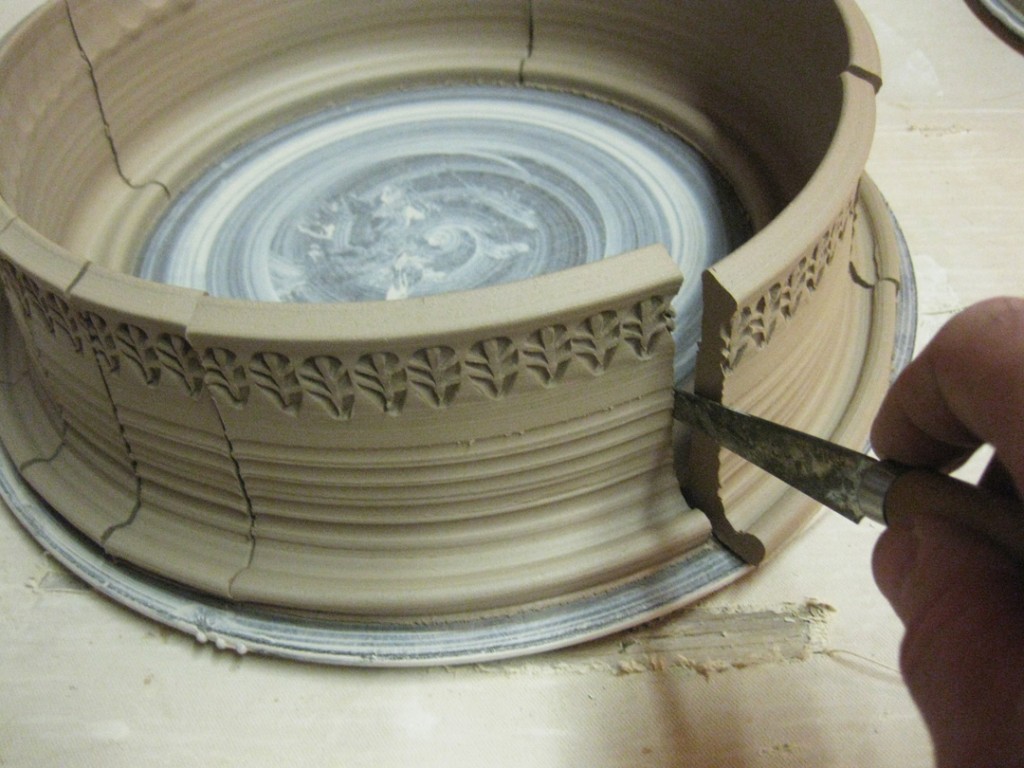
So I started by throwing two bottomless cylinders, one in stoneware and another in soda clay. I added a bit of texture & stamping to help simulate how the glaze test might react on one of my “real” pots if I ever get that far.

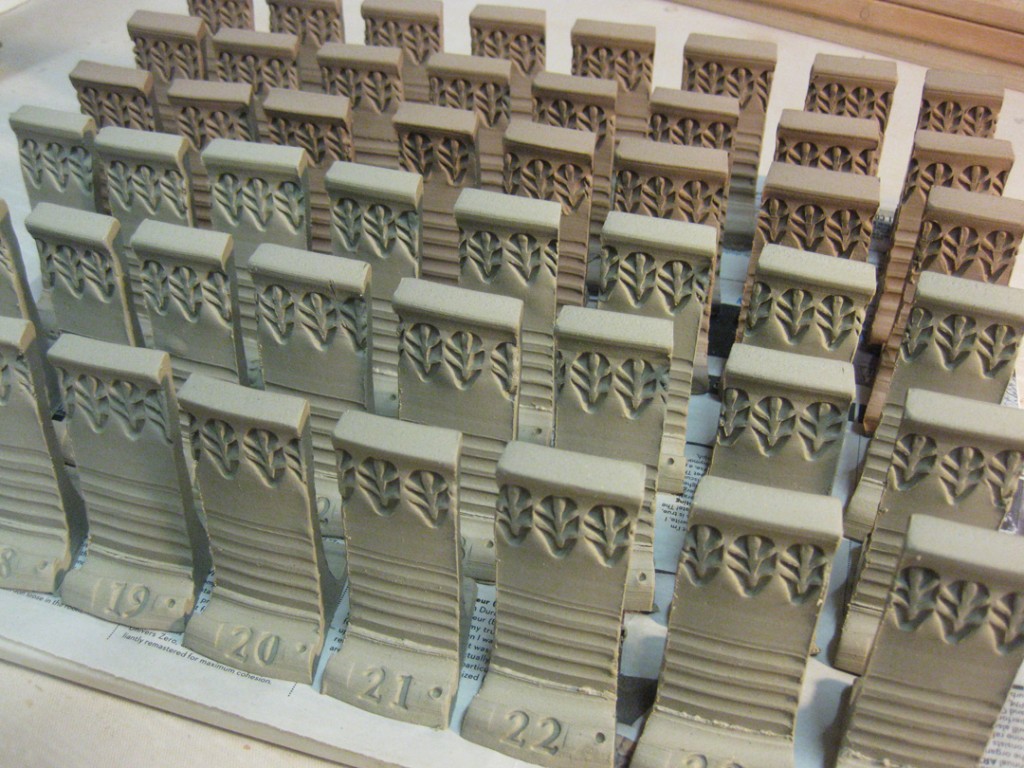
Once the cylinders were leatherhard, it was time to cut them up to create some standing test tiles. I threw them with some intentional “glaze traps” at the bottoms. That way if the glaze test runs a lot it will get caught on the tile, and not run onto the kiln shelf.

As I smoothed out the edges, I also added some numbers to the fronts of them. I figure it’ll be part of my coding system, to keep track of which test tile matches up with which batch of glaze after it’s been fired.

So now they’re all lined up and drying overnight…