04.08.2016

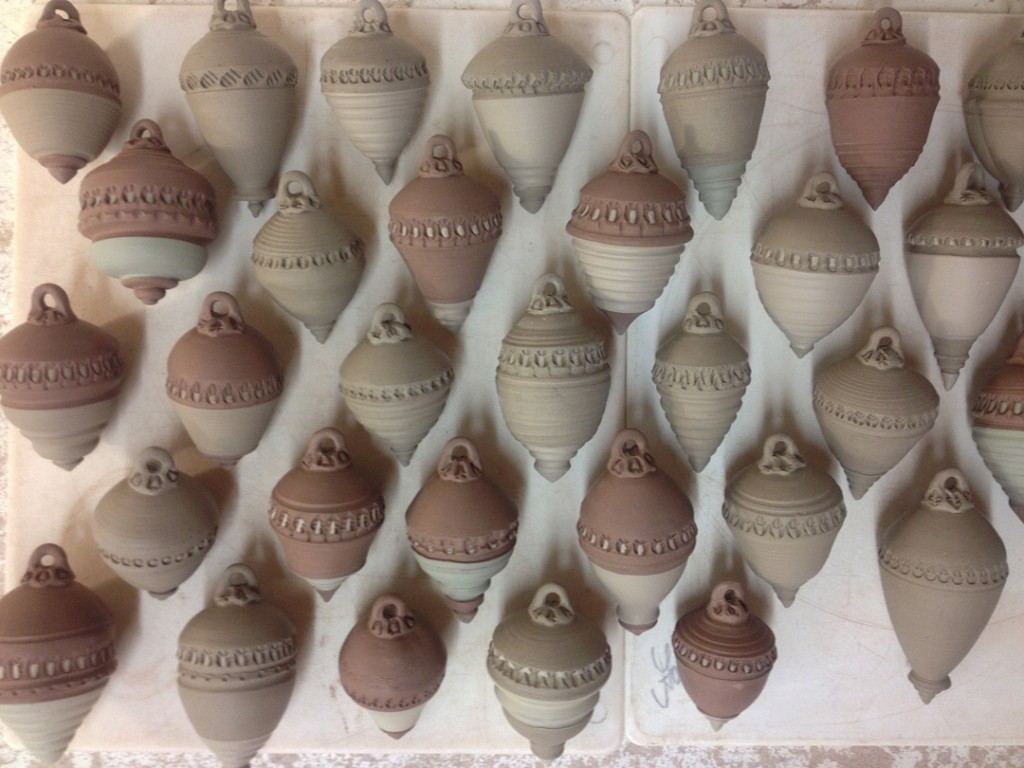
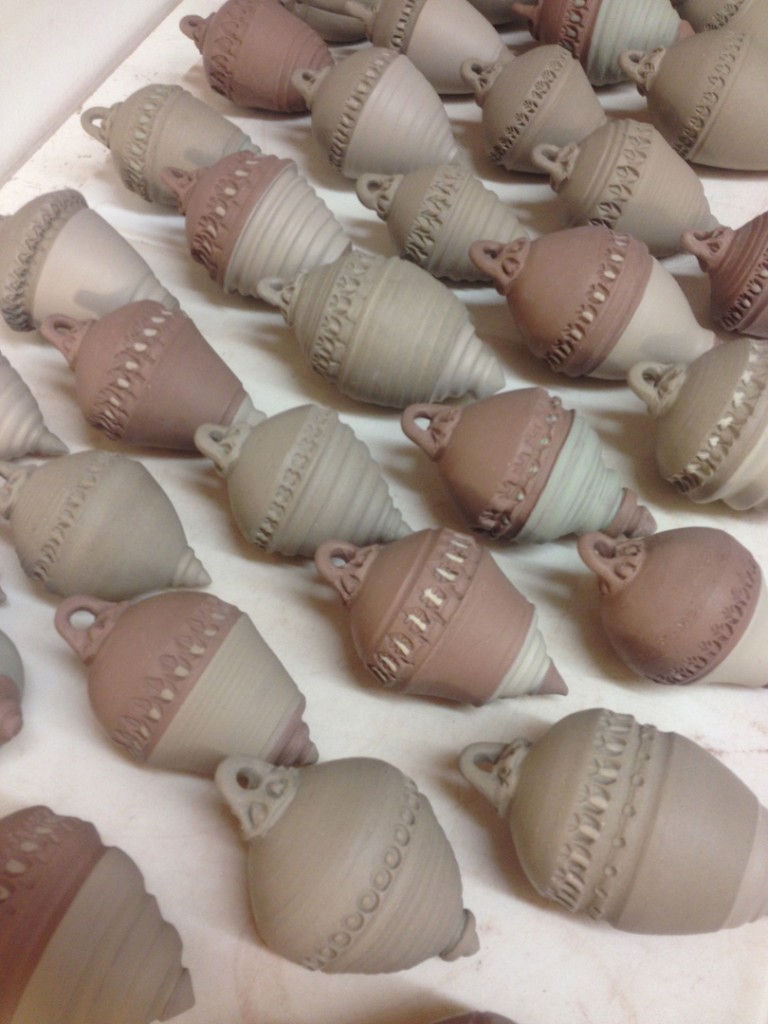
Keep moving forward… colored slip accents have been painted onto my ornaments. Hopefully these colors will come-to-life when they are fired in the soda kiln. But first… they need to go through a bisque kiln firing.
Gary Jackson: Fire When Ready Pottery
A Chicago potter’s somewhat slanted view of clay & play |
Keep moving forward… colored slip accents have been painted onto my ornaments. Hopefully these colors will come-to-life when they are fired in the soda kiln. But first… they need to go through a bisque kiln firing.
What a fun technique… pressing colors through patterns? Who’da thunk? I will definitely need to try this one. Might be a fun project to try with my students? Thank you Ceramic Arts Daily for sharing Meredith Host’s video excerpt from her DVD : “Form, Pattern and Underglaze: Wheel Throwing and Decoration.”
Click here to see the excerpt from Meredith Host’s video.


This latest batch of wheelthrown holiday ornaments is one step closer. They now have handbuilt “caps” attached for hanging on your tree next Christmas! Too soon?… never!

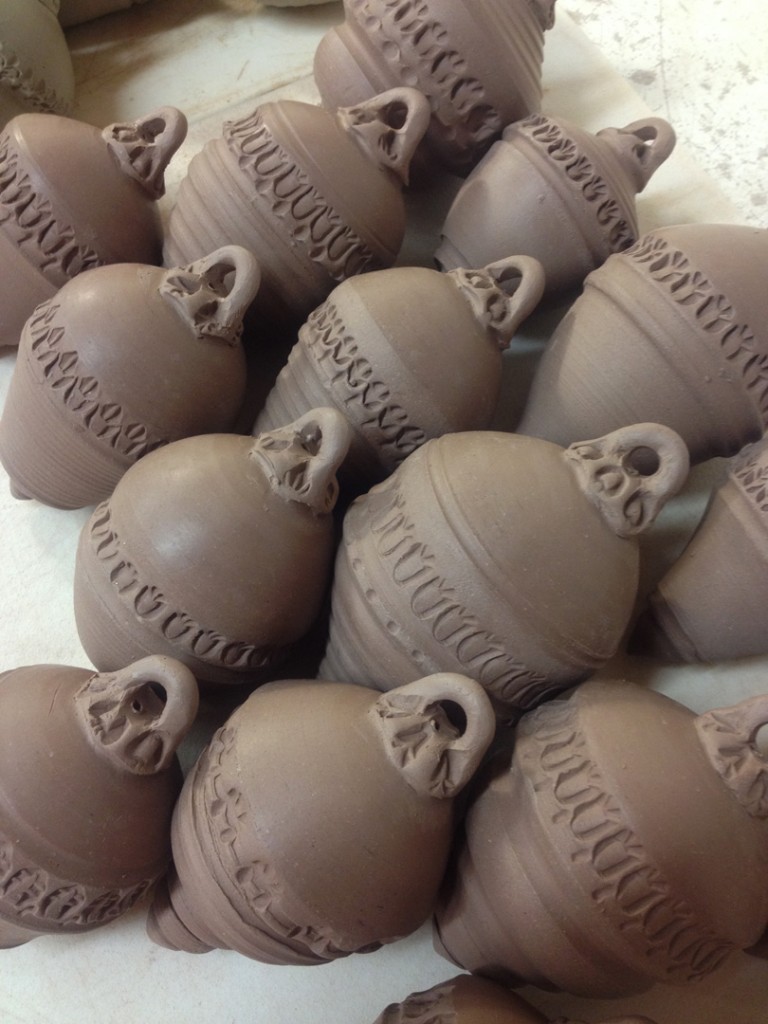
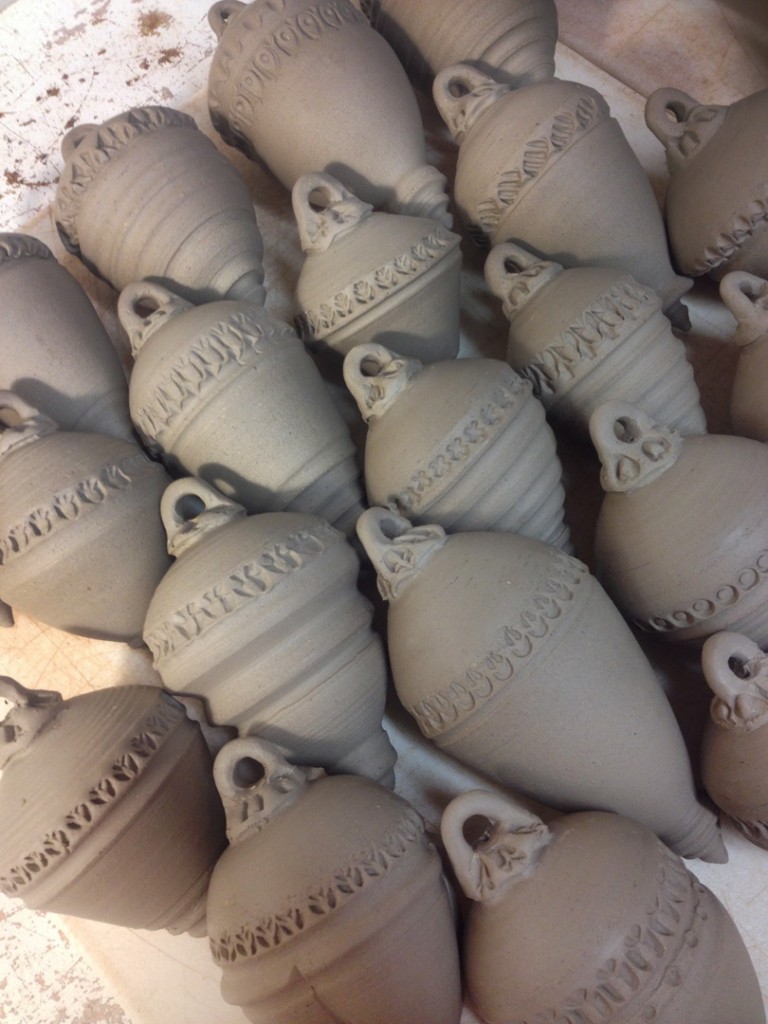
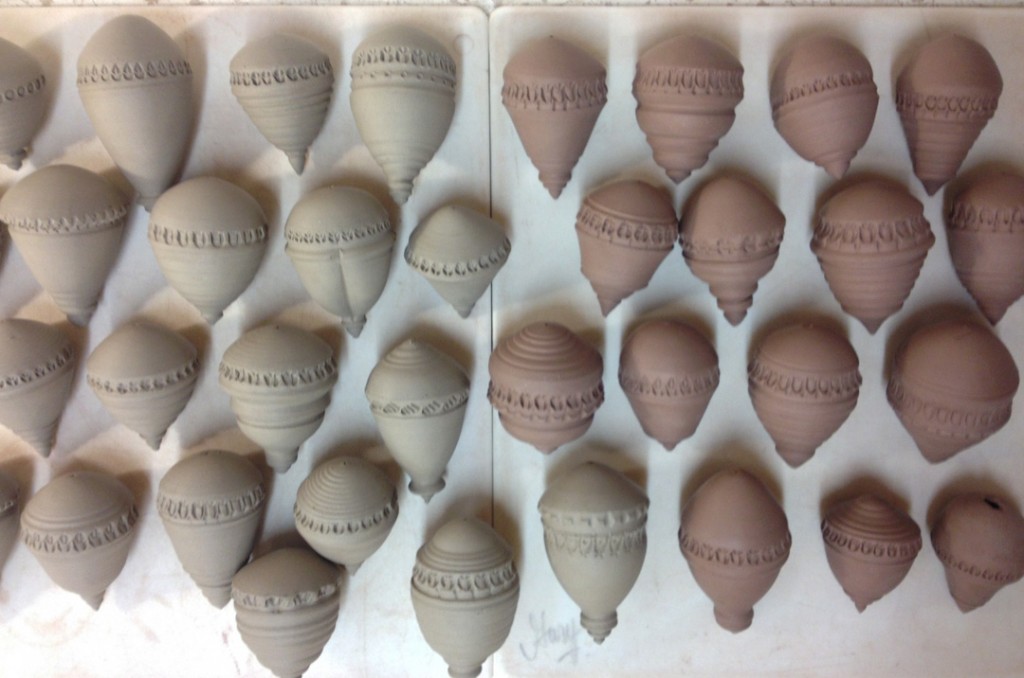
The bottoms have all been trimmed off the batch of ornaments… thanks to the “magic” of my Giffin Grip. So now what was the thrown-bottom, is now the trimmed-off-top to the ornament. Some of them are stoneware with iron, while others are soda clay. Next up in the process?… some handbuilt “caps” and colored slip accents.

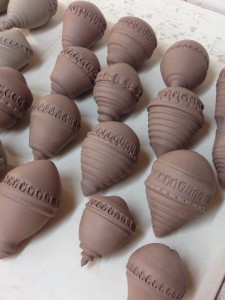
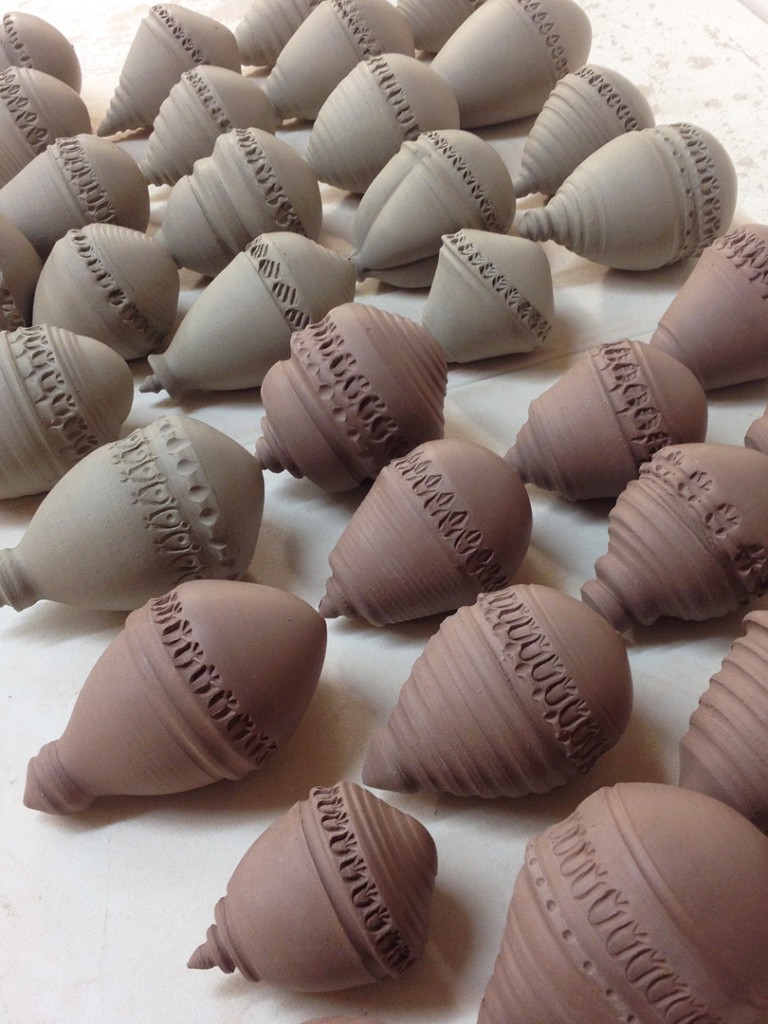
Sure, their beginner mugs were a little too smooth & undecorated for my liking. Sweet, but plain. They could surely use some texture… if only they had some stamps to decorate with??? Oh wait… we made those too! It was a very busy night!!!


My students ROCKED it out tonight. It’s only their second class of the new Spring session… and they’ve already finished their first mugs!!! Thrown, trimmed and handled!
Voila’…. MUGS!!!


After posting last night about re-hydrating my dried-up “vintage” clay, two of my Facebook Fans, Amy & Sharon, turned me onto this video. It’s a quick-fix for making that bone dry block of clay re-useable again. I’ll definitely give this technique a try on my next dry block. Seems easy enough. Thanks to Janice Wilson Hughes of Evolution Stoneware for sharing her re-hydrating trick on YouTube.
Click here for the YouTube video by Janice Wilson Hughes.

I’ve been doing so well at reclaiming & re-using my clay…
that I kind of “forgot” to use some of my “new” clay. Well, new back in 2011 or 2013.
Here’s the key to the secret code: The last two digits of the Continental Clay code is the year it was produced, and the number before is the month. So I’ve got boxes from August 2011 and February 2013!!! Both of which were practically dry!
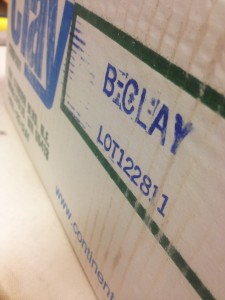
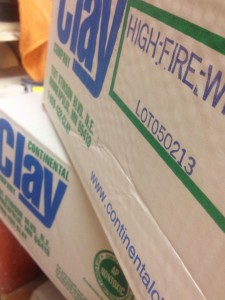
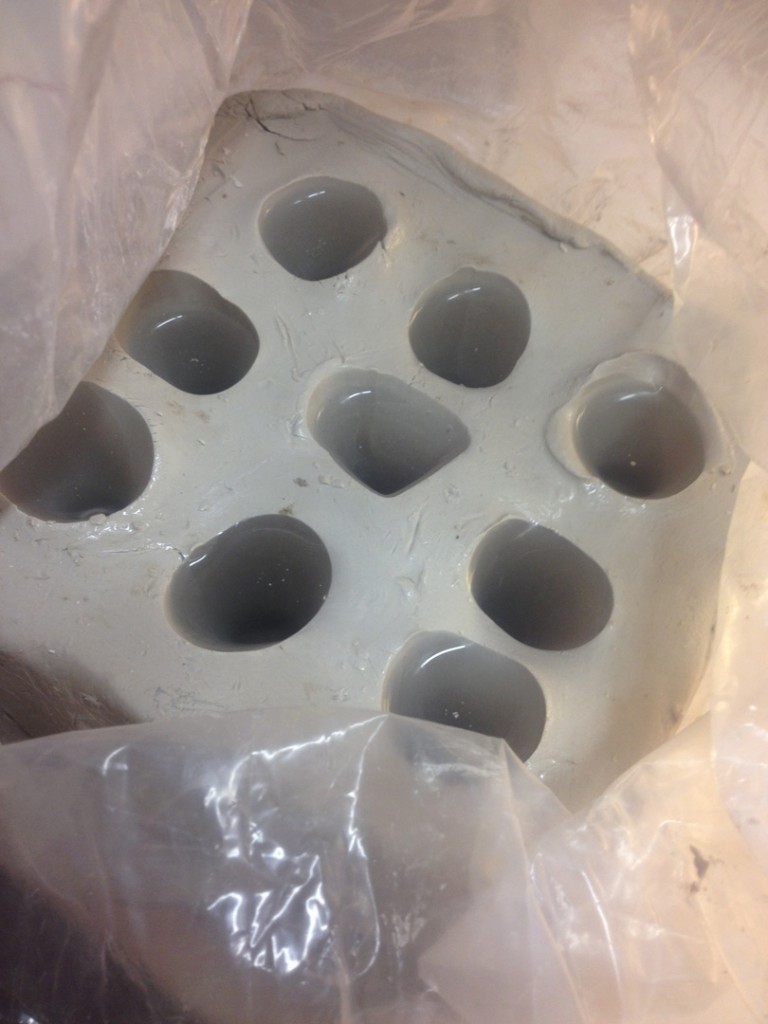
So I spent a lot of tonight pounding the hardened blocks on the ground to “re-awaken” the thixotropic clay. Didn’t soften it enough, so I also added some holes and filled them with water. I’m hoping that in a couple days we’ll be back to some good usable clay, And I’ll be able to use that five year old clay as though it were “new” again!
Did a little stamping tonight to finish off a class demo platter. Unfortunately, the clay is always to squishy to stamp during class. So I bring the demo upstairs and wrap it up. The stamping occurs a few days later… okay, well, today.

Same platter. Different angle. Lots of stamps.

WHOO-HOO!!!
Look who made it into CERAMIC ARTS DAILY today?! Me, that’s who!!!
Click here for the link to Ceramic Arts Daily online.

So in case you missed it the first, second, third or seventh time I mentioned it…
now you can read my recent article in POTTERY MAKING ILLUSTRATED.
And then be ready to throw some clay on the walls!!!
|
Gary Jackson: Fire When Ready Pottery
Lillstreet Studios ∙ 4401 North Ravenswood, Chicago, Illinois 60640 ∙ 773-307-8664 gary@firewhenreadypottery.com |