Gary Jackson: Fire When Ready Pottery
A Chicago potter’s somewhat slanted view of clay & play
Categories: art fair, Mom & Dad, mugs, pottery, process

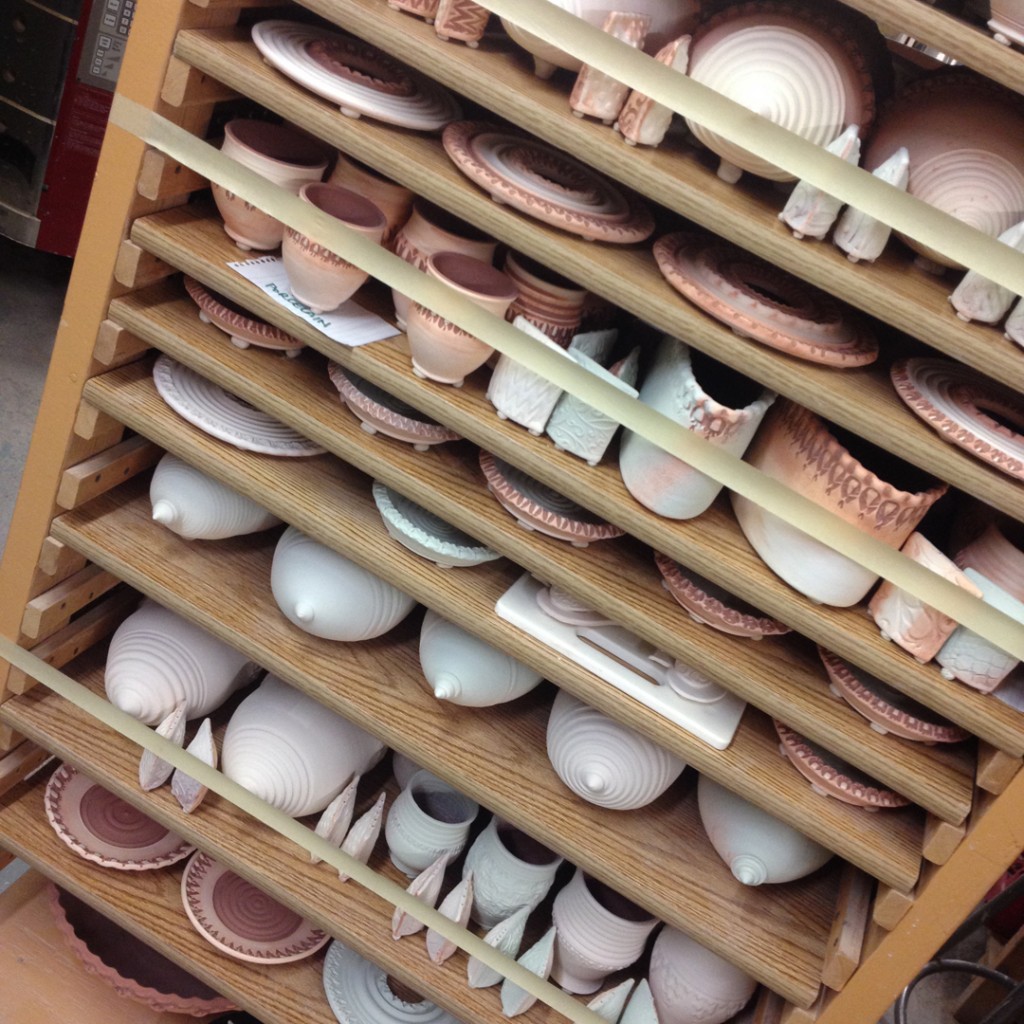
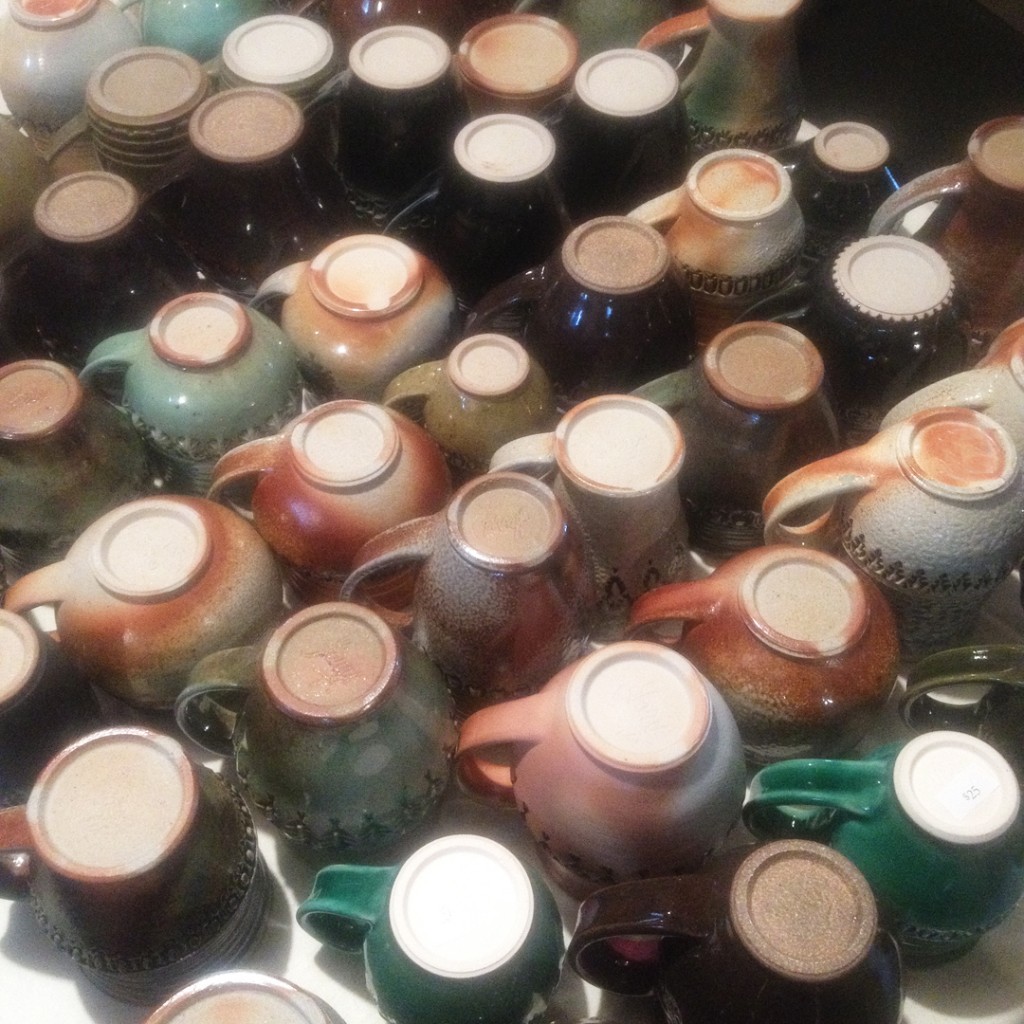
With just a few days until the kick-off of my Summer Art Fair schedule, it’s time to start pricing & packing all of my new pots. I’ve fired four kilns in the past couple weeks – so there are a LOT of new pots!!! Well over a hundred new mugs!!!

Luckily, my parents came over today help with the slightly overwhelming project. Our goal for the day is to get everything prepped & priced, and then divided and separated into two separate piles. Each pile is designated for a different art fair. Kind of nice to have enough pots packed and ready to go for BOTH my Schaumburg and Hinsdale shows!

Nice to have this huge project done. And ready to go for both shows with a new & separate inventory for each. Even better, we also packed the van for Schaumburg… so tomorrow can be a “rest day” for all of us before we head out to Schaumburg for the weekend show.
Categories: glaze, process, studio

It’s been a very busy week. Making. Glazing. Loading. Firing.
All in preparation for this weekend’s Schaumburg Prairie Arts Festival.
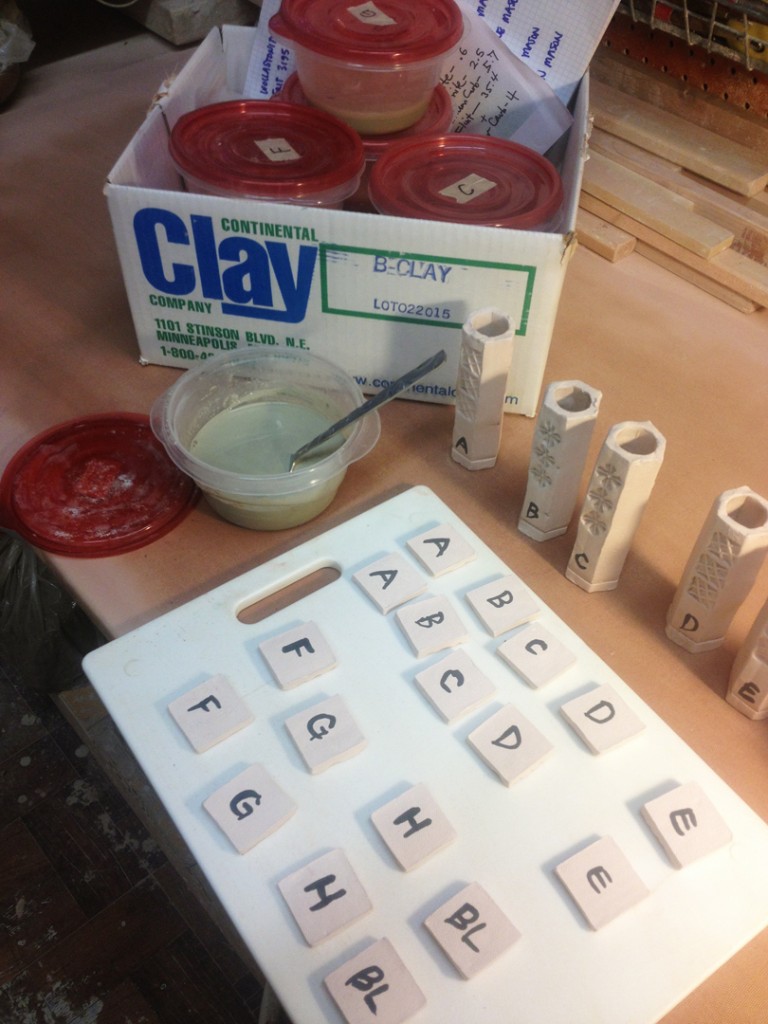
And while I’m already rushing about, why not add one more project to my to-do-list like developing some new glazes? I’m firing a Cone 6 electric oxidation kiln for some fun bright colors. So I mixed up a few new Cone 6 glaze recipes… hoping that one or two of them might turn out nice?!

I’m firing two test tiles of each color – one for the top of the kiln, and the other for the bottom. As well as a vertical tube to check for runniness. Fingers crossed that something works out. Maybe not in time for this weekend’s art fair… but maybe in time for some new colored pieces for Hinsdale in another two weeks?

Categories: clay, process

After sitting on my plaster bat for a few days, the pile of reclaim clay has stiffened up enough to start working with it. So I take off chunks of clay and pound them loosely in to squared blocks. And then I slice them into thin slices and alternately layer them into different stack. As you can see, I am more than willing to mix several different clay bodies into my reclaim. As long as they’re all a cone 10 high-fire clay body. It’s just clay, right?

So I take the layered stacks and pound them down on themselves.
Cut it in half and stack one stack on top of the other half. So if you started with 10 layers, you now have 20 stacked. Pound it down, then cut it in half and stack them again. Now you have 40 layers. Repeat, 80 layers. Repeat. 160 layers. Repeat. 320 layers. Repeat. 640 layers. And so on… and so on. It’s amazing to see how quickly the different clay bodies all get homogenized into one blend.

Then I take the freshly mixed parts and pound them into blocks. These will now be bagged up and ready for use at a later date. I’m too busy right now trying to finish up the production cycle with glazing & firing to be making new stuff. That is going to have to wait until after my first two art fairs! I will be sure to re-wedge it all before actually using it for throwing.

So there we have it… mixed, bagged and ready for a spin on the wheel. FREE CLAY.
One hundred and twenty-eight pounds of it. That’s a lot of pottery potential.

And there it is… FREE CLAY

Categories: glaze, mugs, process, production, stamped

Just one of the many mugs that has been inlaid with temoku glaze, wadded, loaded and was fired in my soda kiln Saturday. The kiln has been cooling and now I get to unload tonight. Can’t wait to see how this mug, and all the others, turned out!?

Categories: clay, process

Gotta love a good pile of gooey reclaim clay!
Just imaging the possibility of all this “free” clay.
It’s amazing what a few trimmings mixed with water can make.

Categories: kiln firing, process, production

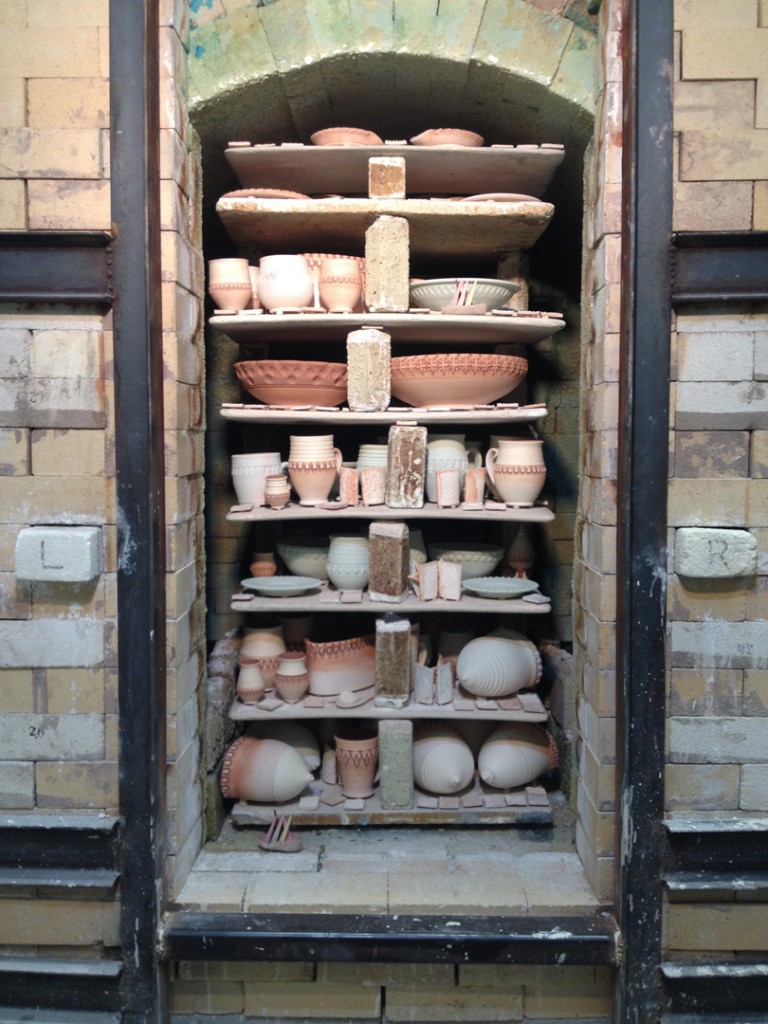
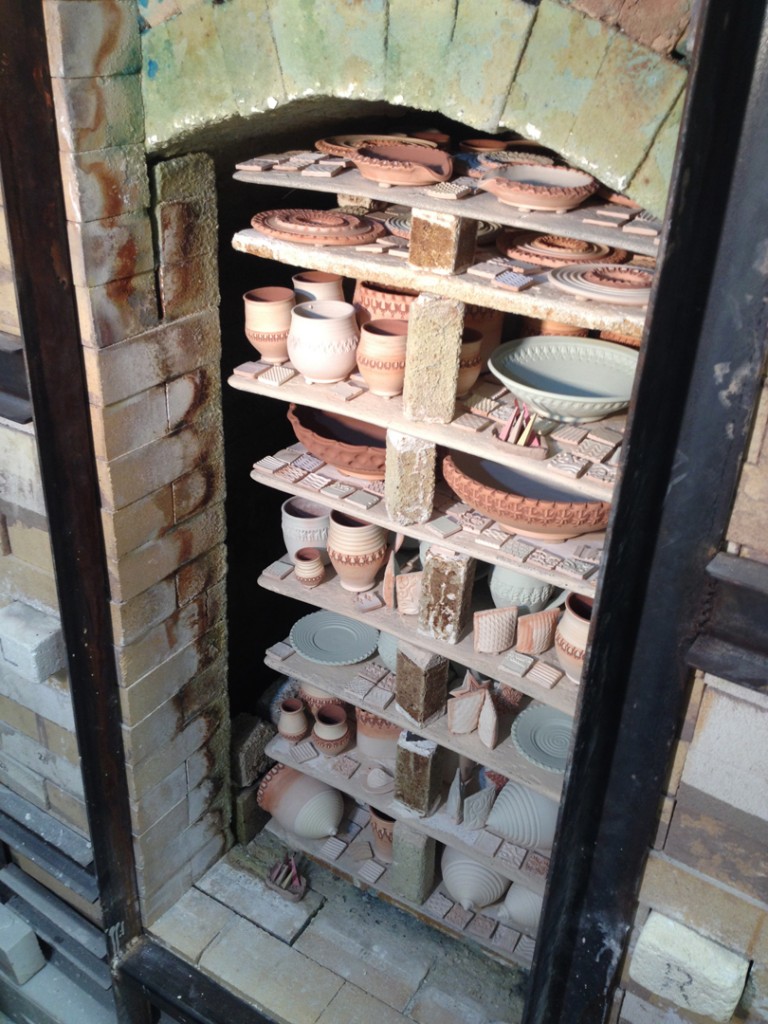
Here’s the back stack of the kiln… loaded piece by piece, shelf by shelf, post by post.

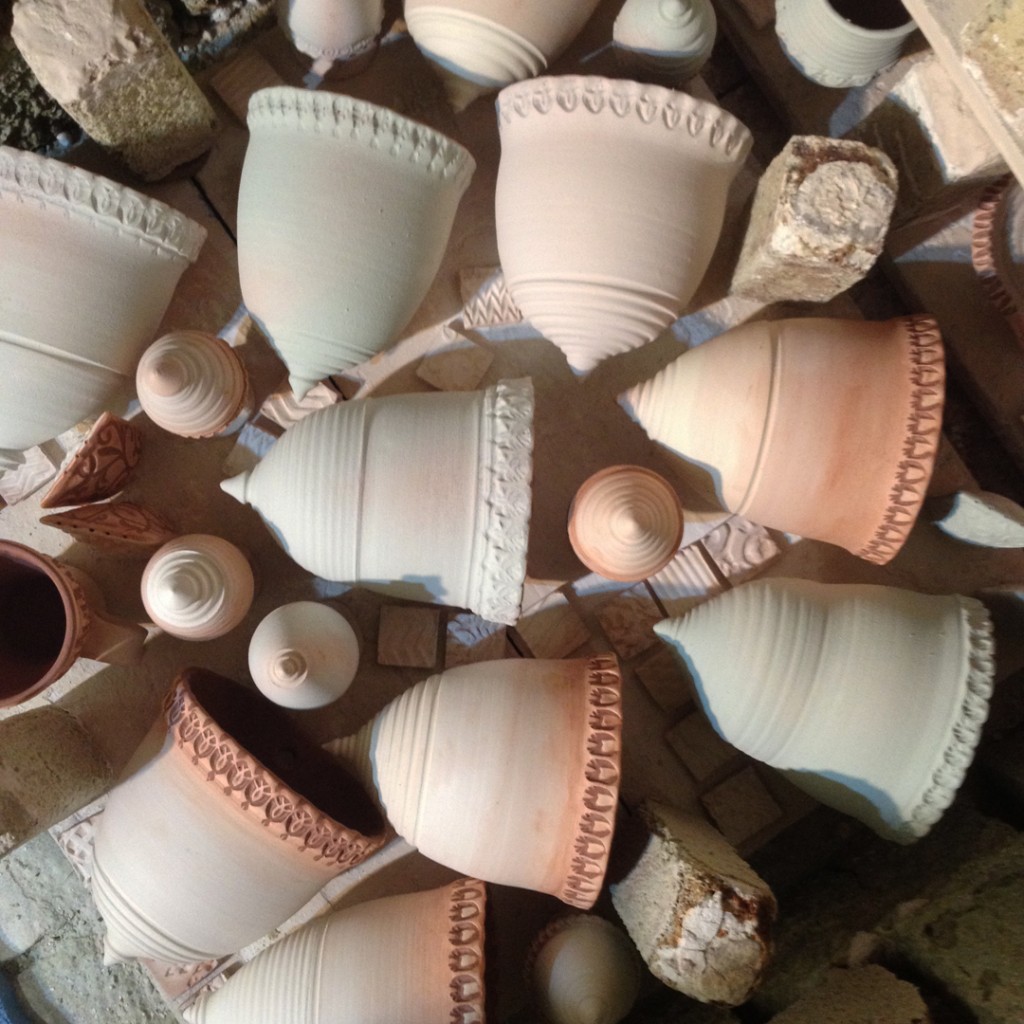
And a quick bird’s-eye-view of some wall pocket vases & ornaments mixed together.

So after a couple hours of focused kiln loading, my kiln was finally full. Pretty much everything fit in… just a few “strays” that will hopefully sneak into the next firing. Pretty pleased with my loading… it took quite awhile, but there’s not any spare space unused in this kiln Hopefully it’s not packed too tight for the soda mixture to fly around inside and hit all of the pots. I guess we’ll find out Monday when I unload?!

Time to close it up, brink up the door… then add a little heat to dry things out.
I’ll be back early tomorrow morning to get it all started.

Categories: kiln firing, process

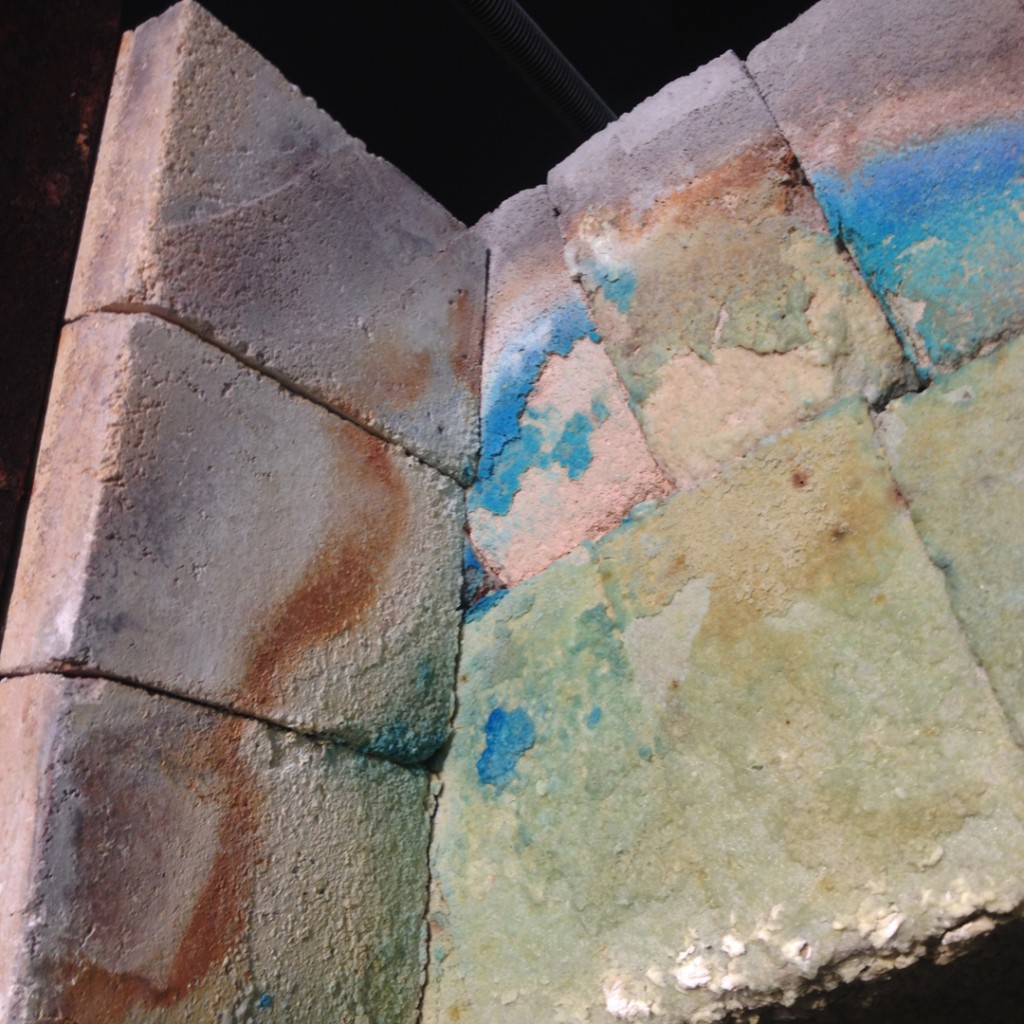
And you’ve gotta love the wonderful colors building up on the kiln arch bricks.
The beauty of chemistry in action!

Categories: glaze, process, production

My studio cart is pretty much full… which means I’ve glazed & wadded enough pots to fill the soda kiln. Of course it’s kind of a guessing game of how it will really fit when stacked in the kiln.

A few quick masking tape “seat belts” and my cart is ready to make the trip downstairs to the kiln room. The masking tape helps keep pots from jumping off while they ride down in the rickety freight elevator!

Categories: glaze, ornaments, process, production
Categories: glaze, process, production

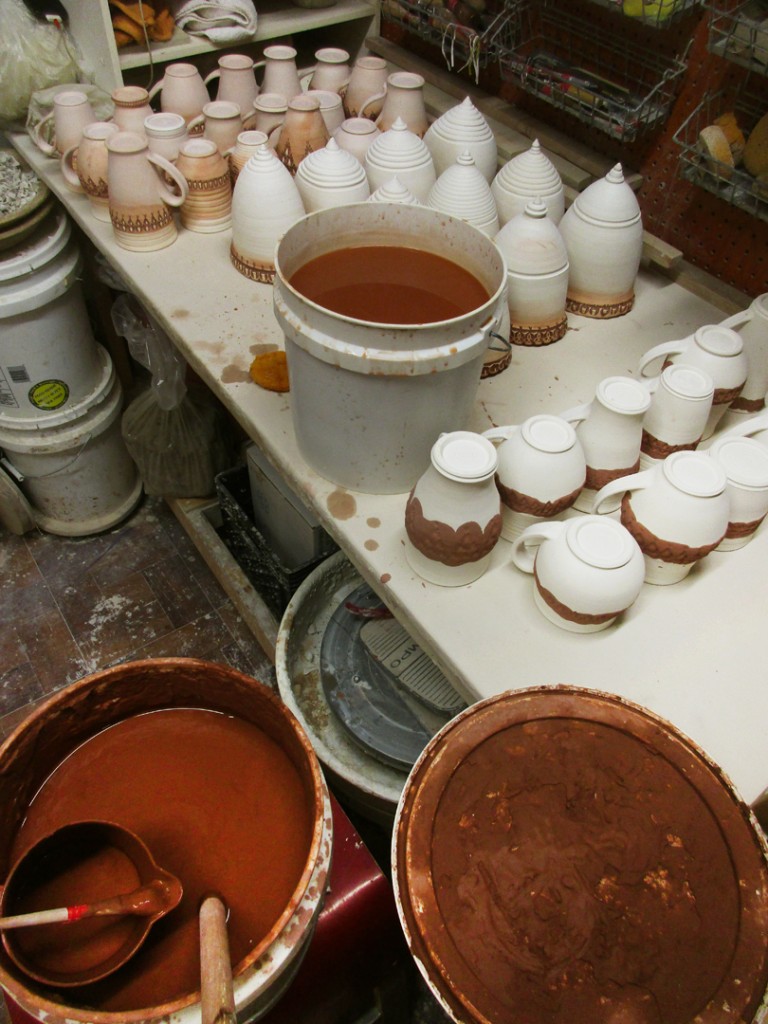
The glazing continues… and it’s pretty much taking over my studio!!!
And making quite the mess on my wedging table.

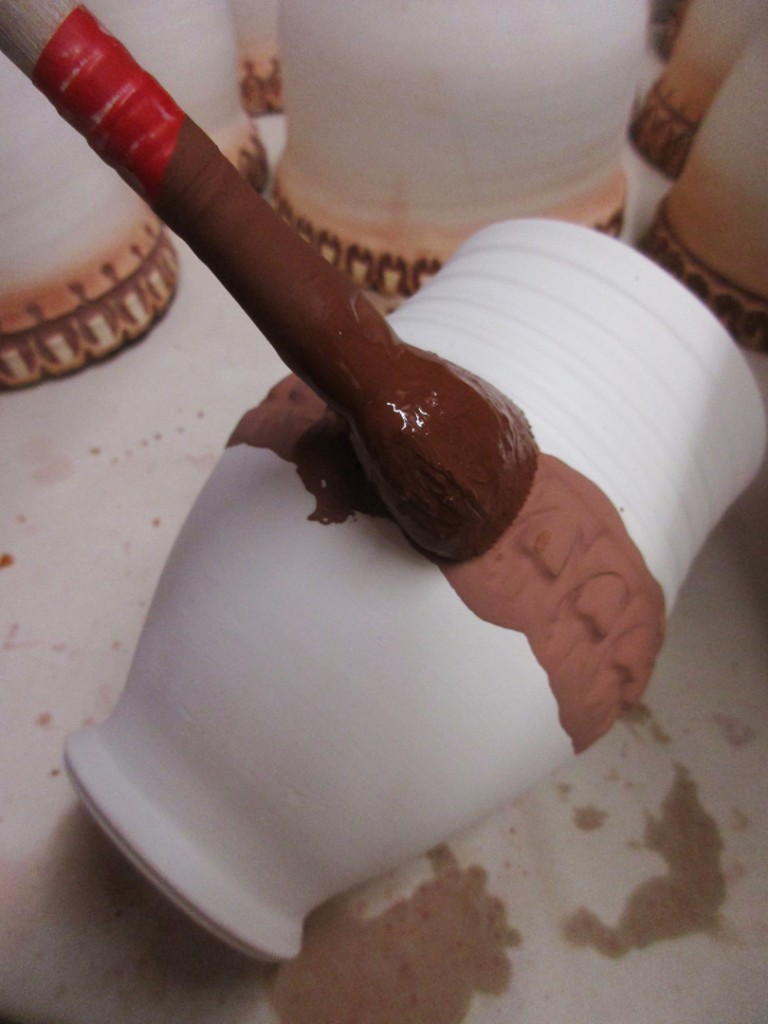
Since this is a soda firing, a lot of the surface “glazing” will be created by the soda atmosphere in the kiln. So I typically leave a lot of the exterior clay unglazed. Instead, I like to fill the stamped indentations with temoku glaze.

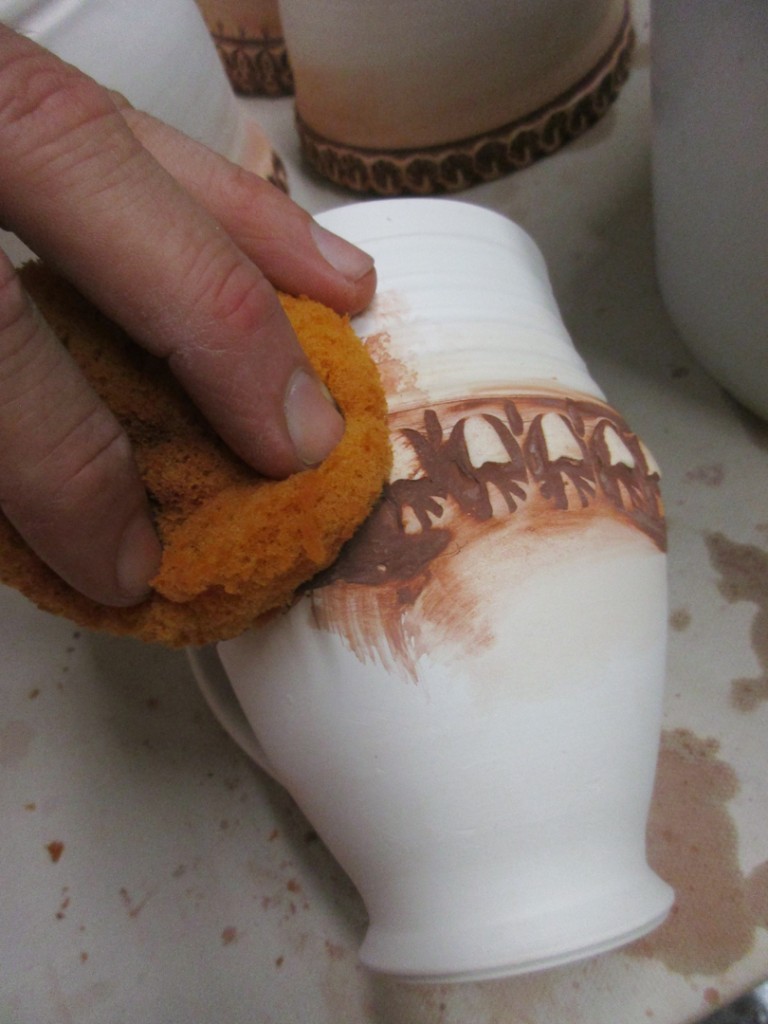
After painting over all the stamps with glaze, I then take a damp sponge and gently wipe off the top surface. Leaving the glaze in the indentations to help highlight the stamped texture.

Wiped clean, ready for wadding and the on to the kiln!