Tonight I started with trimmed pots… trimmed, smoothed, refined… still leatherhard.
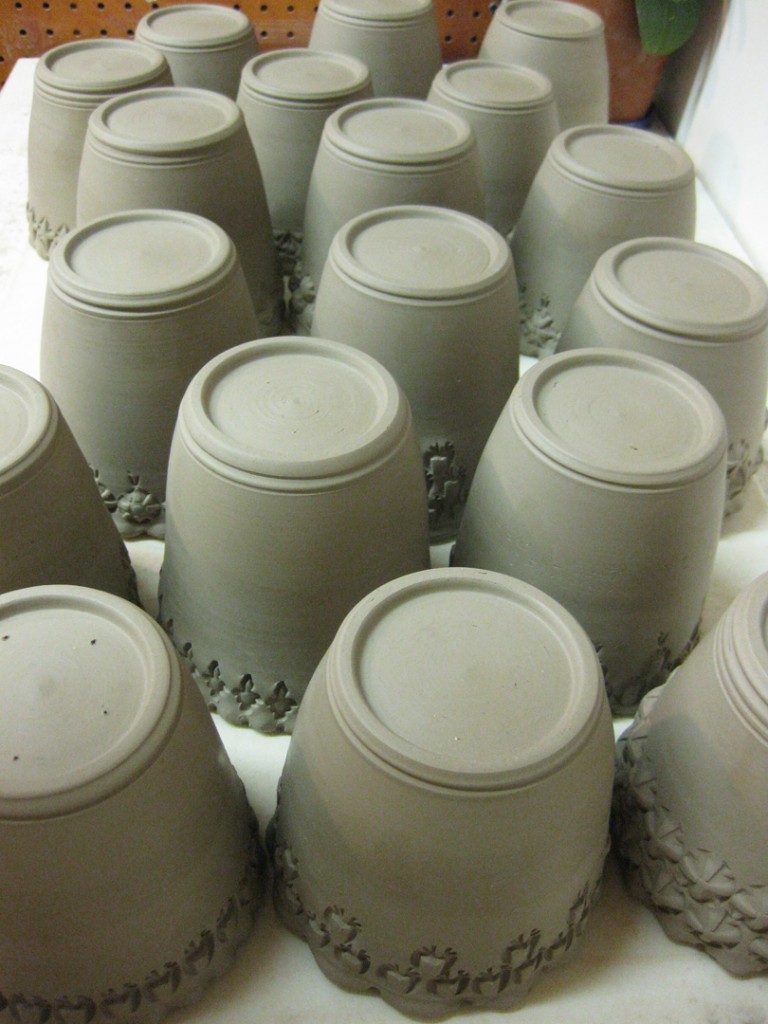
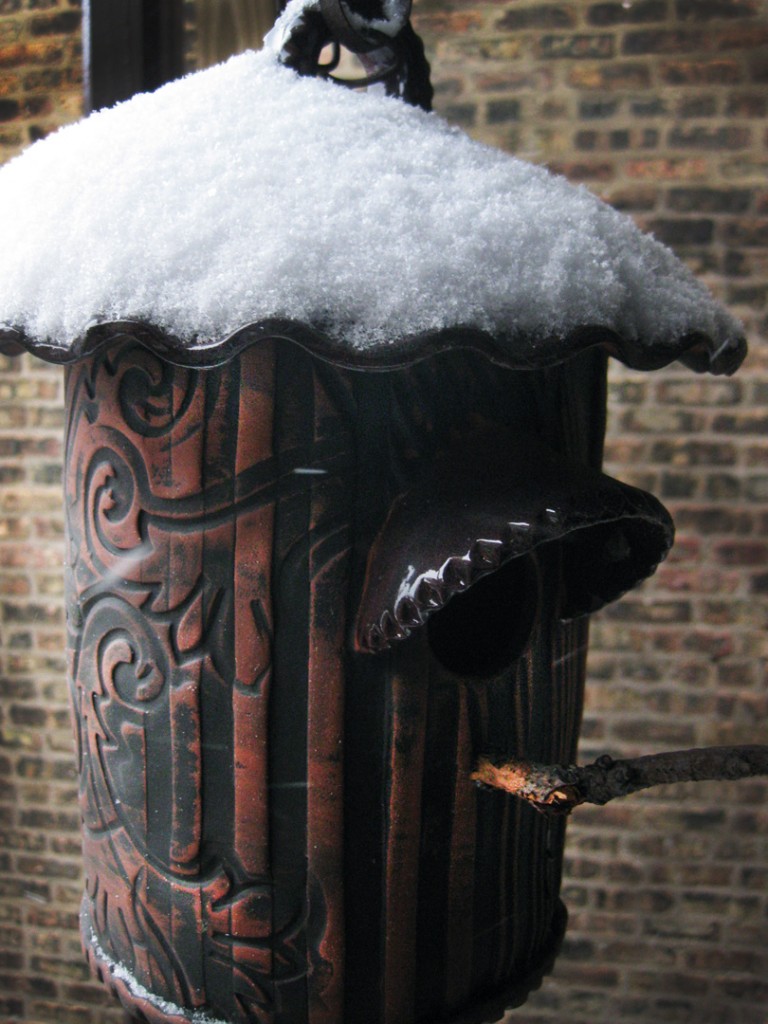
But if these little cylinders are going to become the little herb flowerpots as planned…
they still need some drainage holes. So I started by marking the placement of where
the drainage holes will be placed. Sure, I could do it freehand… but why?!
When you’ve got some great little tools which practically do it for you?!
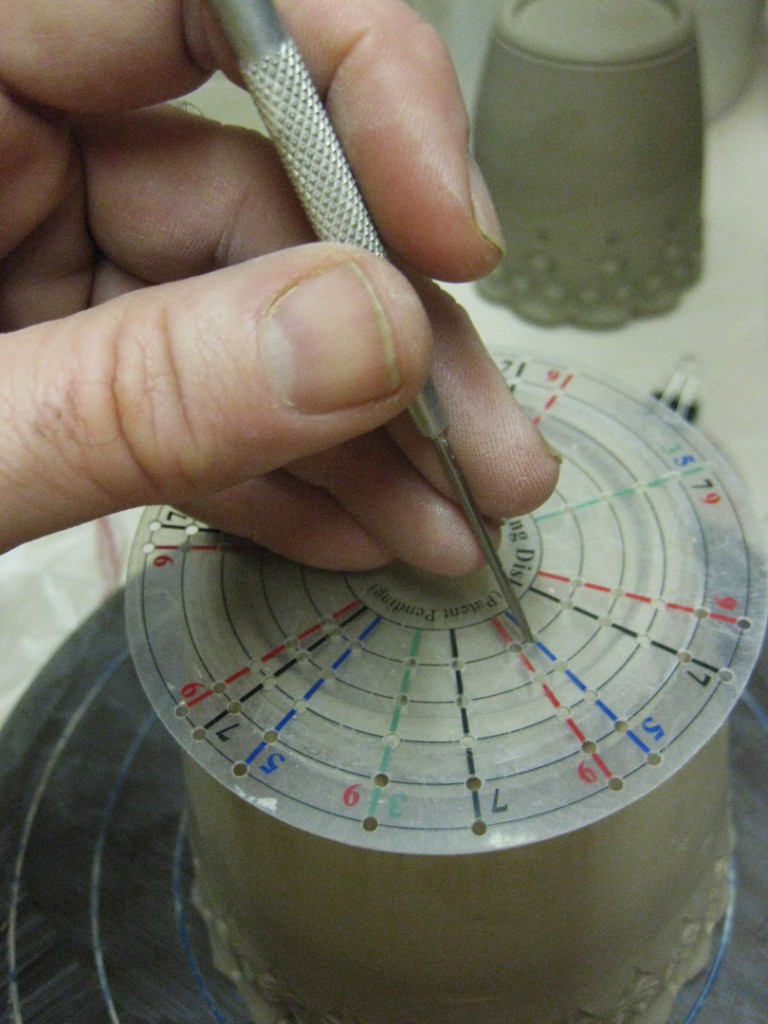
These great little disks from MKM Pottery Tools are a huge help when trying to divide into
equal segments. And here’s the cool part, they give you two disks. One for an even number
of segments, and another for an odd number of segments. Plus little holes on the disks that
you can poke through to mark your pots. I’ve got the smaller 4″ disks, but they also sell a
larger 15″ disk for larger pots & platters. Click here for more info on MKM Pottery Tools.

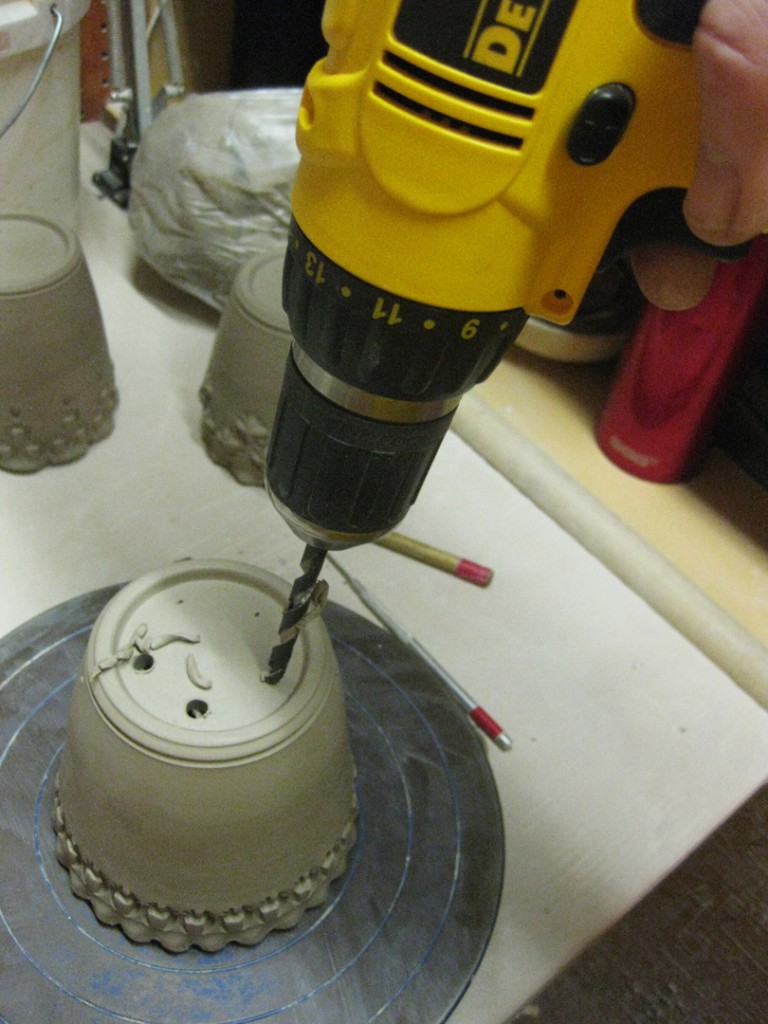
Once the hole placements are marked… it’s time for the power tools!
Sure, I could use a small manual hole punch. Sure, I could carve through by hand.
But why do all that when an electric drill can do the trick much quicker & cleaner?!
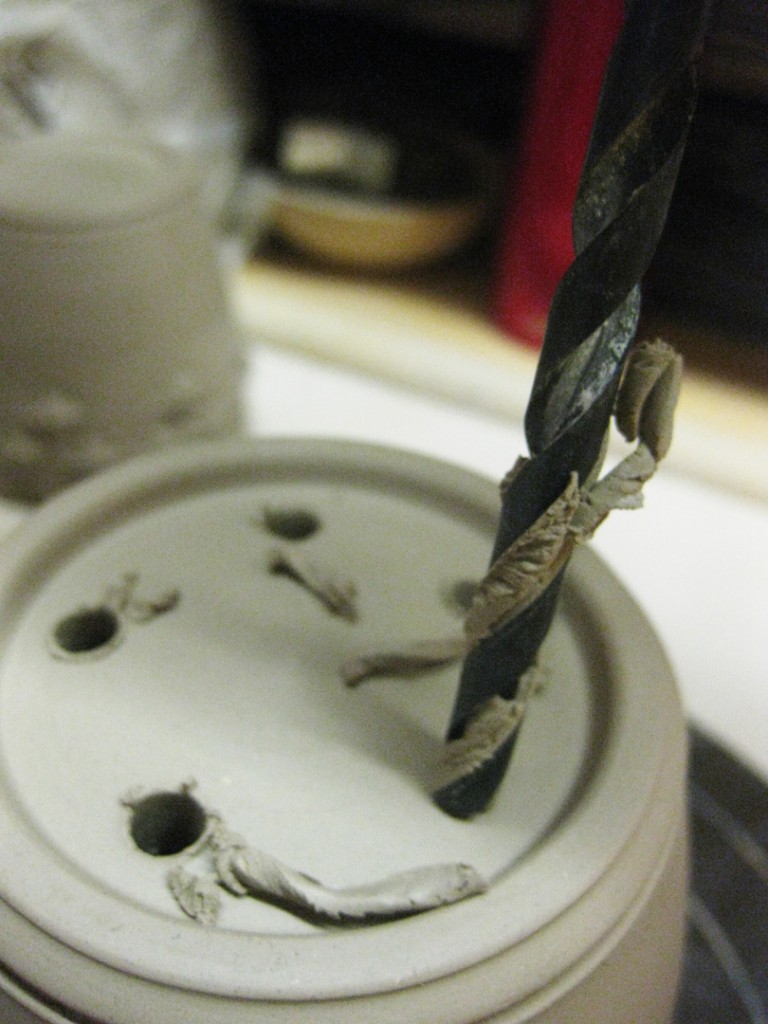
Just insert the drill bit of your chosen diameter and drill away… carefully!
Of course you need to make sure your pots are still a good stiff leatherhard. If they are
too dry there’s more of a risk of cracking the pot. If you clay is too wet, it will just kind
of gunk-up the drill bit. Go for stiffer-leatherhard. You’ll be glad you did.
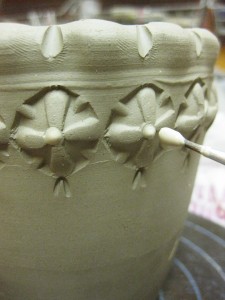
So once the drainage holes were done, I added some colored slip accents into a few of the
stamped impressions. And since these little herb flower pots are going to be soda-fired, I
used a couple different colors of flashing slips. These slips may appear to be whites & beiges
now, but when they’re fired the slip will hopefully turn into shades of oranges & yellows!

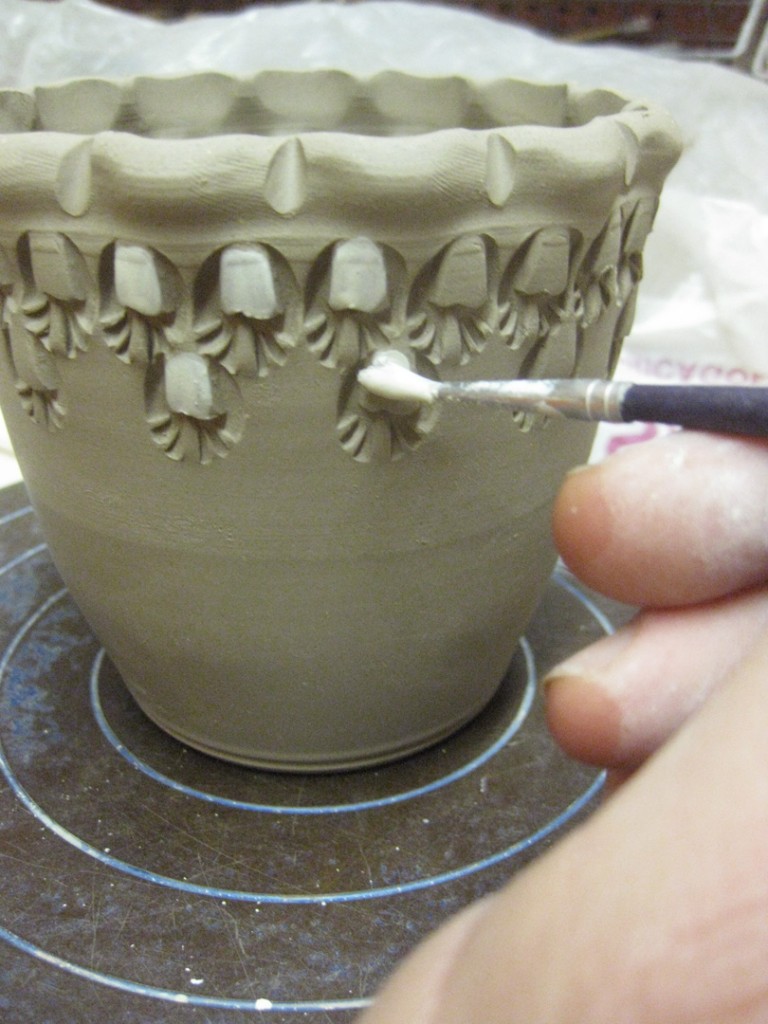
So now they’re all drilled… slip decorated… signed…
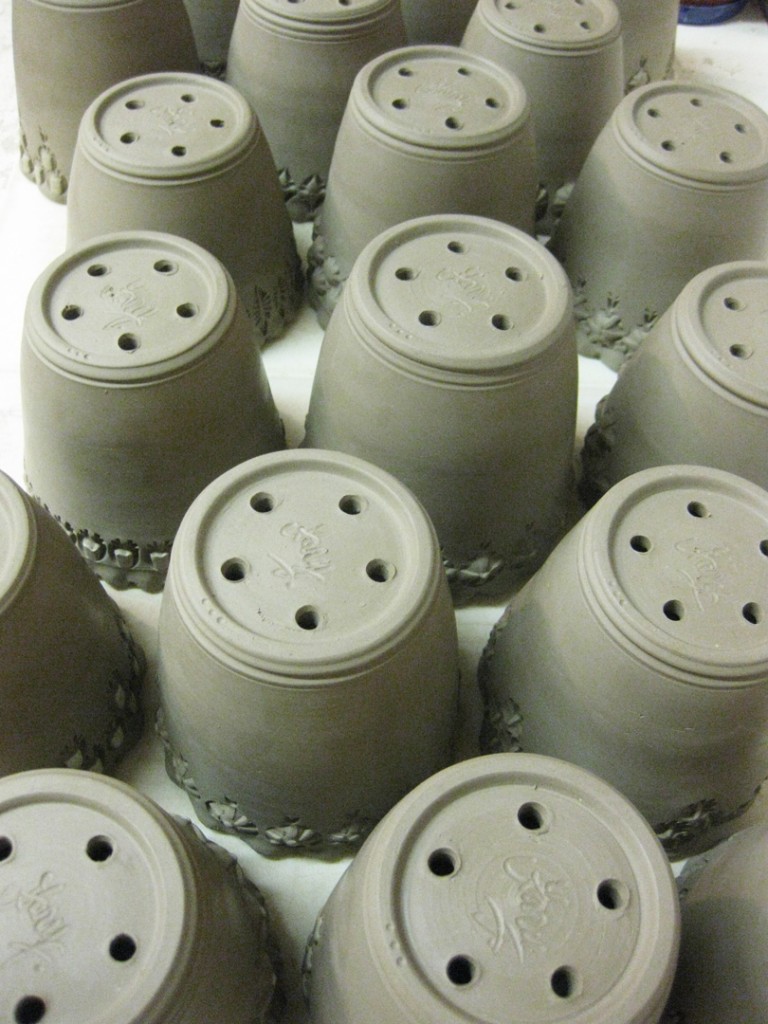
And drying…Â Next up?… I still need to throw the water saucers that will go under them!


