Gary Jackson: Fire When Ready Pottery
A Chicago potter’s somewhat slanted view of clay & play
Categories: art fair, artists, clay, glaze, patterns, pottery, textures

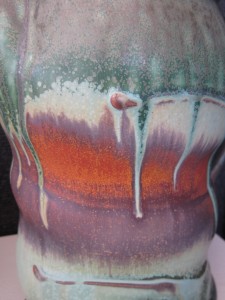
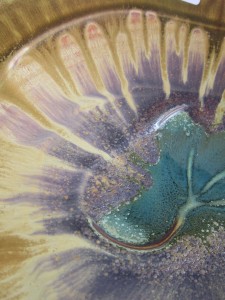
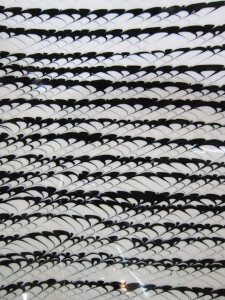
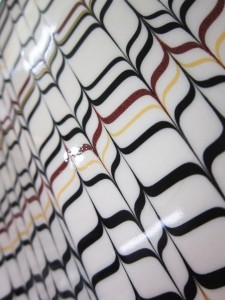
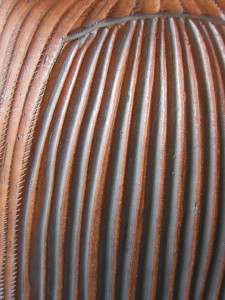
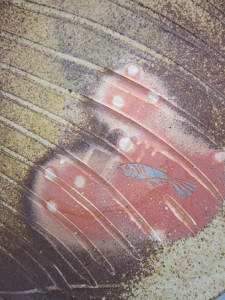
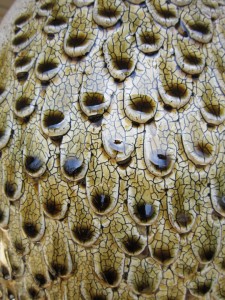
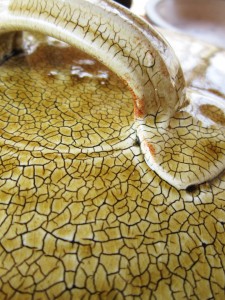
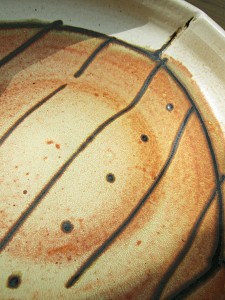
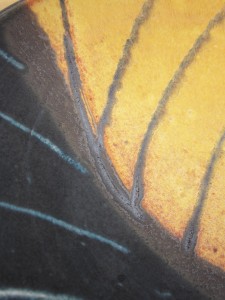
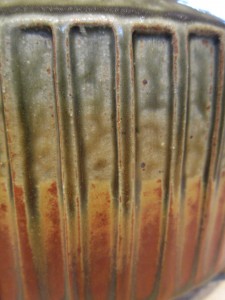
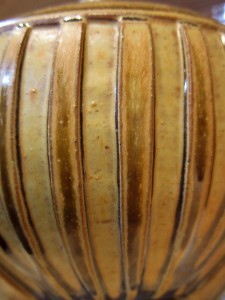
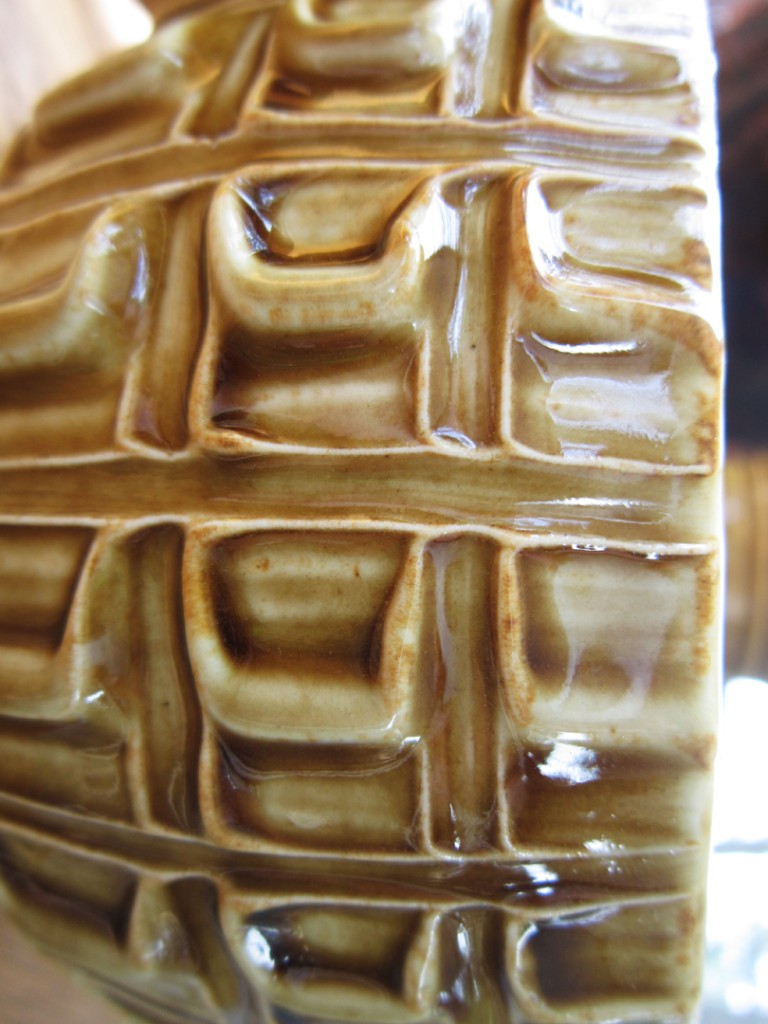
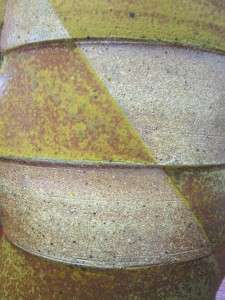
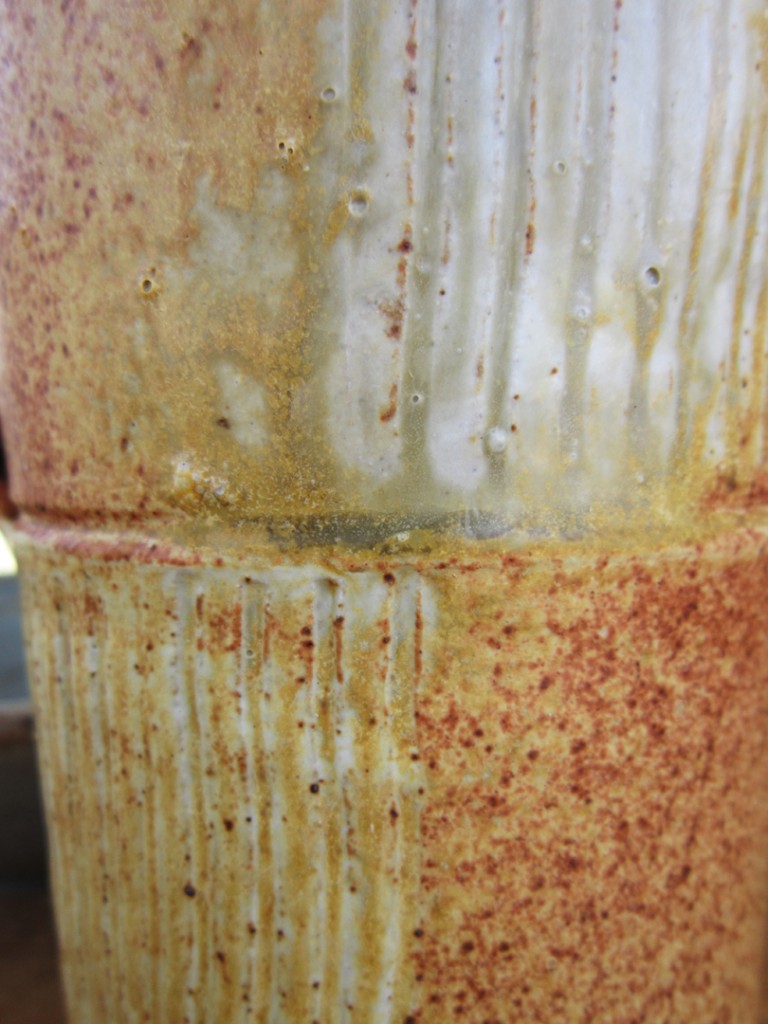
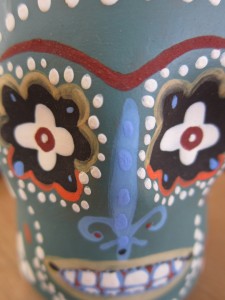
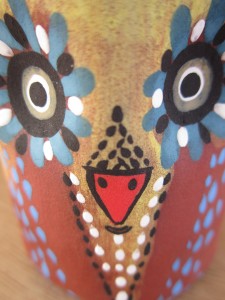
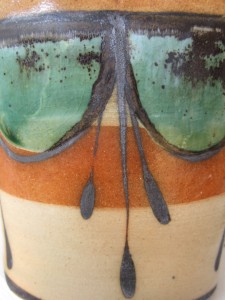
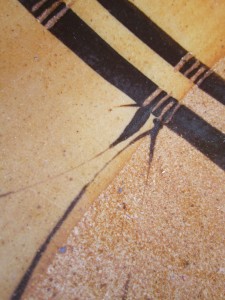
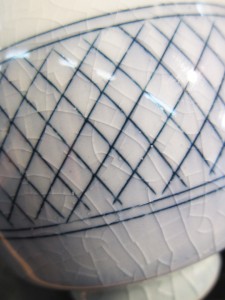
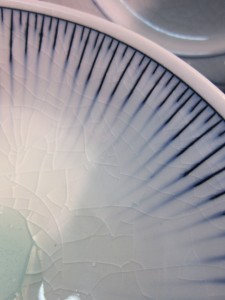
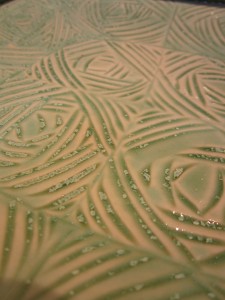
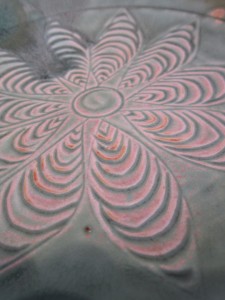
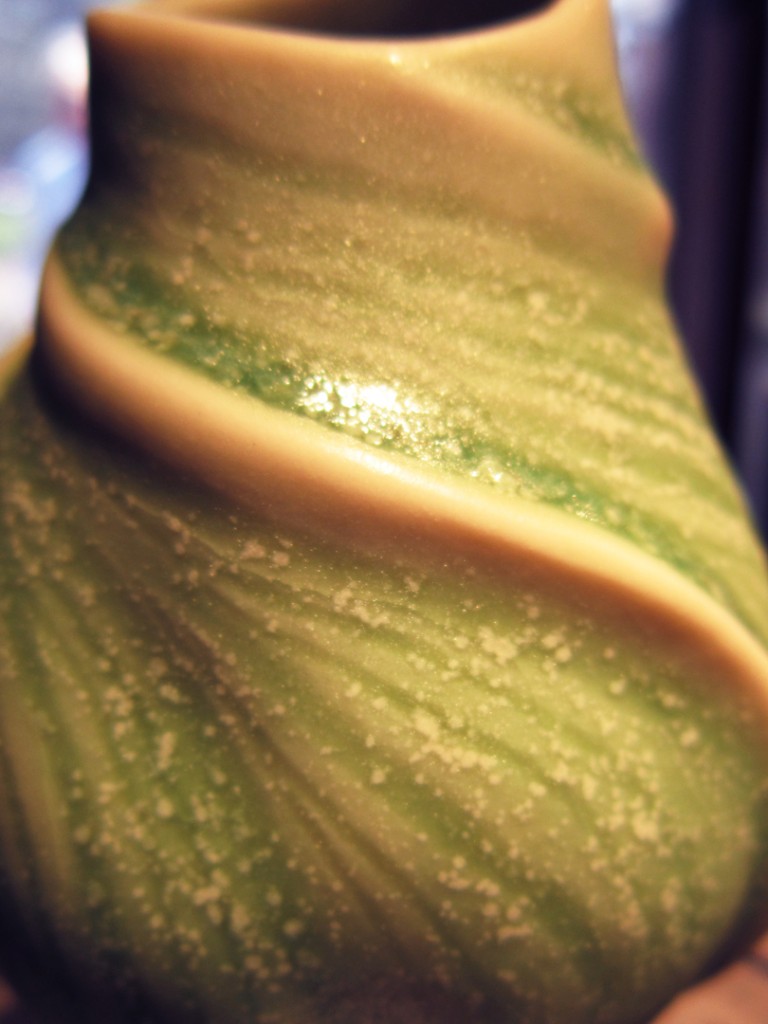
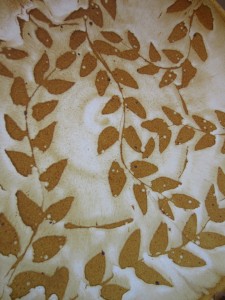
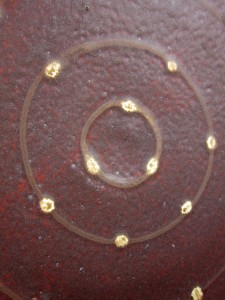
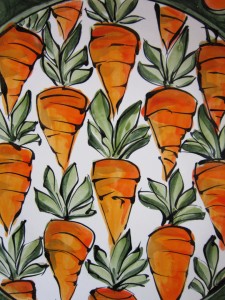
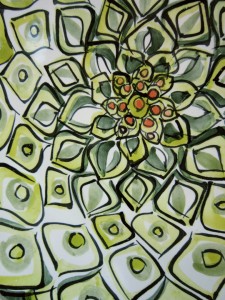
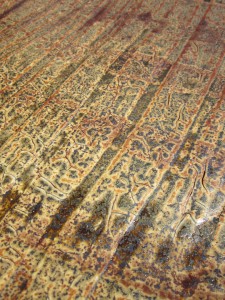
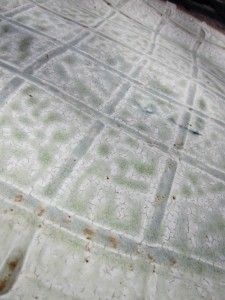
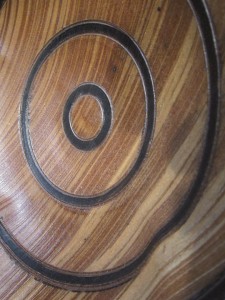
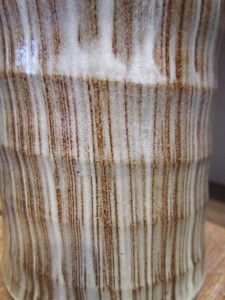
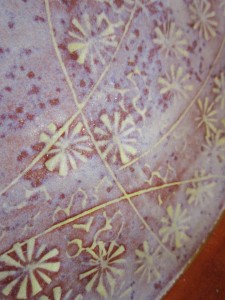
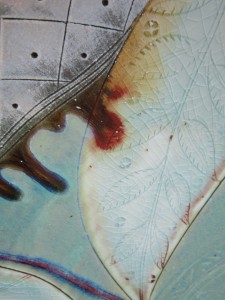
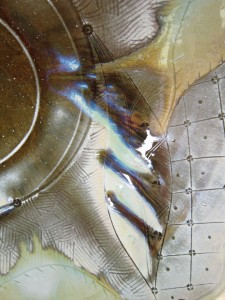
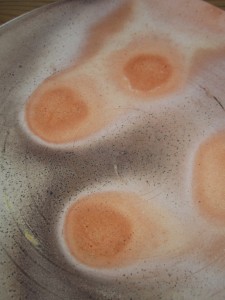
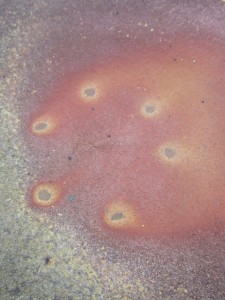
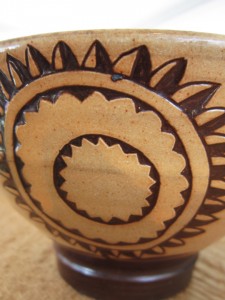
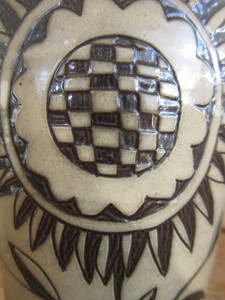
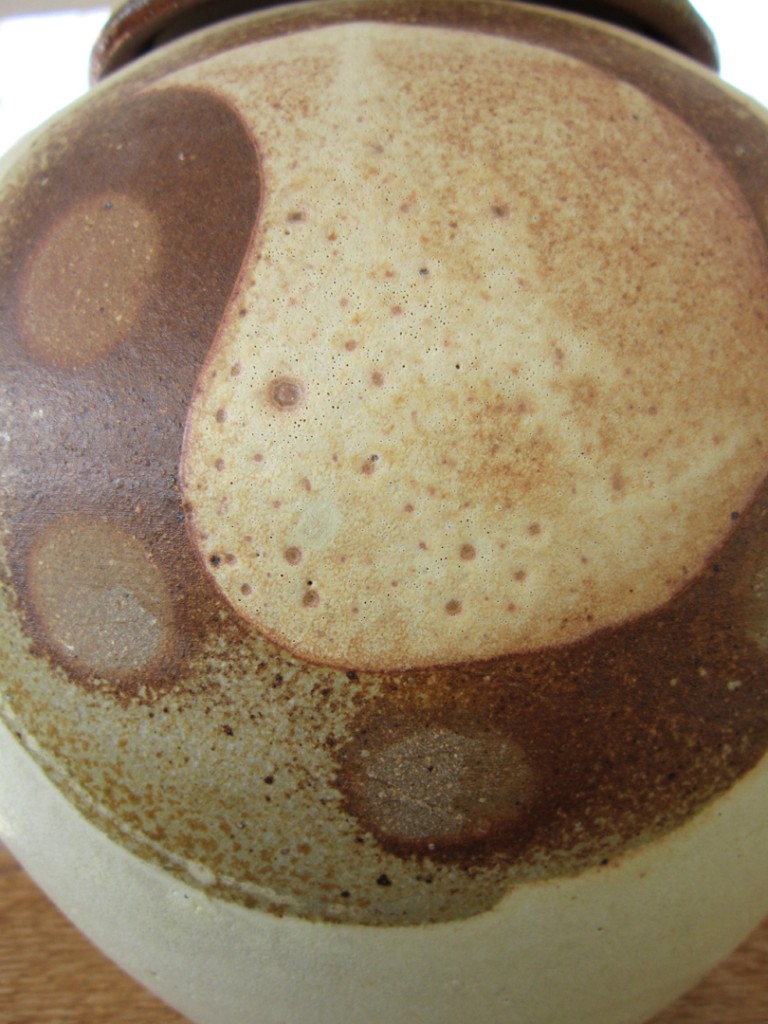
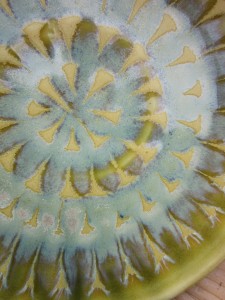
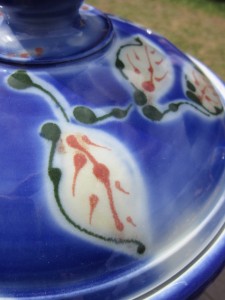
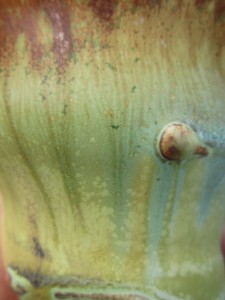
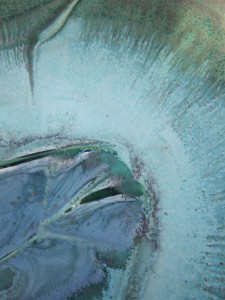
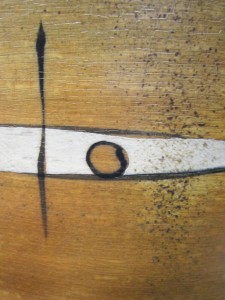
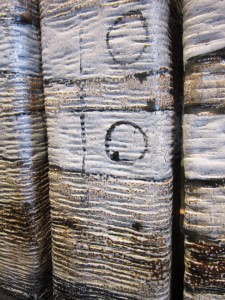
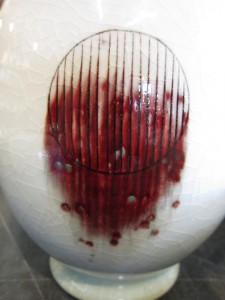
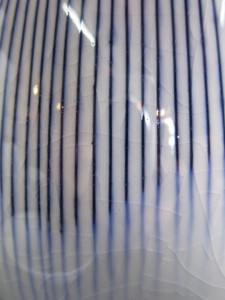
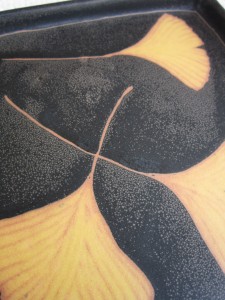
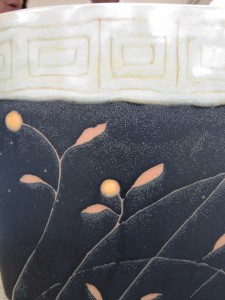
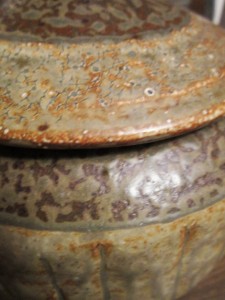
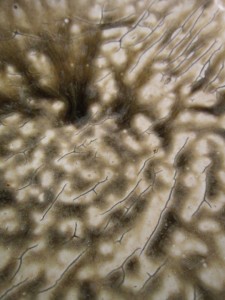
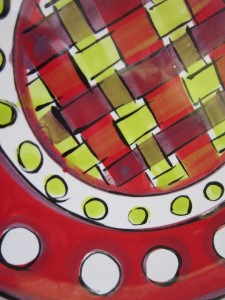
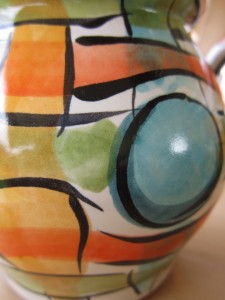
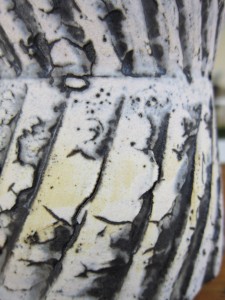
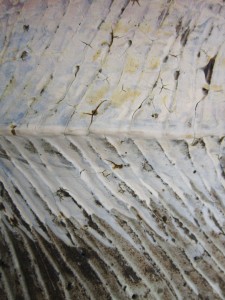
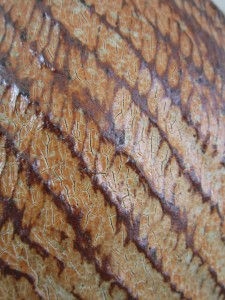
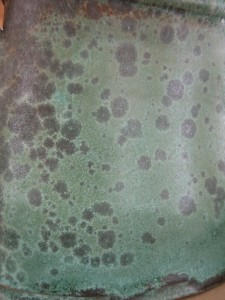
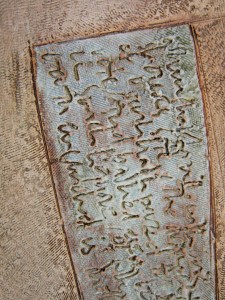
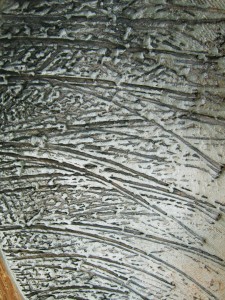
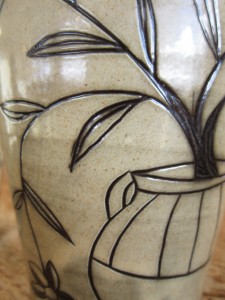
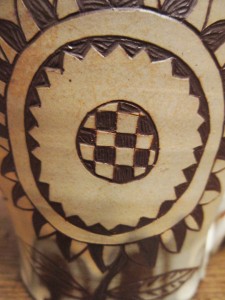
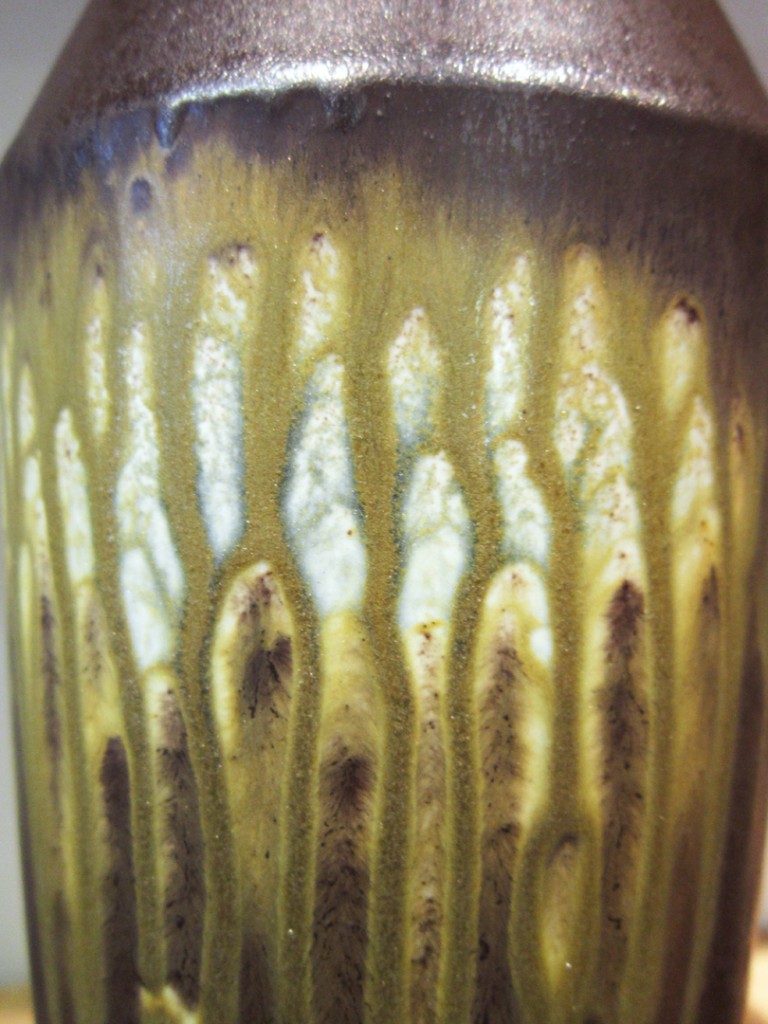
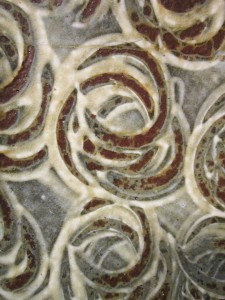
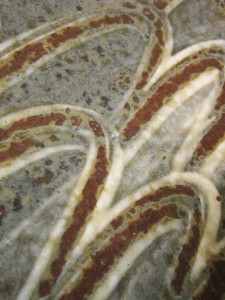
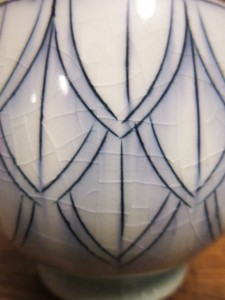
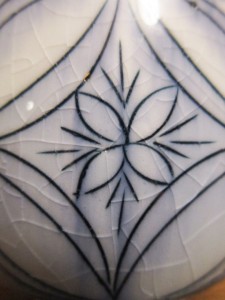
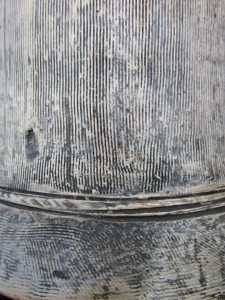
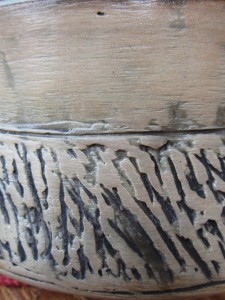
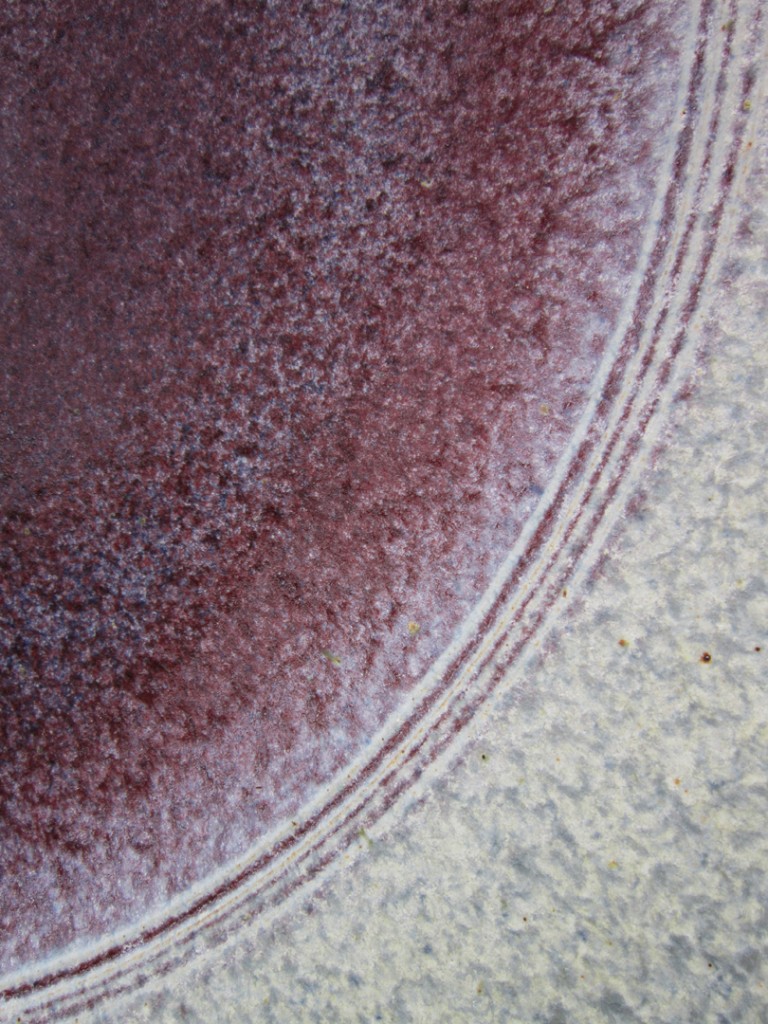
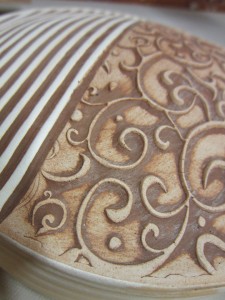
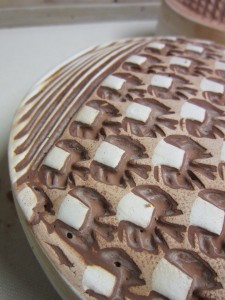
There were so many different styles & techniques displayed on the Minnesota Pottery Tour. So much eye-candy & visual inspiration. Taken out of context though, how many of these ceramic artists can you name based on a snapshot of their decorative technique!?

Artists names will be revealed some time next week!!!
Answers are now posted in RED as of 5/29/14.

#1 : Shoko Teruyama

#2 : Steven Hill

#3 : Andy Balmer

#4 : Bill Gossman

#5 : Dan Finnegan

#6 : Delores Fortuna

#7 : Ellen Shankin

#8 : Richard Vincent

#9 : George Lowe

#10 : Jeff Oestreich

#11 : Jo Severson

#12 : Jenny Mendes

#13 : Suze Lindsay

#14 : Steven Young Lee

#15 : Silvie Granatelli

#16 : Sandra Byers

#17 : Kent McLaughlin

#18 : Karin Kraemer

#19 : Robert Briscoe

#20 : Mark Shapiro

#21 : Mary Roettger

#22 : Richard Hensley

#23 : Simon Levin

#24 : Matthew Metz

#25 : Craig Edwards

#26 : Sarah Jaeger

#27 : Steven Hill

#28 : Sam Taylor

#29 : Steven Young Lee

#30 : Donna Polseno

#31 : Robert Briscoe

#32 : Karin Kraemer

#33 : Ani Kasten

#34 : George Lowe

#35 : Mary Barringer

#36 : Matthew Metz

#37 : Ernest Miller

#38 : Steven Hill

#39 : Naomi Dalglish

#40 : Steven Young Lee

#41 : Mary Barringer

#42 : Winthrop Byers

Categories: clay, process

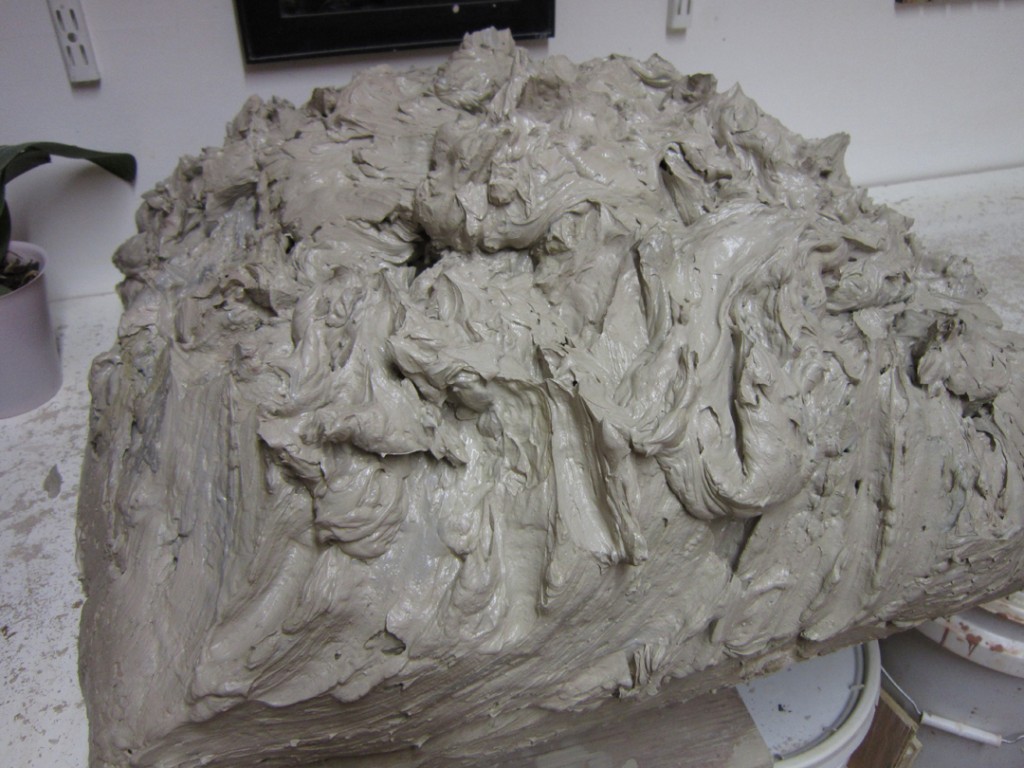
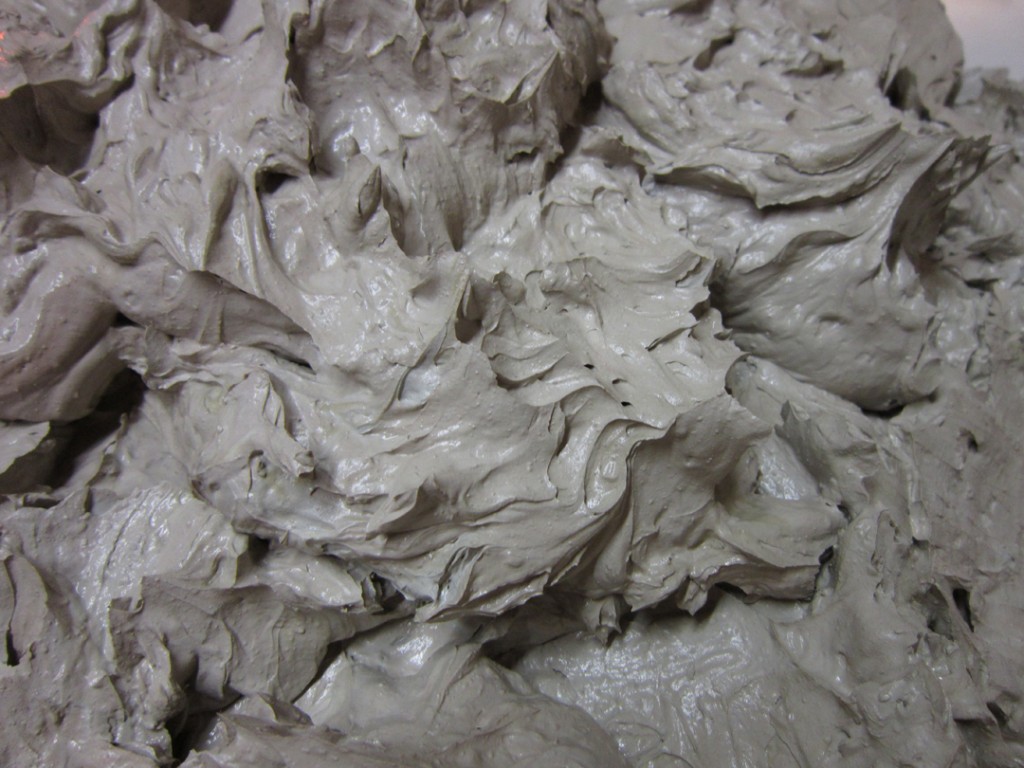
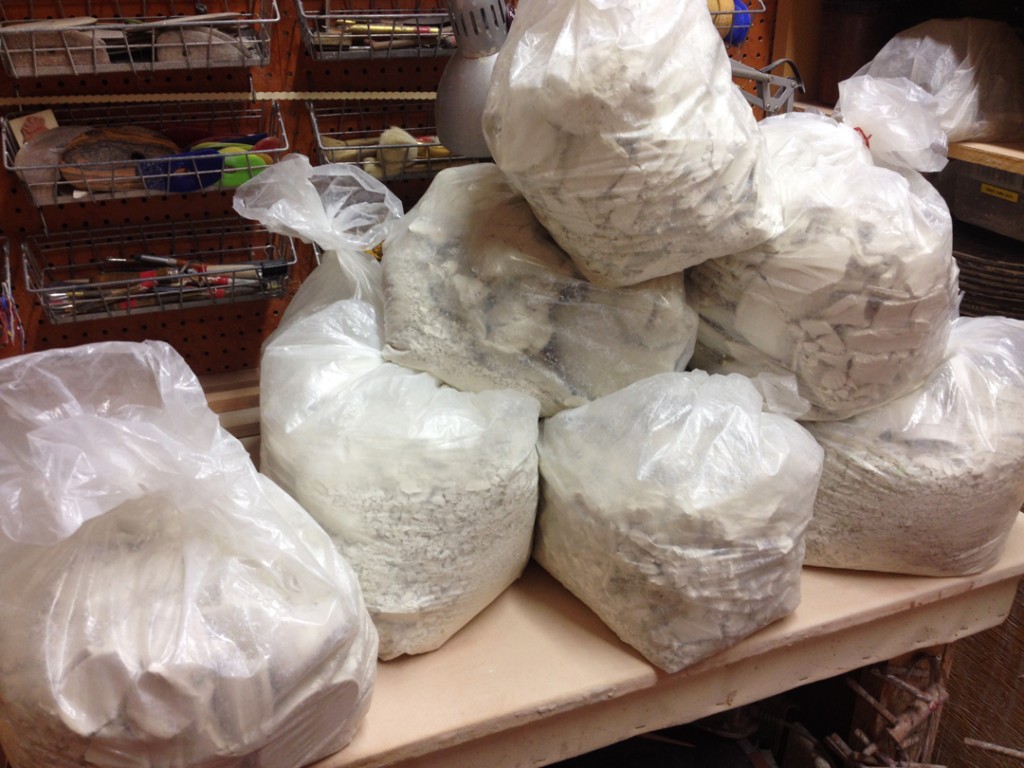
With several bags of dried porcelain scraps from Emily, I felt obligated to get the process started. So I turned out the stoneware reclaim that I’ve had in my orange tub. So I stirred it up, added a little more powdered EPK and stirred some more. I then turned it out onto a large plaster bat for it to set up. The plaster bat will help absorb the moisture out of the gooey clay blob. After a few days, I’ll be able to start wedging it back into usable clay… FREE usable clay!!!

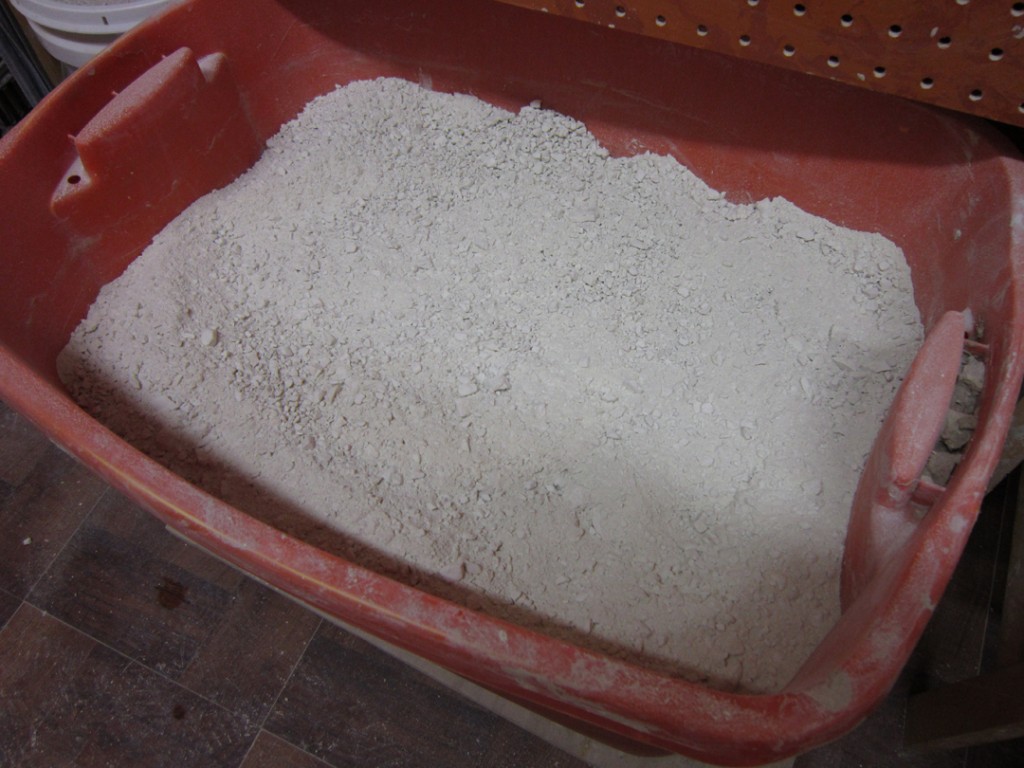
Then it was tine to start the porcelain reclaim. I scrubbed out my orange reclaim bin… and started adding the porcelain scraps into it. A lot of the porcelain scraps are in large chunks, so I did a lot of banging, breaking and “pulverizing” into smaller flakes. The smaller the pieces, the smoother the reclaim.

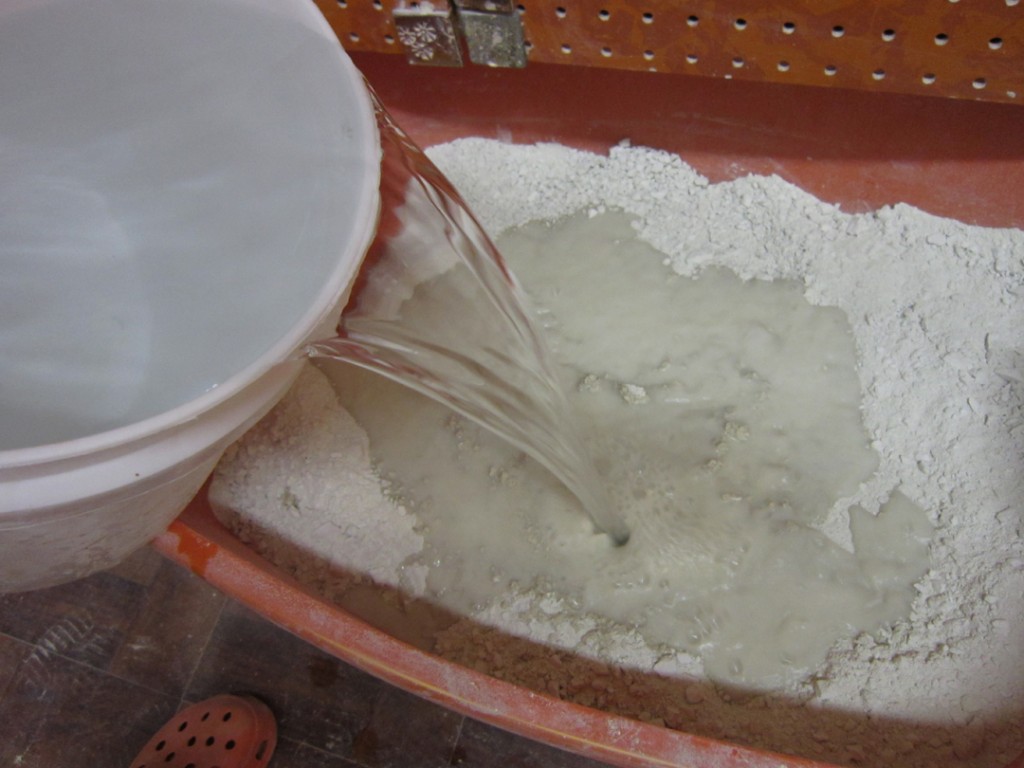
Add in some water, let the bubbles some up, then add some more water. Once the pile of porcelain flakes are covered with water, the clay will begin to slake down. I’ll stir it up a few times as the water evaporates. And soon enough, I’ll have a huge pile of FREE reclaimed porcelain!!! Thank you Emily!!!

Categories: clay, glaze

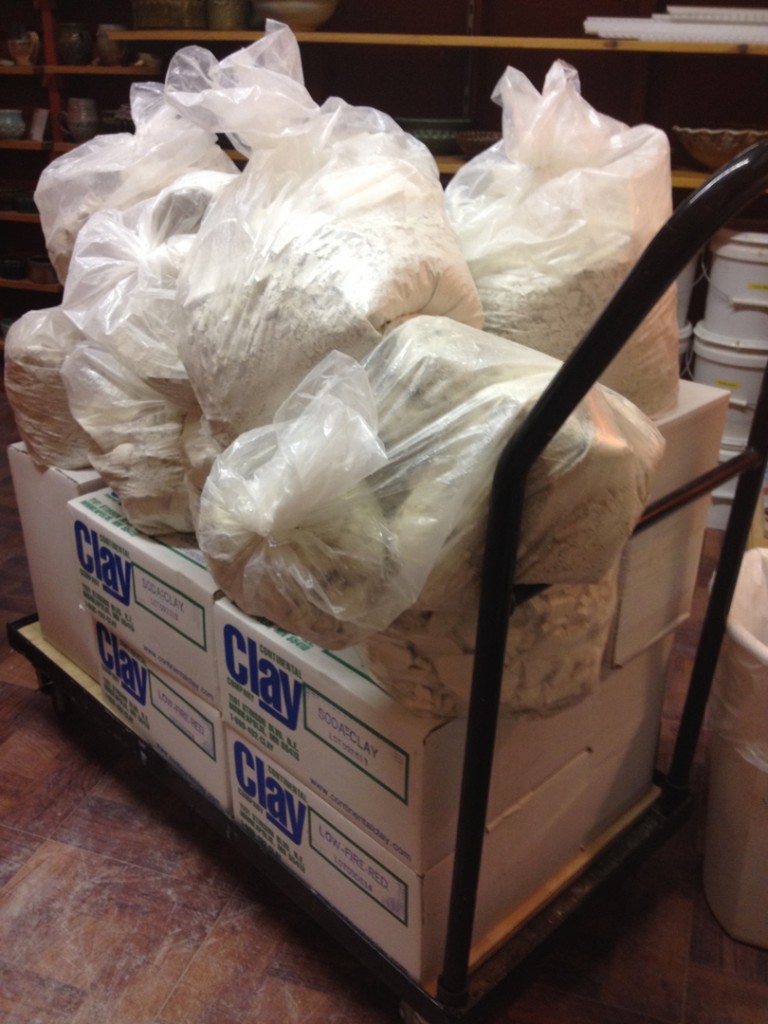
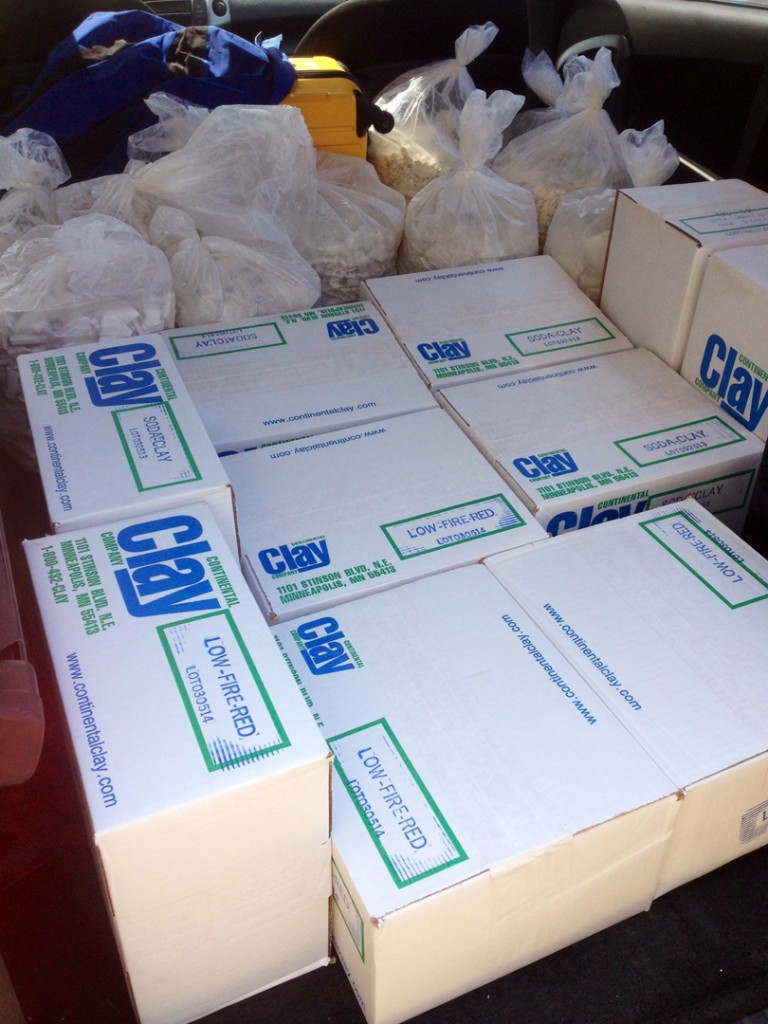
This morning I unloaded my car. Shlepping all of my new clay boxes, glaze boxes and bags of reclaim up to my second floor studio. So thankful that we have a freight elevator!!!

Those bags of reclaim scraps just seem to be multiplying?!!!

Categories: clay

Morning stop at Continental Clay to stock-up on a “few” things.
And now back for Day Two of the St Croix Valley Potters Tour.
Like we didn’t do enough damage yesterday?!!!

And yes… the bags in the back are bags of dried porcelain trimmings from my friend & potter Emily Murphy. I used to enjoy getting her reclaim scraps when her studio was across the hall from me at Lillstreet. But now that she’s moved up to Minnesota, I thought my reclaim pipeline had dried up. Apparently not… it just now comes in larger batches once a year!!!

So now I’ve got fresh, new clay.
Bags of dried reclaim scraps.
And now we’re off to the Pottery Tour to see more fired clay!!!

Categories: clay, glaze, kiln firing, textures

Tonight was another night of glazing fun.
Which I must admit is my least favorite part of the whole process.
But I digress…

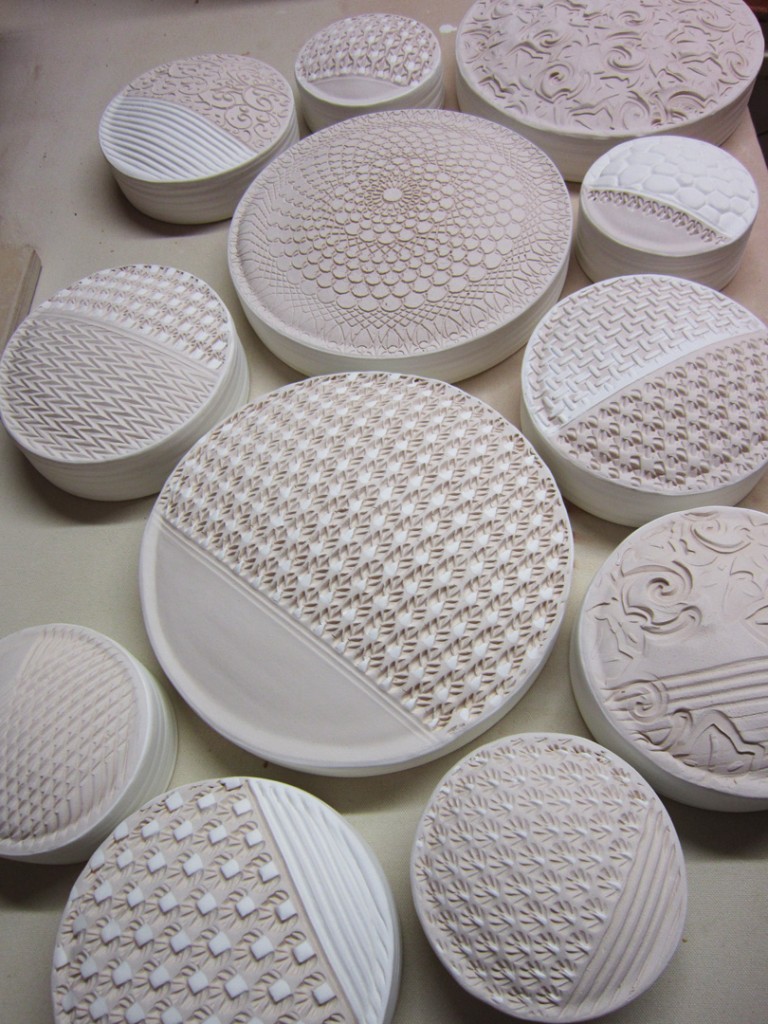
So here’s a glimpse into the “fun” I had tonight while I was glazing the textured tile pillows.
So here they are “Before”… fresh out of the bisque kiln.

“During”… when I had coated the tops with a layer of temoku glaze.

And then a gentle wipe with damp sponge to clean off the “high points” and allow the glaze to stay in the indentations.

“After”… and now you can see how the inlaid glaze really helps “pop” the stamped patterns & impressions.

The “constellation” group looks pretty fun… and then there’s details of them too…

Categories: clay

Tonight during class, we tackled making lidded jars!
I showed them how I like to make my lids by throwing off the hump. So we made a  couple lids… and then continued to make more “shapes” off-the-hump while I still had clay there. A couple bowls… a couple shot glasses… a couple bud vases… and then the challenge kicked in. They wanted smaller… and smaller… and smaller…

And I think I may have just thrown the smallest vase I’ve EVER made!!!

So now I’m going to need the smallest stamp ever too, right?!!!

Categories: clay, production

Little ball of “potential” wedged and ready to go… err, I mean throw!!!

Categories: bowls, classes, clay, pottery, process

Every session my Tuesday night Wheelthrowing Class “challenges” me with something new & different. It’s usually Week Nine when I get to do the challenge piece. We’ve tackled things from goblets to Menorahs, from oyster plates to lotus fluted bowls. Never one to turn away from a challenge, tonight we tackled yet another one… MARBLED CLAY.

So I did a little prep work ahead of time in my studio. I started with two different clay bodies that fire to a dramatic color difference. The clay on the left is Stoneware With Ochre which fires to a dark chocolate brown. The clay on the right is B-Clay which fires to a light gray color.

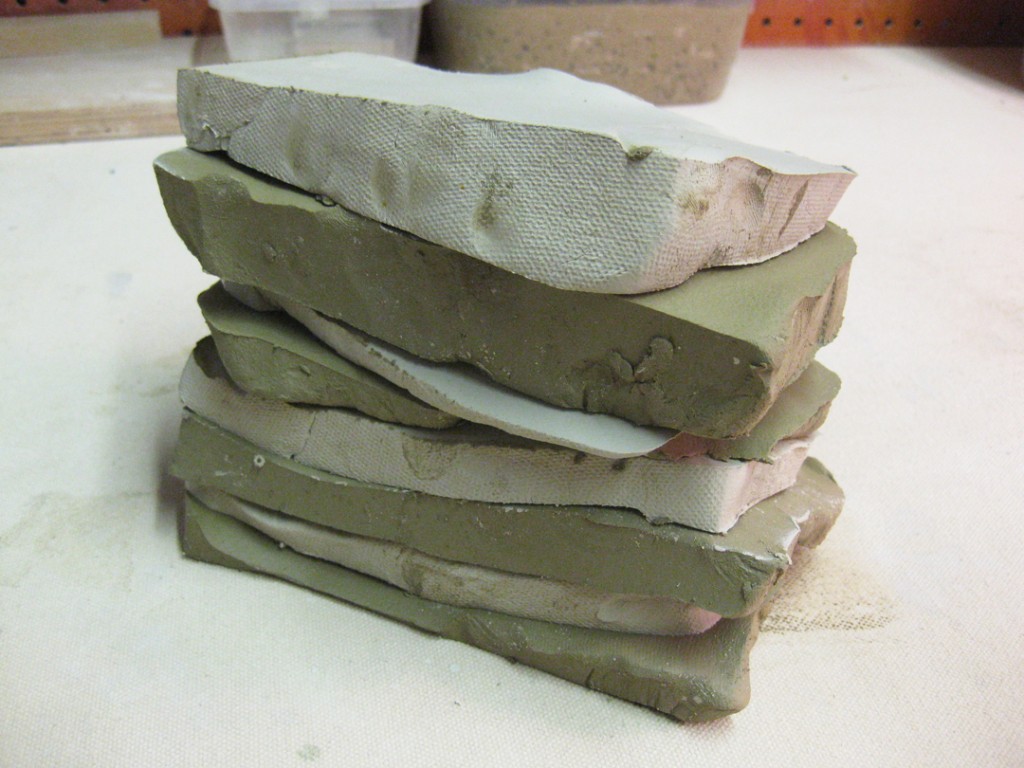
I cut thin slabs of clay and layered them together.
Trying carefully not to add air bubbles in between the layers.

Here’s the stack of layered clay from the side.

A quick pounding on the table, and a slice in half…
followed by stacking them one on top of the others.

I did some very minimal wedging to “mix” the two clays, but not enough to totally blend them together. Remember, we’re going for marbled clay. So I may need to deal with a few air bubbles along the way from not completely wedging the ball. But keeping a “good swirl” is more important at this point.

Let the throwing begin… slap it down, get it wet and start throwing!!!

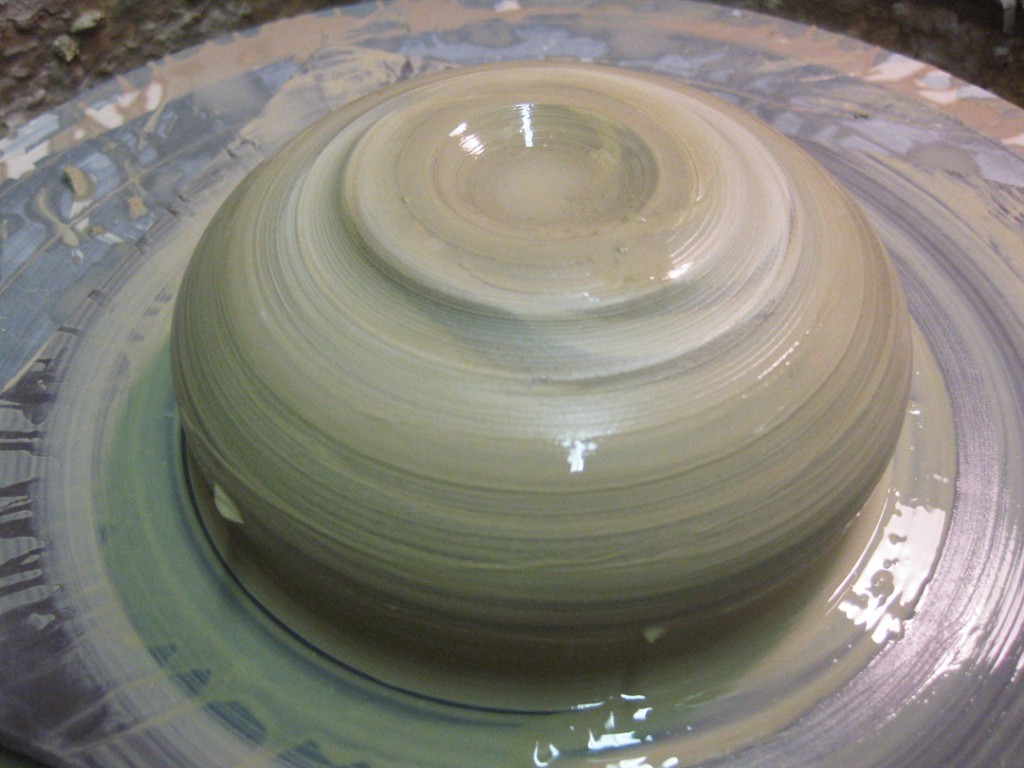
Notice how the marbling effect disappears pretty quickly when it gets all blurred together with slip & slurry. If you look close, you can see a hint of marble… but not much.

Center. Open. Widen. Curve. Compress. Throw. Rib. Suddenly it turned into a bowl.
The bowl stayed loosely under wraps as I wanted it leatherhard for trimming in my class.

Fast forward to tonight… when the bowl had stiffened up to a leatherhard state…
ready for trimming. As you can see, the “blurred’ color mix”skin” is still there
hiding the marble effect.

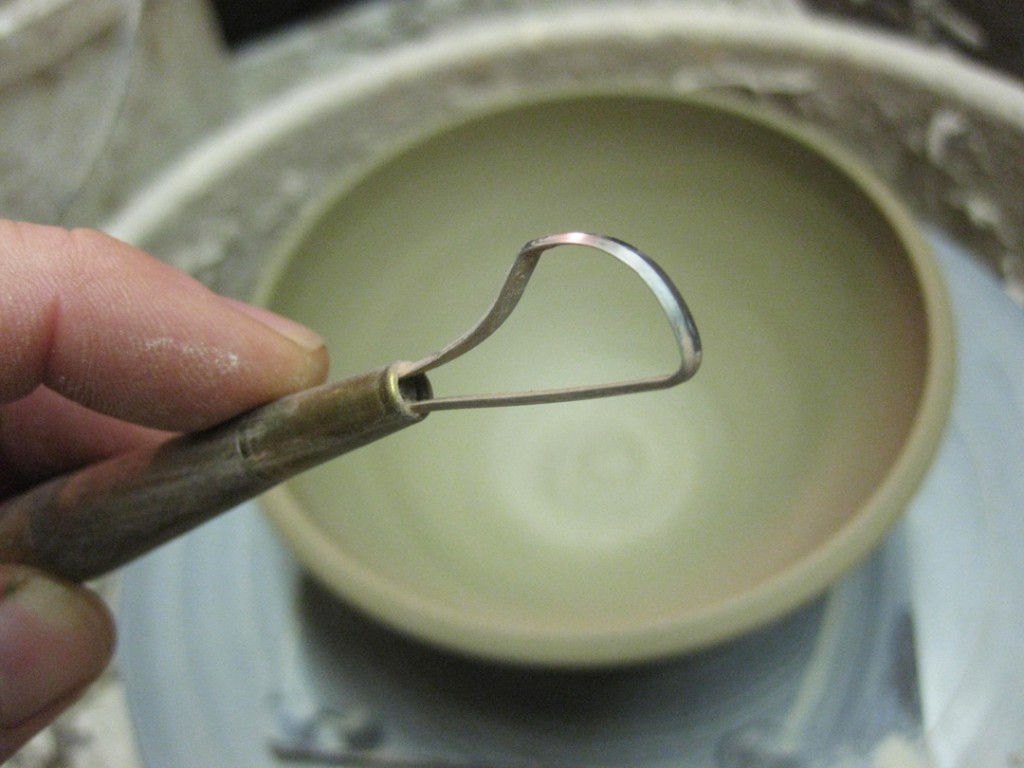
So for one time only, I told my students they can trim the “inside” of the bowls. Generally the rule is they can only trim the outside & foot of a piece. Never on the inside!!! But for the marble effect to show, you need to trim off all of the “skin” from the pot. Luckily, I kept the bowl attached to the bat. That way, when I put it back on the wheel the bowl was still perfectly centered. So I started with my a wide loop tool to trim the inside. I wanted to make sure my loop tool didn’t have any corners.

After a quick trimming of the “skin” the marble effect is revealed. Keep in mind that I’ve marbled Stoneware With Ochre with B-Clay. So my hope is that the white clay will stay light, while the brown-ish clay will fire to a dark chocolate brown.

A quick flip, and I did the same on the outside and trimmed a foot ring. Let me just say, it was a little mesmerizing & a little tough to see as I was trimming the foot. Too many swirls. Too much contrast. Too many stripes all spinning around. Good thing I don’t have vertigo!!!

So there it is, my bowl thrown with marbled clay. I’m sure every bowl would turn out different with this marbled clay trick. It’s a matter of how much you layer, how much you wedge and probably even which way the clay is sitting on the wheel?! It’s a pretty fun trick… and my students were impressed. Especially when I threw a fresh, new bowl with marbled clay as a demo… and then did the “cooking-show-switch-out”… and produced the leatherhard one to do the “skin” trimming right in front of them!


Categories: clay, process, studio

So you know when you have  a partial bag of “this” clay, and a partial bag of “that” clay. Some of it is a bit too dry. Some of it is a bit too wet. None of it is ready to go. Not quite enough of any one of them to make much of anything. So why not combine them???

As long as they all have the same firing temperature, it’s pretty easy. You might think it takes a lot of wedging. But not really… it’s easier to let gravity do the work for you! It’s a great little trick I learned from Emily Murphy, a former studio neighbor. And I’m going to share it with you!

So I started with three different kinds of clay. Some fairly dry soda clay (top), some squishy, unwedged reclaim mix (middle) and some stiff stoneware with iron (bottom). I start by cutting thin slices of each clay and making new stacks. I try my best to keep the layers even, and restack them by alternating the clay bodies within each stack.

As you can see, each pile is several layers of each different kind of clay.
Some soda. Some reclaim. Some stoneware with iron. Sliced. Layered. Stacked.
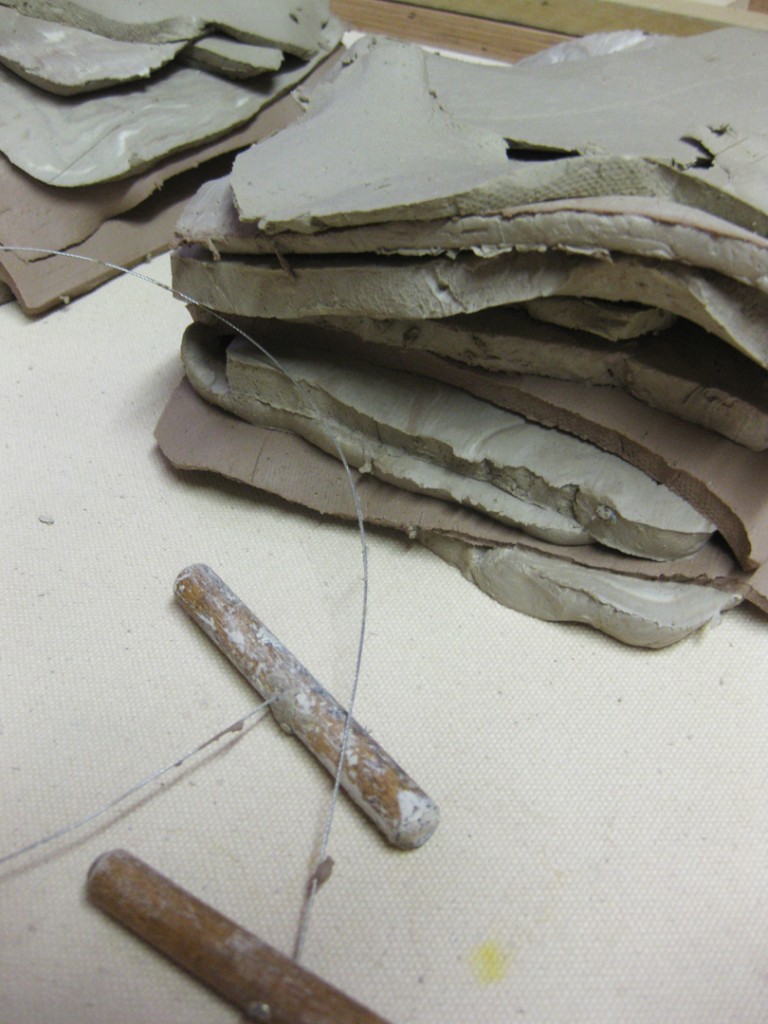
So here’s the stack of clay before I start combining the layers… nothing fancy.

Start by picking up the pile and slamming it down on the wedging table. Let gravity do most of the work. And I find it best to slam it down on the corner of my wedging table directly over the corner leg. Seems sturdier… and doesn’t make nearly as much noise!!!

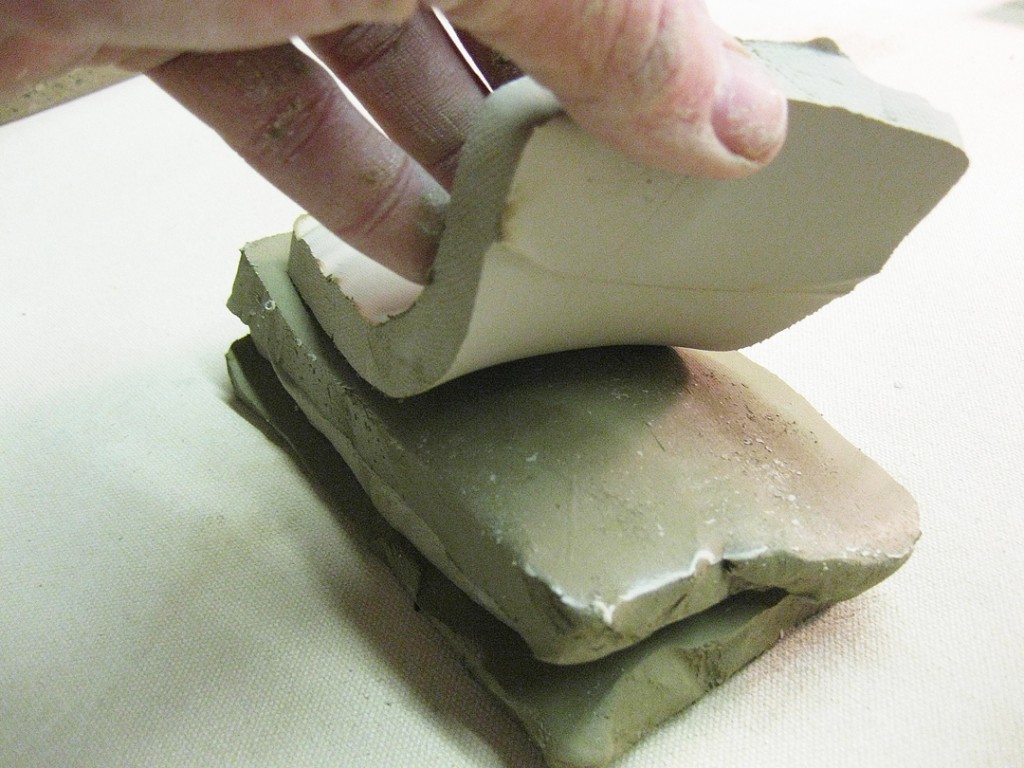
After a quick slam, cut the clay in half. When you look at it, you can see all of the layers of different clays. I don’t know for sure how many there were… so let’s just say 12 layers for demonstration purposes!

So, after slicing the stack in half, put one piece on top of the other…
and now you’ll have 24 layers in your stack.

Another quick pounding on the table and it squishes together and flattens out a bit.
Cut it in half again, and you can see how your layers have doubled and squished thinner.

Stack one half on top of the other, and suddenly you have 48 layers!
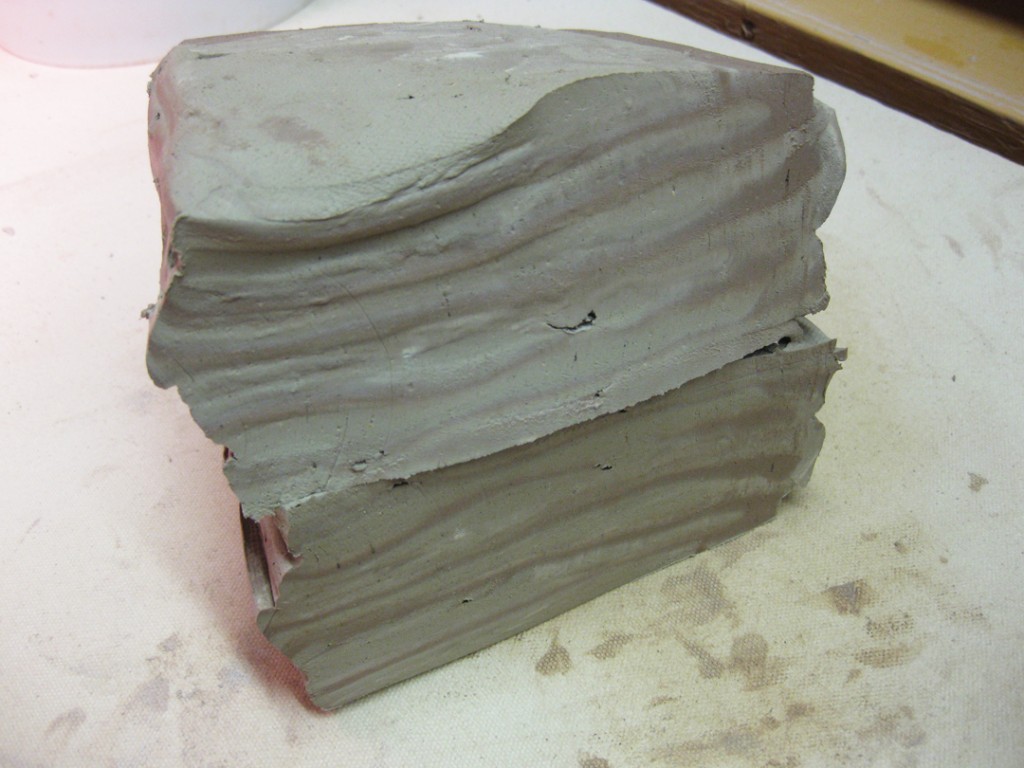
Pound it again, cut in half again… and you’ll see how the layers are getting thinner & thinner.
Just from slicing and dropping it on the table! No power wedging. Very little physical labor.
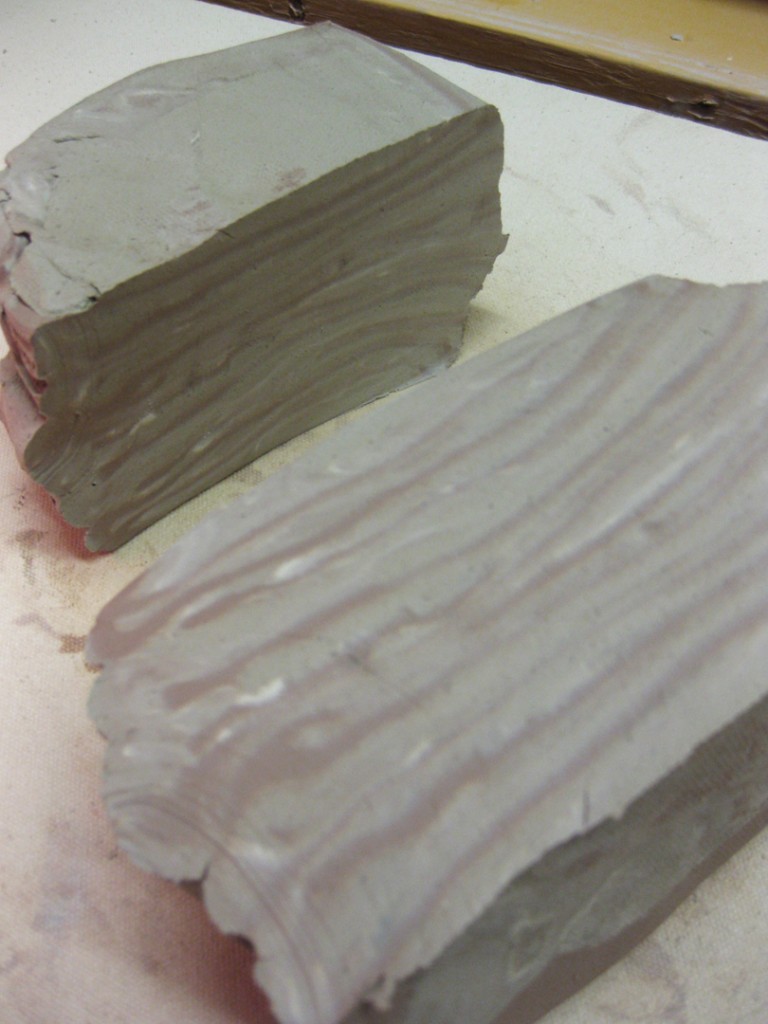
Stack it back up… slam it down and now you’re up to 96 layers!
Pretty amazing how the number of layers multiplies so quickly… more & more, thinner & thinner!
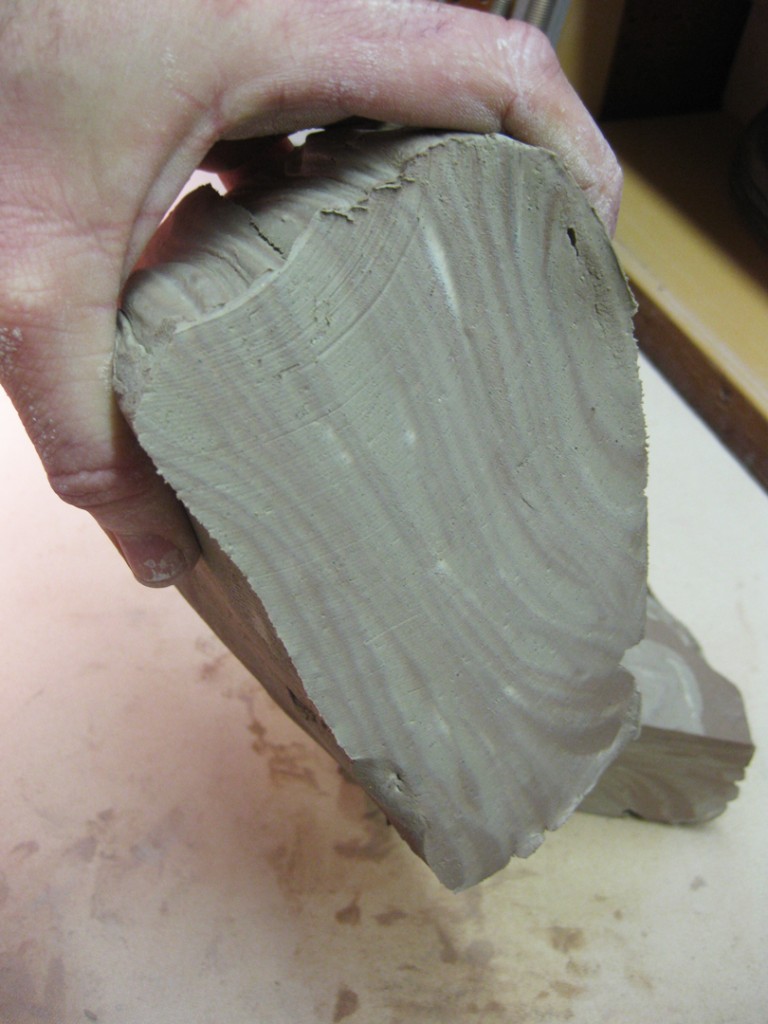
Slice again. Stack again. Slam again. 192 layers!

Slice again. Stack again. Slam again. 384 layers!

Slice again. Stack again. Slam again. 768 layers!

Slice again. Stack again. Slam again. 1,536 layers!… and almost blended.

One last time… Slice again. Stack again. Slam again. 3,072 layers!
And it’s looking pretty well homogenized after some simple slicing & slamming.
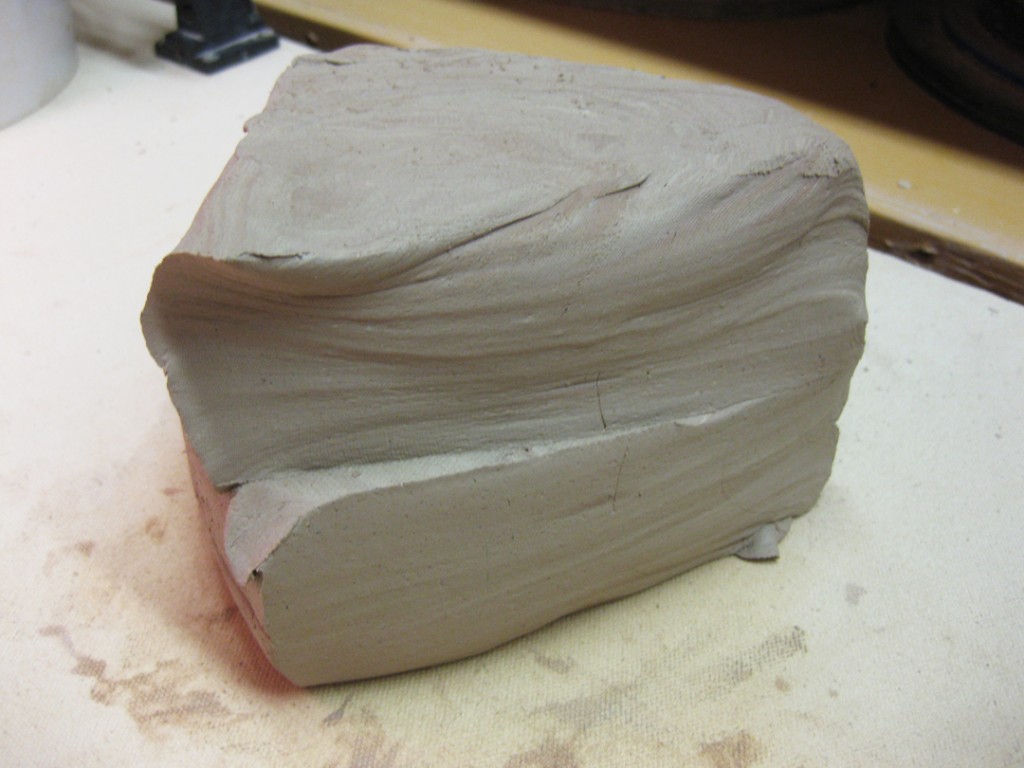
So then I just pounded up the pile a bit and I now have a solid block of clay. The three different clay bodies are well integrated. And the difference in moisture levels has been taken care of. Ready to go. Much better to use.
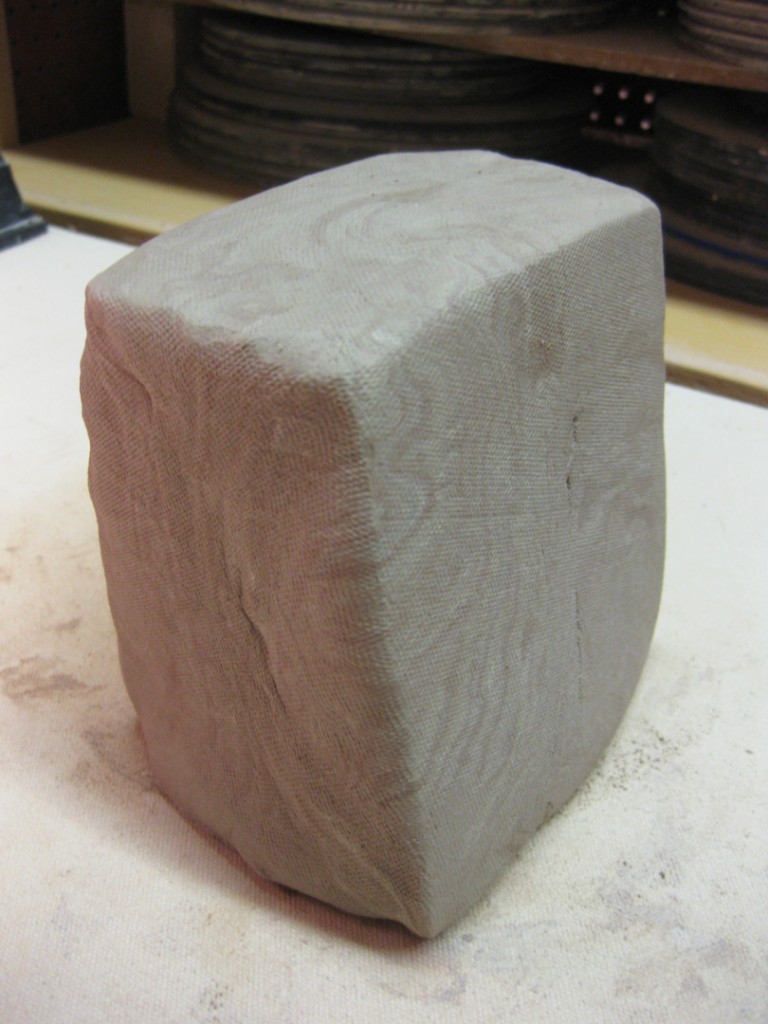
I tackled all seven of the layered stacks I made from the three different clay bags.
Slice. Stack. Slam. Repeat… Slice. Stack. Slam. Repeat… Slice. Stack. Slam. Repeat…
And now I’ve got a tower of clay ready to go. Sure, the clay still needs some final wedging just before throwing. And now I’ve got to make something with this tower of fun!

Categories: clay, studio

So I was right… and my reclaim clay was already dry enough to be “processed” back into clay. So after a lot of slicing, layering, pounding, wedging, layering, slicing, pounding, squishing, layering, etc.it felt more like clay… and more homogenized than it was before. My freshly turned-out clay has a lot of different “pockets” of different clay bodies. And I would rather have it all the same. So it takes some work to blend it all back together! Some extra “workout” to slam it all back together. All in the name of 207 pounds of FREE CLAY!!!
So now it’s all bagged up and resting. In a couple more days, I might find the energy to finish wedging all of it. Typically I take my reclaim clay and layer it together with some new clay. So that the clay I actually use is about half reclaim & half new. So now I can’t wait to get started digging into my FREE CLAY to make some new work!!!

Happy New Year… Happy New Clay!!!