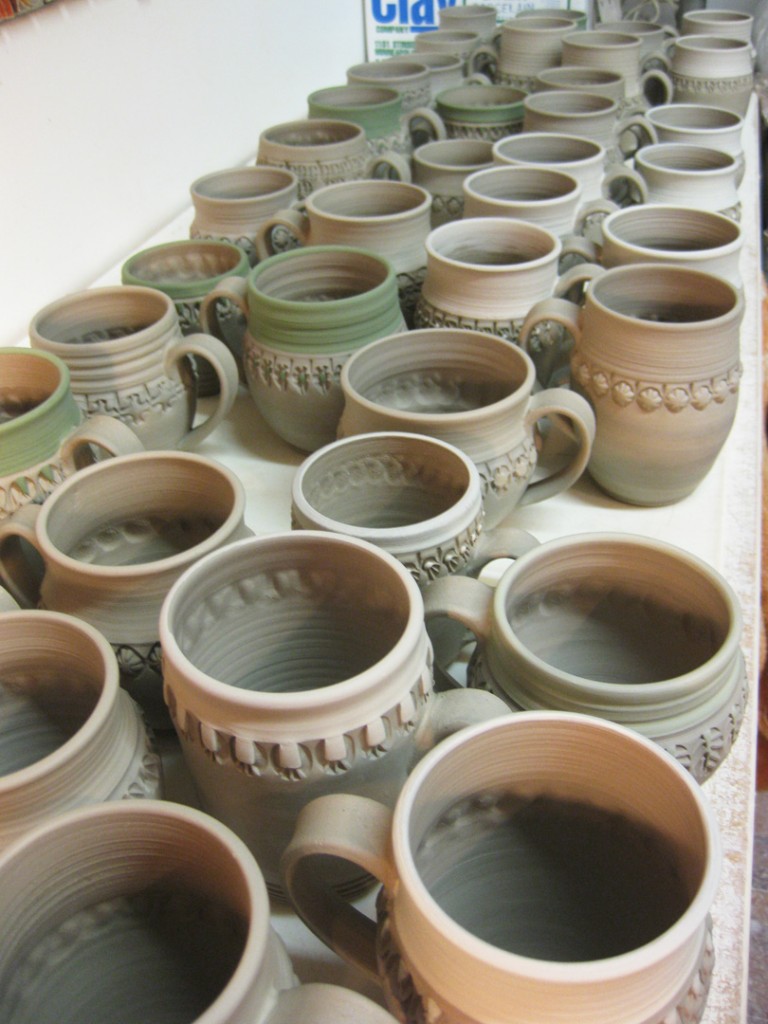
So last week, we worked on ovals in my Tuesday night class.
One of my brand new students had seen my ovals here on the blog, and asked if we could
cover how to make them in class. So I said sure, even though “brand new beginners”
don’t generally get to make ovals. But then again, after the demo… Jen has been all over
the ovals and has already made a couple of them!
Since then, I’ve been all over the ovals in my studio as well.
And when I dive into production mode, I have a tendency to go a little overboard. I may
have done that again here… as I’ve run out of space in my studio because of the ovals!!!
Since the demo was so “inspiring” to Jen… I thought I’d cover a bit of them here too.
So when I start making my ovals, I generally throw a large bottomless cylinder on a bat.
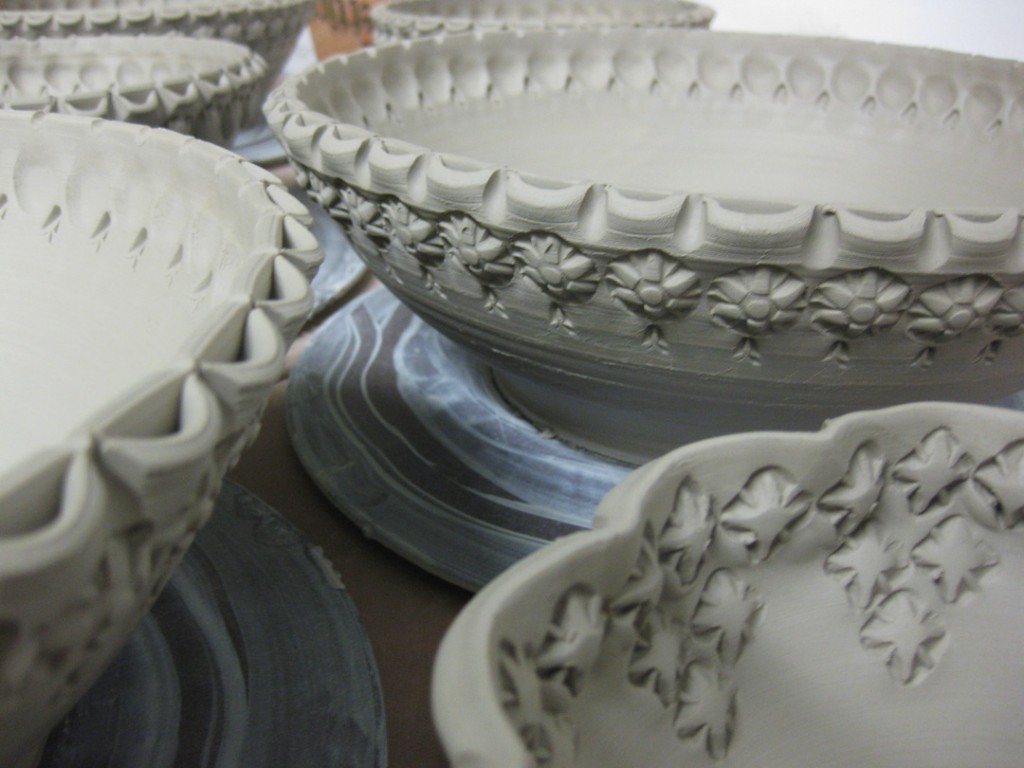
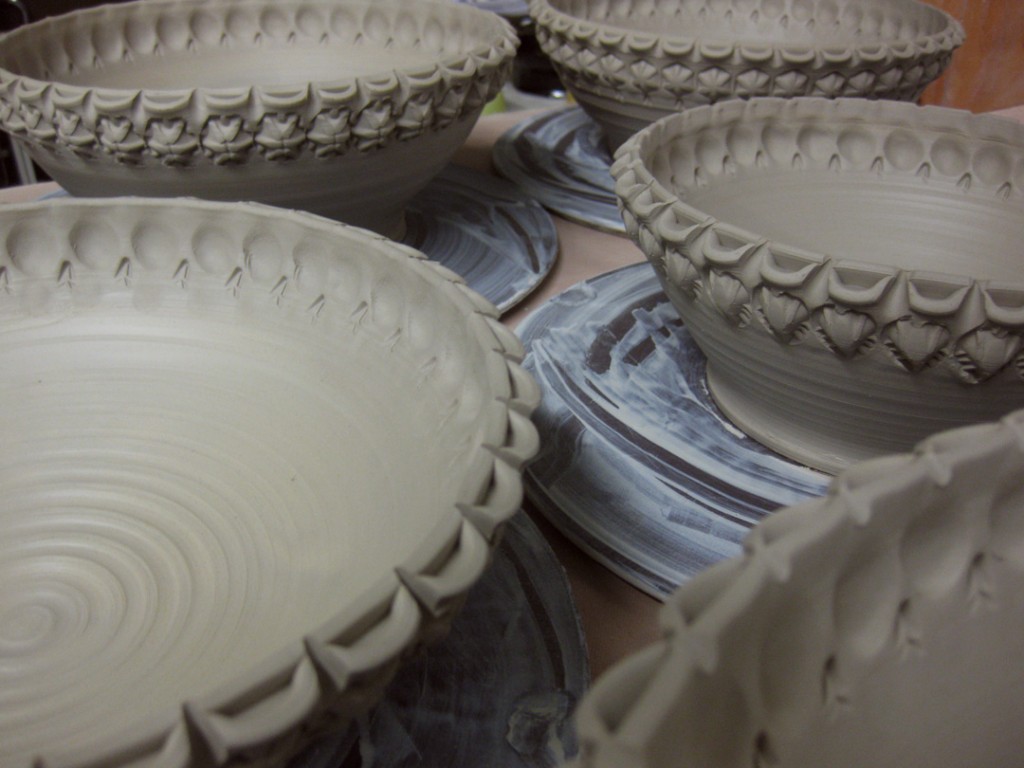
For these ovals, I also made split rims while I was throwing them so I would have a little more
to play with later when stamping & decorating. Once the cylinders have lost their “shine”
and stickiness, I wire them off the bat, pick them up carefully and manipulate them into the
oval shape. I let them set up even more, do some stamping, some pinching, some fluting…
you know, more of my usual decorating tricks!
The next step is to add a bottom onto the bottomless “now-ovaled” cylinders. So I throw out
a slab of clay large enough to fit the oval. Then I carefully pick up the oval, set it on the slab
and trace the shape. Then I take it off, flip it over and score & slip both pieces. Carefully
putting them back together and “squishing” them carefully so they stick! Since I was tired
and running out of time, I wrapped them up and let them sit like that overnight.
The next day, I came in and worked to clean-up the bottoms and edges. So I flipped the
combined form together and trimmed off the extra clay with my firm green rib. Carefully
scraping off the excess clay – trying to combine top & bottom seamlessly.

Then I take a flat sided paddle to compress the edges together – making sure the
connection is strong, as well as creating a nice corner-angle-undercut all the way around.

Once the bottom is attached, trimmed and smoothed into place, I carefully flip it
back over and decide if it needs handles – and this time the answer was yes!


So I rolled out coils of clay and textured them with a grooved rod that I found at a flea market.
I think it’s a piece from Lincoln Logs or some other kid’s game?! Hey, but it works great!
So I press the textured rod into the coils to get the textured, then bend them into the handle
shape. I always do both handles at the same time so that they match.


Then, it’s more scoring & slipping to get the handles attached.
A few last minute touch-ups and then they were done for another night.


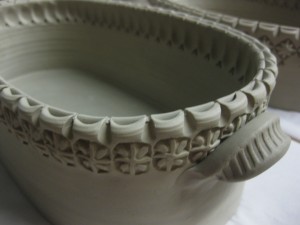
Special thanks to my studio neighbors Lisa Harris, Cathi Bouzide & Karen Patinkin
for letting me “borrow” some table space while I’ve been working on these…
many times without them even knowing it!


I wrapped them up in plastic for one last night. Hoping that the slower drying will give
all the parts a little more time to balance out and dry more evenly. Unfortunately, all these
ovals are taking up a LOT of space in my already small studio. So much so…
that these ovals have been relegated to the floor!!! Careful where you walk…

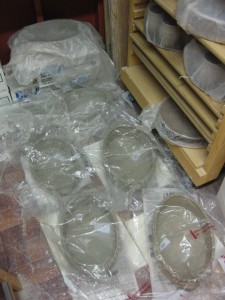
After an evening of “slow drying” under plastic, they’ll be uncovered so they can dry the
rest of the way… and then go into my next bisque kiln scheduled for next Tuesday night!

