So imagine my surprise…
I was working at the “glitter gig” today and we went to the Bridgeport Art Center
to meet a client and do a little pre-site visit for an upcoming event. We were looking
around this really wonderful lofty event space. We happened to pass the washrooms
and I saw these wonderful art installations on the entrance walls. It looked familiar.
And you know how I love grids… multiples of items… and geometric repetition!
Well, these 50 pieces are basically square plates, with square “legs” on both sides.
I believe they were stacked on each other during the firing. And curved so that the
beautiful glassy-glaze build-up can pool in the center of each plate. Stunning.
We continued walking around the event space, and then I ducked through a side door.
Suddenly I was in a small art gallery. And there were more really cool art pieces on the
walls. And then I realized… these were all made by a friend of mine Jay Strommen.
I had run into him last at SOFA Chicago back in November. We were talking and catching
up with stories about people we know from his time teaching at Lillstreet. We then got on
the topic of his current artworks. Let me just say, Jay is very much an “artist.” He lives
the part… and makes me feel so much like a “craftsman” not an artist. A lot of the “art-speak”
he gives goes right over my head. But it’s fun to hear him talking about what he’s doing…
so passionate, so eloquent, so engaging… and still quite funny!
So he then proceeds to tell us that his new work is basically “deconstructing” the entire
ceramic process. Without going into all of the details I don’t quite understand, he’s basically
putting a bunch of clay chemicals, glaze chemicals & other components on a “kiln shelf”
and then melting it all together in a high-fire wood kiln. Of course there’s some very erudite
thoughts behind it, some artistic jargon, some special blah-blah-blah… and I was scared.
Then he tells us that he’s showing at SOFA and that we should go see his work. I was kinda
concerned after all the hype that it was going to be more than a bit crazy. Imagine my
surprise when we got to the booth and his pieces were there hanging on the wall.
And they were incredibly cool!!!
Long story short…
Jay Strommen currently has an exhibit going in the Bridgeport Art Center Gallery.
And since I know that so many of you won’t wander through that same side door I did
today, I thought I would share some pictures of his show!
Now obviously these aren’t all “kiln shelves” that he’s firing onto. They’re actually slabs
of clay that he’s building. But I’m pretty sure that the basic “deconstructed” ceramics
process fired on a kiln shelf principle is still at work here!
And yes, that’s a cone melted onto the surface there… the white hook shaped thing!
If you’re in the Chicago area, be sure to stop by the Bridgeport Art Center to see Jay’s
show. You can also check out Jay’s beautiful website for some images, videos and a lot
of Jayzo’s art speak! Click here to go to Jay’s website… www.JayStrommen.com
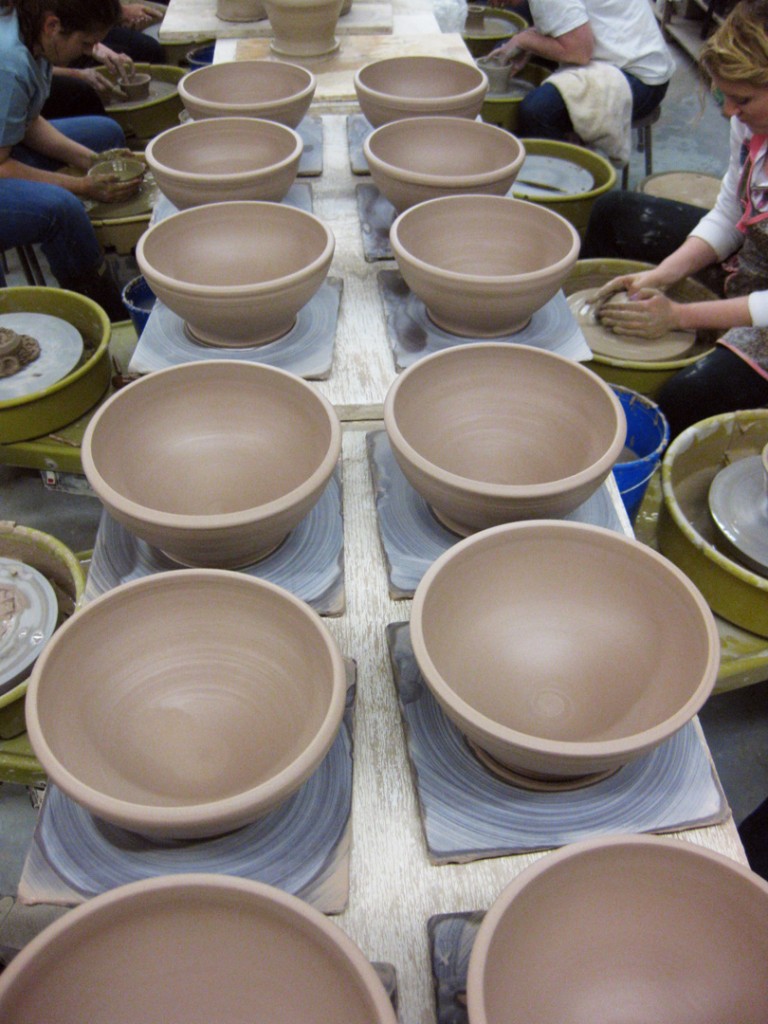
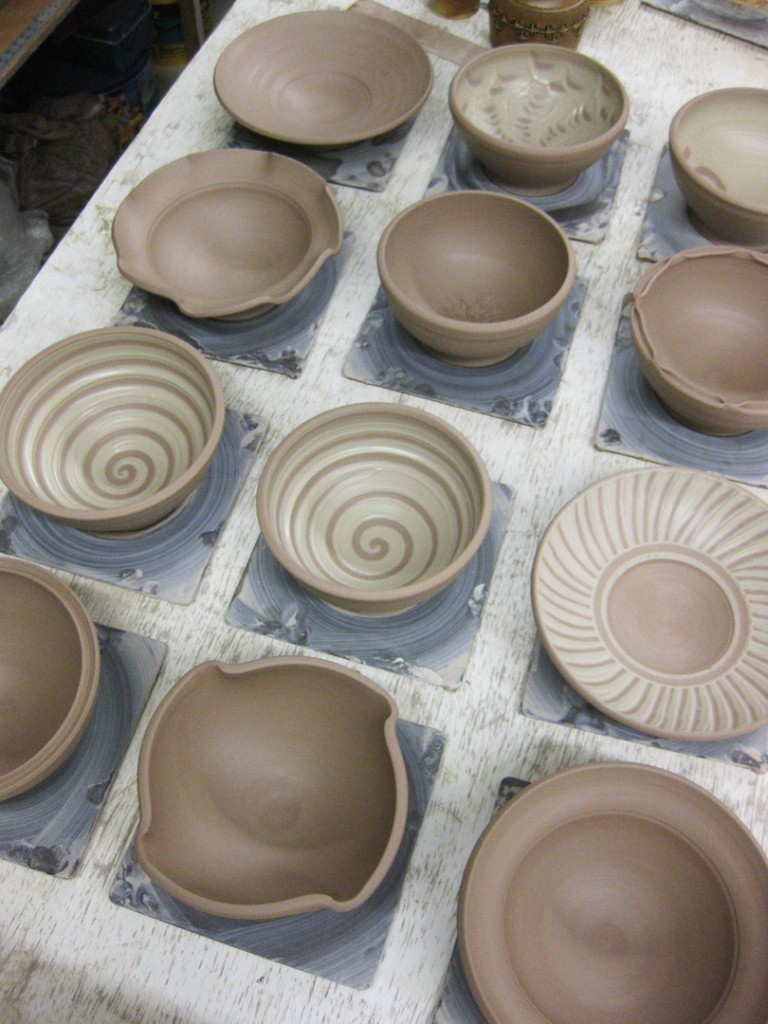
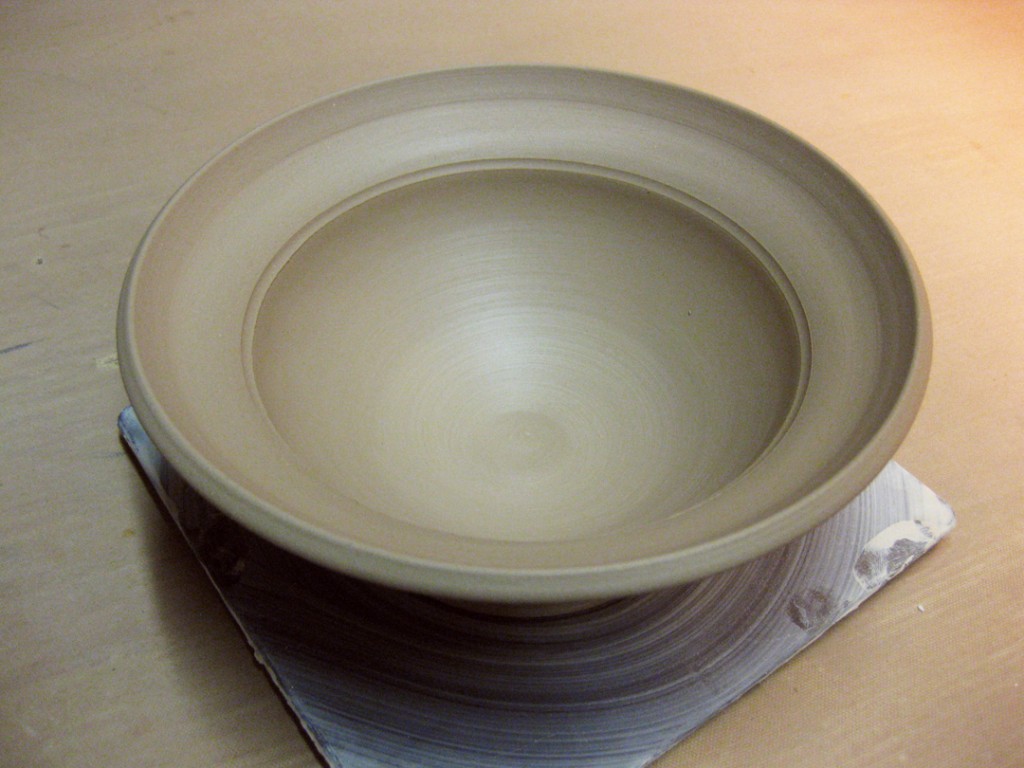
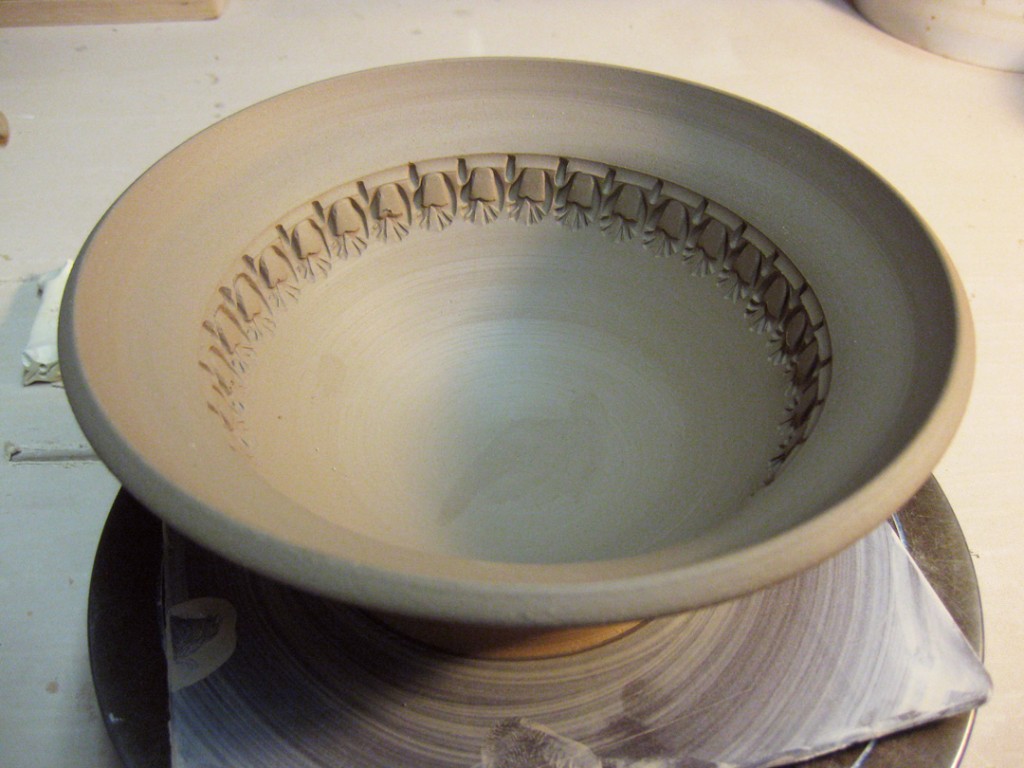
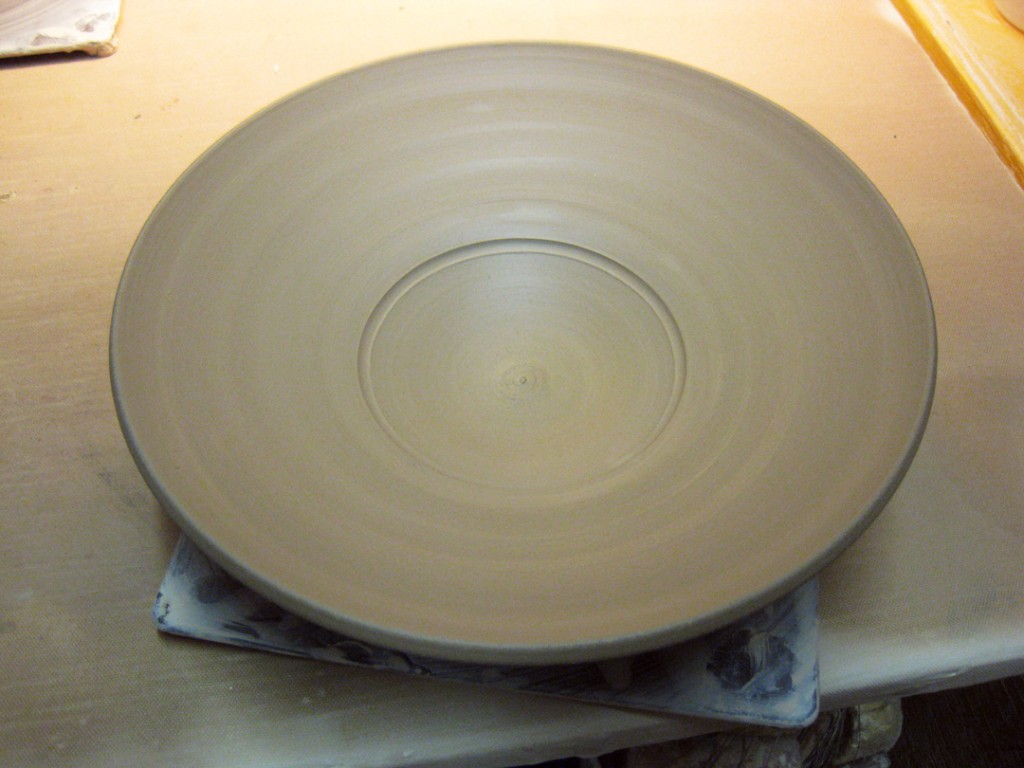
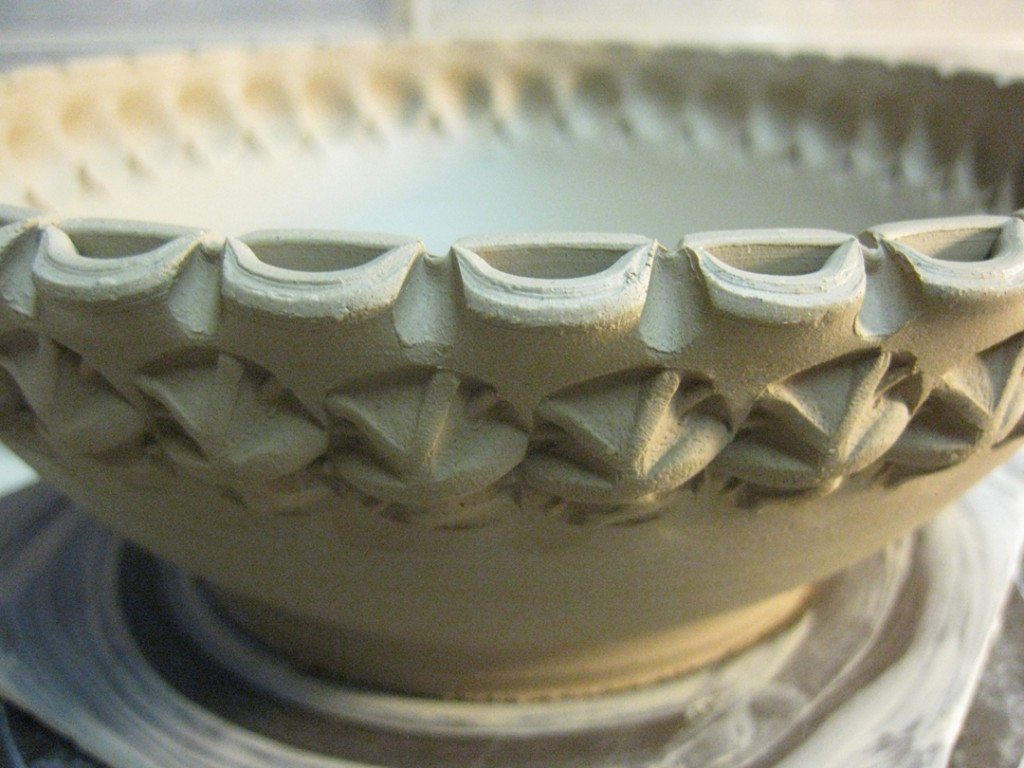
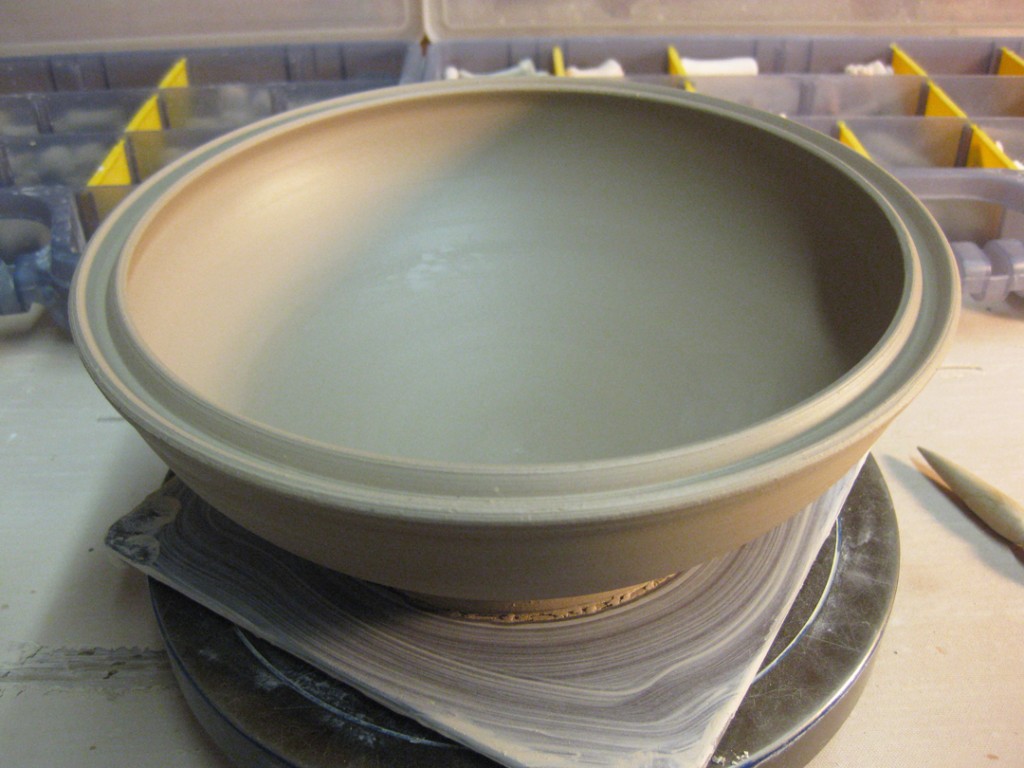
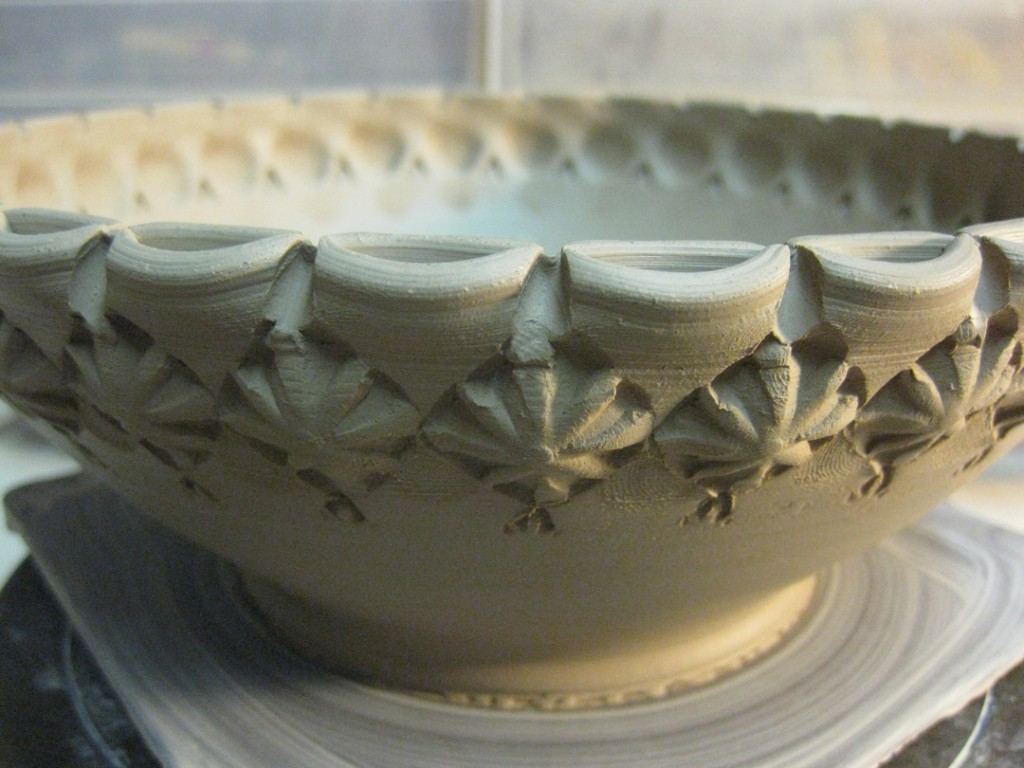
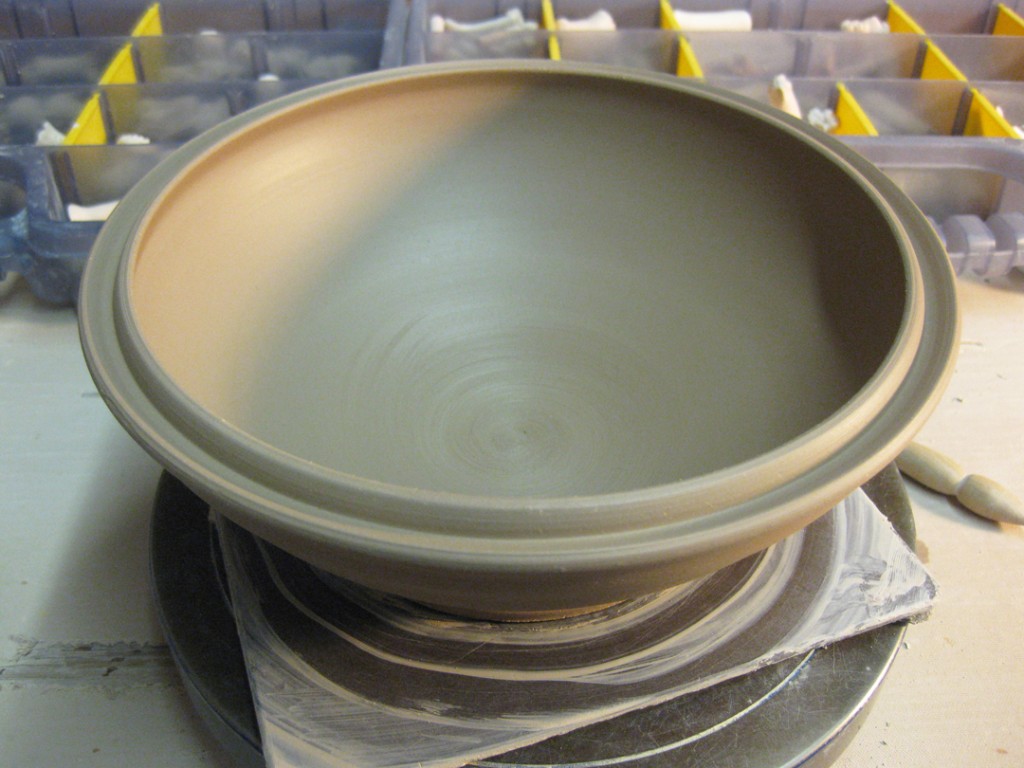
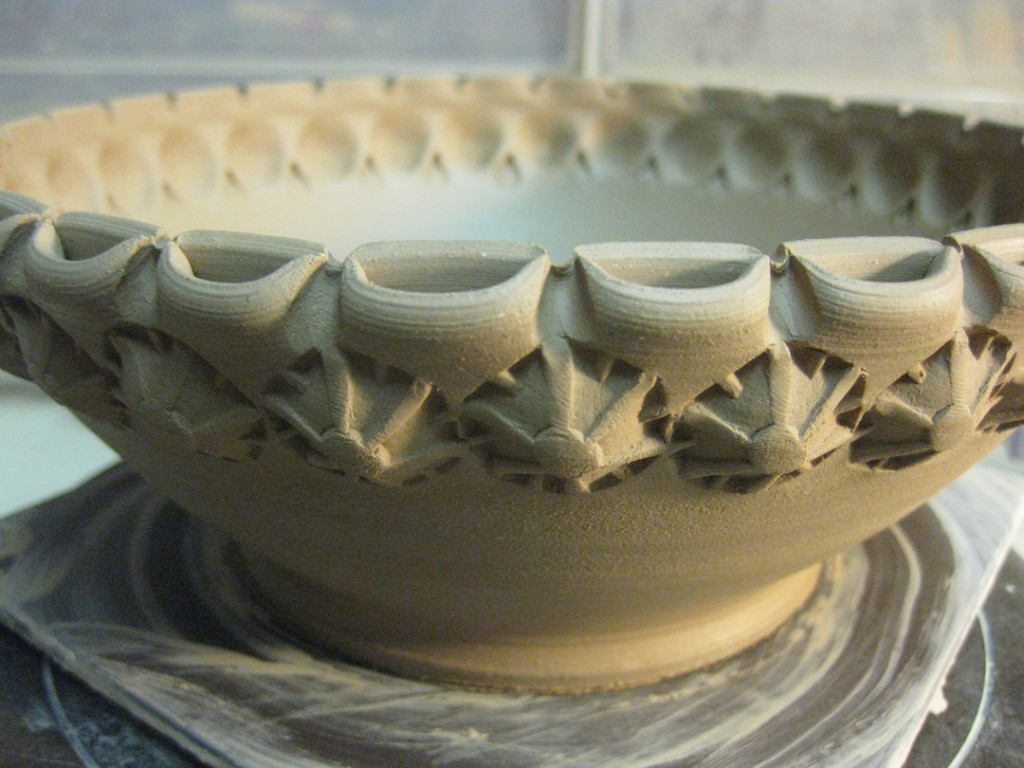
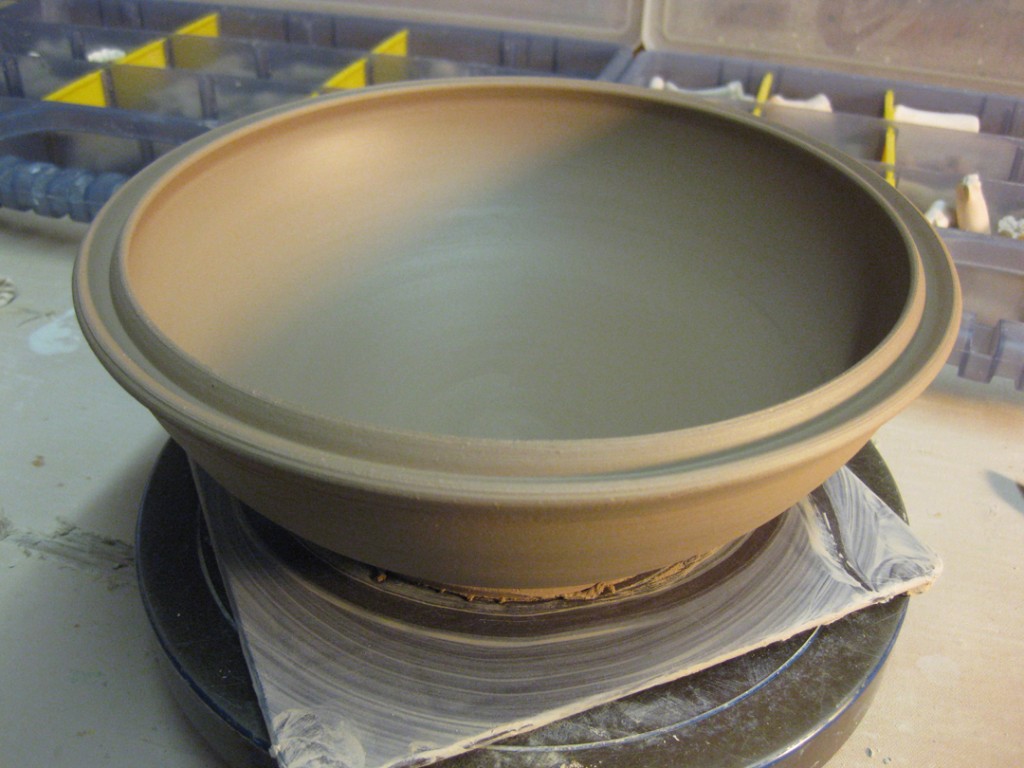
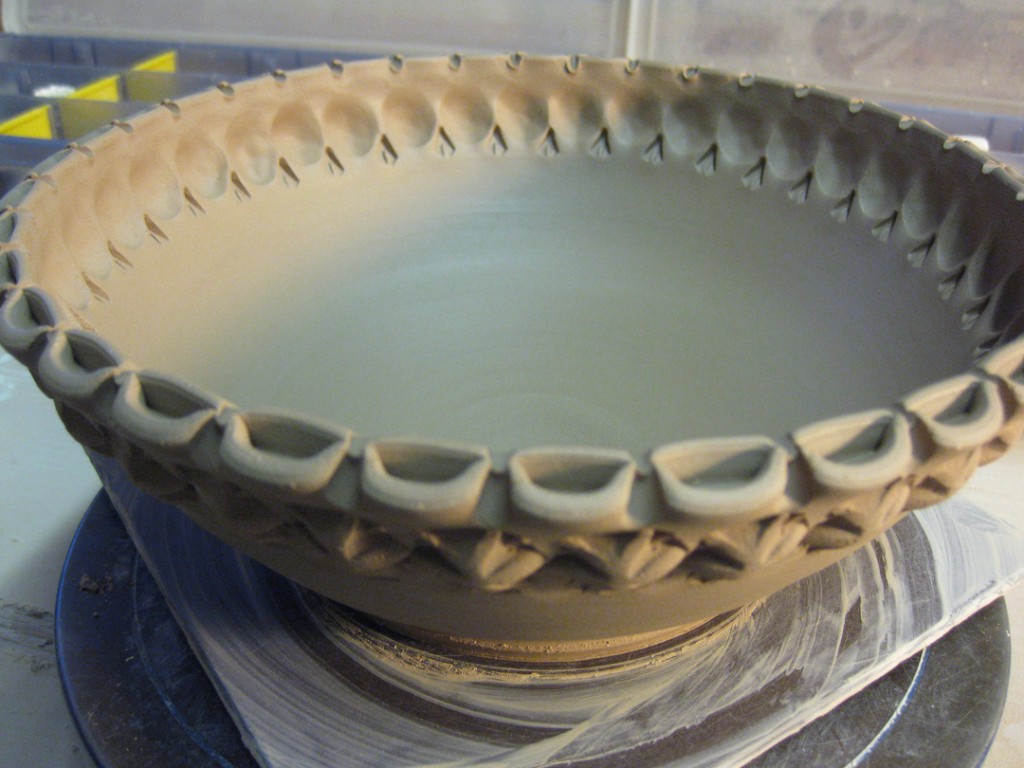
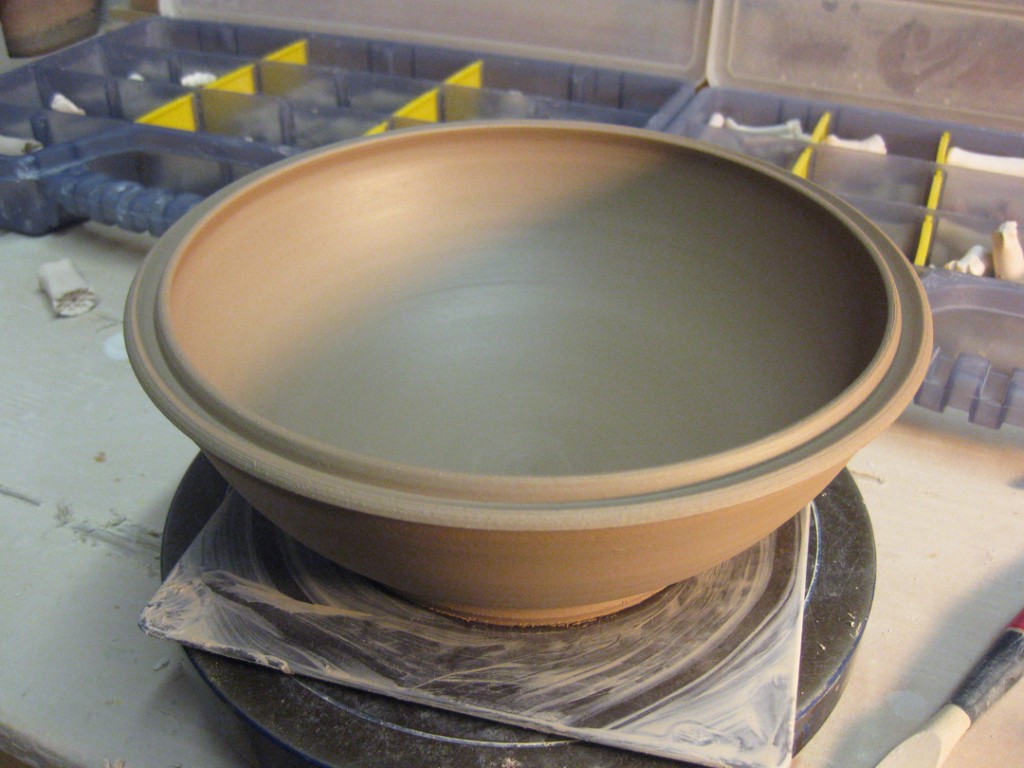
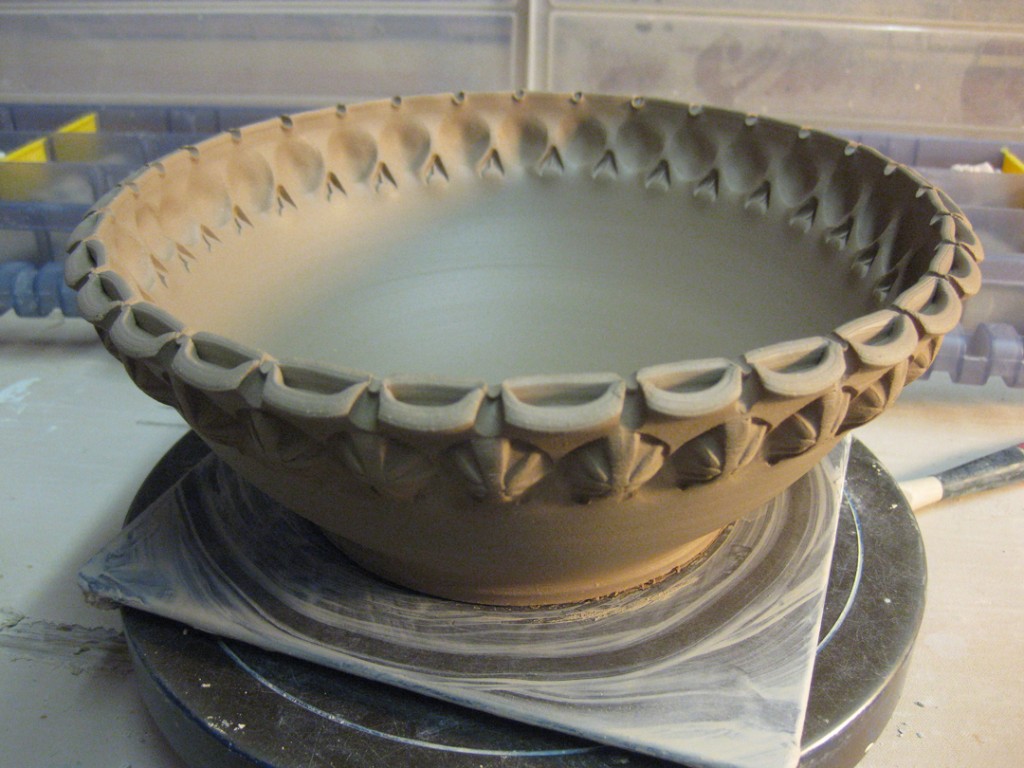
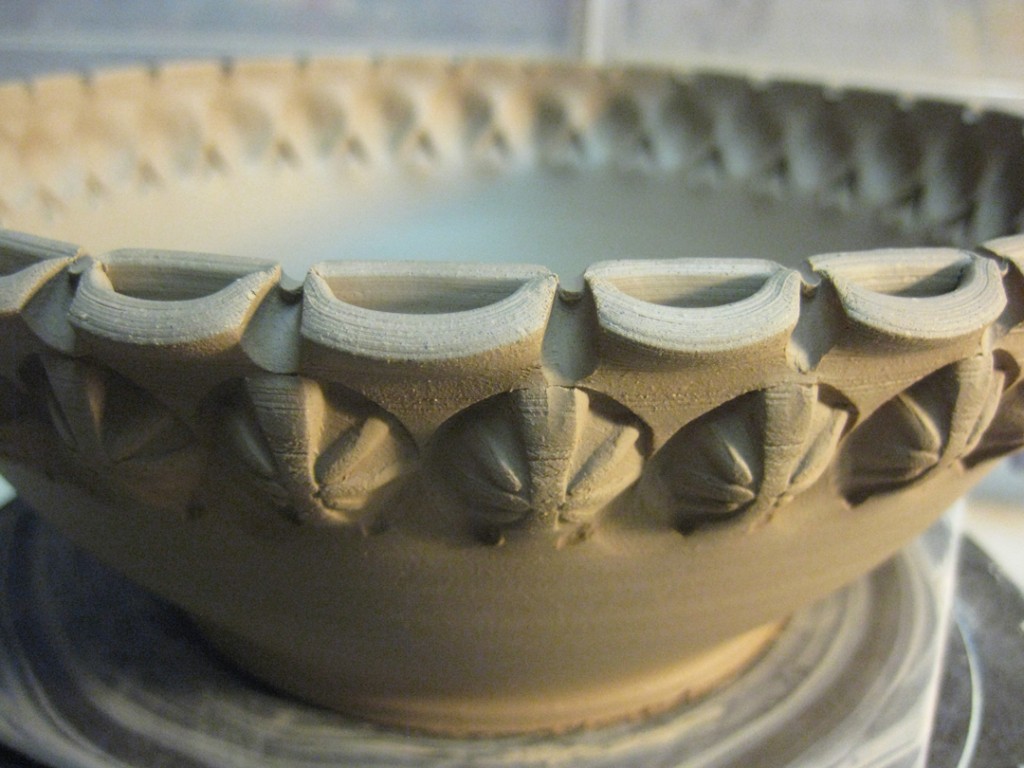
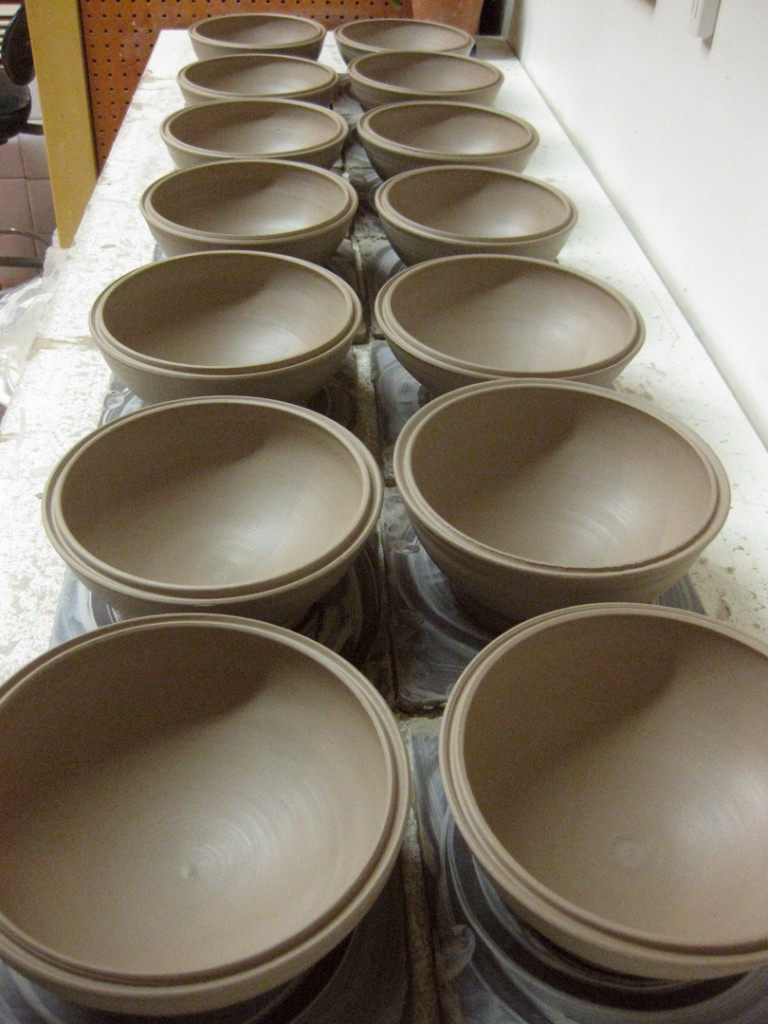
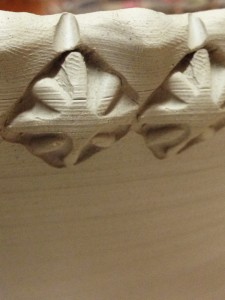
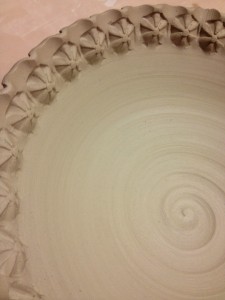
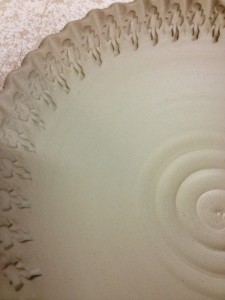
Here’s the latest batch of stoneware bowls. Sure, I could leave them plain.
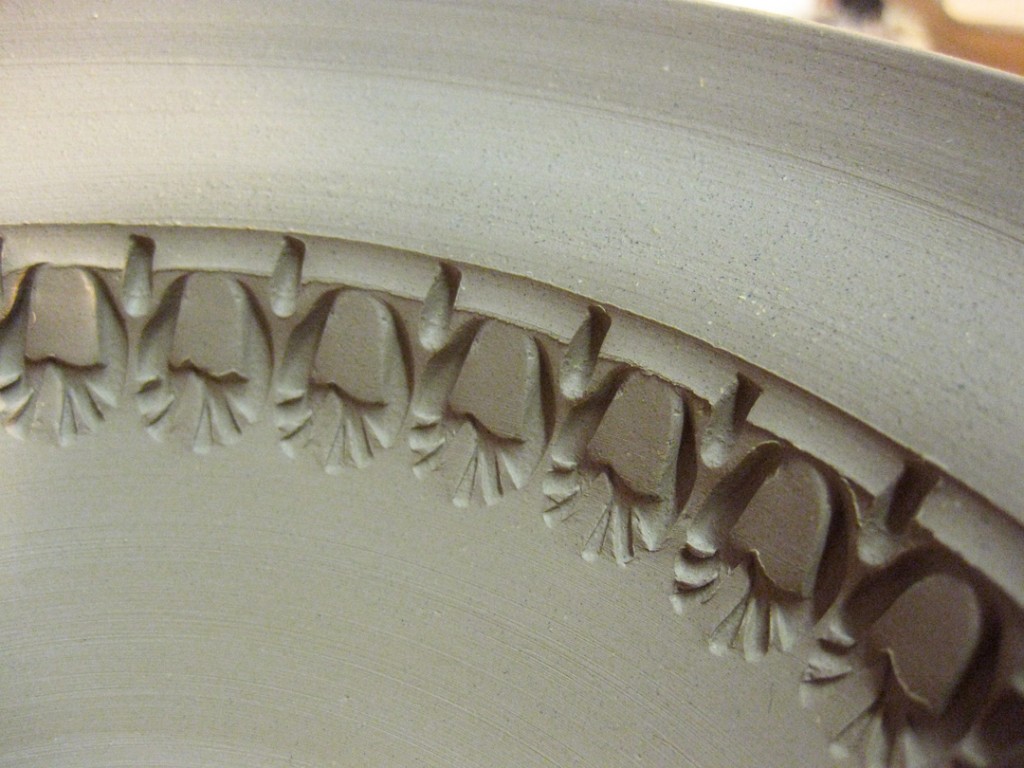
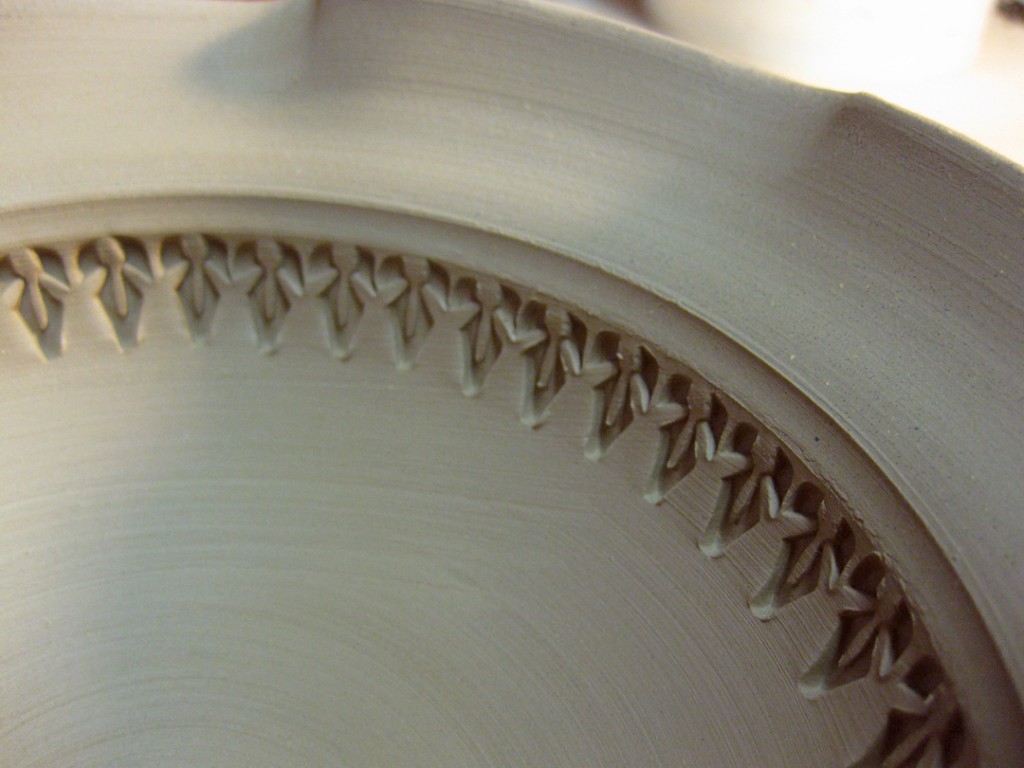
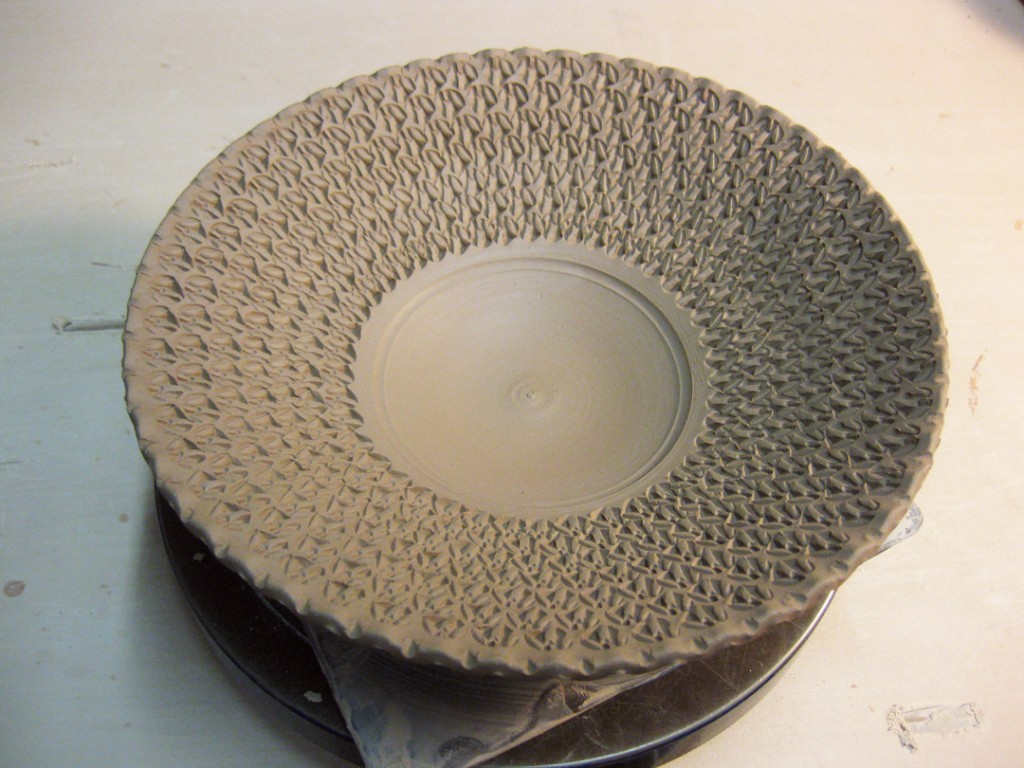
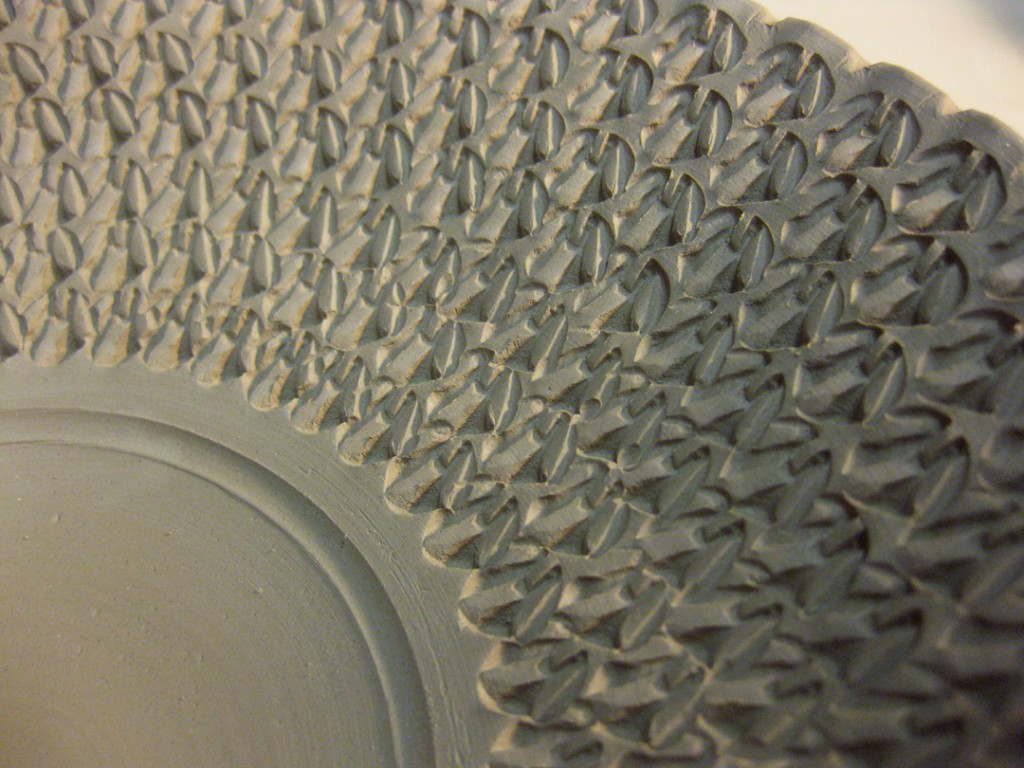
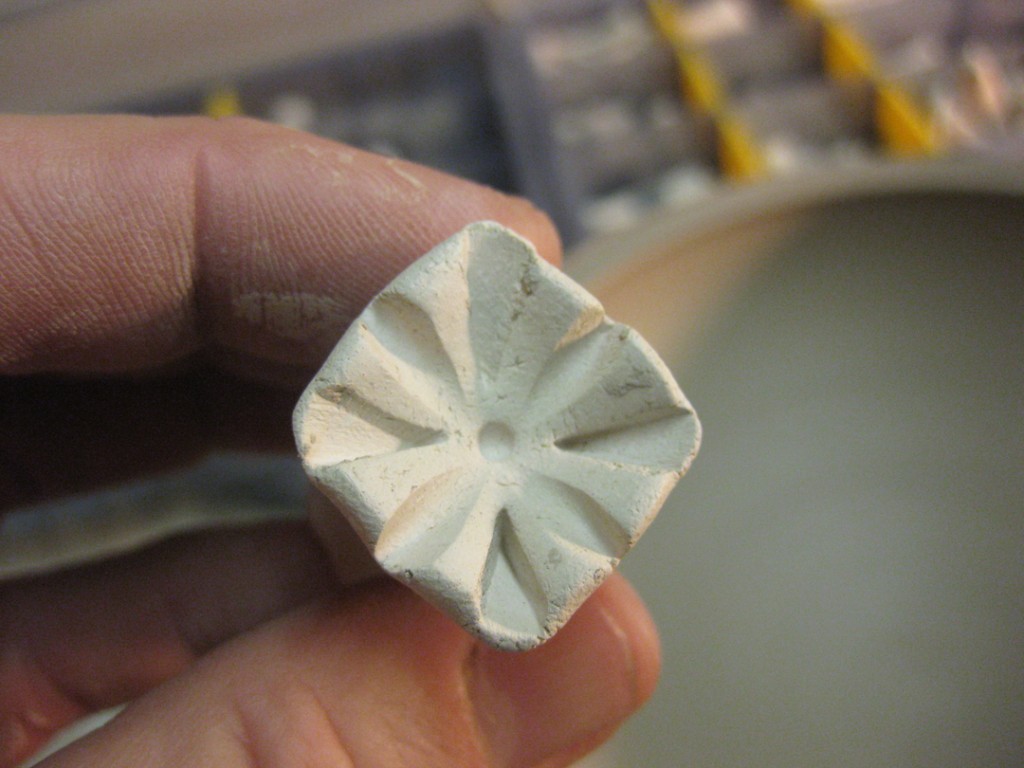
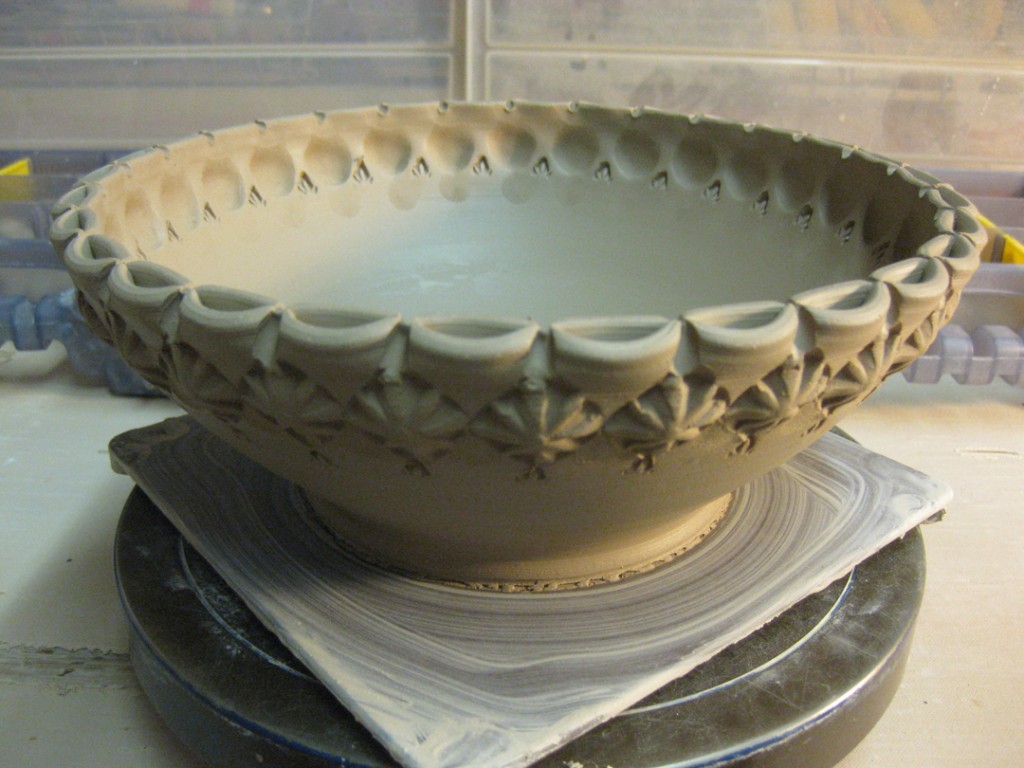
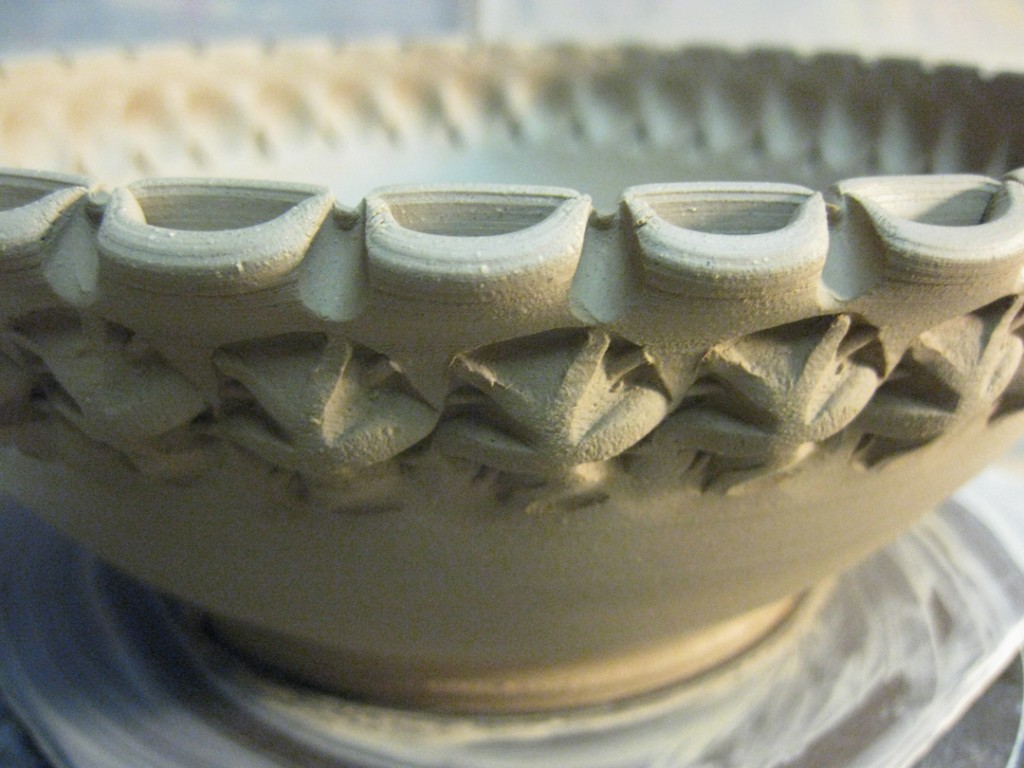
But that really wouldn’t be my style. Stamp. Stamp. And stamp some more!!!
Soon enough, they were stamped & decorated… and no longer a bunch of plain bowls!
Bowl A – Who really wants a plain round bowl?… not me!
Bowl B – From plain bowl to stamped bowl…
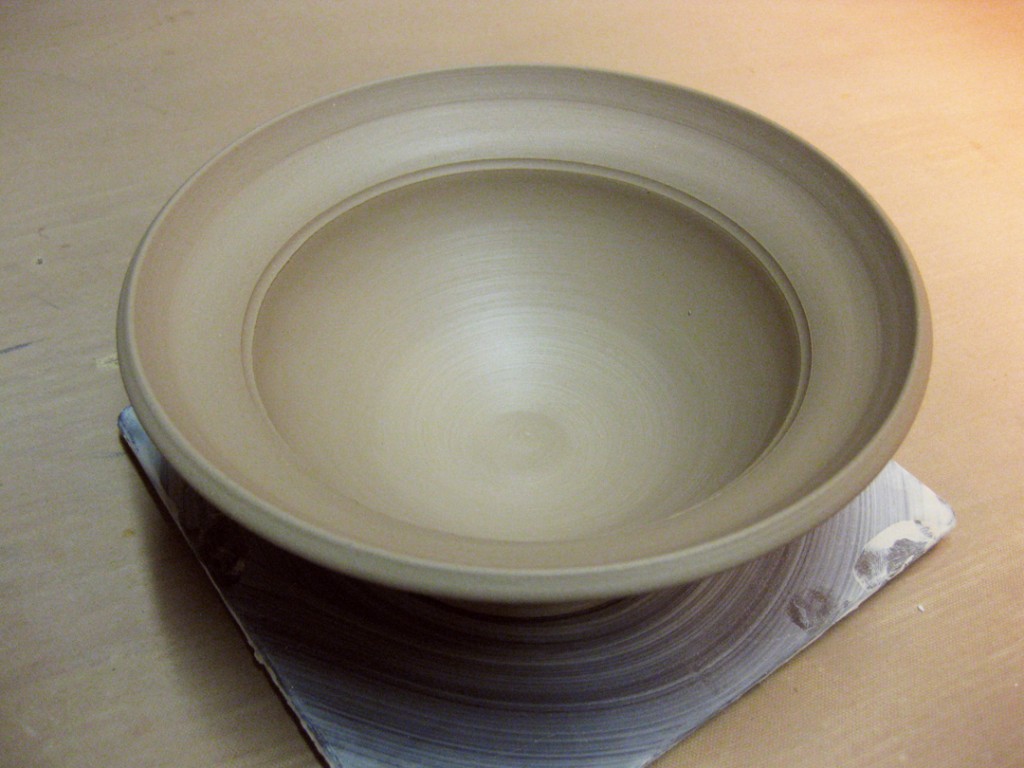
Bowl C – Lower, flatter… yet still stamped.
Bowl D – one stamp, two stamp, divot… repeat.
Bowl E – done with a pointed stamp that I hope glaze might pool & run out of.
Bowl F – a single row, a single stamp.
Bowl G – stacked stamps, scalloped edges.
Bowl H – another bowl, another stamp… another stamped bowl.
Before class tonight I trimmed a couple of them. After class the rest of them were ready
to trim as well. So now they’re all stamped & trimmed, and drying for the night!
Tonight was putting some final touches on my latest batch of mugs.
I made sure things were smooth, handles well-attached and then I added
some accents of colored slip to finish them off. A quick band of color around
the top portion, then some small dabs of colored slip in each stamp.
So now they’re ready to dry and then wait for my next bisque firing.
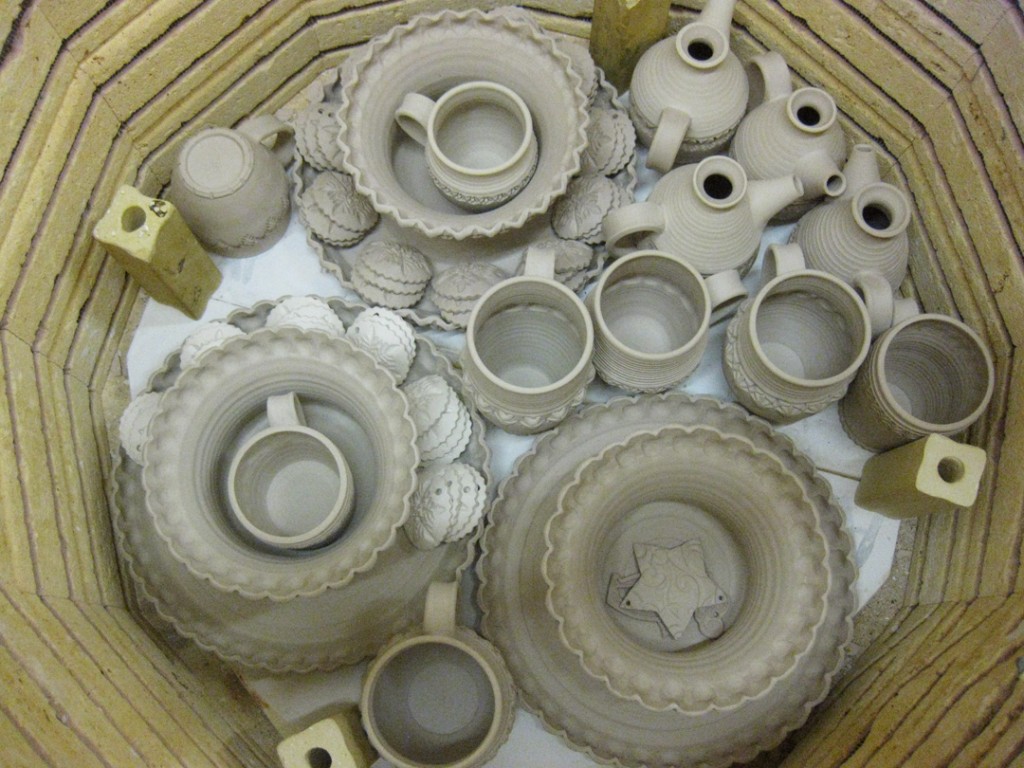
These mugs are destined for the soda kiln. In that final cone 10 firing, the soda
atmosphere in the kiln will make these colored slips a lot brighter… hopefully
with some beautiful flashing around the mugs. You never know what you’re going
to get when you’re soda firing. That’s part of the fun…
Timing is everything. I frequently tell my students that it is one of the hardest parts
of the entire pottery process. Trying to catch your pieces at the right stage of drying
so that you can effectively stamp, alter, trim, slip, whatever. Well, today was that day!
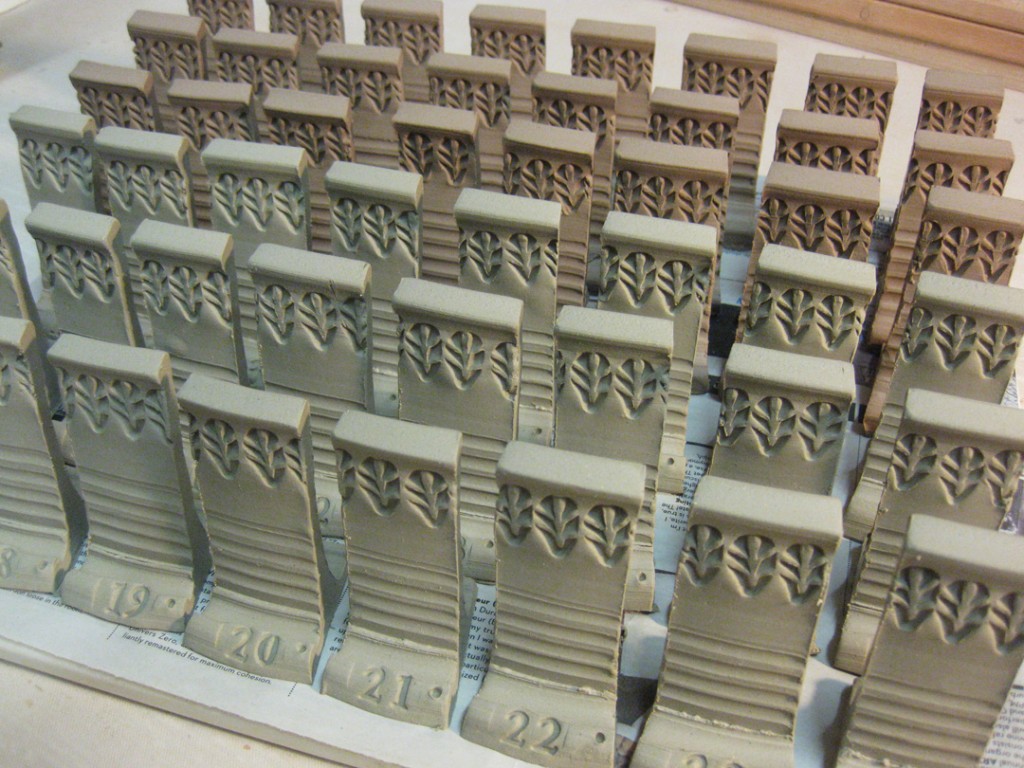
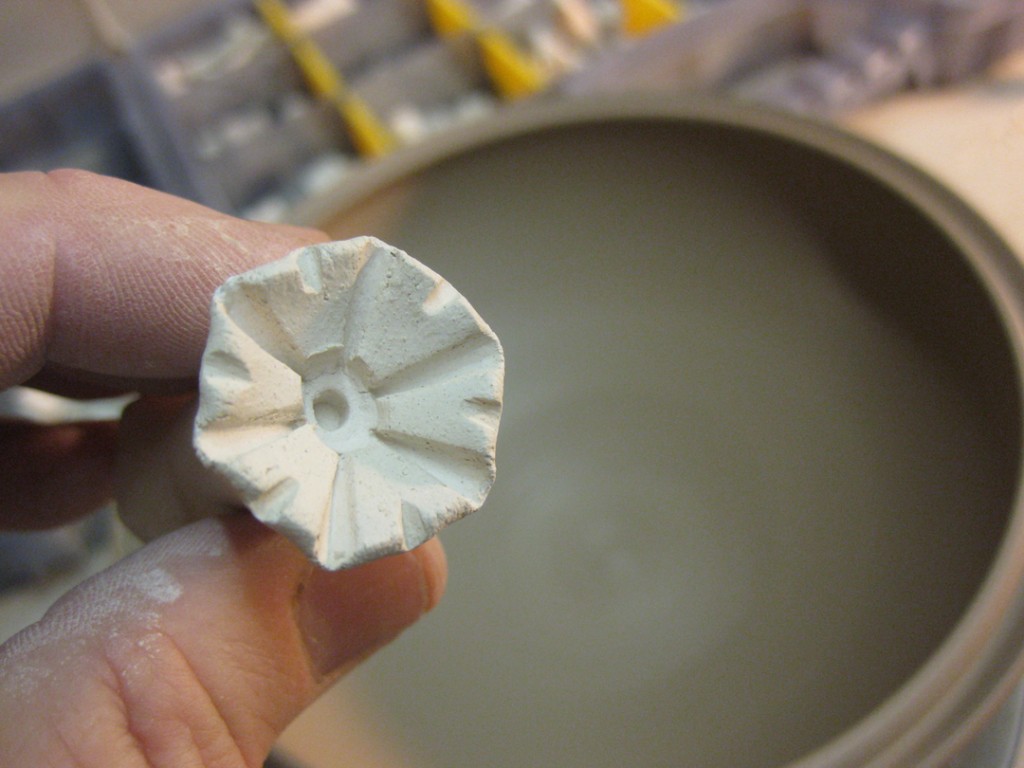
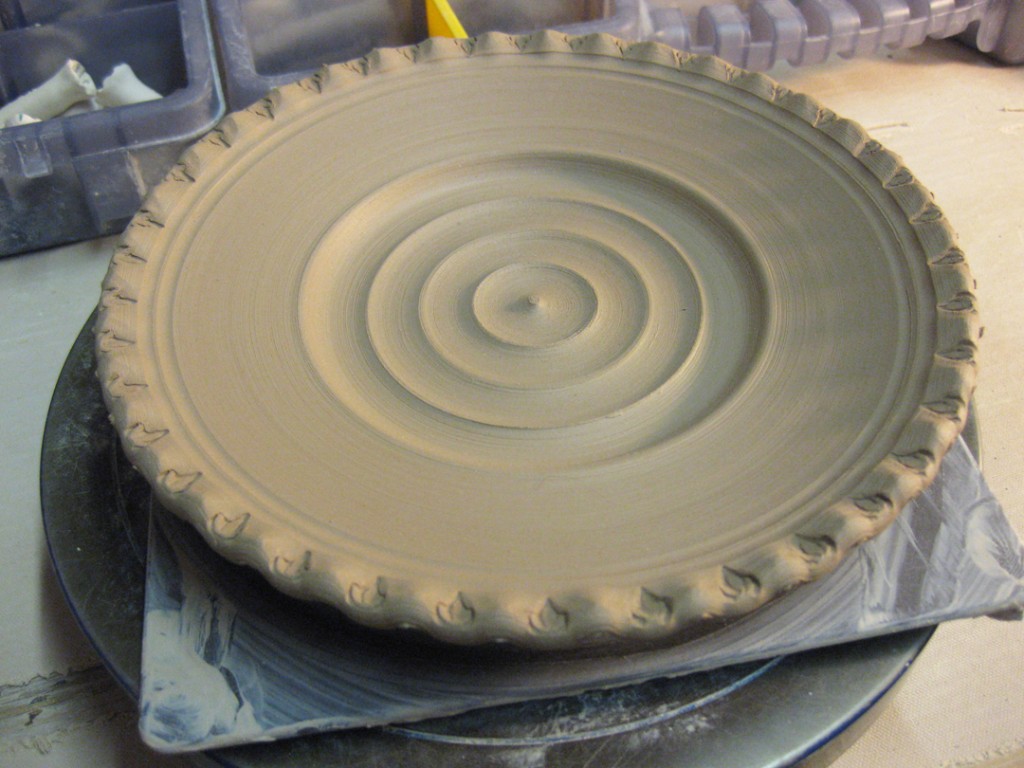
Not only did I have a table full of pots to stamp, but I also had some new stamps
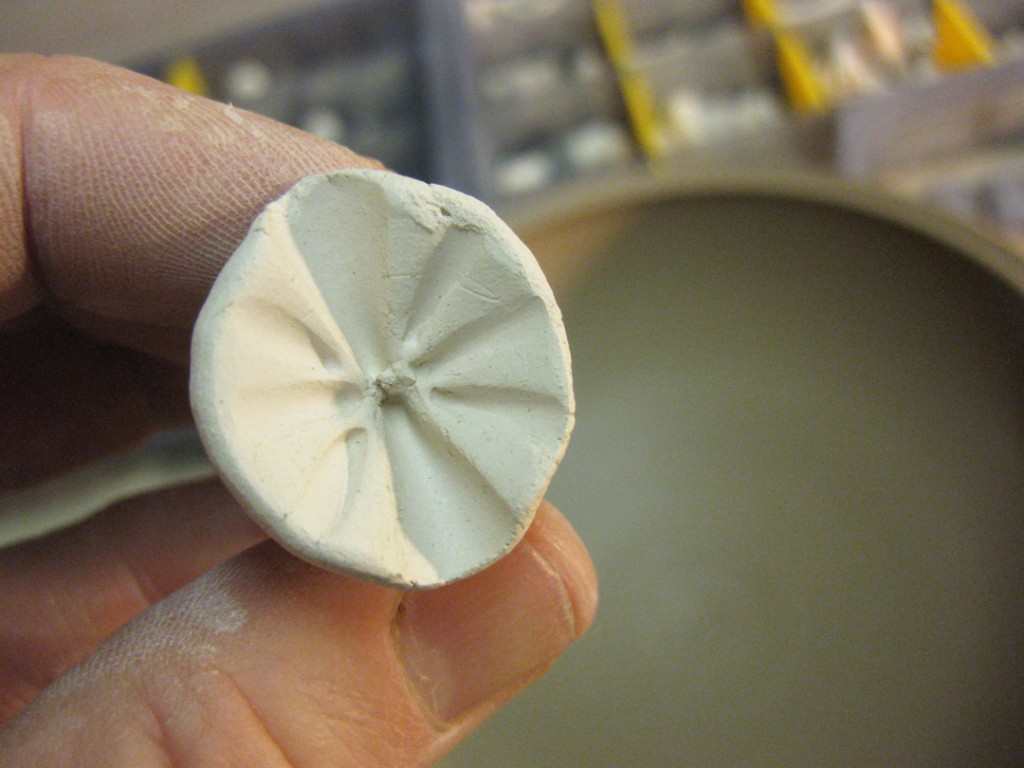
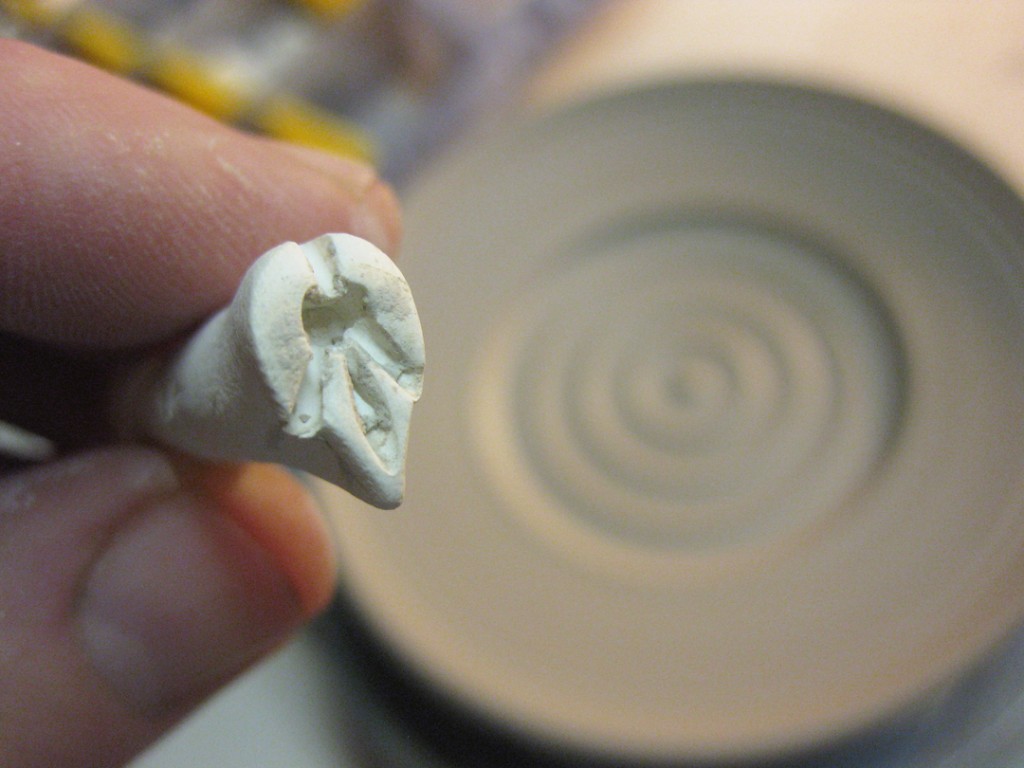
fresh out of a bisque kiln. Remember a few weeks back when I tried a new method
of making stamps? Well now that they’re bisqued, I can finally use them on pots.
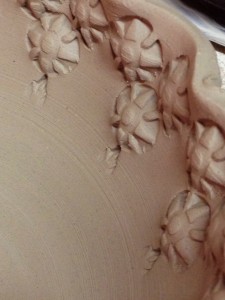
So here are the first three cylinders that I stamped with them. The jury’s still out…
not sure if I like them, not quite as “clean” as I would like, and I need to work them
into my own style if I’m going to make more of them. We’ll see…Â it’s all part of the
“learning curve” when trying new things. Some times they work. Sometimes they don’t.
Sometimes they just need some more time to “percolate” in your head!
I did a few with the new stamps, but had a LOT of cylinders to be stamped. So I set forth &
stamped all day long. Cylinders for mugs, and taller cylinders that will become tumblers.
Once they were all stamped, they were then also ready to be trimmed.
So I started trimming them and putting them back under plastic to keep them moist
enough overnight. Tomorrow I need to add the handles to make them mugs!
Again… timing is everything!
When you’ve got twenty cylinders stamped, trimmed and at the perfect leather-hard state,
you’ve got to start attaching handles quick before the cylinders dry out. So I start by
wedging my clay, making sure it is the same clay as the cylinders themselves. Then I cut
the wedged clay up into smaller pieces and pound them against the table to create these
little “carrot” shapes.
Then I pick one up from the fat end at pull handles the traditional way. Basically by dragging
a wet hand down the “carrot” tube from top to bottom. The slippery friction makes the clay
stretch. By switching around your hand positions, you can create handles of different shapes
and widths. When I get mine to the right size & shape, I quickly give ’em a flip and loop ’em
over. They sit this way for a few minutes so that the clay can stiffen up a bit. If you try to attach
them when they are too wet, the handles don’t hold their shape… they get all mushy looking.
When they are ready, I cut off the portion for the handle that I need to attach to the mug
cylinder. Each one is then scored & slipped, and carefully attached to the cylinders.
Paying close attention to the placement & size of each handle and how they “fit” to the
cylinder itself. As I finish each handle, I put the mugs back on my plastic ware boards,
give them a quick spray of water and then wrap them up again overnight. I like to keep
them wrapped in the hopes that the moisture levels between the cylinder and the handle
might even out a bit so they can dry & shrink more evenly later.
Today, while I was attaching my handles, I was also watching this informative DVD of
Tara Wilson as she was demonstrating at the 2009 NCECA Conference. She makes these
wonderful forms, very clean, very smooth, very voluptuous. She does a lot of darting &
altering of her thrown forms, and then fires them in a wood fired kiln to create wonderful
flashing surfaces & finishes. Always fun to watch someone else show how they do
their work… as I continue to add my handles… again… and again… and again…
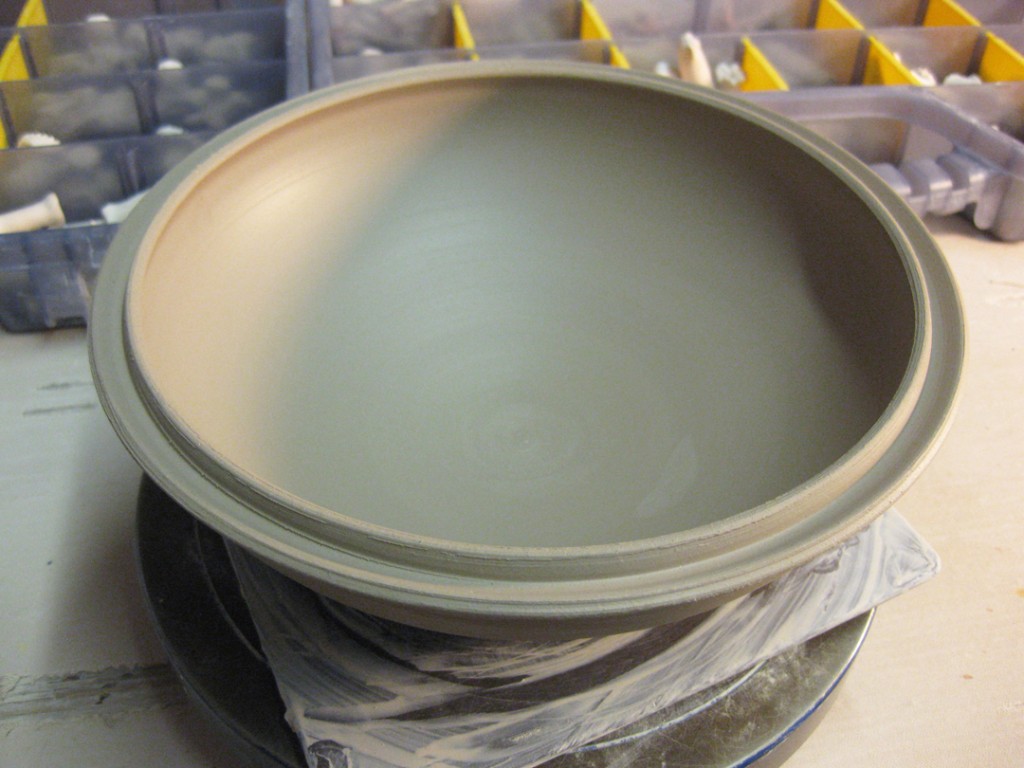
The bowls from Tuesday night’s class are now up in my studio. And a few of them
“needed” a little more work. A little stamping… a little detailing… a little refining.
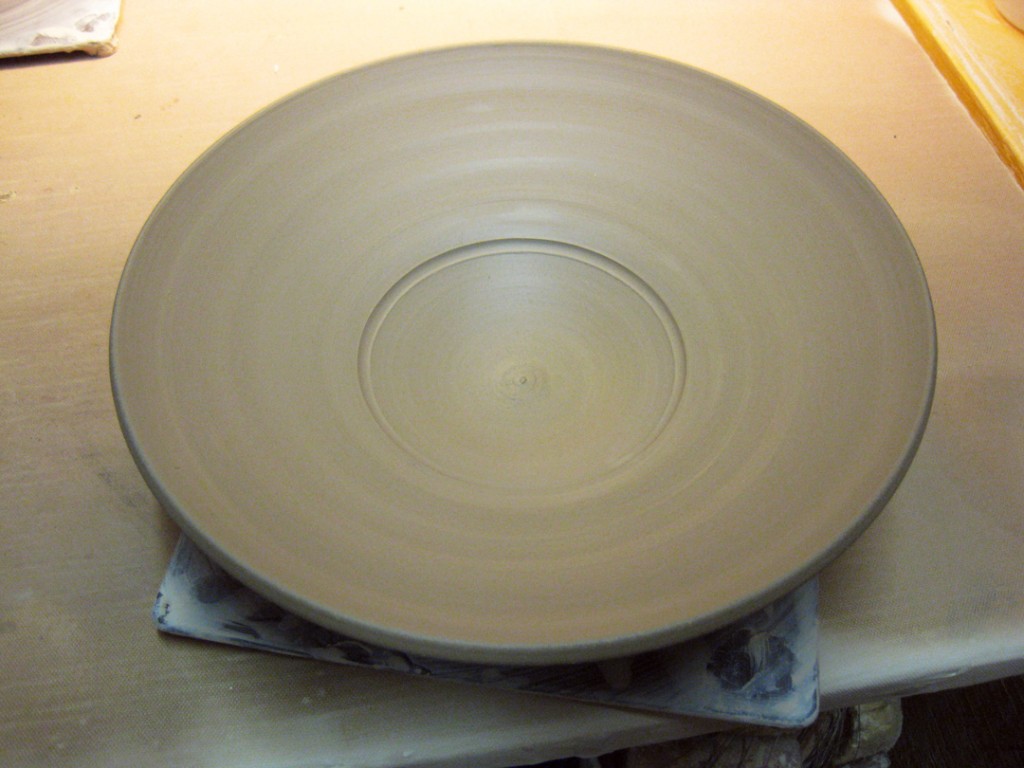
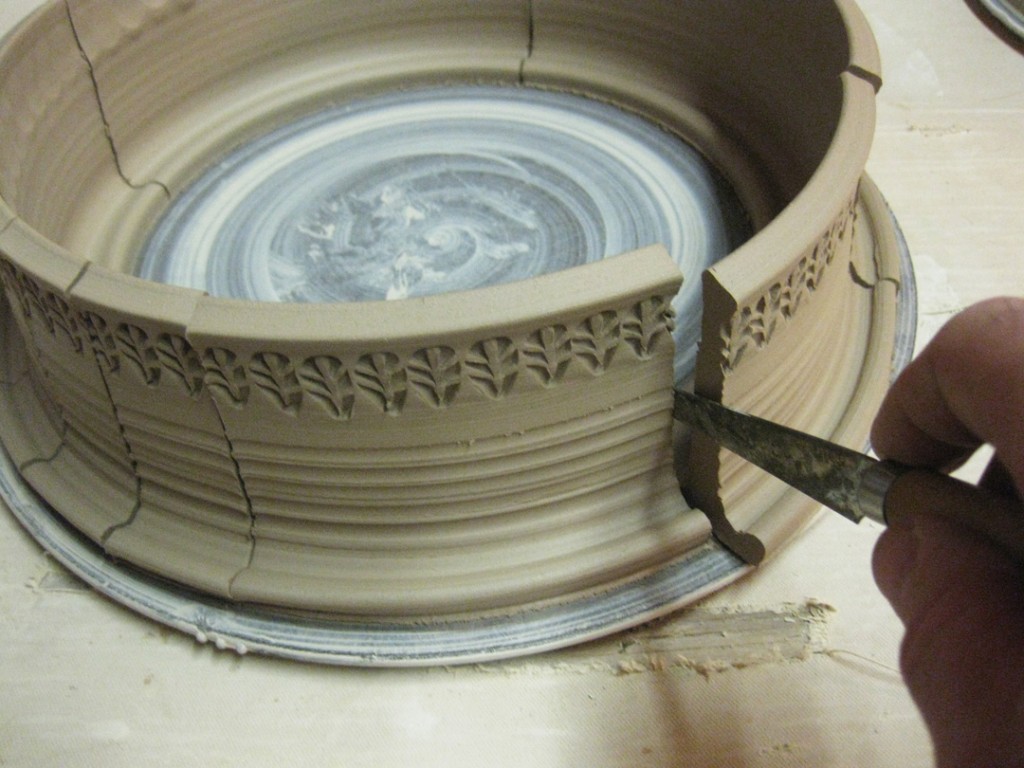
Another bowl fine in its simplicity… but even better after a ring of stamping!
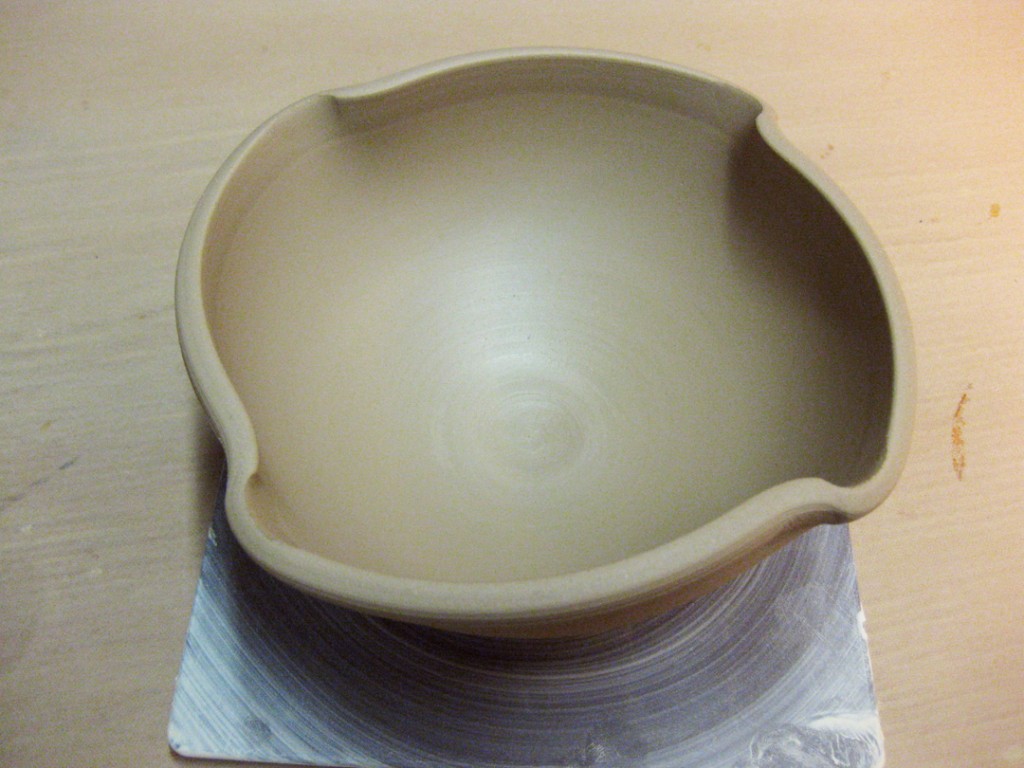
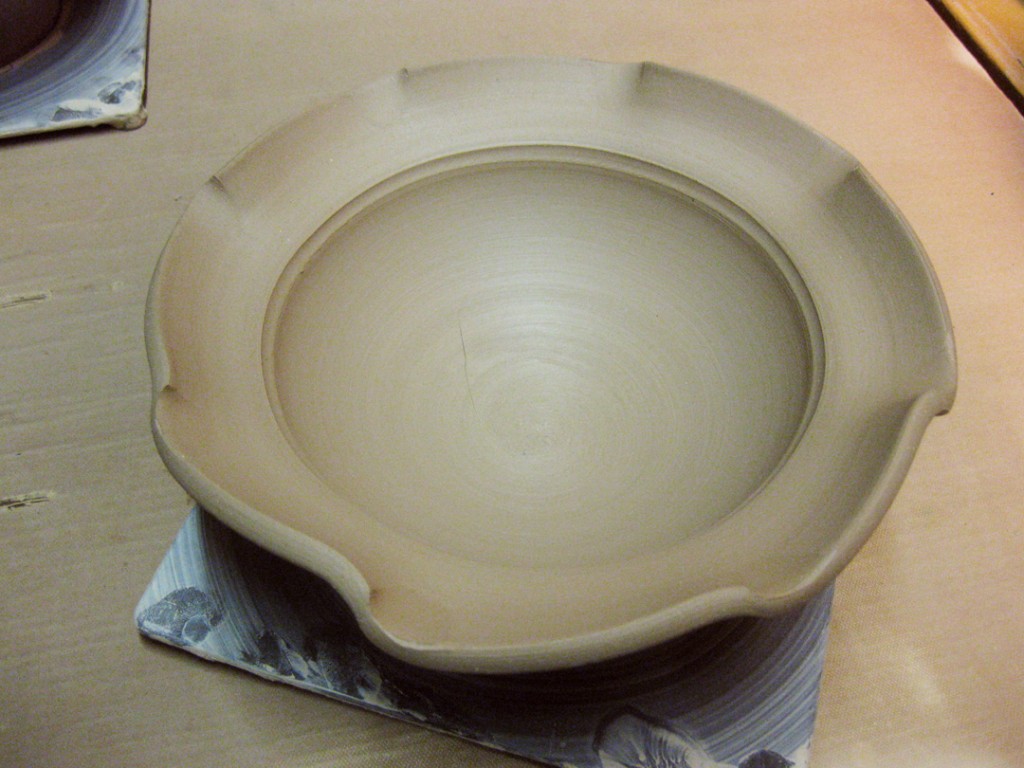
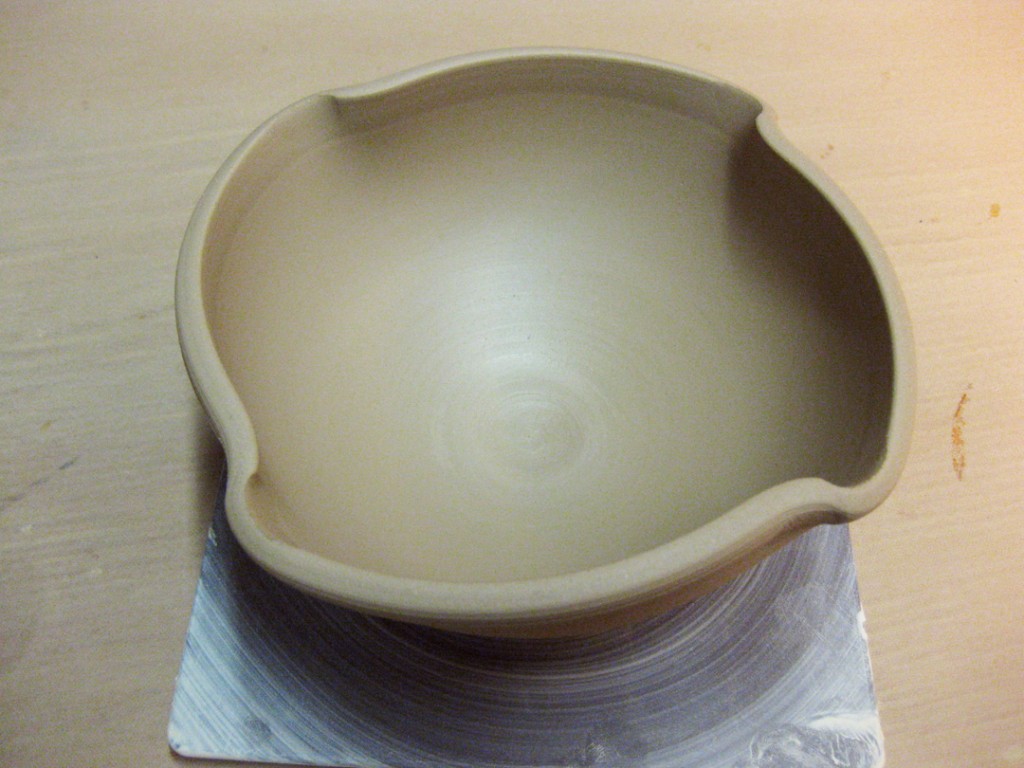
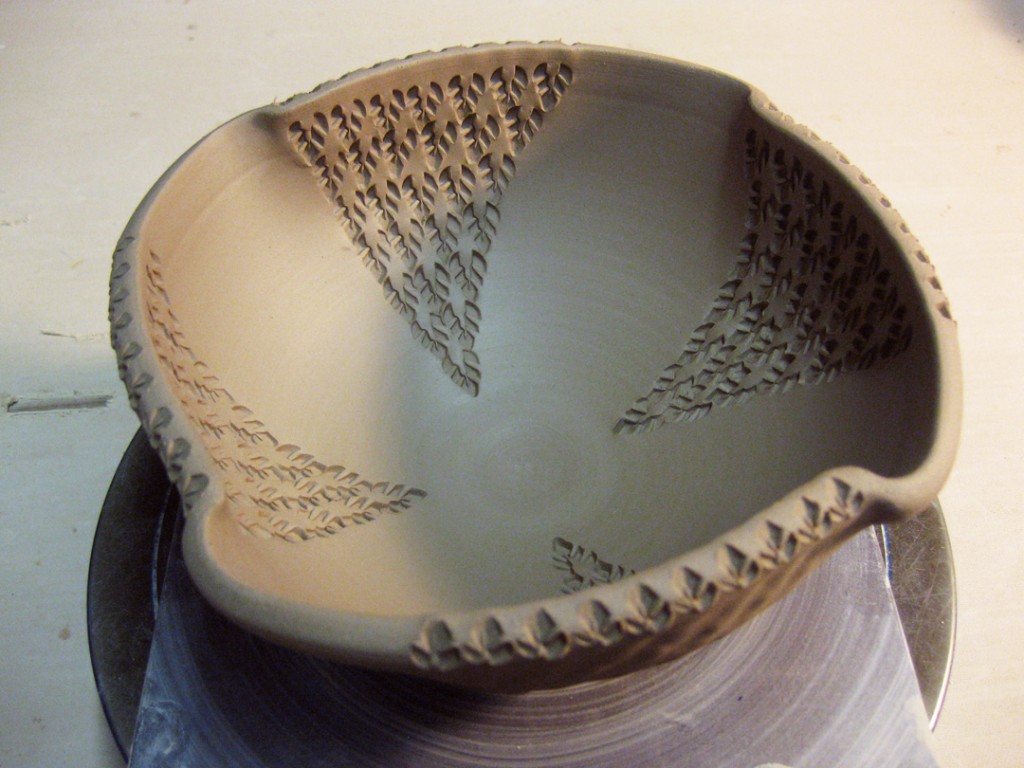
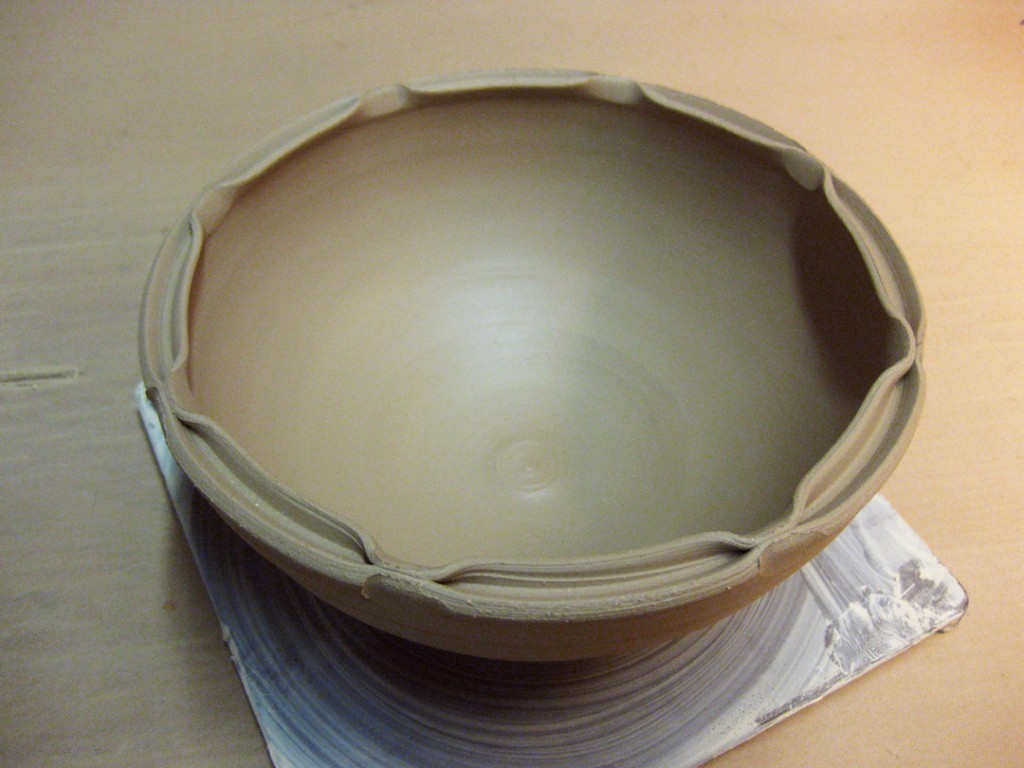
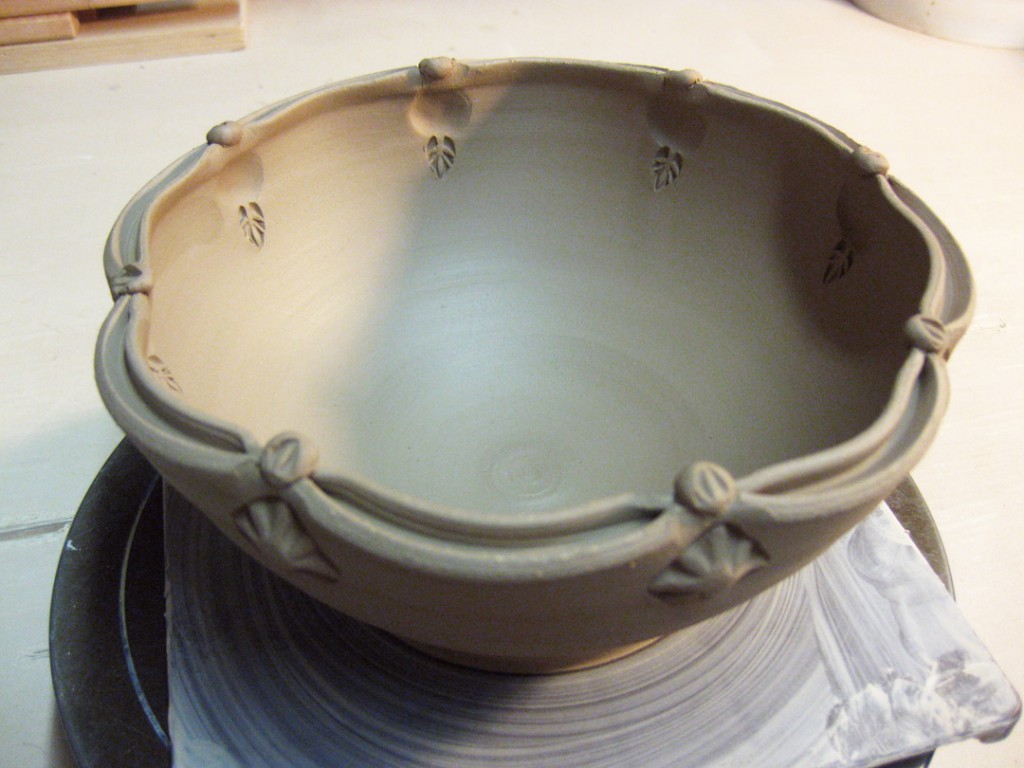
During class, we reshaped this split-rim bowl into a clover. Sure. Cute enough.
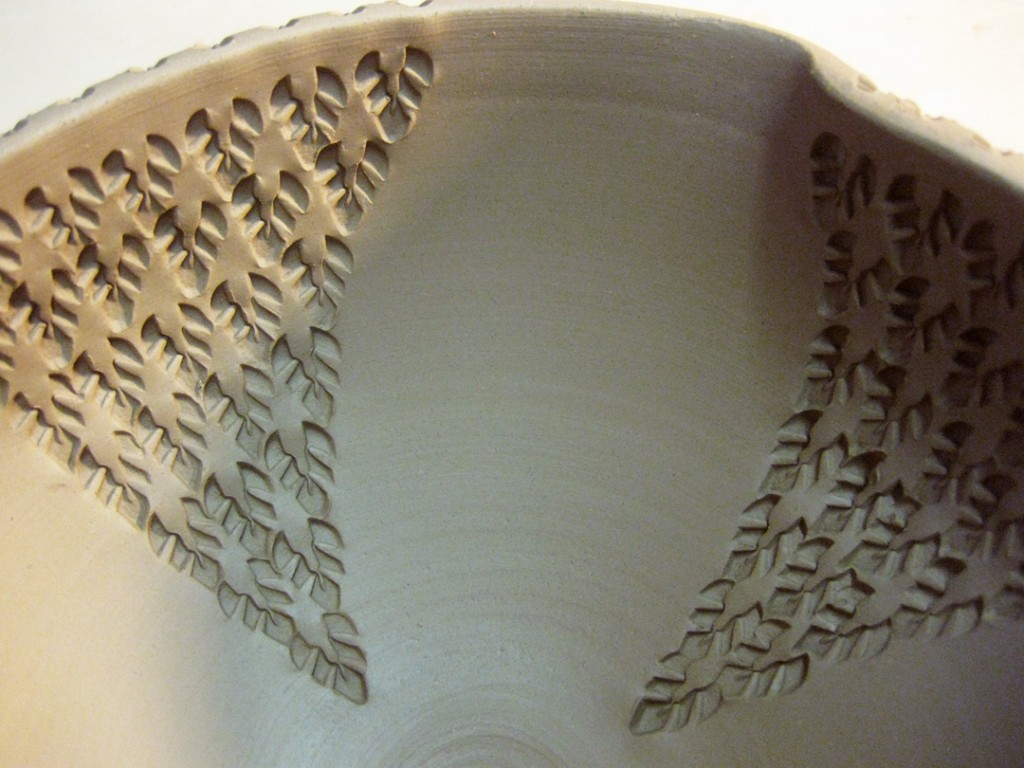
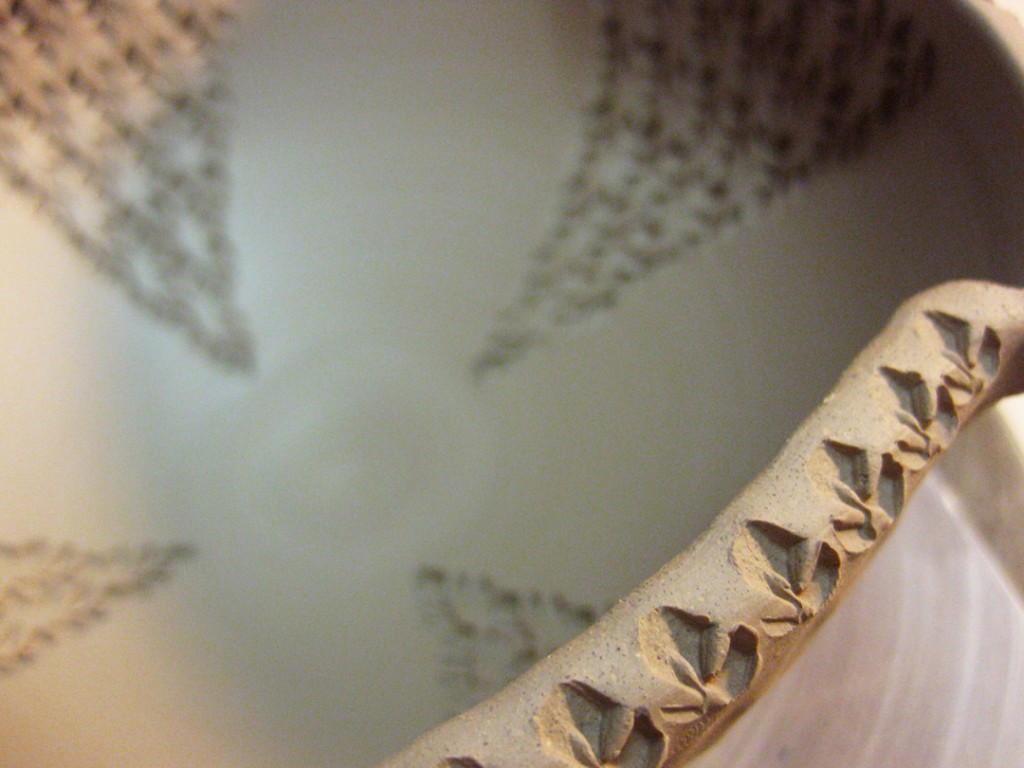
But with a couple little balls of clay to cover the pinch marks and a line of stamping
to help accentuate the alteration lines… even cuter!
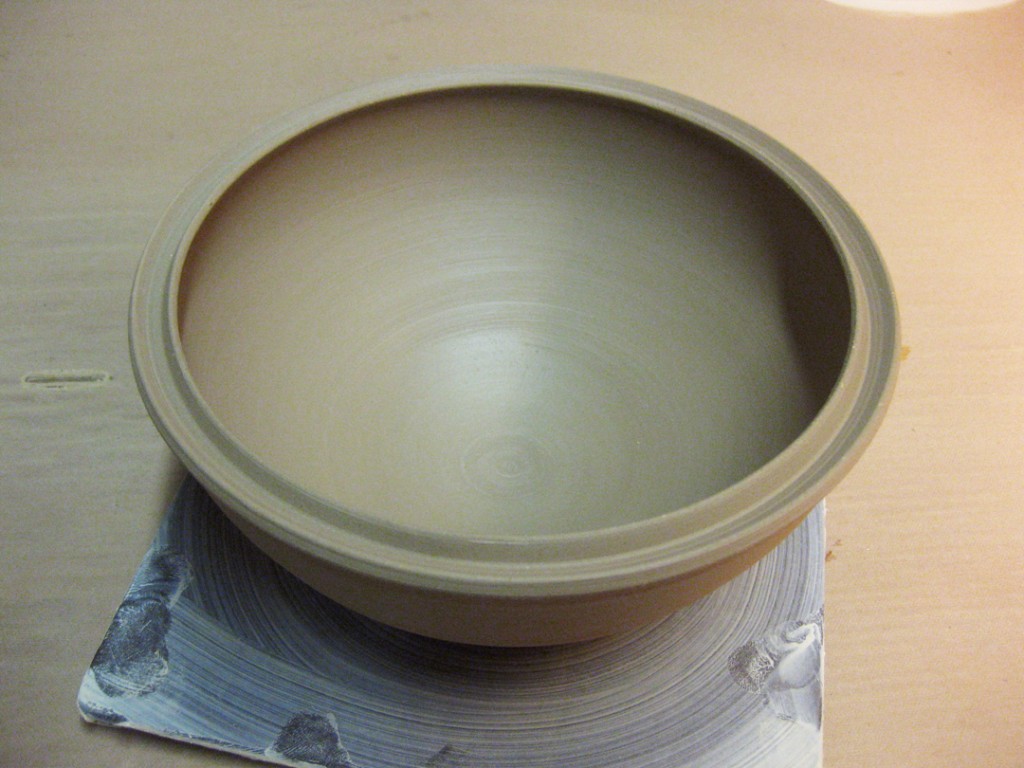
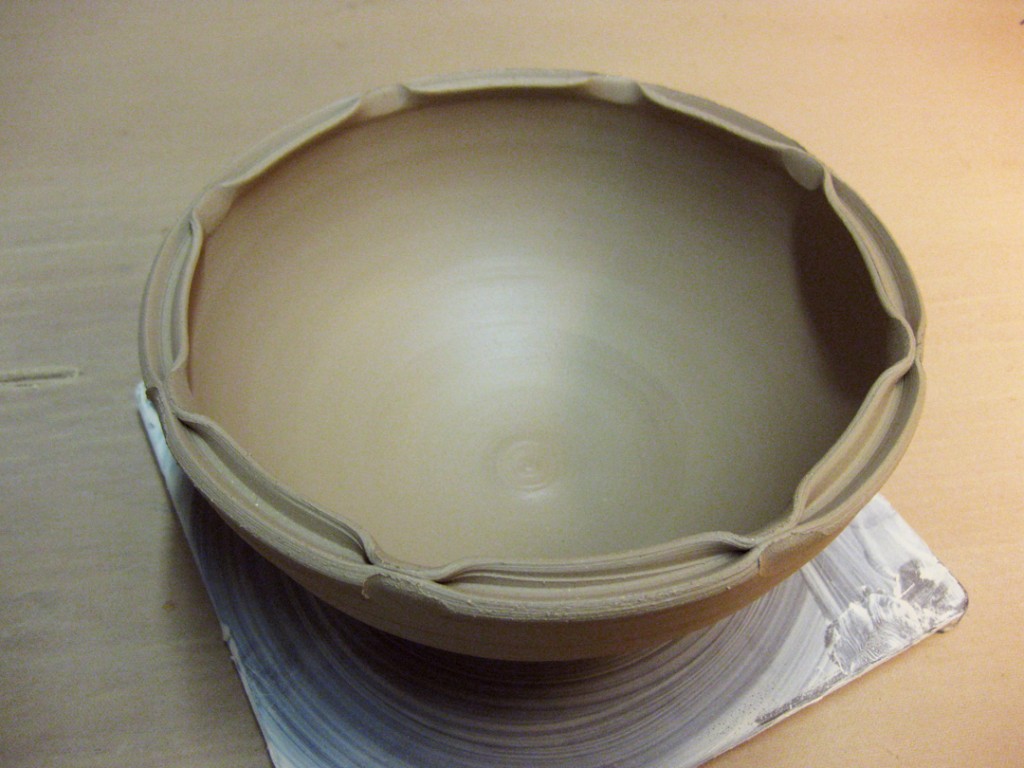
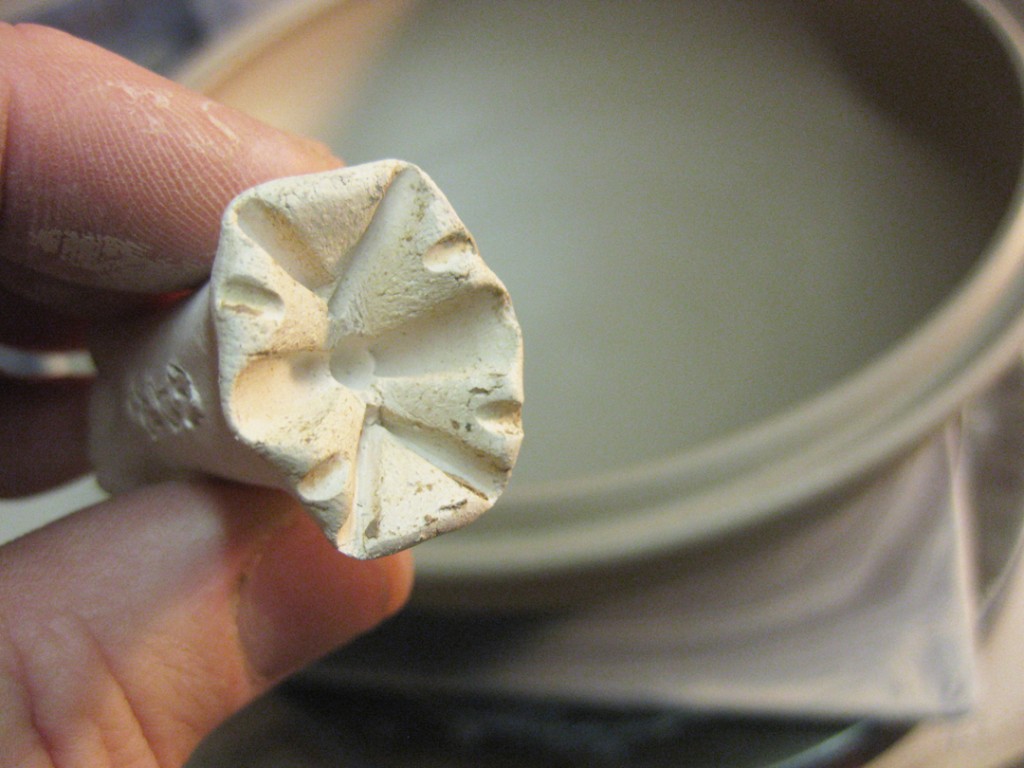
Another split rim bowl with pinched accents. I must admit I’m not a huge fan of seeing
the pinch parks as they look somehow “unfinished” to me. But with a couple balls of
clay and a small stamp…
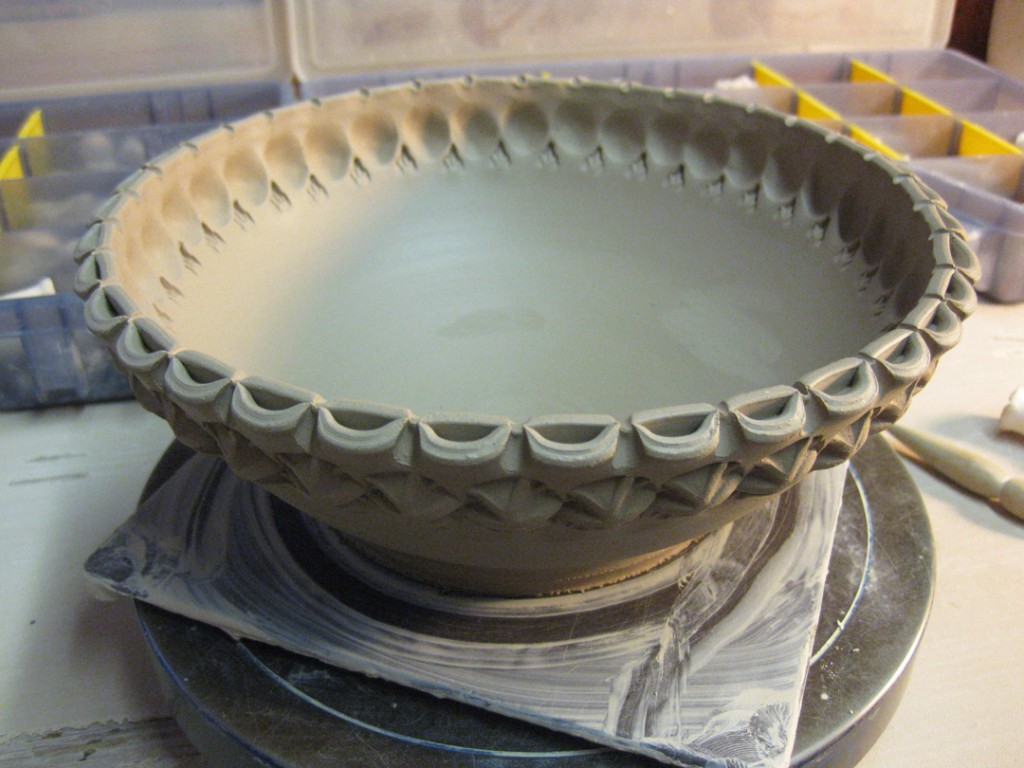
Frequently, the simple ring of stamps is still the solution.
Makes that basic bowl not quite to “basic.”
So now they’re all “detailed” and back under plastic. Still a little to wet to trim.
Hopefully they’ll be ready for trimming later tonight to finish them off.