So I went back into the studio today hoping to find that my lightbulbs had been replaced.
Sadly, not so much. So it was another day of working “in the dark” with my little task lights. Ike did stop by to check on the bulbs, and he found out that they’re currently out of replacements. So he needs to order more… and I need to wait. Great… just great.
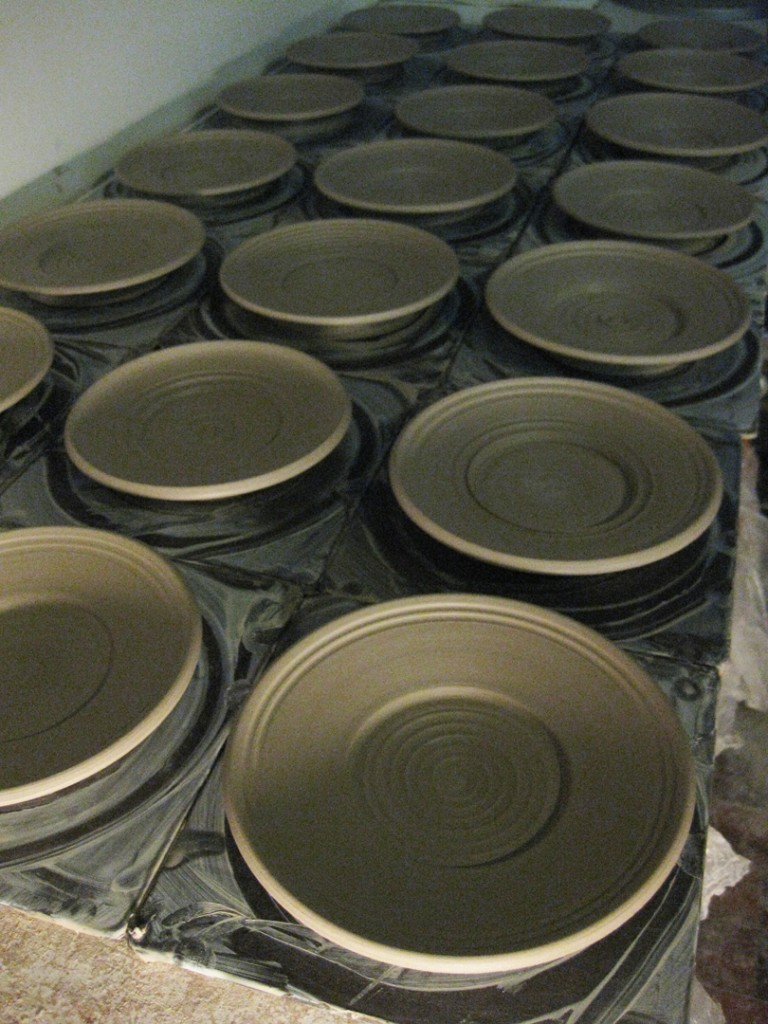
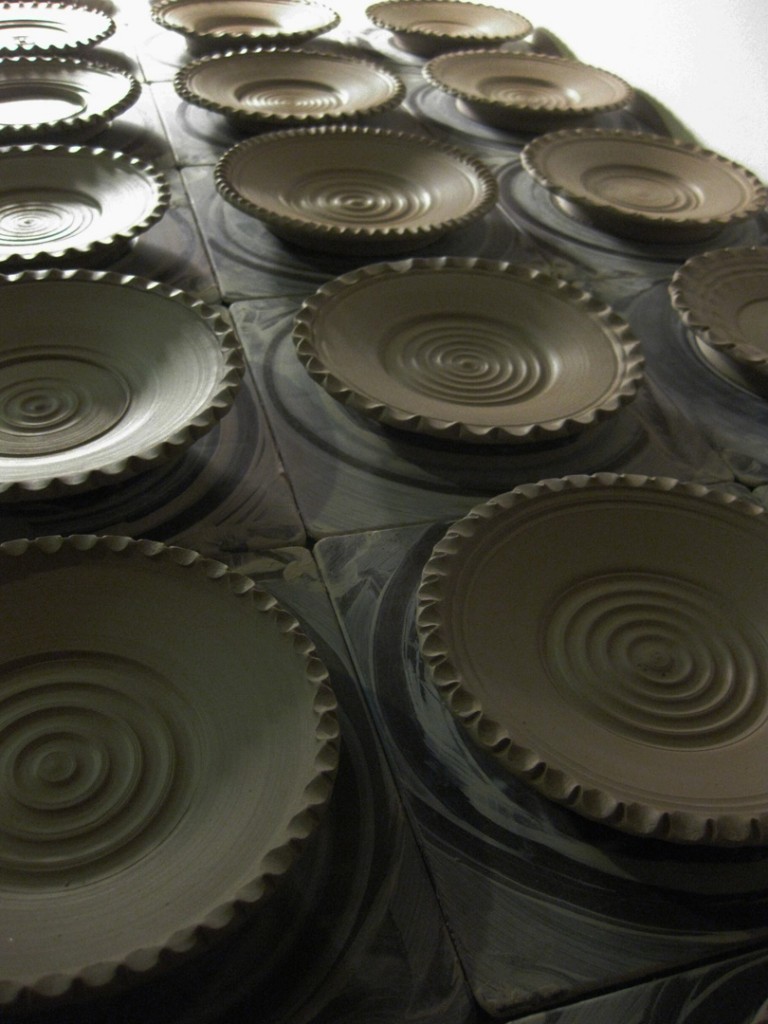
Twenty balls of clay… twenty berry bowl plates coming soon.
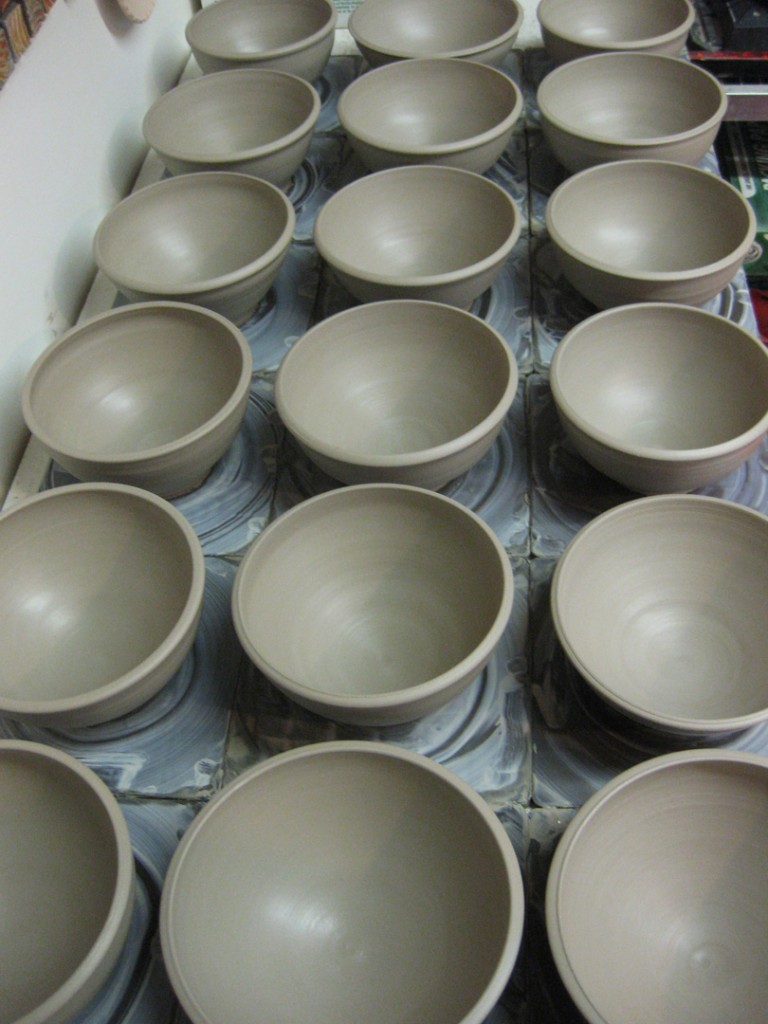
Almost done… only one more to go!
And finding that throwing in the dark is somehow more relaxing. Who knew???
Under cover of darkness, I finished throwing the small plates.
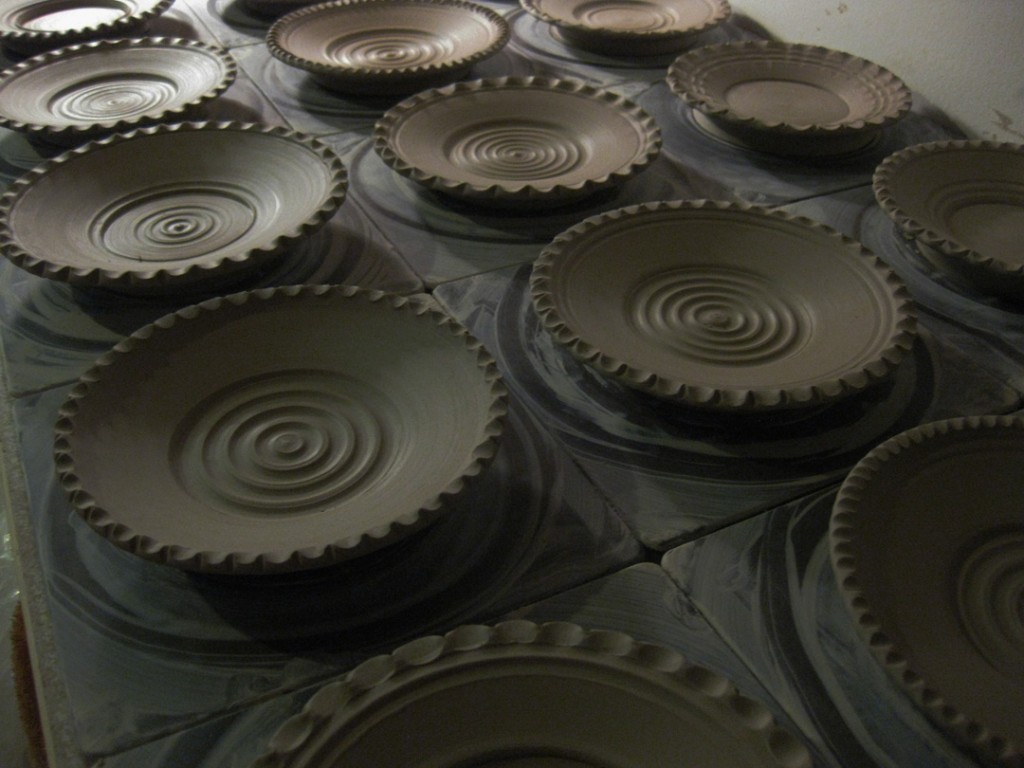
I putzed around for awhile, and then realized that that they were drying up pretty quickly. So I decided to do some decorative fluting on the edges before I wrapped them up for the night.
While I was working tonight, the fluorescent ceiling lights in my studio began to flicker. Kind of an irritating strobe-like effect. It went on for about 20 minutes. But then, all of a sudden, they went out all together.
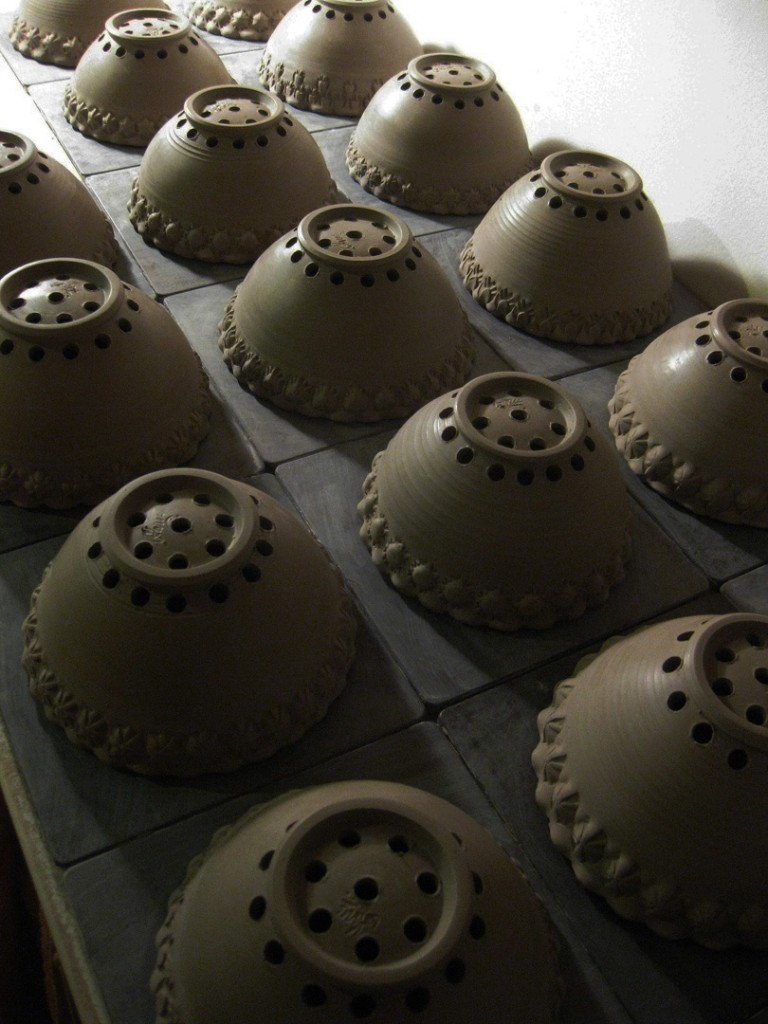
So there I was trying to finish trimming & drilling holes in my newest batch of berry bowls… in darkness!!! It was pretty tough working in the small “spotlight” from my table-top task lighting. Good thing my power drill is cordless & battery-operated!!!
So you know when you have a partial bag of “this” clay, and a partial bag of “that” clay. Some of it is a bit too dry. Some of it is a bit too wet. None of it is ready to go. Not quite enough of any one of them to make much of anything. So why not combine them???
As long as they all have the same firing temperature, it’s pretty easy. You might think it takes a lot of wedging. But not really… it’s easier to let gravity do the work for you! It’s a great little trick I learned from Emily Murphy, a former studio neighbor. And I’m going to share it with you!
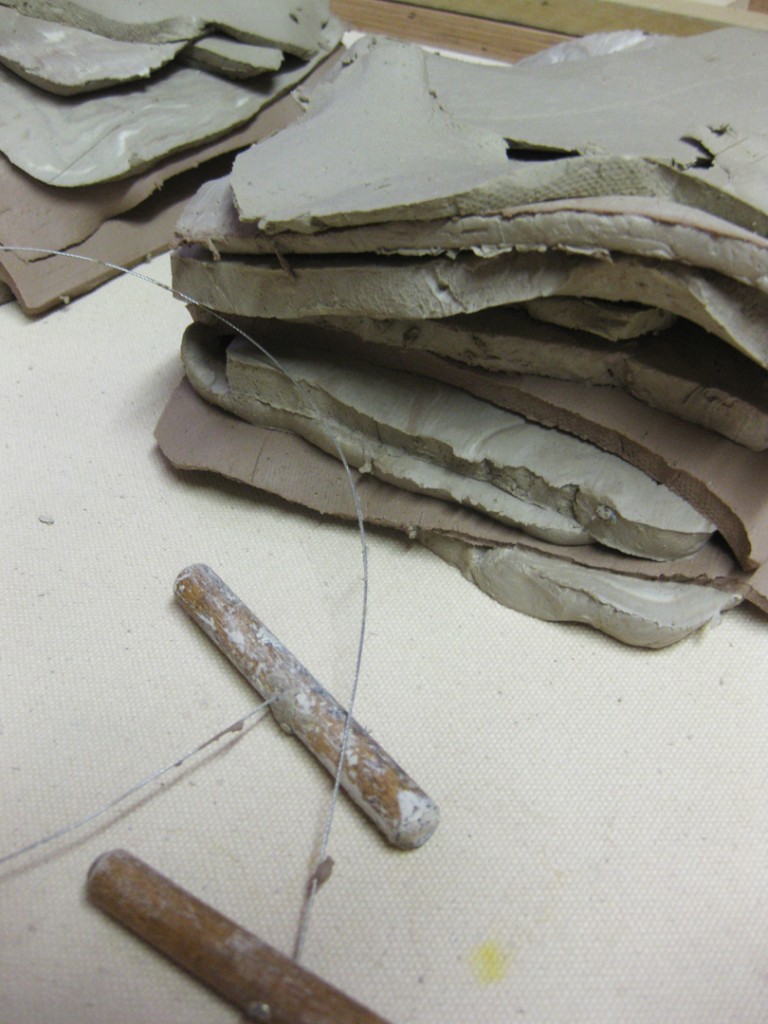
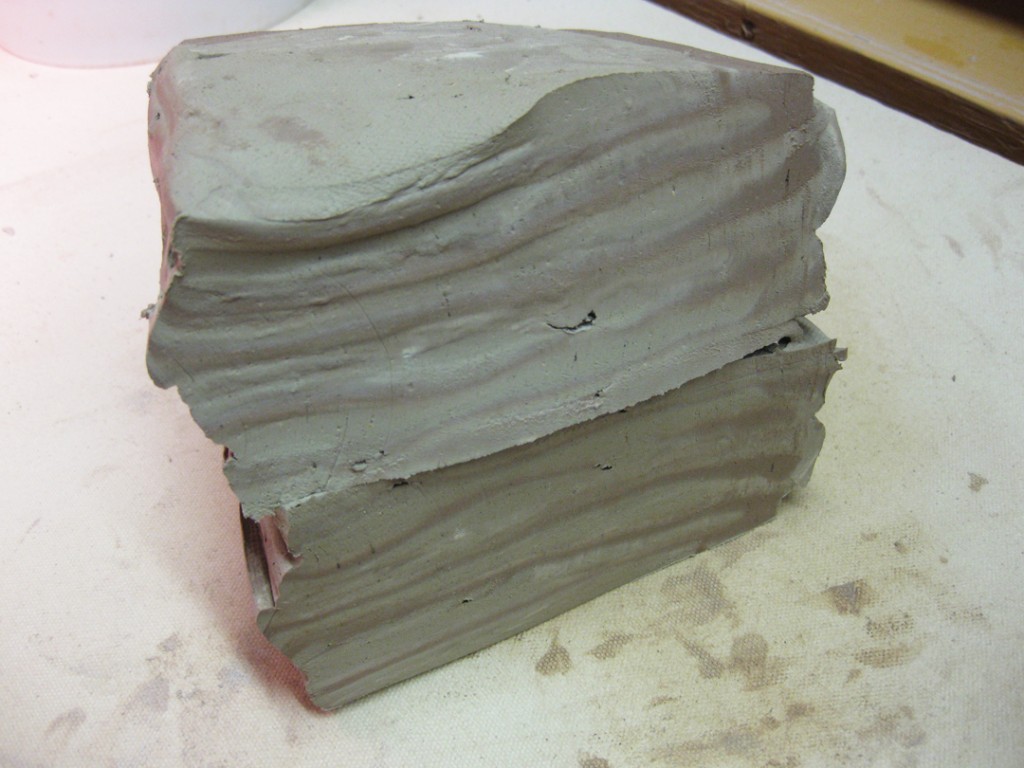
So I started with three different kinds of clay. Some fairly dry soda clay (top), some squishy, unwedged reclaim mix (middle) and some stiff stoneware with iron (bottom). I start by cutting thin slices of each clay and making new stacks. I try my best to keep the layers even, and restack them by alternating the clay bodies within each stack.
As you can see, each pile is several layers of each different kind of clay.
Some soda. Some reclaim. Some stoneware with iron. Sliced. Layered. Stacked.
So here’s the stack of clay before I start combining the layers… nothing fancy.
Start by picking up the pile and slamming it down on the wedging table. Let gravity do most of the work. And I find it best to slam it down on the corner of my wedging table directly over the corner leg. Seems sturdier… and doesn’t make nearly as much noise!!!
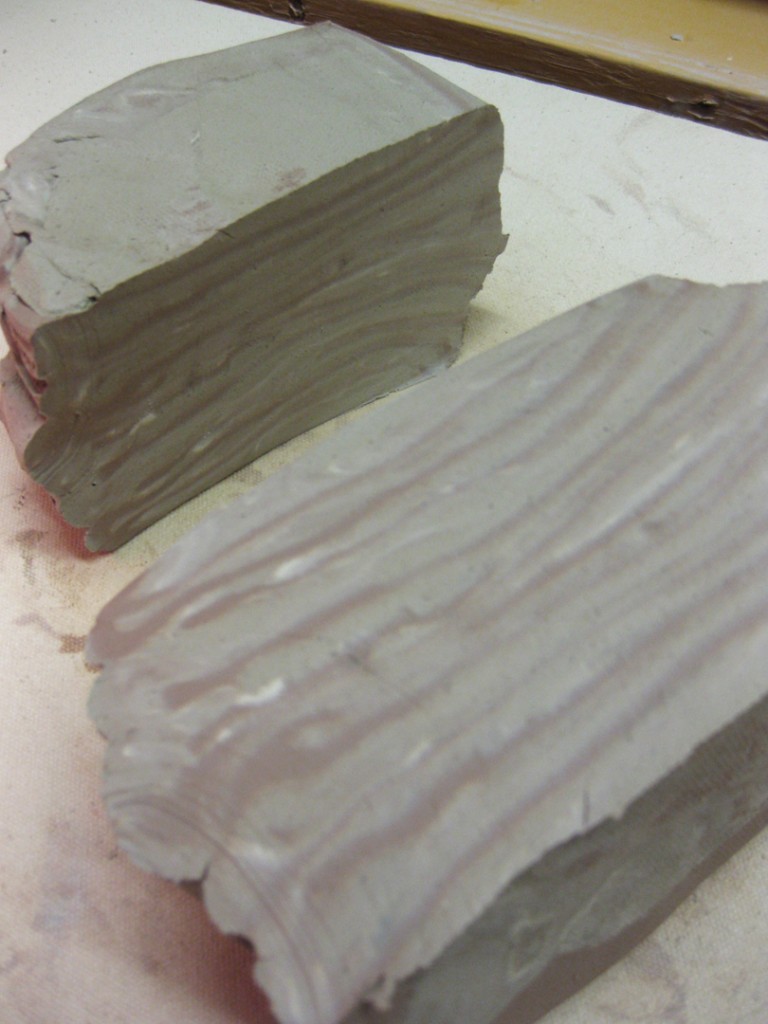
After a quick slam, cut the clay in half. When you look at it, you can see all of the layers of different clays. I don’t know for sure how many there were… so let’s just say 12 layers for demonstration purposes!
So, after slicing the stack in half, put one piece on top of the other…
and now you’ll have 24 layers in your stack.
Another quick pounding on the table and it squishes together and flattens out a bit.
Cut it in half again, and you can see how your layers have doubled and squished thinner.
Stack one half on top of the other, and suddenly you have 48 layers!
Pound it again, cut in half again… and you’ll see how the layers are getting thinner & thinner.
Just from slicing and dropping it on the table! No power wedging. Very little physical labor.
Stack it back up… slam it down and now you’re up to 96 layers!
Pretty amazing how the number of layers multiplies so quickly… more & more, thinner & thinner!
Slice again. Stack again. Slam again. 192 layers!
Slice again. Stack again. Slam again. 384 layers!
Slice again. Stack again. Slam again. 768 layers!
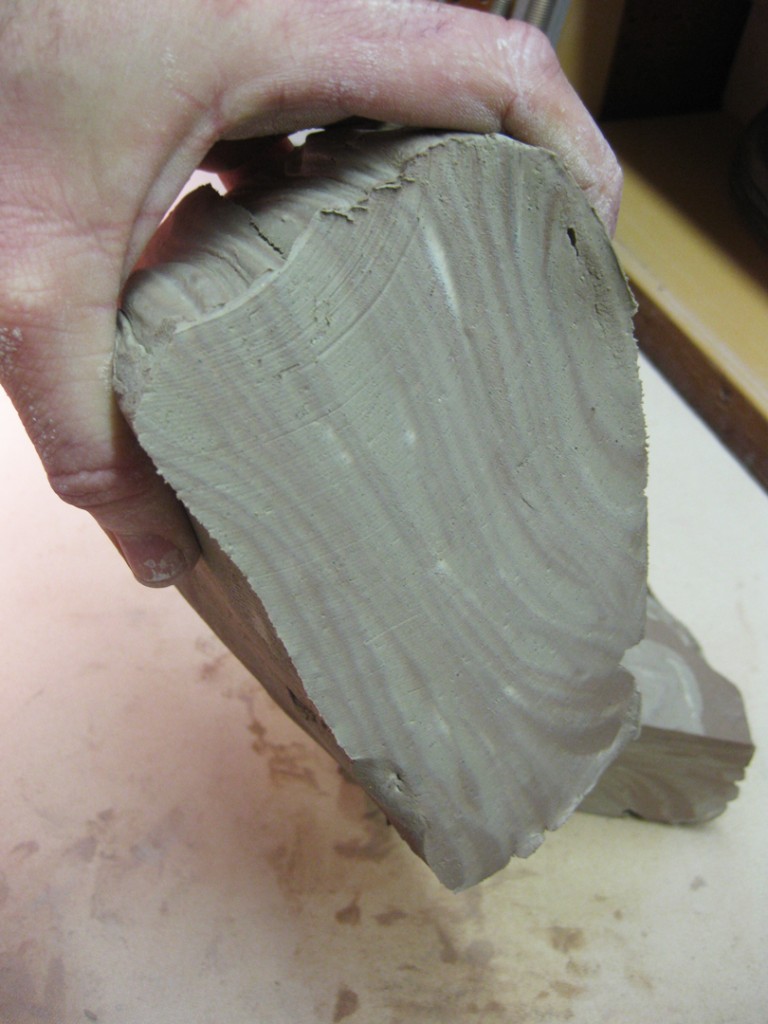
Slice again. Stack again. Slam again. 1,536 layers!… and almost blended.
One last time… Slice again. Stack again. Slam again. 3,072 layers!
And it’s looking pretty well homogenized after some simple slicing & slamming.
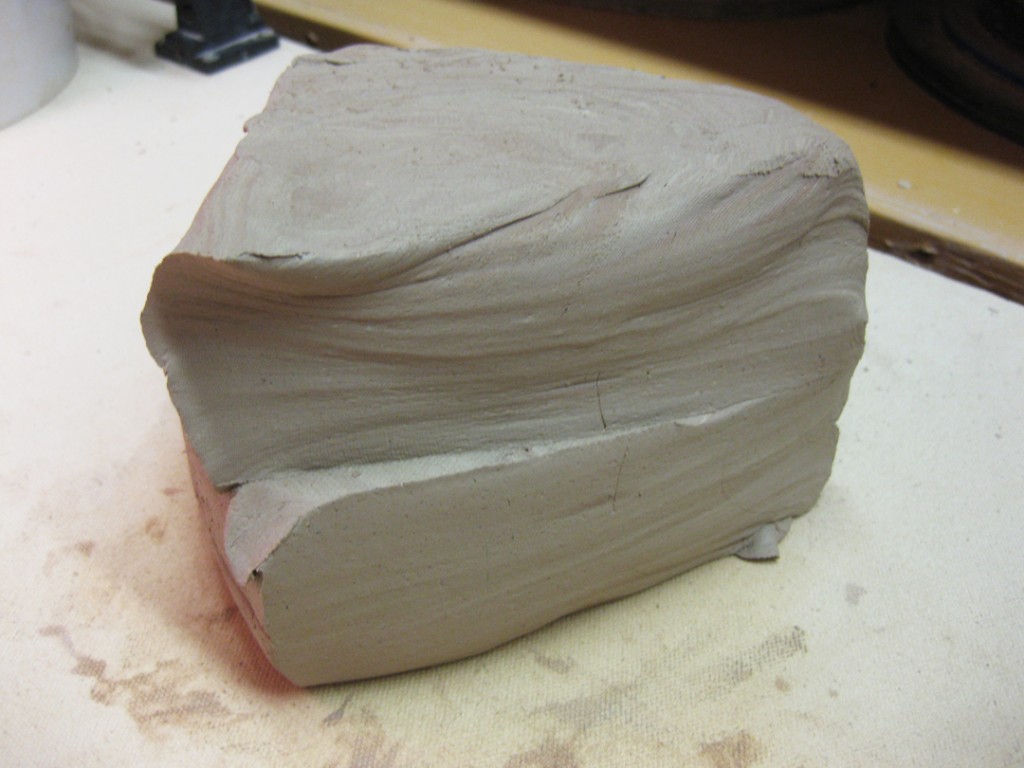
So then I just pounded up the pile a bit and I now have a solid block of clay. The three different clay bodies are well integrated. And the difference in moisture levels has been taken care of. Ready to go. Much better to use.
I tackled all seven of the layered stacks I made from the three different clay bags.
Slice. Stack. Slam. Repeat… Slice. Stack. Slam. Repeat… Slice. Stack. Slam. Repeat…
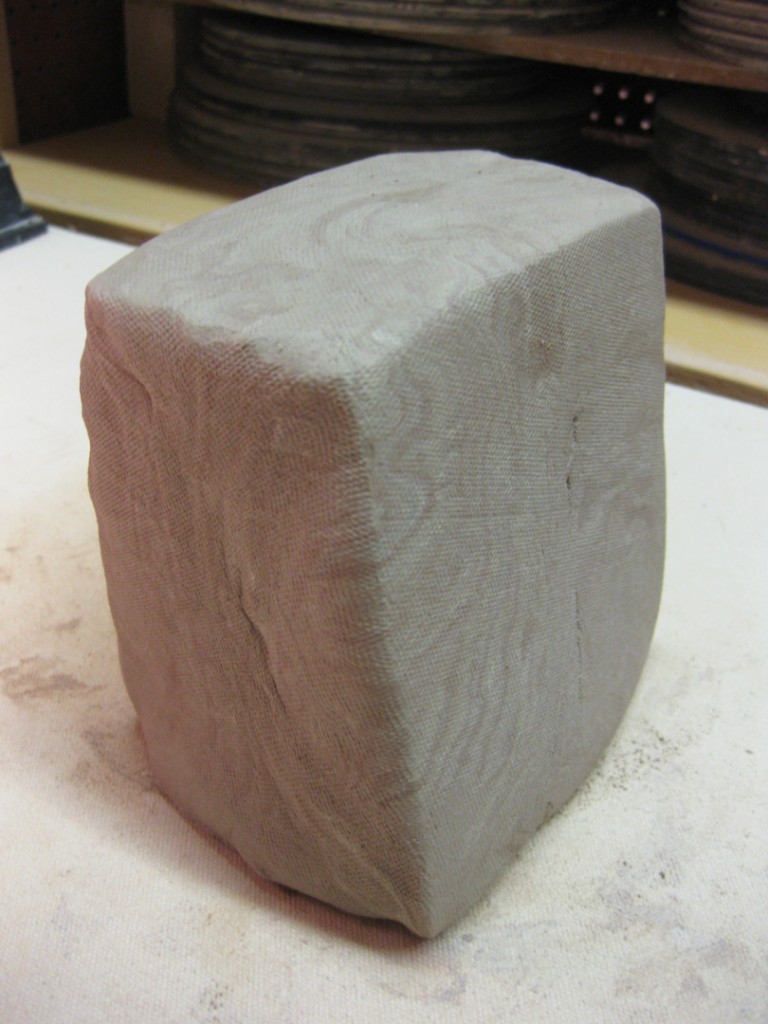
And now I’ve got a tower of clay ready to go. Sure, the clay still needs some final wedging just before throwing. And now I’ve got to make something with this tower of fun!
It’s been a LONG time coming!
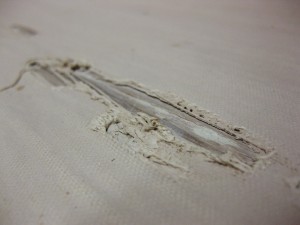
I got my wedging table several years ago when I moved into my current studio space. It was a “gift” from my friend & (former) pottery studio neighbor Emily Murphy. It had been used in her studio, and she was bequeathing it to me. Since then, I’ve made a LOT of pots… wedging on that same table all the time. Well, over the years the canvas covering has been weathering and growing thread-bare in spots. I had even super-glued a few of the “rips” back down onto the table trying to keep it viable a little longer. But I knew it had to be recovered at some point. Like I said, it’s been a LONG time coming!
So I actually started the project yesterday. I dove right in and started ripping off the old canvas. Removing as many staples as I could along the way. I actually breathed a sigh of relief when I figured out that I could shimmy the table out of it’s tight space. I was dreading the table recovering project because I was afraid I might need to move shelving just to get to the table! Apparently not… with a inch to spare!
But then as I was taking the canvas off, I noticed that the plywood top was no longer flat & smooth. I knew there were a few “issues’ because I was getting “textured” slabs when I threw them on the table. I thought I would just fill in a few holes & dents, and then sand down the ridges from where the wood had swollen from all of the water soaking through the canvas.
But one thing led to another… and before I knew it, I had pretty much filled in the entire table!!! You know… I couldn’t stop myself. And only after I had run out of patching material, did I let it dry and then sanded it flat. Note: when the purple color disappears the patching is dry!
I knew I didn’t want the wood swelling to happen again, so I decided to seal the table with polyurethane. Nothing special. Just what I had extra of at home. I figured anything sealing the wood is better than nothing, right?! So I painted a pretty generous layer of polyurethane on the table and let it dry overnight.
When I came back into the studio today, my table was dry and very smooth! Yeah!!! No more “textured”slabs unless I decide to put the texture into the clay!
So I dug out the box that had the canvas for my table. And I had to dust off the box. Here’s how long I’ve been “planning” this little project… I purchased my canvas from Continental Clay way back in May when I was up in Minneapolis for the 2013 St. Croix Valley Pottery Tour. So yes, it’s been eight months since I purchased the canvas. Don’t judge. I had a lot of pots to make during that time. So now I’m kicking off the New Year with a few projects I’ve been putting off for far too long!
I unrolled the canvas and laid it on top of my table. I sprayed it down with water to dampen the canvas. I’ve always heard that you should wet the canvas before you attach it. That way you can stretch it tight, and it will get even tighter as the canvas dries.
Let the stapling begin!
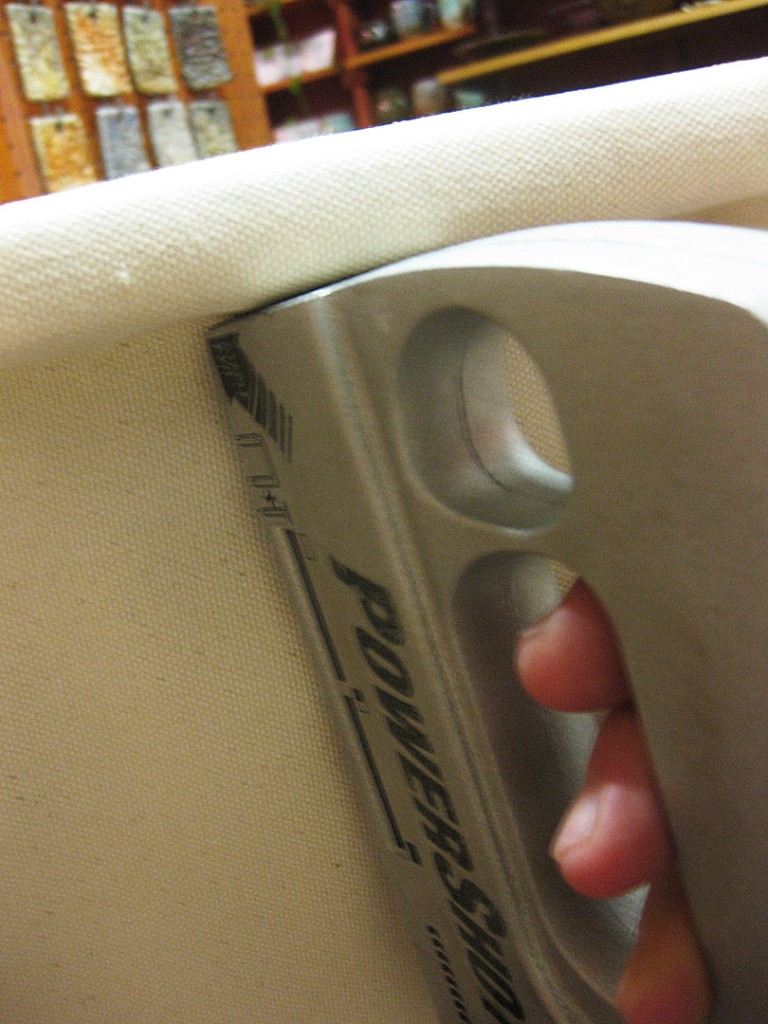
I stapled one of the short sides first. And then pulled it tight and stapled the opposite short side next. The one of the long sides starting at the center and working out. Then the final long side pulling as tight as I could and still staple at the same time.
Yeah, so I probably could have pulled the canvas a bit tighter. Sure, I probably could have made neater corners. But for my first time re-canvasing a table, I think I did pretty darn good?! Sure, it’s a little disappointing when it’s dirty already and I haven’t even put any clay on the table yet?!!!
Even better… I got it done in time to get things back in place so I could watch “The Golden Globes” while cleaning up my mess!!! And my wedging table will probably never look THIS clean ever again!
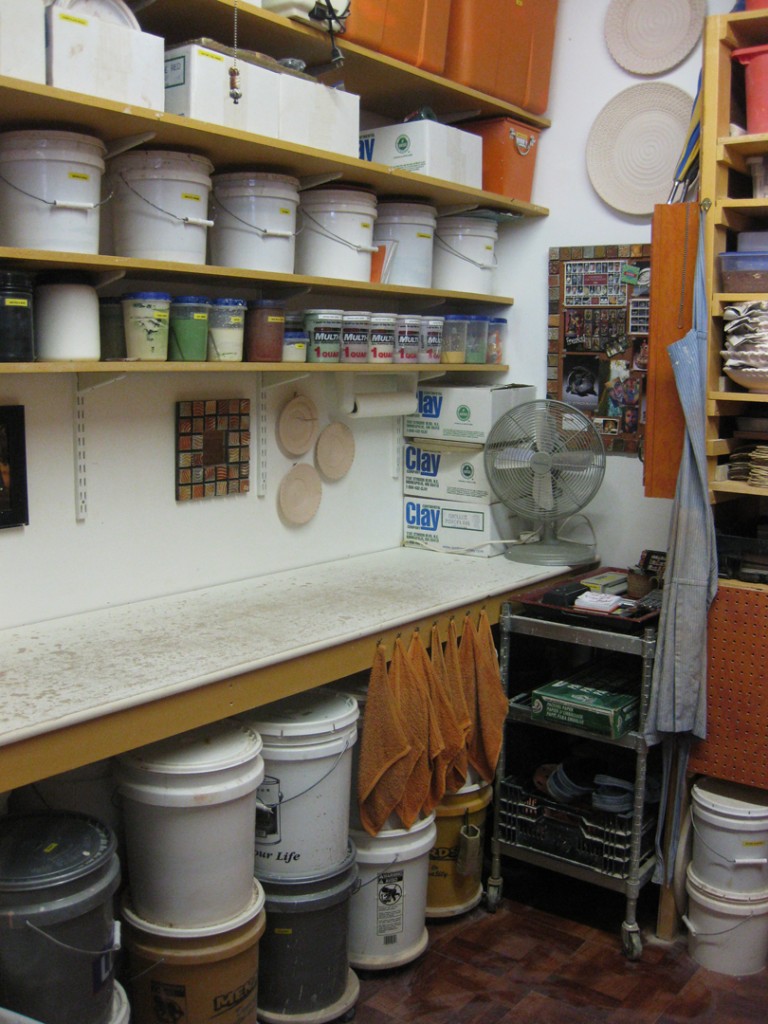
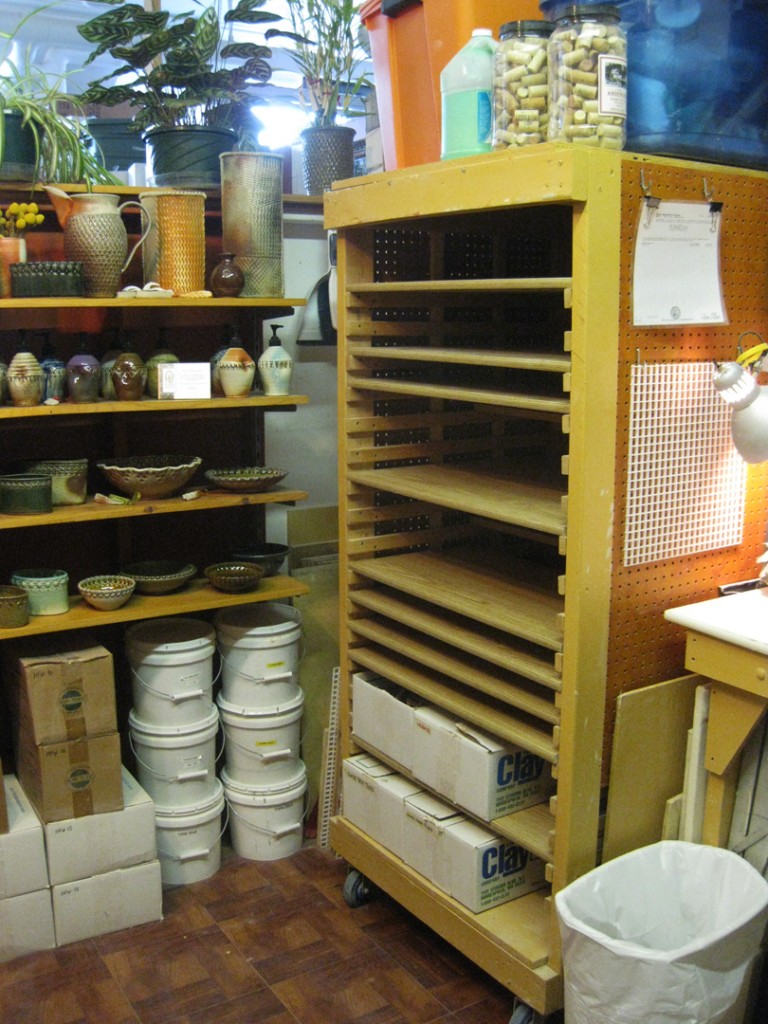
So now I have a few more projects to tackle. I’ve got SO much stuff in my studio. Things that I’ve collected over the years and find that I haven’t used them for years! So my studio is definitely in need of some early Spring Cleaning!!! I think I’m going to focus on that this week before I actually jump back into production mode.
So I was right… and my reclaim clay was already dry enough to be “processed” back into clay. So after a lot of slicing, layering, pounding, wedging, layering, slicing, pounding, squishing, layering, etc.it felt more like clay… and more homogenized than it was before. My freshly turned-out clay has a lot of different “pockets” of different clay bodies. And I would rather have it all the same. So it takes some work to blend it all back together! Some extra “workout” to slam it all back together. All in the name of 207 pounds of FREE CLAY!!!
So now it’s all bagged up and resting. In a couple more days, I might find the energy to finish wedging all of it. Typically I take my reclaim clay and layer it together with some new clay. So that the clay I actually use is about half reclaim & half new. So now I can’t wait to get started digging into my FREE CLAY to make some new work!!!
Happy New Year… Happy New Clay!!!


