Gary Jackson: Fire When Ready Pottery
A Chicago potter’s somewhat slanted view of clay & play
Categories: classes, lillstreet

Sign-up today for a fun summer!
Take a class at Lillstreet Art Center. Come play in the mud with me every Tuesday night for Beginning & Advanced Beginning Wheelthrowing class. If you sign-up soon, you can still get the discounted price!!! If you wait too long, you’ll miss the discount and risk ending up on my Waiting List?! No fun there.

My class session begins on June 17th… and lasts for a full 10-weeks!!!
Click here to go straight to online registration.

Categories: bowls, classes

Last night was my favorite demo of the session!
Bowls on purpose. And then decorating them all to be one-of-a-kind pieces!
I try to do it every session showing my students how to “make a bowl on purpose” instead of making a “cylinder gone bad.” Once they learn how to make a “real” bowl, I have them all go back to practice while I throw a bunch of basic bowls quickly. I then call them all back to watch the decoration process. All fifteen bowls looked pretty much the same… plain & round. Hopefully my students picked up a few tricks last night. And if nothing else, I hope it gave them some encouragement to play with their clay – and to do something to it AFTER the wheel does all the work making it round.

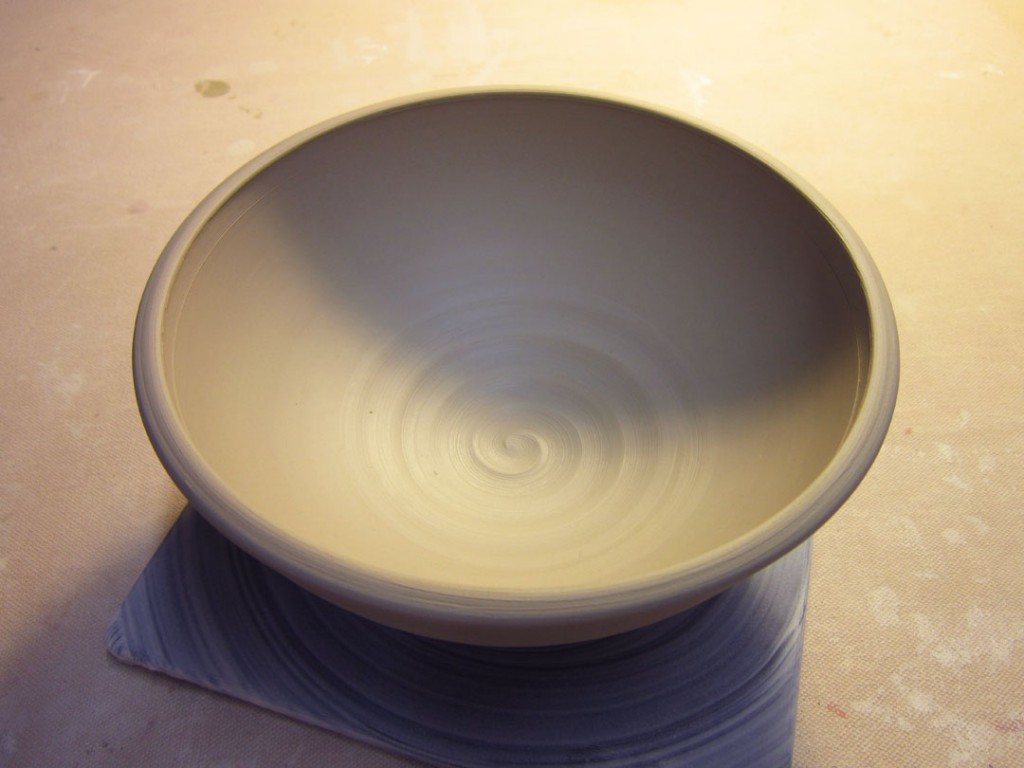
Bowl #1 – Plain & simple with a slight spiral in the center.

Bowl #2 – A twice twisted & fluted rim.

Bowl #3 – And if two twists are good, eight might be even better!

Bowl #4 – A flared flange makes the bowl shorter & wider.

Bowl #5 – A wider flange for more presentation… less food.

Bowl #6 – Not every bowl needs to be round. Like this square one!

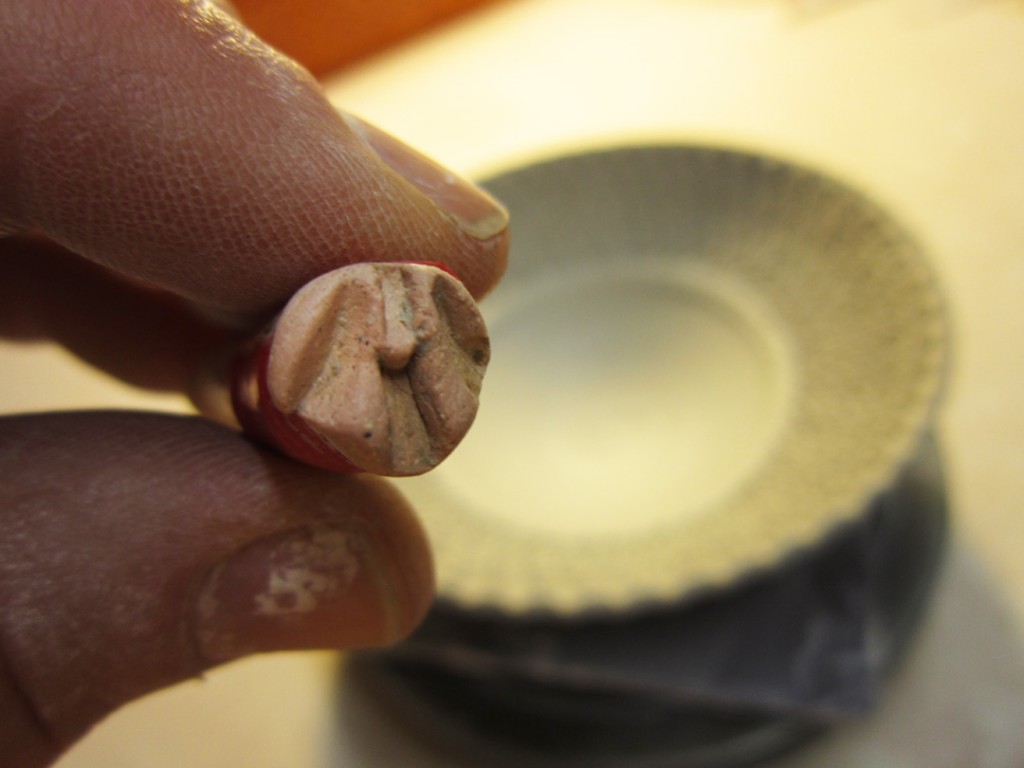
Bowl #7 – Using a simple dragonscale tool, I impressed this flower one petal at a time.

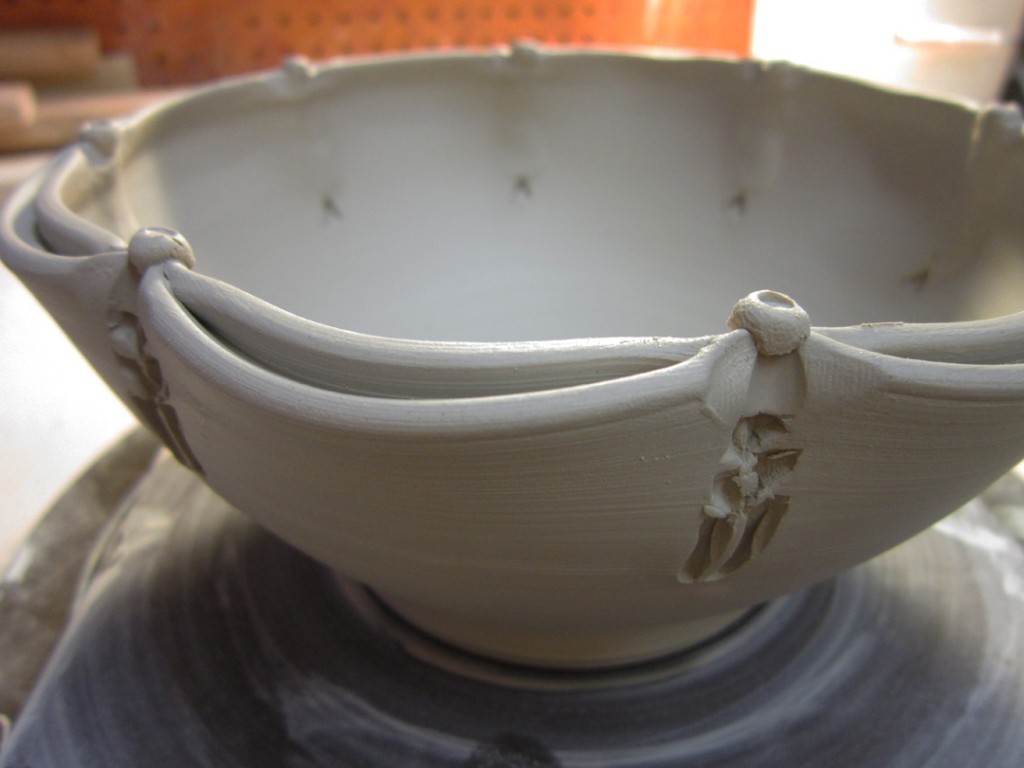
Bowl #8 – A decorative split rim with eight pinched sections.

Bowl #9 – Another split rim with ore pinches for a decorative, almost-braided look.

Bowl #10 – A split rim pinched together… bent inwards,, and bent outwards like a lotus flower.

After a simple explanation of colored slips

Bowl #11 – A simple spiral dragged through the slip to reveal the clay color below.

Bowl #12 – Banded rings with a squiggled section in the middle

Bowl #13 – Rhythmic chattering through the colored slip.

Bowl #14 – A “stencil” letter cut out from the newspaper. Slipped over, then pulled out.

Bowl #15 – A two-color ombre effect… but I couldn’t resist, and I “had to” drag a spiral through it.

So now all fifteen bowls are up in my studio…
Wrapped up overnight so I can keep working on them later. Sadly, all of my tables are full of drying pieces… so last night’s bowls are under plastic ON THE FLOOR!!!


Categories: classes, food

One of my students gave me a “gift” tonight. So thoughtful.
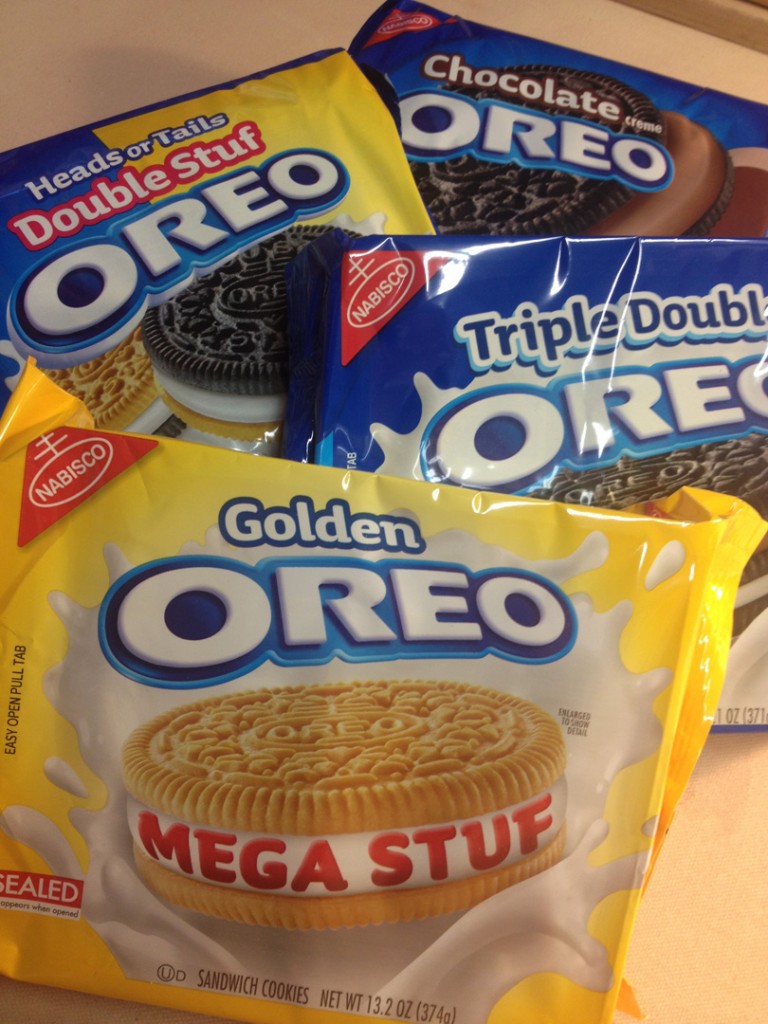
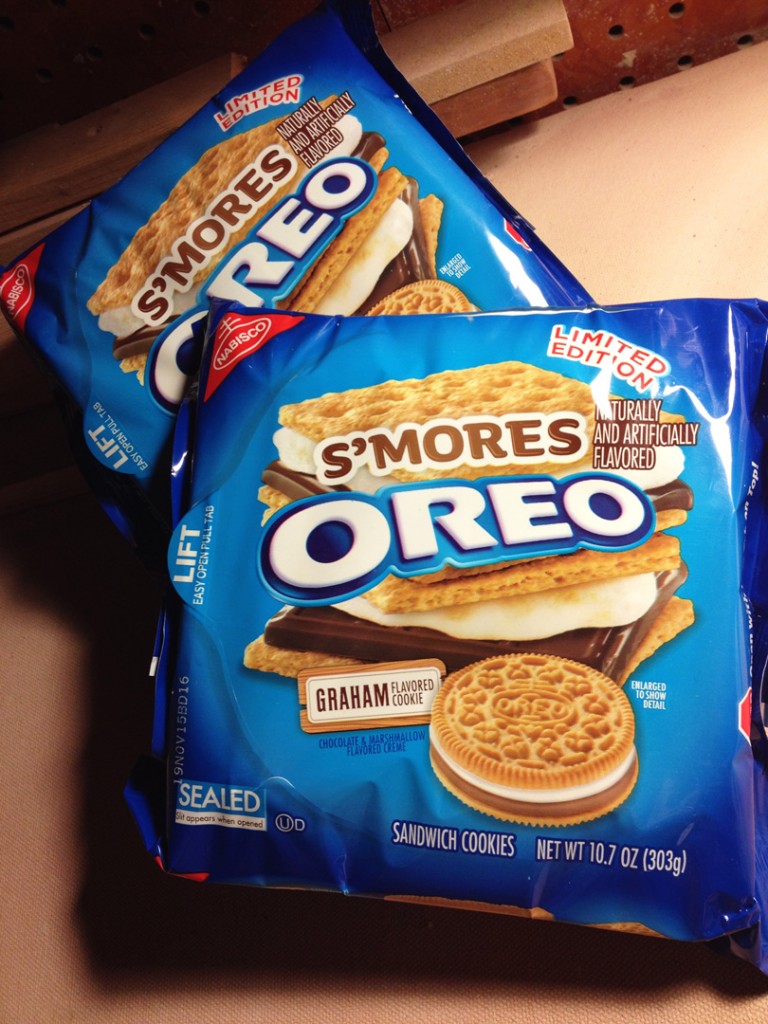
She has quickly become aware of my penchant for Oreo cookies – and figured I REALLY had to have this wonderful new cookie “appliance.” Unfortunately we didn’t have milk in class tonight… but…

And I’m really not sure how I feel about it looking more like an oversized dental flosser than a fun tool to help me eat even more Oreo cookies!!!

Categories: classes, holiday

C’mon, who could resist this once-a-year opportunity?!
Well, apparently NOT me!!! Let the games begin!

Categories: classes, food

Hard to believe that our ten-week pottery class session has already come to an end.
Seems like it just started???

We celebrated tonight with a great potluck & bowl exchange game. So much fun with a wonderful group of students this go-round. For the potluck I brought three of my favorite things… chocolate, caramel & cheesecake!!!

Categories: classes, glaze

Congratulations to one of my students for making the Show-Off Shelves at Lillstreet!!! When the studio monitors unload the glaze kiln, they typically pick out their favorite pieces to put on the shelves. And one of my more advanced beginners made it to the shelf this time!!! When I was leaving last night, I saw these two pots by Shea Michals on the shelves. She’s been doing a lot designs with slip trailing… and finally glazed a couple of them. With great success!!!

Unfortunately, a couple weeks ago, she was told by another clay teacher that the amber celadon glaze would just run off and that she shouldn’t use it. Slightly afraid & now paranoid, she washed it all off the pots. She told me the story and I told her that was crazy! The amber celadon glaze is pretty stable, and with all of the raised slip trails, the glaze is going to pool & puddle along the way instead of running off. So we glazed it together last week during class and… apparently I was right!!! Not only did the glaze NOT run off the pot, but it came out beautifully!!! It broke really well and really accentuated the white slip trailing. Nicely done Shea… keep up the good work!!!

Categories: bowls, classes, clay, pottery, process

Every session my Tuesday night Wheelthrowing Class “challenges” me with something new & different. It’s usually Week Nine when I get to do the challenge piece. We’ve tackled things from goblets to Menorahs, from oyster plates to lotus fluted bowls. Never one to turn away from a challenge, tonight we tackled yet another one… MARBLED CLAY.

So I did a little prep work ahead of time in my studio. I started with two different clay bodies that fire to a dramatic color difference. The clay on the left is Stoneware With Ochre which fires to a dark chocolate brown. The clay on the right is B-Clay which fires to a light gray color.

I cut thin slabs of clay and layered them together.
Trying carefully not to add air bubbles in between the layers.

Here’s the stack of layered clay from the side.

A quick pounding on the table, and a slice in half…
followed by stacking them one on top of the others.

I did some very minimal wedging to “mix” the two clays, but not enough to totally blend them together. Remember, we’re going for marbled clay. So I may need to deal with a few air bubbles along the way from not completely wedging the ball. But keeping a “good swirl” is more important at this point.

Let the throwing begin… slap it down, get it wet and start throwing!!!

Notice how the marbling effect disappears pretty quickly when it gets all blurred together with slip & slurry. If you look close, you can see a hint of marble… but not much.

Center. Open. Widen. Curve. Compress. Throw. Rib. Suddenly it turned into a bowl.
The bowl stayed loosely under wraps as I wanted it leatherhard for trimming in my class.

Fast forward to tonight… when the bowl had stiffened up to a leatherhard state…
ready for trimming. As you can see, the “blurred’ color mix”skin” is still there
hiding the marble effect.

So for one time only, I told my students they can trim the “inside” of the bowls. Generally the rule is they can only trim the outside & foot of a piece. Never on the inside!!! But for the marble effect to show, you need to trim off all of the “skin” from the pot. Luckily, I kept the bowl attached to the bat. That way, when I put it back on the wheel the bowl was still perfectly centered. So I started with my a wide loop tool to trim the inside. I wanted to make sure my loop tool didn’t have any corners.

After a quick trimming of the “skin” the marble effect is revealed. Keep in mind that I’ve marbled Stoneware With Ochre with B-Clay. So my hope is that the white clay will stay light, while the brown-ish clay will fire to a dark chocolate brown.

A quick flip, and I did the same on the outside and trimmed a foot ring. Let me just say, it was a little mesmerizing & a little tough to see as I was trimming the foot. Too many swirls. Too much contrast. Too many stripes all spinning around. Good thing I don’t have vertigo!!!

So there it is, my bowl thrown with marbled clay. I’m sure every bowl would turn out different with this marbled clay trick. It’s a matter of how much you layer, how much you wedge and probably even which way the clay is sitting on the wheel?! It’s a pretty fun trick… and my students were impressed. Especially when I threw a fresh, new bowl with marbled clay as a demo… and then did the “cooking-show-switch-out”… and produced the leatherhard one to do the “skin” trimming right in front of them!


Categories: classes, food

For our “sugar fix” at last night’s class, I was surprised to find flavored Chips Ahoy cookies?! Who knew? So we tried Root Beer Float & Mint Chocolate Chip Ice Cream flavors.

“Should have stuck with the Oreos!!!”

Categories: bowls, classes, pottery, process

You know I usually cringe when one of my students starts off with that.
“So I saw this video on YouTube…”

I love when there are so many tips & tricks out there for potters, but frequently they’re also learning “bad” tricks along the way. So I’ve tried to steer clear of YouTube for the most part. But recently, I did do a quick search looking for new techniques to share with my students. This week is Week Eight for my class so they’re well on their way… and ready for some more surface decorating techniques.

We’ve already used colored slip to change the color “skin” of their work. But when I saw this slip trailing… err, dripping… I though that my students would love this trick. And it’s not too advanced. It appeared to be pretty easy… so of course I decided to go for it. And “teach” this technique to my students without ever practicing myself!!! And quite honestly… I think it worked out pretty well. Click here for the YouTube video of slip trailing on a bowl. You may not understand a word he says… but the video alone is pretty mesmerizing! Here’s a still shot from the video…

Basically, you cover the surface with a thick layer of slip. The add a couple spirals. Then add some “drips” that will run down through the drawn spirals. The demo pieces on the video are a bit cleaner than mine… but I’m sure he’s been doing this technique a bit longer than me. Can you say 10 minutes?!

And once I had some confidence after the bowl, we tackled a more vertical surface on a taller vase. More room for the slip to run & drip. Click here for the YouTube video of slip trailing on a vase. Again, I think the potter may be speaking Russian?… and I’m not sure if this is “his” signature style or if it is more of a traditional Ukranian style of decoration? Here’s a still shot from the video…

We did learn a few things along the way. My slips probably should have been sieved through a fine mesh screen. And I should have tried to get them all to be a better consistency… a couple of them were a bit too watery. And I think I needed to make the base layer and the horizontal spiral with thicker slip so that there was enough slip to “move” as the drips pushed down.

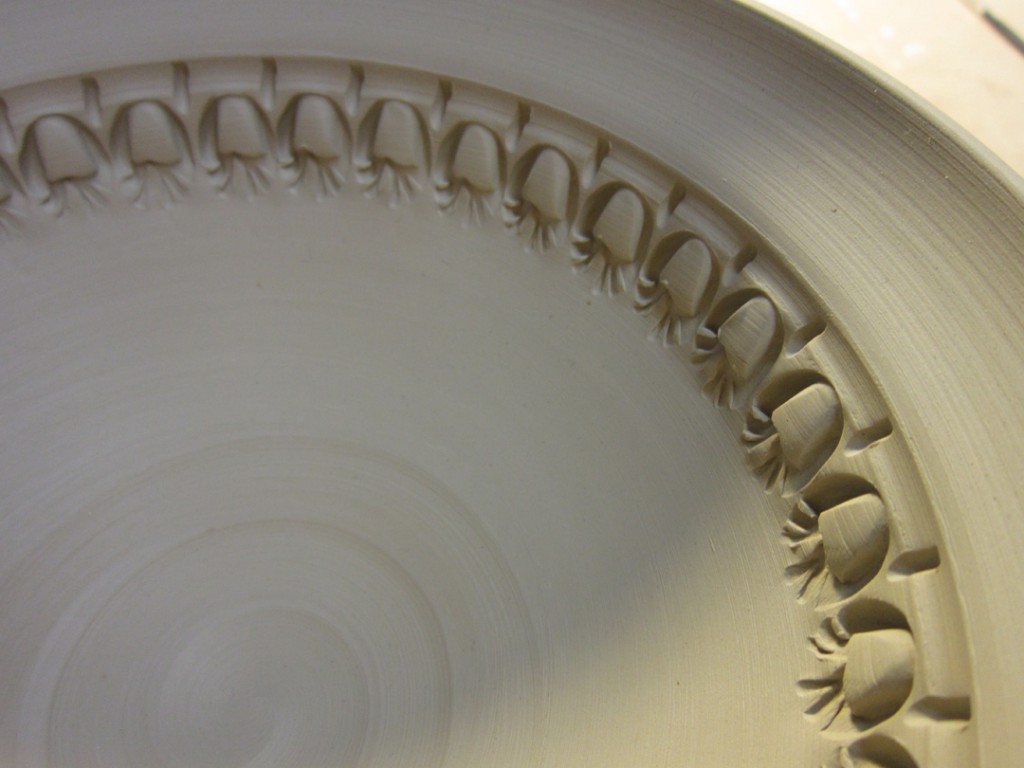
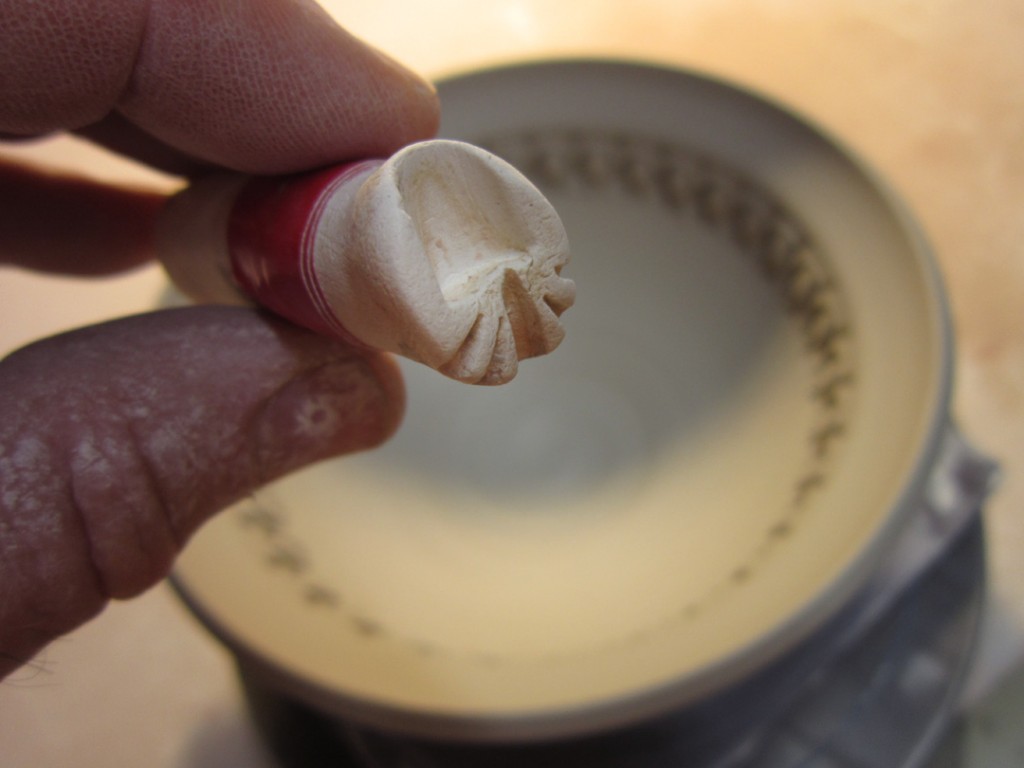
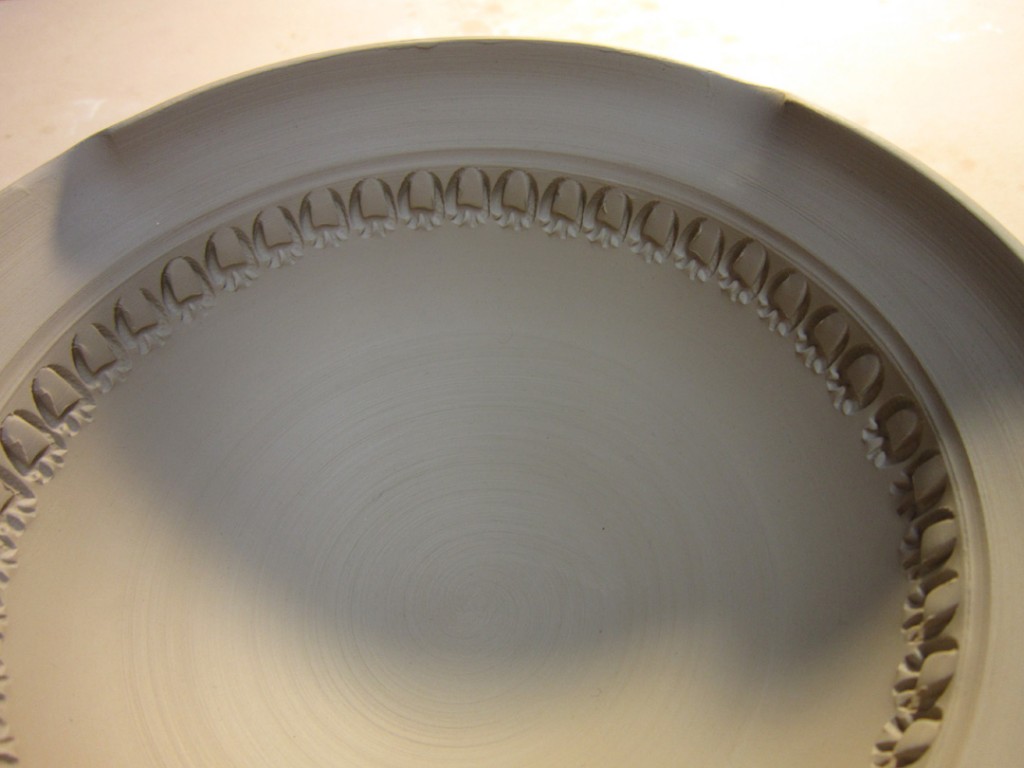
After we had “played” with drippy slips, I switched it up and did a much cleaner demo for my class. I took a wet-leatherhard bowl and did a carved texture pattern around the outside wising my round loop trimming tool and a smaller sgraffito loop tool. It’s a carving technique I learned from Amy Higgason of Pigeon Road Pottery. She used to be one of the Lillstreet studio artists, but now she lives up in the Wisconsin Northwoods. Luckily, she has shared her carving techniques and they still pop-up from time to time. In fact, she even did a demo for my class a few years back… click here to go to the blog post!

So now all three pieces are done, back up in my studio, and wrapped up for the night. I still need to trim the slip decorated pieces, but I need to wait until the slip is a bit dryer. All in all, I think it was a pretty successful evening. Several of my students gave it a shot & had fun with drippy slip… and I hope when they get around to trimming a few more pieces they may consider some decorative carving!!!

Categories: classes, lillstreet, pottery

Register for my wheelthrowing class quickly and save some money!!!

Yep, I will once again be teaching my Beginning & Advanced Beginning Wheelthrowing next session at Lillstreet Art Center. My class is on Tuesday nights from 7:00pm-10:00pm. It’s pretty much for “beginners” of all levels. Whether you’ve thrown on a wheel before or not… whether you’ve ever touched clay before or not… or just like to play in the mud!

Registration is already open – and my class is filling up fast! Don’t miss out!!!
Click here for online registration.