Gary Jackson: Fire When Ready Pottery
A Chicago potter’s somewhat slanted view of clay & play
Categories: bowls, classes, stamped

Last night in class we discussed Nesting Bowls. We talked about sizing, fitting and different ways to make them “look” like a better set. Whether adding a repetitive detail to each bowl, a quick rim flip, a glazing detail, whatever. We looked at some examples of traditional nesting bowls and discussed ways to make them.

Like these carved-rim bowls by Whitney Smith…

And these rim-flip bowls by Maria Gabriela…

Or a slightly Moroccan flair with a set by One Clay Bead in Asheville, NC…

I even showed them some photos of my own “nesting” bowls as they were going into the bisque kiln. Sure, they  weren’t designed to be nesting, nor were they glazed or finished as nesting… but they sure looked cool going into the kiln stacked this way. I may need to consider making some nesting bowls on purpose, huh?!

And these unbelievable & unconventional sets of nesting bowls by Alleghany Meadows!
See… they don’t always have to stack the way you think they should!!!

Categories: bowls, classes

Tonight I came back into the studio to do some “detailing” on the bowls from last night’s class demo. Don’t get me wrong… there will be more detailing as they continue to stiffen up and I do some trimming.

Bowl #1 – Okay, so you had to know that I couldn’t let a plain round bowl go through…
I just had to do something to make it special!!!

Bowl #4 – a simple row of stamps below the flared out rim.

Bowl #5 – stamped detail on the entire wide flange area.

Bowl #6 – stamped detail just below the flared out rim.

Bowl #15 – a stamped rim with geometric circles to mimic the banded circle in the middle.

Categories: classes, food

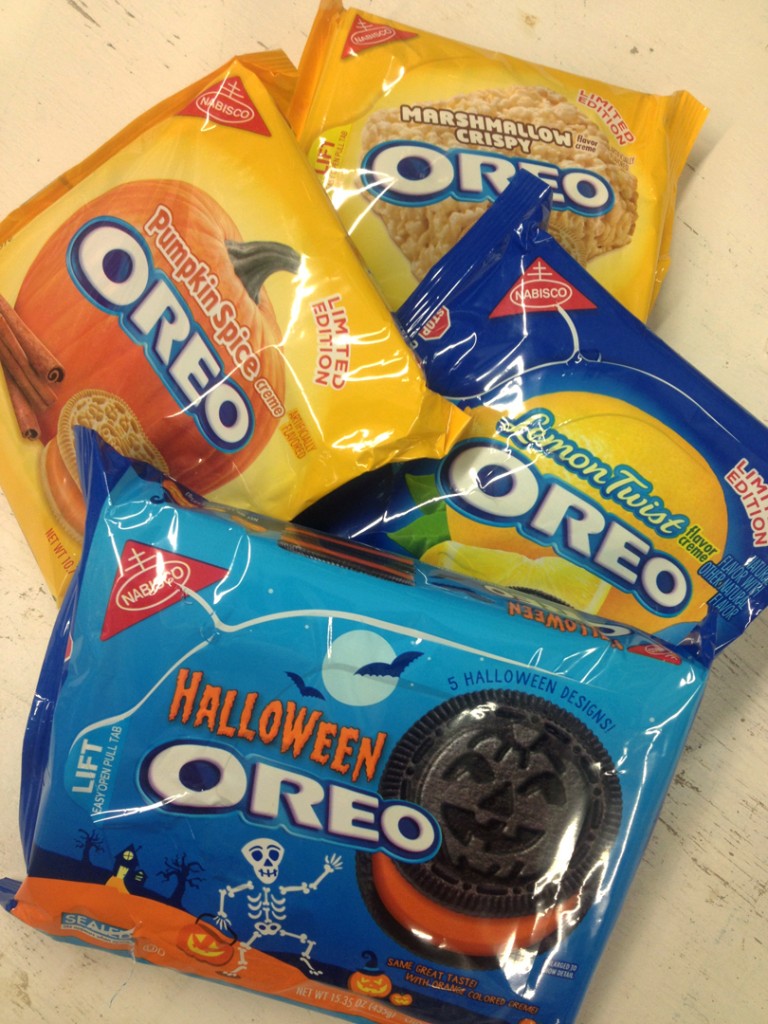
We had a very “sweet” pottery class tonight with the new flavor of Oreo’s!!!
RED VELVET.

In a word… YUM.
But c’mon Nabisco, why are the packages so much smaller?!
I needed to buy three packs of yumminess for my class!

And, oh but await there’s more… Nabisco has already announced the next new flavor.
S’MORES!!! And you know how much I love those gooey, melted marshmallow treats!
They claim they’ll be out in the next few months.

But even “sweeter”… one of my pottery students returned from her three-week vacation
through Southern Asia with souvenirs for me. OREO’s from THAILAND!!!
Thank you Patty for importing some more Oreo goodness!

Categories: bowls, classes

Bowls on purpose… and NOT a cylinder gone bad.
It’s “that” time in the class session for my students to start making REAL bowls on purpose. So tonight we did another demo on how to make a good, basic round bowl. But then the fun part is when I quickly throw a bunch of the “same” basic bowl. And then my students reconvene to see some quick tricks to change those basic bowls into a new & different bowl. Each one of the decoration techniques is quick & simple. Easy enough for any of my Beginners to tackle… and each took less than a minute to do!!!

Bowl A – the prototype bowl… all of them started just like this. Plain & round.

Bowl #2 – A quick flick & twist, giving four fluted points along the rim.

Bowl #3 – And if four fluted edges are good, are eight flutes TWICE as good???

Bowl #4 – This time we flared out the top of the rim.

Bowl #5 – And then flared out even more of the rim… more “canvas” to decorate later!

Bowl #6 – A combination of the flared out rim with the fluted edge detail.

Bowl #7 – A fun little flower detail pressed into the bottom with a dragon-scale tool.

Bowl #8 – A split rim pinched back together in eight places.

Bowl #9 – A split rim fluted to give the round bowl a new shape.

Bowl #10 – Another split rim with a lotus shape – curved out between notches.

And then I introduced colored slips as a decorative option… one more fun tool in the arsenal…

Bowl #11 – A simple layer of white slip, then a spiral dragged through with a rounded tool.

Bowl #12 – Another layer of white slip with bands & squiggles dragged through.

Bowl #13 – A much thicker layer of white slip squiggled with my finger!!!

Bowl #14 – A thinner layer of slip “chattered” with a plastic rib tool.

Bowl #15 – A two-tone ombre effect with white & blue slips.

And for now, they’re wrapped up for the night. Tomorrow I’ll come pack to them and do a little more detailing, stamping & refining. Remember, besides making better bowls… the main incentive for this demo is to get my students to start decorating their bowls. And to remember that they don’t need to be plain & round any more!!!

Categories: classes, mugs, stamps

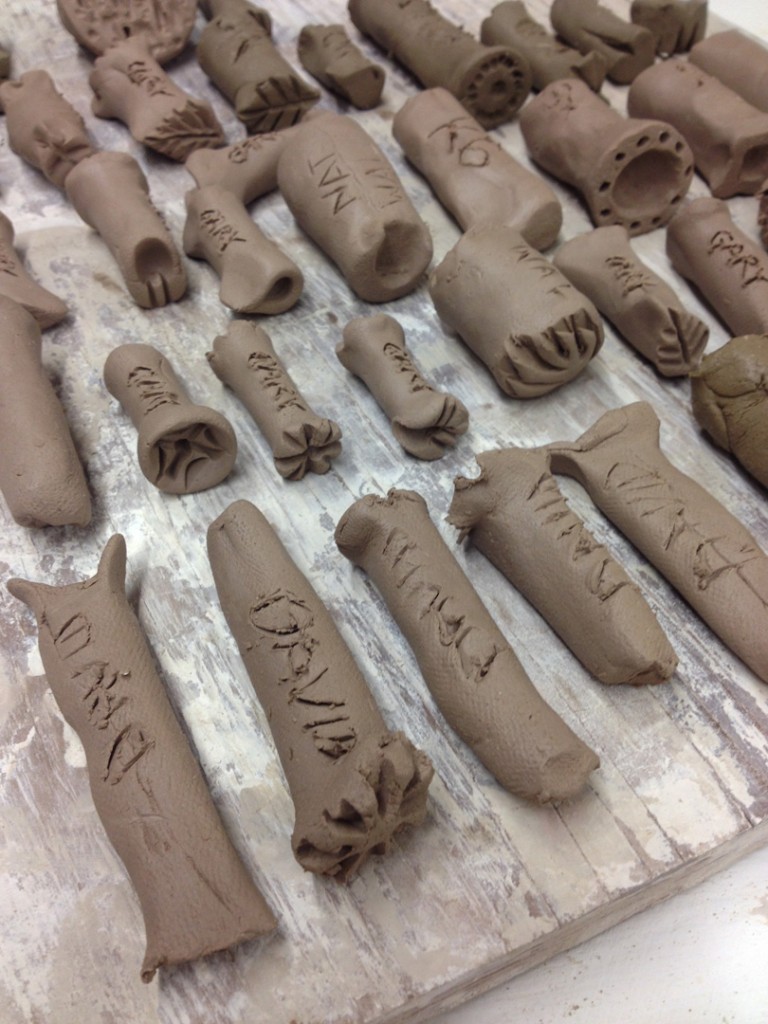
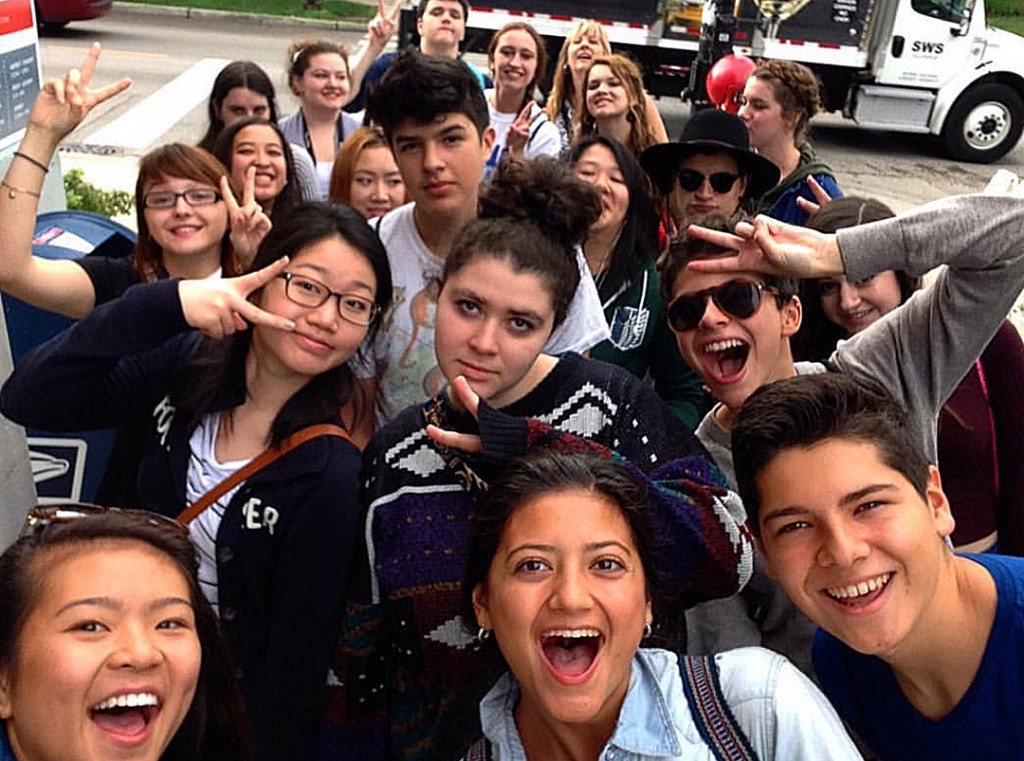
Tonight was the second pottery class of the new session for my Beginning Wheel students. And they’ve already tackled my two favorites… making mugs & making stamps!!! We’re off to a good start… and we still have eight more weeks to cover everything else!!!

Categories: classes, food

Tonight is the first night of my new Beginning & Advanced Beginning Wheelthrowing class. And it looks like I’ve got more returning “Advanced Beginners” than newbies this time ’round. I’m going to try my best, but if I don’t win them over with clay, my demo’s & my snappy wit… then I’m prepared to get them with the sweets!!!

Categories: classes, clay, pottery

WARNING : I will be “infecting” all of my students tomorrow night during the first night of our new pottery session. My Beginning Wheel students better be ready… I hope their immunizations are up-to-date?!

For those who can’t quite ready the small type…
WARNING!   CERAMIC FEVER.  VERY CONTAGIOUS!

Symptoms: Continual complaint as to household duties. Paints day and night instead.
Sleepless nights dreaming up ideas. Anxiety waiting for final firing.
Swell head when you receive your first ribbon.

NO KNOWN CURE

TREATMENT: medication is useless. disease is not fatal.
Victim should attend as many classes as possible.

Thanks for sharing Emily Murphy… and for spreading your own contagion “Blog-itis Maximus” to me several years ago. YOU are very contagious as well!!!

Categories: classes, lillstreet

I’m sure you’re running around with a lot of things going on for the holidays, but…
What are you going to do in January?

Why not buy yourself an early Christmas gift and take a pottery class with me!
Registration is already open for my Tuesday night Beginning & Advanced Beginning Wheelthrowing Class that starts in January. Sign up soon… no one wants to miss out on the fun. Santa’s List, yes. Waiting List, no.

Click here to register online.

Categories: classes

In the category of “classroom crazy”…  I saw this sign last night on a student’s shelf. It made me laugh as though they thought someone might randomly decide to grab the piece off the shelf, take it all the way to the other end of the building to fire it in the kiln for no apparent reason?! Really? Not to be out-done by the brilliant organizational skills evident in the surrounding shelf “space”… or lack of therein.
Categories: bowls, classes, stamps

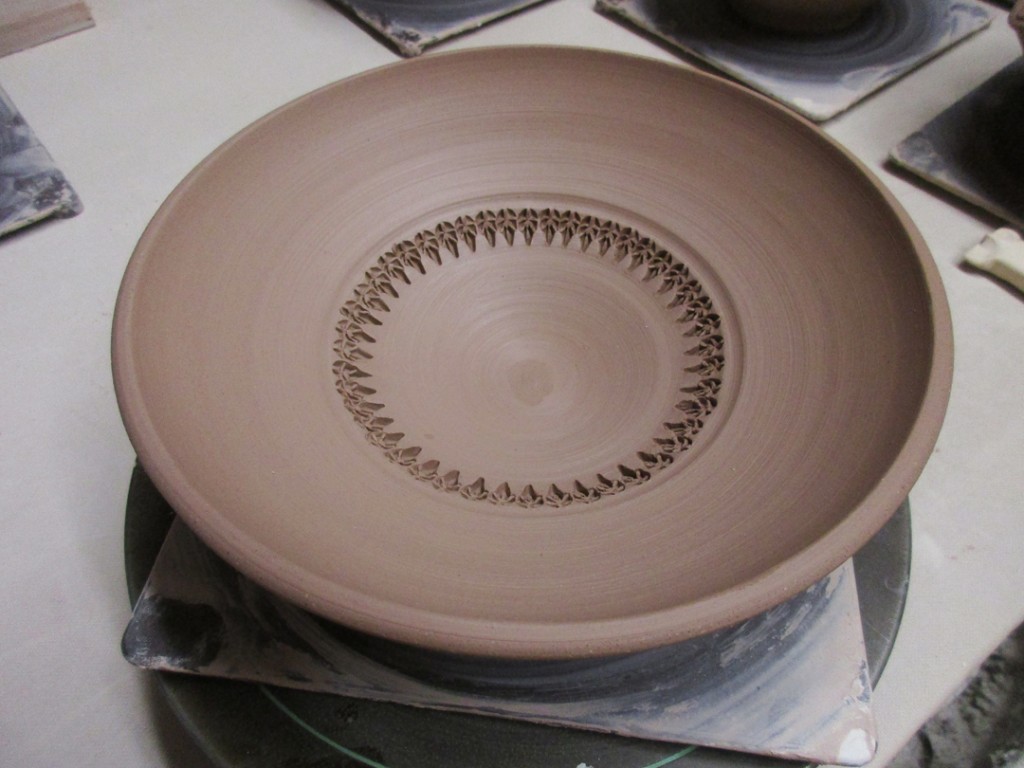
Tonight I did a little detailing on a few of the bowls that I threw for my Beginning Wheelthrowing class. Some of them were just a little too “plain” for my liking. Sure, smooth is good… but isn’t a little stamping a lot more fun?!!!

So here’s the bowl I threw with a flared flange, with a perfect “place” for stamping.

And another bowl, this time with a wider flared flange. The wider flange makes the actual “curve” of the bowl smaller… so I decided to go with a smaller stamp.