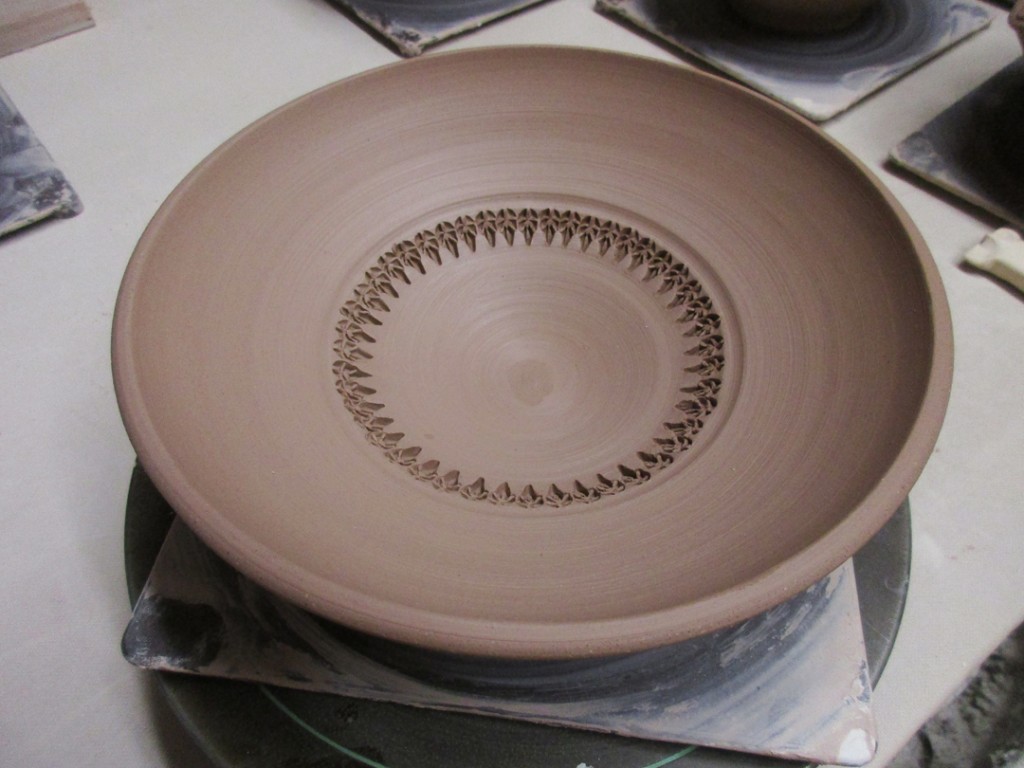
Last Tuesday was my class demo on how to make a basic bowl on purpose. Followed by showing my students some quick tricks & techniques to make each bowl unique. And that not every bowl needs to be precious. That they should play with their clay and try some new things. If it messes up, you just cut it off, re-wedge it and throw it again. It’s just clay!
For the demo I used a full bag of clay and made seventeen bowls. The bowls all came up to my studio where today I did a little more “detailing” with some stamping. I would have loved to save this part for my students too, but I was afraid they would all be too dry in a week’s time. So here the the photos of some of the bowls, freshly detailed… AND the stamps that did all of the hard work making a good impression.


When do you stamp, just after throwing, at leather, before or after trimming? Do you get much warping when stamping?
HARRIET – Great question… thanks for asking. Typically I’ll throw one night and wrap everything with plastic overnight. And then hopefully I can stamp them the next night when they’ve stiffened up a bit. I don’t want the pieces to be sticky, squishy or wet. They need to be on the “wetter side” of leather-hard. Then I usually wrap them again and trim in another day or so. If the pots get too stiff, the stamp won’t go in very far to give a good impression. When stamping… timing is everything!
And no, I don’t get much warping. The trick is to apply even pressure inside & out. The hand with the stamp is pressing from the outside, but the other hand is pressing out towards the stamp with equal pressure.
Good luck with your stamping. If you have more questions, just let me know!