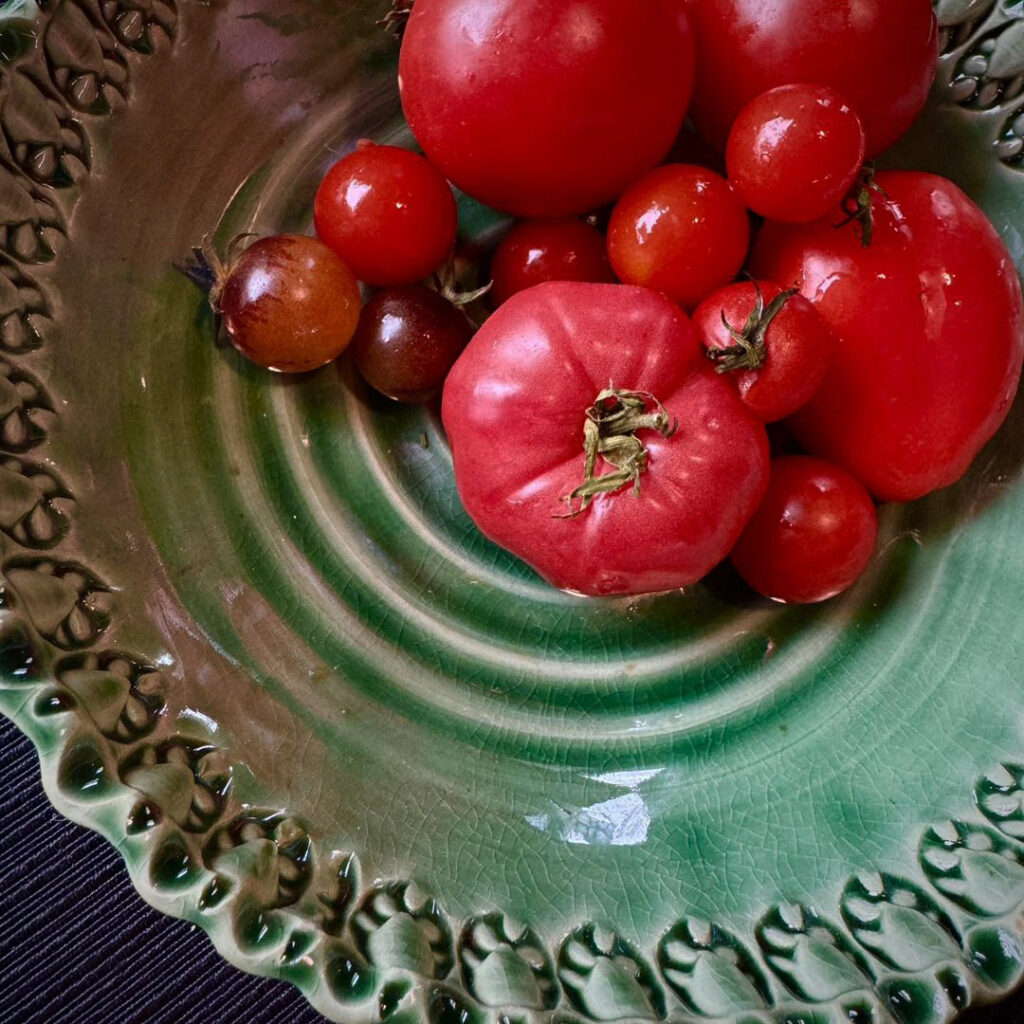
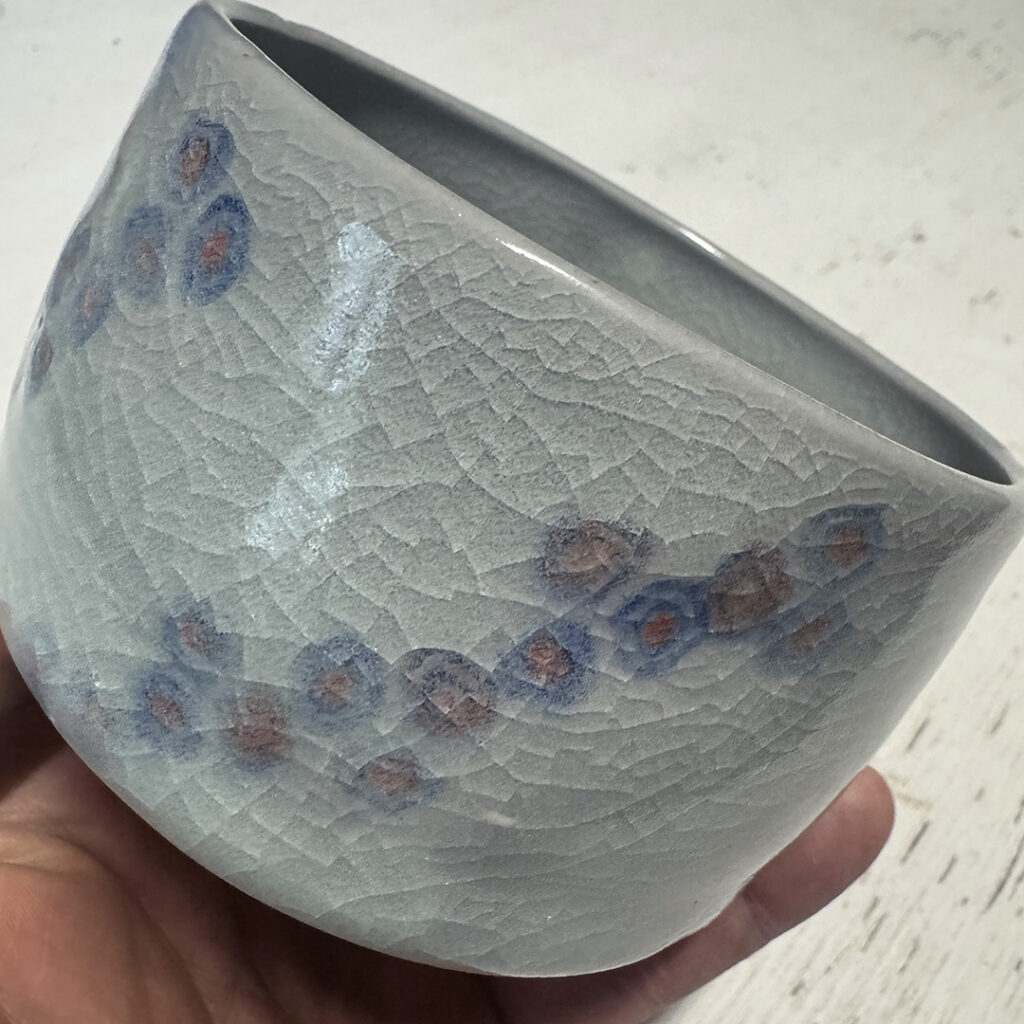
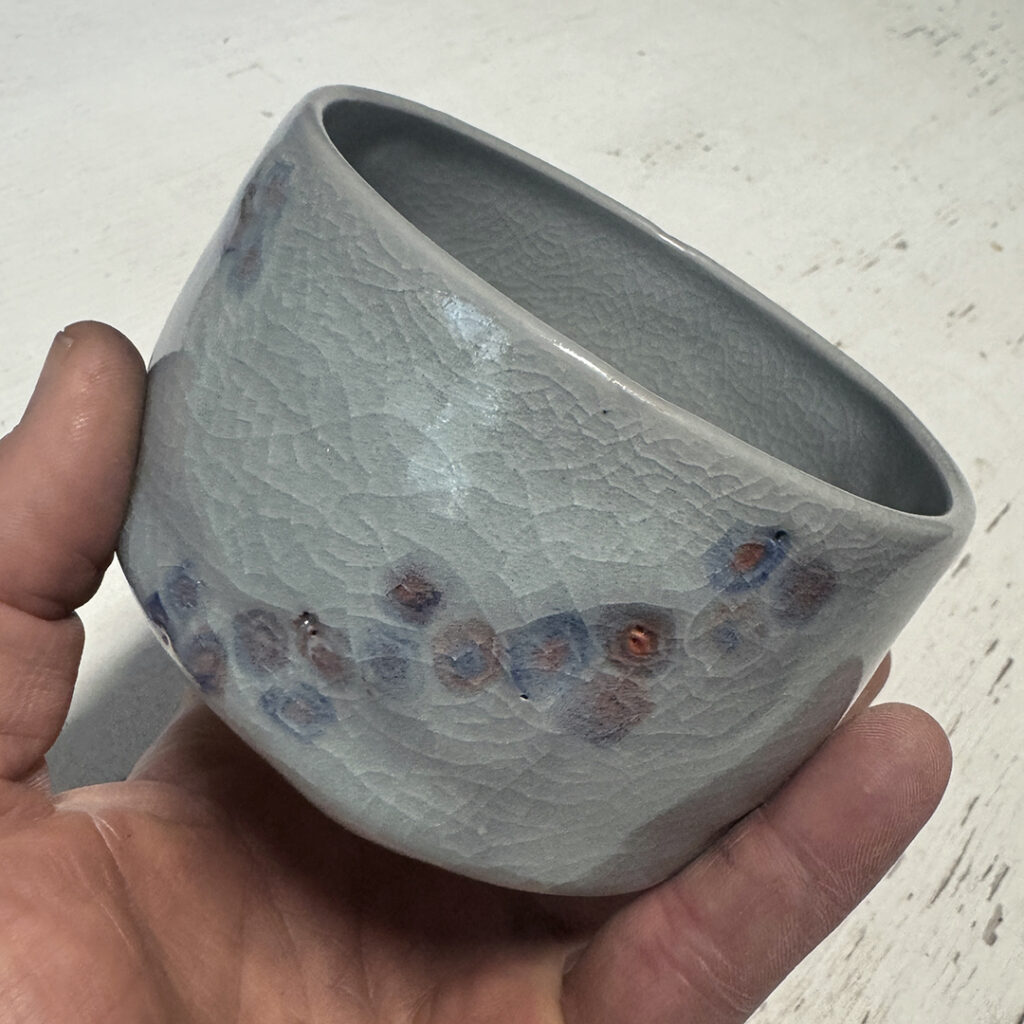
Gary Jackson: Fire When Ready Pottery
A Chicago potter’s somewhat slanted view of clay & play
Categories: bowls, classes, surface decoration, wheelthrowing

Well, it’s that time of the session… time to show my Beginner’s how to throw a bowl on purpose instead of a cylinder gone bad. So I started class with a demo on how to make a bowl with a nice even curve through the interior… with no flat bottoms, no corners, no beginner bumps or identations. I remind them that they need to throw the interior of the bowl as smooth as they can… and then we’ll trim the exterior later to “match” the inside curve.

After I did my first demo… they all went back to their wheels to give it a go! And I might have thrown “a few” more…

When I finished throwing my demo bowls, we reassembled for Part Two of the demo. A little fun in how we can alter & decorate the bowls. Trying to give them a few tips, tricks & techniques to make their pottery more of “their own” instead of the round thing the wheel made for them. How to put their own creativity into their work. I stressed that they don;t need to do any of these techniques… but please feel free to PLAY more with your clay!!! And that bowls don’t always need to be round!!!

Bowl #1 – Plain
This was the first one… the “control” bowl… so we left it plain for comparison.

Bowl #2 – Four Fluted Edges
With a simple finger flick, I made four fluted areas. One finger inside, one finger outside… pinch & twist.

Bowl #3 – Eight Fluted Edges
And if four are nice, maybe eight are even nicer!

Bowl #4 – Flared Flange
With one finger stationary on the exterior, I just flared out the top edge over that outside finger… and curved it up just a little.

Bowl #5 – Wider Flange & Fluted Edges
Combining a flared flange… but deeper now… with some fluted edges for fun!

Bowl #6 – Split Rim with Pinches
With my wooden knife, I used the pointed tip to split the rim of the bowl. And then I pinched it back together in eight places.

Bowl #7 – Split Rim, Pinched & Curved
Same idea as the previous split-rim bowl… but this time I curved it outwards in between the pinches.

Bowl #8 – Split Rim Quatrefoil
After splitting the rim, I used the side of my wood knife to press it inwards in four places… no one ever said a bowl HAS TO BE ROUND?!!!

Bowl #9 – Quatrefoil Pressed Outward to Lotus
Same as Bowl #8… but this time I used the same edge of my wooden knife to press outward in between the inward pinches… kinda squaring-up the bowl.

At this point, I introduced using colored slip as an option for surface decoration. I explained that it is basically a “skin” of colored clay that you can paint on to change the color of the surface of your clay. You can cover it all, cover parts of it or paint patterns & pictures!

Bowl #10 – White Slip Coverage
I just painted the interior of this bowl with a simple layer of white slip to demonstrate how it will look different after glazing. Same glaze color.. . but lighter on the inside, darker on the outside.

Bowl #11 – White Slip Spiral
A solid coat of white slip, then dragging the rounded end of my wooden knife through while the bowl was spinning on the wheel.

Bowl #12 – White Slip Banding
Horizontal banding… leaving a wide space that “might” be carved with a pattern later?! A solid color layer, then removed by dragging the rounded end of my wooden knife through in bands.

Bowl #13 – White Slip Squiggles
A thick layer of white slip, then a little finger-painting… squiggling back & forth as the wheel turns.

Bowl #14 – White Slip Stencil
With a torn edge of newspaper… I wet it then carefully pressed it onto the surface of the bowl. Carefully sealing down the edges by brushing white slip over the edges… and them covering the whole bowl surface. Once covered, I gently peeled away the newspaper to reveal the deckle-edge rectangle.

Bowl #15 – White Slip Chattering
After a thick coat of white slip, I did some rhythmic chattering through the slip with a green plastic rib. Gently tapping up & down, and up & outwards at the same time while the wheel is spinning.

Bowl #16 – Dragged Thru White Slip
With the edge of a green rib, I gently dragged through the slip vertically… and then did a little center circle to even out the bottom where the squiggles started.

Bowl #17 – Ombre Blended Slip
With a layer of white slip, I added a layer of iron red slip for a smooth ombre blend.

Bowl #18 – Ombre Spiral
After making the same ombre blend as Bowl #17, I dragged the rounded end of my wooden knife through both slips to make the spiral while the wheel was spinning.

So for now they’re all up in my studio ready to go under plastic wrap for the night. I’ll keep them covered so they can dry slowly to leather-hard… and then there might be some stamping, detailing & addition. Maybe… just maybe…

Categories: bowls, food, stamped

Looks like Kristy is cooking up something SPICY for dinner… all the spices for a batch of Middle Eastern Lamb Stew! I can almost smell the savoriness from here!!! Thanks for sharing Kristy!

Categories: bowls, food

So then THIS happened on Instagram!

Perhaps this is one step closer to becoming an official “OREO Influencer”???… instead of just some yahoo who just posts a lot of pictures of cookies?! Dare to dream, right?!

Categories: bowls, classes, surface decoration

Now with serving cutlery, my GREAT LILLSTREET THROWDOWN class put their new serving bowl sets together for critique & judging. It was so great to see how they all came together. Some people focused more on the basics of their sets & how the pieces all work together… while others relied more on surface decoration techniques to pull it all together. I can’t wait to see how these sets turn out… as their final “judging” will be in Week 9 of class after they’re all glazed!!!

Categories: bowls, challenge, classes

So the GREAT LILLSTREET THROWDOWN just completed its second week of “Season Five”!!! And here’s an update… so for the first class challenge, my new “contestants” had to throw a 3-pound serving bowl. They then had to pass it two people to their left… and then that person had to throw another bowl to MATCH the first bowl they just received! Not an easy challenge… and not the last part of the challenge either!!!

After they had two bowls, they then passed them both back to the first person who threw the original bowl… and it was their homework challenge to trim, refine, decorate, “whatever” to make them all MATCHY-MATCHY!!! So here are some of the entries… many using some colored slips to force the matching-ness! But it was Tracy who won the challenge with some straight-on trimming & refining of her two plain & unadorned bowls!!!

More to come…

Categories: bowls, food, holiday

The holidays might be over… but it looks like Walt is still indulging in a bit holiday candy! Only a few more pieces… and then Maryann can put her new favorite stamped bowl away!

Categories: bowls, food, friends, stamped

Looks like there’s some healthy greens down in Bartonville! Keeping the New Year healthy with steamed veggies… perfect in a handmade stamped bowl!

Categories: bowls, food, friends, stamped

Thanks to my friend Jen for sharing her healthy salad with all of us. Mixing a large salad and serving it to her family… all in my stamped bowls! She even mentioned that maybe I should make some custom salad tongs (my version) to sell with my larger serving bowls!

Would anyone be interested if that were to happen? Thoughts???

Categories: bowls, family, food

Who knew that I could feed my Thin Mint “addiction” even when the Girl Scouts aren’t in cookie selling mode?! NOT ME!!!

At least until I received this great “care package” Christmas gift from my cousins in Minnesota! They knew it would be a hit… as their daughter Caroline used to be my “Thin Mint Hook-up” back when she was still a Girl Scout!

Categories: bowls, food

Looks like Matthew has started his New Year off on the right foot… eating healthy with fresh greens in a homemade broth. A bit too GREEN for my liking… as I’m still trying to “finish up” my holidays. Too many sweets, too many treats!!! My holiday “fun” will come to an end on Monday when I get back to my normal routine! ugh.