Another fun demo for my Tuesday night class… teaching my Beginner’s how to “throw bowls on purpose, and NOT cylinders gone bad.” So I taught them basics of how a good bowl starts at the very beginning when you’re opening up your lump of clay on the wheel. We talked about how to get a nice smooth interior curve… without any indents or “beginner’s ledge” as we like to call it.
After showing them all how to make bowls with intention, my students when back to their wheels… while I threw a few more! The plan is to bring them back together after making my bowls so we can discuss how to make the bowls more special. I tell them that basically the wheel did all the work for them… making it nice & round & smooth. But now it’s up to them to start decorating & making it their own. So my demo is just a chance to offer up some fun options for them to “play more with their clay.”
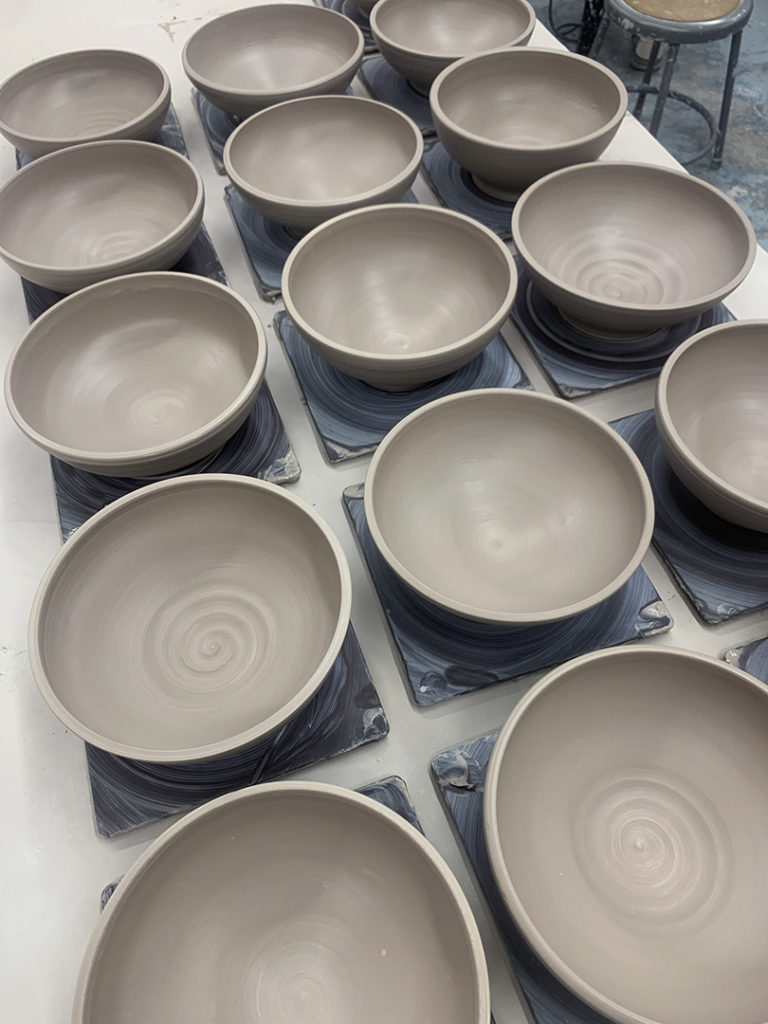
After making my plain bowls… we moved on to the fun part of the demo!
Bowl #1 – Two fluted indentations… quick & easy… no one ever said the rim needs to stay round!

Bowl #2 – And if two fluted edges are good… maybe eight flutes are better?!

Bowl #3 – A flared out flange… basically folding down the upper rim to lay it flat.

Bowl #4 – A flared out flange and a fluted rim combined on one bowl.

Bowl #5 – If a flared rim is nice, maybe a wider rim is even nicer?

Bowl #6 – Our first split rim bowl… this one with two indents. My plan is to add a handle up & over to create a “basket” bowl.

Bowl #7 – Another split rim… this time indented on four sides.
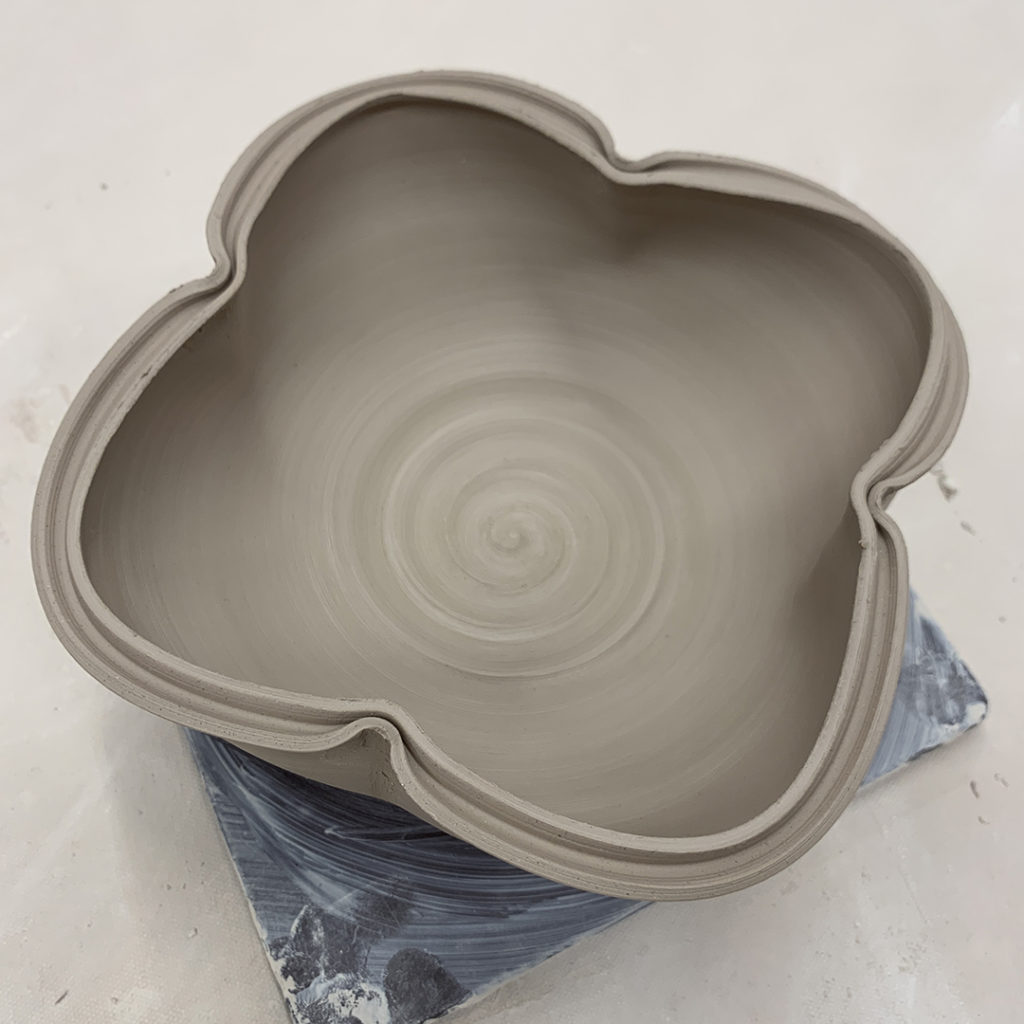
Bowl #8 – Another split rim… dented in four times, and dented out four times!

Bowl #9 – Another split rim bowl with eight quick pinches around the rim.

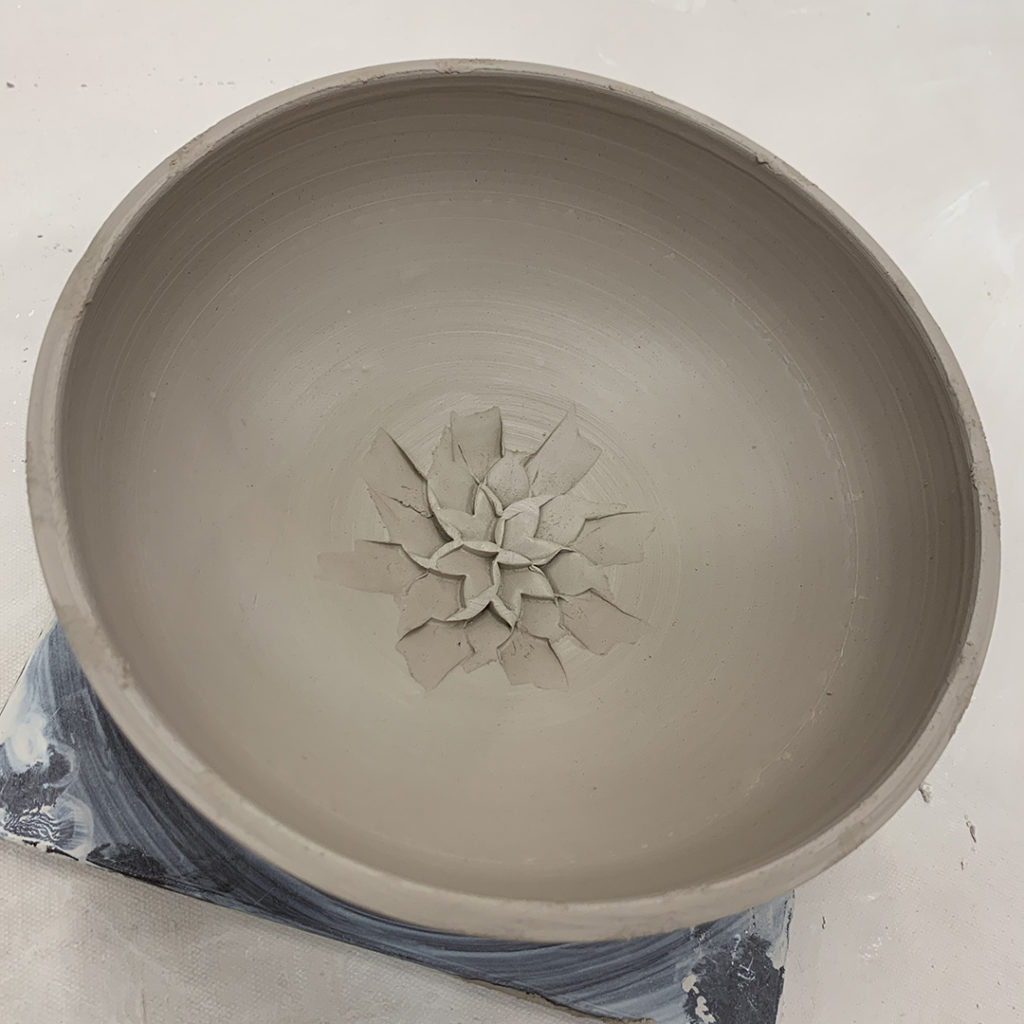
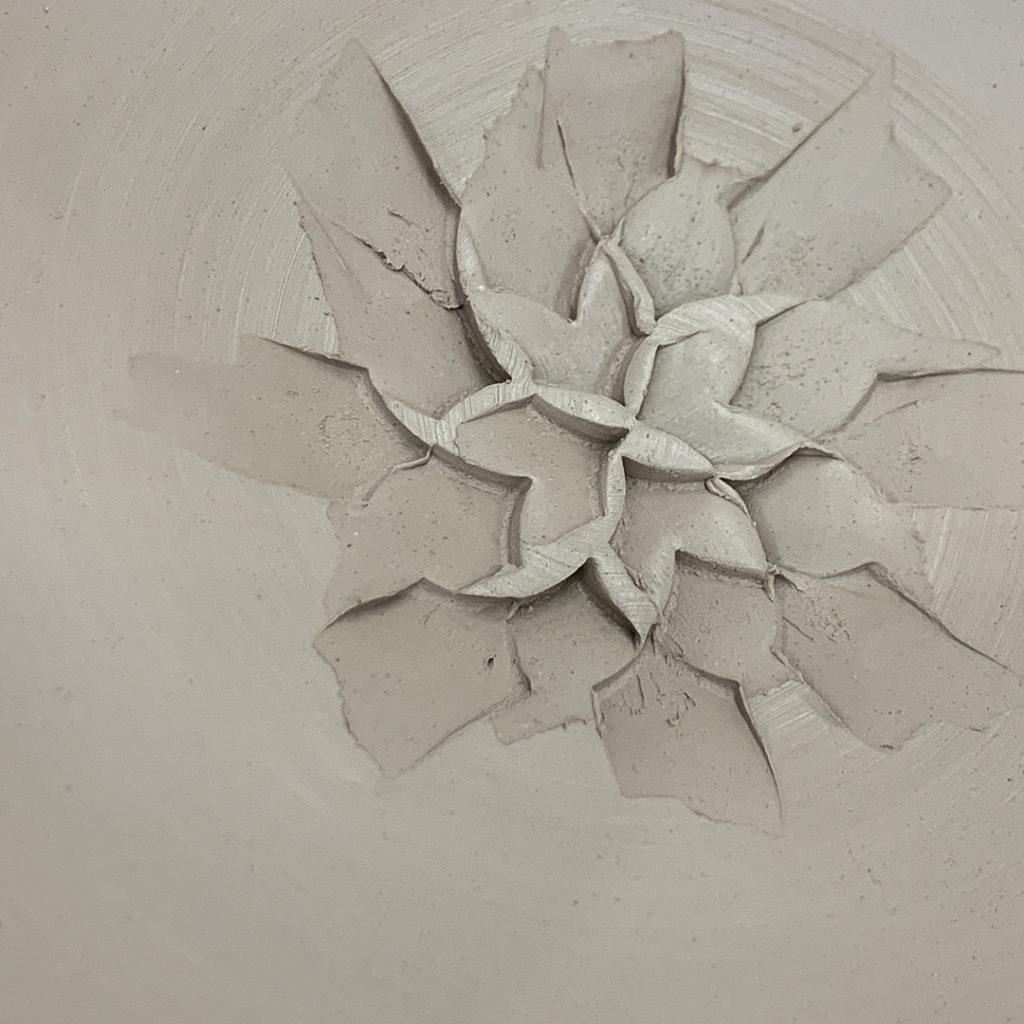
Bowl #10 – A textured “flower” or “snowflake” at the bottom of the bowl using a metal dragonscaling tool.
After altering the first ten bowls, we moved on to a discussion about adding colored slip to their projects. How & when to do it… as well as what they might do with it later. We discussed more dramatic glazing over the textures… as well as sgraffito & other carving techniques.
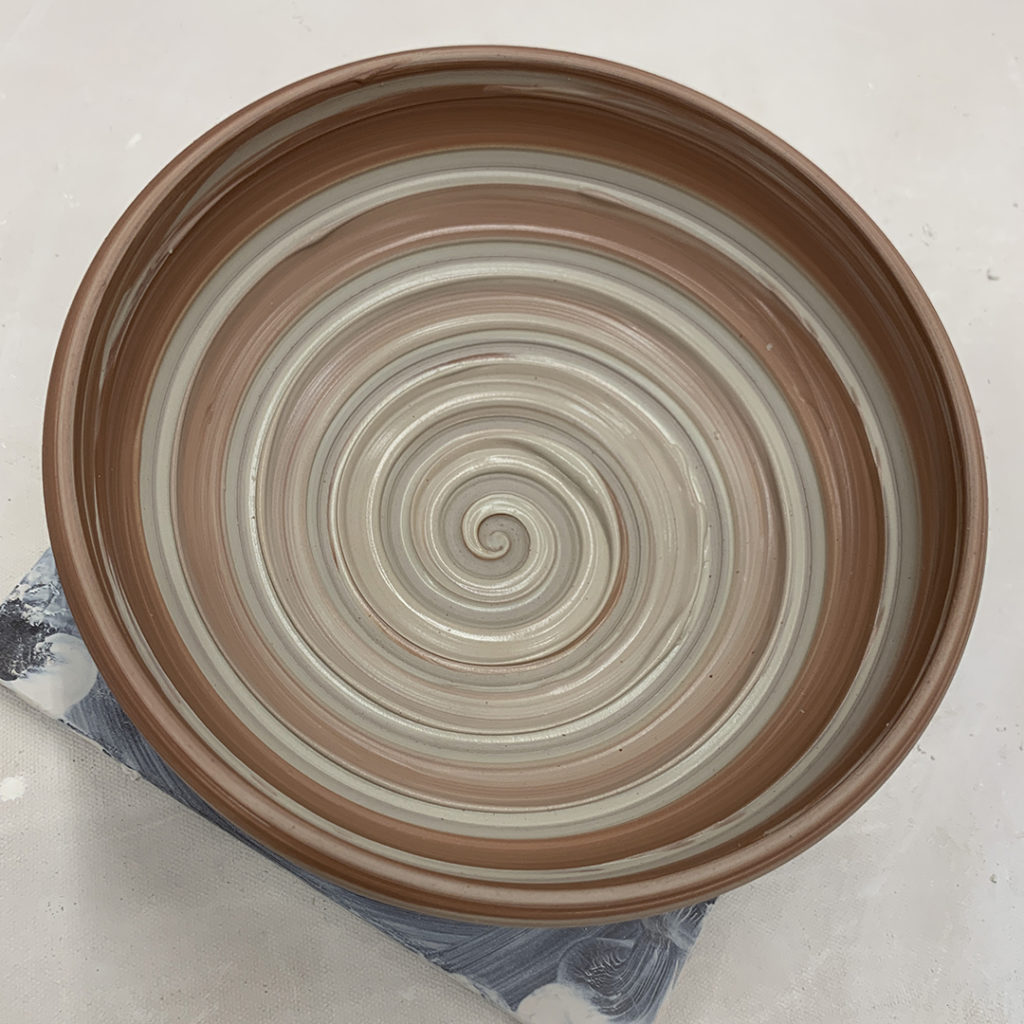
Bowl #11 – A thick layer of white slip… and then a spiral made by dragging my wood knife through the slip while the bowl was rotating on the wheel.

Bowl #12 – Thick white slip with fingertip squiggles while the wheel is spinning.


Bowl #13 – Thick white slip with vertical marks created by dragging a plastic rib through the slip.

Bowl #14 – Thick white slip with rhythmic chattering marks.

Bowl #15 – Then we added a color, and made some ombre’ blended colors.

Bowl #16 – Ombre’ blends are nice… but add a spiral to make it more fun!
And for now they’re up in my studio under some plastic. I’ll give them a little time to stiffen up… and then “quite possibly” do a little stamping & detailing before trimming the bottoms.
