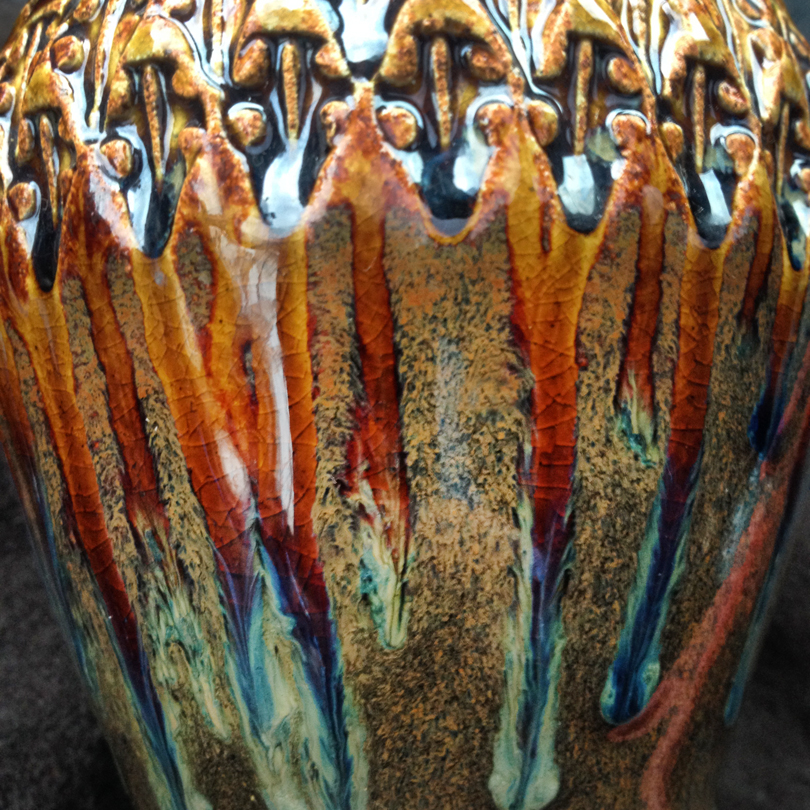
And for those who didn’t quite get to see the beautiful glaze combo runs on today’s mug…
here’s a glamour shot without the snow covering any of the mug!!!
Gary Jackson: Fire When Ready Pottery
A Chicago potter’s somewhat slanted view of clay & play |
And for those who didn’t quite get to see the beautiful glaze combo runs on today’s mug…
here’s a glamour shot without the snow covering any of the mug!!!

Just when we thought we may have “missed” a snowy Winter… it’s back!!!
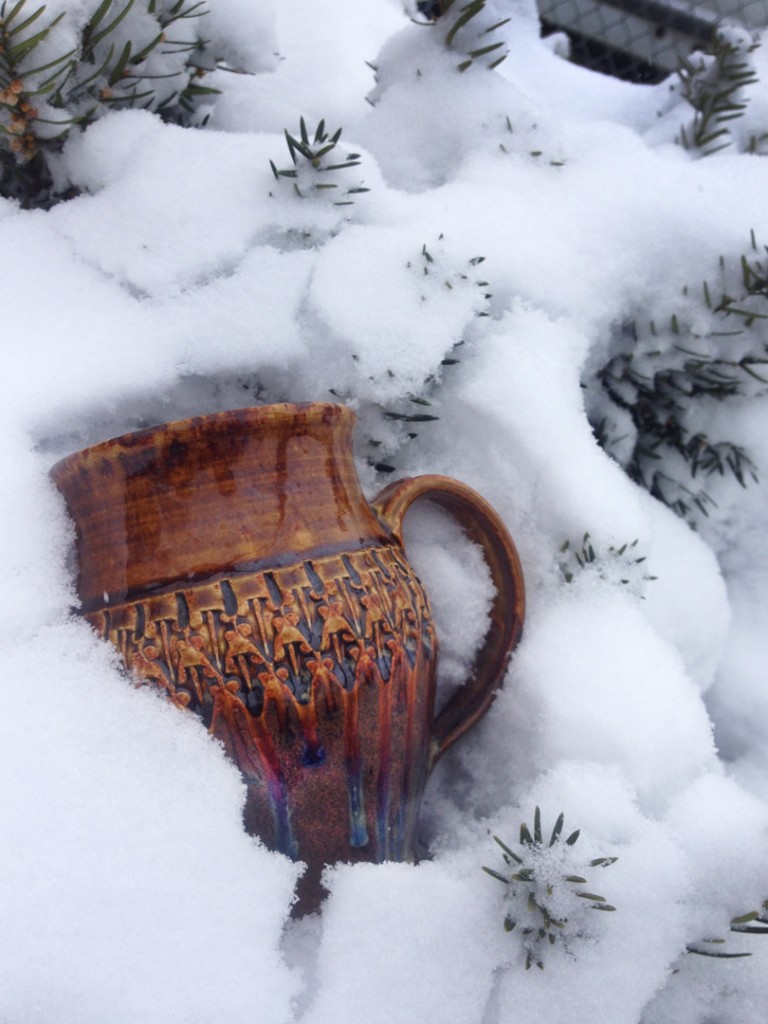
Making this a snow-covered Mugshot Monday…
methinks that mug needs to be filled with some hot chocolate and quick!!!

I must admit it’s pretty exciting when you find your stamped vase
has been “red dotted” in the Lillstreet Gallery Annex show! Yeah me!!!

So by now I’m sure you’ve figured out how much I love FREE CLAY!!!
I’m not afraid of a little reclaiming. I always have a large bucket of scraps slaking down to become a new, fresh batch of clay.
But what to do when you have a whole block of 25 pounds TOTALLY DRY?!!!
I had received a couple solid blocks of dried porcelain from a friend who doesn’t do much reclaiming. In my mind I thought I would be breaking it all down, pounding it down, pulverizing and working on it forever. That was a lot of labor in my mind for a project that I kept putting off. Until now…
So I saw a video online about a “trick” to rehydrate the whole block of dried clay…
THE EASY WAY!!! Easy?…I’m in!
So I started with the solid blocks of clay. I double-bagged each of them in case there was a hole in the original bag. I then added a water bottle full of water. The video says to add one cup of water for a 25 pound block. I of course had not remembered the specifics… so I just threw in a full water bottle of water. I then sealed up the bags as tight as possible. And then submerged each block into a water-filled five gallon bucket. The video says to leave it for about two weeks… but I got busy, distracted, and they were in the buckets closer to three weeks!


Still don’t know how much water I actually put in… but here’s my water bottle.

After three weeks, I pulled the bags out of the water, opened them and sliced through the block of clay. It was amazing how much the clay had rehydrated. The center of the block was still a bit crunchy, so I just assumed I had not put in enough water originally. So I added another 1/2 bottle of water into each bag. Tied them back up and submerged them for another week.
Okay, back out of the water, and ready to check the clay…
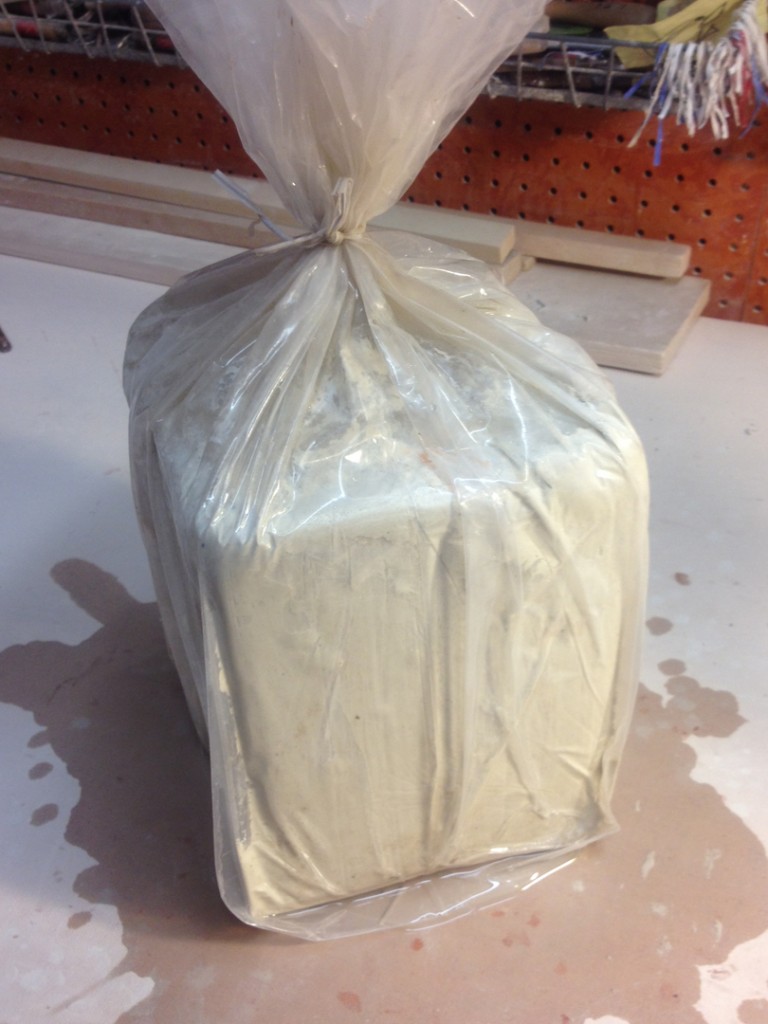
Just upon opening the bag, you could see right away that the clay was SO much better…
and no longer the solid block of bone dry clay it had been!
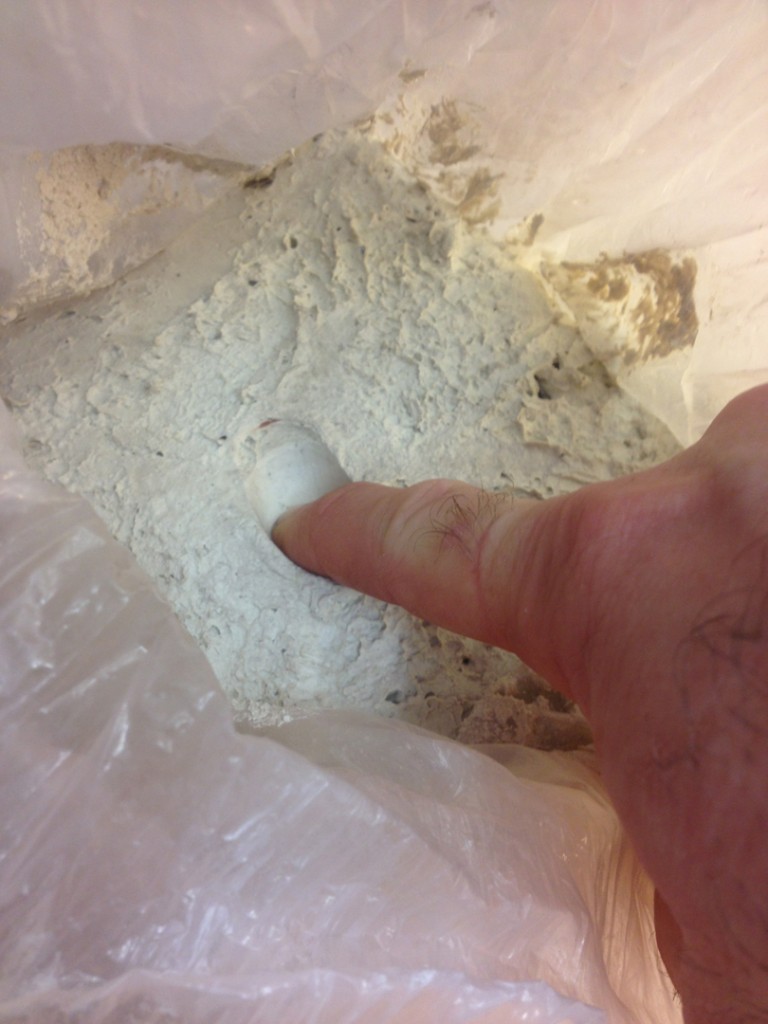
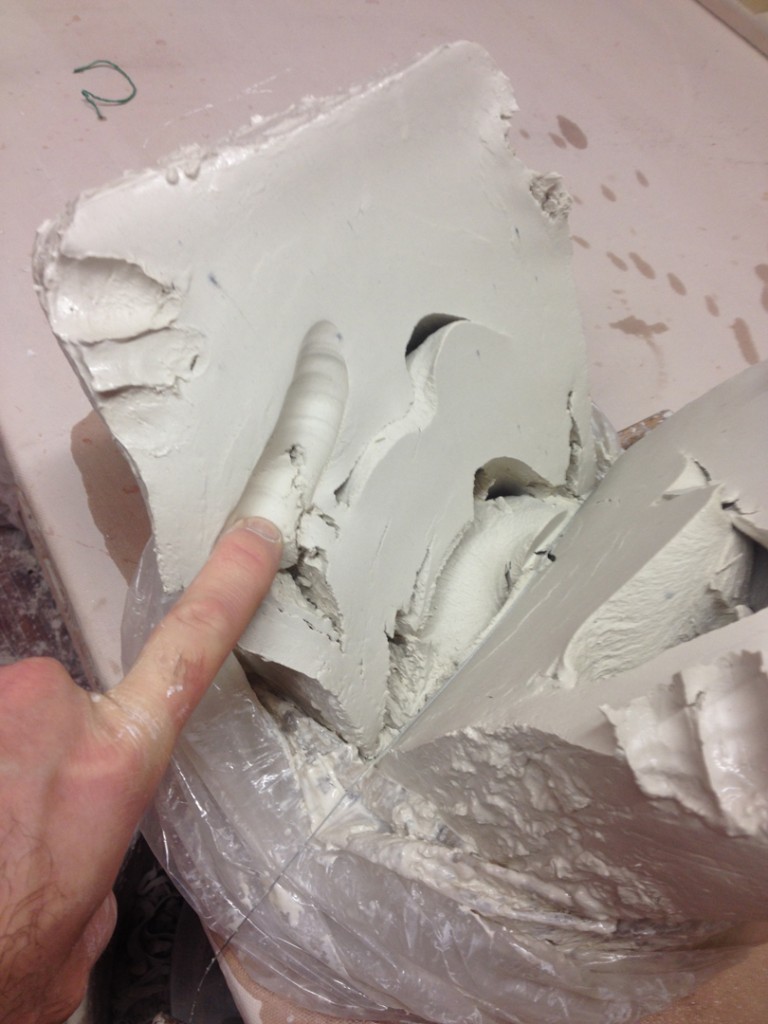
After cutting it in half, I was excited to see that the porcelain was all back to usable clay! Sure, it might need a bit of wedging to get it all back to normal, but SO much better than having to break it all down and reclaiming the old-fashioned way!
And the terra cotta looked good too. This one was especially rewarding, as the solid block of bone dry terra cotta was all my fault. It was reclaimed terra cotta in the first place. I had let the trimmings dry, added water and let it slake down the old-fashioned way. When it was ready to turn out onto a plaster bat, I got too busy… and kinda just kept putting it off. Apparently. Fast-forward a couple months of procrastinating and voila’… a solid bucket of BONE DRY terra cotta!!! All my own fault!!!
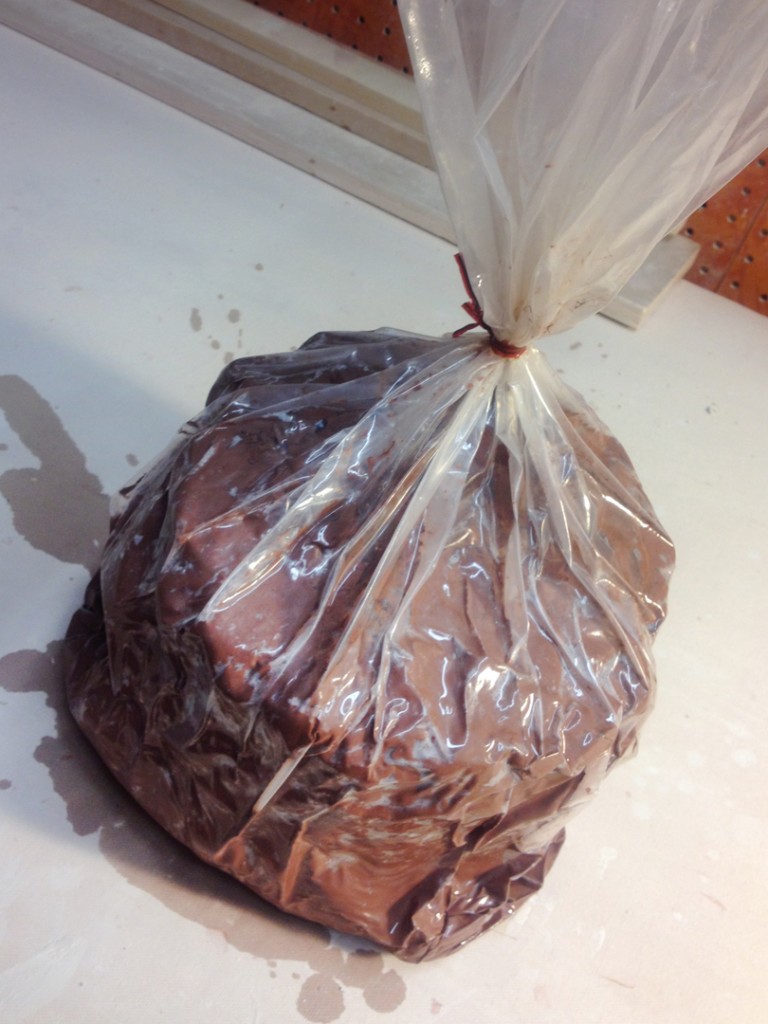
Bag out of the water… cut in half… and again, perfectly rehydrated clay!!!

So this new trick is pretty darn amazing. And it adds a whole new level of “fun” to my free clay reclaiming endeavors. I would highly recommend it for anyone who finds themselves with solid chunks of clay that just seem daunting to reclaim the normal ways.
Intrigued?… Still think it’s too good to be true?…
Click here to see the YouTube video by Janis Wilson Hughes of Evolution Stoneware Pottery.
After trimming the feet into the bowls, it was time to put in some drainage holes for my newest batch of berry bowls. For years I would use a small brass hole punch for the holes. But now I’ve upgraded to POWER TOOLS!!! Who doesn’t like working with a power drill in the studio?!

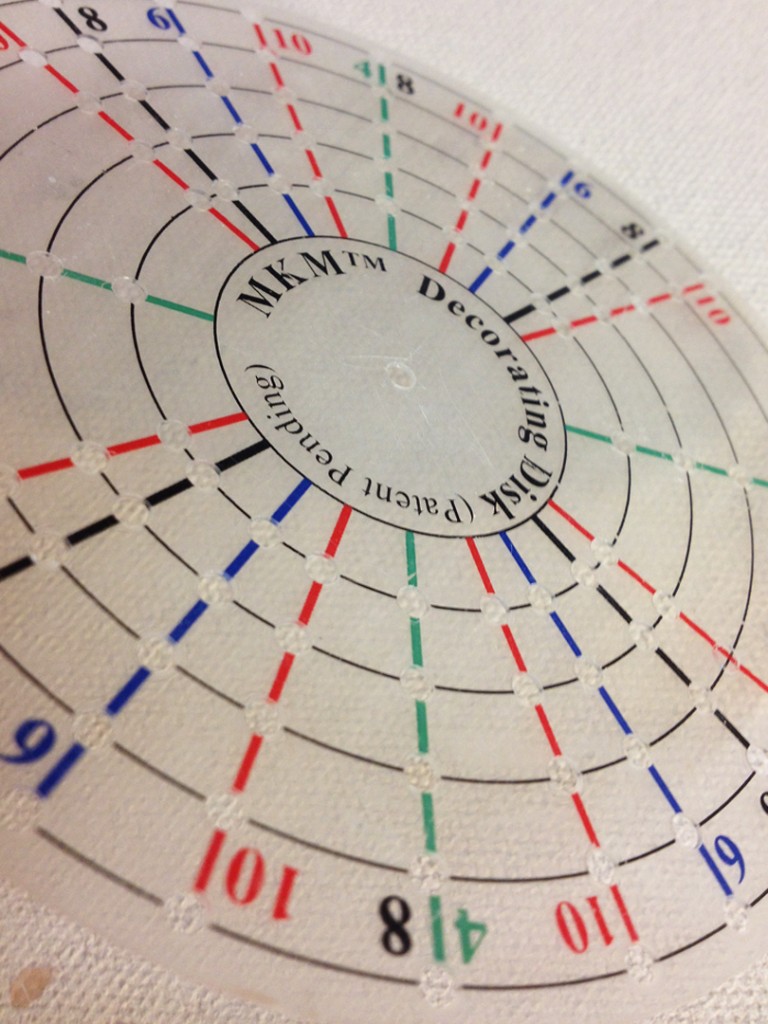
I like to use my MKM Decorating Disks to help mark out the holes evenly. The two-disk set gives you even-numbered spacing, or odd-numbered spacings. For more about the MKM Decorating Disk, click here.
So I place the transparent disk on top of the foot. Then put a small dot into the clay with my needle tool through the holes in the disk.Evenly spaced guides for where the drilled holes will go.
And then the power drill comes out!!! Â Â Vrroooommmm!!!
The bowls are on the drier side of leatherhard, but definitely not bone dry.
Starting at the guide dots, I place the tip of the drill bit and spin right through!

After drilling, I let the clay dry up for a few minutes. Then I take a fairly stiff dry paintbrush and wipe off the burrs. They fall right off anf the drilled holes only need a little cleaning up. So much quicker, so much easier, so much cleaner than punching each hole by hand one at a time.

And for now they’re all drilled and drying. Still a little bit of clean-up around the edges…
and some coordinating drainage plates still to be thrown!!!

For more information & pictures, check out the October 2016 CERAMICS MONTHLY issue!
I have a one-page tutorial explaining how I use my power drill for my berry bowls.
Don’t forget… we’re all losing an hour this weekend!

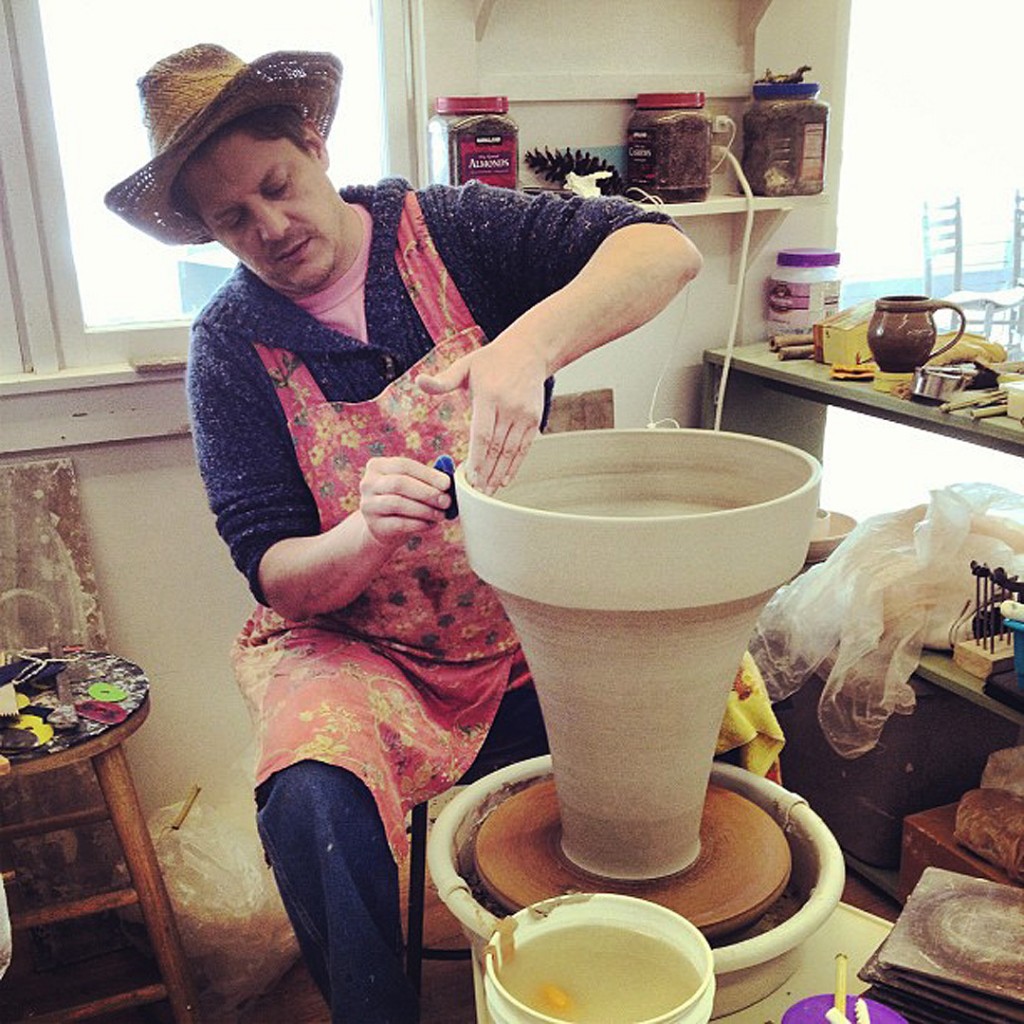
My Mom has been busy making pottery aprons again!!!
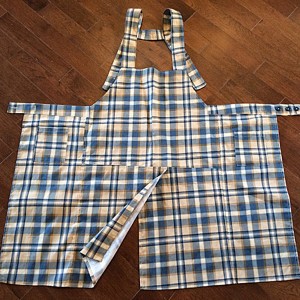
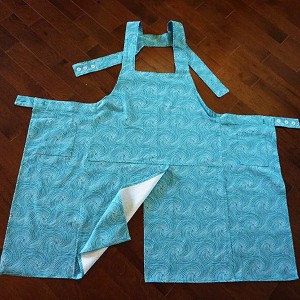
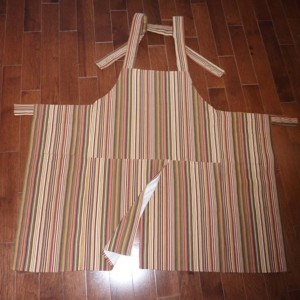
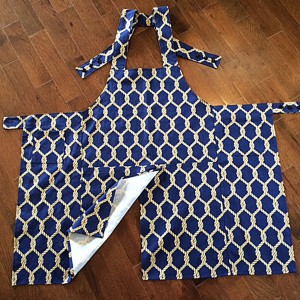
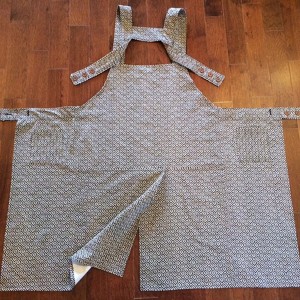
She has six of them ready to go. They’ve been custom-designed for potters… long enough to cover your thighs with a split to open when you sit at the wheel. The straps go over your shoulders instead of around your neck. And there are three button adjustments to change the height & width. So click on the link to see the current inventory… and thank you Greg for always being the perfect model!!!
Here’s a quick peek of the six that are currently available at the time of posting.
Please click on the “Handmade Pottery Aprons” LINK in the top far right column to see the actual “current” inventory… as well as more details and purchase information.
Or… click here to go straight to my Mom’s Pottery Apron page on my blog.


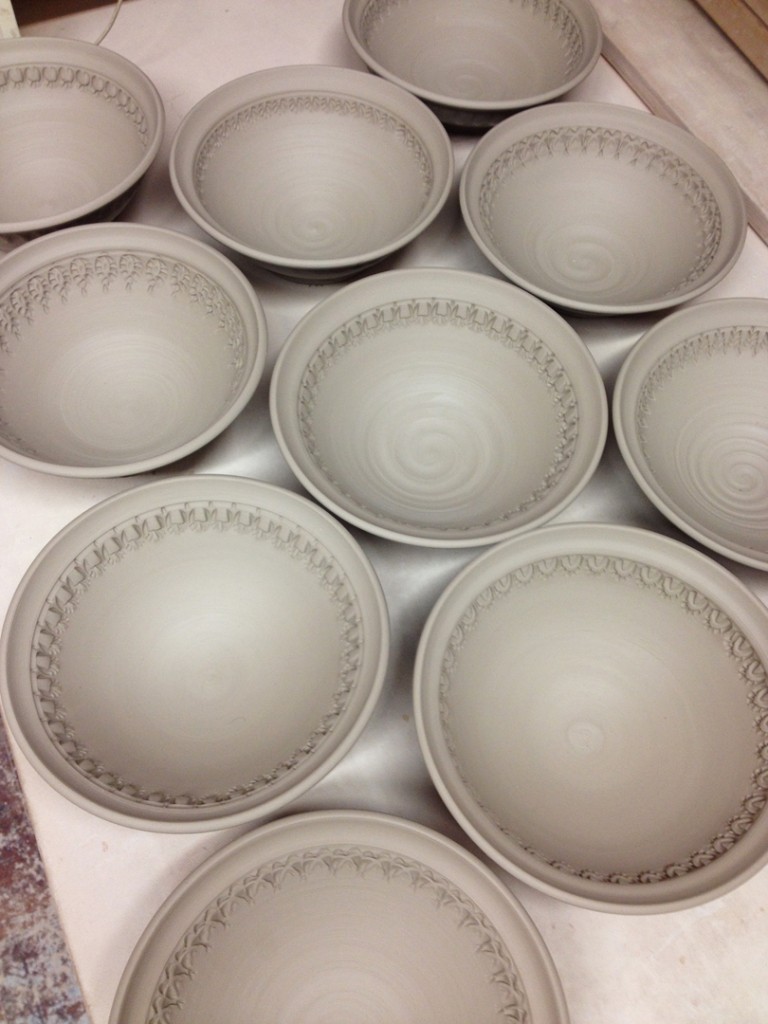
Productive afternoon after subbing for Lisa. A fresh batch of bowls…
stamped and waiting to get drainage holes to fulfill their destiny as berry bowls!!!
So I subbed this morning for Lisa’s advanced class. At their request, we worked on lidded oval casseroles as they had seen my Beginners working on theirs here on Facebook. After the oval demo, some of them were carving & adding surface decorations. I ran upstairs to grab my new Zebra Carving Tools from my studio. They loved them too! As you can see here by the little leaves Deborah was carving on the side of her porcelain jar.


And the sketch that started it all…


I began my Tuesday evening by throwing a lot of cylinders in my studio. I had a plan…
I was on a mission… and my wheelthrowing class was going to be starting soon!
So I received a package of few carving tools in the mail awhile back… so exciting!!!
And I’m always telling my students to experiment, to try new things, to break out of their shells. To remember that it’s JUST CLAY!!! But I get it… my Beginners are working so hard to make each and every cylinder. It’s a lot of work. A lot of centering & focus. So much so that each piece is somehow considered “too precious” to experiment with. So tonight I plan to test them… to push them a bit… to show them that it’s NOT so precious. I figured if I provide them with already thrown cylinders, all of the “hard part” is done, right?
So I threw a bunch of cylinders and brought the down to class with me. I explained my “not-so-precious” texture & surface decoration challenge to them. I encouraged them each to do anything they wanted to the surface of their cylinder. To carve, slip, stamp, whatever!!! Just have fun… and see what happens with their new-found “freebie” not-so-precious cylinder!!! And here they go…


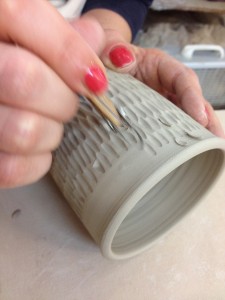


After class, I did a little “photo shoot” in my studio before they started to dry.


SO HERE”S YOUR CHALLENGE : Can you guess which ones are mine?!
Special thanks to Robert at C.I. Products for sending me a little “care package” of tools to try out. I’ve been kind of busy through the holidays… and finally found some time to try them out. And why not share my new tools with my students?! These Zebra Trimming Tools are pretty darn amazing. They took us a little while to get used to them. The blades are at a different angle than Kemper Tools…. and adjustable!!! The wood is so lightweight… and the foam grip pretty sweet too. But it’s really the extra-sharp blades that cut such a smooth clean line with nice line definition. I definitely look forward to using them more in my own work. Seeing what kinds of great textures & patterns I can come up with using these great new Zebra Tools!!! Thanks again Robert… your tools are GREAT!

Click here to see the wide assortment of tools from C.I. Products.
Or here to go straight to the Zebra Trimming Tools.
You’ll be glad you did… especially those of you who are carving crazy cool patterns, making cool textures and doing a lot of sgraffito or mishima.
|
Gary Jackson: Fire When Ready Pottery
Lillstreet Studios ∙ 4401 North Ravenswood, Chicago, Illinois 60640 ∙ 773-307-8664 gary@firewhenreadypottery.com |