After trimming the feet into the bowls, it was time to put in some drainage holes for my newest batch of berry bowls. For years I would use a small brass hole punch for the holes. But now I’ve upgraded to POWER TOOLS!!! Who doesn’t like working with a power drill in the studio?!

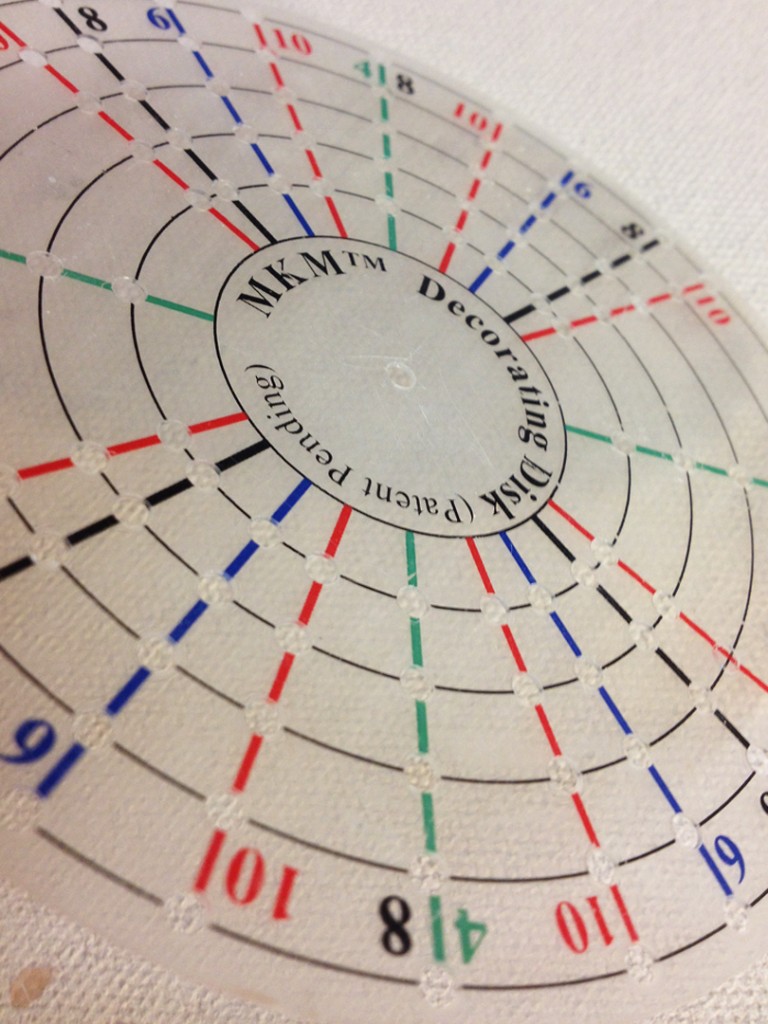
I like to use my MKM Decorating Disks to help mark out the holes evenly. The two-disk set gives you even-numbered spacing, or odd-numbered spacings. For more about the MKM Decorating Disk, click here.
So I place the transparent disk on top of the foot. Then put a small dot into the clay with my needle tool through the holes in the disk.Evenly spaced guides for where the drilled holes will go.

And then the power drill comes out!!! Â Â Vrroooommmm!!!
The bowls are on the drier side of leatherhard, but definitely not bone dry.
Starting at the guide dots, I place the tip of the drill bit and spin right through!

After drilling, I let the clay dry up for a few minutes. Then I take a fairly stiff dry paintbrush and wipe off the burrs. They fall right off anf the drilled holes only need a little cleaning up. So much quicker, so much easier, so much cleaner than punching each hole by hand one at a time.

And for now they’re all drilled and drying. Still a little bit of clean-up around the edges…
and some coordinating drainage plates still to be thrown!!!

For more information & pictures, check out the October 2016 CERAMICS MONTHLY issue!
I have a one-page tutorial explaining how I use my power drill for my berry bowls.