Gary Jackson: Fire When Ready Pottery
A Chicago potter’s somewhat slanted view of clay & play
Categories: bike, sunrise

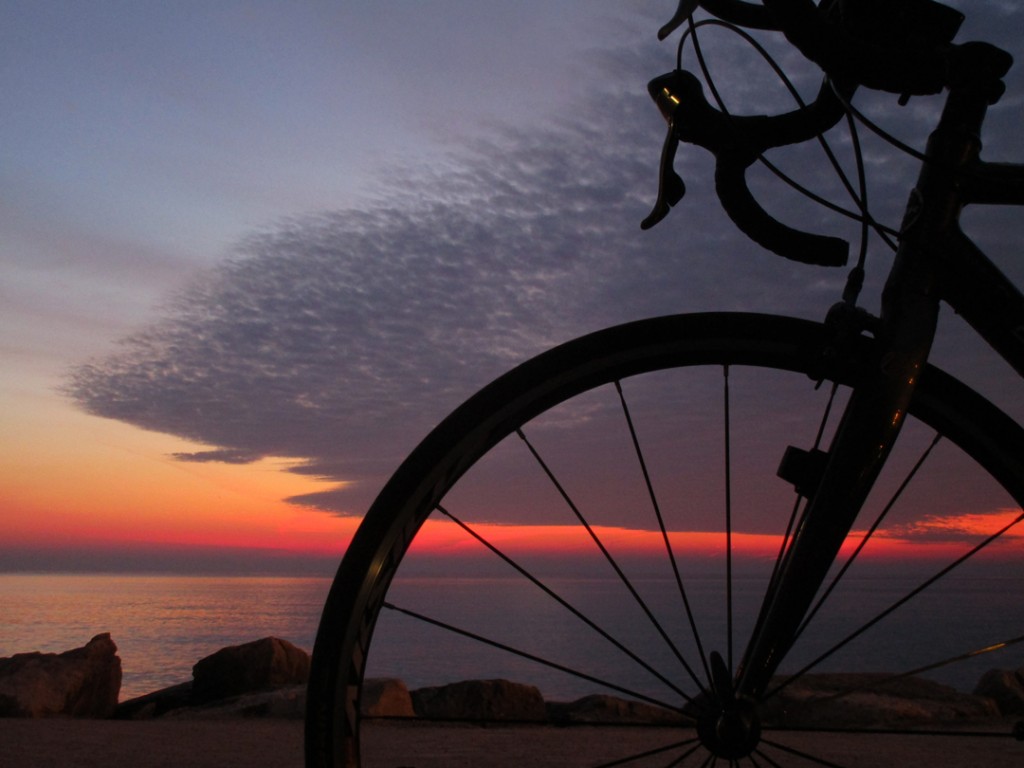
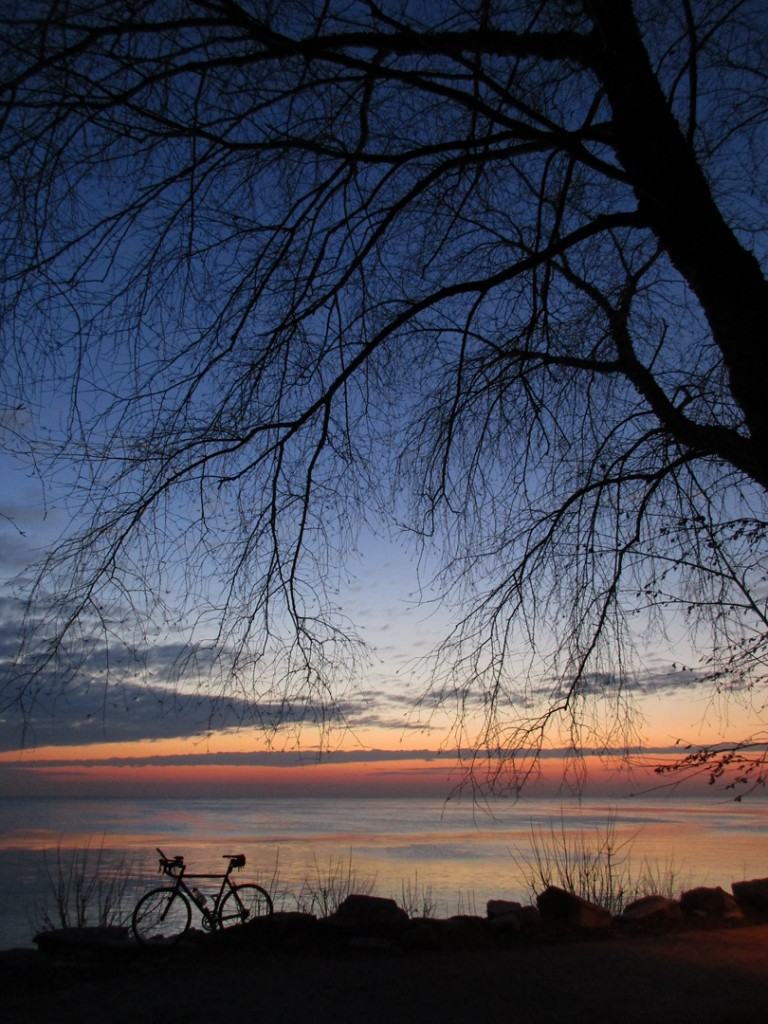
Another beautiful morning… were two-for-two!
And I’m loving this unusually dry & snow-free Winter!

There was a large cloud passing through this morning… with some odd sunlight bursting through creating an orange beam of lighting shooting up towards the heavens. Holy sunbeam Batman!


Save

Categories: bike, sunrise

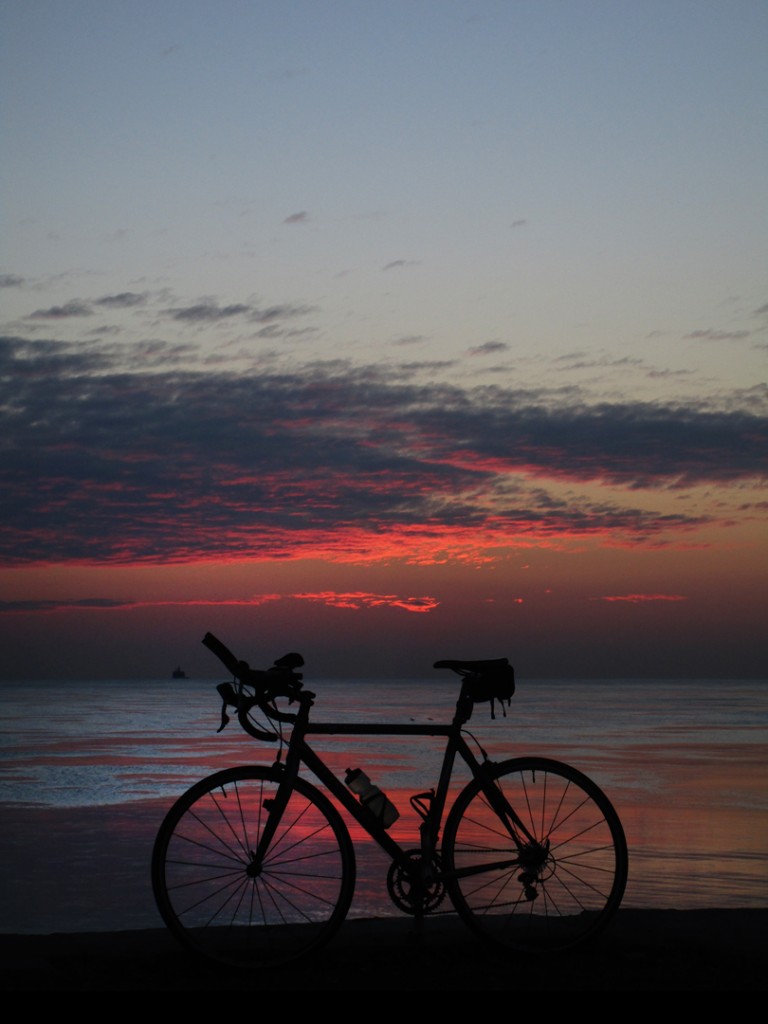
Sure, it was a bit chilly.
But with enough layers on it wasn’t too bad… and a great ride with a sunrise like this!!!

And then it turned orange…

And then it was gone…

Save

Categories: kiln firing, mugs, production

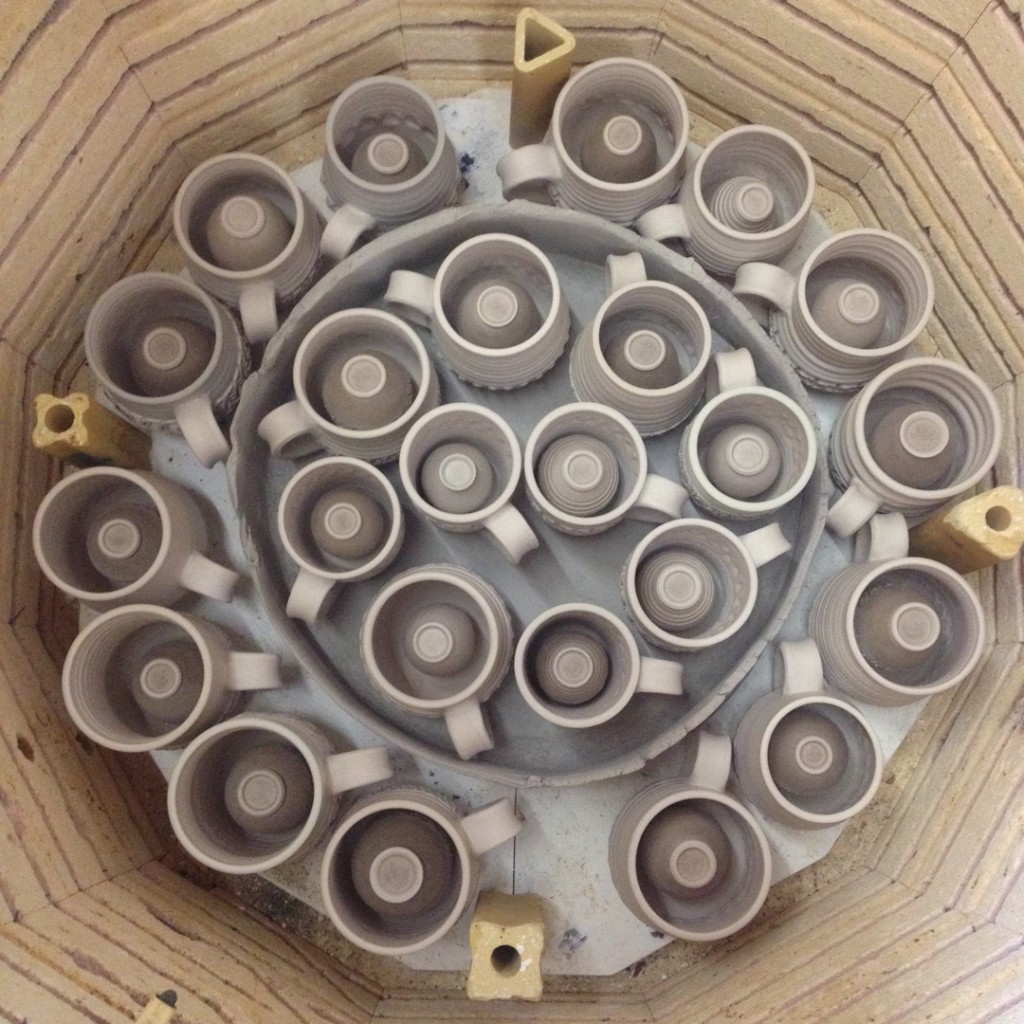
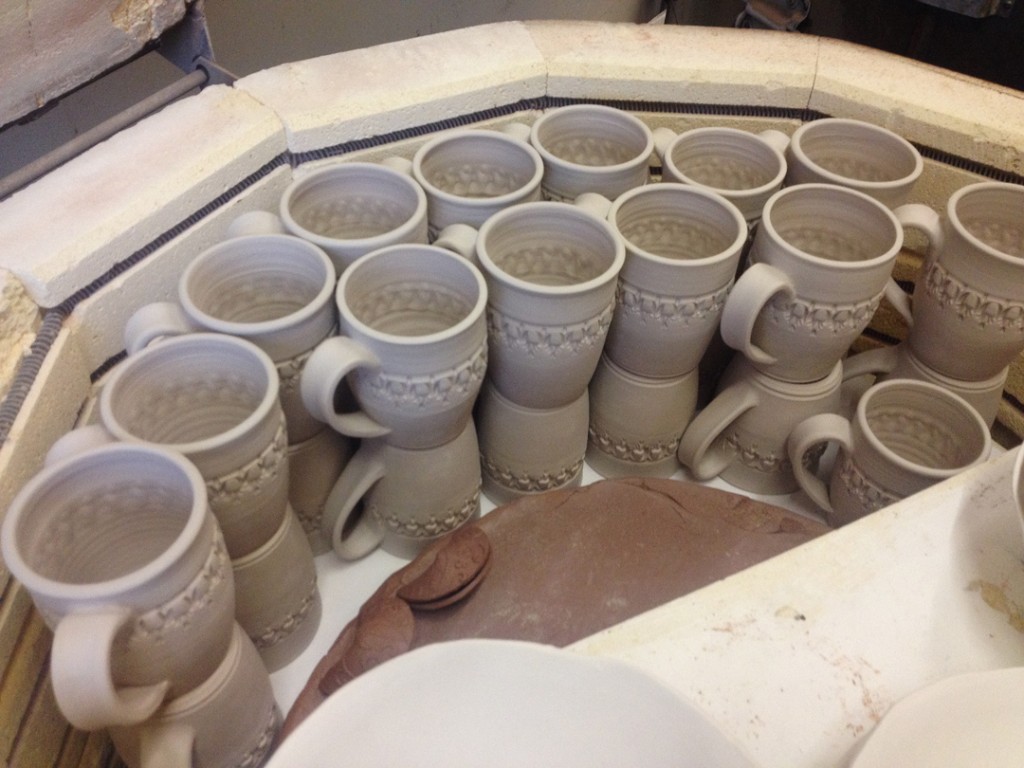
My studio neighbor Cathi asked if I had any greenware to add to her bisque… of course I said “YES!!!” She was loading some odd-sized pieces and knew that she would have a few spaces for some “filler.”

On the bottom layer, she had this one low, flat cylinder planter form. I proceeded to surround it AND fill it with mugs!!! And even better, all of the new mini vases are stashed inside the mugs!

And a little more room on the top layer… to which I double-stacked my mugs with just a sliver of air-space at the top. About a 1/16th of an inch clearance for the lid to close!!! Plenty of space!!! And I got all 55 mugs into her kiln as “kiln filler”!!! Whoo-hoo!!!

Categories: mugs, production

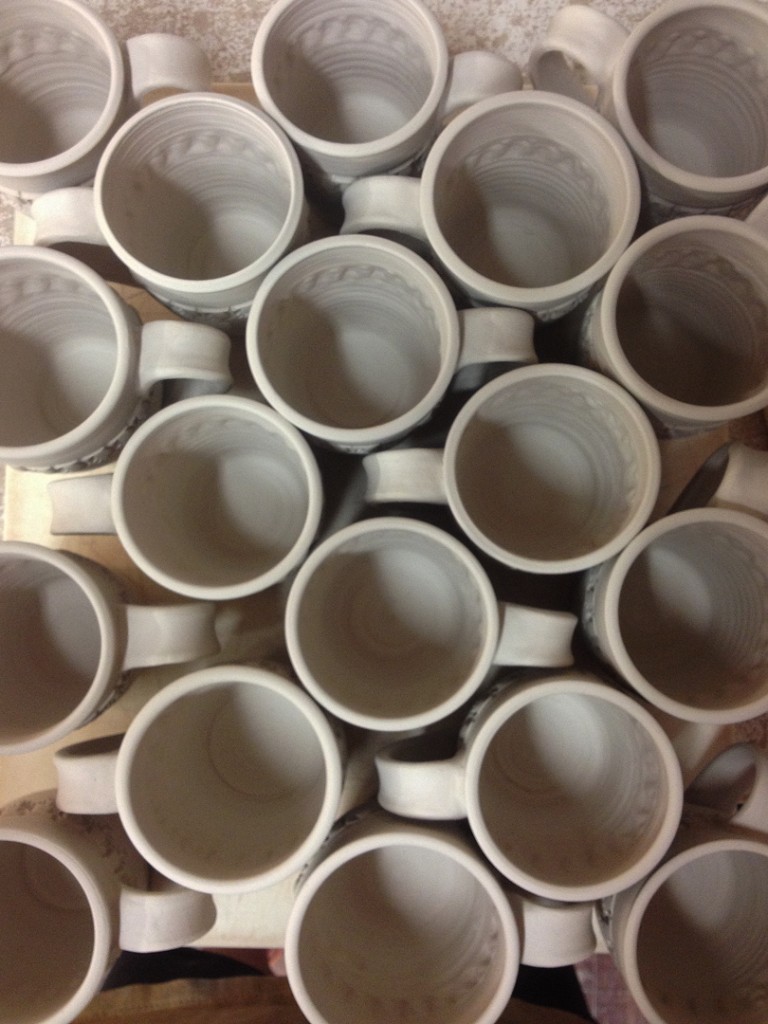
More mugs… dried and ready for a bisque firing!

Save

Categories: stamped, tools, vases

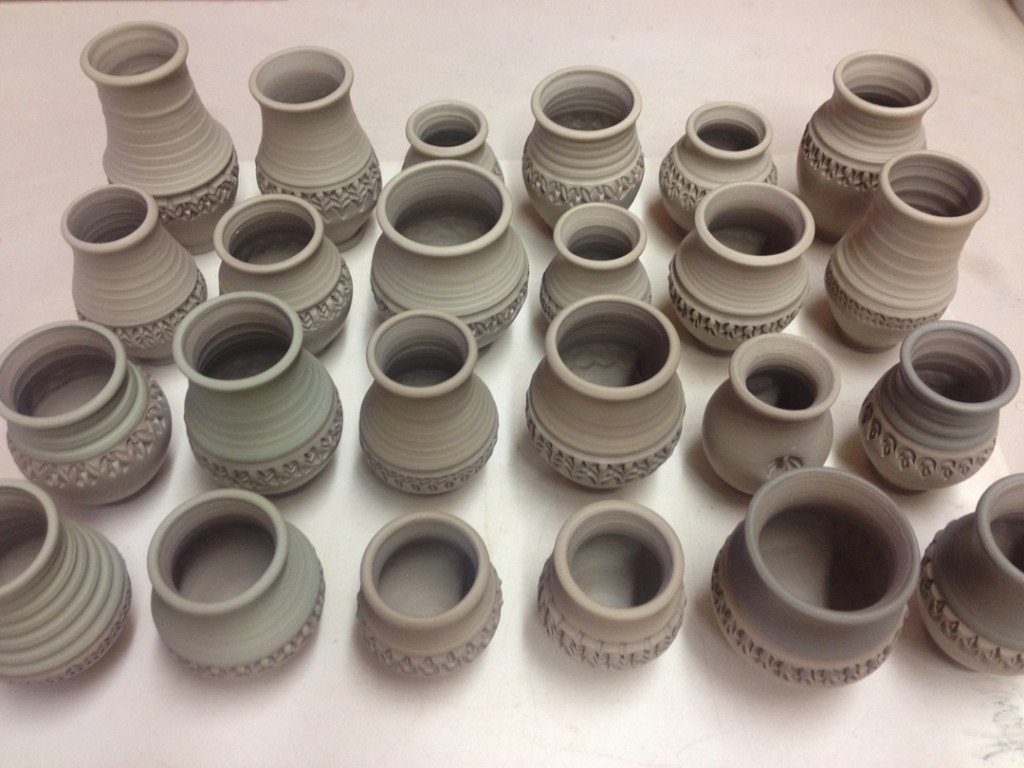
Today I finished up my latest batch of miniature vases. Some bud vases with proportionately small stamped details. So today I trimmed the bottoms of them using one of my all-time favorite tools… my Giffin Grip!!!

And yes, even the mini’s are always hand signed!

And then I added some colored flashing slips for colors that will become more vibrant & dynamic during the soda-firing atmosphere.

Save

Save

Categories: bowls, stamped

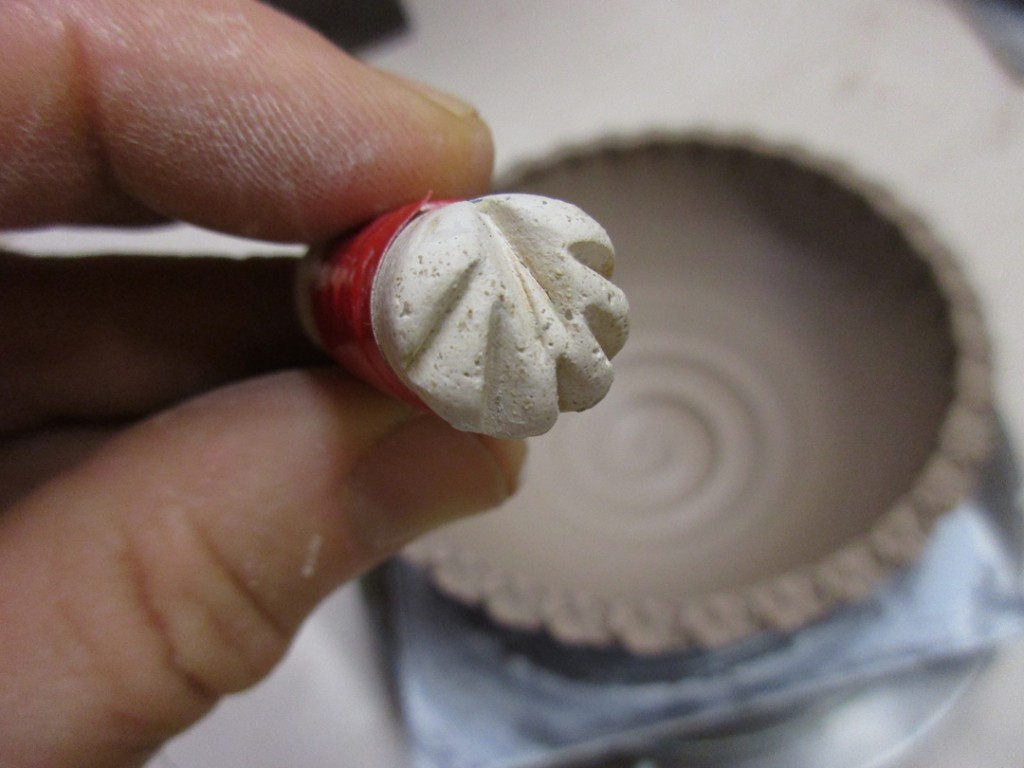
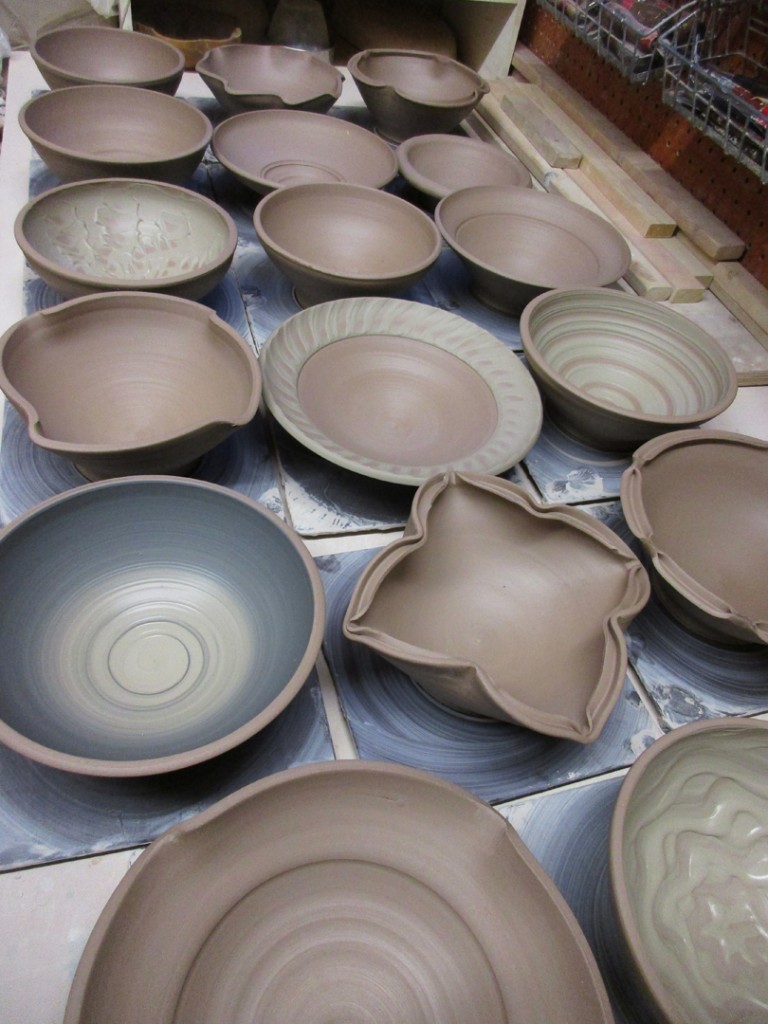
After a big class demo Tuesday night, I had a table full of bowls to finish up in my studio. Sure, my class learned how to make a bowl on purpose. Sure, we talked about some quick ways to alter the rims, change the shape or add some slip. But I still felt as though I had to add my own little touch to the bowl before I could call them done. So I did a little detailing & stamping… making the “basic bowls” even less BASIC!!!

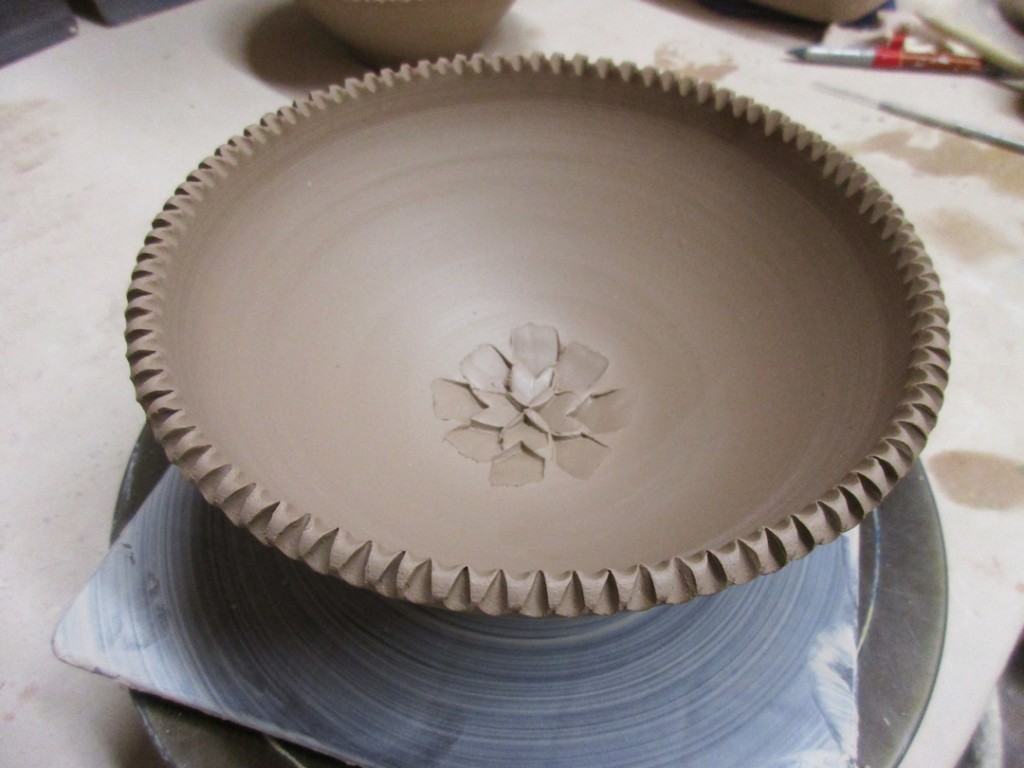
This was the first “basic” bowl… now with a simple stamped rim.

This bowl had four sides. So of course my first instinct was to stamp the rim… but instead,
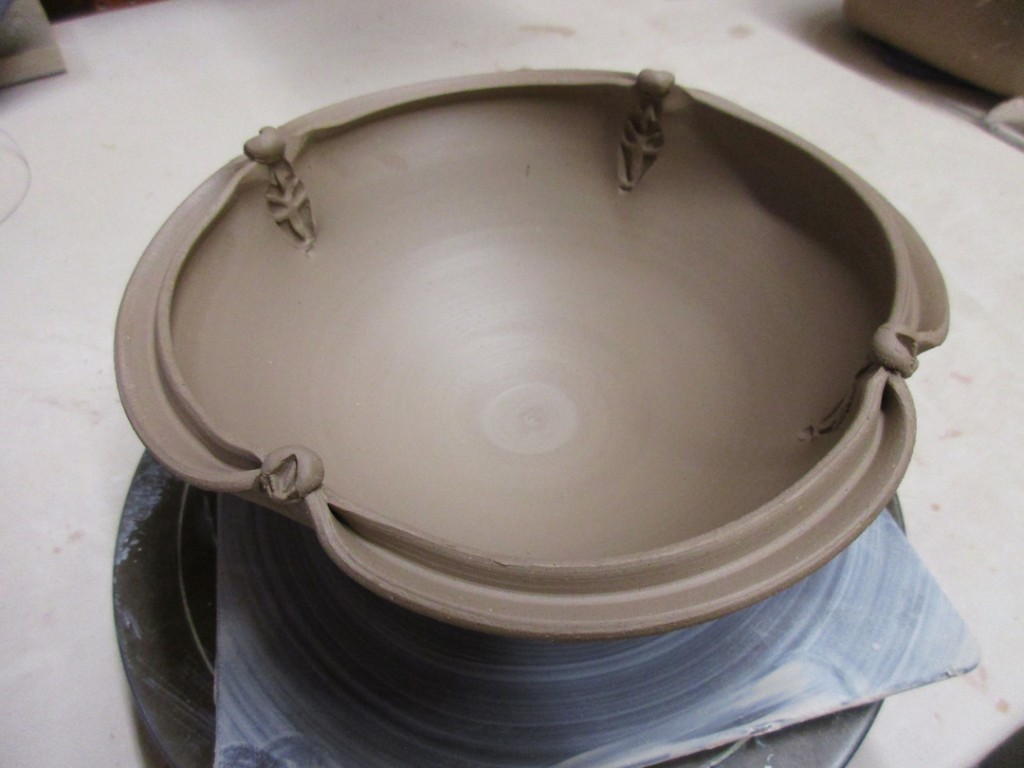
I added a little “button” at each flute and stamped two opposing sides instead of all four.

And the simple flared rim just “begs” for a row stamps… so I did…

For the squiggle-slipped bowl, I decided to add some simple rounded indentations around the rim. And I have a wooden tool designed for spouts that works perfect for this rim effect.

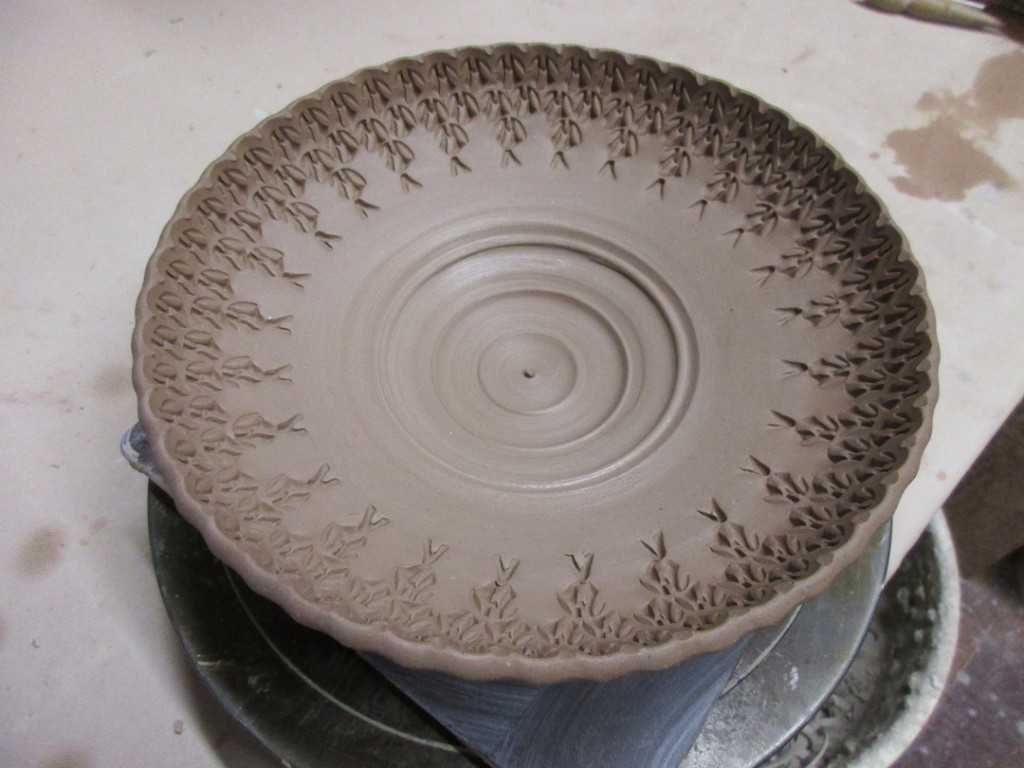
With a wide, flared out flange rim, it was the perfect “canvas” for a lot of stamping!

This bowl had a split rim and six points pinched back together. I questioned how to accentuate the “long side” versus  the “short sides.” So only stamped the inner part of the two long sides and then squished the bowl to elongate it into an oval.

The slip swirl bowl got a simple rim indented with the fatter end of round spout tool.

This split rim bowl was pinched together in four places, so I added little “buttons” at the pinches and stamped just below then to help accentuate the pinched parts.

The chattered bowl got a simple rim with indentation on an angle to go along with the “movement” of the chattered slip design.

And again, a flared our rim just “screams”… PLEASE STAMP HERE!!!

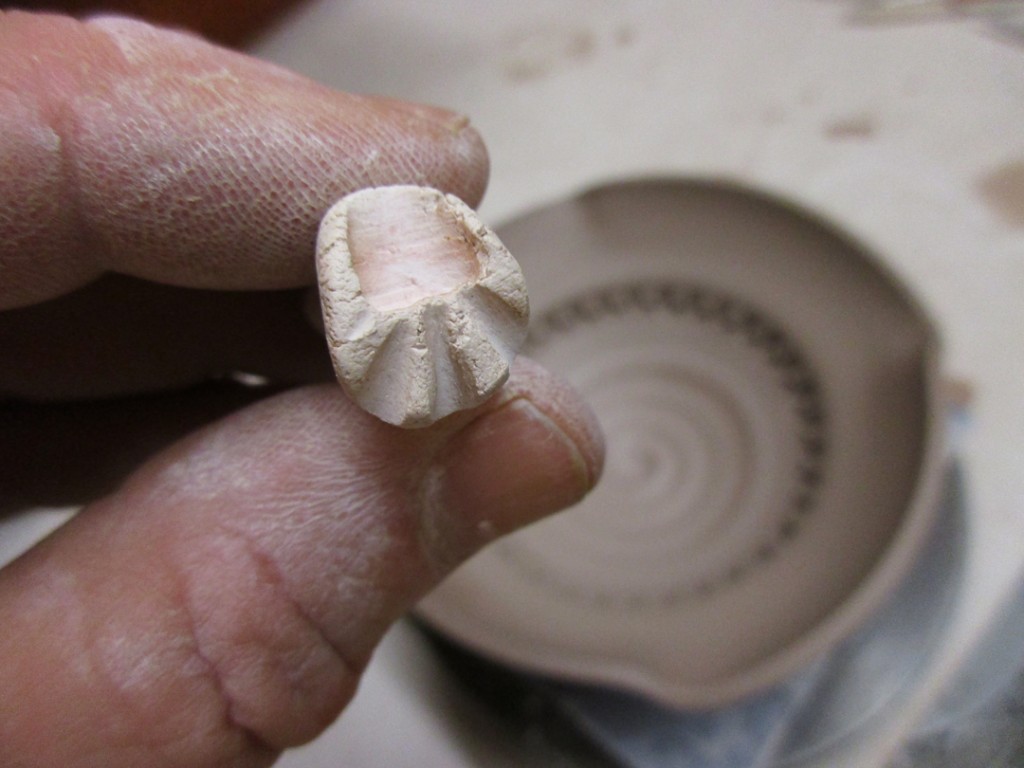
The lotus-shaped, split rim bowl now has a stamped rim too. I added little nuggets at each pinch point… and stamped the interior of the split rim on two sides, and the outside of the split rim on the other two sides.

With the clean indented concentric rings at the bottom of this bowl, I wanted another clean, indented geometric feel for the rim.


Flutes in class… then I added little clay nuggets and stamps…

This is the owl where we tried the roll-over hollow rim. So I did a little bit of a wider stamping to “flatten out” the rim to make it a bit more dramatic. Don’t get me wrong, the rim is still hollow… just wider… and more decorative!

Clean indentation in the bottom. Clean indentations around the rim.

And with that wonderful “happy accident” little spiral in the bottom of the ombre slip, I decided to go with a spiral stamp for the rim for a bit of decorative continuity.

Stamped and detailed… now for trimming…

And oh, but wait there’s more…
A really sweet comment from one of my Facebook Fans…

Sharon : “They were beautiful, then you made them explode into gorgeous!”

Save

Categories: process, production, stamped

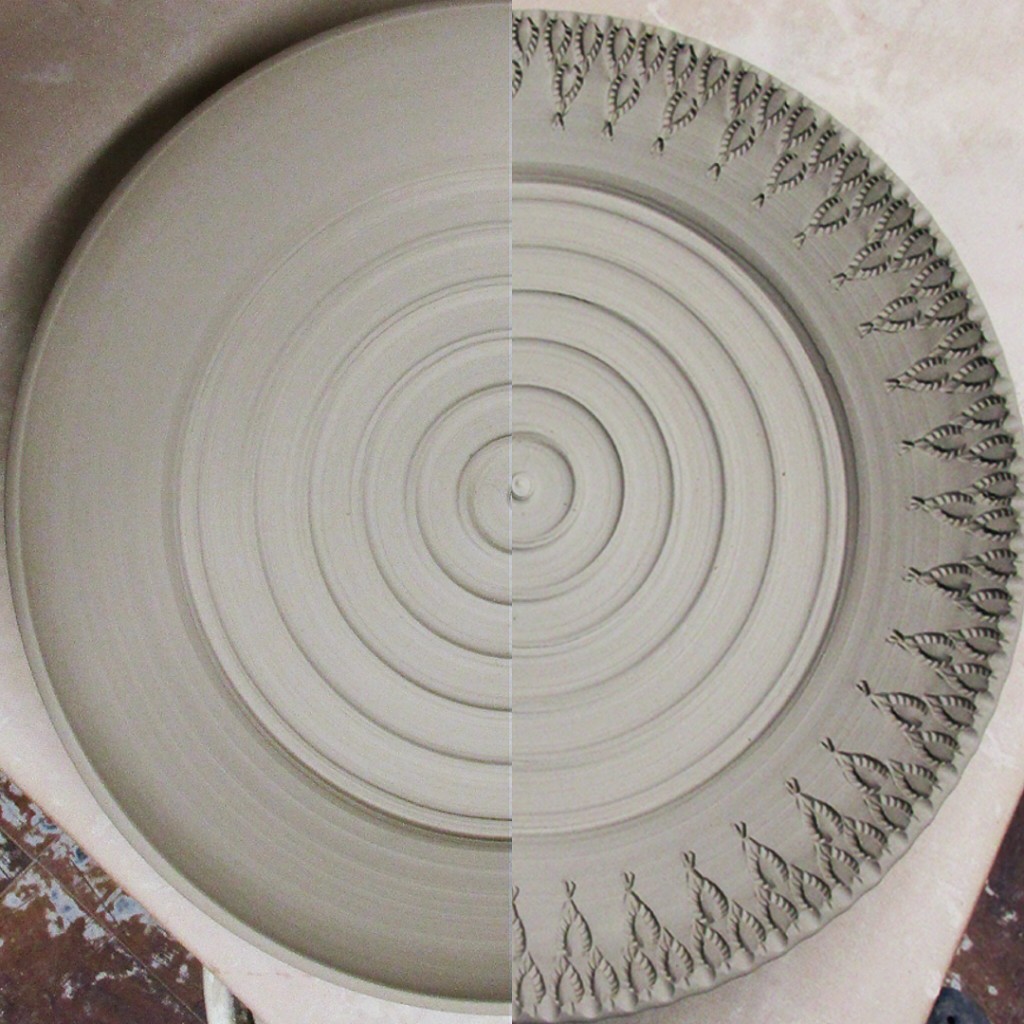
A little stamping on last week’s class demo platter.
Sure, I could have left it plain & smooth… but really, why would I ???


Categories: inspiration, television

Okay, so again for the record… I am not at all political.
But regardless of what your views may be, you’ve got to admit that the whole concept of “Alternative Facts” is pretty darn hysterical. I love that even Kellyanne can’t say it smoothly… notice her own hesitation before saying it for the first time. And you’ve got to love seeing a well-renowned, adult male journalist finding the humor in it all… and giggling like a twelve year old school-girl on “Meet The Press.”

Click here to see Anderson’s giggle-fest on “Meet The Press” … kinda.

Sure, it’s clear that this is edited. Kind of a mash-up to make it even funnier. Might have been footage for Anderson’s segment called “The RidicuList.” Which you have to admit this is… Alternative Facts?!!! You can’t make this sh#t up!!!… err, well apparently you can!!!

Save

Save

Save

Save

Categories: mugs, process, production, tools

I was getting ready to paint some colored flashing slip accents on another batch of mugs. But every time I do this, I wish I could see better where I’ve painted. This particular slip color is just too close to the color of my clay body. Hard to keep track of where you’ve already been!

So I finally did it… I added some food coloring into my bucket of slip. The plan is to tint the slip so it shows up better… all the while knowing that the food coloring will burn out during firing. Cool trick, huh?

So I squeezed a few drops of yellow food coloring into my bucket of Smooth Orange Flashing Slip… and if you wait a few minutes before stirring, you get this really groovy pattern as the food coloring spreads. You kinda just want to stand there and watch!!!

Eventually I had to get back to work… so I stirred it up and started painting the slip accents on some mugs. I like to paint the top section as well as a center detail on each stamp. Since I only had yellow food coloring, the color change was not too dramatic. But it did give the slip a bit of a pale yellow tint so it was easier to see what I had painted and what I hadn’t as I was rotating the mug.

Categories: bowls, classes

Last night we made a LOT of bowls. A full bag of clay for that matter!!!
It’s always one of my favorite demos for my pottery students. We discuss how to make a bowl on purpose… instead of a cylinder gone bad! How bowls have a nice, smooth round bottom. Not a flat bottom and slightly curved sides. How to through an intentional bowl shape right from the beginning. So we all do a basic bowl demo… and then they get back to work on their wheels. Meanwhile, I sit down and quickly throw the rest of the bowls. In this case, seventeen in total.

We then all reconvene and discuss some ways to make their bowls a little more personal. A little more flair. A little more style. And that they should “play” with their clay more, and not look at each piece as being so precious. My demo shows them some quick tricks and techniques to turn the basic round bowl into something special in just a few minutes.

Bowl One – So here’s the first “basic” bowl. NO special tricks other than a fun spiral pressed into the bottom. Everyone loves a good spiral, right? This was the basic round shape of all seventeen before I got started with the alterations.

Bowl Two – Indented concentric circles. A little “surprise” when someone gets down to the bottom of their soup!

Bowl Three – Fluted In Fours… a couple quick twists to give the rim some shape.

Bowl Four – Fluted In Eights… and if four is good, wight is sometimes better.
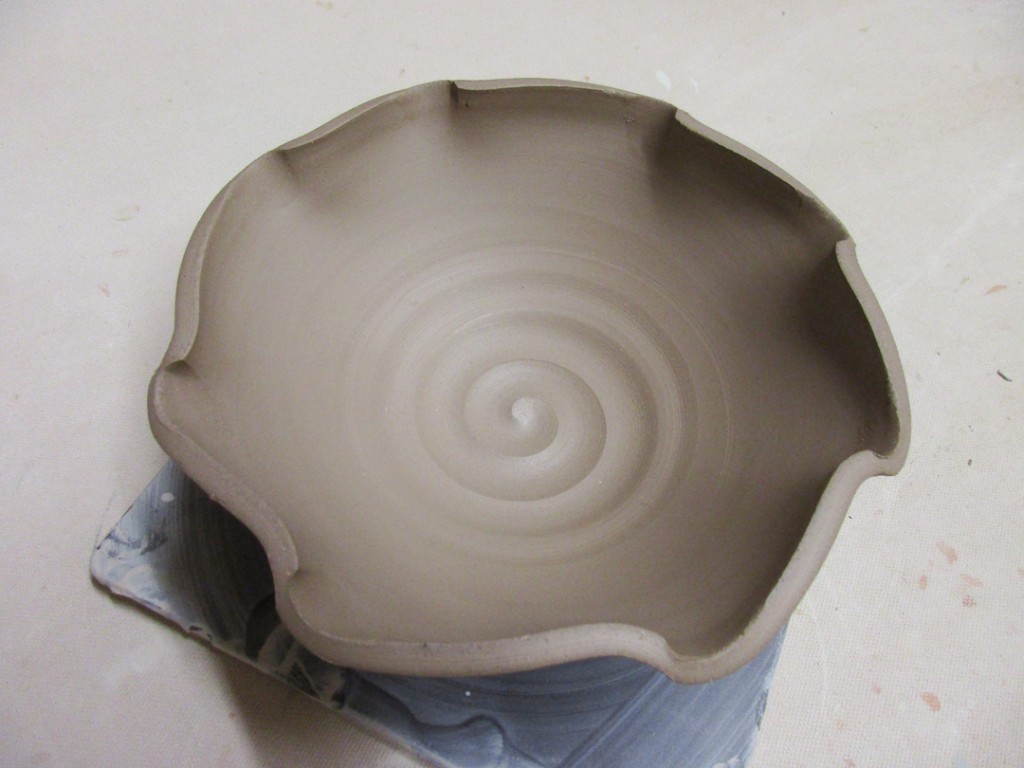
Bowl Five – Flanged… a thin rim of clay folded outward making the bowl visually wider.
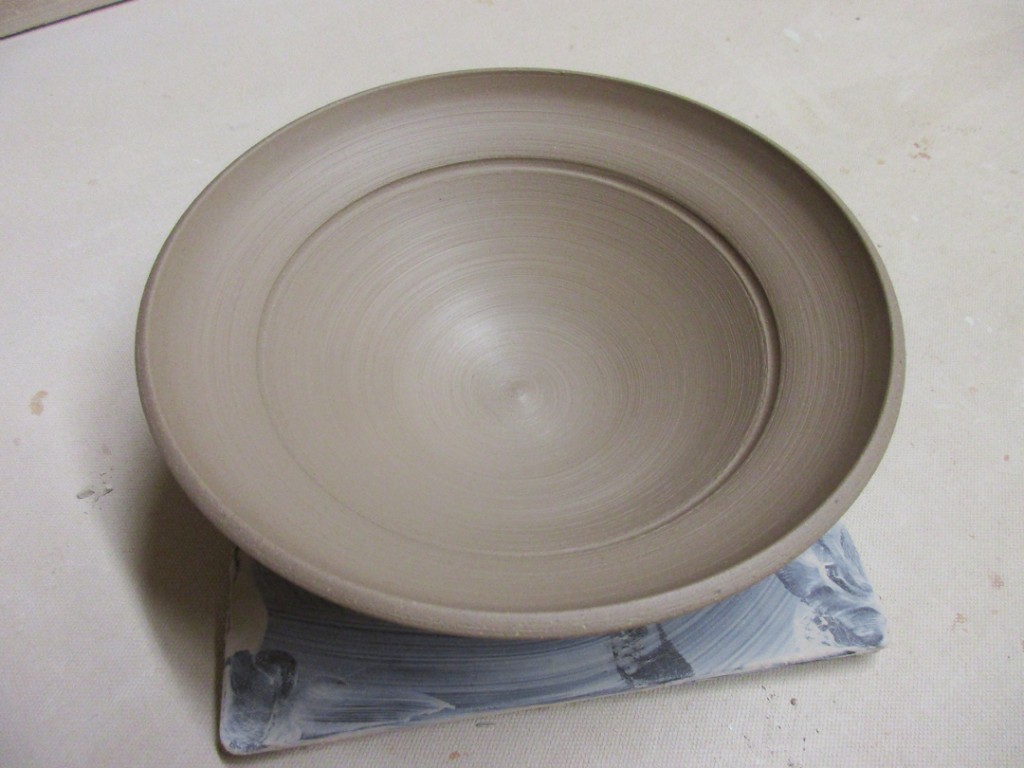
Bowl Six – And if a little flange is good, wider might be better, right?

Bowl Seven – And then we combined a flared rim with a fluted edge.

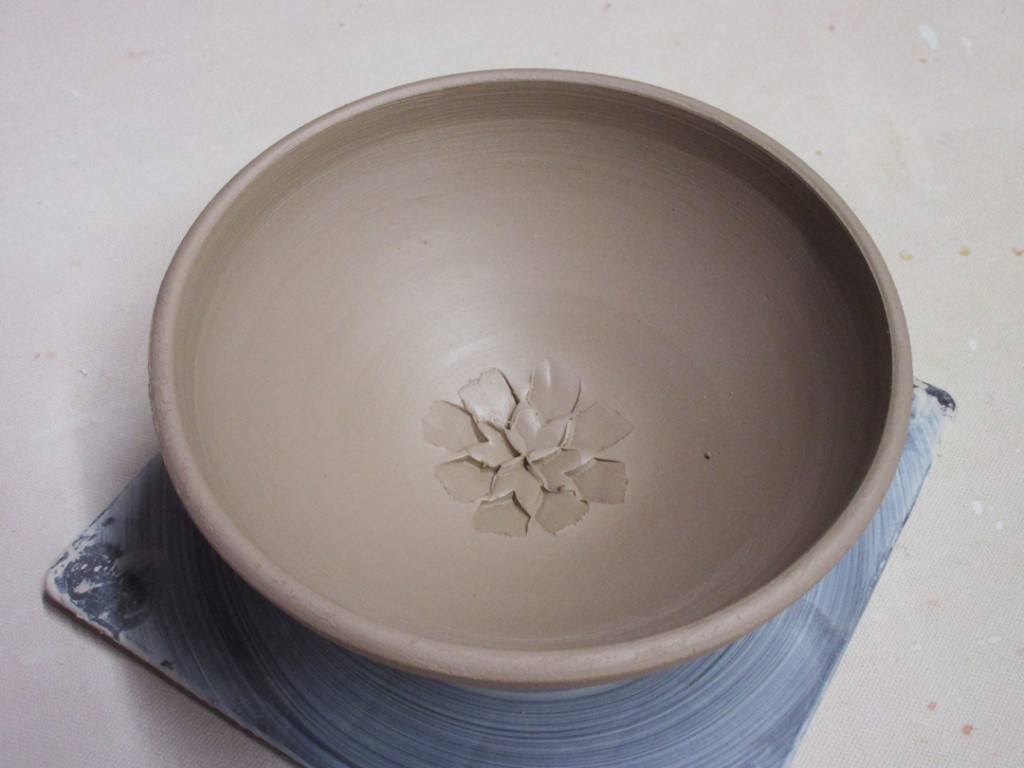
Bowl Eight – Typically I do all of my stamping a day or so after throwing the pieces… not right away. But for tis demo, I used a metal dragonscale to to press a stylized flower into the bottom of the bowl. Another surprise at the bottom for when your guest finished the hot fudge sundae.
Bowl Nine – Split rim pinched back together in four places.
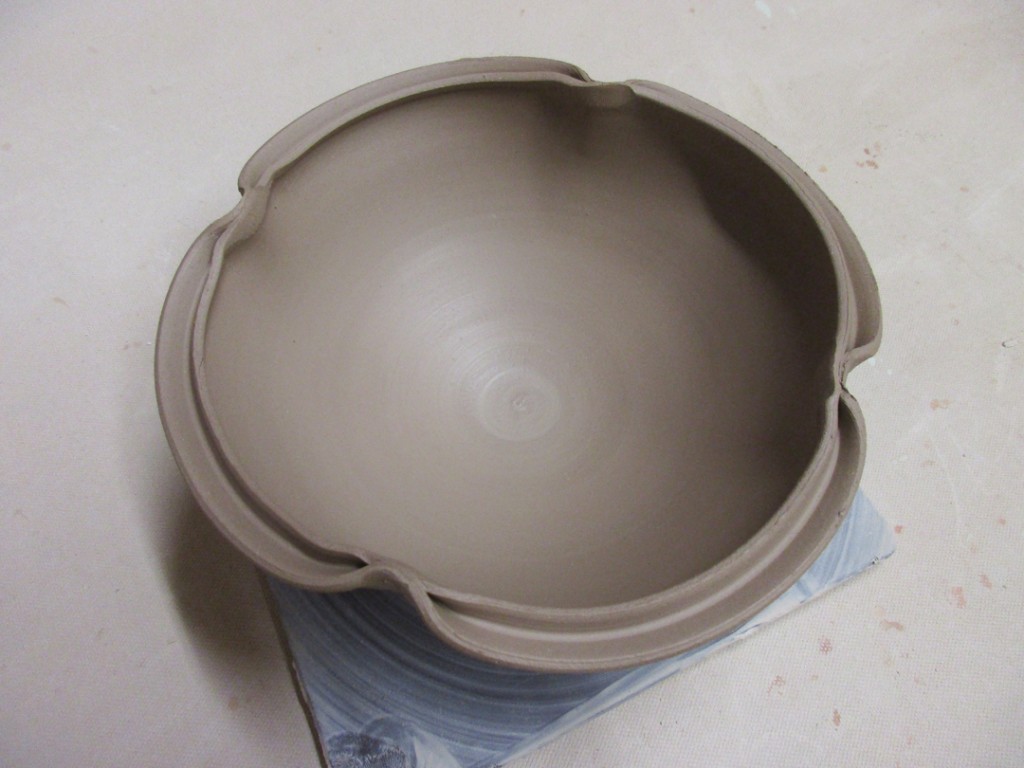
Bowl Ten – Split rim pinched back together in six places…
a little irregular, but I have a plan in mind…
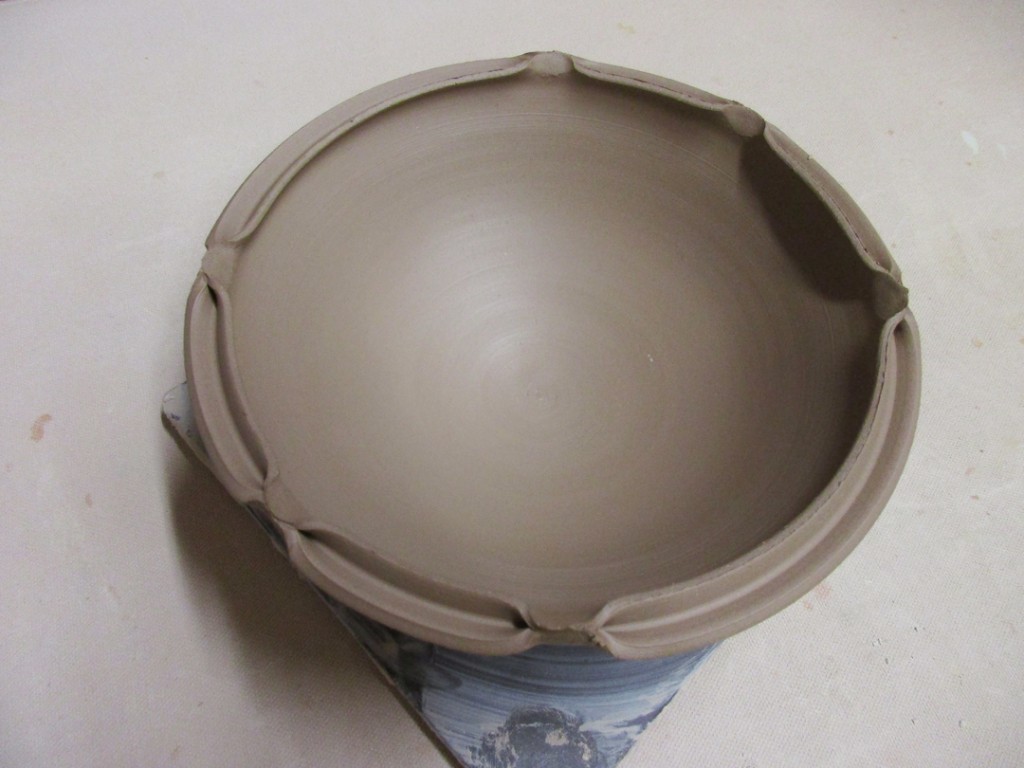
Bowl Eleven – Another split rim, but this time shaped inwards in four places, and outward in the corners creating a stylized lotus flower.
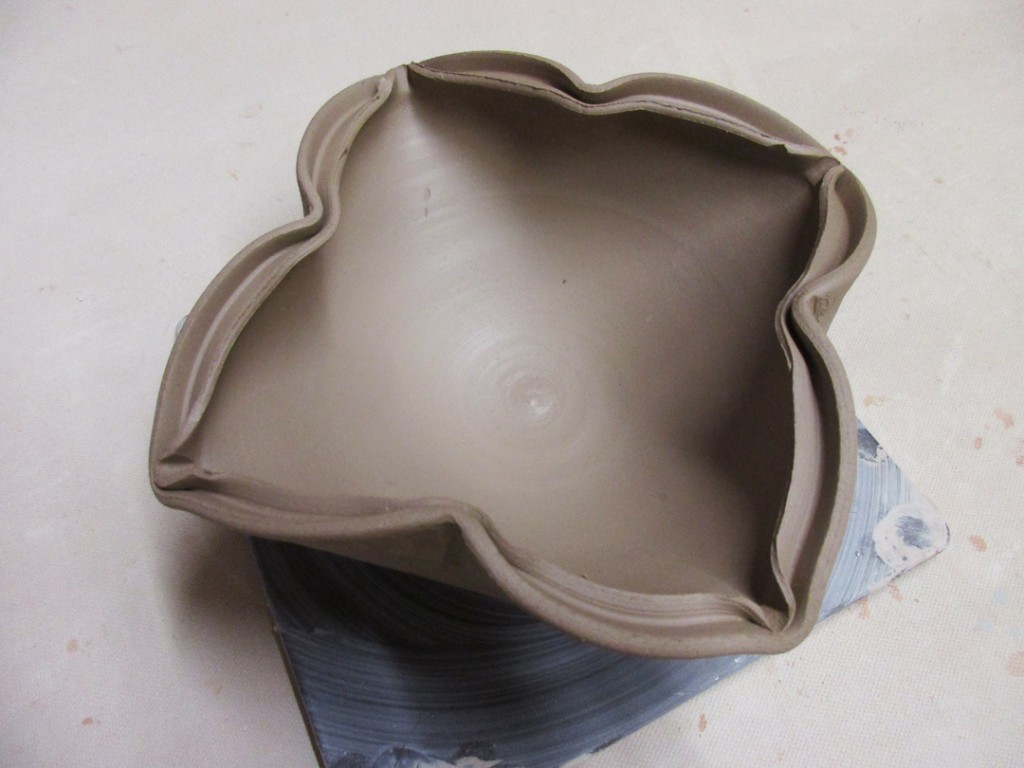
Bowl Twelve – For this one I attempted a rolled-over hollow rim. It “kinda” worked… the bowl was a little to dry from sitting out during the demo, and I think I flared too much out & over. I had a little trouble getting it to reattach on the underside smoothly.
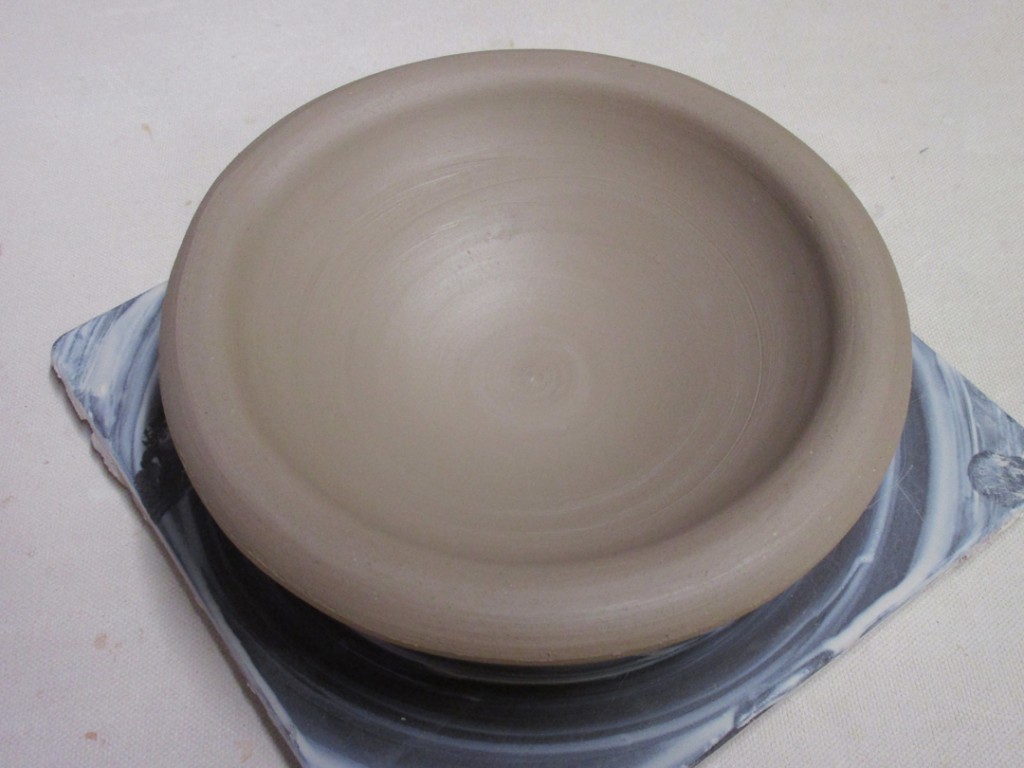
After the first dozen, I figured it was time to add some colored slip for decorative accents. We discussed the benefit of slip versus glaze. How they each have different properties. Why slip is better for some things. And how it makes a two-tone bowl “easier” to do with slip than trying it by dipping into two colors of glaze.

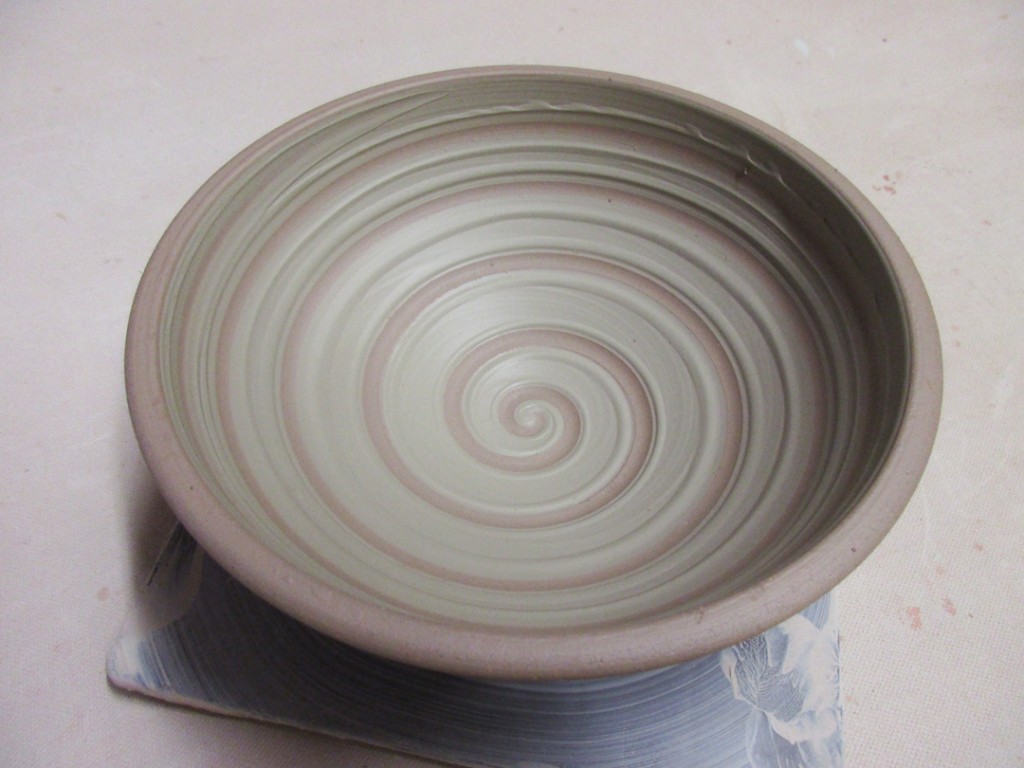
Bowl Thirteen – Slip Swirled. I coated the entire interior with white slip, and then dragged the curved end of my wooden knife through the slip to reveal the clay as the bowl was rotating… hence, the perfect spiral.
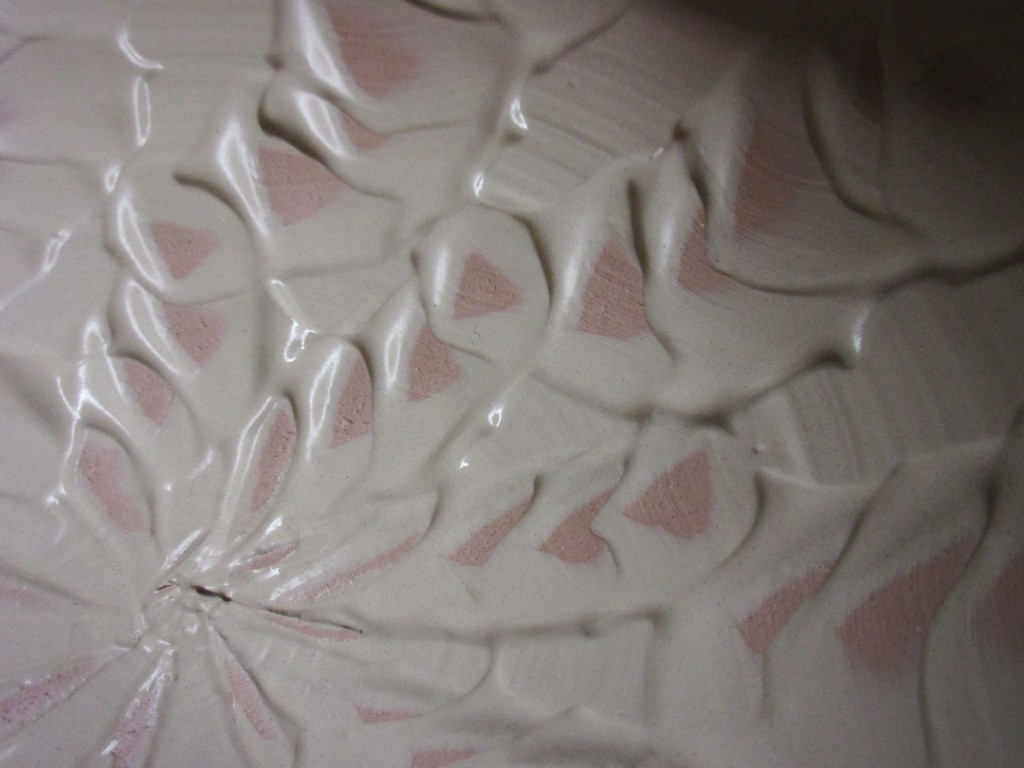
Bowl Fourteen – Another coating of white slip on the interior of the bowl, a little thicker than the last bowl. I then did some finger squiggling through the slip creating this groovy, wavy pattern.

Bowl Fifteen – Another bowl with a flared out flange, this time using that space as a nice “canvas” for some slip decoration. I coated it with white slip, and then dragged my finger through it all the way around.

Bowl Sixteen – Chattered pattern through thick white slip. It’s a bit tricky the first couple times… but it’s just rhythmic tapping of a rubber rib through the slip while rotating and moving the tapping up and out.

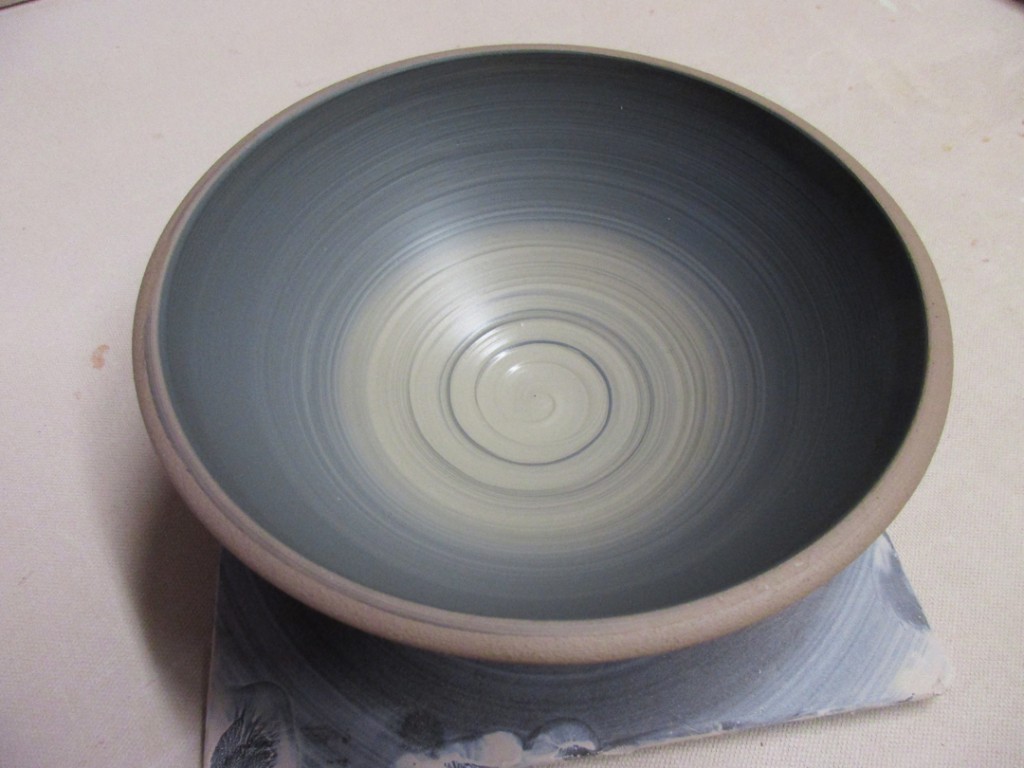
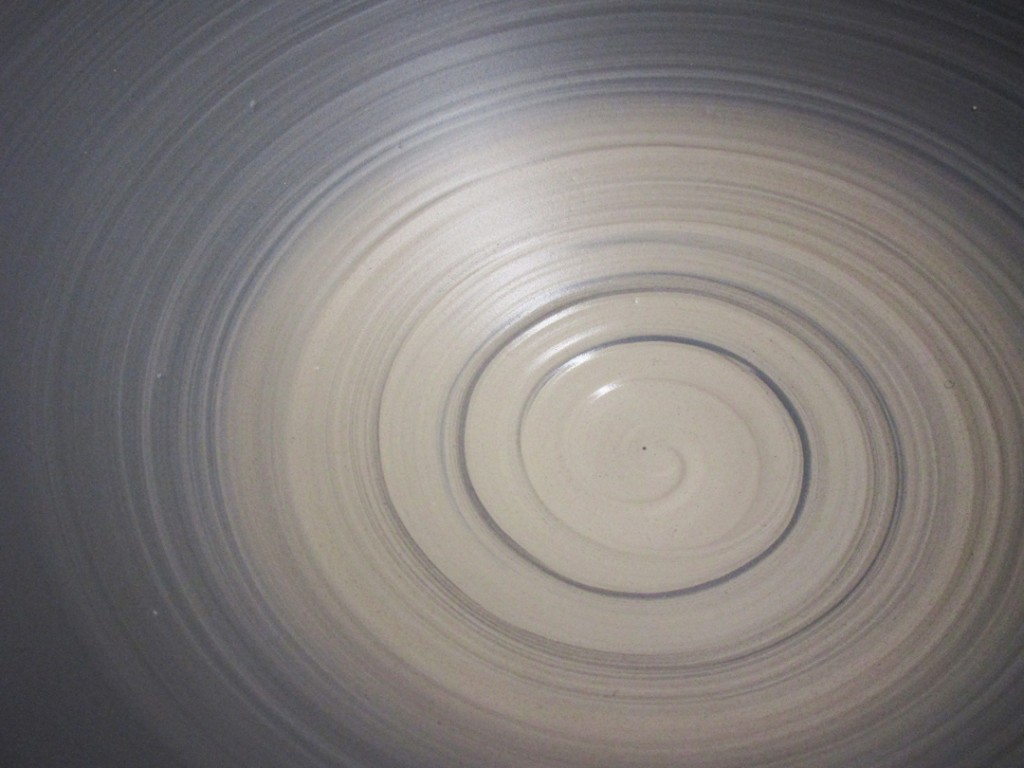
Bowl Seventeen – A quick ombre blended effect using white and black slips. While I was blending the gradation, I got these fun black spiral lines at the bottom… so we decided I should keep it like this! So I did.
So now all of the bowls are upstairs in my studio under wraps. I’ll let them set-up a bit… and then I’ll do some stamping, texturing and detailing. Go figure, right? More to come…
Save