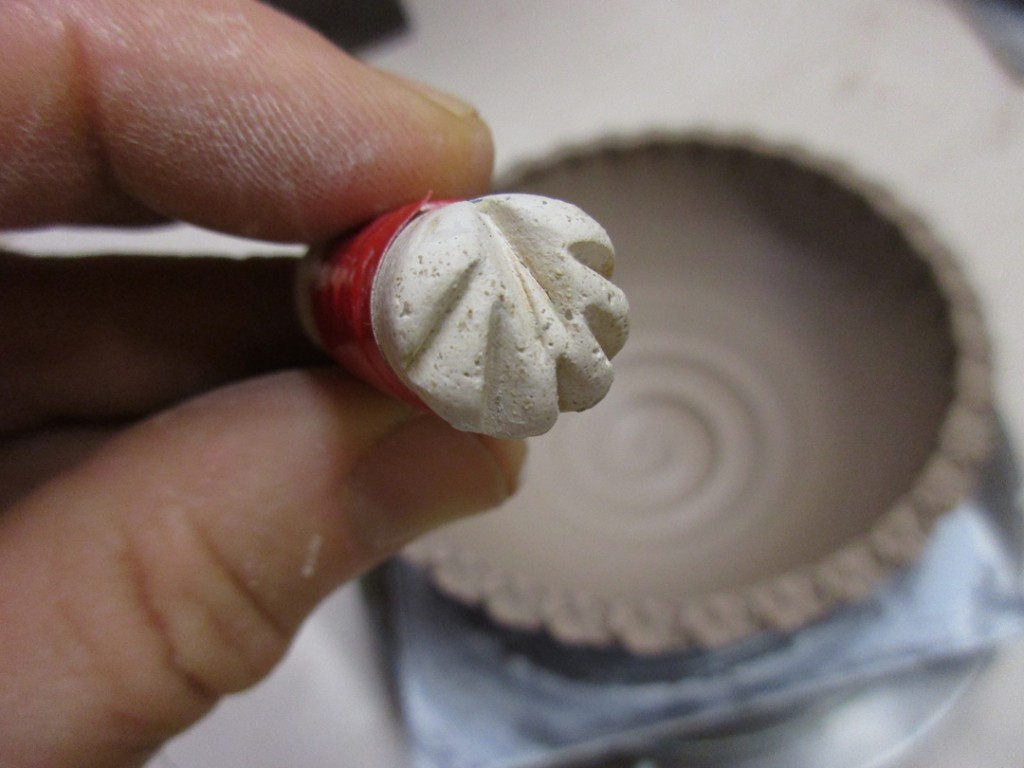
After a big class demo Tuesday night, I had a table full of bowls to finish up in my studio. Sure, my class learned how to make a bowl on purpose. Sure, we talked about some quick ways to alter the rims, change the shape or add some slip. But I still felt as though I had to add my own little touch to the bowl before I could call them done. So I did a little detailing & stamping… making the “basic bowls” even less BASIC!!!
This was the first “basic” bowl… now with a simple stamped rim.


This bowl had four sides. So of course my first instinct was to stamp the rim… but instead,
I added a little “button” at each flute and stamped two opposing sides instead of all four.


And the simple flared rim just “begs” for a row stamps… so I did…


For the squiggle-slipped bowl, I decided to add some simple rounded indentations around the rim. And I have a wooden tool designed for spouts that works perfect for this rim effect.


With a wide, flared out flange rim, it was the perfect “canvas” for a lot of stamping!
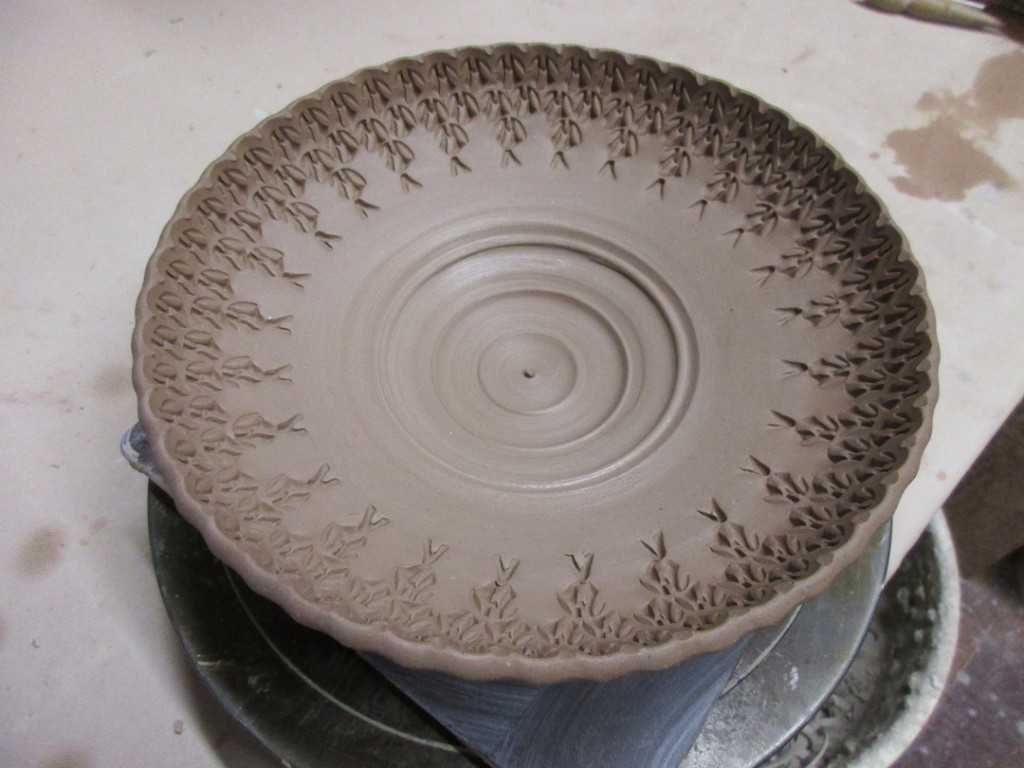


This bowl had a split rim and six points pinched back together. I questioned how to accentuate the “long side” versus the “short sides.” So only stamped the inner part of the two long sides and then squished the bowl to elongate it into an oval.

The slip swirl bowl got a simple rim indented with the fatter end of round spout tool.


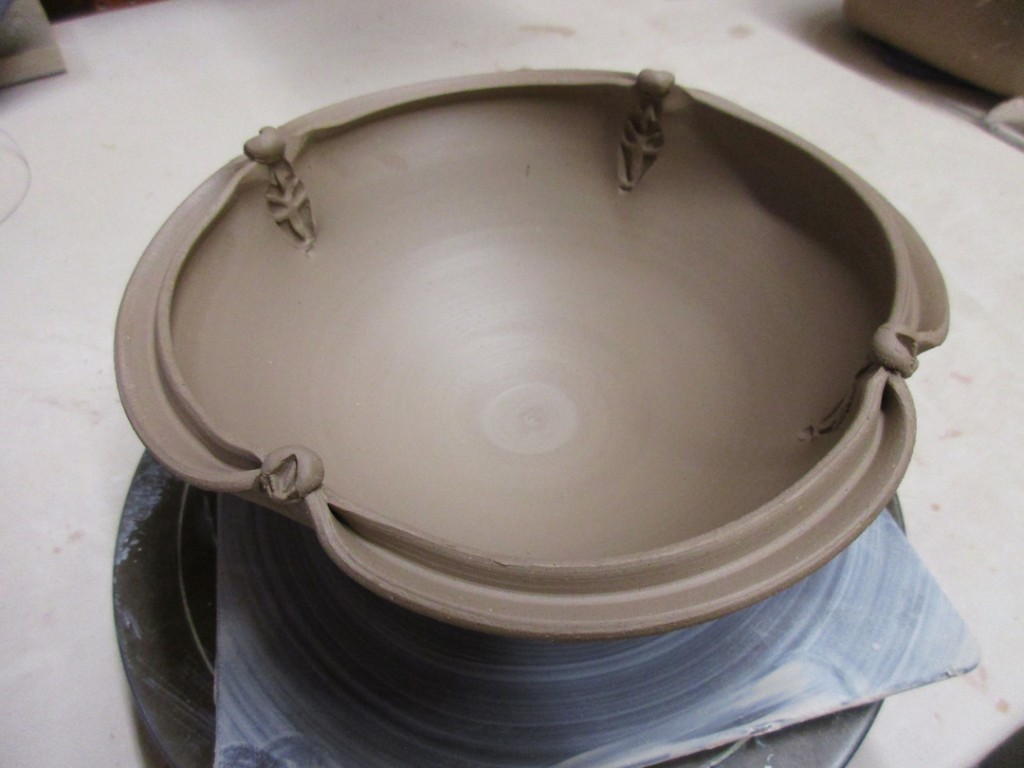
This split rim bowl was pinched together in four places, so I added little “buttons” at the pinches and stamped just below then to help accentuate the pinched parts.
The chattered bowl got a simple rim with indentation on an angle to go along with the “movement” of the chattered slip design.

And again, a flared our rim just “screams”… PLEASE STAMP HERE!!!

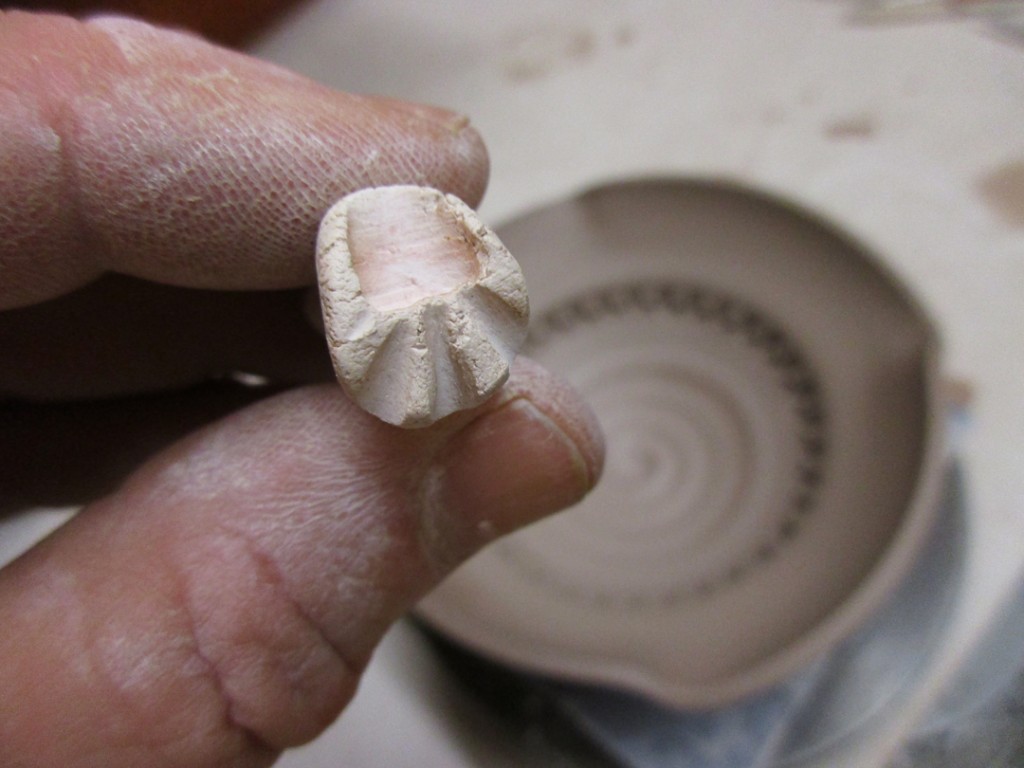
The lotus-shaped, split rim bowl now has a stamped rim too. I added little nuggets at each pinch point… and stamped the interior of the split rim on two sides, and the outside of the split rim on the other two sides.

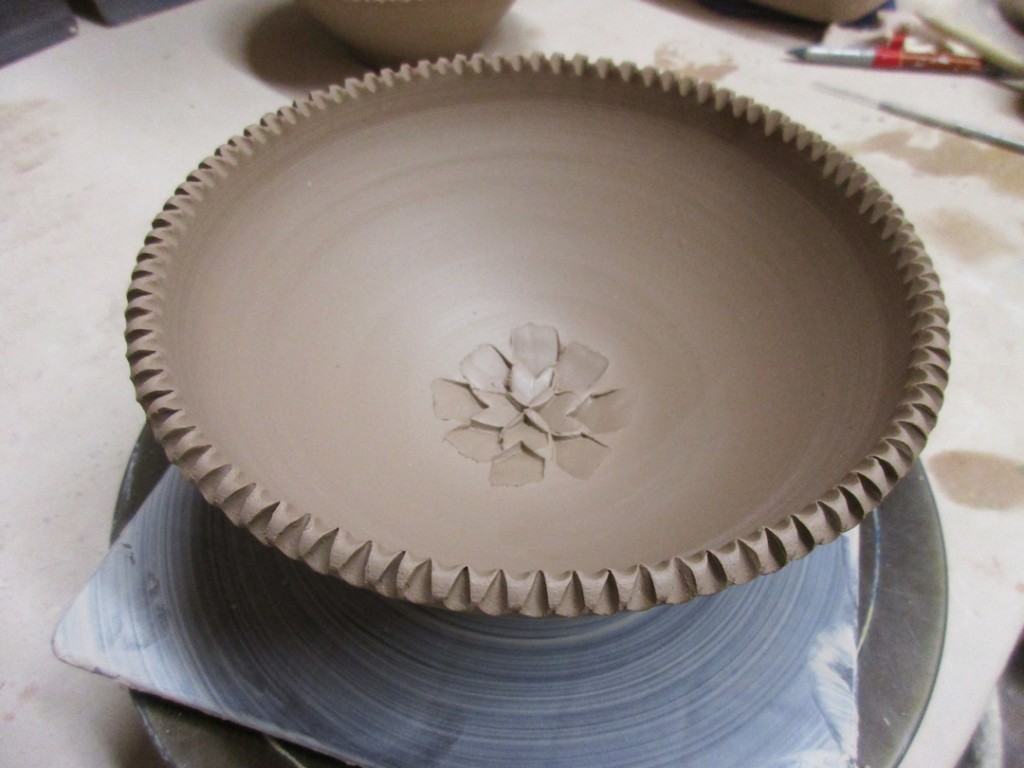
With the clean indented concentric rings at the bottom of this bowl, I wanted another clean, indented geometric feel for the rim.


Flutes in class… then I added little clay nuggets and stamps…

This is the owl where we tried the roll-over hollow rim. So I did a little bit of a wider stamping to “flatten out” the rim to make it a bit more dramatic. Don’t get me wrong, the rim is still hollow… just wider… and more decorative!


Clean indentation in the bottom. Clean indentations around the rim.
And with that wonderful “happy accident” little spiral in the bottom of the ombre slip, I decided to go with a spiral stamp for the rim for a bit of decorative continuity.


Stamped and detailed… now for trimming…
And oh, but wait there’s more…
A really sweet comment from one of my Facebook Fans…
Sharon : “They were beautiful, then you made them explode into gorgeous!”