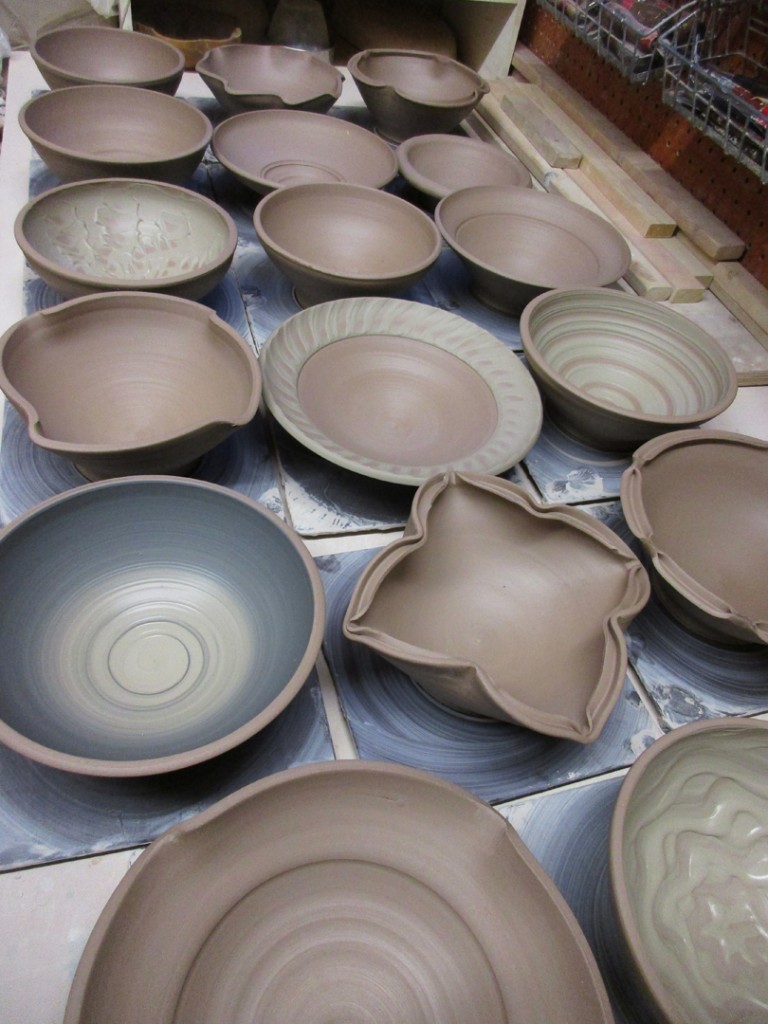
Last night we made a LOT of bowls. A full bag of clay for that matter!!!
It’s always one of my favorite demos for my pottery students. We discuss how to make a bowl on purpose… instead of a cylinder gone bad! How bowls have a nice, smooth round bottom. Not a flat bottom and slightly curved sides. How to through an intentional bowl shape right from the beginning. So we all do a basic bowl demo… and then they get back to work on their wheels. Meanwhile, I sit down and quickly throw the rest of the bowls. In this case, seventeen in total.
We then all reconvene and discuss some ways to make their bowls a little more personal. A little more flair. A little more style. And that they should “play” with their clay more, and not look at each piece as being so precious. My demo shows them some quick tricks and techniques to turn the basic round bowl into something special in just a few minutes.
Bowl One – So here’s the first “basic” bowl. NO special tricks other than a fun spiral pressed into the bottom. Everyone loves a good spiral, right? This was the basic round shape of all seventeen before I got started with the alterations.

Bowl Two – Indented concentric circles. A little “surprise” when someone gets down to the bottom of their soup!

Bowl Three – Fluted In Fours… a couple quick twists to give the rim some shape.

Bowl Four – Fluted In Eights… and if four is good, wight is sometimes better.
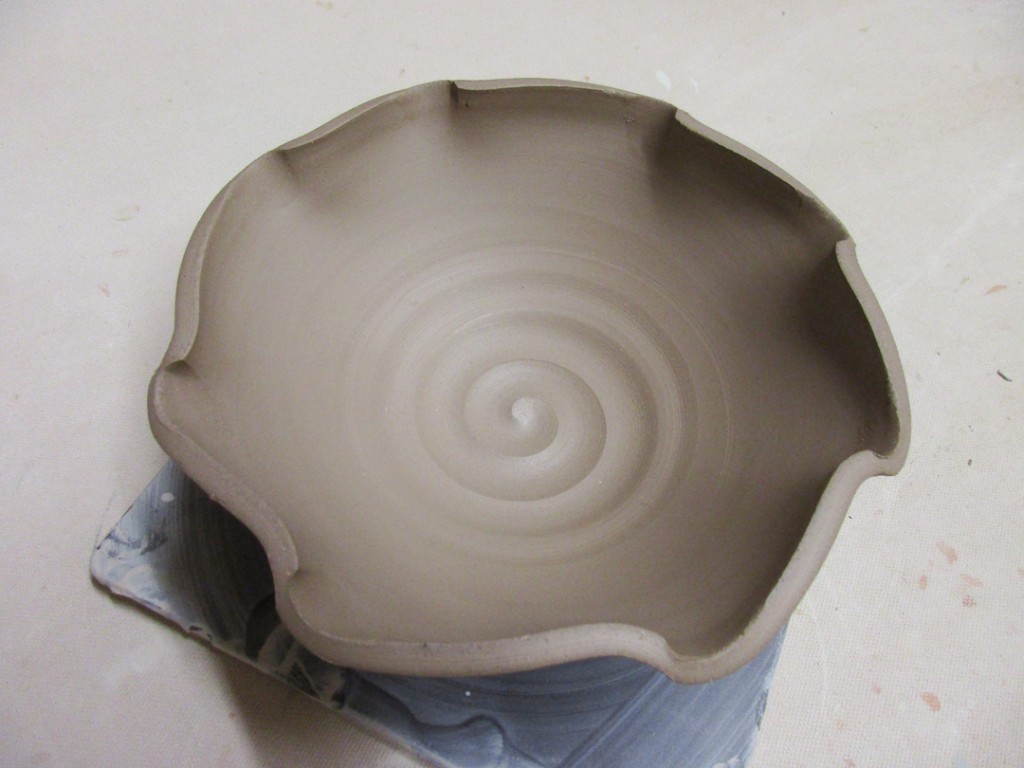
Bowl Five – Flanged… a thin rim of clay folded outward making the bowl visually wider.
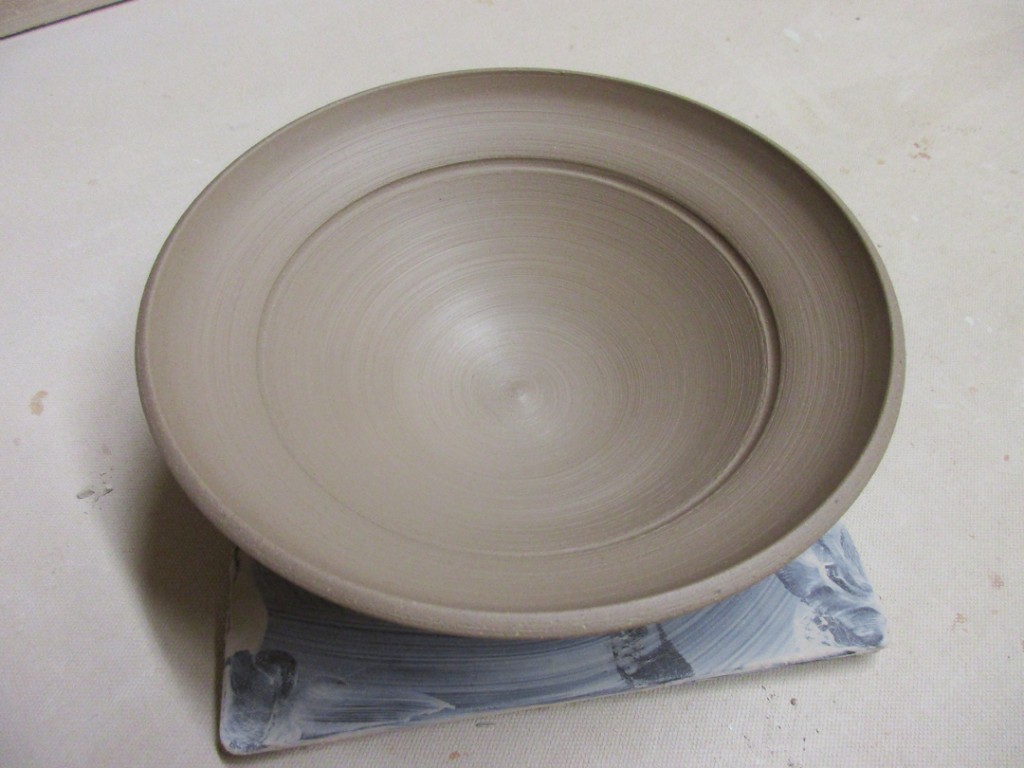
Bowl Six – And if a little flange is good, wider might be better, right?

Bowl Seven – And then we combined a flared rim with a fluted edge.

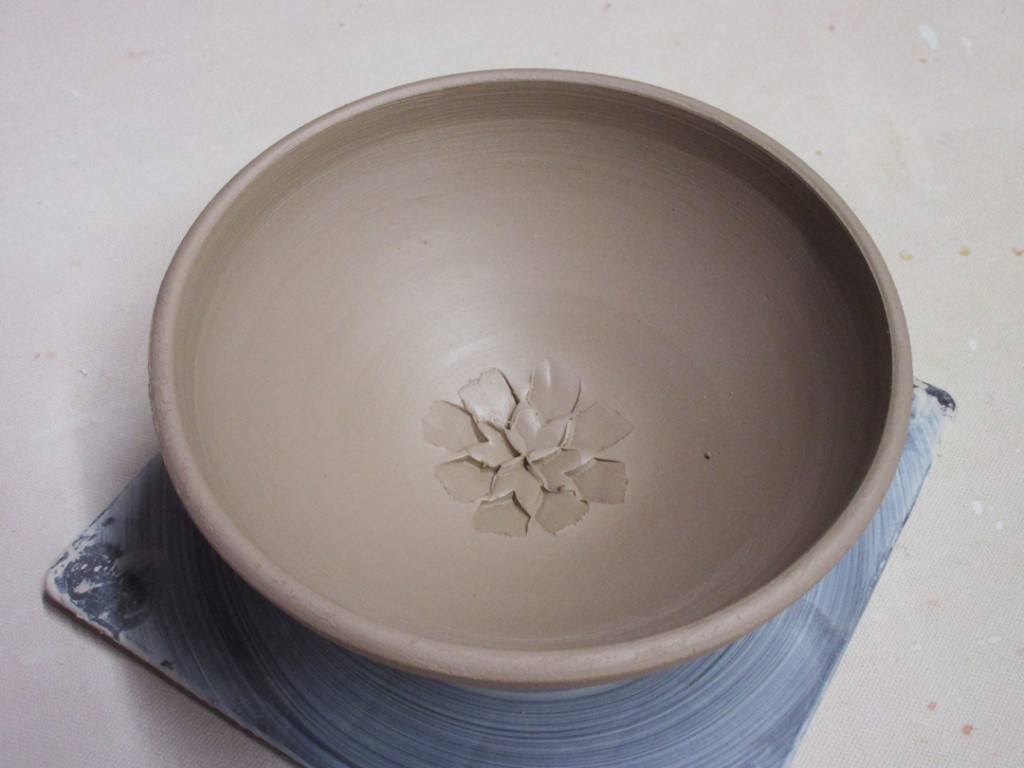
Bowl Eight – Typically I do all of my stamping a day or so after throwing the pieces… not right away. But for tis demo, I used a metal dragonscale to to press a stylized flower into the bottom of the bowl. Another surprise at the bottom for when your guest finished the hot fudge sundae.
Bowl Nine – Split rim pinched back together in four places.
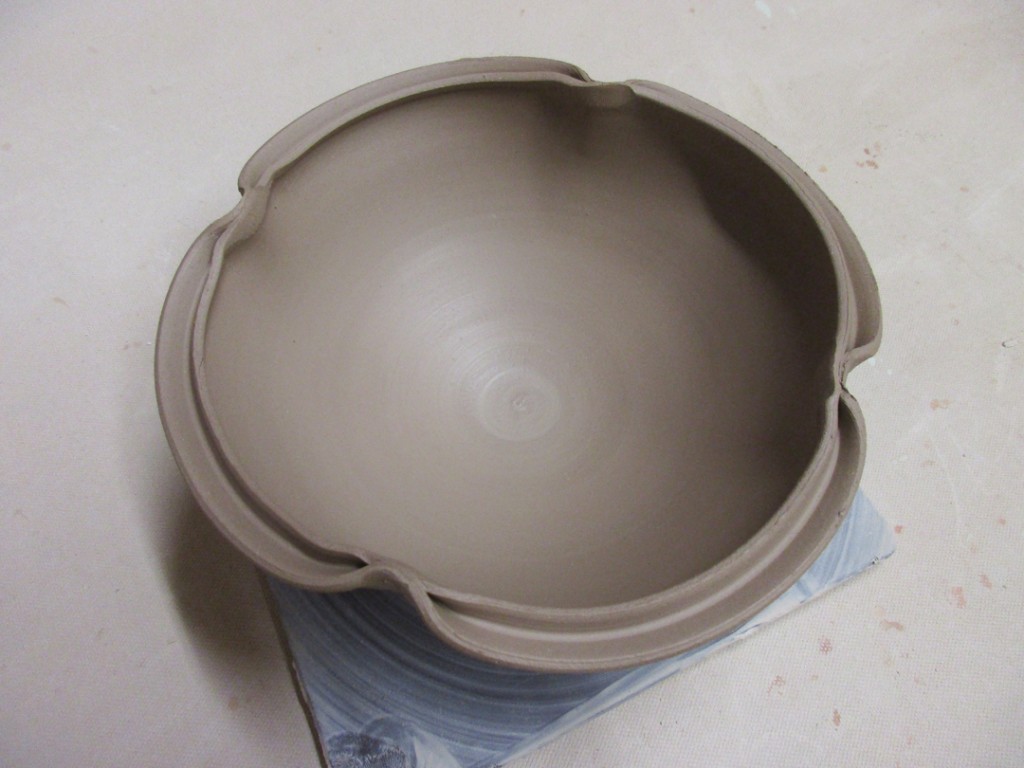
Bowl Ten – Split rim pinched back together in six places…
a little irregular, but I have a plan in mind…
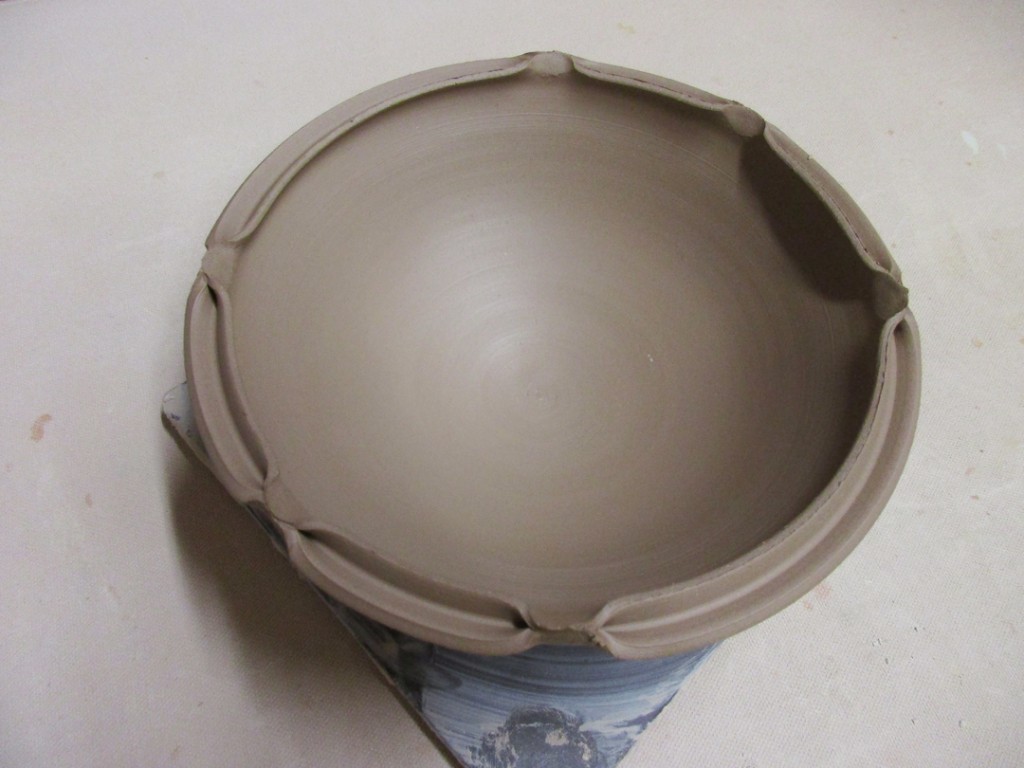
Bowl Eleven – Another split rim, but this time shaped inwards in four places, and outward in the corners creating a stylized lotus flower.
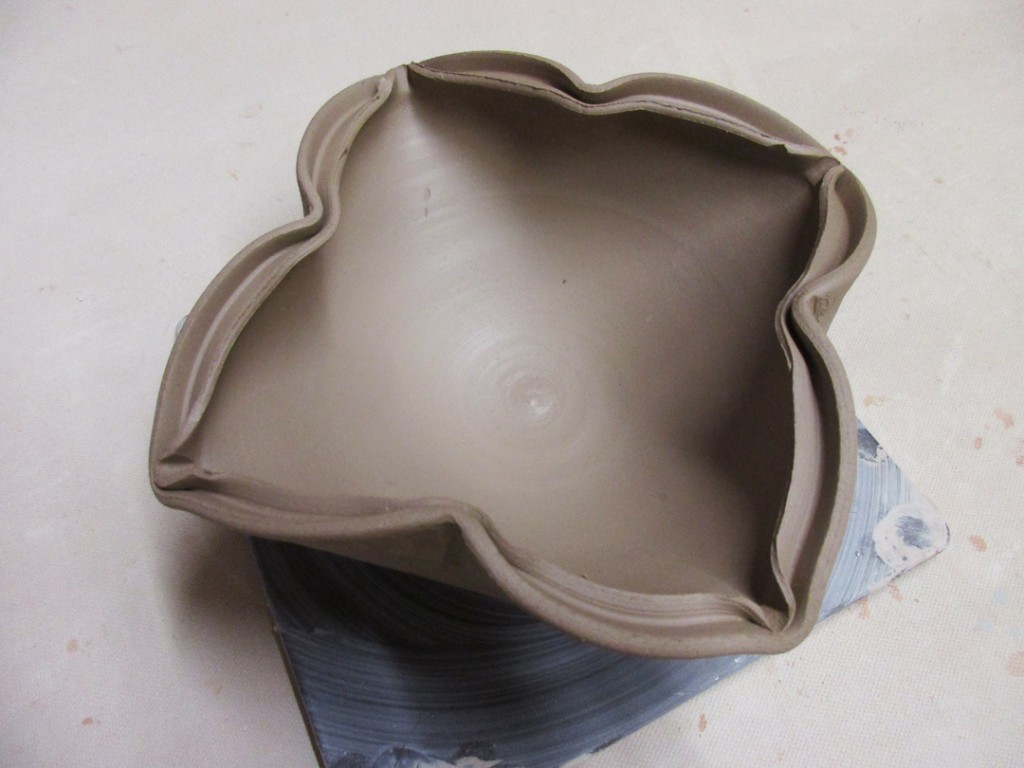
Bowl Twelve – For this one I attempted a rolled-over hollow rim. It “kinda” worked… the bowl was a little to dry from sitting out during the demo, and I think I flared too much out & over. I had a little trouble getting it to reattach on the underside smoothly.
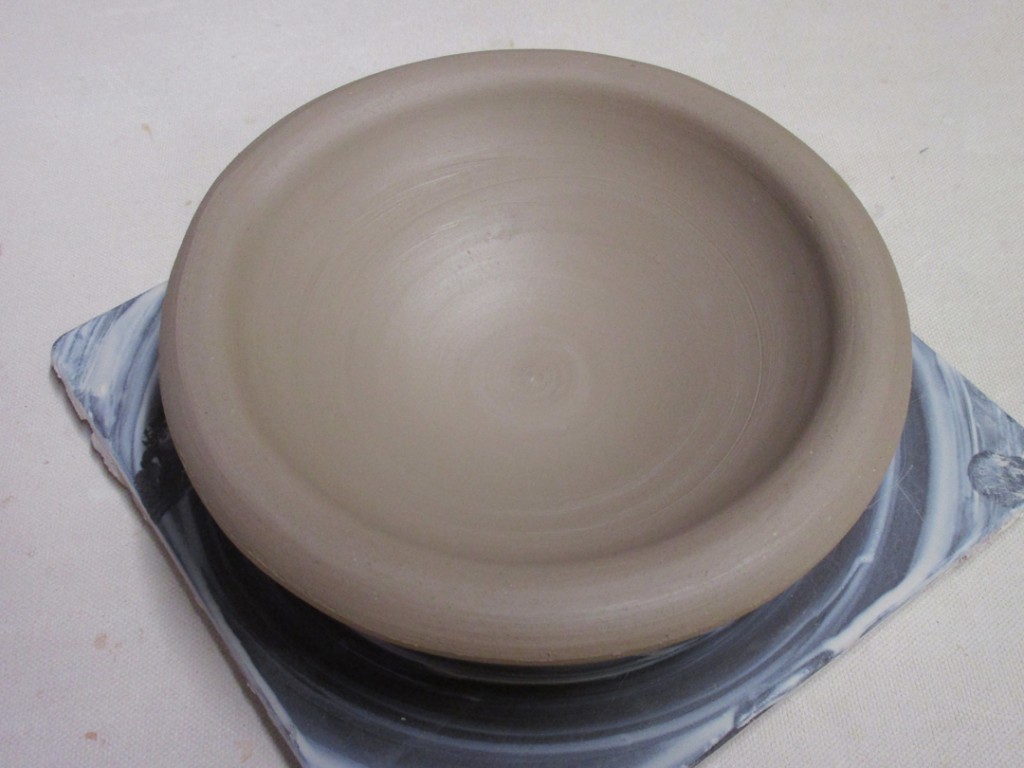
After the first dozen, I figured it was time to add some colored slip for decorative accents. We discussed the benefit of slip versus glaze. How they each have different properties. Why slip is better for some things. And how it makes a two-tone bowl “easier” to do with slip than trying it by dipping into two colors of glaze.
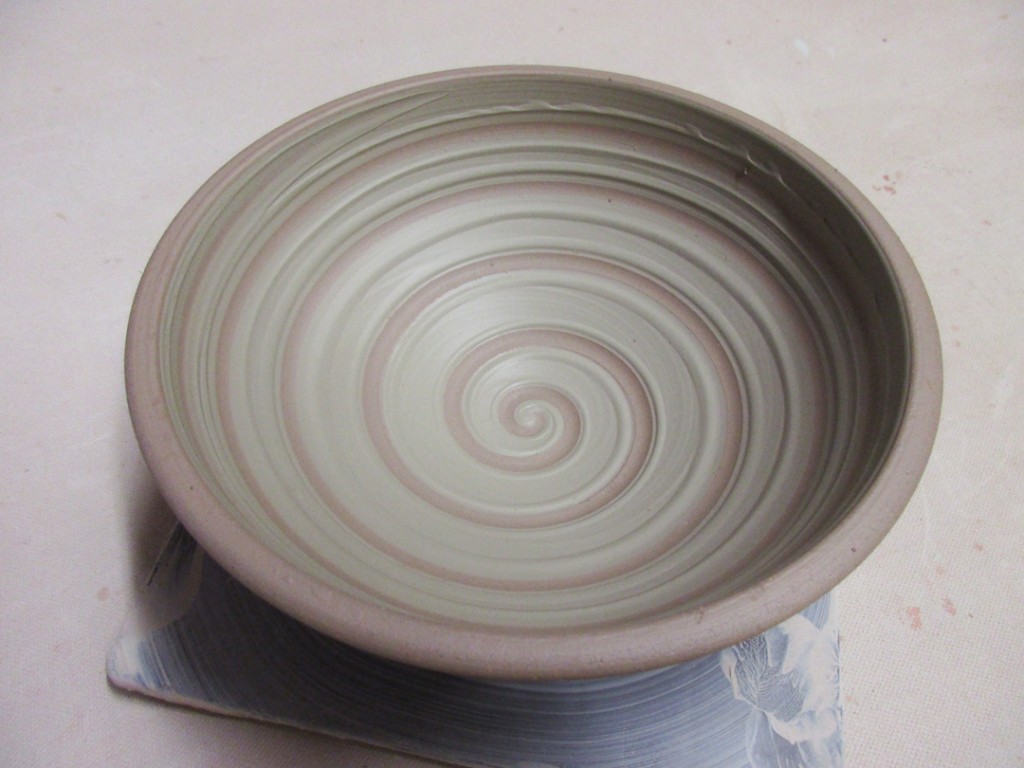
Bowl Thirteen – Slip Swirled. I coated the entire interior with white slip, and then dragged the curved end of my wooden knife through the slip to reveal the clay as the bowl was rotating… hence, the perfect spiral.
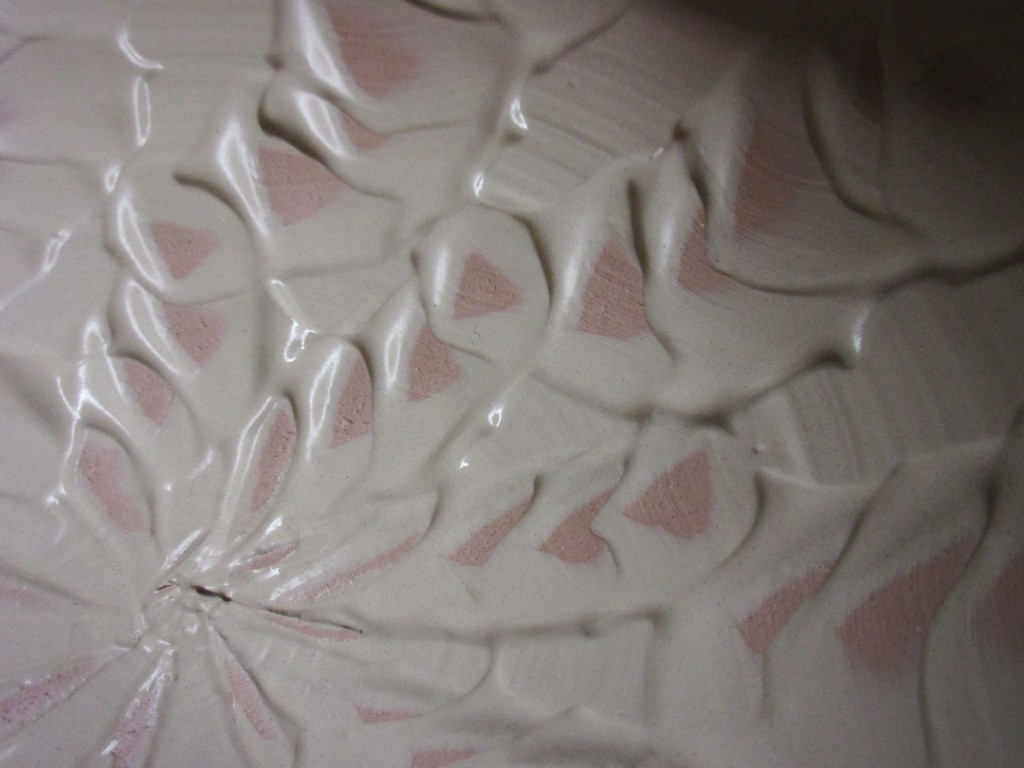
Bowl Fourteen – Another coating of white slip on the interior of the bowl, a little thicker than the last bowl. I then did some finger squiggling through the slip creating this groovy, wavy pattern.


Bowl Fifteen – Another bowl with a flared out flange, this time using that space as a nice “canvas” for some slip decoration. I coated it with white slip, and then dragged my finger through it all the way around.

Bowl Sixteen – Chattered pattern through thick white slip. It’s a bit tricky the first couple times… but it’s just rhythmic tapping of a rubber rib through the slip while rotating and moving the tapping up and out.

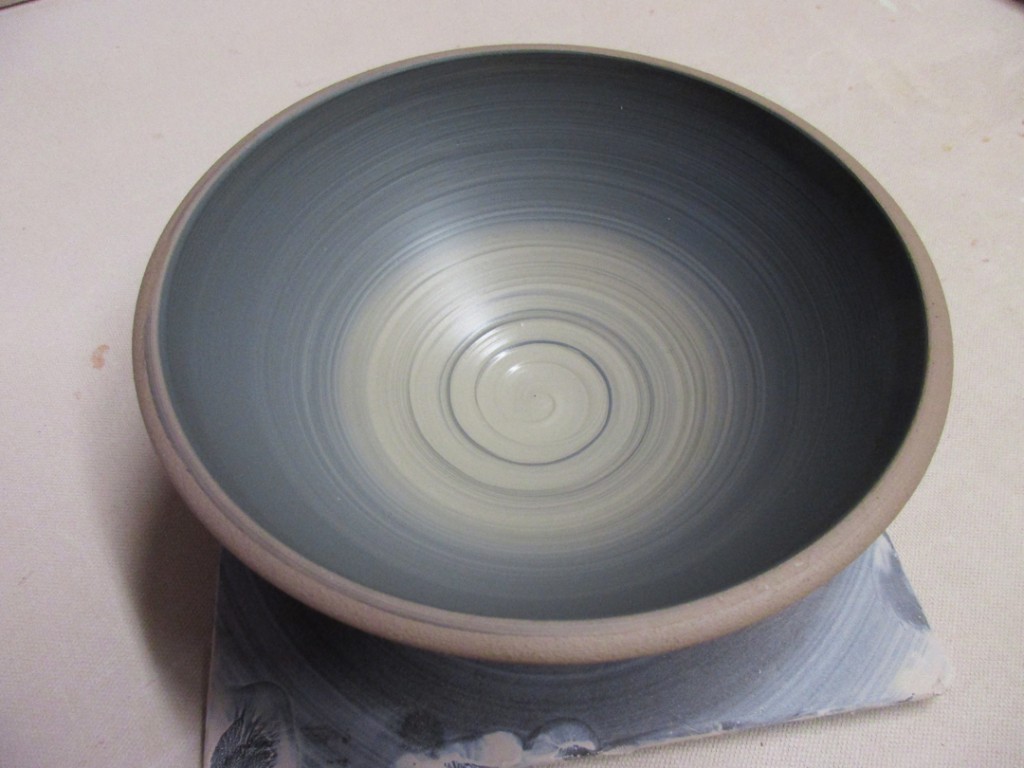
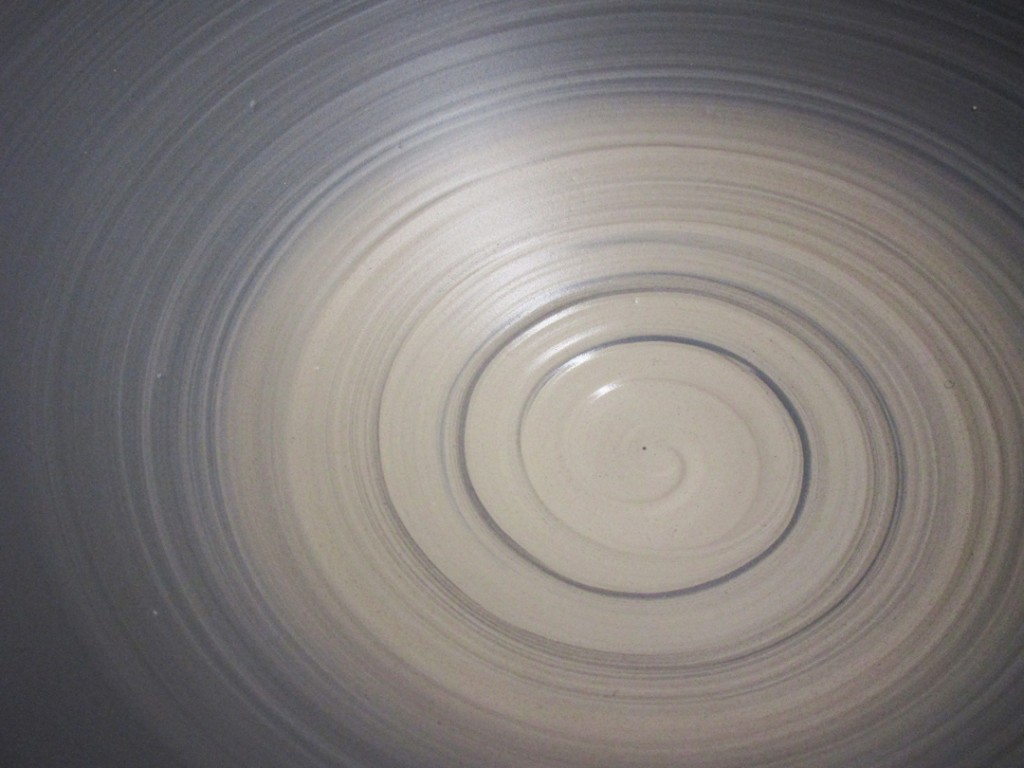
Bowl Seventeen – A quick ombre blended effect using white and black slips. While I was blending the gradation, I got these fun black spiral lines at the bottom… so we decided I should keep it like this! So I did.
So now all of the bowls are upstairs in my studio under wraps. I’ll let them set-up a bit… and then I’ll do some stamping, texturing and detailing. Go figure, right? More to come…
