Back from the Zoo… and filled with inspiration, creativity and spunk,
my campers were ready work on their animal sculptures. We’ve been building them
with wire armatures inside, wrapped with newspaper to fill them out, secured with
a layer of masking tape… and now they’re covering the sculptures with a “skin” of
plaster gauze. Kinda like paper maché, but easier & stronger!
Another beautiful morning. This whole week has been beautiful.
After a long, drawn-out, very wet, very cold Spring… this week has been PERFECT!
As was the sunrise this morning over Burnham Harbor. I especially love the glow over
the dome of the Adler Planetarium… and the bird posing for this morning’s photo shoot.
I had several comments on Facebook when I posted a picture of a class demo oval
that I made with a stamped & fluted rim. So I thought I would go ahead and re-create
the demo in a photo version for those who couldn’t make it into my class!!!
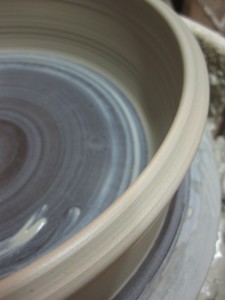
The first thing you need to make a simple oval is to throw a bottomless cylinder.
The the choice is yours… a decorative fluted rim or plain?! For this demo, I chose fluted.
So just before finishing it off, I take a pointed wood tool and literally split the rim
into two equal sides. These two “sides” of the rim will be converted to the fluting.
Once the bottomless cylinders are thrown, they need to set-up a bit before stamping.
These ones I wrapped in plastic overnight, and they were still just a bit stickier than
I would have liked. When I came back the next night, I carefully re-wired them off the bat
and formed them into the oval shape I was looking for. In this case, a nice oval casserole.
Still a little too sticky, but I went ahead… and stamped away with reckless abandon!!!
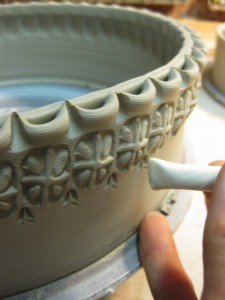
I then use the spacing of the stamped pattern to determine where the fluting will occur.
I take another stamp with a smoothed edge and literally press it into the outer rim until
it meets and attaches to the inner rim. It’s that easy, as long as your cylinder is still wet
and sticky enough for them to join back together. Make sure your cylinder is still on the
“wetter” side of leatherhard so that when you press the two rims together they will stick.
And if a few stamps are nice, even more stamps are better. So I went even further and
added another row of stamps, this time smaller, to add another nuance to the pattern.
And then, just for fun… I used the same little stamp to create a little interior stamp detail
where each of the fluted sections connected. Feel free to stop stamping anywhere along
the way… if you can. It’s kind of addicting…
So now, you’ve got a decorated oval or two… without a bottom! Set them aside
and let them stiffen up a little more while you move on to the next step.
While your ovals are open to the air and stiffening up, throw a slab of the same clay
and the same thickness as your oval. Then carefully place your decorated oval-cylinder
on top of the slab and “trace” around it with a needle tool. The remove the cylinder.
With a metal fork, I go around and score deeply just inside of the traced line. I also flip
the cylinder over and very carefully score the bottom of the cylinder too. Then it’s a row
of slip on top of the slab scoring. Gently place the oval on top and line up your scoring.
Gently press them together until some of the slip squishes out. I then carefully flip them
back over again and use a thin wooden spoon to “paddle” them together… creating a little
angle on the edge, as well as sealing the seam very tightly.
Once you have the bottom & edge all cleaned up, you can carefully flip it back over again
and smooth out the interior seam. Hopefully you’ve got a tight connection and a clean line
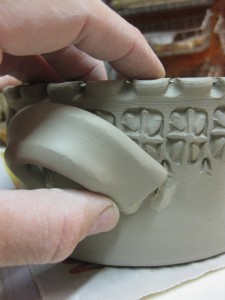
to smooth together inside. As this is a larger oval, I decided to add a handle on each of the
ends of the oval. If someone is going to actually cook in this casserole dish, the handles
will make it more functional and easier to pull in & out of the oven. Again, be sure to
score & slip, press it together and smooth out your edges.
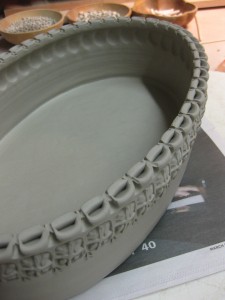
And there it is! A finished oval ready to start drying slowly. I want all of the parts to find
a sort of “moisture-equilibrium” before I let it start drying. So I keep it wrapped under
plastic overnight. Then, I unwrap the plastic loosely for the next couple days. Then it’s
fully unwrapped, drying and ready to go into the bisque kiln.
Good luck with your ovals… and if you have any questions, please let me know!
And remember, the same decorative technique can also be used on other shapes.
And I’m SO excited!!! It’s been far too long.
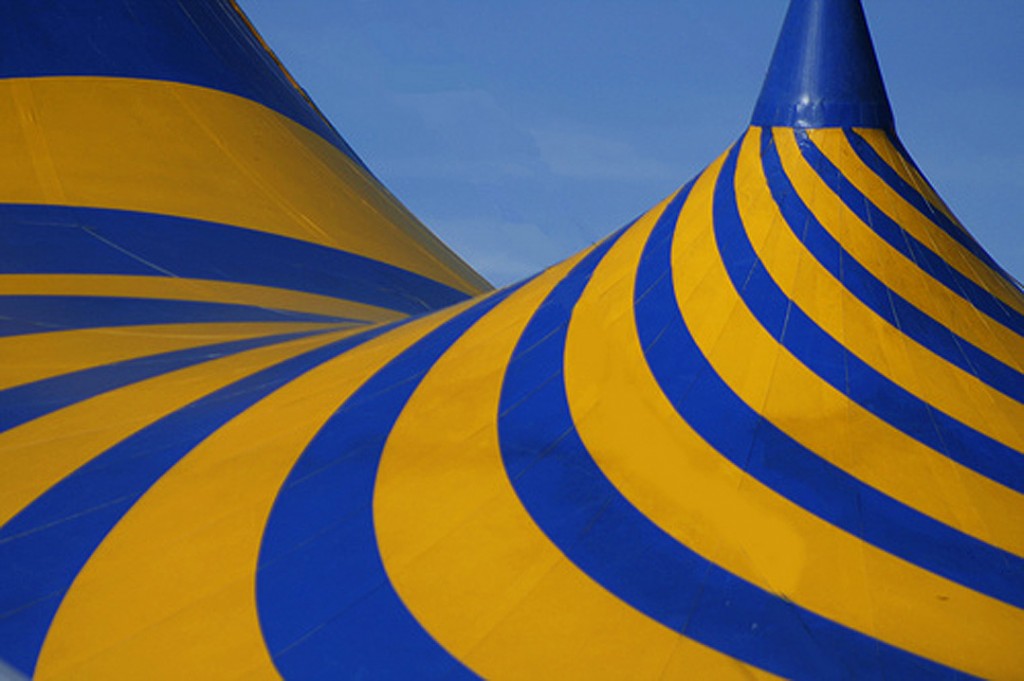
I’ve been watching the tent go up all week like the stalker that I am.
And finally, after a week of construction in the parking lot of the United Center…
The Grand Chapiteau opens tomorrow…
but I need to wait for another two-and-a-half weeks until I get to go.
Unless I buy more tickets and go more than once?! hmmm…
And yes, I am a that big of a dork.
When we returned from the Zoo, my kids were picked up and headed home.
I came back into Lillstreet only to find that the Teen Wheelthrowing Camp
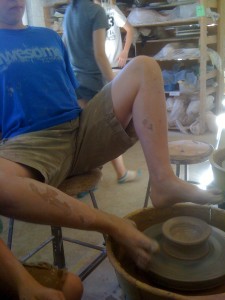
was “showing off” a bit.. well, at least one of them! Logan, one of our long-time campers
who has grown-up with us over the years, was actually throwing his pots with his feet!
And Dave, the teacher for Teen Wheel was encouraging him… and everyone else looked
on in befuddled amazement. In the end, Logan did a great job. Maybe not the most
effective way to throw on a wheel… but entertaining nonetheless!!!
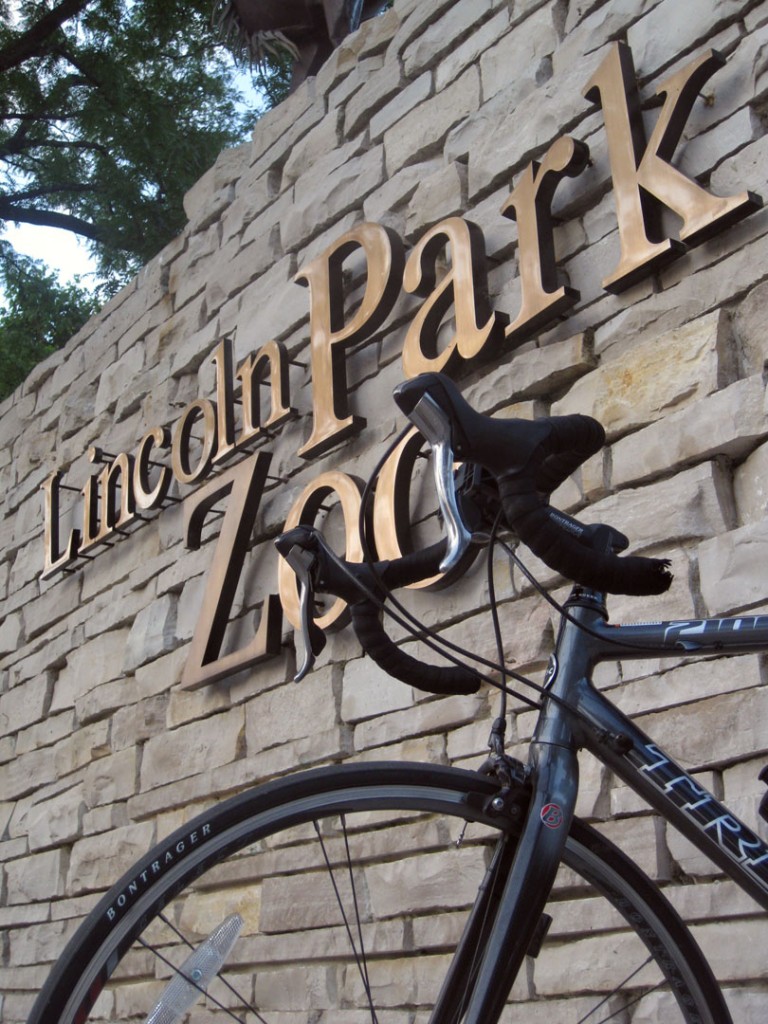
So today we went to Lincoln Park Zoo for our “Wild Things” camp field trip.
I gathered all of my happy campers onto the bus and we head off to the zoo.
When we got there, my kids were given a “scavenger hunt” assignment to gently
“encourage” them to be interactive and actually learn & see the Zoo instead of
just walking around all day. They were great – and worked so hard on the worksheet.
They even had several great conversations with the docents & zoo keepers to get answers
to some of their questions. Sure there were animals. And we saw a LOT of them!!!
For lunch, we all gathered at the central patio area. After the finished eating, they all worked
on watercolor paintings of their favorite animals. It’s always fun to see the kids making artwork
while they’re at the Zoo. Putting their new “animal enthusiasm” to good use!
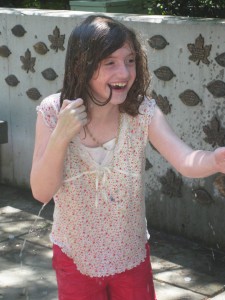
However, the same every year, the kids really love the crazy fountain at the Children’s Zoo
with the water “popping out” of the sidewalk at sporadic moments. Who needs animals???
They were hot, tired and ready to play! The squeals of glee & excitement were contagious.
Okay, so I had some soaking wet kids on the bus headed back to Lillstreet… okay, so some
of the kids were still wet when they were picked up… okay, so they had a great time!!!
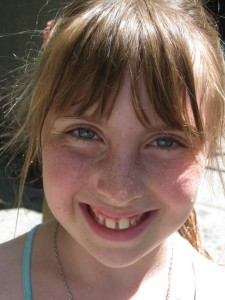
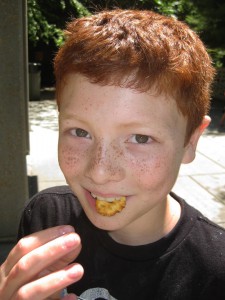
And I must admit… my campers this week are adorable!
So much fun to play with… err, I mean teach… and here are some of their smiling faces!!!


