Gary Jackson: Fire When Ready Pottery
A Chicago potter’s somewhat slanted view of clay & play
Categories: glaze, kiln firing, mugs, pottery, production, stamps

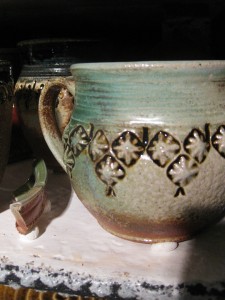
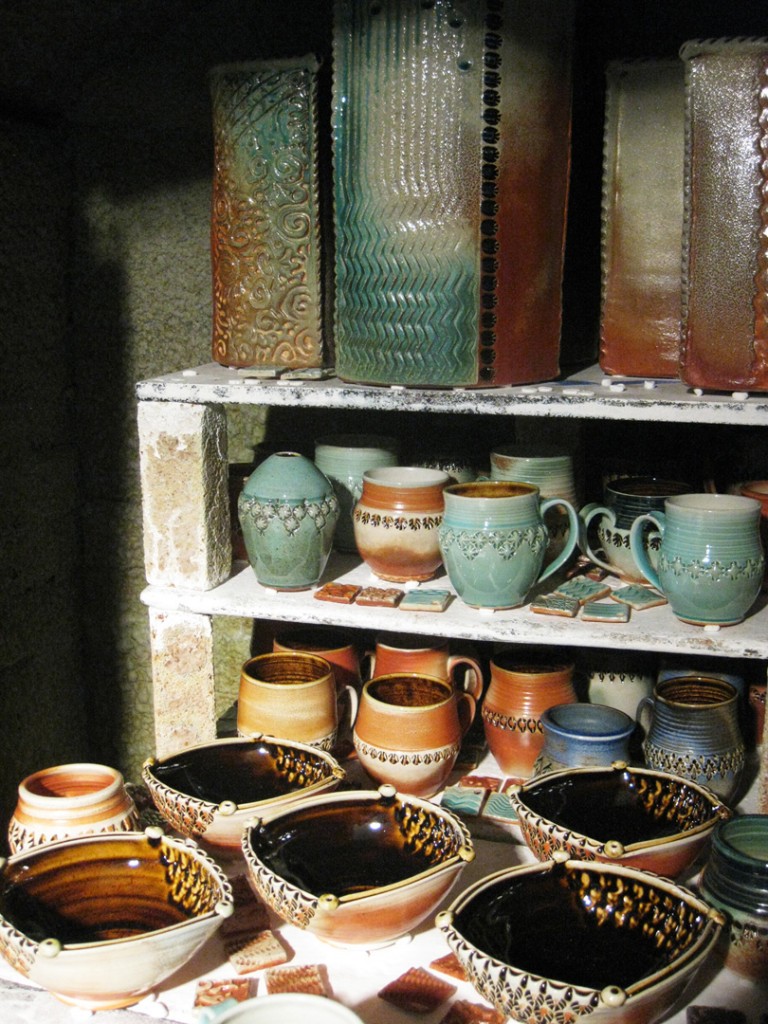
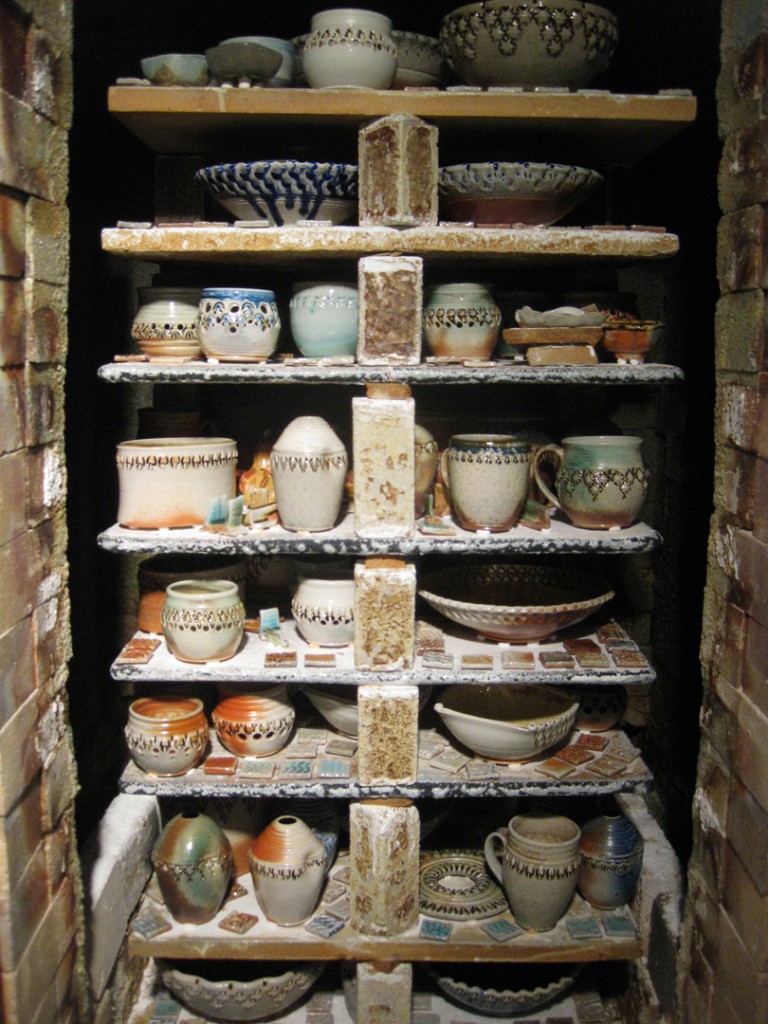
Load Friday. Fire Saturday. Cool Sunday. Unload Monday. Four days of fun!!!
Tonight I unloaded my kiln, packed it all up, cleaned & scraped the shelves and
shlepped it all home. Maybe tomorrow I’ll have time to actually admire my new pieces?!

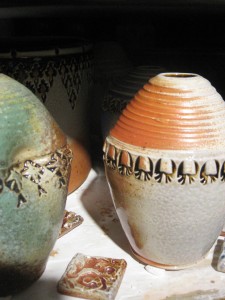
And then, somewhere in the middle of the kiln, there were some other beautiful things
happening in there… especially with some newer, bright pops of color!

Categories: kiln firing, lillstreet, textures

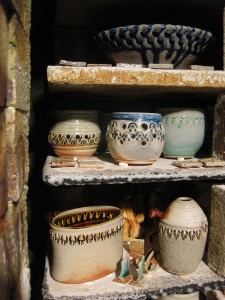
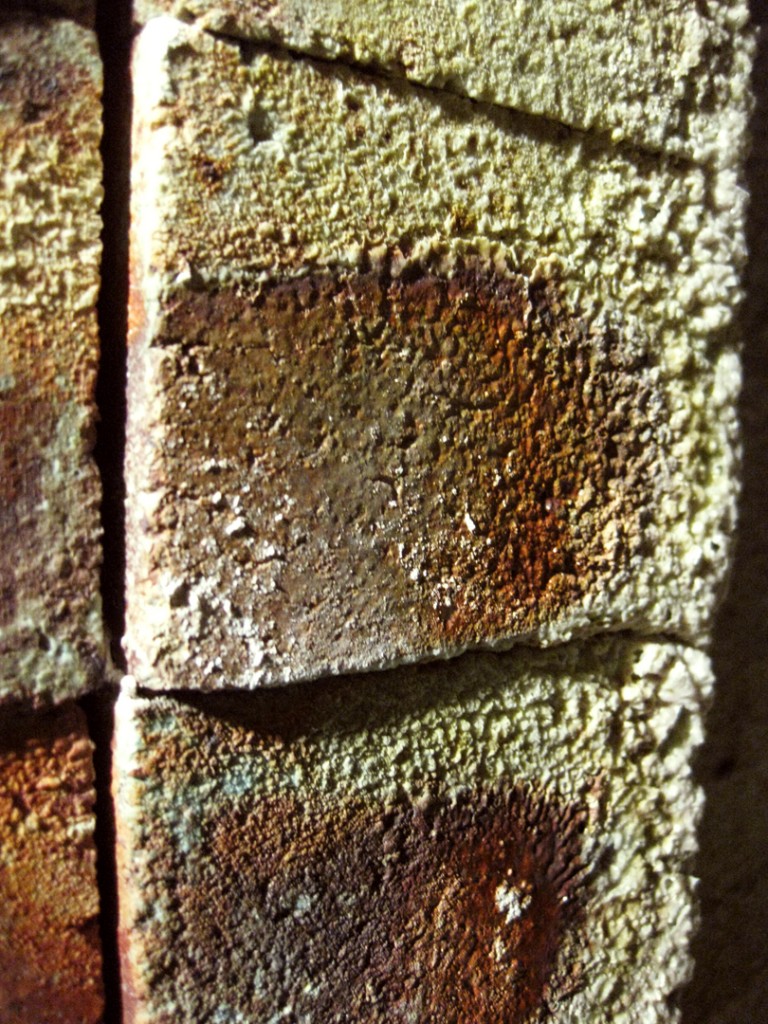
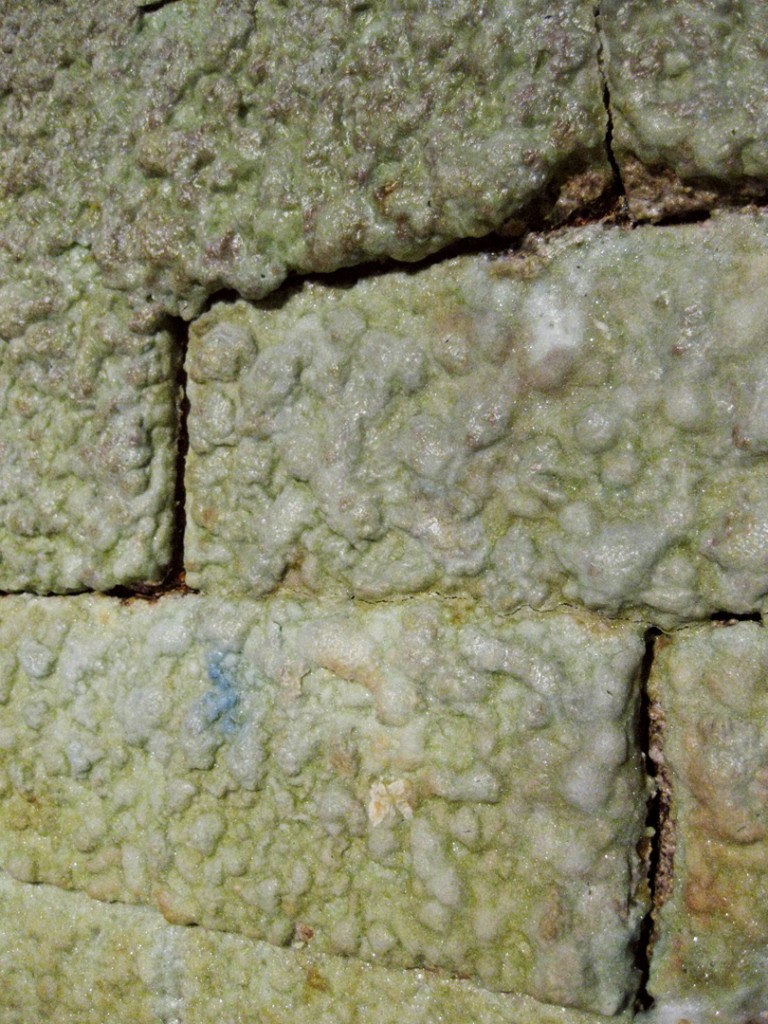
I just love the range of colors in the flashing and the crusty build-up of the soda
on the bricks on the sides of the doorway. From the dark browns, through the reddish hues,
with hints of greens & turquoise going into the crusty whites. All created “naturally” by
the flames escaping through the bricked kiln door and leaving their mark along the way.

And the somewhat “lunar” textures of the back wall bricks from the intense soda build-up
from firing after firing of the Lillstreet Art Center soda kiln.

Categories: production, stamps, textures

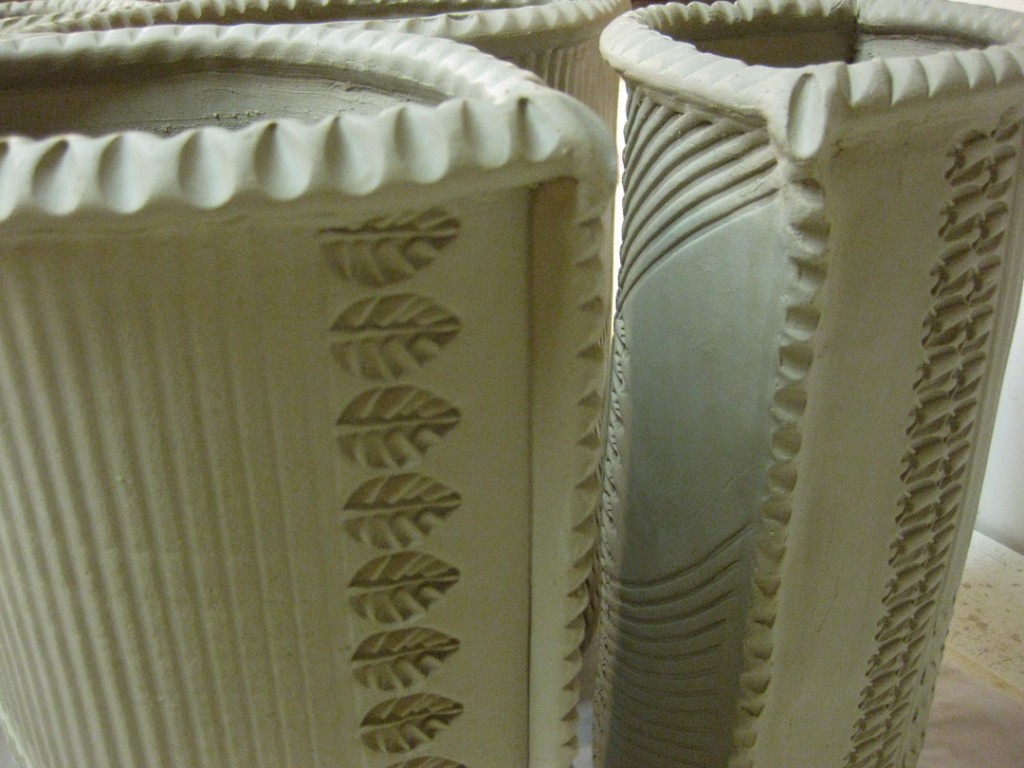
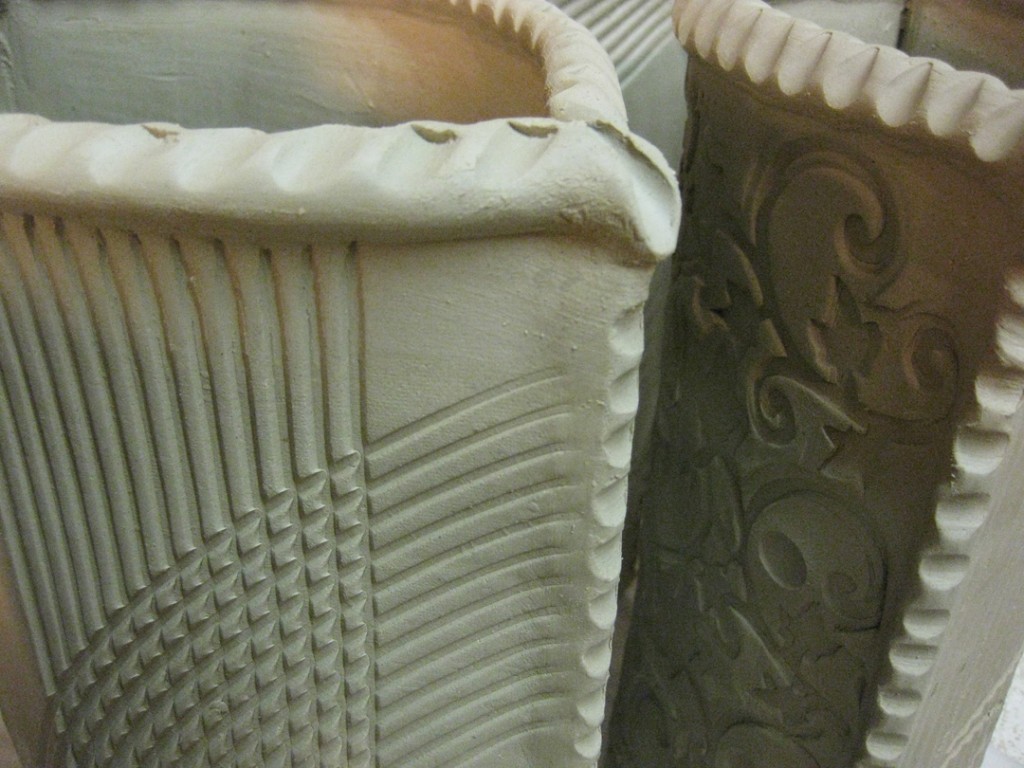
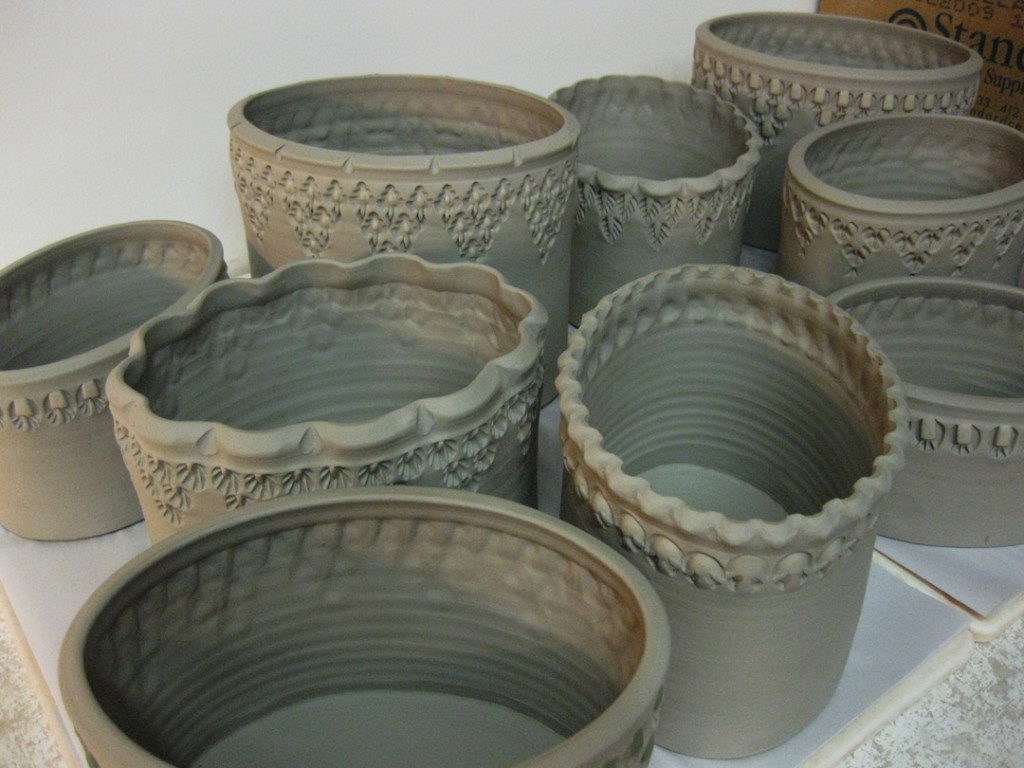
With just one week until my next soda kiln, I am in the final stages of building new work.
Today I was focused on these new textured slab vases. They’re setting up overnight,
and tomorrow I’ll add some colored slip accents before setting them off to dry.


Categories: process, production, stamps, textures

With just enough time before teaching my class tonight,
I added some colored slip details to these newly assembled & stamped oval vases.

Categories: process, production, stamps

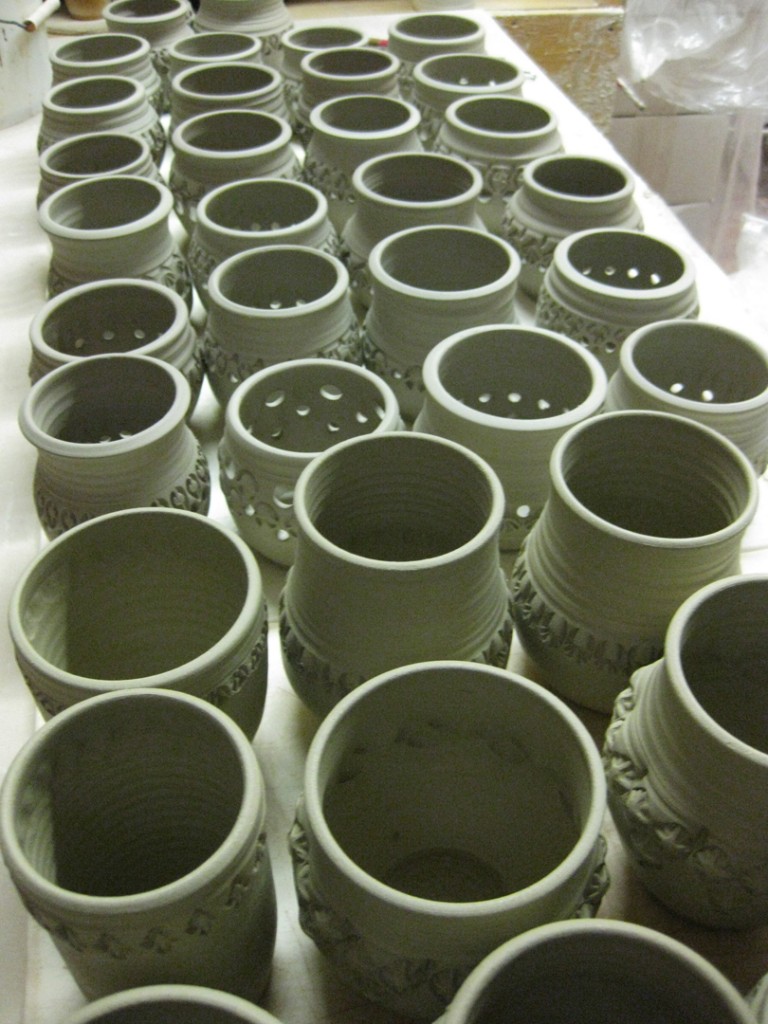
It was a productive evening in the studio. A lot of stamping & piercing…
and now they just need some colored slip accents before they start to dry!

Votive candle holders… and a few more mugs waiting for their handles!

Categories: process, production, stamps, studio, textures

I spent the afternoon in the studio trying to finish up some pieces with a few slip details.
As if the obsessive stamping weren’t enough, frequently I also go back and add a dab of
colored flashing slip into each stamp. I love how the soda firing makes these colors pop,
and adds another layer of interest into my work.

Who doesn’t need a little more obsession in their life anyway, right?!

Categories: pottery, production, stamps, studio, textures

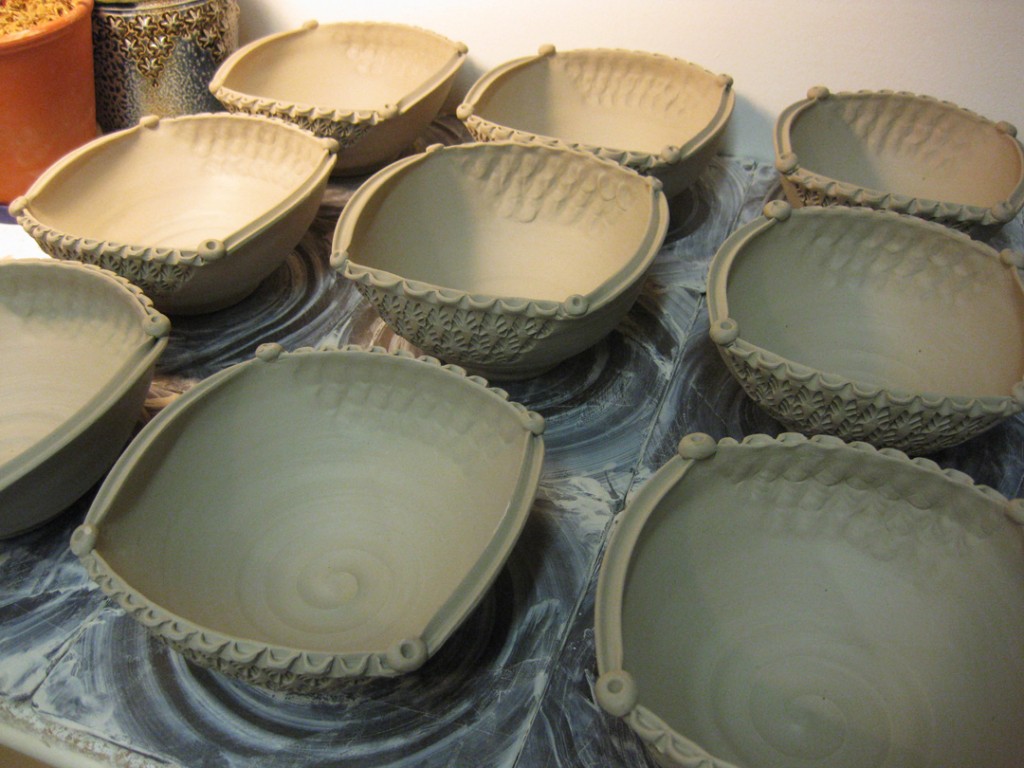
After camp today, I stayed in my studio to do some stamping, trimming, detailing
& slip painting. Happy to report that all of the squared-off bowls are now done &
drying overnight! Mission accomplished…

Kind of ironic, as I watched the latest “Mission Impossible” movie on DVD while working.

Categories: process, production, stamps, studio, textures

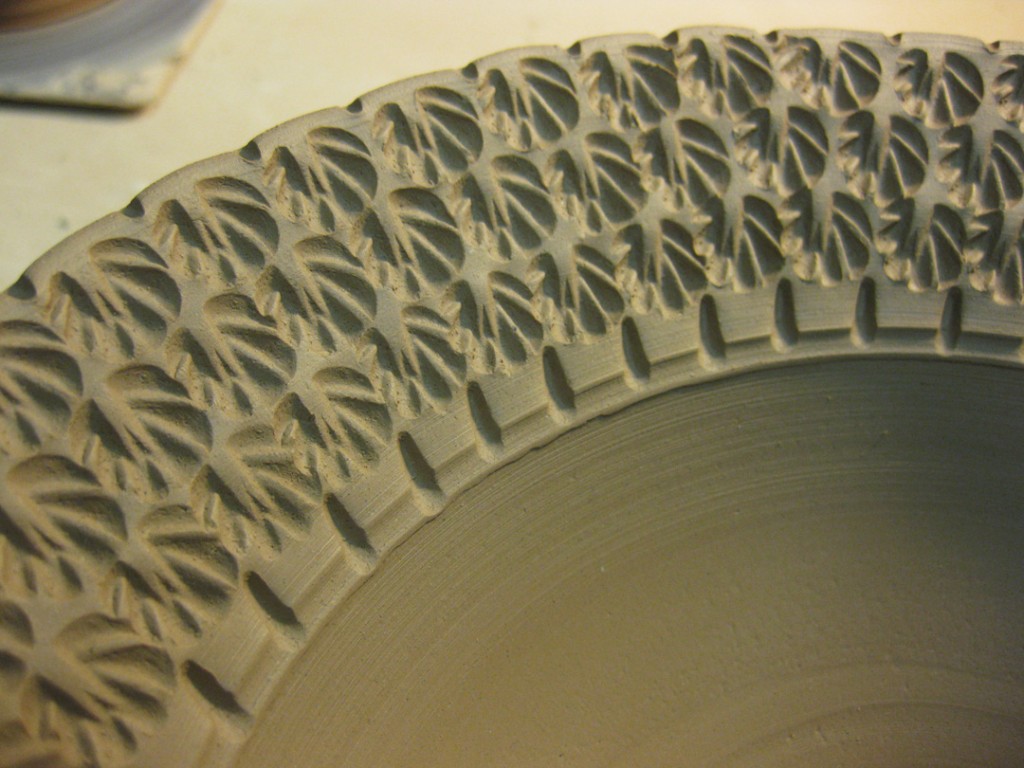
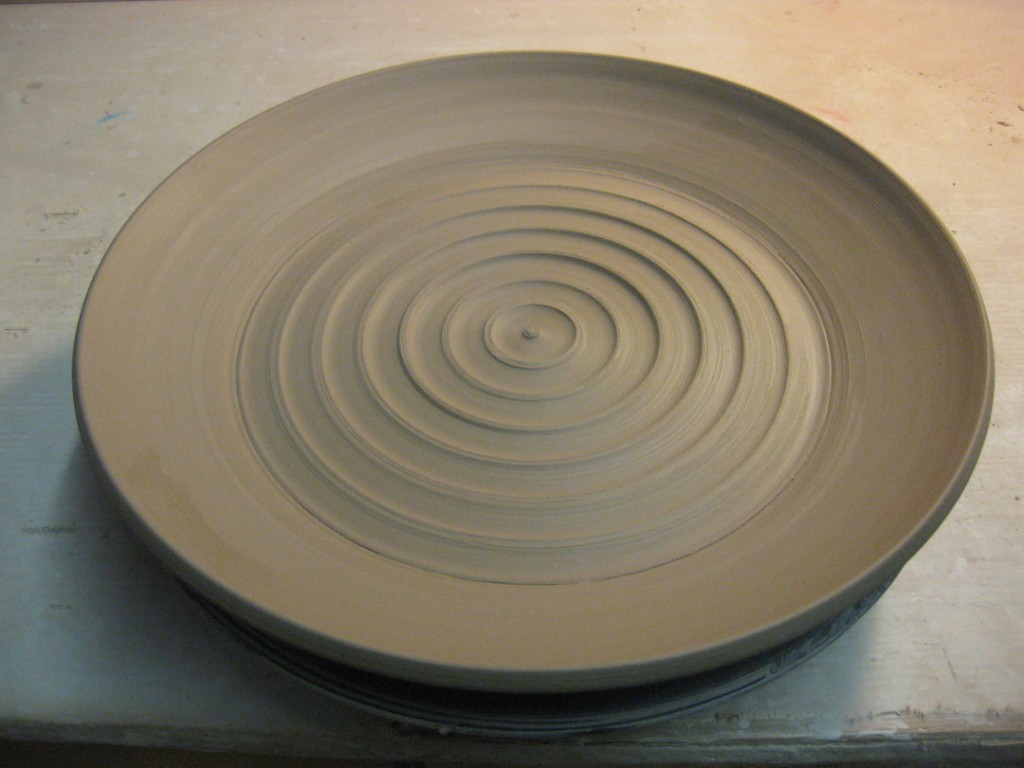
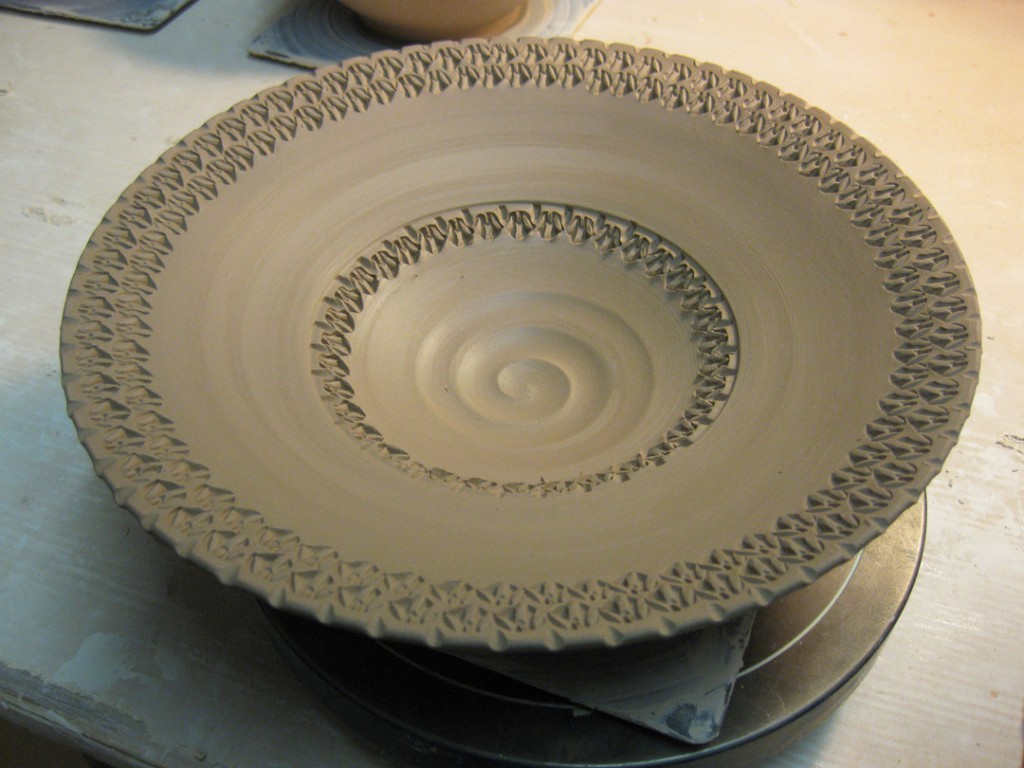
So here’s the platter I threw for my class demo last Tuesday night.
I was hoping to keep it wet enough to stamp it as “class demo part two” next Tuesday.
But it was getting a little too dry a little too quickly. So I had to stamp it today. Here’s the
“demo” I was planning to share… this time in a sequential photo format.

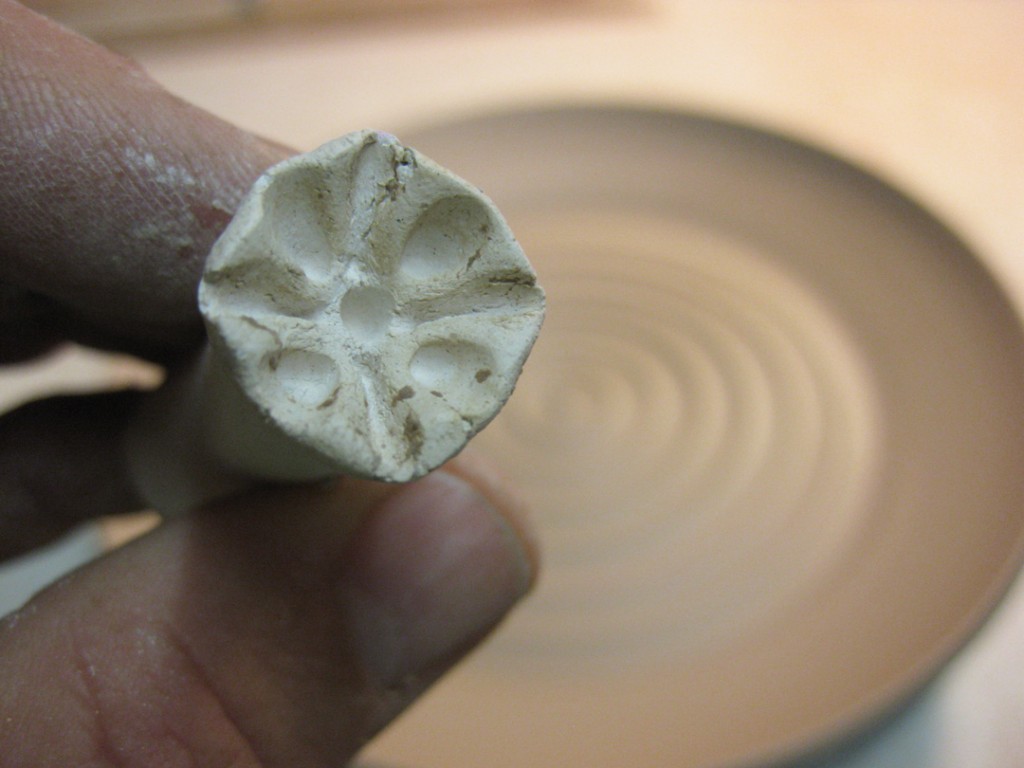
The chosen stamp prepared to make its mark on the platter!

Just getting started… pressing the stamp into the moist clay one, by one, by one…

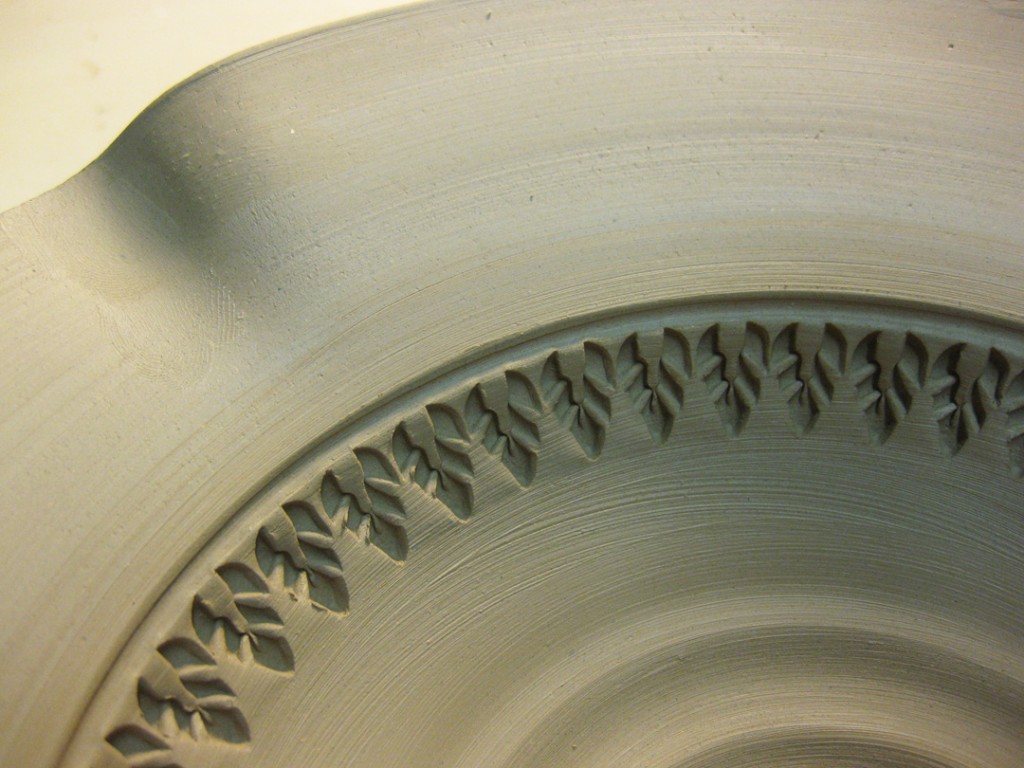
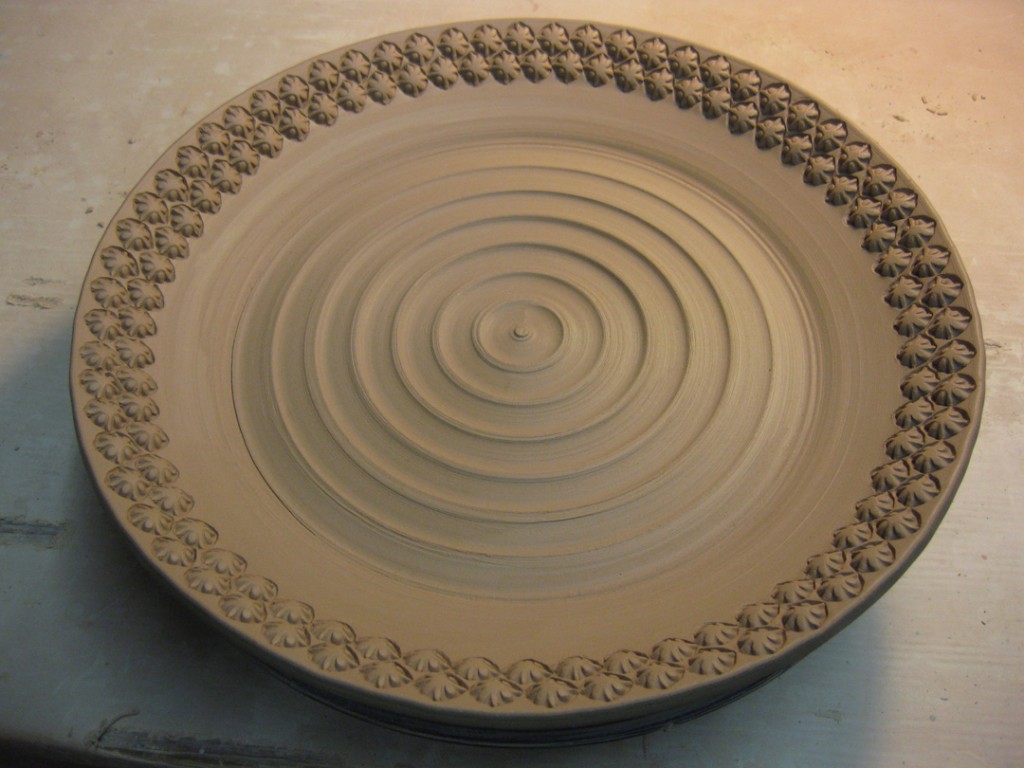
One row of stamping done. I always love to see how a basic platter can be transformed
so quickly with just a few impressions!

And if one row is pretty, a second row can only make it prettier, right?!


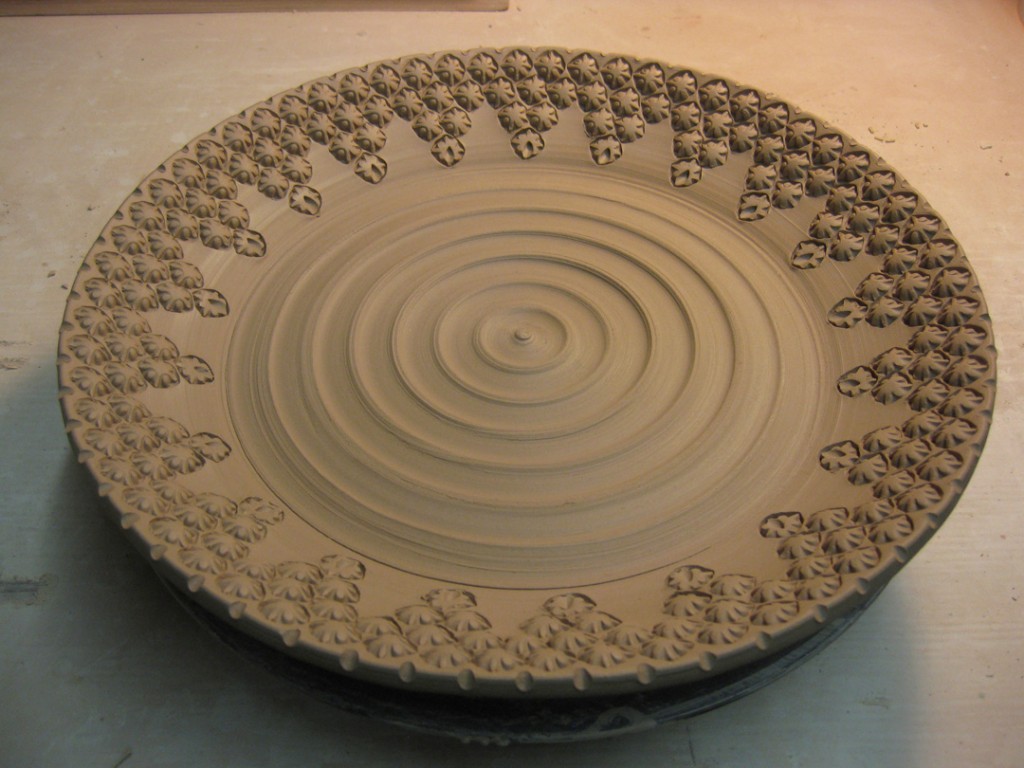
But why stop there? So I finished it off with some scalloped edge stamping. And some small
detailing with notches in the rim and small indentations in the stamps at the points.

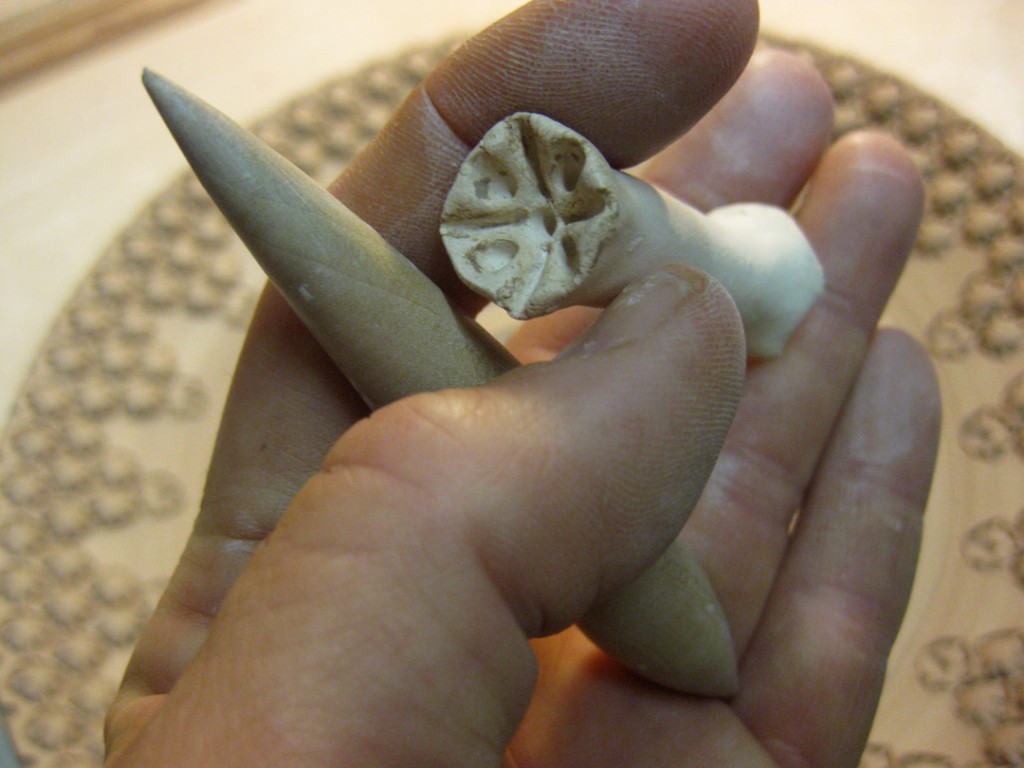
Here are the three tools that did all the work… a stamp, a wooden tool… and my hand!

Categories: classes, process, production, stamps, studio, textures

So last night was my “basic bowl” demonstration for my wheel throwing class!
We were working on making each bowl different and unique. After class, I brought them
all upstairs to my studio so that I could do a little more work on them. So today after camp,
I spent some time refining & stamping the bowl samples. It will be fun to show my students
how they’ve all been transformed seemingly “overnight.”

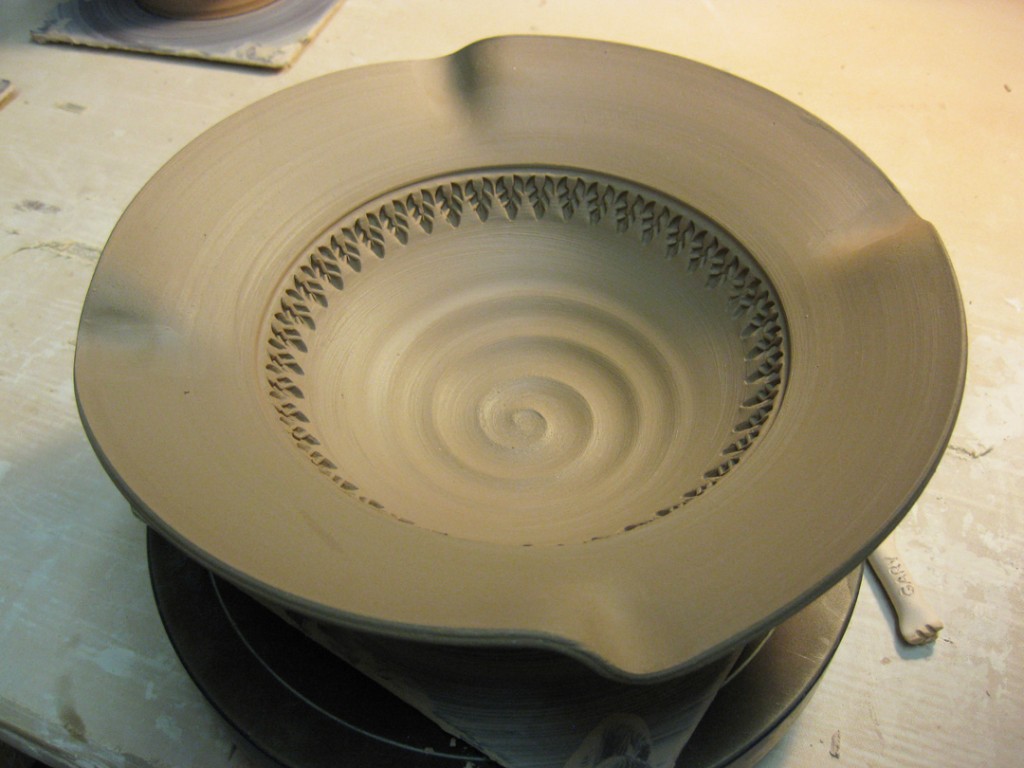
This first bowl has a flared out rim… plain & flat until you add some stamped fun!

This second one has the same flared rim, but with the addition of fluted curves. A simple
ring of stamps keeps the gently undulation of the rim intact without overpowering it.

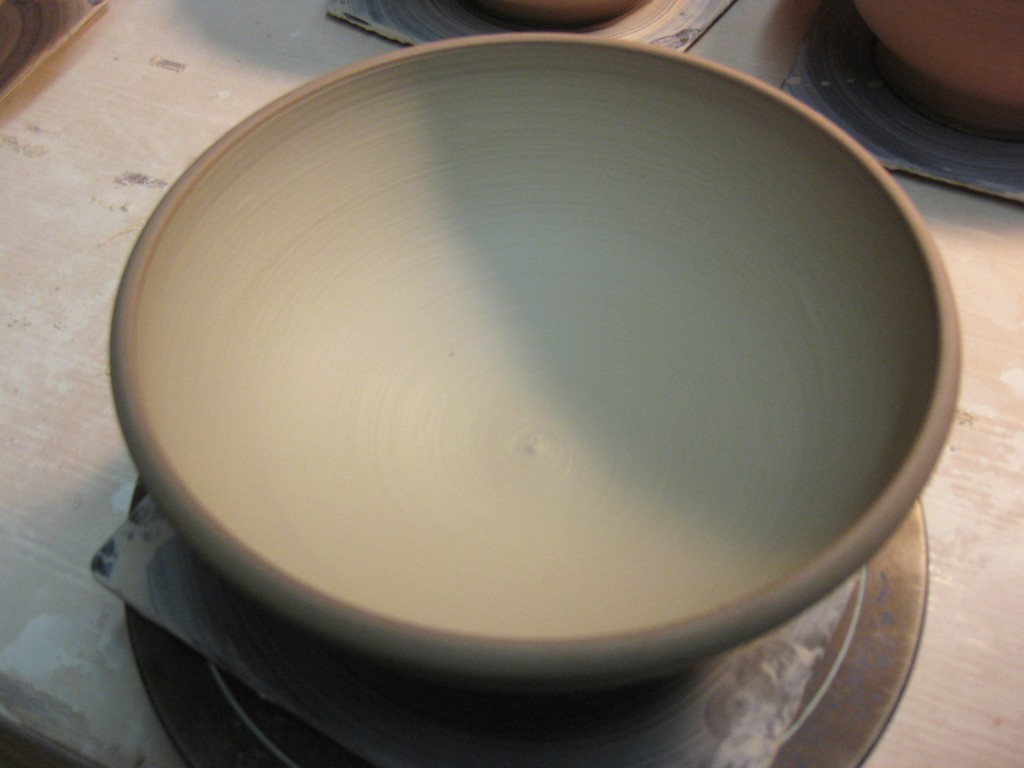
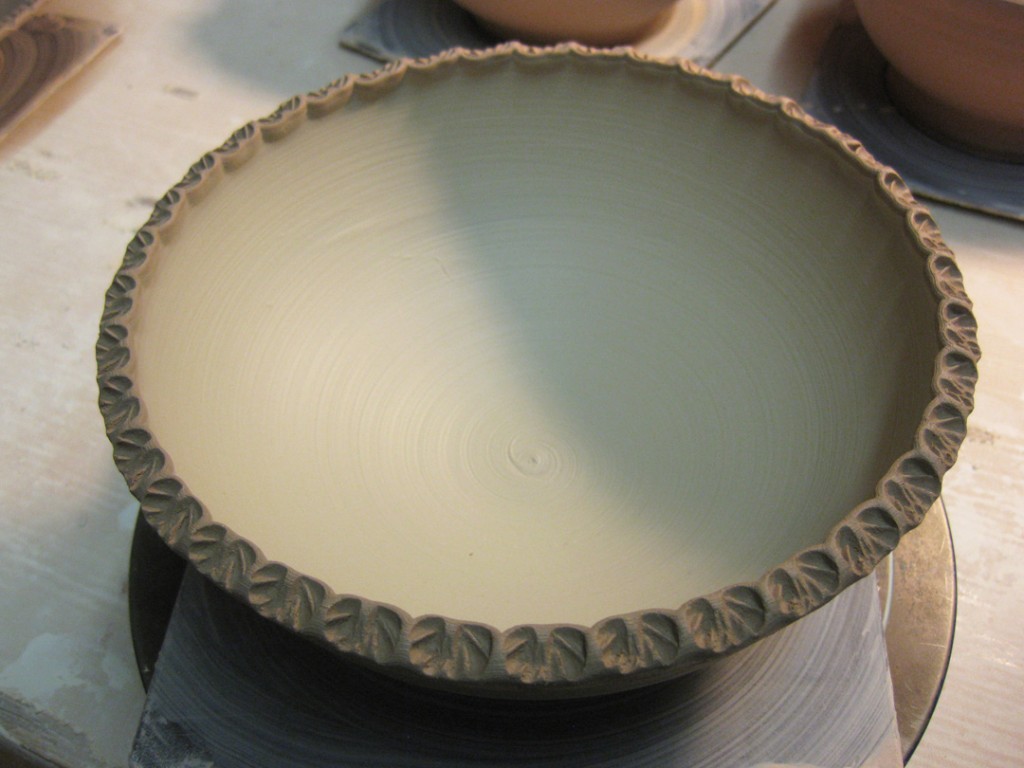
This third bowl had a simple, solid layer of white slip inside. Kinda plain & boring.
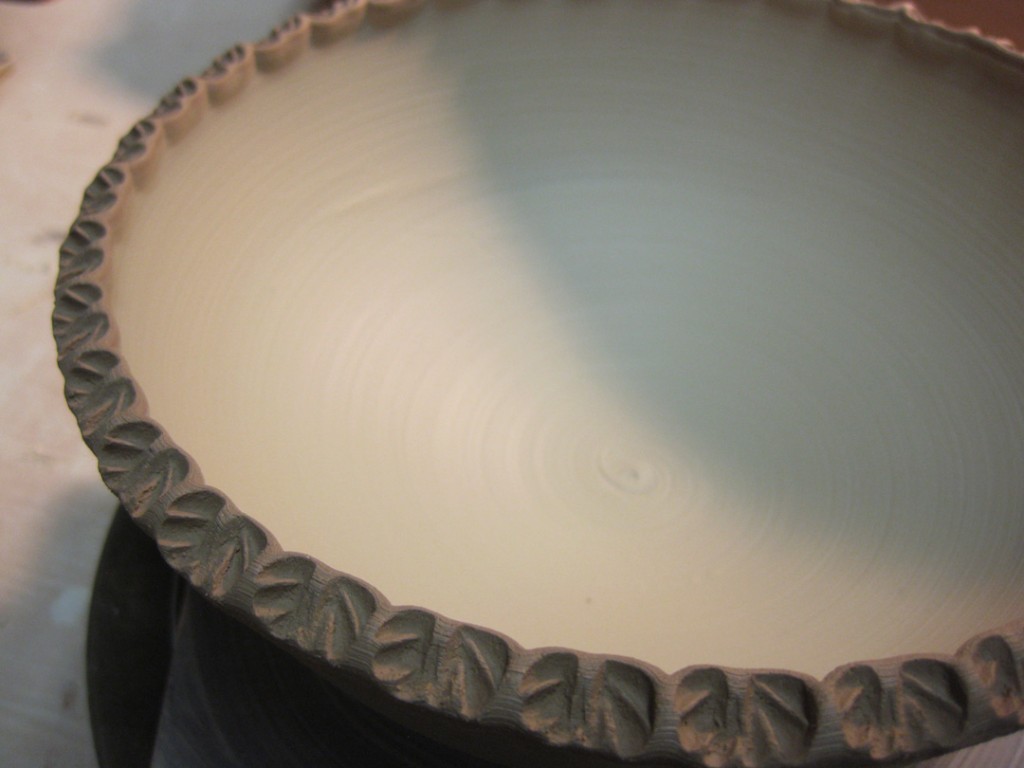
But a quick textured rim makes all the difference. One stamp… again, and again, and again!
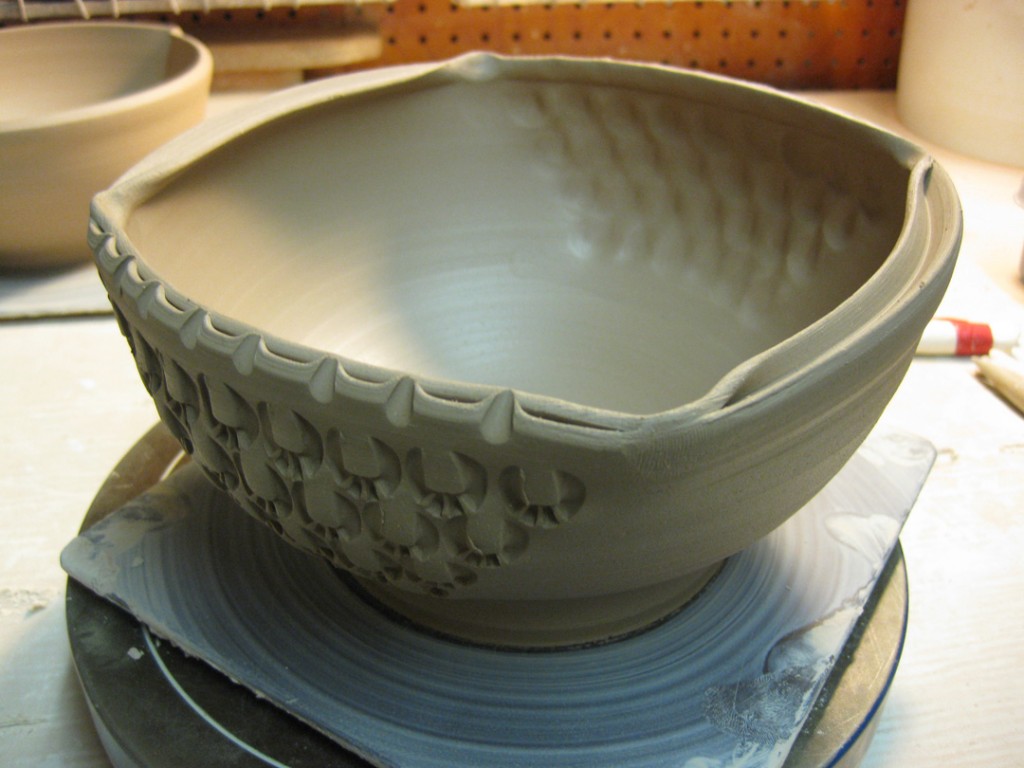
One of my students asked about a “squared-off” bowl form, so I took the split rim and
literally pulled out the corners to create a square-ish bowl. But it seemed a little predictable.
So I decided to highlight two opposing sides as a “canvas” for some fun stamping,
and changed the split rim on those same sides!
With a wider flanged rim, I originally though I was going to stamp the whole thing.
But then I thought “hey, I do that all the time.” So I forced myself to try something a
little different. Nice… but I’m not quite sure if I like it or not?
So there it is, the demo behind the demo. The “magic” that occurs in my studio after class
ends. The bowls are still wrapped overnight and waiting to be trimmed and finished. I may
actually add some more “fun” to the bowls before they done and ready for the bisque kiln.
Categories: studio, textures, tiles

It was a fun evening in the studio…
making a new batch of textured tiles and enjoying the “free” air conditioning!
The different slips will create the flashes of color when they get into the soda kiln.

Although it seems as though the heatwave may have broken today?! Finally.
Right now the evening breeze is quite enjoyable.