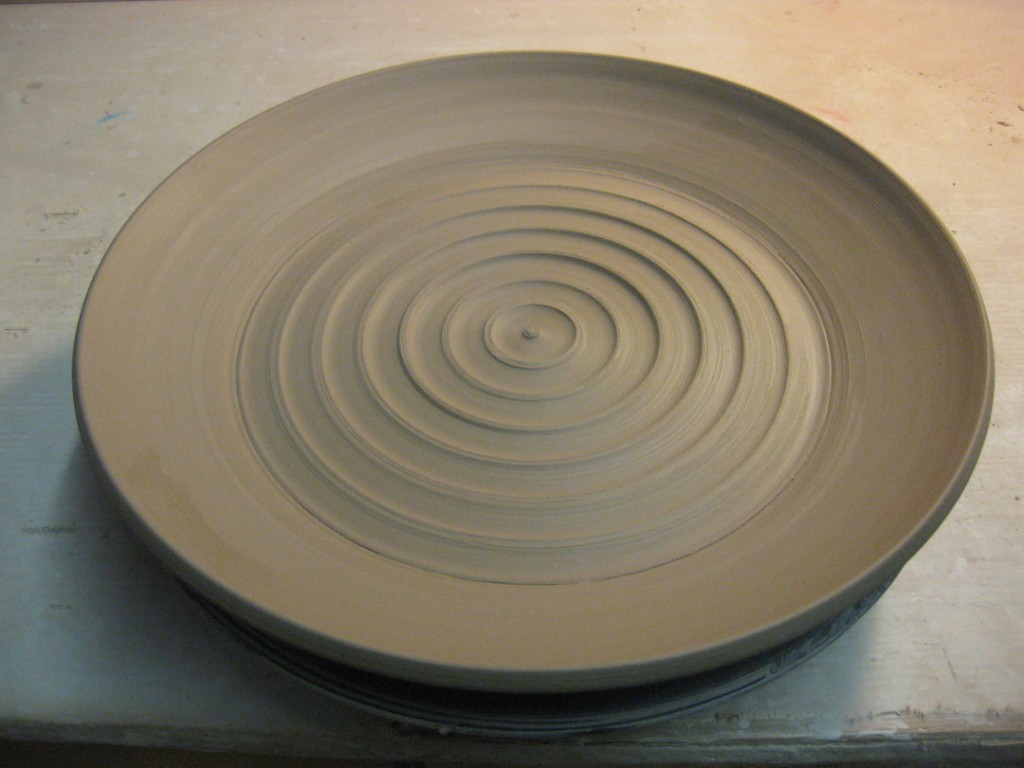
So here’s the platter I threw for my class demo last Tuesday night.
I was hoping to keep it wet enough to stamp it as “class demo part two” next Tuesday.
But it was getting a little too dry a little too quickly. So I had to stamp it today. Here’s the
“demo” I was planning to share… this time in a sequential photo format.
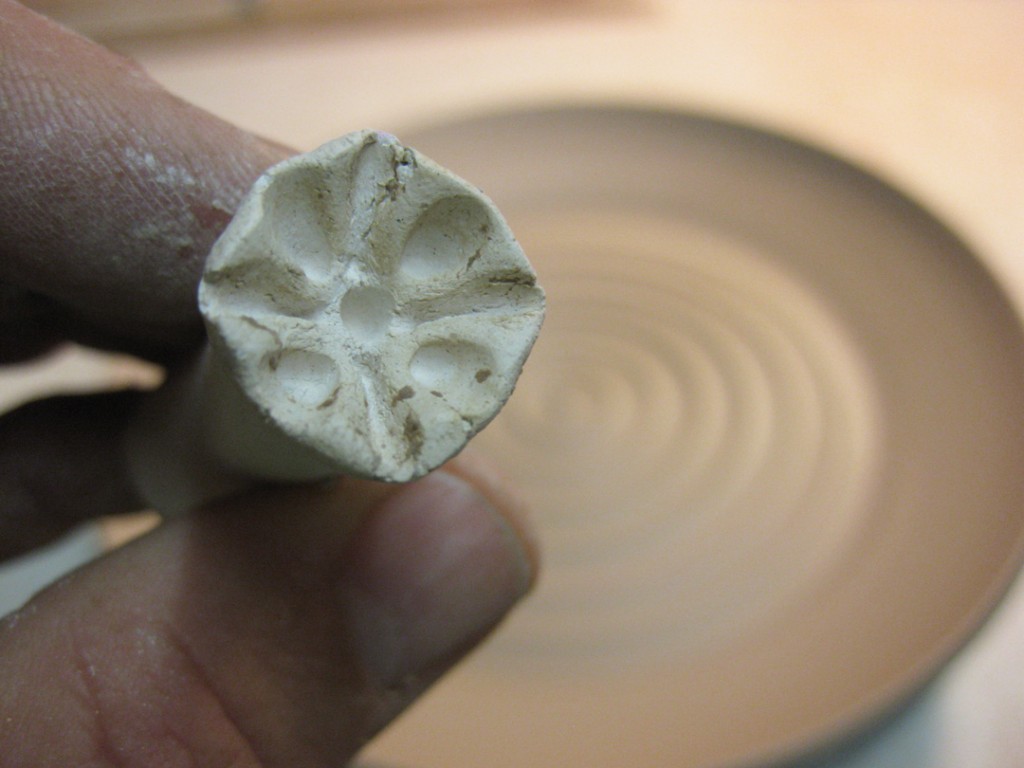
The chosen stamp prepared to make its mark on the platter!
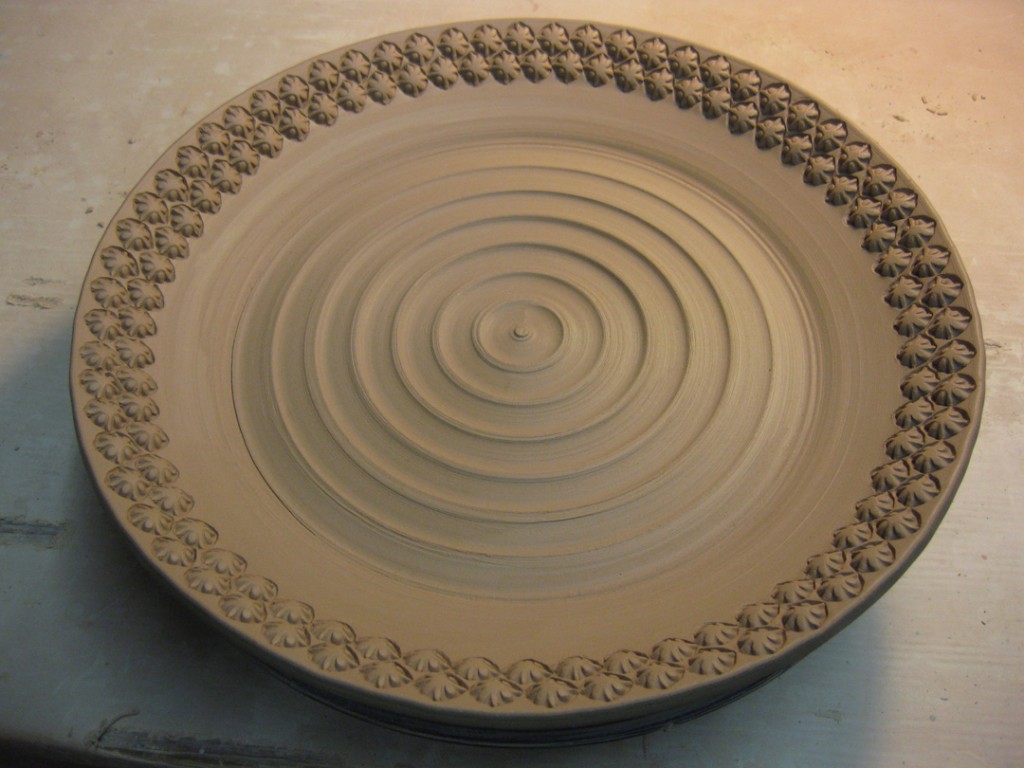
Just getting started… pressing the stamp into the moist clay one, by one, by one…
One row of stamping done. I always love to see how a basic platter can be transformed
so quickly with just a few impressions!
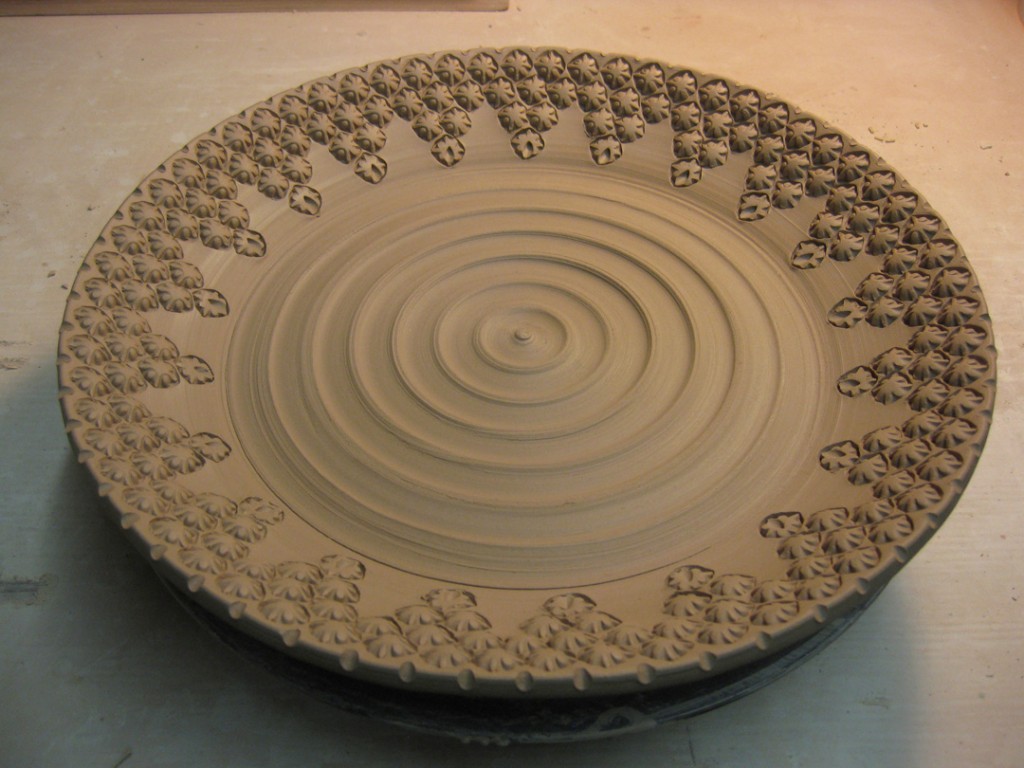
And if one row is pretty, a second row can only make it prettier, right?!
But why stop there? So I finished it off with some scalloped edge stamping. And some small
detailing with notches in the rim and small indentations in the stamps at the points.
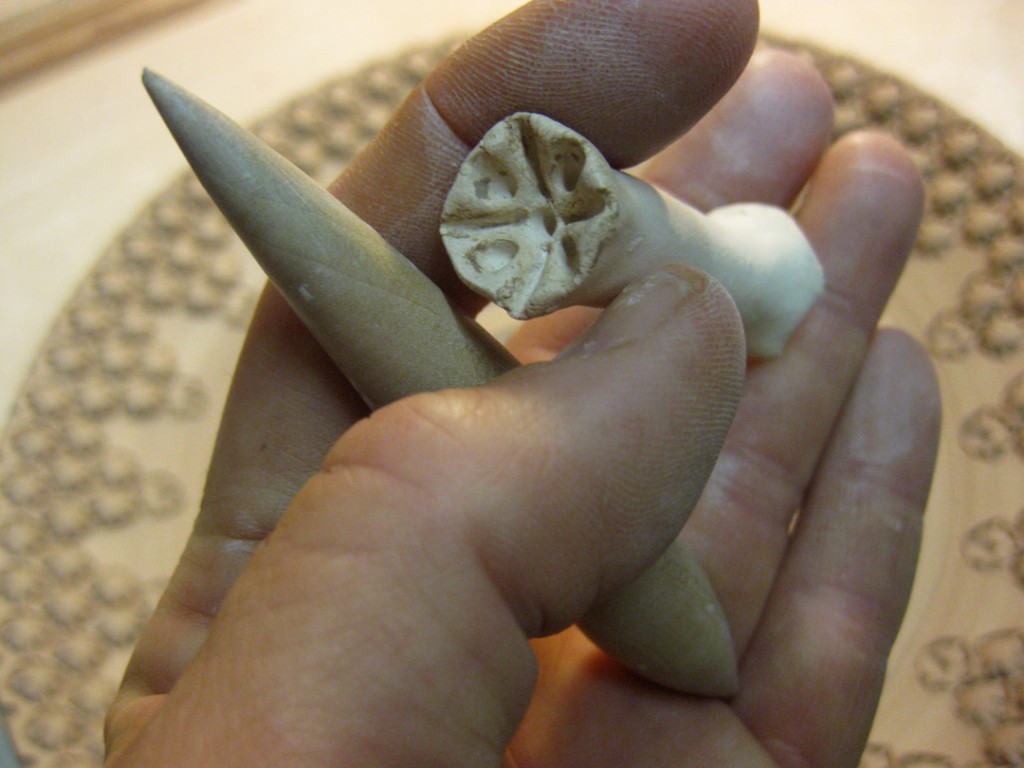
Here are the three tools that did all the work… a stamp, a wooden tool… and my hand!



Where do you get small stamps like the ones on your webpage?
i am an art teacher and looking for them.
ELAINE – I make all of my own stamps. Just a simple rolled coil of clay with a pattern carved into the end. I actually put a different pattern on each end. Then they need to be bisqued before you can use them. If you click on “stamps” in the far right column of my blog, it will take you to some posts that show how I make my stamps. It would be a great project for your students to make their own stamps!!! Good luck!