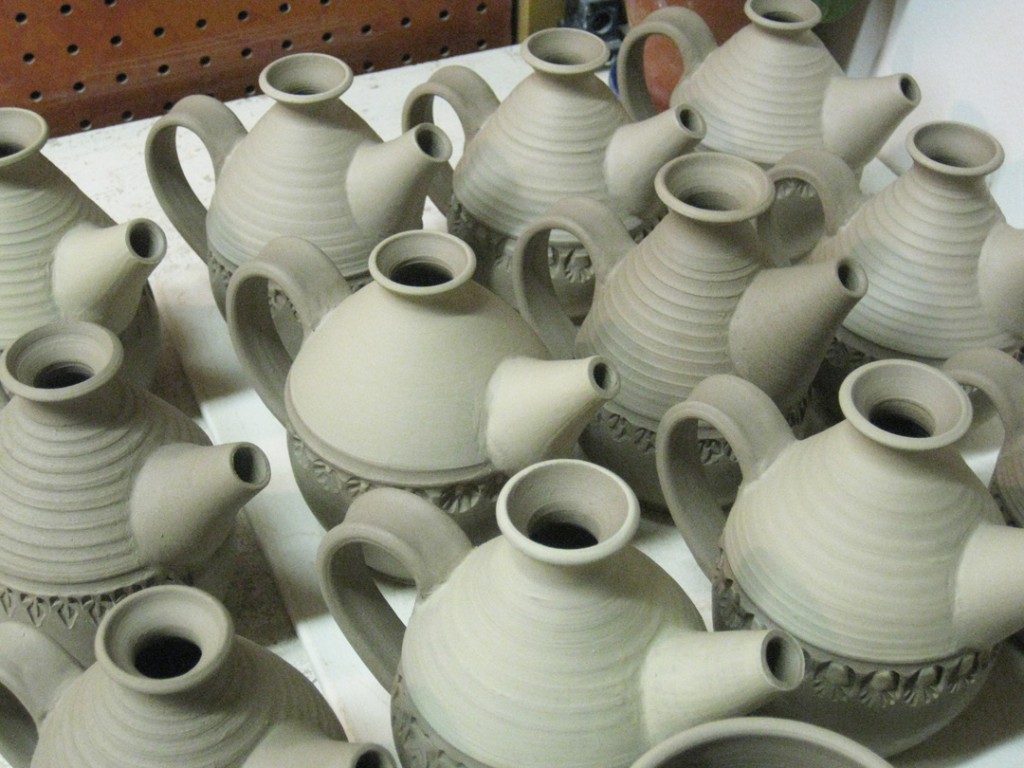
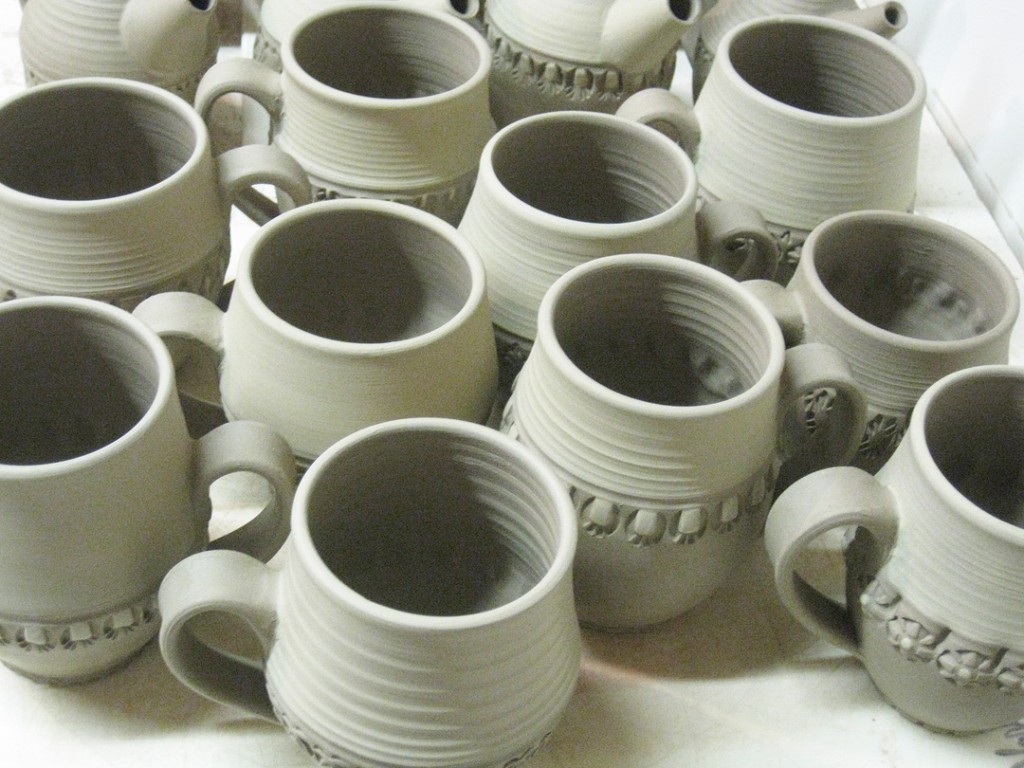
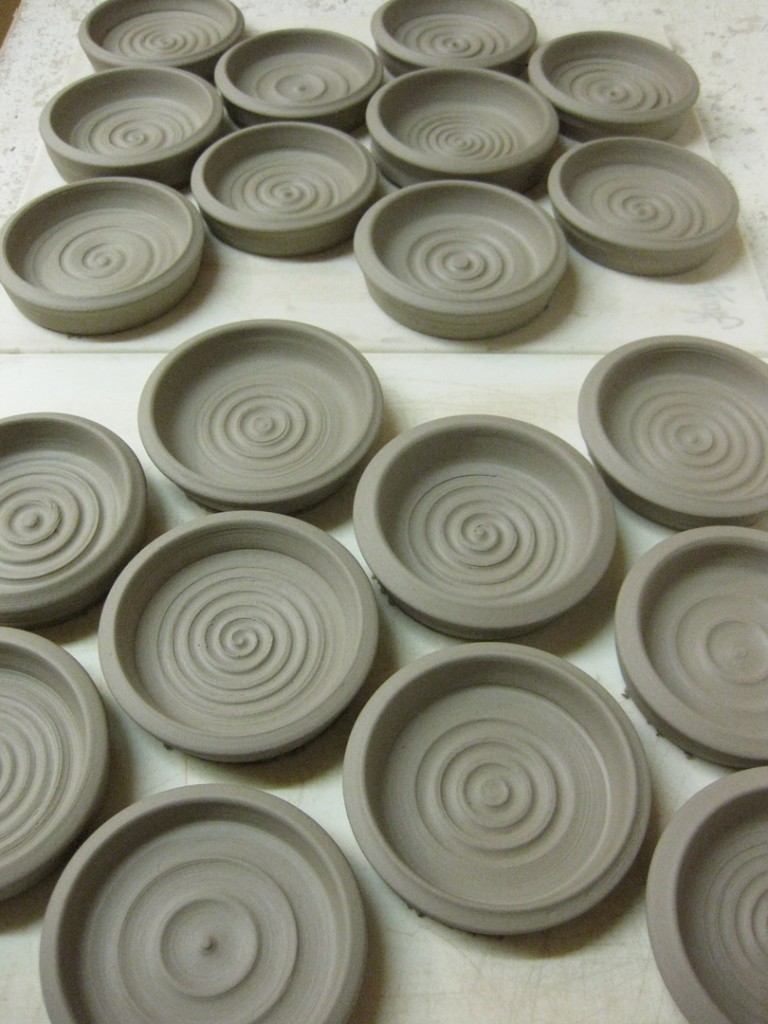
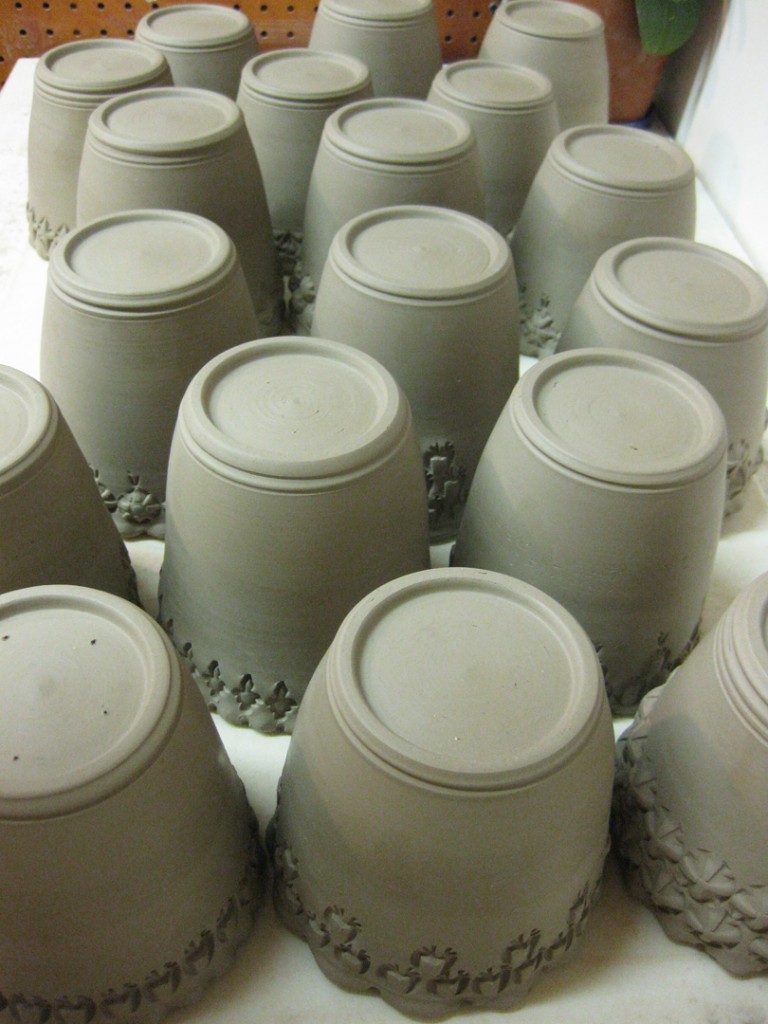
Well… when you make small herb flower pots, you need to make water trays.
Don’t want water leaking all over your windowsills. Since the pots have already
been thrown, stamped, trimmed & drying… I had to make the trays.
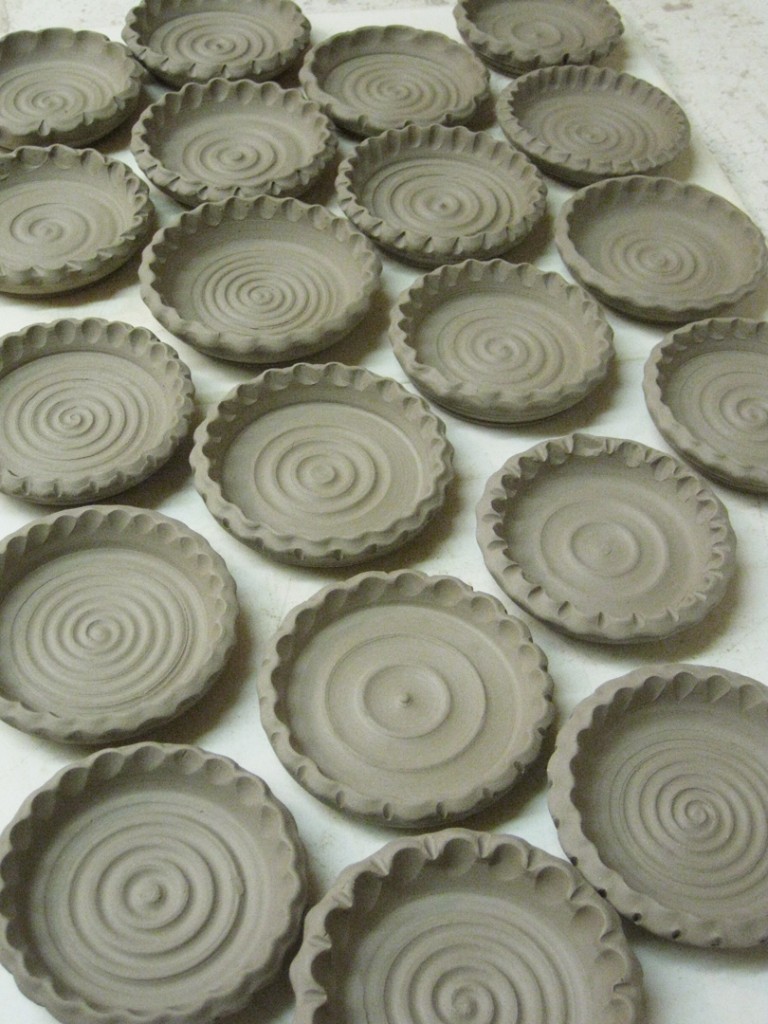
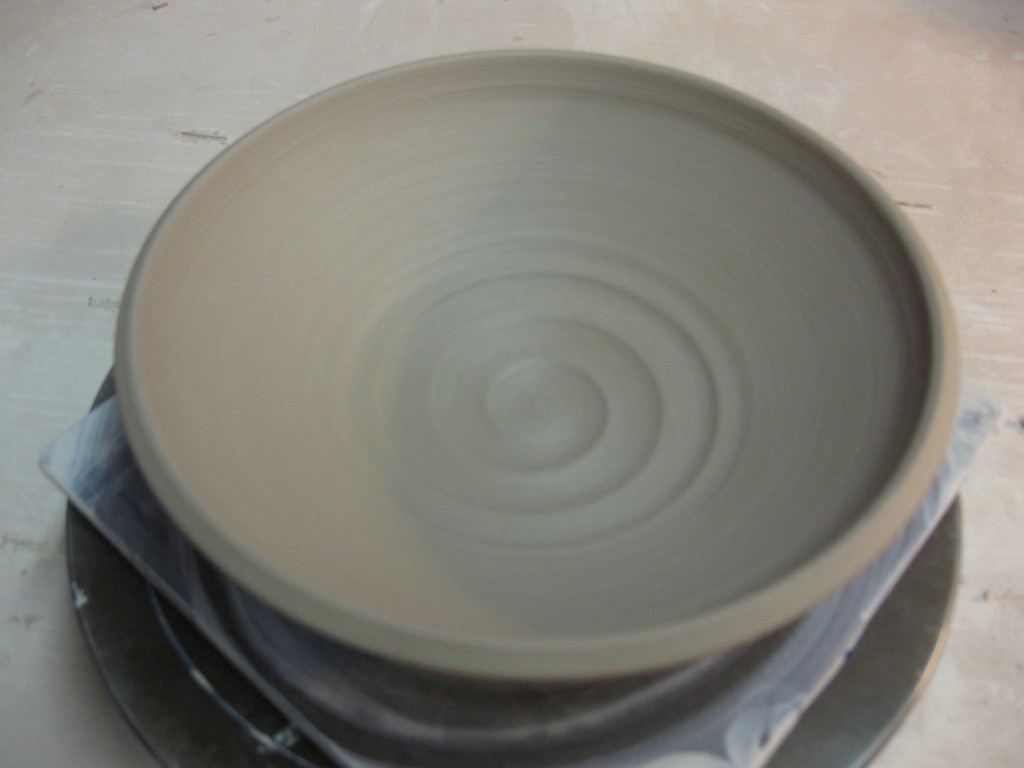
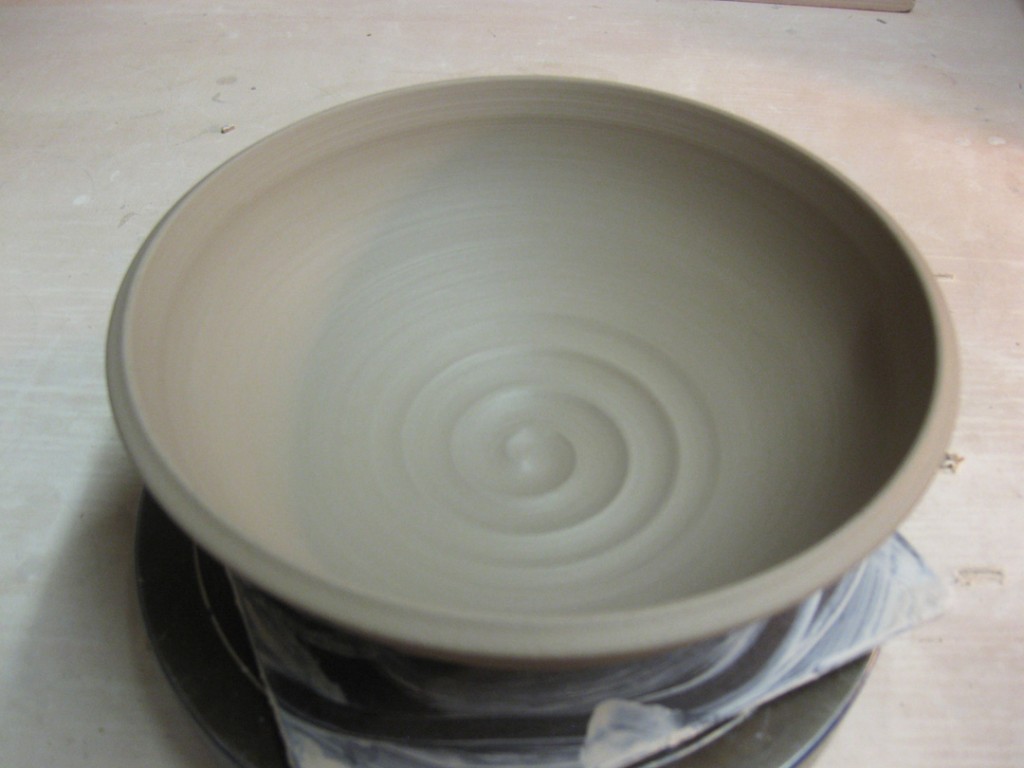
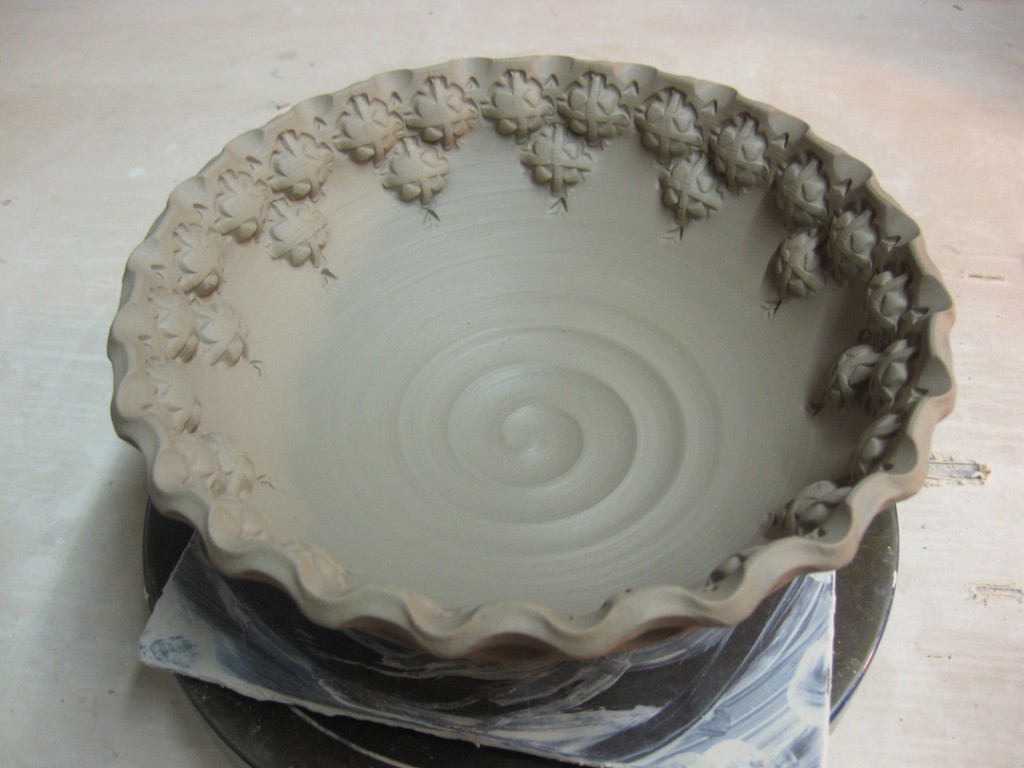
I threw these last night… and today they needed a little somethin’-somethin’…
so I did a little stamping, fluting and some other detailing. Followed by a bit of
trimming and now they’re all done & drying!
And now that they’re all done…. I sure hope my calipers were still set
at the right size?! They do look a little small… we’ll see…
Tonight I started with trimmed pots… trimmed, smoothed, refined… still leatherhard.
But if these little cylinders are going to become the little herb flowerpots as planned…
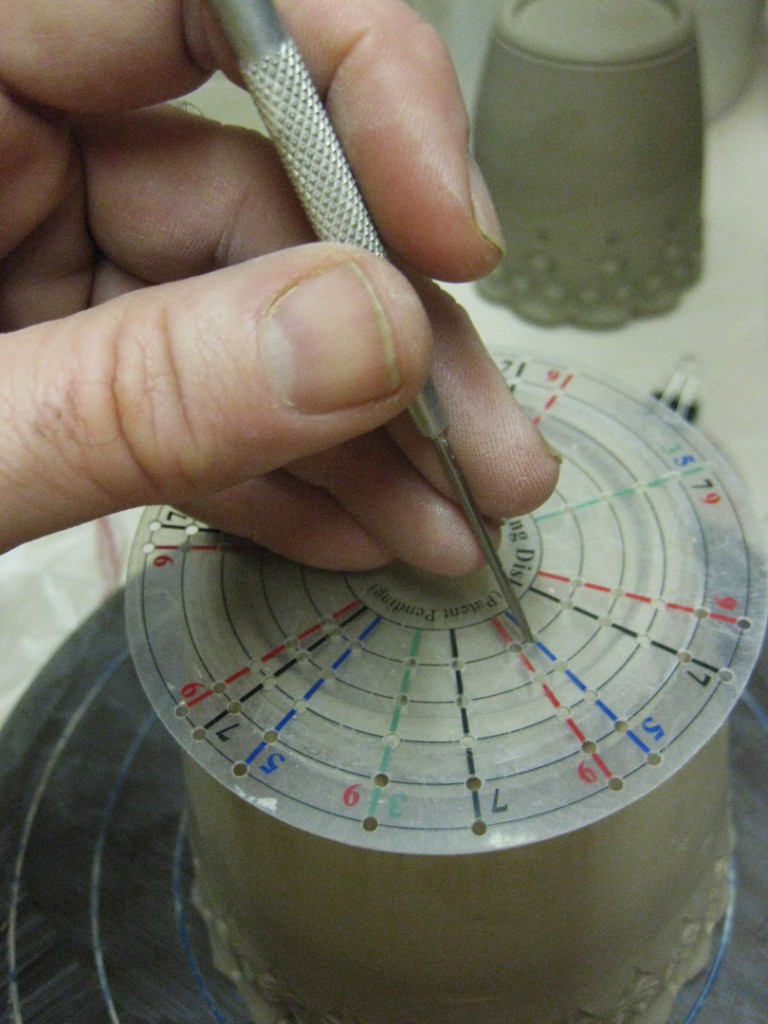
they still need some drainage holes. So I started by marking the placement of where
the drainage holes will be placed. Sure, I could do it freehand… but why?!
When you’ve got some great little tools which practically do it for you?!
These great little disks from MKM Pottery Tools are a huge help when trying to divide into
equal segments. And here’s the cool part, they give you two disks. One for an even number
of segments, and another for an odd number of segments. Plus little holes on the disks that
you can poke through to mark your pots. I’ve got the smaller 4″ disks, but they also sell a
larger 15″ disk for larger pots & platters. Click here for more info on MKM Pottery Tools.
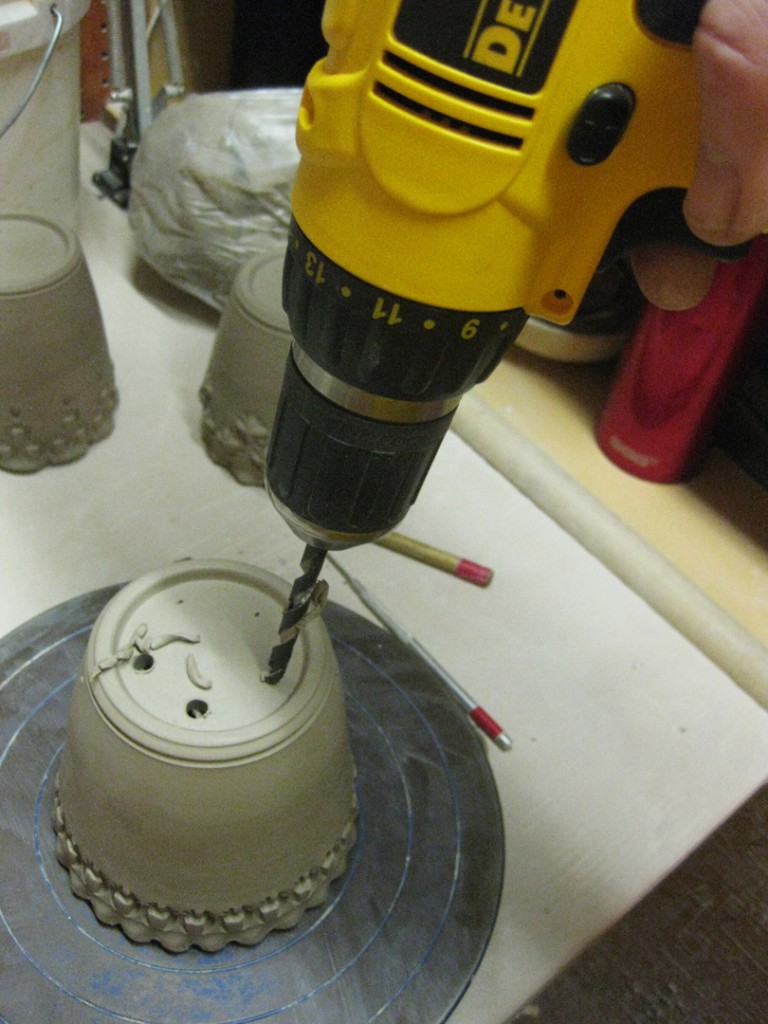
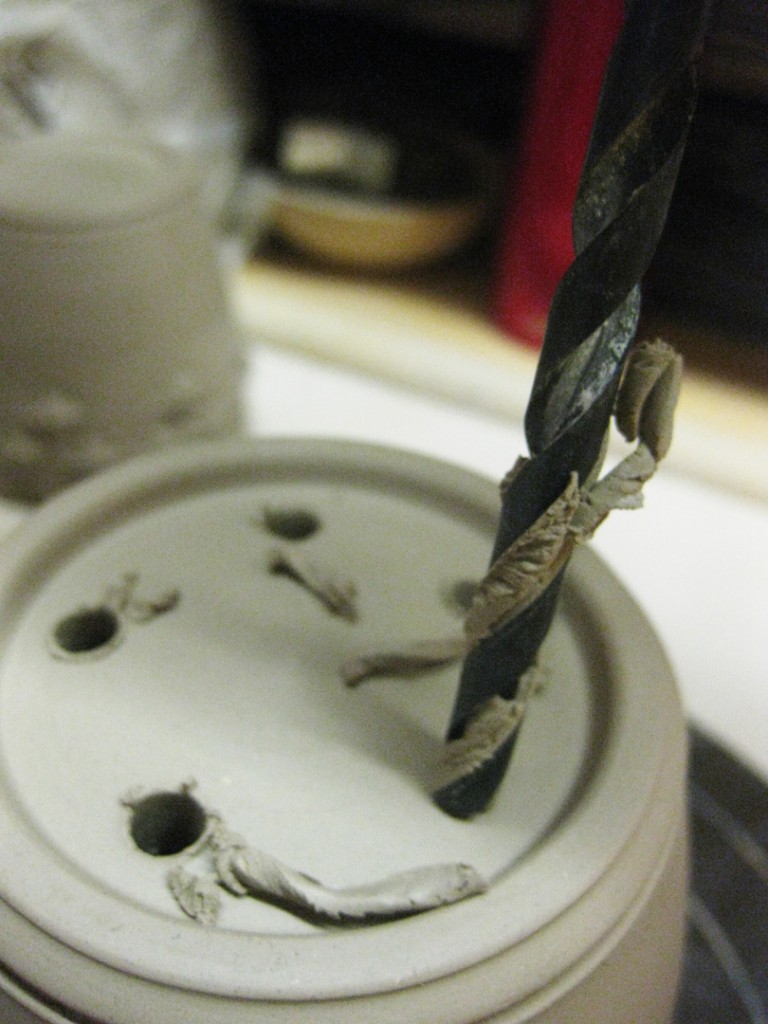
Once the hole placements are marked… it’s time for the power tools!
Sure, I could use a small manual hole punch. Sure, I could carve through by hand.
But why do all that when an electric drill can do the trick much quicker & cleaner?!
Just insert the drill bit of your chosen diameter and drill away… carefully!
Of course you need to make sure your pots are still a good stiff leatherhard. If they are
too dry there’s more of a risk of cracking the pot. If you clay is too wet, it will just kind
of gunk-up the drill bit. Go for stiffer-leatherhard. You’ll be glad you did.
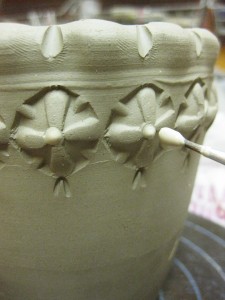
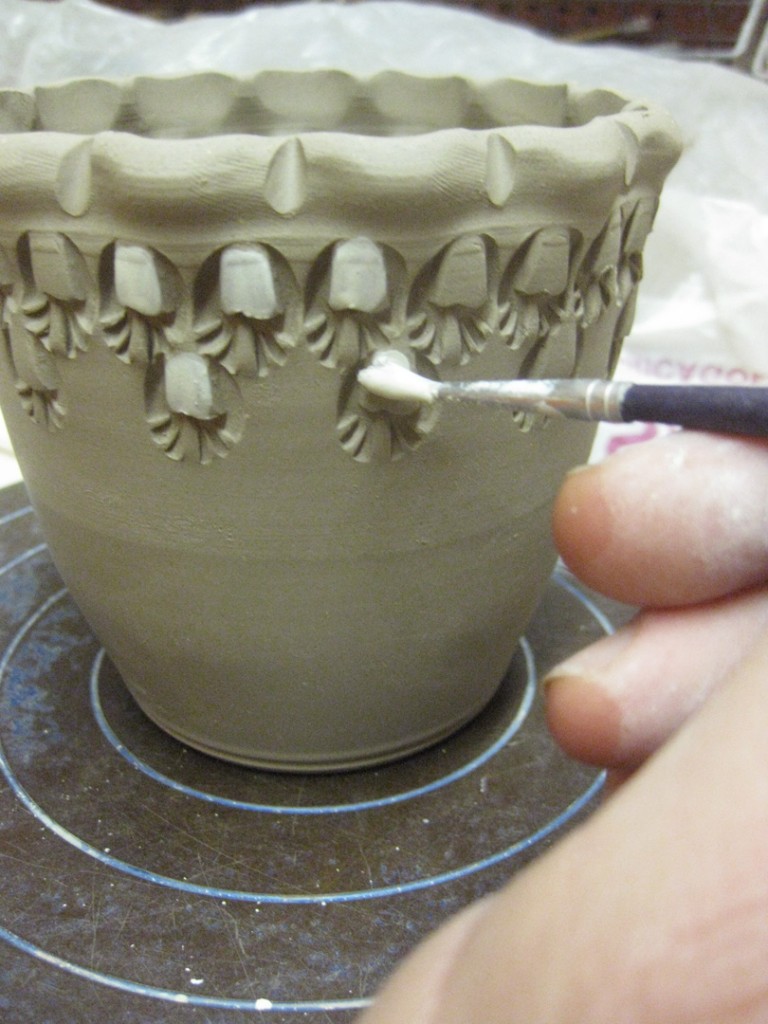
So once the drainage holes were done, I added some colored slip accents into a few of the
stamped impressions. And since these little herb flower pots are going to be soda-fired, I
used a couple different colors of flashing slips. These slips may appear to be whites & beiges
now, but when they’re fired the slip will hopefully turn into shades of oranges & yellows!
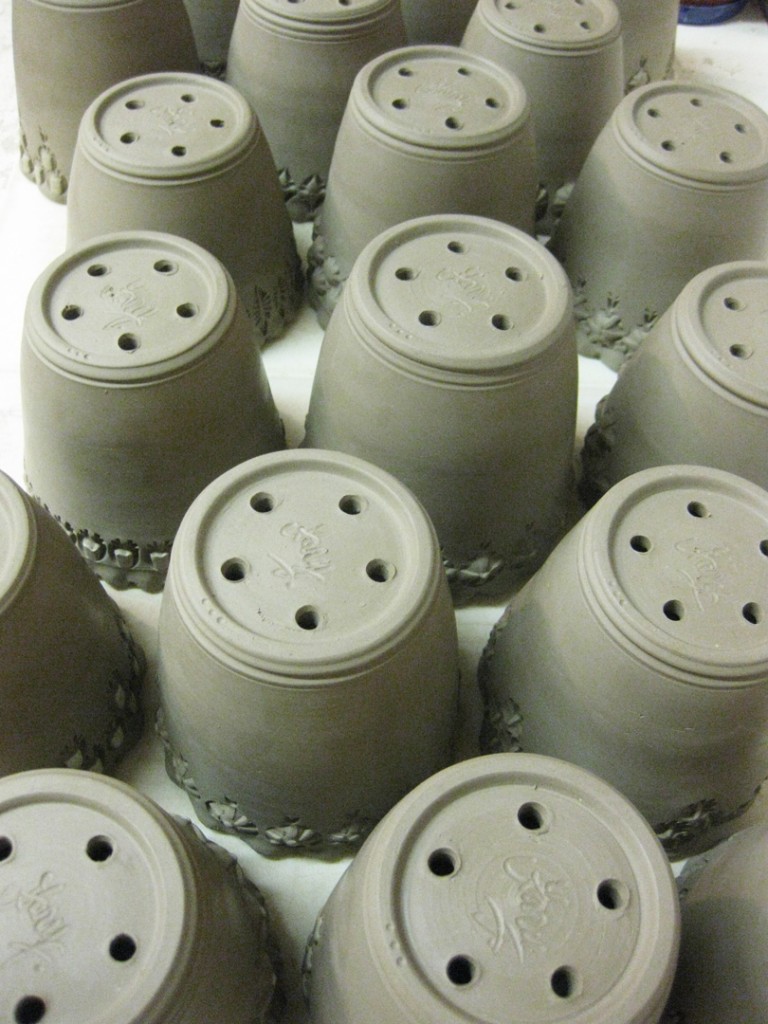
So now they’re all drilled… slip decorated… signed…
And drying…Â Next up?… I still need to throw the water saucers that will go under them!
So here we are… Month #2 in our Holiday Ornament Challenge!
Sarah Chapman and I have committed to creating a new ornament every month.
Mine will be clay, her’s will be metal. Who knows?… some day maybe a combo?
Sarah’s ornament this month is copper with brass chain connecting the pieces and has
a “torch” patina. She made the copper bells using a form folding technique called the
“Heisted Cup.” Here’s a link for all you metal’s people out there who would like to try it.
Click here… “Heisted Cup.” The process is magical. And I especially love the “torch”
patina effect on copper. So much fun… and maybe three angels will get their wings?!
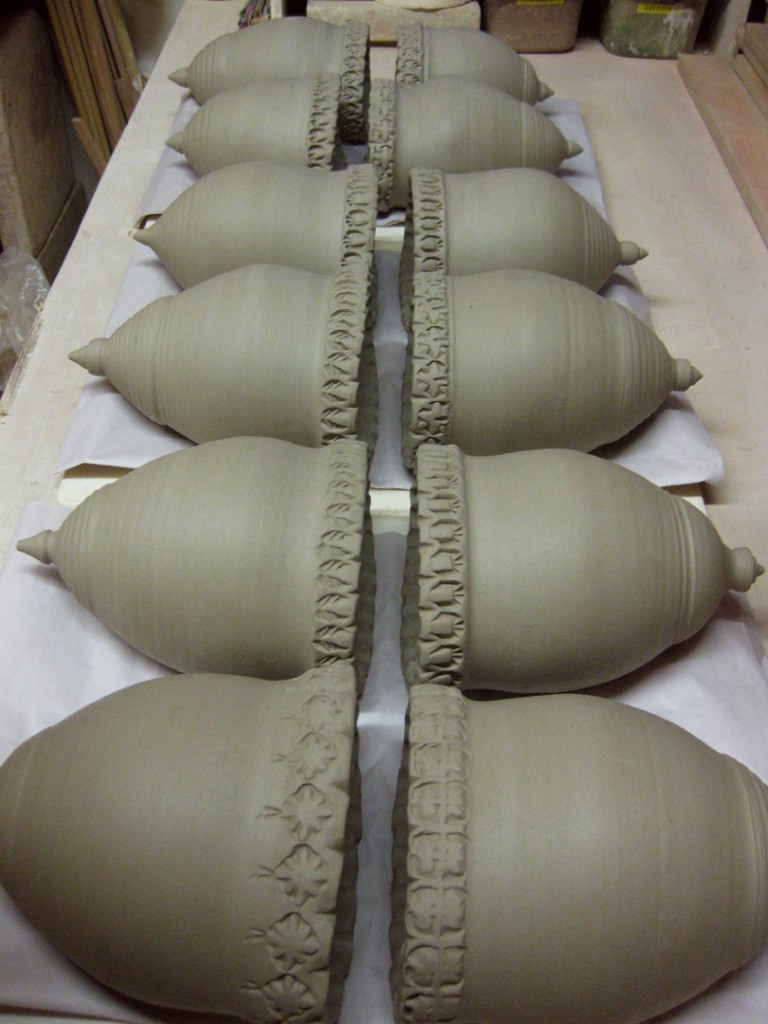
My ornament started out as a star pillow, but then I got a little carried away. I decided that
the “pillows” don’t need to be closed. So I left the sides open, leaving a nice void inside.
My plan is to soda-fire these – and I hope that the inside gets some groovy flashing marks.
So far, the plan is that one side is painted with flashing slip, and the other side will have some
glaze inlaid into the impressions. Once they’re fired, they’ll also get a metal hoop going
through the middle of the star to hang from like my original ornaments.
Unfortunately, again this month, I don’t have any fired ornaments to show off yet.
I’m still building enough work to fill the kiln before I can fire it. So the pieces are piling up.
Once I have some pieces fired and ready to show… you’ll see these and all previous
ornaments again. Finished & fired… not just greenware… again!
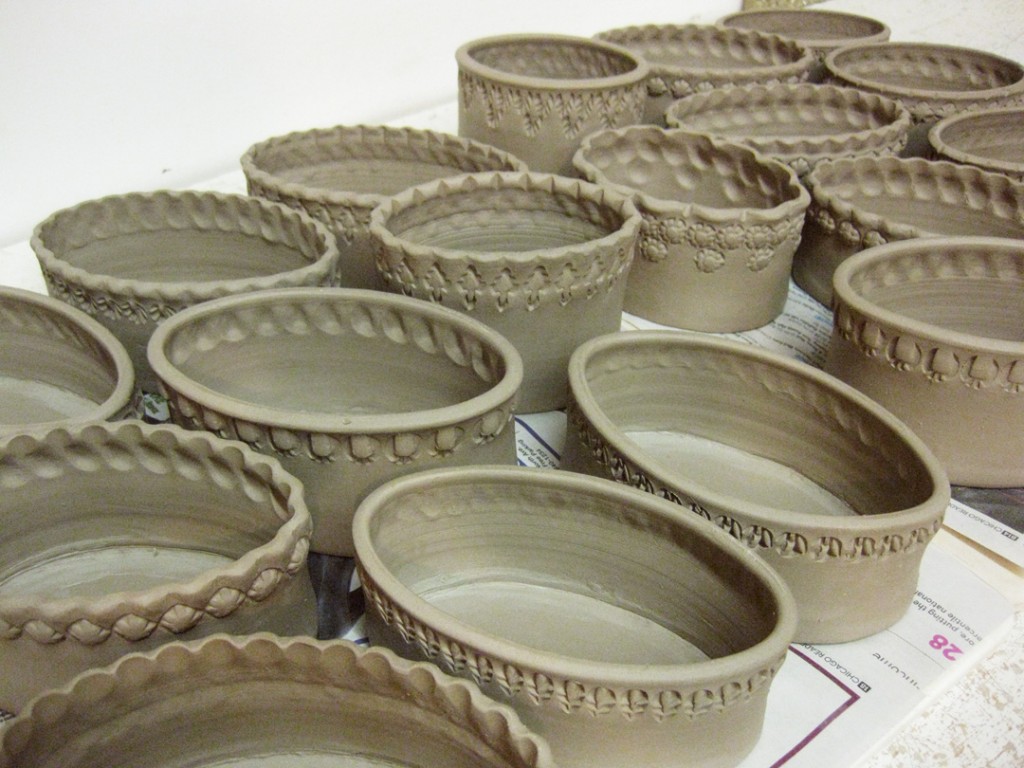
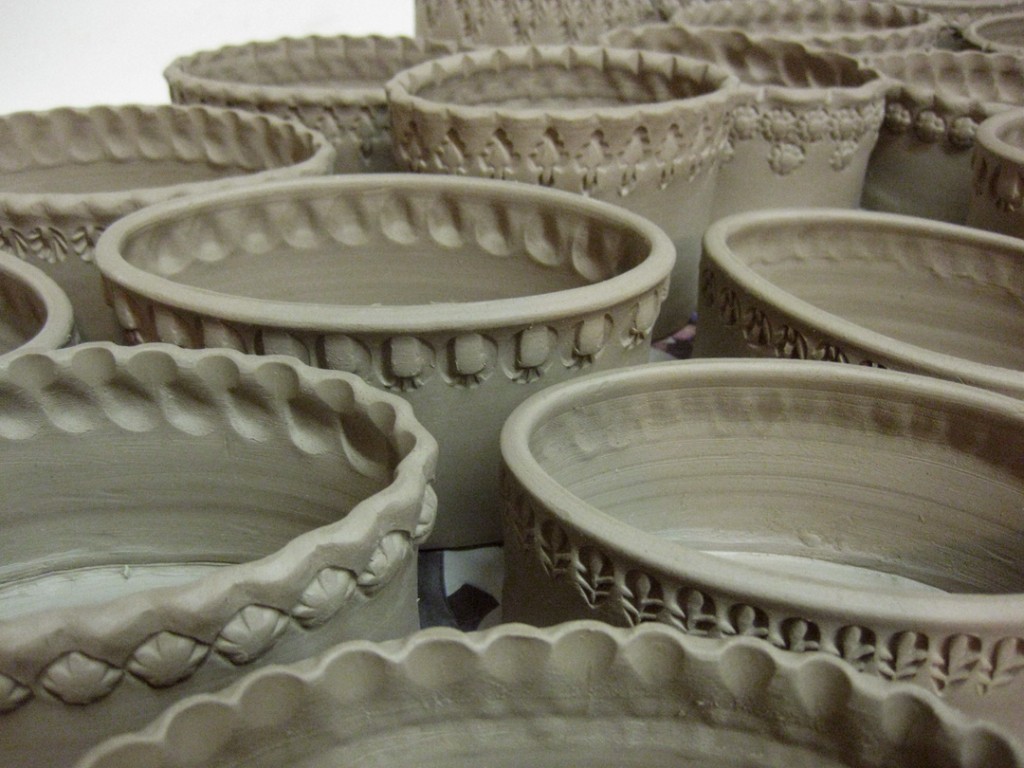
Mission accomplished… All nineteen small ovals that I threw last night are now stamped
& assembled. They’re under wraps overnight so their moisture levels can balance out a bit.
Tomorrow they’ll get some colored slip details & start drying. But for today…
they’re done… with plenty of time for tonight’s Academy Awards!!!
At one point this evening, I found myself “done” and in between projects.
My wall pocket vases were done and wrapped up for the night. I had finished
making some more of my “February” ornaments and the props I’ll use to fire
them in the kiln. My work tables were full… but it was still early in the evening.
Oh, what to do?… I know, go downstairs to chat in the Lillstreet classrooms!
So after discussing movies and tomorrow’s Academy Awards, I was still
questioning what I was going to do. Go home early, or stay and throw some more stuff?!
I knew that if I didn’t throw more tonight, I would have pieces to work with tomorrow.
So I decided to stay, with the encouragement of Terry Hogan who was still making some
of her precious pierced porcelain pieces. So I went back upstairs and started throwing…
and lucky for me, my studio neighbor Karen Patinkin’s work table was empty so I put it
to use! I moved a few things to her space “temporarily” to make room for my new pieces!
I’ve made ovals in many sizes. This time I decided to go a little smaller. So I wedged up
some small pieces of clay… each one a 1/2-pound of clay. Smaller than I’m accustomed to.
But fun & challenging… especially the wedging was a challenge! Tomorrow I hope to
come back to stamp ’em, floor ’em, colored slip ’em and start ’em dryin’!
After throwing 19 of these bottomless cylinders, I went back downstairs to tell Terry
that I took her advice and stayed. Only to find out that she had already packed up
& gone home….. slacker!
So imagine my surprise…
I was working at the “glitter gig” today and we went to the Bridgeport Art Center
to meet a client and do a little pre-site visit for an upcoming event. We were looking
around this really wonderful lofty event space. We happened to pass the washrooms
and I saw these wonderful art installations on the entrance walls. It looked familiar.
And you know how I love grids… multiples of items… and geometric repetition!
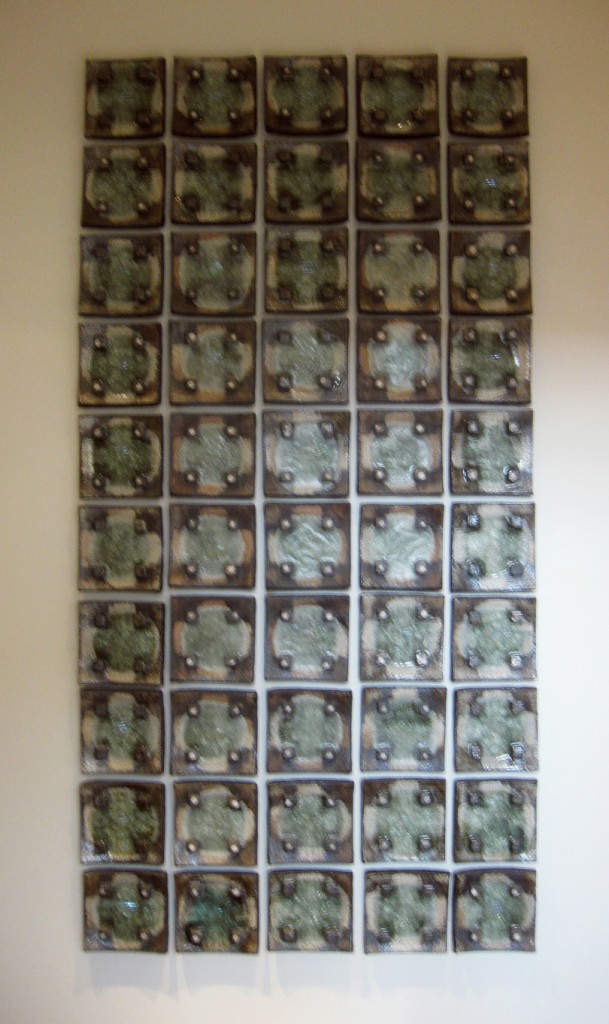
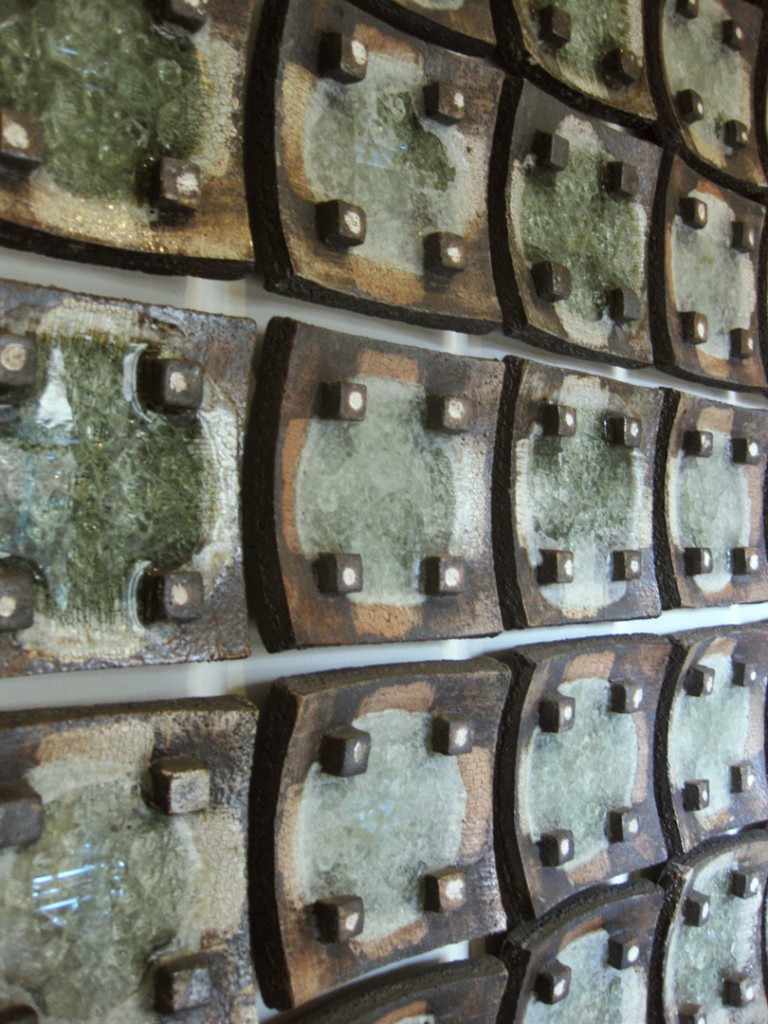
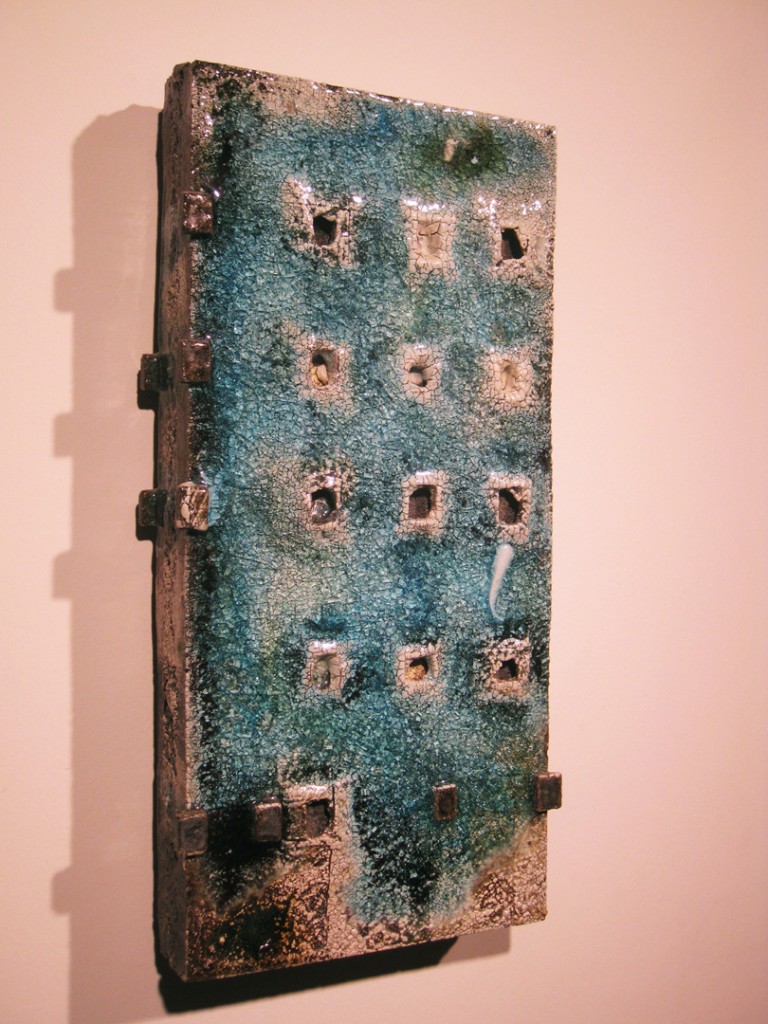
Well, these 50 pieces are basically square plates, with square “legs” on both sides.
I believe they were stacked on each other during the firing. And curved so that the
beautiful glassy-glaze build-up can pool in the center of each plate. Stunning.
We continued walking around the event space, and then I ducked through a side door.
Suddenly I was in a small art gallery. And there were more really cool art pieces on the
walls. And then I realized… these were all made by a friend of mine Jay Strommen.
I had run into him last at SOFA Chicago back in November. We were talking and catching
up with stories about people we know from his time teaching at Lillstreet. We then got on
the topic of his current artworks. Let me just say, Jay is very much an “artist.” He lives
the part… and makes me feel so much like a “craftsman” not an artist. A lot of the “art-speak”
he gives goes right over my head. But it’s fun to hear him talking about what he’s doing…
so passionate, so eloquent, so engaging… and still quite funny!
So he then proceeds to tell us that his new work is basically “deconstructing” the entire
ceramic process. Without going into all of the details I don’t quite understand, he’s basically
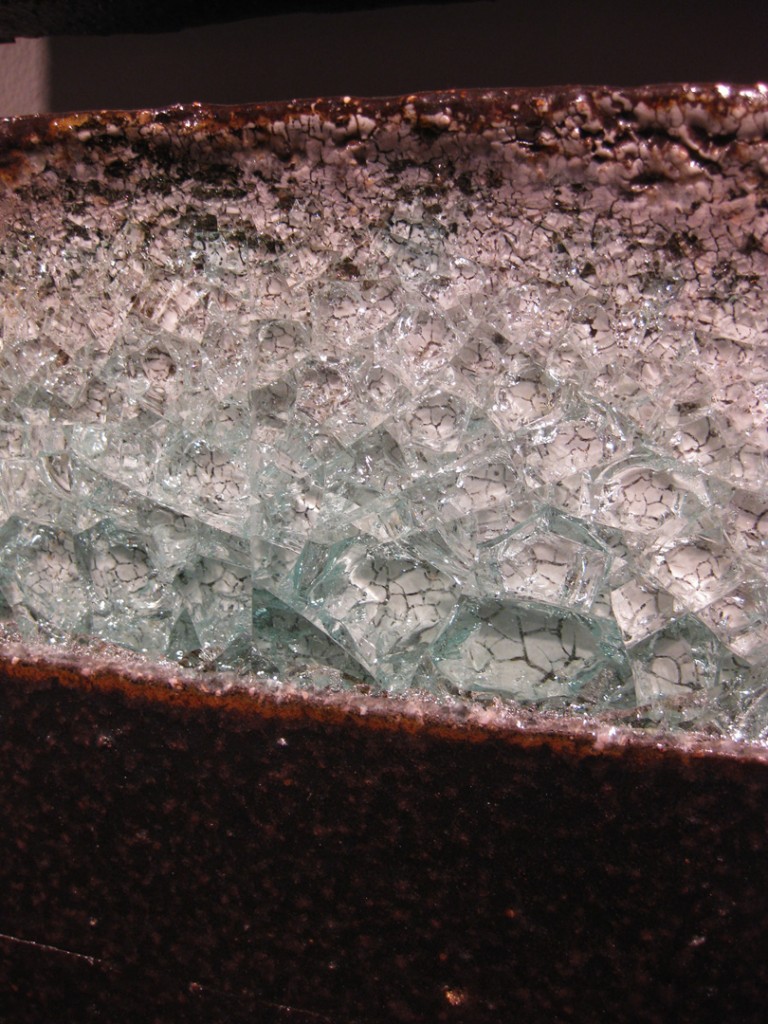
putting a bunch of clay chemicals, glaze chemicals & other components on a “kiln shelf”
and then melting it all together in a high-fire wood kiln. Of course there’s some very erudite
thoughts behind it, some artistic jargon, some special blah-blah-blah… and I was scared.
Then he tells us that he’s showing at SOFA and that we should go see his work. I was kinda
concerned after all the hype that it was going to be more than a bit crazy. Imagine my
surprise when we got to the booth and his pieces were there hanging on the wall.
And they were incredibly cool!!!
Long story short…
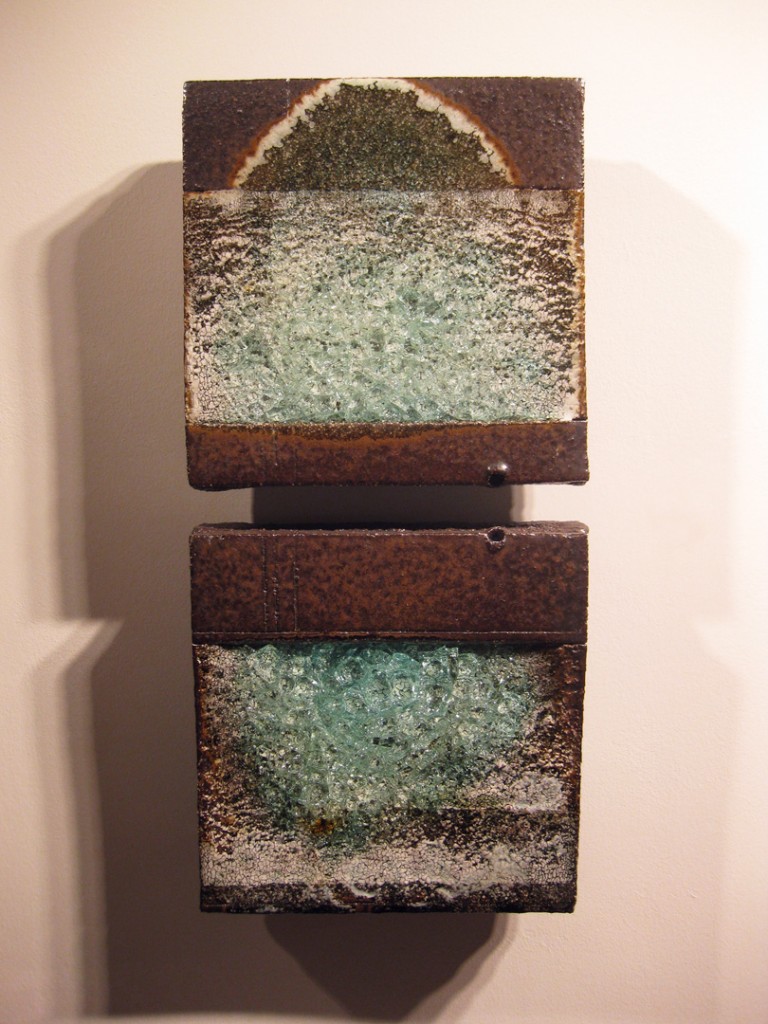
Jay Strommen currently has an exhibit going in the Bridgeport Art Center Gallery.
And since I know that so many of you won’t wander through that same side door I did
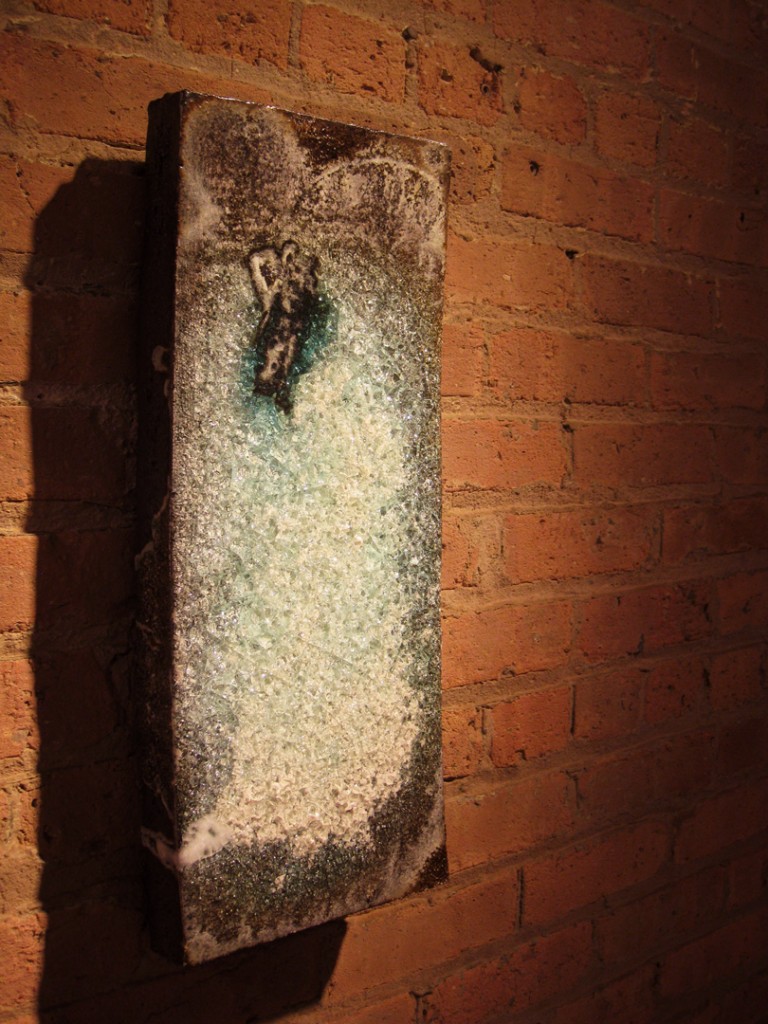
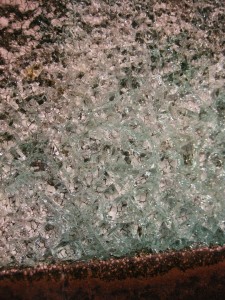
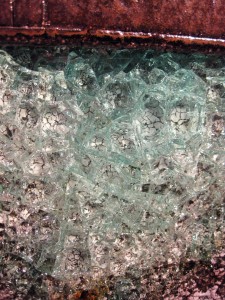
today, I thought I would share some pictures of his show!
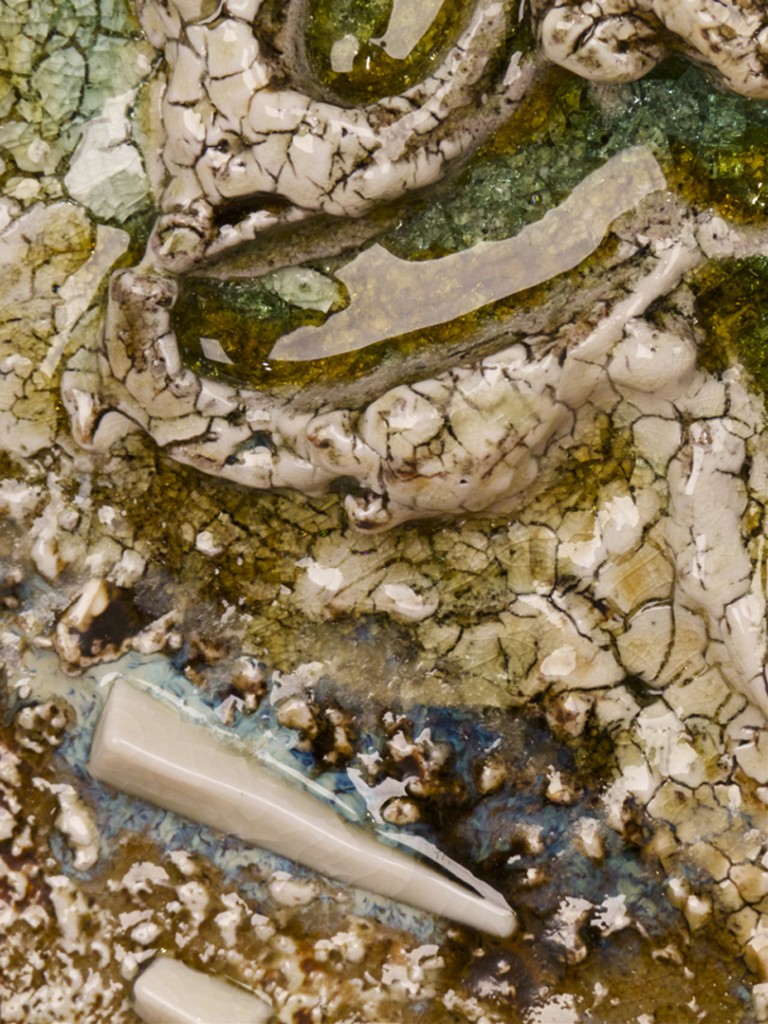
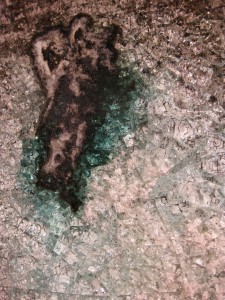
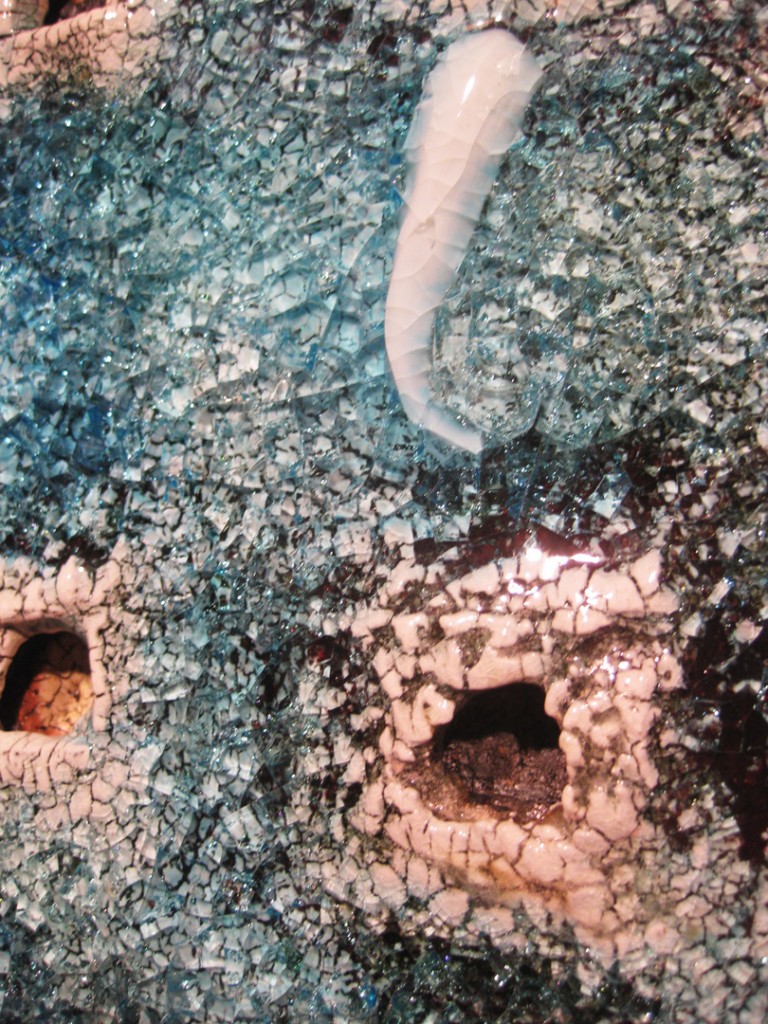
Now obviously these aren’t all “kiln shelves” that he’s firing onto. They’re actually slabs
of clay that he’s building. But I’m pretty sure that the basic “deconstructed” ceramics
process fired on a kiln shelf principle is still at work here!
And yes, that’s a cone melted onto the surface there… the white hook shaped thing!
If you’re in the Chicago area, be sure to stop by the Bridgeport Art Center to see Jay’s
show. You can also check out Jay’s beautiful website for some images, videos and a lot
of Jayzo’s art speak! Click here to go to Jay’s website… www.JayStrommen.com
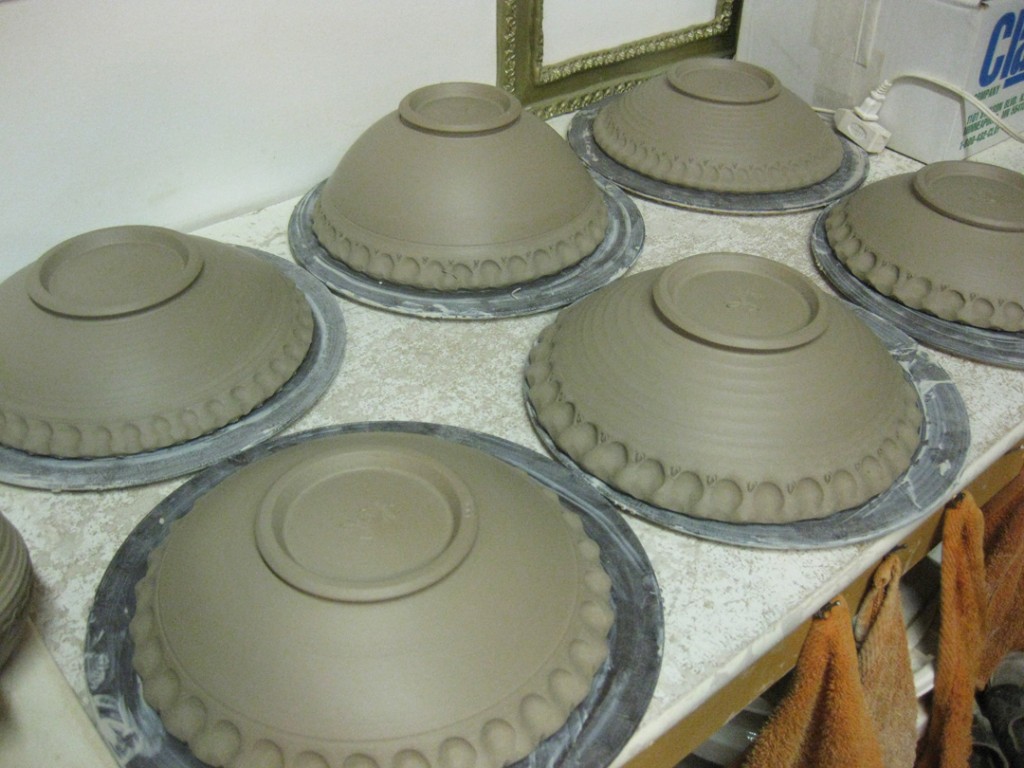
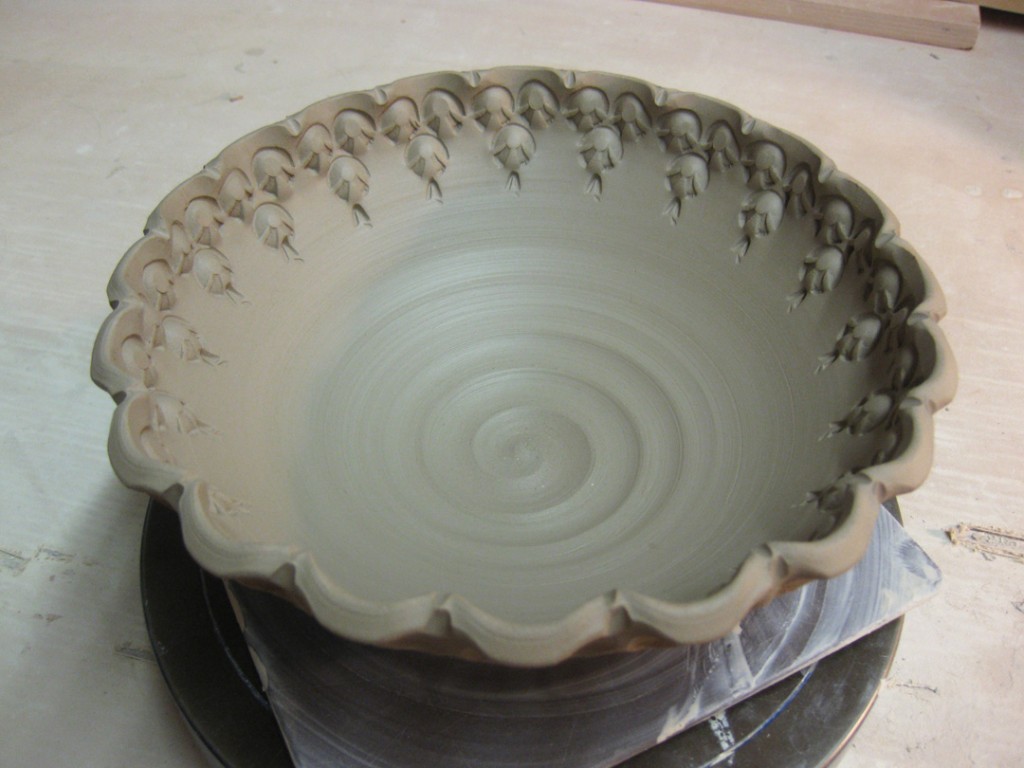
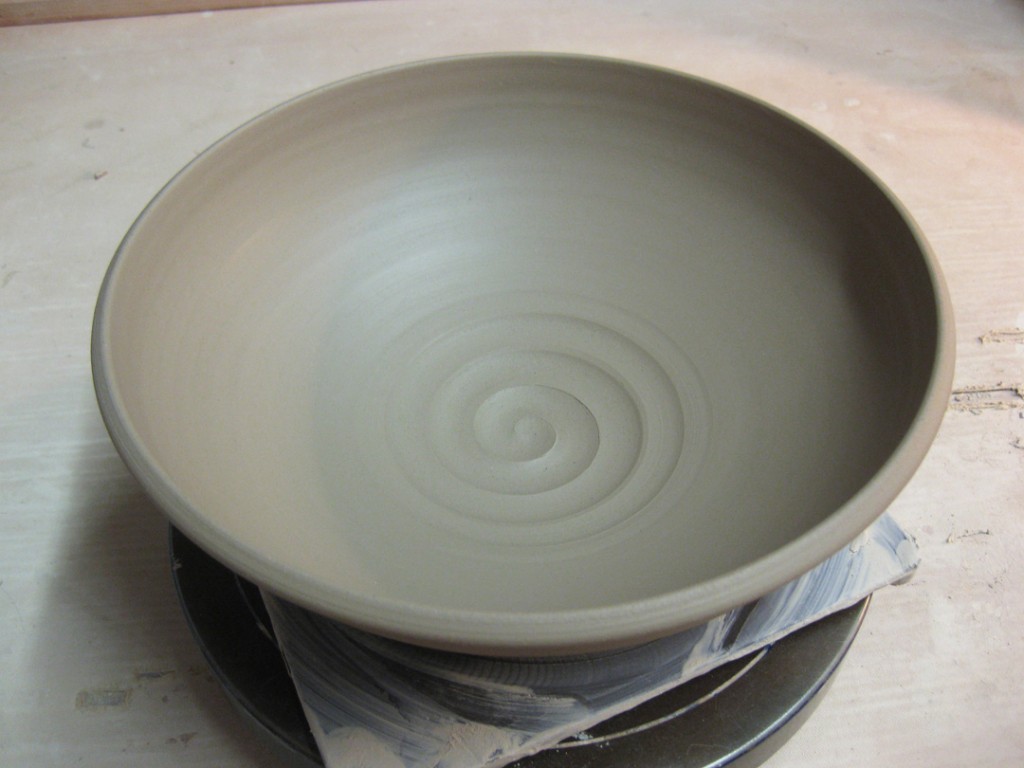
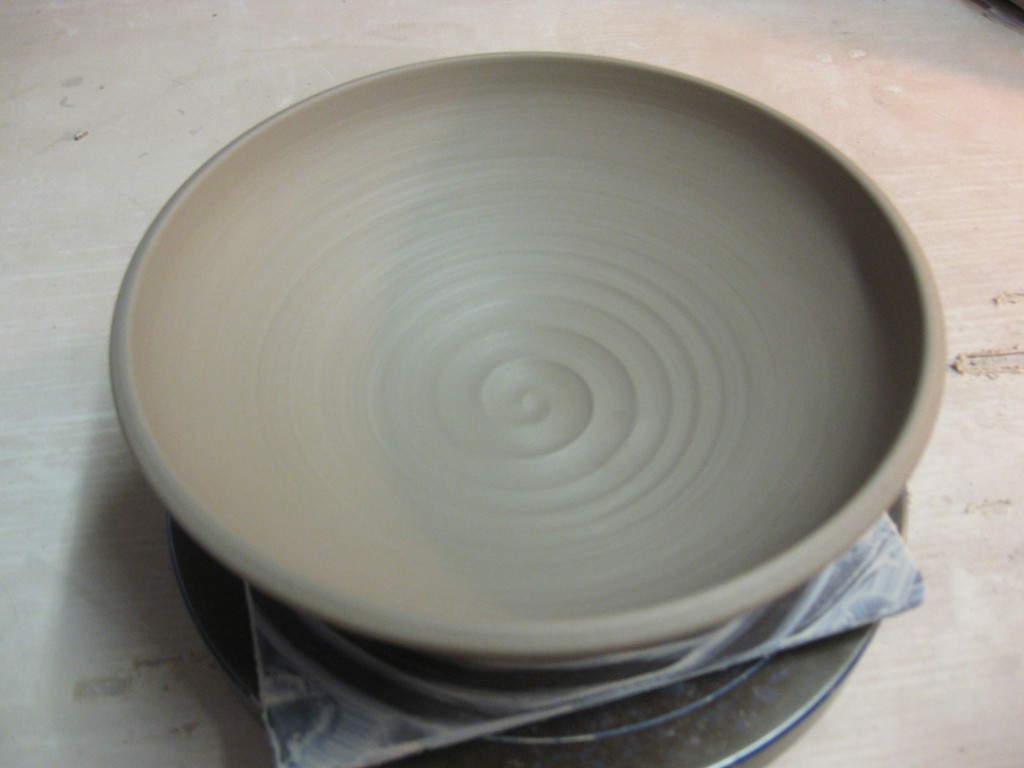
Here’s the latest batch of stoneware bowls. Sure, I could leave them plain.
But that really wouldn’t be my style. Stamp. Stamp. And stamp some more!!!
Soon enough, they were stamped & decorated… and no longer a bunch of plain bowls!
Bowl A – Who really wants a plain round bowl?… not me!
Bowl B – From plain bowl to stamped bowl…
Bowl C – Lower, flatter… yet still stamped.
Bowl D – one stamp, two stamp, divot… repeat.
Bowl E – done with a pointed stamp that I hope glaze might pool & run out of.
Bowl F – a single row, a single stamp.
Bowl G – stacked stamps, scalloped edges.
Bowl H – another bowl, another stamp… another stamped bowl.
Before class tonight I trimmed a couple of them. After class the rest of them were ready
to trim as well. So now they’re all stamped & trimmed, and drying for the night!
