Tonight I “tackled” throwing plates with my beginning wheelthrowing class.
I always tell my students it’s easier to throw them than it is to trim them.
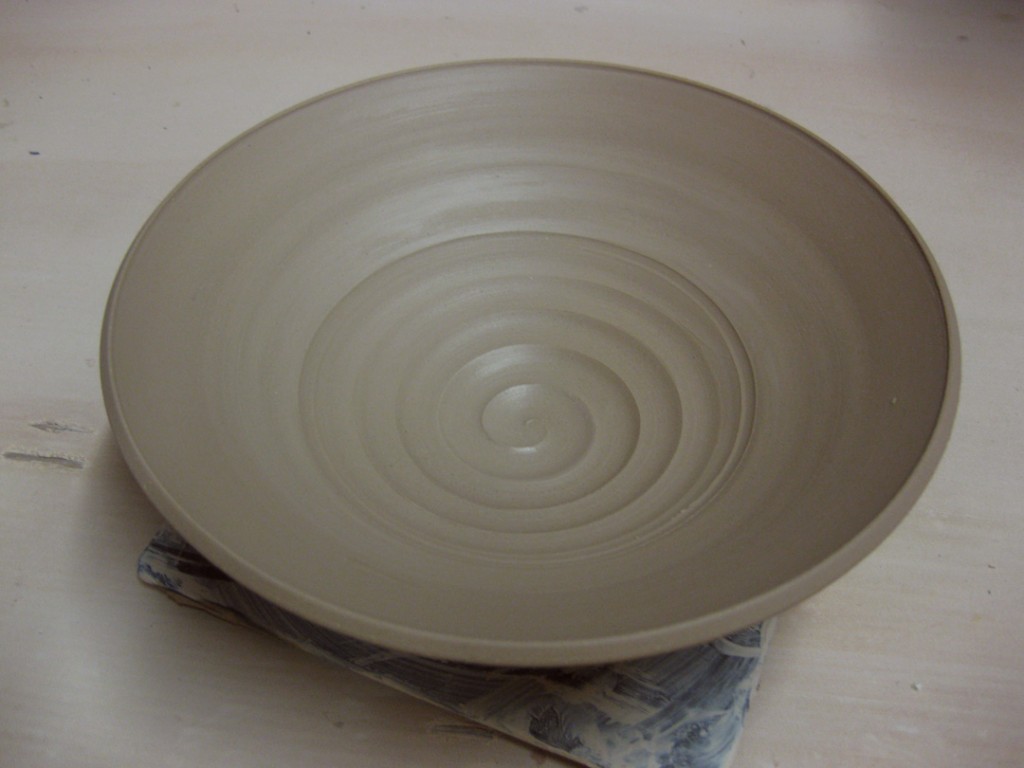
So I showed them that a platter is basically a low, wide cylinder with flared out
sides. A lot of compressing on the bottom… and some details & decorating.
We discussed dding slip when we made bowls. So why not add it to a platter?!
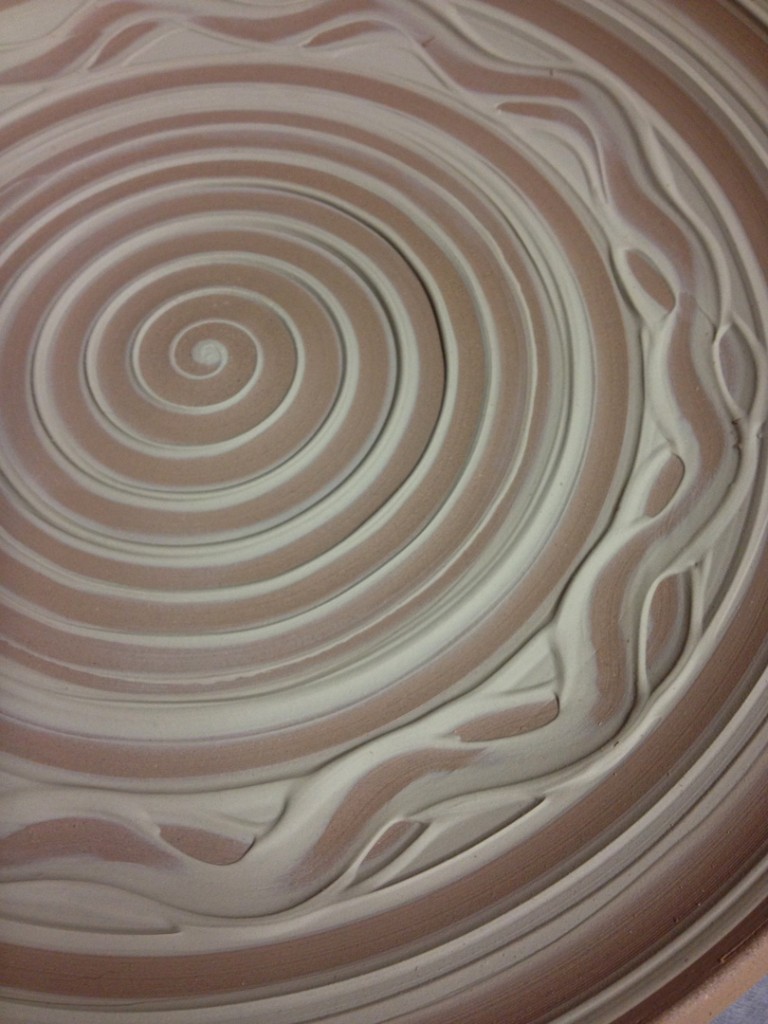
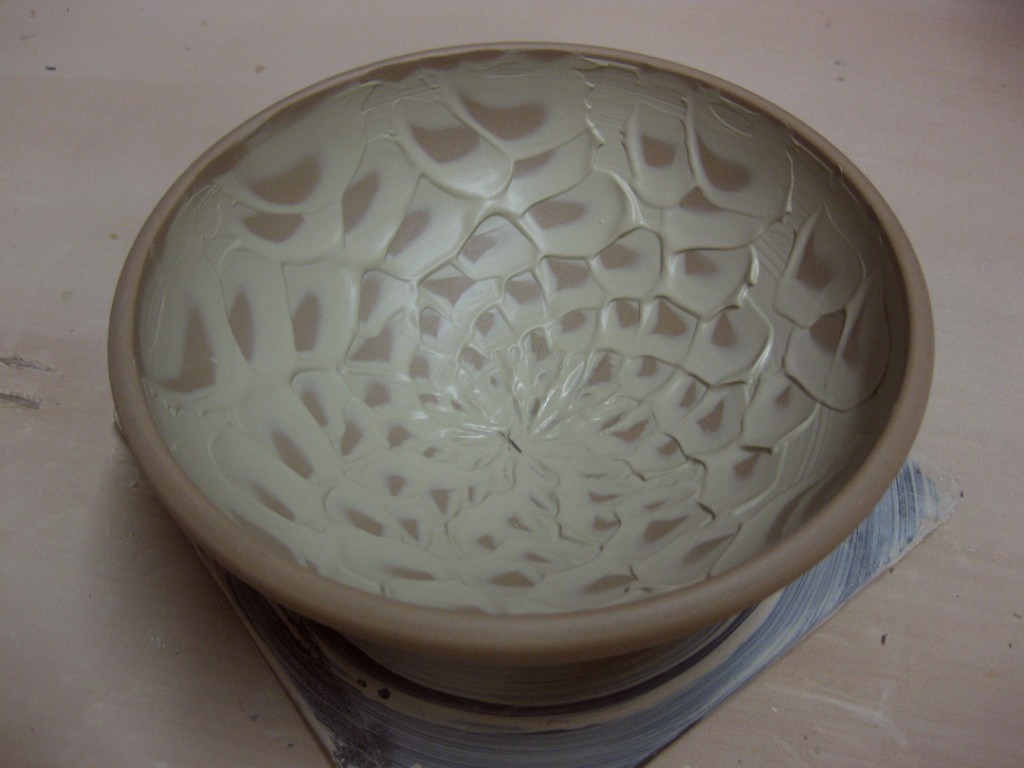
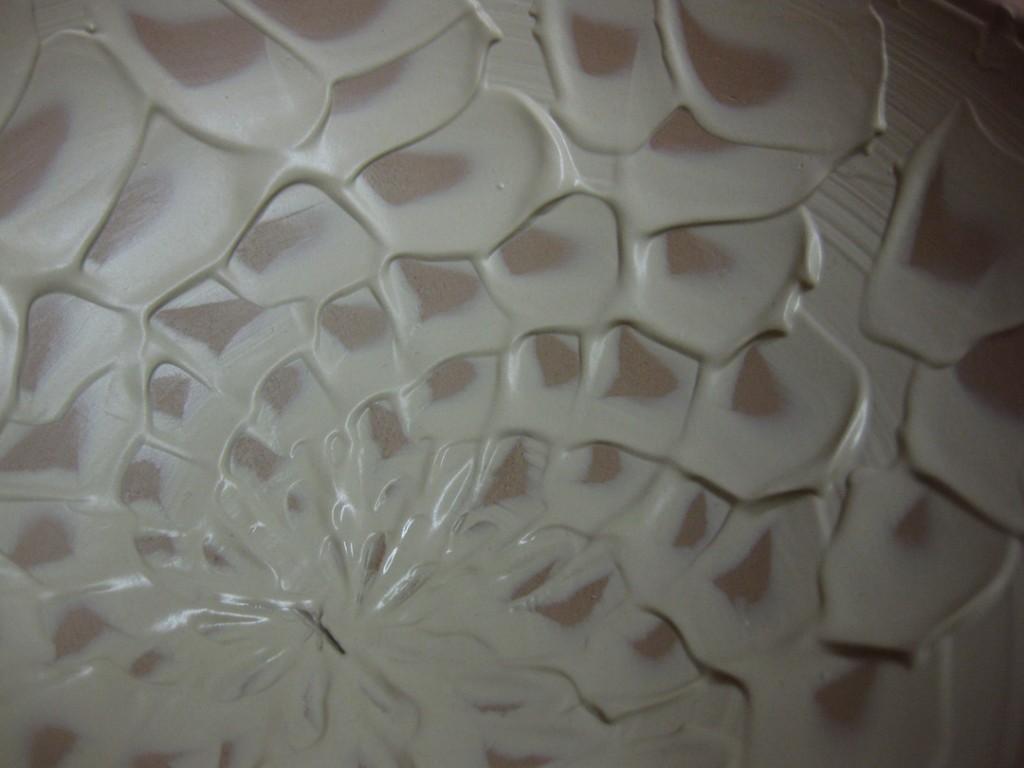
So I covered the interior of the plate surface with white slip. I then dragged the curved end
of my wooden knife through the slip. Bands here & there, squiggles in the middle. I really
like how the displaced slip also creates some great textures… and some great places for the
glaze to pool. The contrast between the clay body and the white slip ain’t bad either!
For my class last night, it was Bowls Night. Where my beginning students learn how
to make a bowl on purpose instead of a cylinder gone bad! Yes, we’ve all been there.
Thinking that cylinder flopped a bit but you “saved it” and turned it into a bowl.
Well trust me… I can tell if it was made as a real bowl, or a flopped cylinder!
Real bowls have a nice rounded bottom inside… NOT a flat bottom with a corner,
and then swooping sides that you think makes a bowl. It doesn’t.
So last night I first showed my students how to throw a bowl on purpose.
And then while they went back to their wheels to make a bowl or two, I stayed at my
wheel and threw eleven more. I then called them all back for Making Bowls Part Two.
Where we take my twelve “matching” simple round bowls and make each one
different from the next.
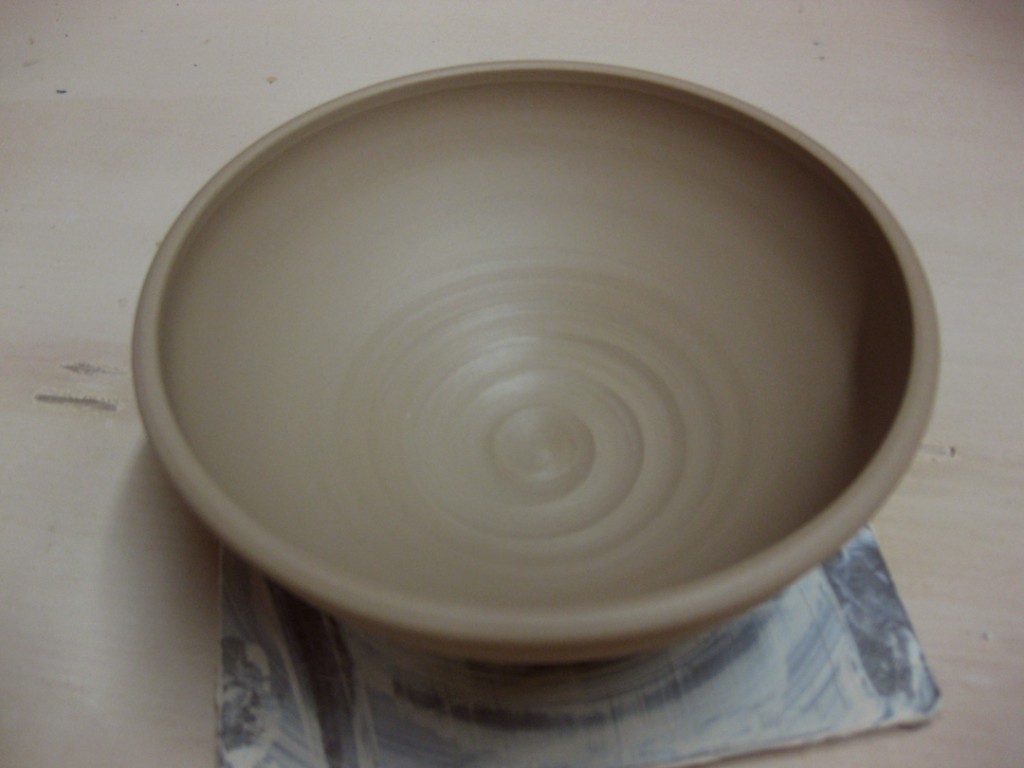
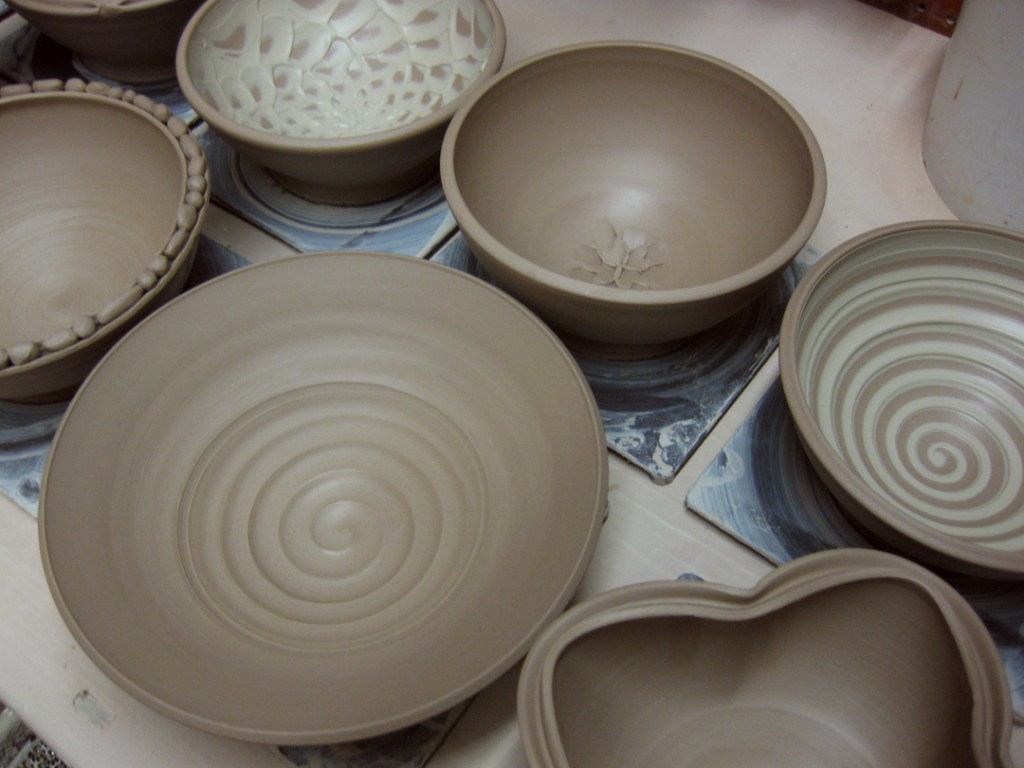
Bowl Demo #1 – Plain Round Bowl
Sure, they could all stay this way. A simple round bowl with a simple finger spiral.
Something as simple as that finger spiral put in at the very end makes that simple
bowl more personal. It’s YOUR finger that made that spiral!!! Pretty neat, huh?
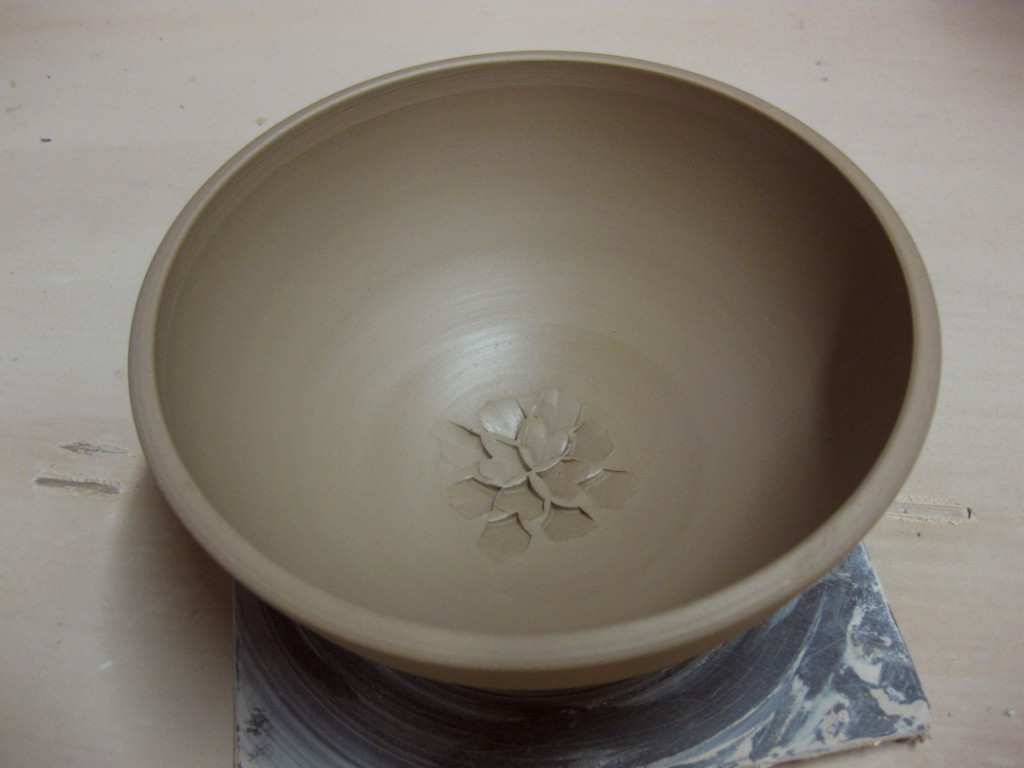
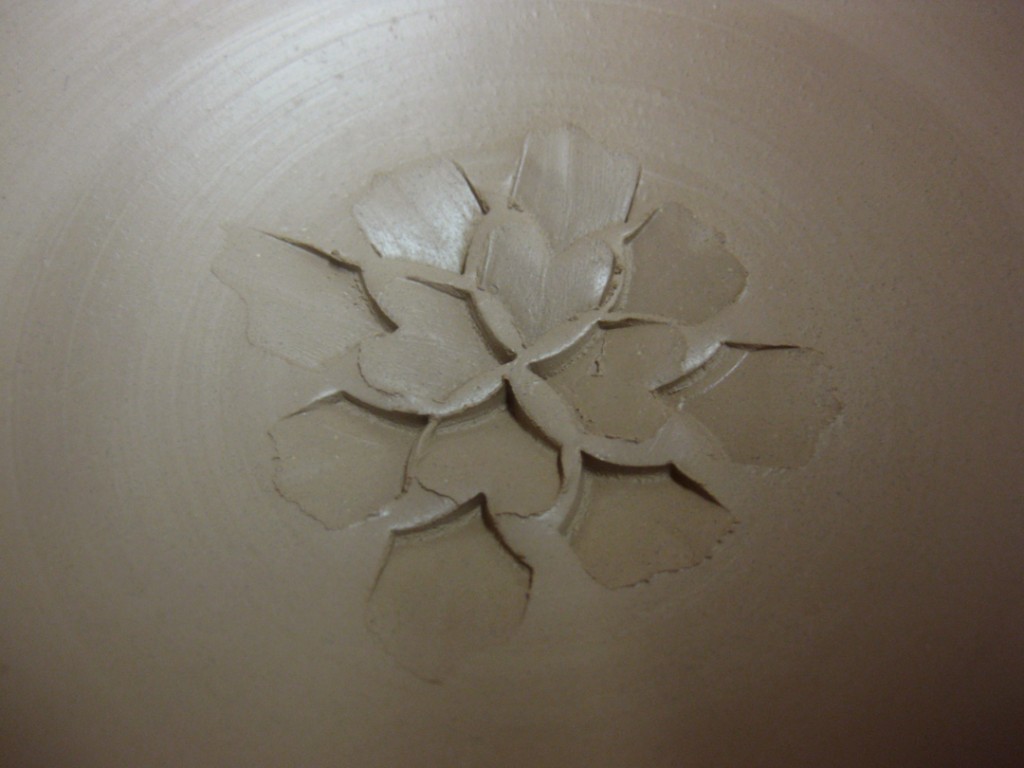
Bowl Demo #2 – Plain with an Indented Flower
But how much fun is it if your “simple round bowl” reveals a little flower on the bottom
when you finish eating your morning Cheerios?! This pattern was created with a simple
church key tool designed for pressing dragon scales. Also, a great place for glaze to pool.
Bowl Demo #3 – Fluted Rim
With a couple quick flicks of the fingers, the simple round bowl now has a fluted rim.
I even used the corners of my square bat to help me line up and keep my fluting evenly
spaced around the bowl.
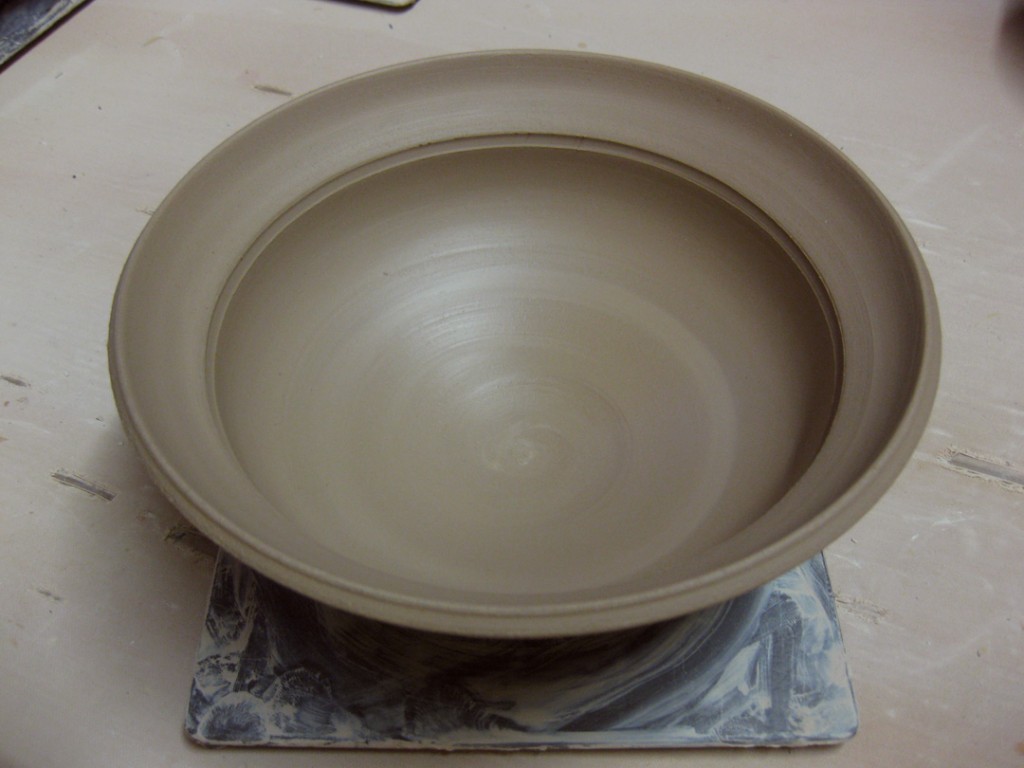
Bowl Demo #4 – Flanged Rim
So the top “inch” of this simple round bowl was flared out to create this great flange area.
I add a small indentation around the inside where the change of angle happens to help
delineate where the inside ends and the outside begins. This trick actually decreases the
capacity of your bowl, but makes it look a lot larger!
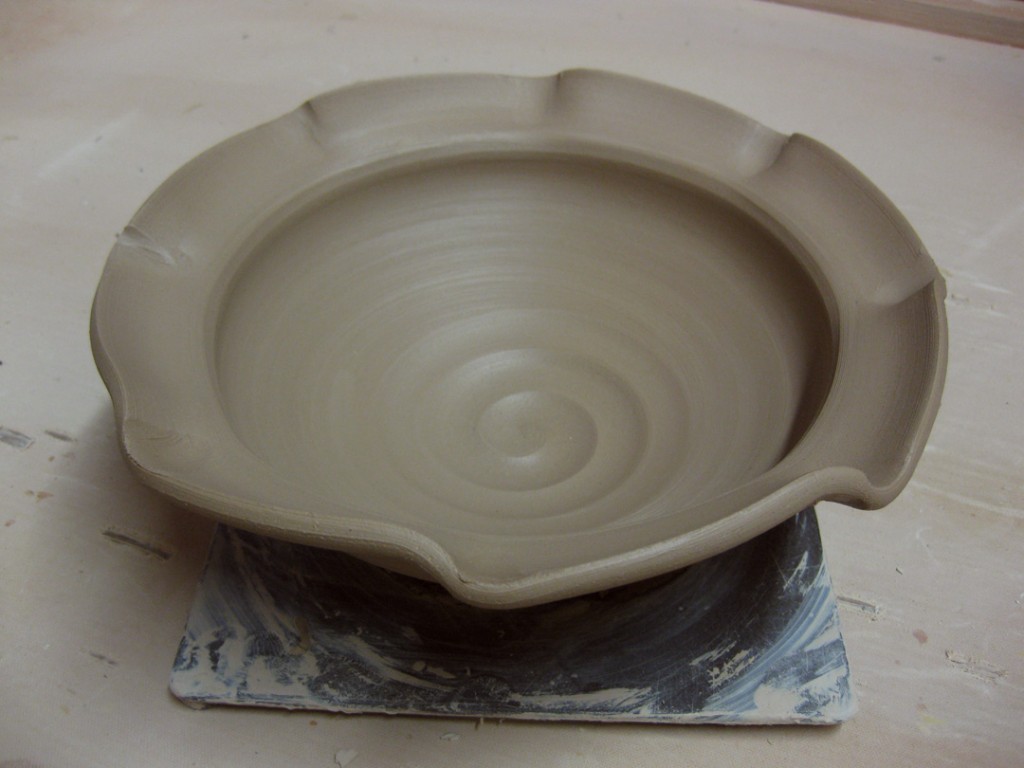
Bowl Demo #5 – Fluted Flange
Sure, you can flare out the flange. Sure you can do fluted edges. So why not both?!
Just put it together. It’s really just that simple.
Bowl Demo #6 – Wide Flange
And if a “one-inch” flange is fun, why not knock down more than half of the bowl height
to make a very dramatic flange?! It’s the kind of bowl you would expect in a fancy restaurant
where the put one small morsel of fancy food in the middle and charge you a fortune because
the presentation is so impressive. And just wait… that extra wide flange is also a great place
for some stamped textures… still to come!
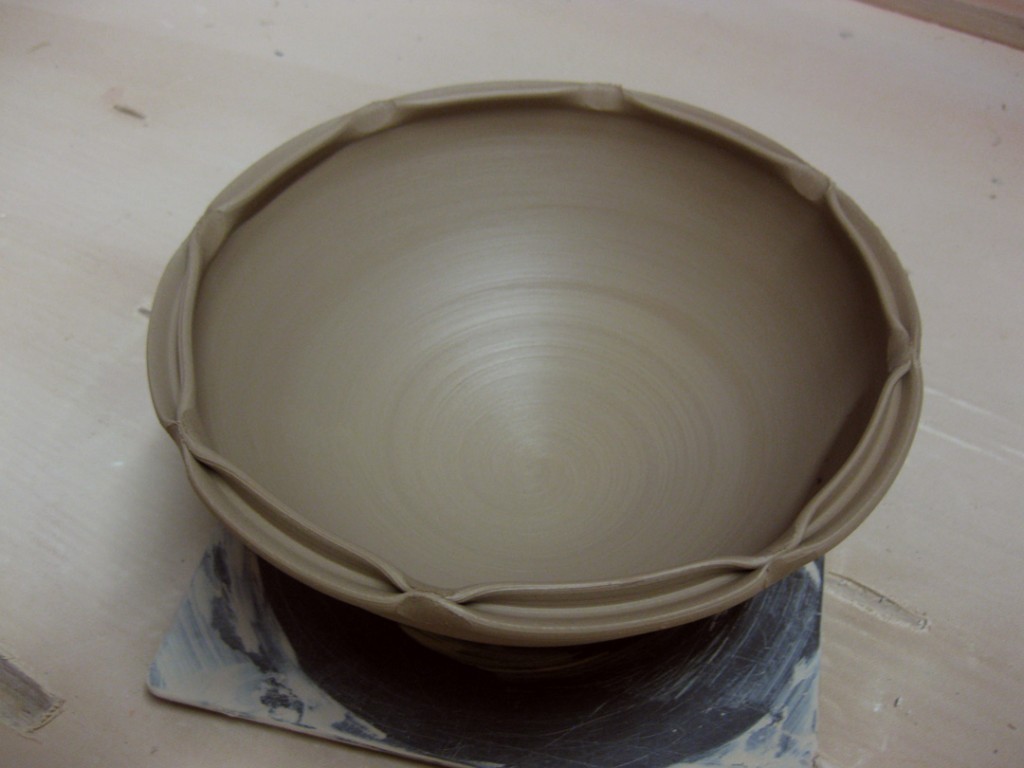
Bowl Demo #7 – Split & Pinched Rim
This time, the rim on the simple round bowl was split the point of my wooden knife.
I simple pressed it in as the bowl was rotating on the wheel. Once it was split all the way
around at a good depth, I pinched it back together in eight places.
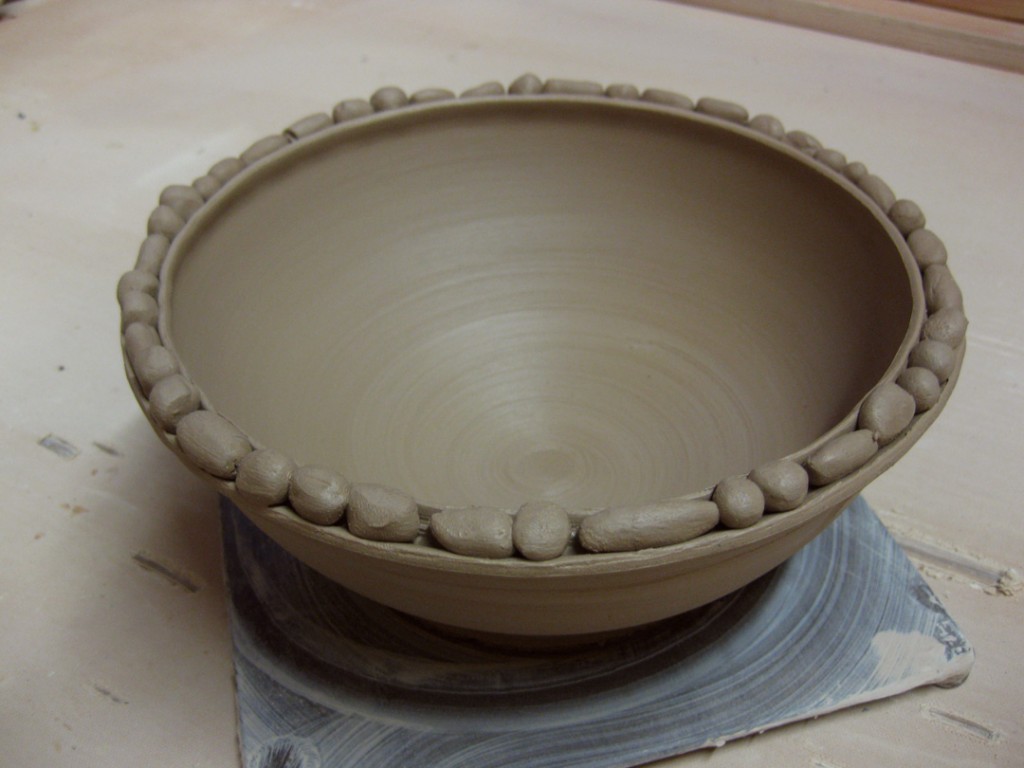
Bowl Demo #8 – Split Rim Filled
Again, I split the rim and we usually talk about how nicely the glaze will fill the split area.
But if glaze fills it well, how about some small coils & balls of clay? Which we just placed
into the groove while both bowl & pieces were wet. Then I squeezed the split rim back
together very gently while hoping to connect all of the balls & coils. I kinda like how the
bowl is so smooth & simple inside, but the rim has this sort of unpredictable randomness.
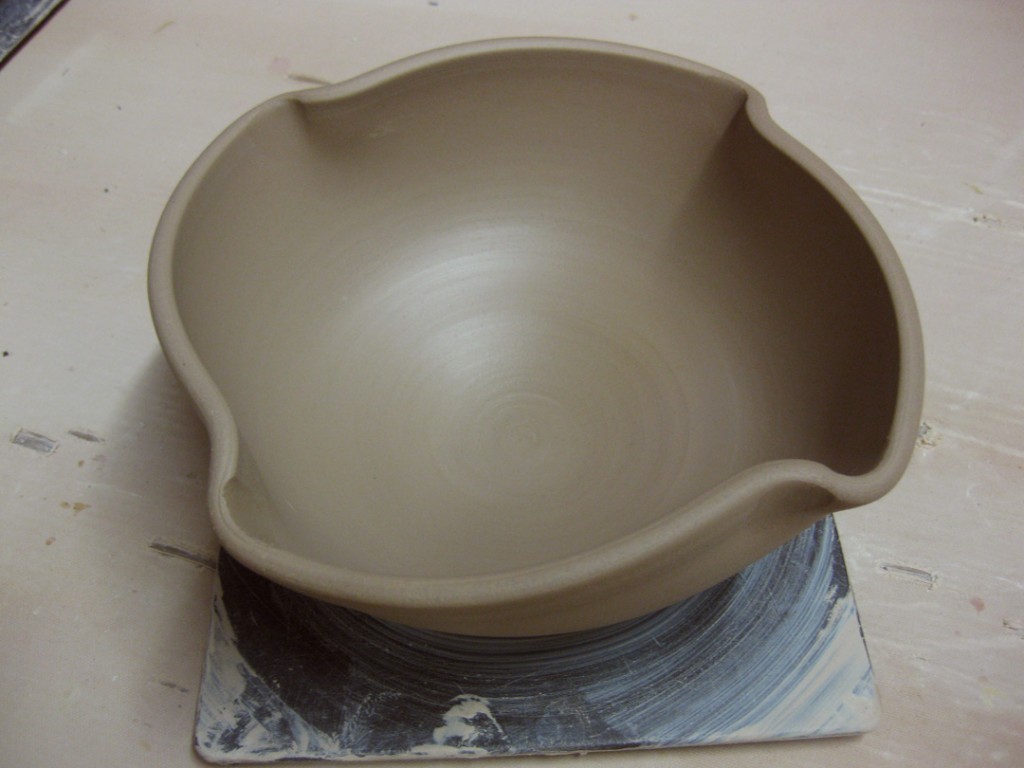
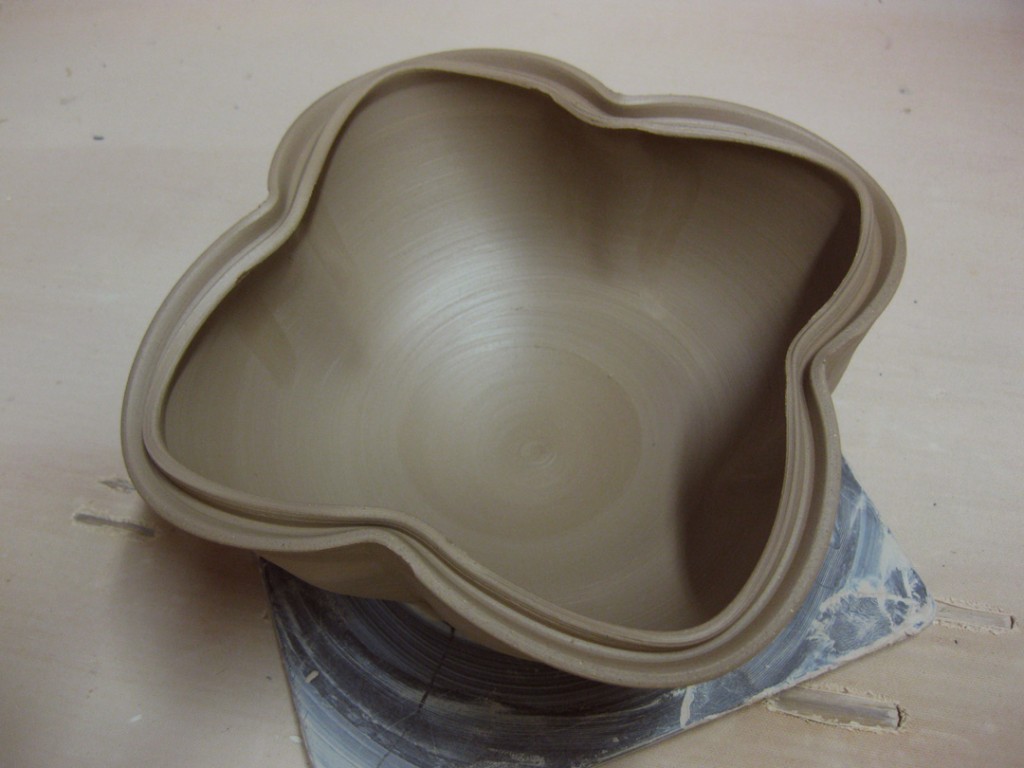
Bowl Demo #9 – Split Rim Clover
And while we’re splitting rims (and not hairs)… who’s to say a bowl needs to be round?!
Not me. So we split the rim and then altered it into kind of a clover shape.
Enough altering bowl shapes… now it was time to introduce colored slips!
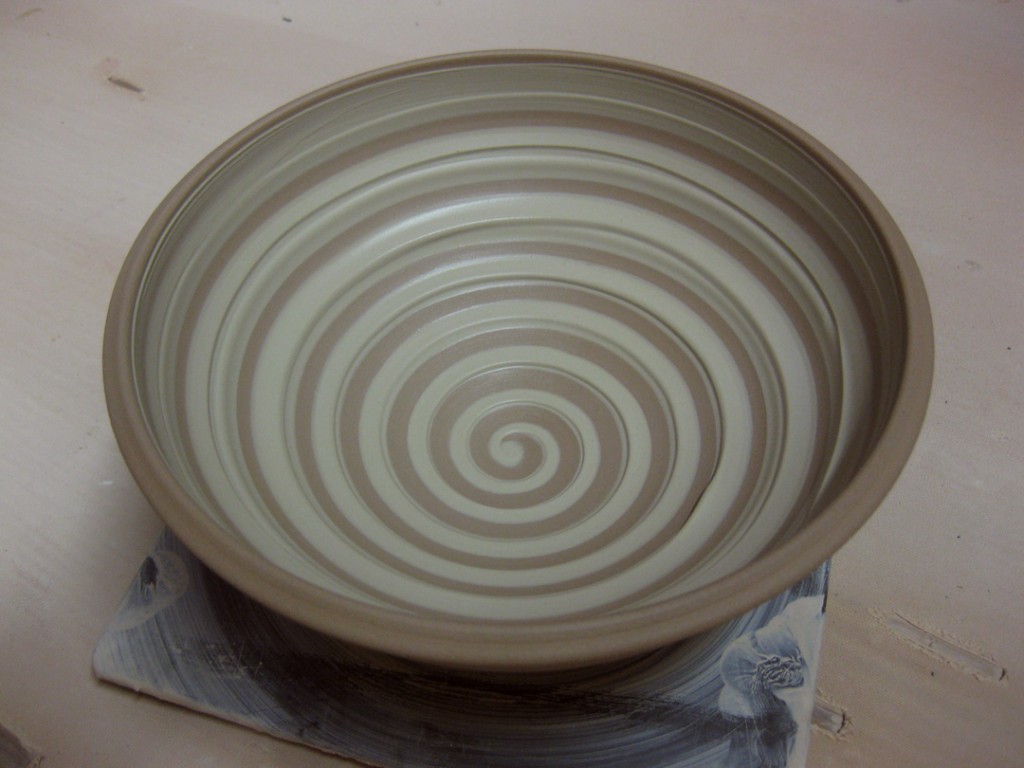
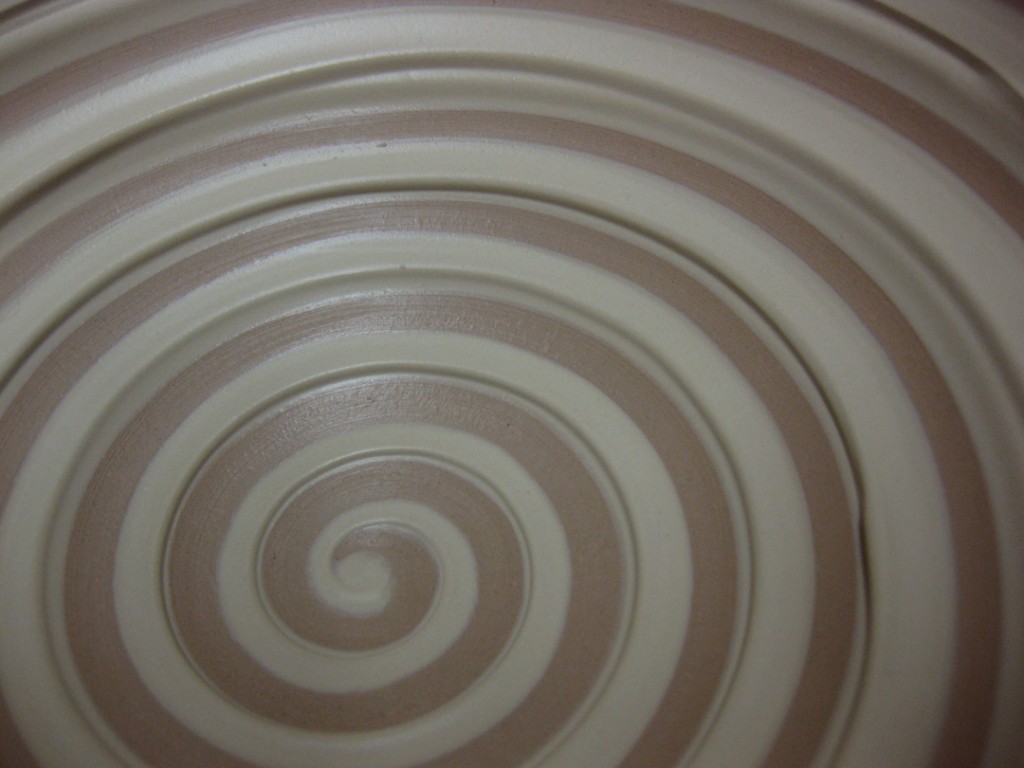
Bowl Demo #10 – Spiraled Slip
After a simple coat of white slip to cover the interior, I dragged the curved end of my
wooden knife through the slip to reveal the contrasting clay color as the wheel was spinning.
A simple technique with striking results. Plus a little textured depth from the remaining slip.
Bowl Demo #11 – Chattered Slip
A little more intimidating, but it’s a simple as covering the entire interior with slip,
then taking your rounded rib tool and chattering through the slip while the wheel is spinning.
It’s the combination of rhythmic tapping, moving up and the wheel spinning that creates this
look. But you have to commit. If you start and get flustered, you’re going to see the mistake
in the middle. Once you start – just breath and keep going.
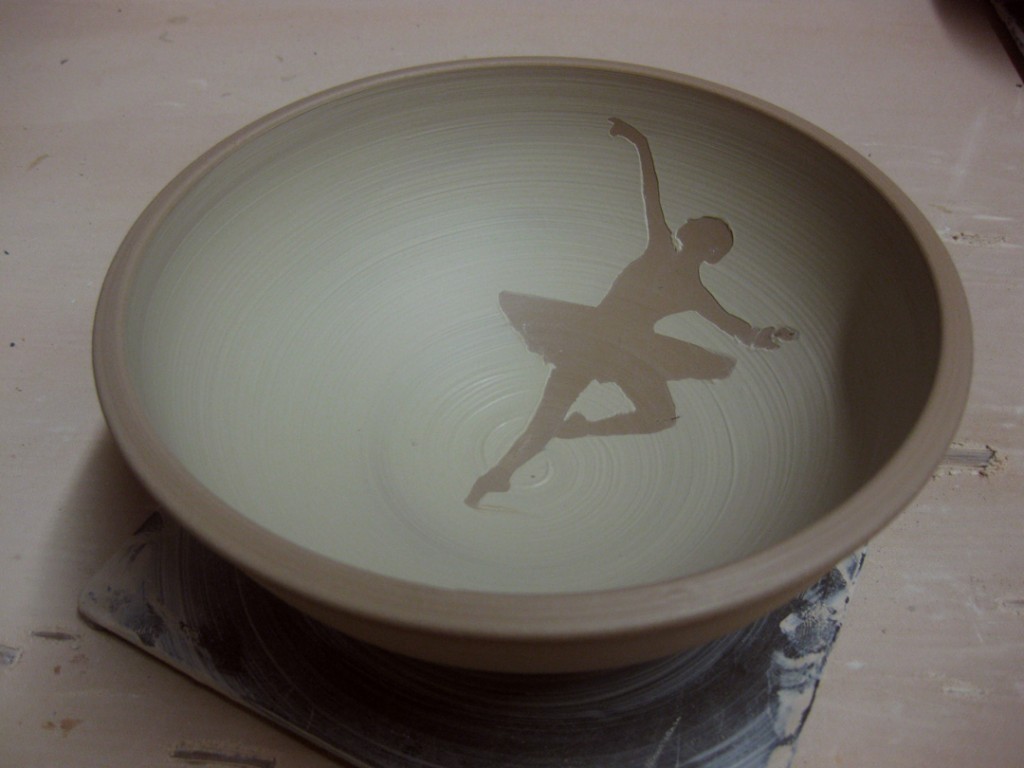
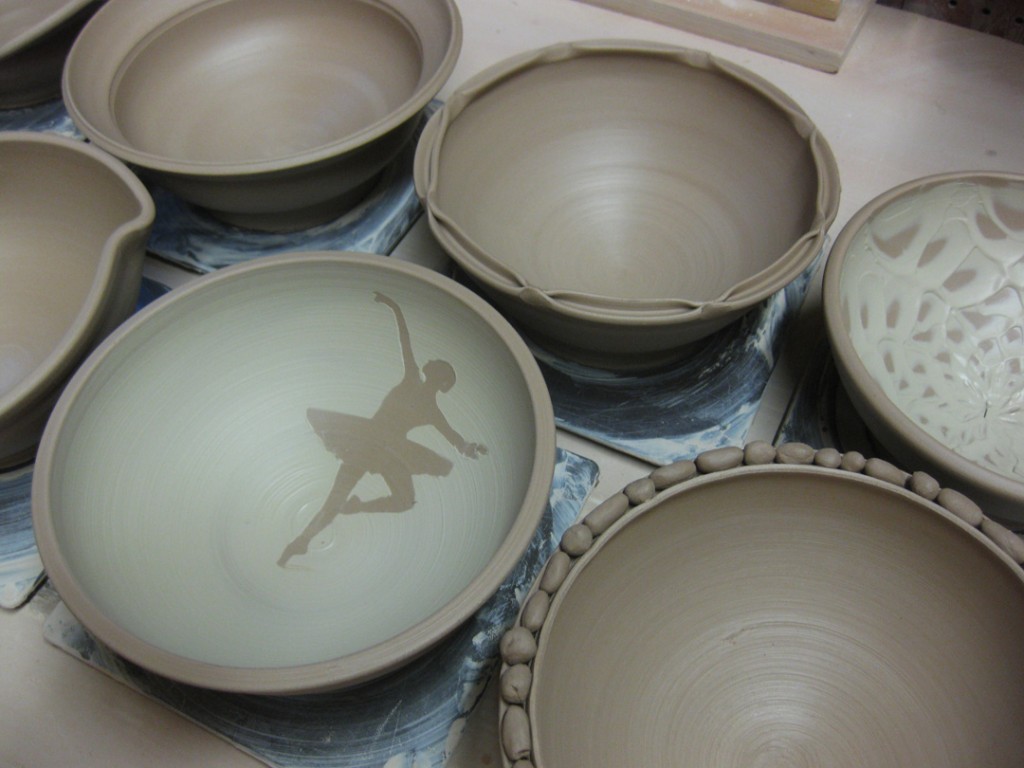
Bowl Demo #12 – Stenciled Slip
Enough random slip play… so I found a ballerina picture in the newspaper and my
teaching assistant Maureen cut it out for me. I wet the newspaper and carefully applied her
to the bowl’s interior surface. The water is pretty good at sticking down all of the edges. Then
I took the paintbrush with white slip and carefully covered all of her edges. Once covered,
I could slather the entire interior to get an even coverage of white slip. Once solid & smooth…
I had to peel the newspaper back out very carefully to revel my tiny dancer!
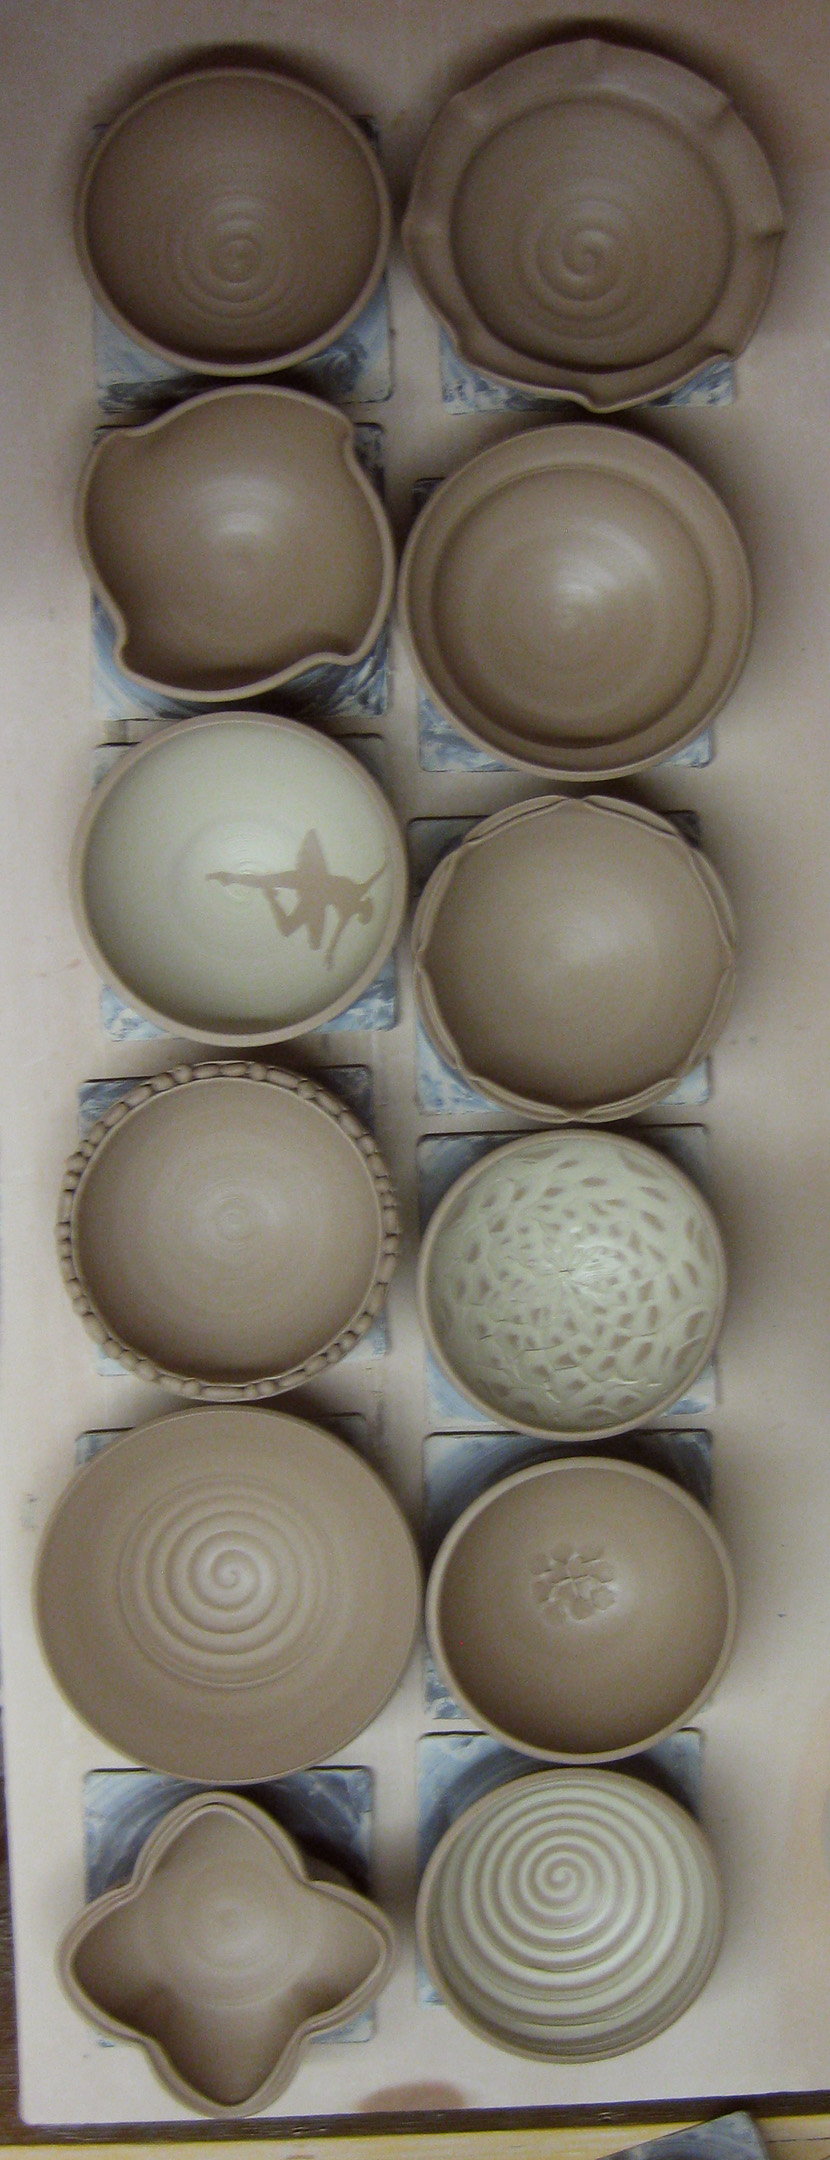
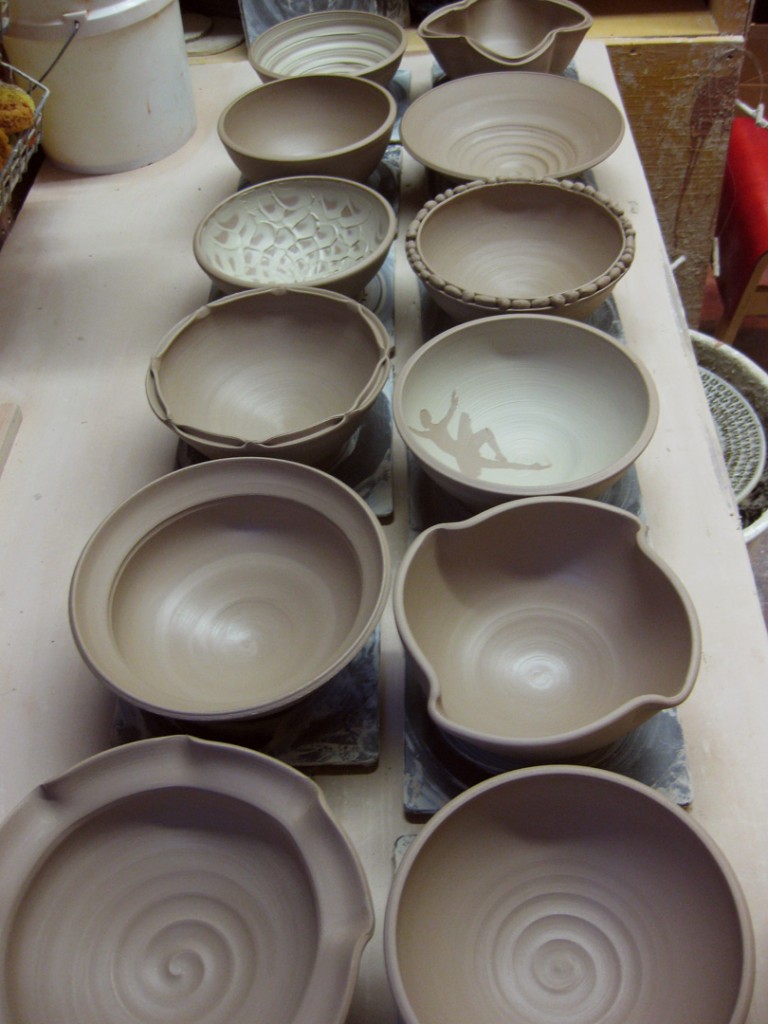
So there they are… the twelve bowls that came from my bag of clay.
Remember, all twelve bowls started out very plain, simple, round and mostly matching.
But with a little determination, my students realized that it’s not all that tough to make
each bowl different with a few basic techniques.
This is how they sit overnight wrapped up in plastic to keep them “workable.”
When I come back to the studio tonight, I’ll unwrap them, do a few touch-ups, maybe
some stamping and a bit more surface decorations here & there. When they dry to a good
leatherhard state, I can do some trimming and call ’em done. More photos to come…
My ultimate goal for this class demo is for my students to realize that the clay is not precious.
That they need to make more pieces and get to the point where each piece they make is no
longer considered precious. So that they are more willing to play with their clay.
Twist. Alter. Flute. And if it doesn’t work… who cares? They can make it again…
and try again… and again.. and again.. until they get what they like!!!
It’s just clay.
It’s the second week of our new session of pottery classes at Lillstreet.
My students are still working on basic cylinders, basic trimming and handles for mugs.
But I also “needed” them to make some stamps tonight so we can use them later in the
session after they’ve been bisqued. The sooner they get them back, the sooner they can
start decorating their pots!!!
To make tonight’s class even sweeter, one of my students brought in some yummy
homemade s’more cookies… complete with a graham cracker cookie base, a gooey chocolate
center and “torch-roasted” marshmallows!!! And you know how I love a good s’more!!!
If you’re still looking to check some people off your holiday shopping list,
I’ll be in my studio this Sunday 12/16 from noon-5:00ish
for any last minute shoppers! Be sure to stop by to pick-up some pottery for that
special someone on your list. And a little somethin’ somethin’ for yourself!
Feel free to stop by my studio on the second floor of Lillstreet Art Center.
When you come in the front door, make a quick turn and go up the stairs to Studio 205W.
4401 North Ravenswood, Studio 205 West, Chicago, Illinois 60640.
And then, just a couple blocks north of Lillstreet, you can find even more holiday gift ideas
with “The Chicago Art Girls” and their Holiday Pop-Up Show. Stop by and see jewelry by
Amy Taylor, chain maille by Melissa Banks, fine prints by Judy Zeddes, colorful ceramics
by Nancy Gardner, groovy “recycled” pieces by Melissa Kolbusz… and many more FEMALE
artists!… although I’m still a little annoyed, perplexed & amused by the overtly sexist omission
of any ART GUYS?!!! Maybe next time?…
The Chicago Art Girls Holiday Pop Up Shop – December 15th & 16th, 11:00am-5:00pm.
Helium Gallery – 4710 North Ravenswood, Chicago, Illinois 60640
As the year comes to an end and you’re looking forward to less-hectic days
of January that follow, what are you going to do?! Why not a new hobby?
You know you’ve always liked to play in the mud… to get your hands dirty…
so why not put that to use and try wheelthrowing pottery?!
My new pottery class begins on Tuesday, January 8th from 7:00pm-10:00pm.
Beginning & Advanced Beginning Wheelthrowing Class.
So that means that it’s good for anyone who wants to play in the clay. Whether
you’ve never touched clay before, or dabbled with it a few years ago, or even just
want to come play with us for ten weeks… pretty much all levels are welcome!
Click here to register for my class – Tuesday nights from 7:00pm-10:00pm!
Be sure to register soon, as my class typically fills up early – with a waiting list.
If you register by December 17th, you’ll save $20 for Early Registration!
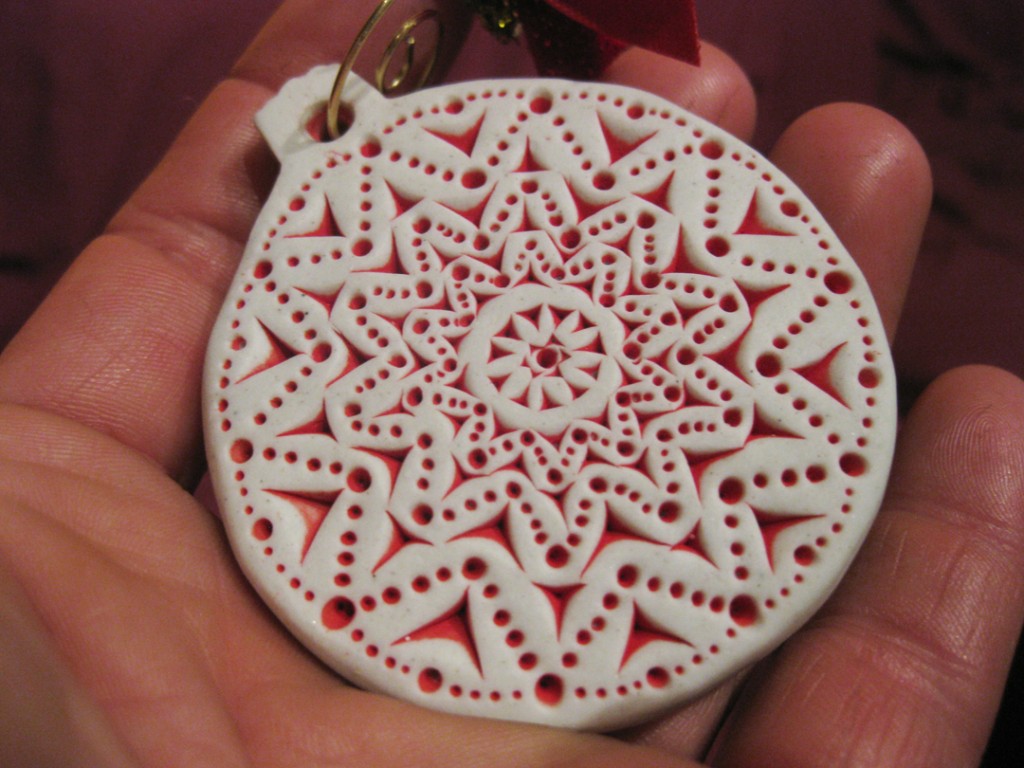
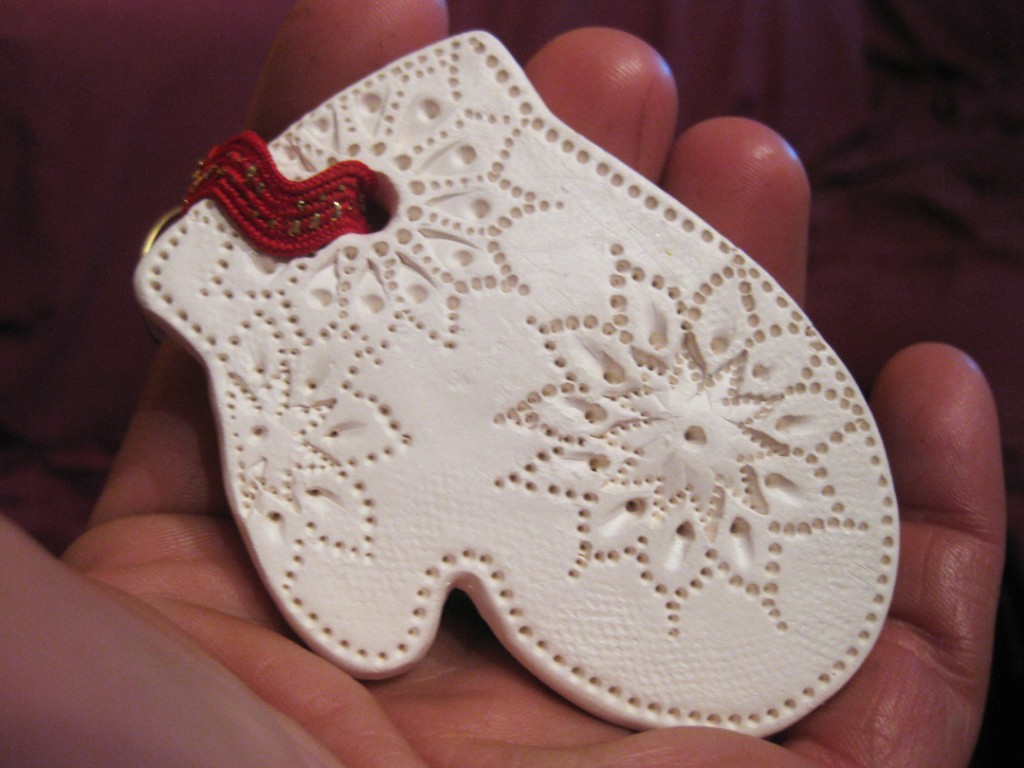
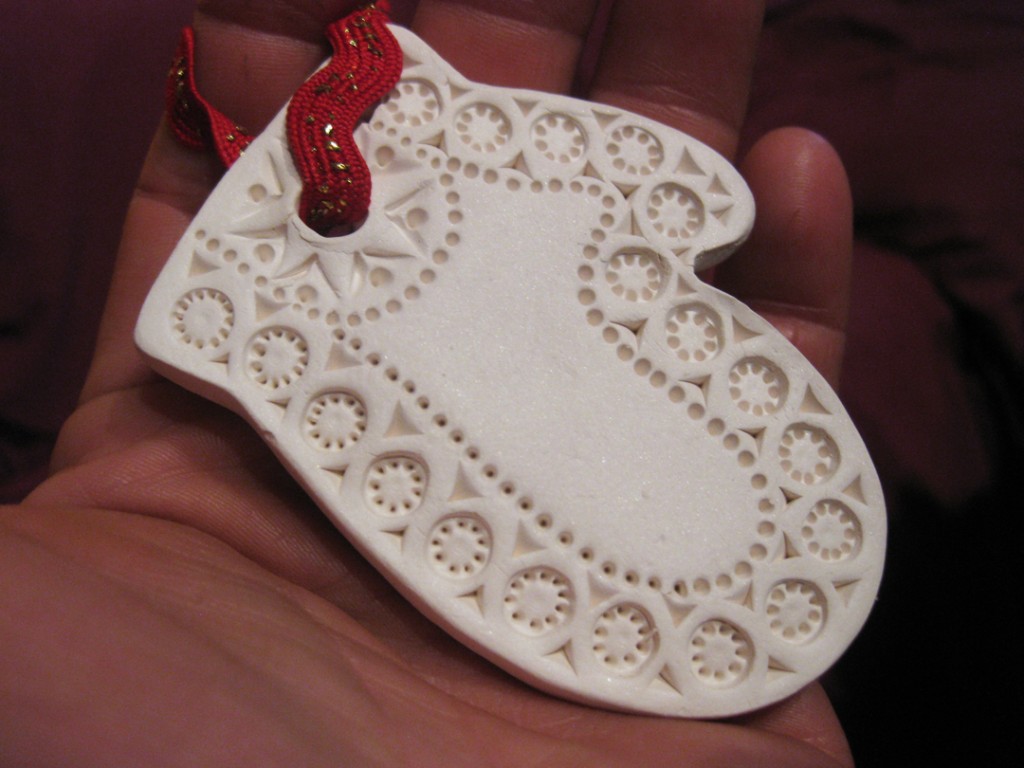
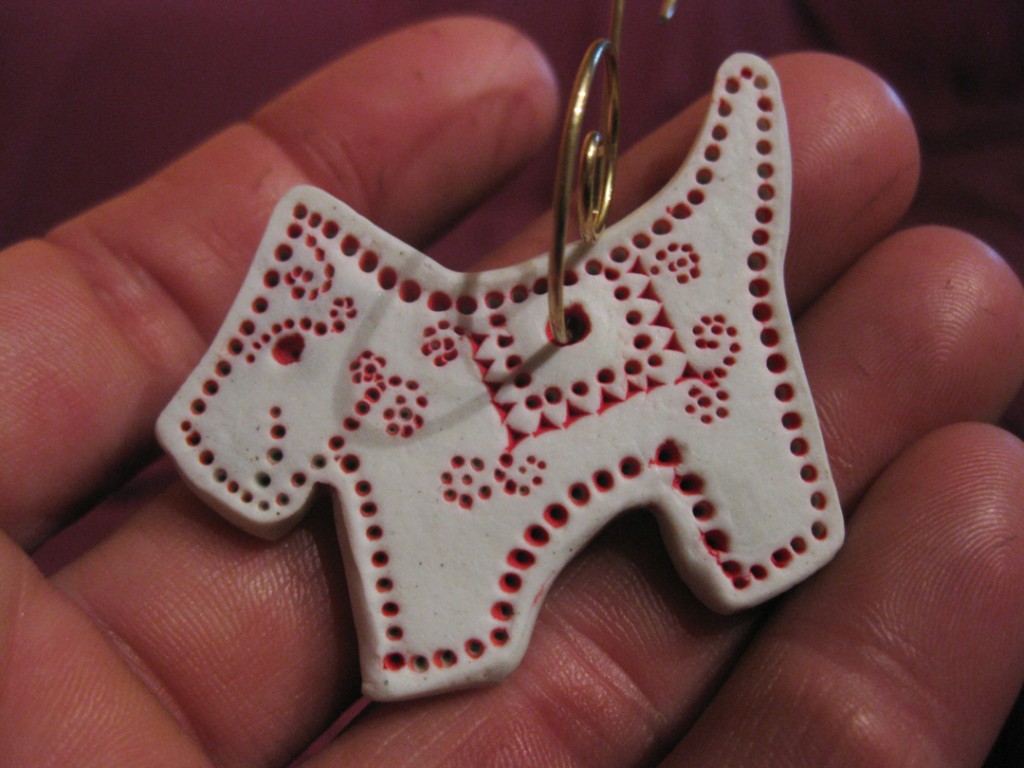
As part of the Holiday Opening Party last night at Lillstreet Art Center,
they also had an open Art Fair on the third floor with a lot of students & friends
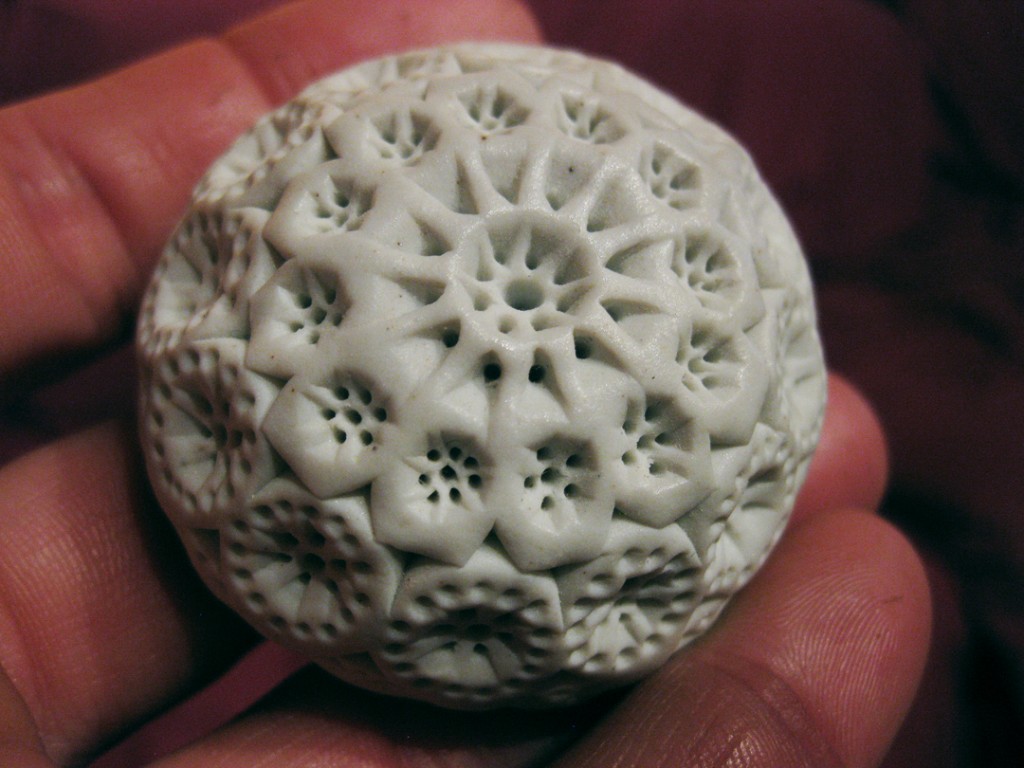
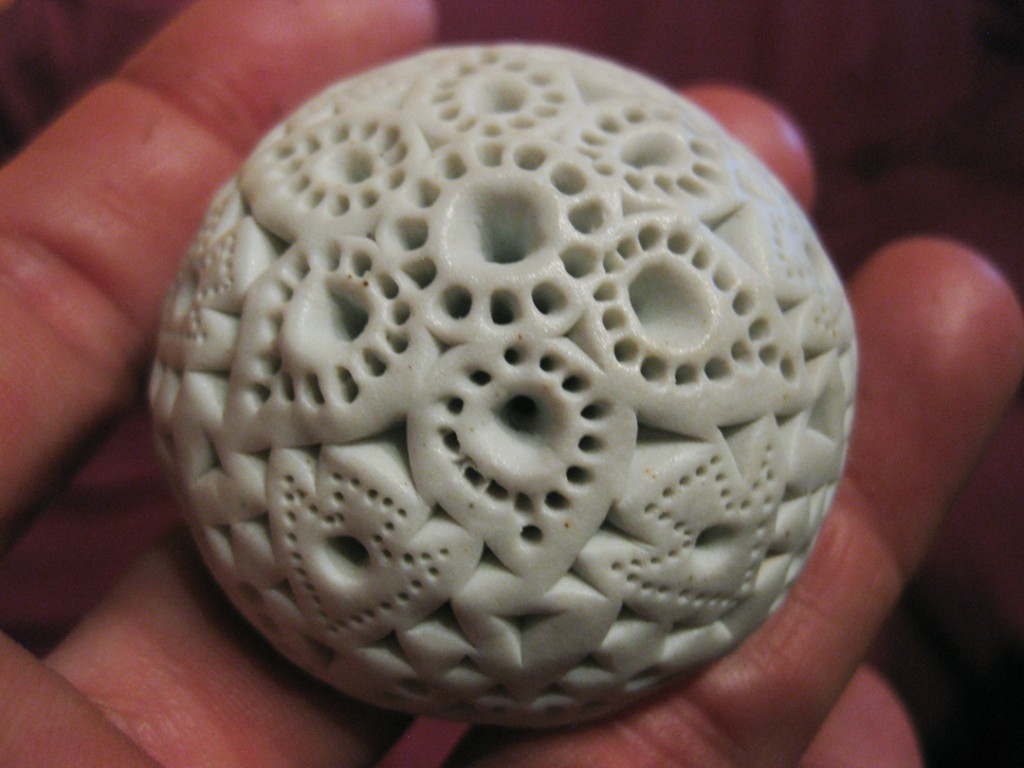
selling their wares. Obviously, I had to add to my crazy-cool Terry Hogan collection
of pierced porcelain! You know I’m a sucker for repetitive patterns & textures!
As if the her pierced “pods” weren’t cute enough… now she’s making Christmas ornaments
which are equally cool. I couldn’t decide… so I had to get all three! Each cooler than the next!
And a tw0-sided mitten… I think I like the snowflake side the best?
And a precisely pierced porcelain precious perky pup… priceless!!!
Some of the students of Lillstreet Art Center are currently being featured in the gallery.
It’s always fun to see how talented the students are – and to see their work being featured.
So often, all of the work gets finished, comes out of the kiln and goes straight home.
No one ever gets to see everyone elses pieces after they’re finished. There is a lot of great
work there at great prices. I think there are a lot great prices there… and I think that many
of the students need a class in pricing their work?! If you want to snatch up some great
pieces, be sure to hurry in. However, there are also a few people in the show who have
priced their pieces on the high side?! Apparently they have a pretty high opinion of
themselves and their work?! I’m just sayin’…
Either way… the Member Show runs through the week. Hurry in today!!!


