Gary Jackson: Fire When Ready Pottery
A Chicago potter’s somewhat slanted view of clay & play
Categories: kiln firing

My soda firing today has been a little crazy.
Everything seemed to be firing fine. Heat, color, flames, cones, reduction, etc.
Everything seemed fine… going smooth… almost.

When I started the kiln this morning, the top temperature was a lot hotter then the bottom temperature. Which is normal. Heat rises. I get it. We use a pyrometer with two temperature probes to check the internal temperature, in addition to the tradition pyrometric cones. According to the pyrometer, my temperature difference was over five hundred degrees. Not too concerning at the beginning.

But as my firing went on, the temperature difference didn’t change much. Usually the temperature levels out as the firing goes on. A simple firing, temps balancing out from top to bottom. But not today.

At least halfway through the firing, my temperature difference was up to 600-degrees difference between top & bottom. Crazy, right?! How can it be that much difference? Things looked fine. The color. The flames. The cones. And yet the pyrometer was still telling me there was a problem. So the anxiety started to creep in and you start considering all of the options.

I started making adjustments to the kiln. Reduce the gas. Push in the damper. Watch for results. Hoping the temp gap would change. Nope. Open the damper. Raise the gas. Wait for something to change. Into reduction. Out of reduction. Just trying anything & everything to make something happen. But the temperature difference didn’t change much. Like five to ten degrees… no the HUNDREDS of degrees I needed it to be!!!

After some more creative problem solving, I was ready to try anything. We turned the pyrometer on & off. We switched the temperature probes. And finally I ran upstairs to get the other pyrometer from the studio kiln room. I attached it to my probes in my kiln and suddenly my temperature difference was like 55-degrees!!! NOT six hundred degrees like the old pyrometer was telling me.

Huge sigh of relief.
By this time I was 3/4 of the way into my firing. Logically I kinda knew that the firing was okay. Nothing seemed off in the firing. If the kiln was indeed 600 hundred degrees cooler on the bottom, I’m sure you would be able to see the difference in flames & color. But still, it felt so much better now knowing that temp was back in an “acceptable” range.

And now back to the firing…
It’s getting close to the end. Cone eight is down. Cone nine is starting to bend.
Time to start adding my soda mixture into the kiln. Get the gloves… get the angle iron…
time to play with the flames!!!
Categories: kiln firing

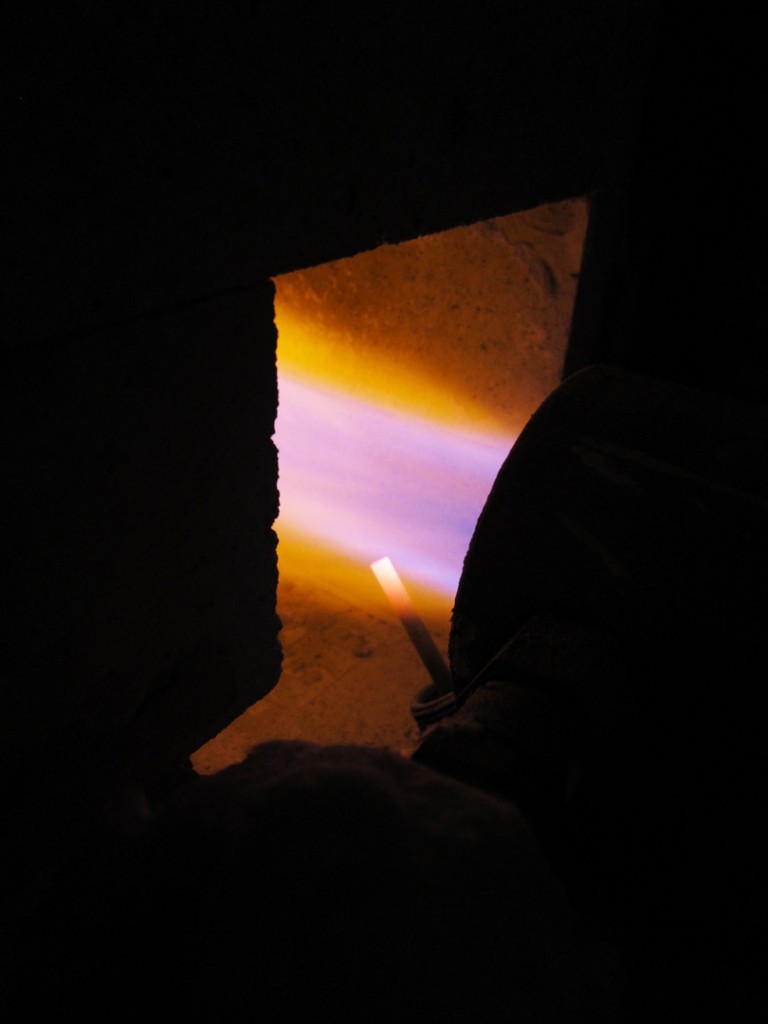
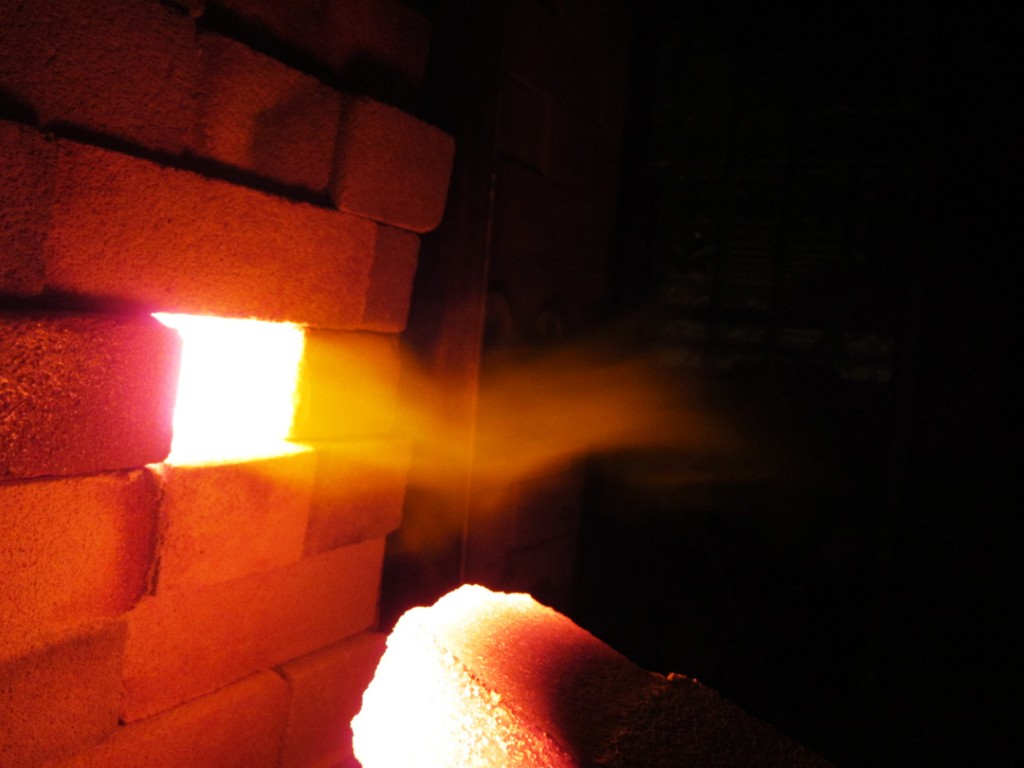
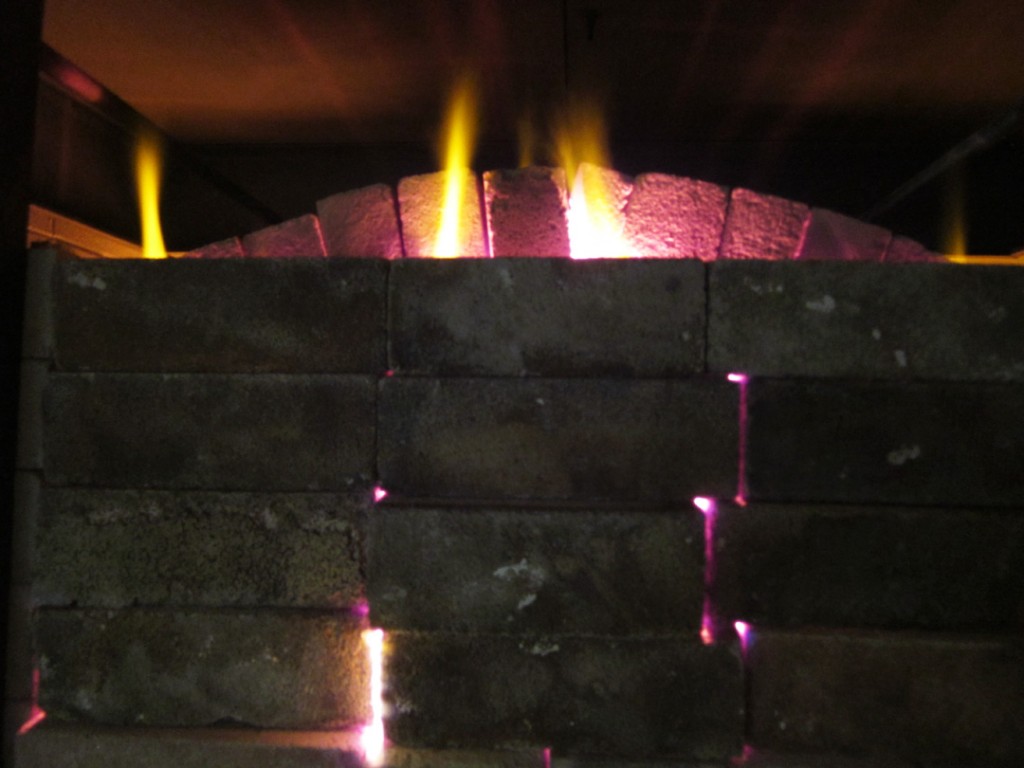
Towards the end of my soda firing, the flames are finding their way out.
Whether it’s through the front peeps, or through the cracks in the door and the arch.
Always fun to play with fire. Now who’s got the marshmallows???

Categories: kiln firing, process

After a rickety ride downstairs in the freight elevator, my studio cart made it to the kiln room. With a few masking tape “seat belts” none of my pots were bounced off the cart.

So then it’s time to start loading the soda kiln. But first, a look inside…
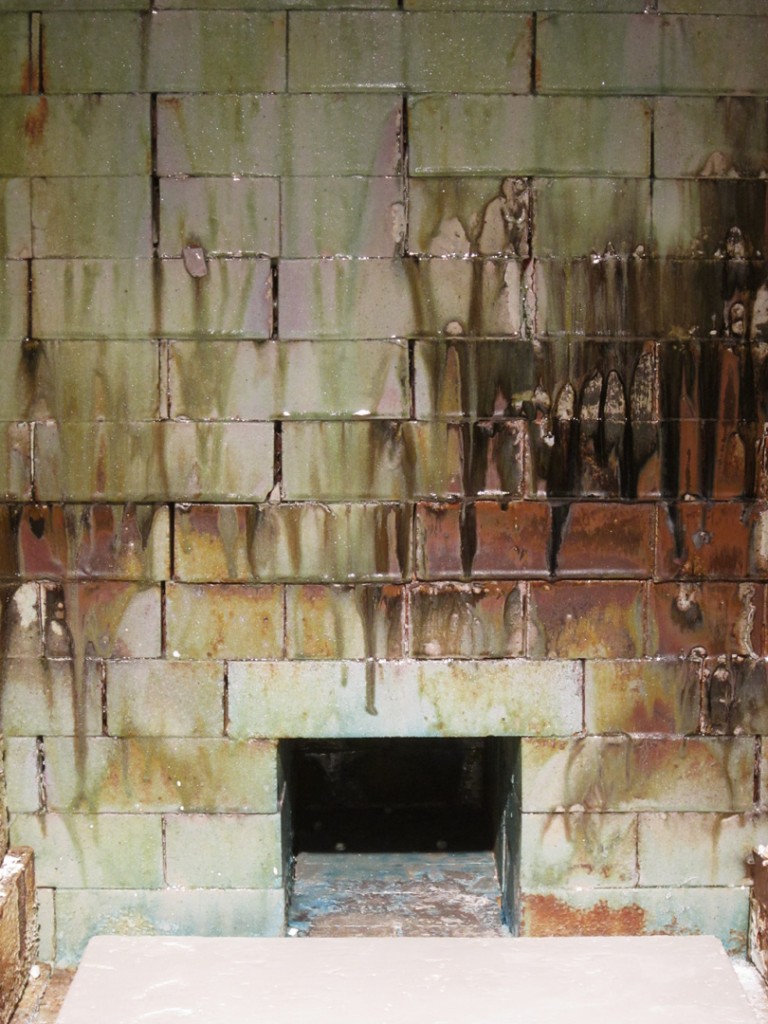
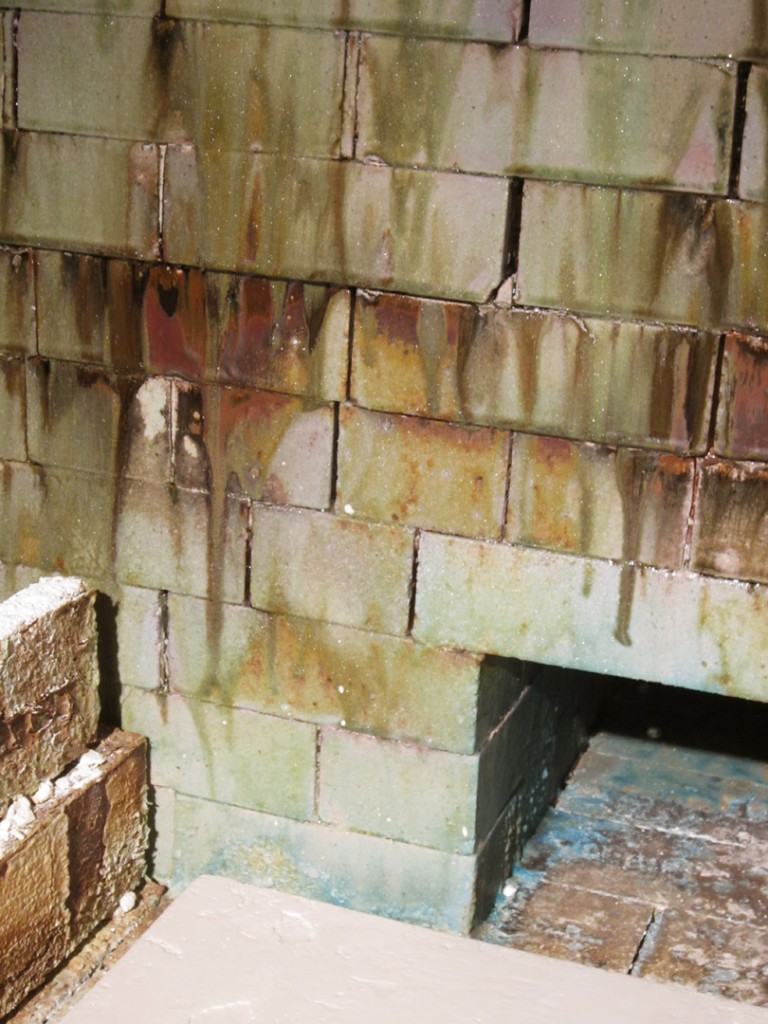
And the beautiful, drippy layers of residual soda build-up glazing the kiln bricks.
After many classroom firings, the back wall of the kiln is GORGEOUS!!!

Pretty, huh???
Okay, back to me. And my soda kiln loading.
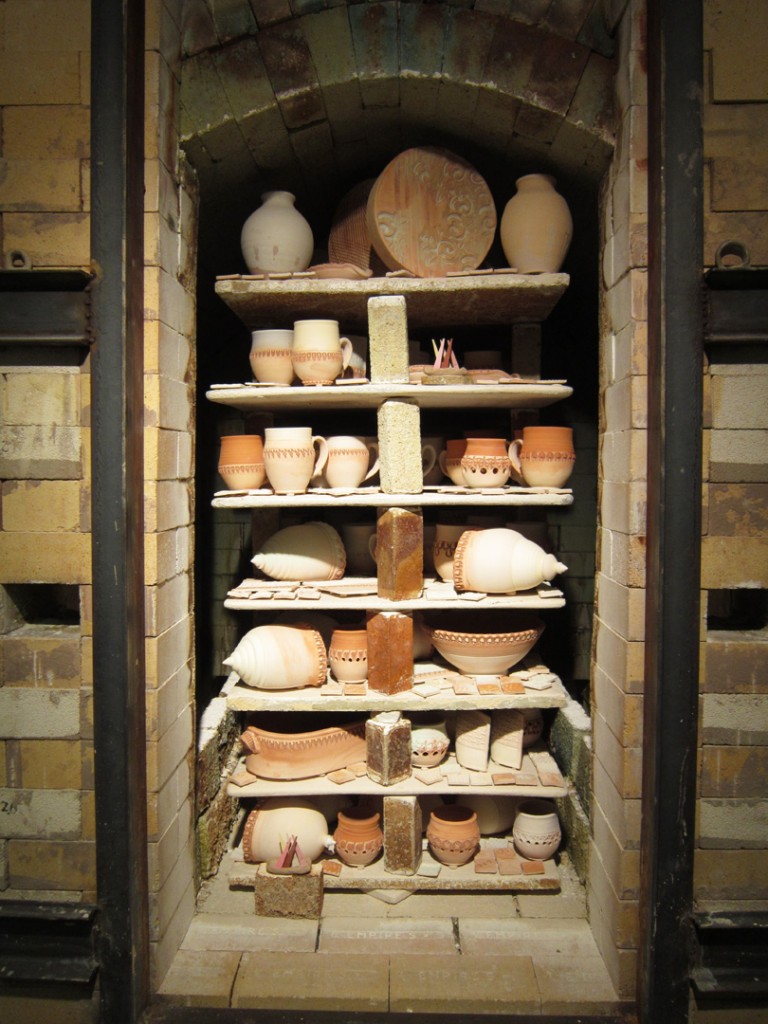
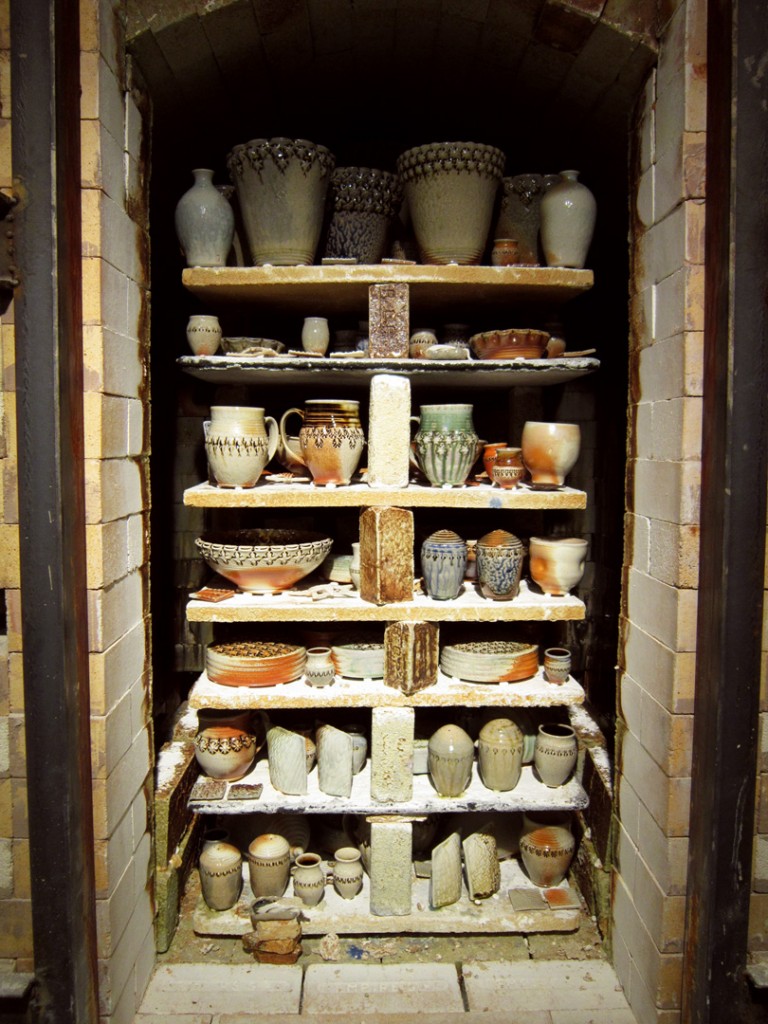
First, the back stack, a single shelf deep…

And now the front stack, two shelves together…

Then it’s closed up brick by brick by brick… and I turn the burners on for about 20 minutes Long enough for me to clean up my mess, take the cart back upstairs, grab my things and get ready to go. A little “candle” heat into the kiln to dry things out overnight.

After the quick warm-up, my kiln is all loaded, turned off and closed up for the night.
Tomorrow we start again with an early morning…

Categories: kiln firing

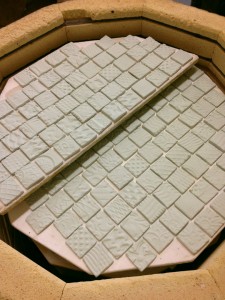
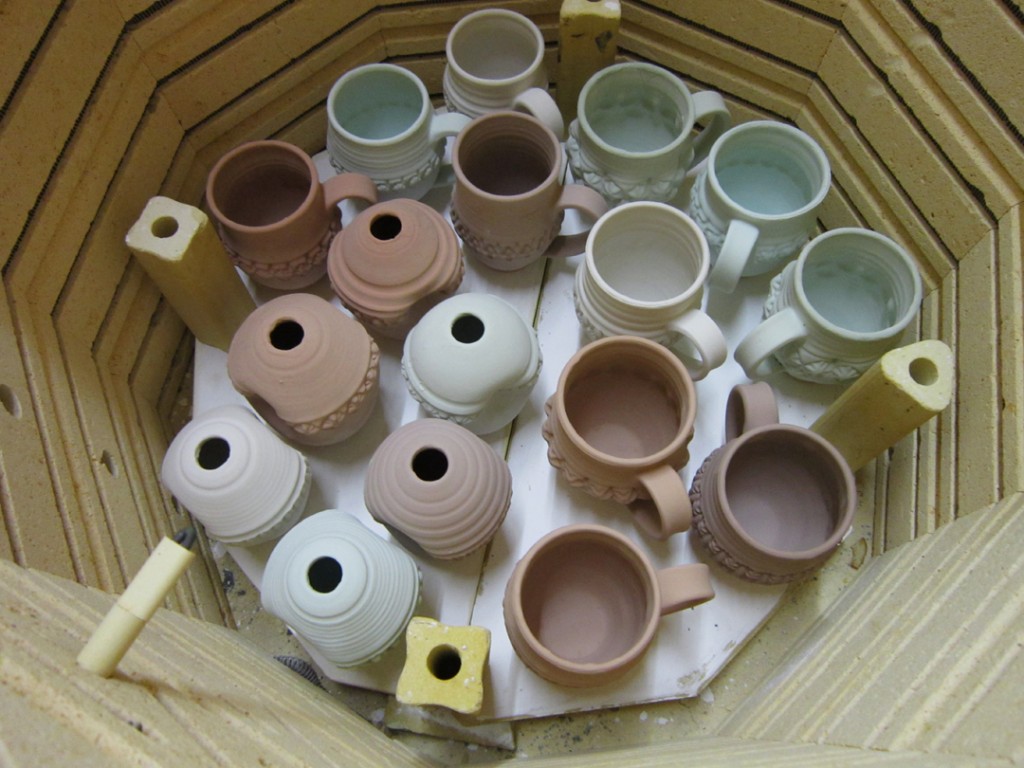
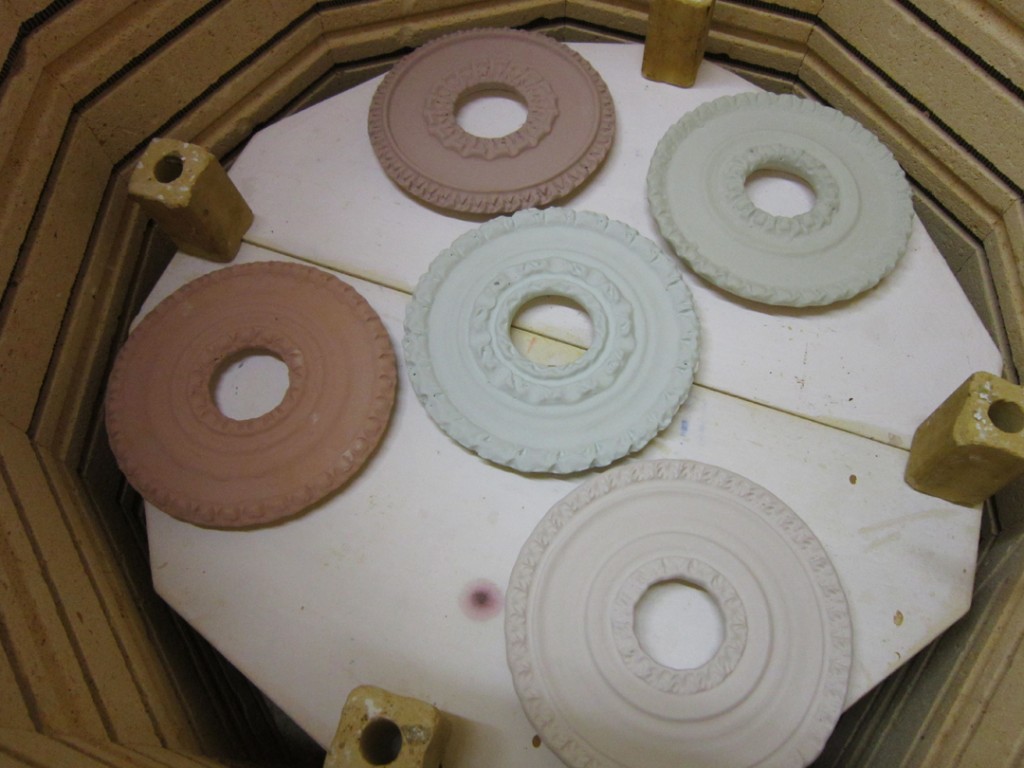
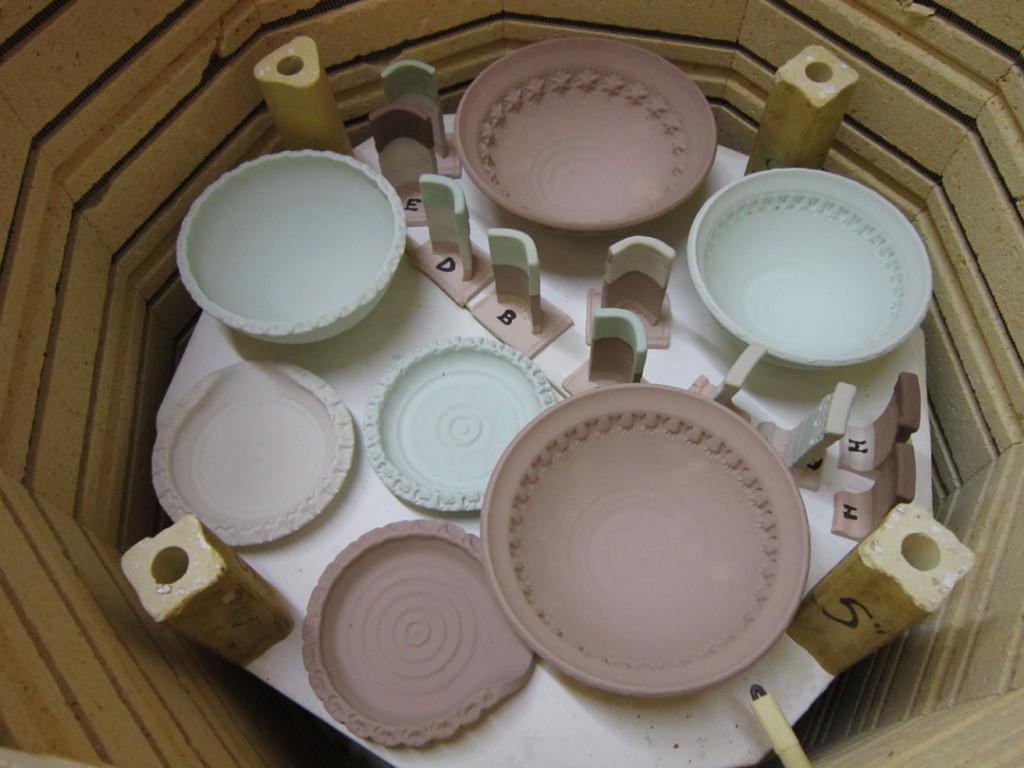
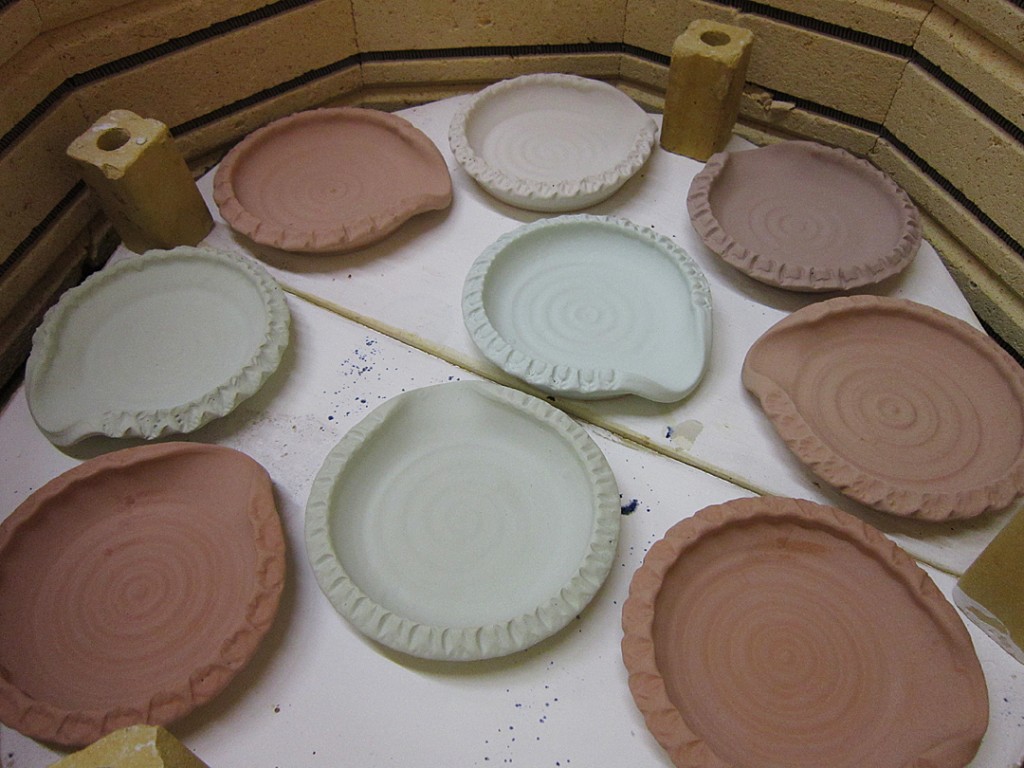
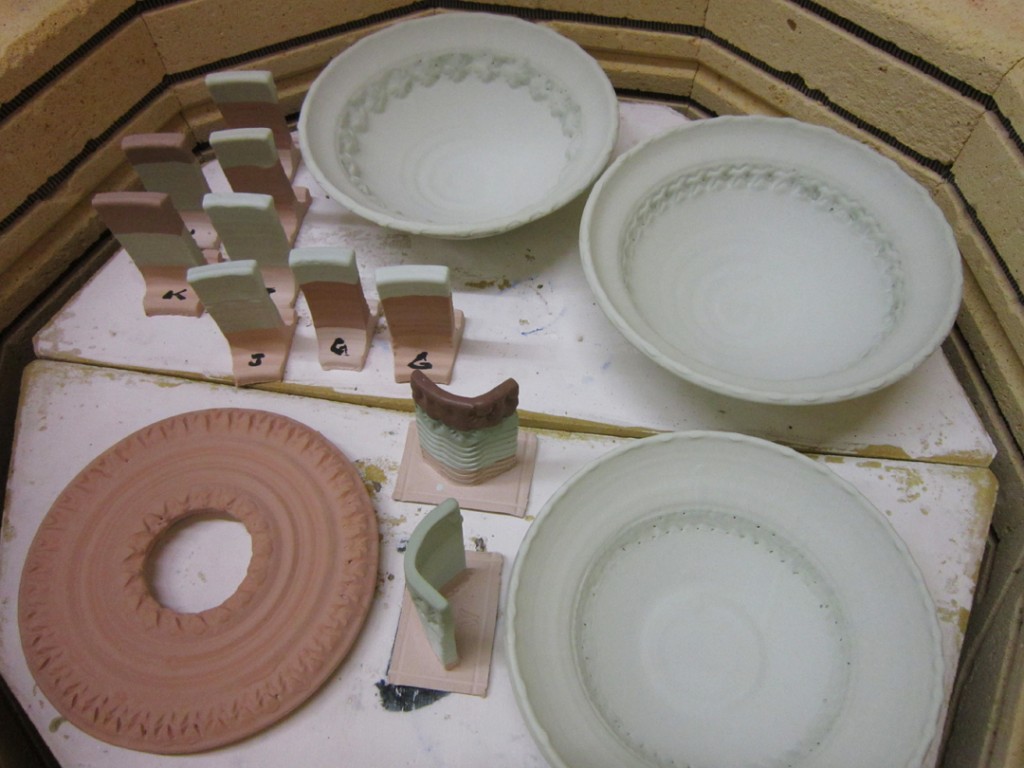
Rushing to get everything done. I’ve got my next soda kiln firing scheduled for this coming Saturday. Which means I need to load everything Friday evening. Which then means I need to have everything glazed & wadded before then. Looking at the calendar, and counting backwards, I only have a limited amount of time left. So I NEED to push this through a little faster than I would like. I’ve had things in front of fans drying as much as possible. But at some point, I just needed to get them into this bisque kiln. If you look close, you can see the dampness in the darker clay. Not my usual “tight” packed kiln… but I wanted a bit more air space for drying purposes. No stacking & nesting of wet work!!!

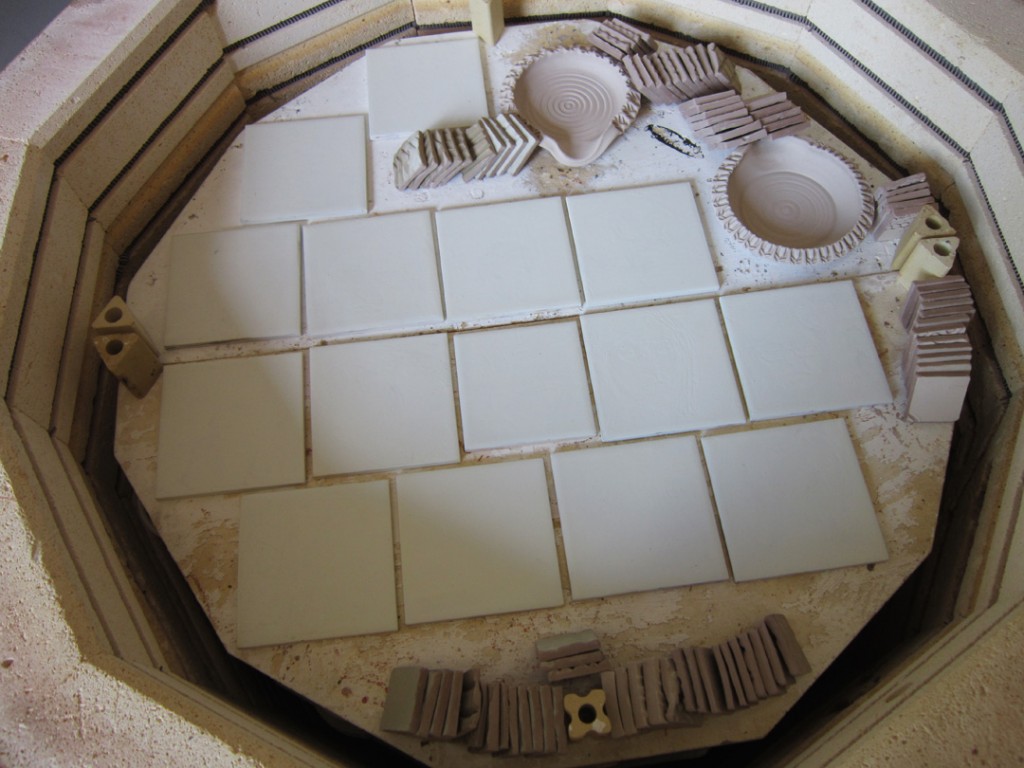
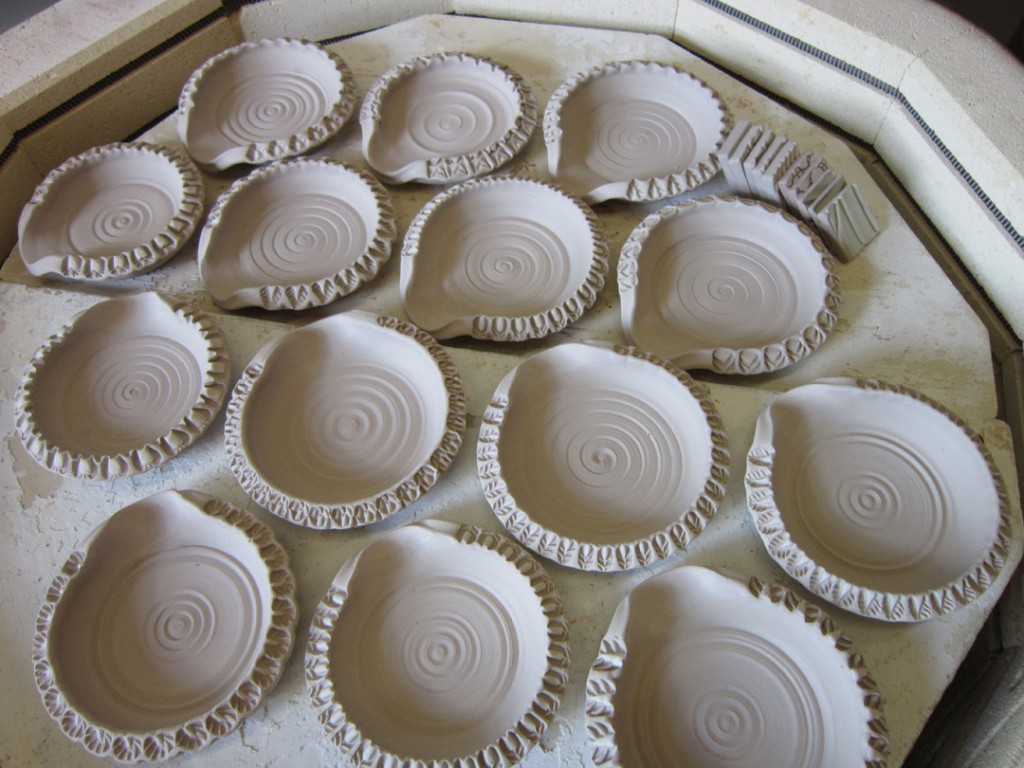
Kiln Layer #1 – bowls, tiles and damp mugs.

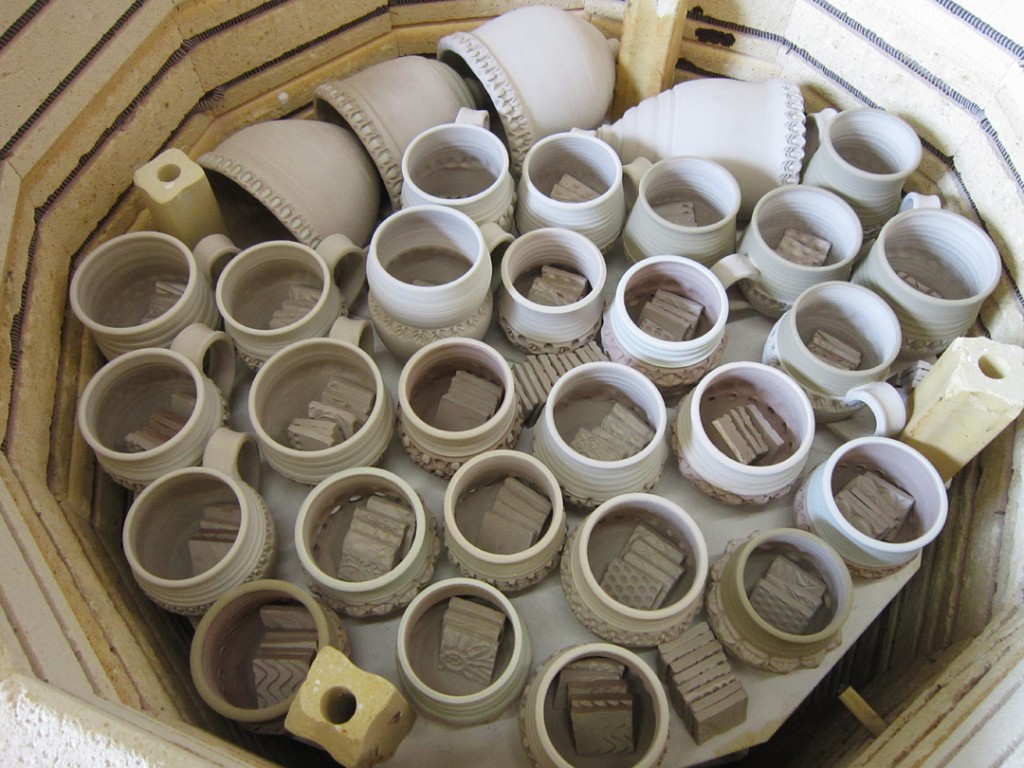
Kiln Layer #2 – tiles, damp tumblers and more damp mugs.

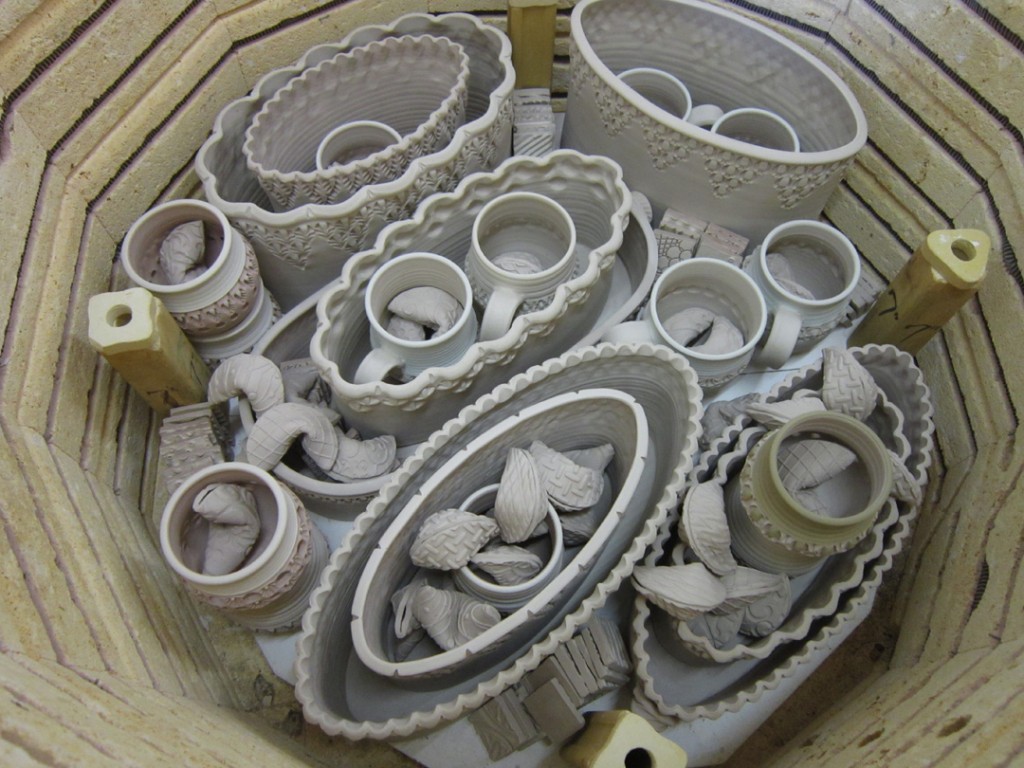
Kiln Layer #3 – textured salt & pepper shakers, tiles and more mugs!

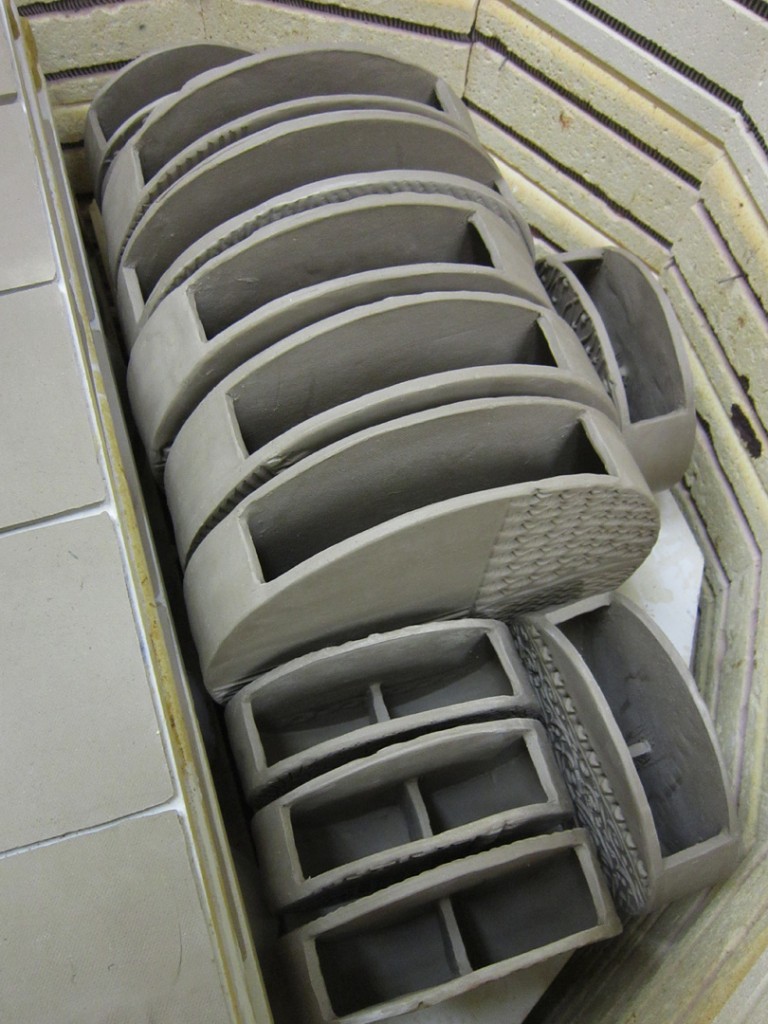
Kiln Layer #4 – a few larger tiles and the new “round” slab vases.

They’re packed tight, and still a bit wetter than I would like them to be. I’m going to candle the kiln with a slow preheat and fingers crossed. I’m hoping it works. I would hate for these to explode after all this work… although I am “expecting” some varied results. We’ll see in a day or so when I unload this kiln…


Categories: kiln firing, production

A lot of wedging. A lot of working. A lot or “work.”
I’m preparing for another soda kiln in about a week. So I’ve been trying to make a LOT of stuff… and now I’m trying to pack it all into the electric kiln. Layer by layer… a lot of work to be bisque fired.

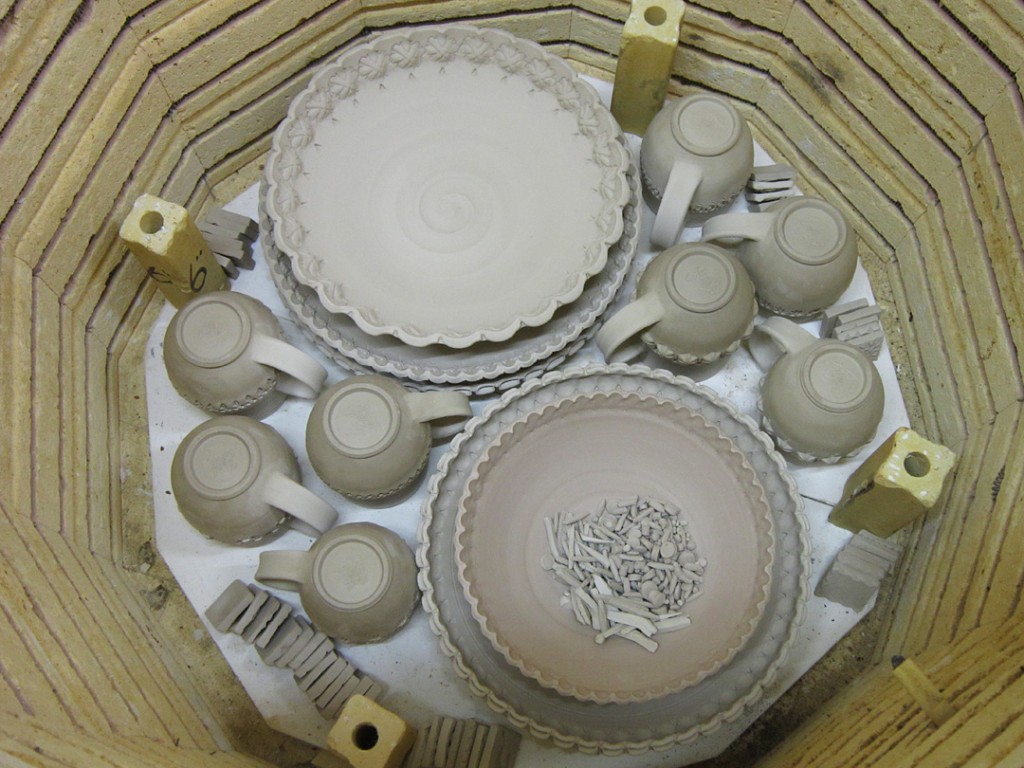
Kiln Layer #1 – Ovals, mugs, tiles and a lot of kiln filler!

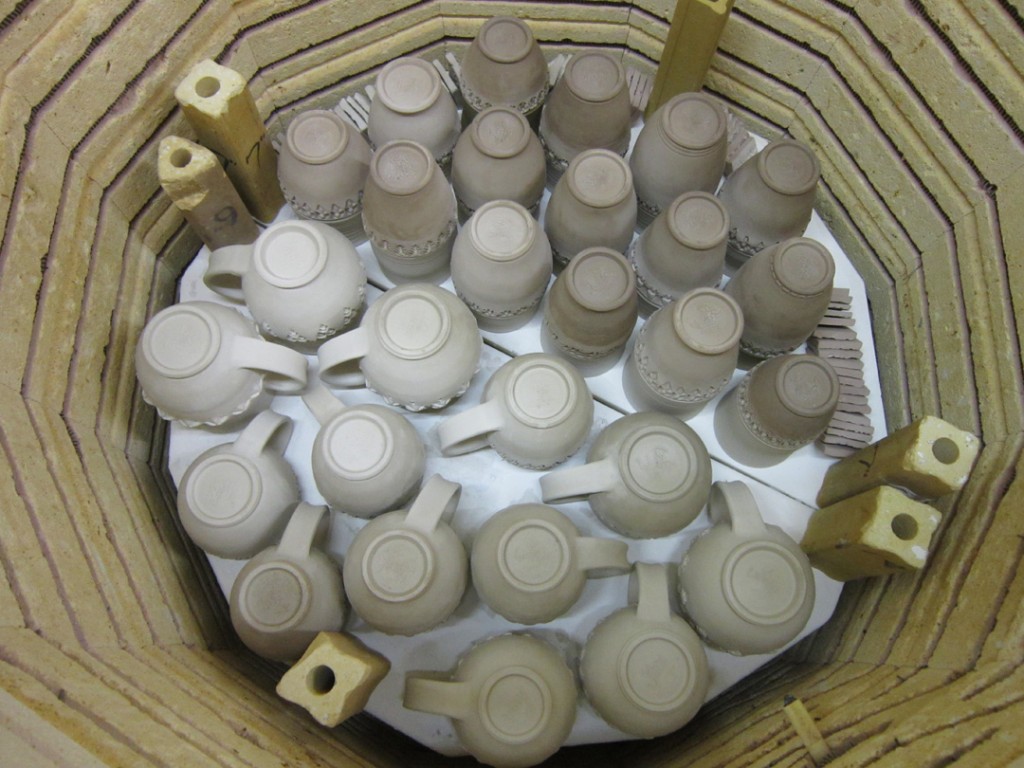
Kiln Layer #2 – more ovals, mugs, wall pocket vases, tiles and kiln filler.

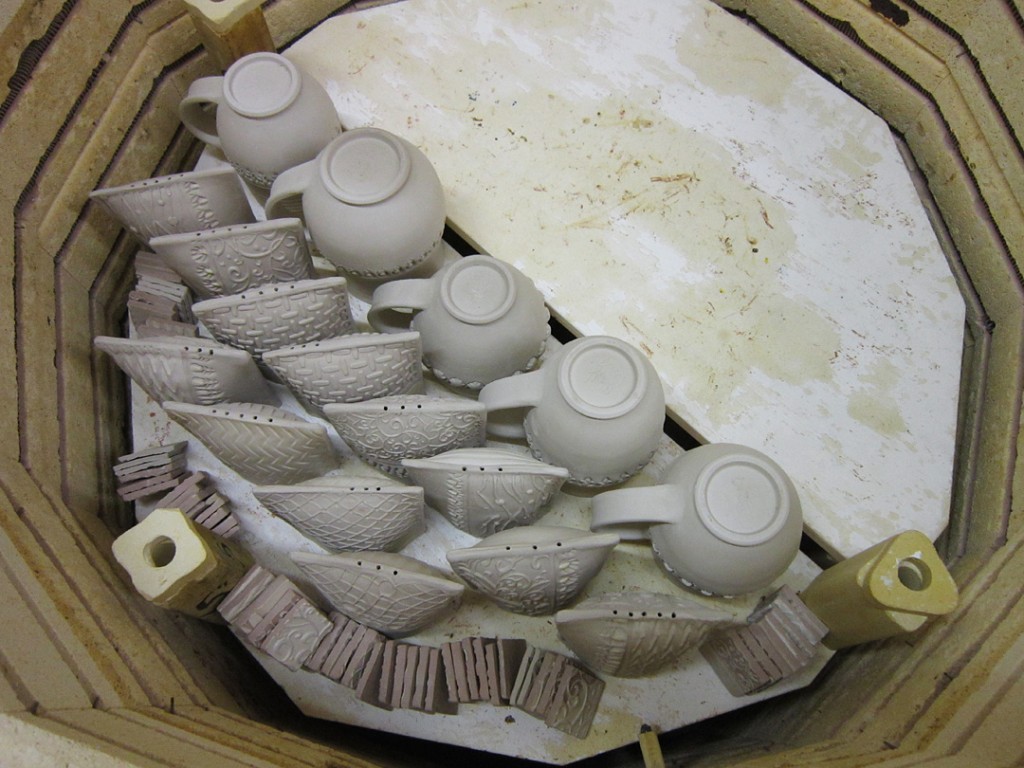
Kiln Layer #3 – more mugs, more wall pocket vases, votive holders and tiles!

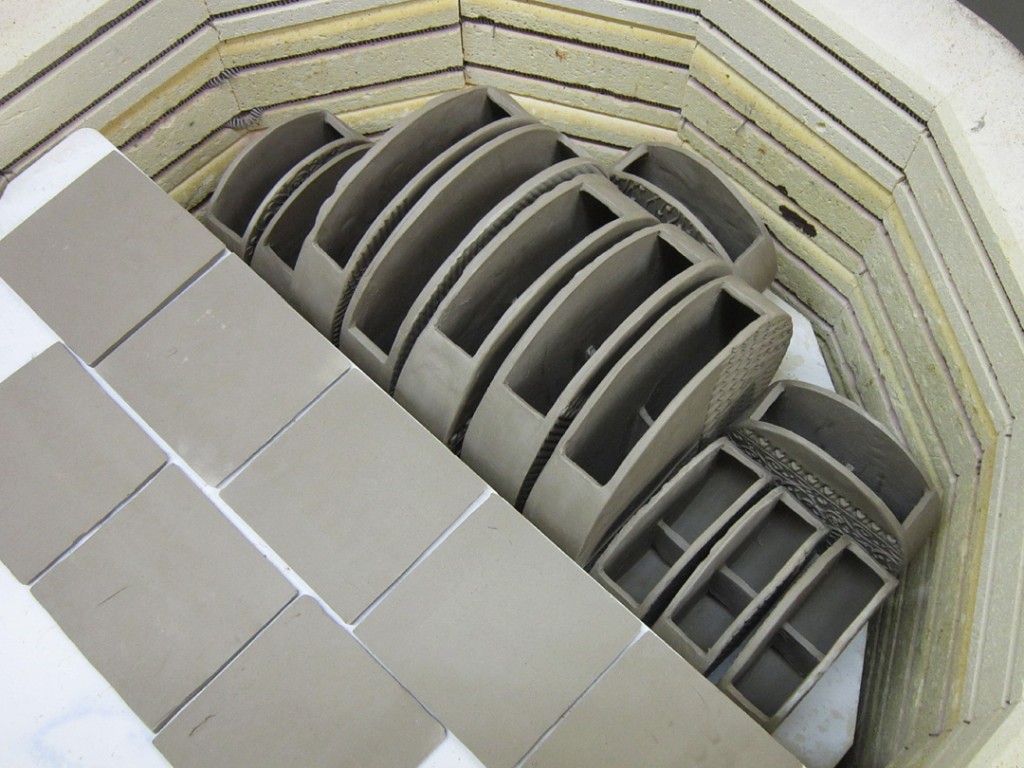
Kiln Layer #4 – I had a “smidge” of space, so I fired a layer of painted tiles for my studio neighbor Lisa! Along with a couple spoon rests and more of my tiles!

Kiln Layer #5 -  the rest of the spoon  rests and the last of the tiles!!!

Categories: kiln firing

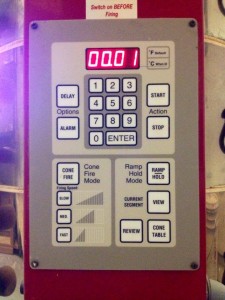
Almost done. Just one more minute of “soak ” time!!! Then let the cooling begin…

Categories: glaze, kiln firing, tiles

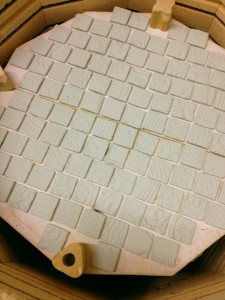
Layer after layer, today I loaded all of my glazed tiles for the collaboration project into an electric kiln. It’s a Cone 6 firing using a relatively new glaze recipe… so my fingers are crossed.

Categories: kiln firing, terra cotta, textures

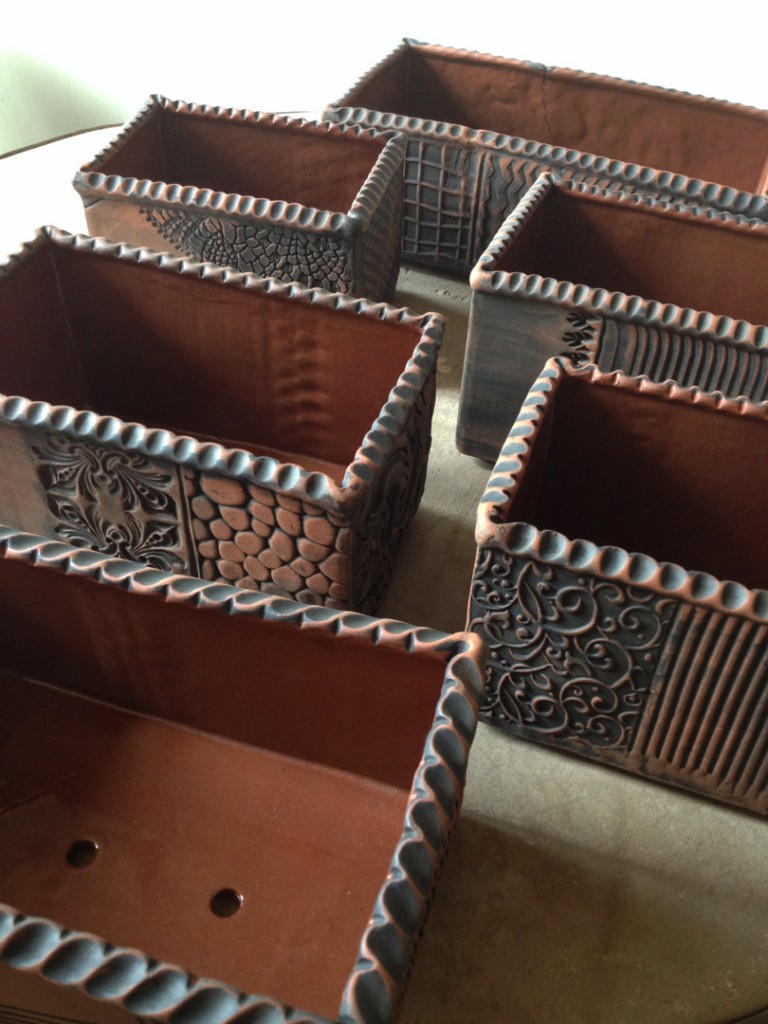
I stopped into the studio this morning to check on my kiln. My cone 04 kiln was “almost’ cool enough to unload. So I waited a few minutes while I put on gloves, and then tackled to warm kiln. I just couldn’t wait to unload my latest batch of terra cotta planters. These will be making their way to the Schaumburg Prairie Arts Festival this weekend.

Schaumburg Prairie Fine Arts Festival
Robert O. Atcher Municipal Center
201 Schaumburg Court in Schaumburg, Illinois
Saturday, May 24th & Sunday, May 25th, 2014 – 10:00am-5:00pm

And the other kiln was still firing… my cone 6 kiln was near the top temperature and the peeps were glowing orange!!!

Categories: glaze, kiln firing

Well, with my new glazes ready to go, I started glazing and loading the kiln. It’s a small electric kiln we use just cone six firings. I felt a little torn between glazing just a few pieces to test the glazes… and glazing a lot of pieces to fill the kiln. You know how I love to pack a kiln tight. And yet with new glazes, I didn’t want to glaze too many bisqued pieces just in case something goes wrong. It was a tough call. Torn between testing safely and glazing a lot of pieces – especially with two art fairs right around the corner!!!

Kiln Layer #1 – mugs & soap dispensers.

Kiln Layer #2 – ikebana flower vases.

Kiln Layer #3 – bowls, spoon rests & layered glaze test tiles.

Kiln Layer #4 – spoon rests.

Kiln Layer #5 – more layered glaze test tiles & bowls.

Categories: kiln firing, pottery

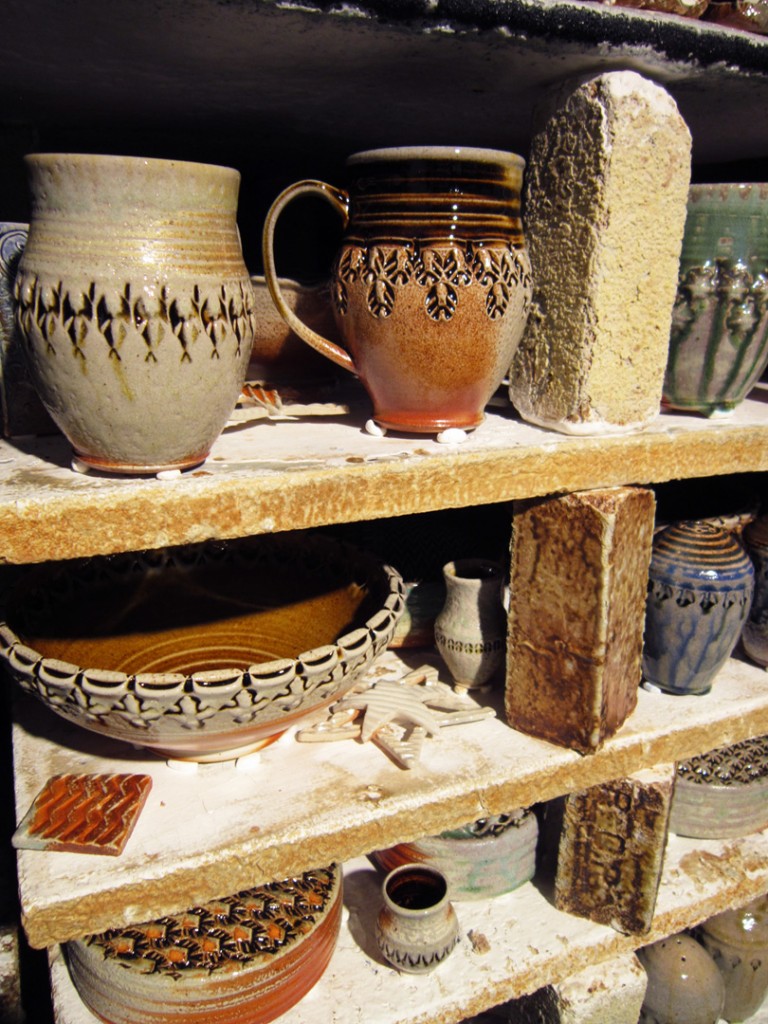
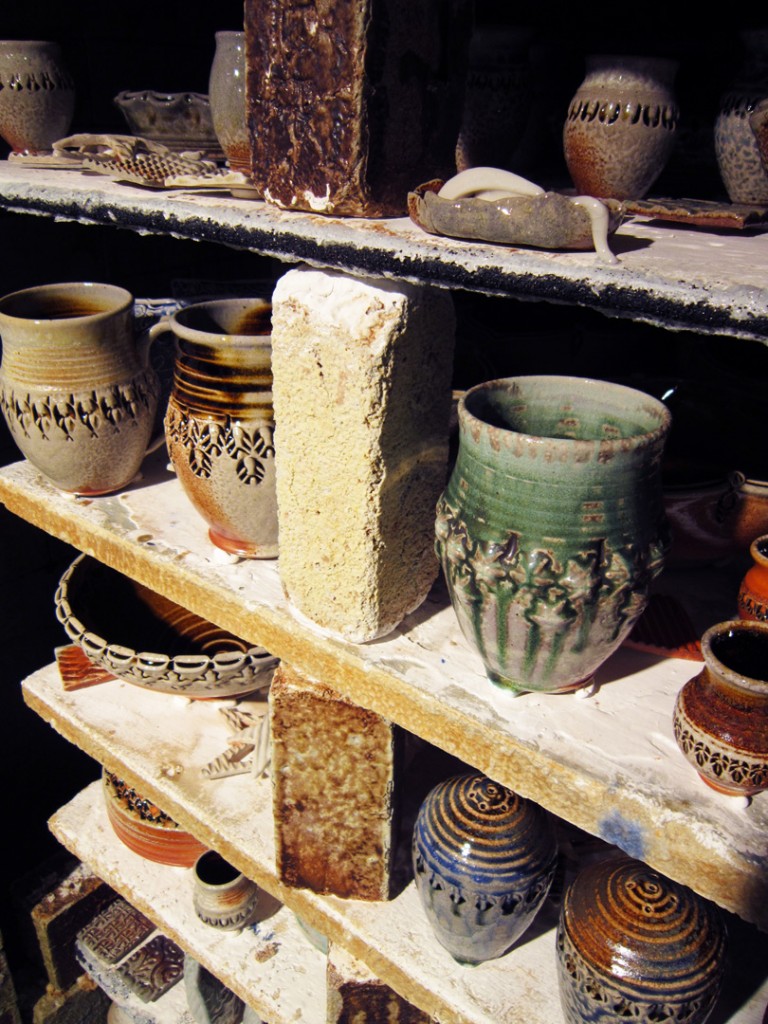
It’s been a crazy busy week… glazing, wadding, loading, firing, cooling, Dover, flying home yesterday… and teaching class last night!!! Tonight I’ll be scraping shelves, cleaning the kiln & sweeping up. Here’s a couple quick shots of my recent soda kiln. More photos & stories to come… but right now, I’ve got to get my act together before I head out on the road!!!