Gary Jackson: Fire When Ready Pottery
A Chicago potter’s somewhat slanted view of clay & play
Categories: glaze, kiln firing

Tonight I got home from a wonderful weekend of pottery in Minnesota.
And I went straight to the studio to do some more glazing.

My studio neighbor Karen was loading a kiln of her own work, and had some extra space.
So I volunteered to be the filler. I glazed up a few pieces and loaded the bottom half of the back stack for Karen’s cone 10 reduction kiln.

Categories: kiln firing

One of my studio neighbors said she had an empty layer in her bisque kiln.
She asked if it would be okay if she loaded some of my greenware in her kiln.
Of course I said yes.

But when I got to the studio an hour or so later, I did a quick check on the kiln.
And since it hadn’t started firing yet, I decided I could add some more work. And I about DOUBLED the amount of work on that layer. Sure, it’s not my cleanest & best packed kiln layer. Some things are stacked. Some are leaning. Some are precariously perched. But I feel a lot better getting more work in.

Categories: kiln firing

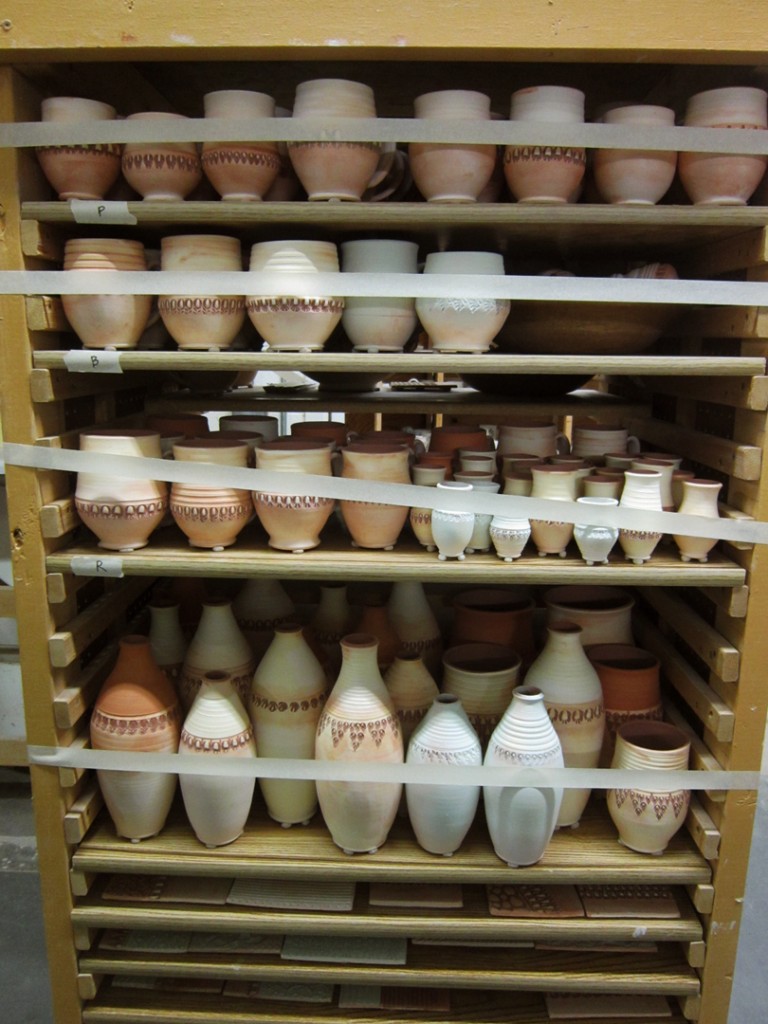
Today I loaded another electric kiln full of greenware for the first bisque firing.
It seems like I’ve just been making “stuff” in my studio for the past few months.
I had no idea that it had accumulated to this amount of work?! Who knew?!

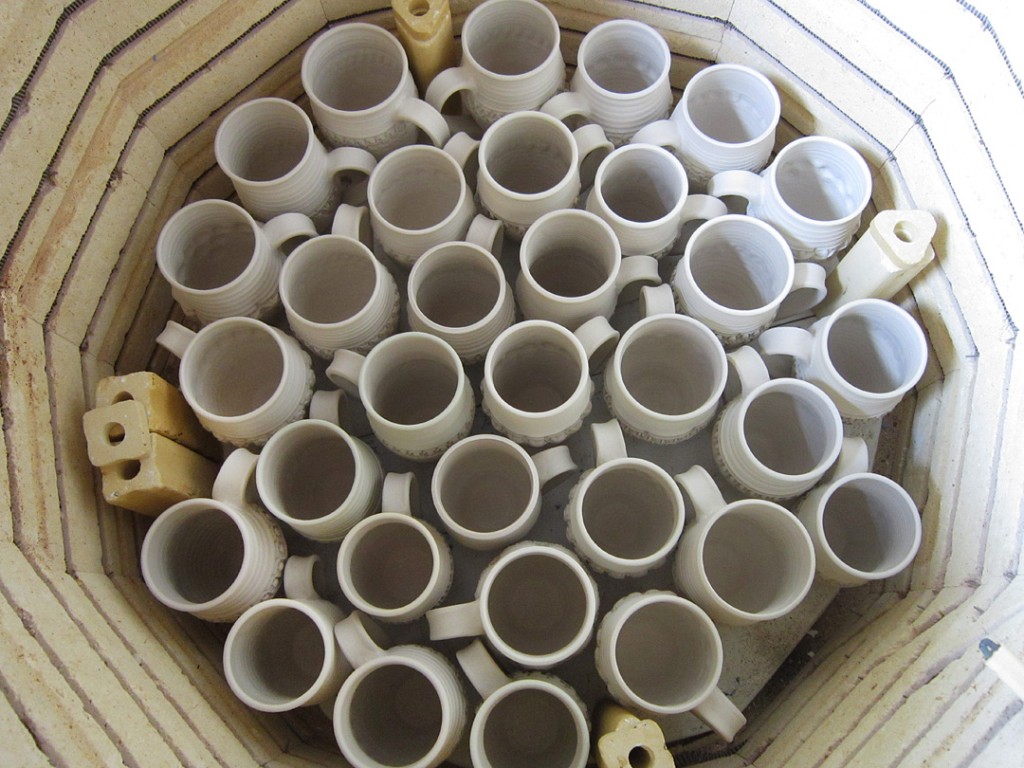
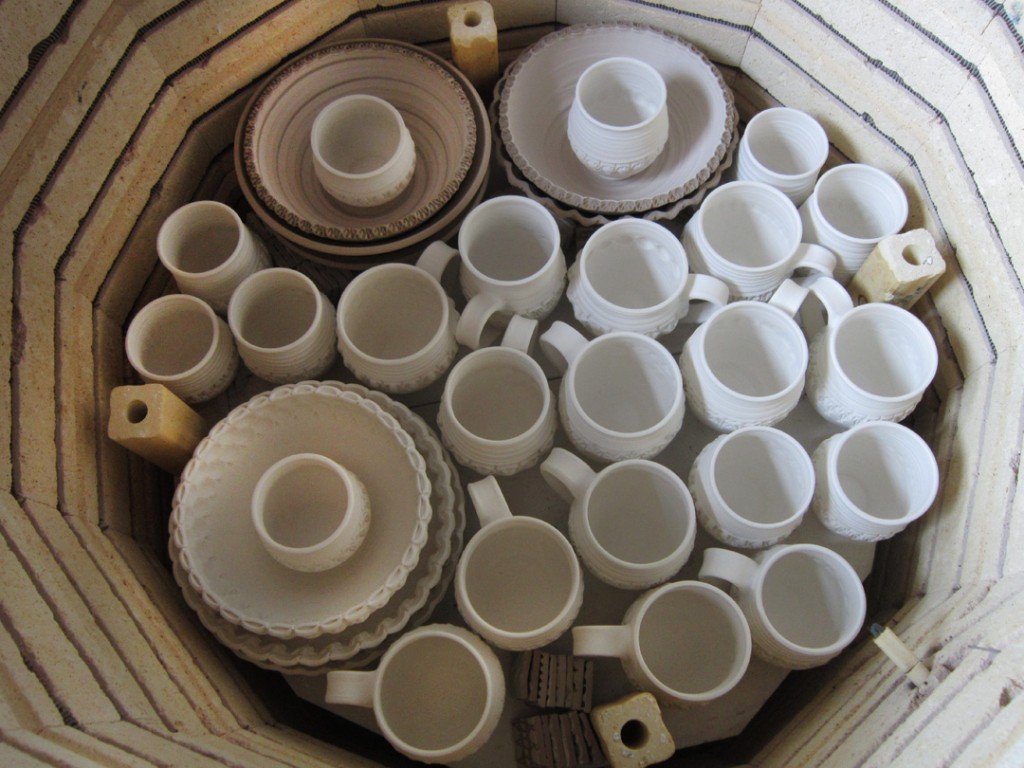
Kiln Layer #1 – Mugs. Mugs… And more MUGS!!!

Kiln Layer #2 – More mugs, and a couple bowls.

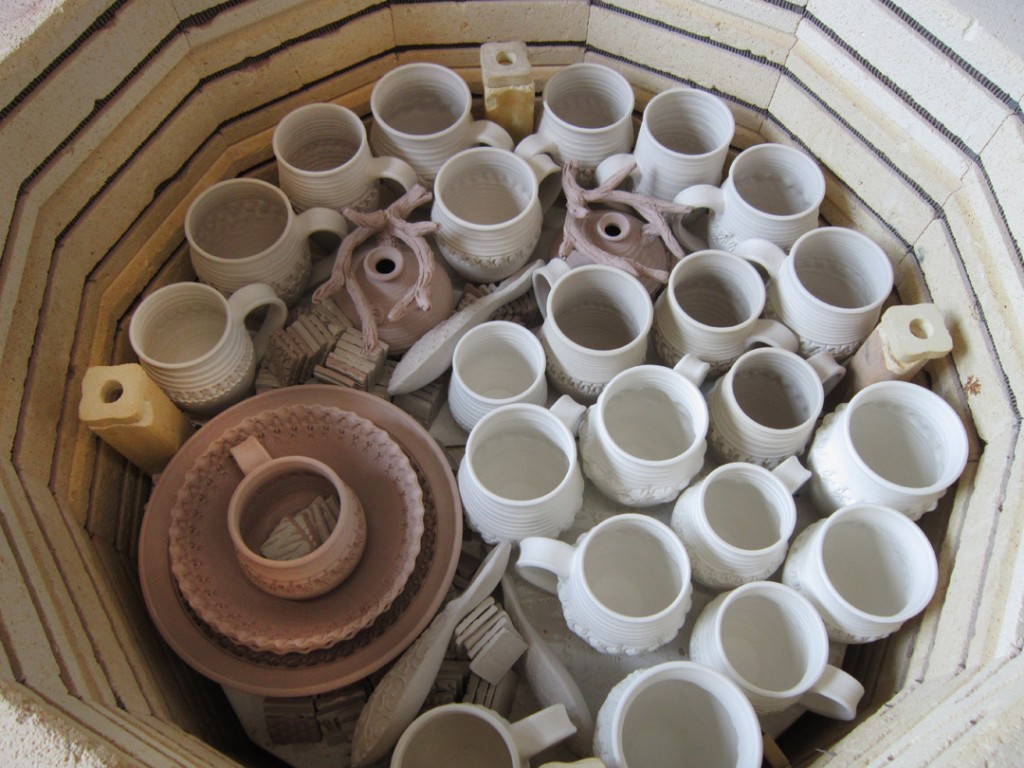
Kiln Layer #3 – More mugs, bowls, tiles and a couple oil lamps.

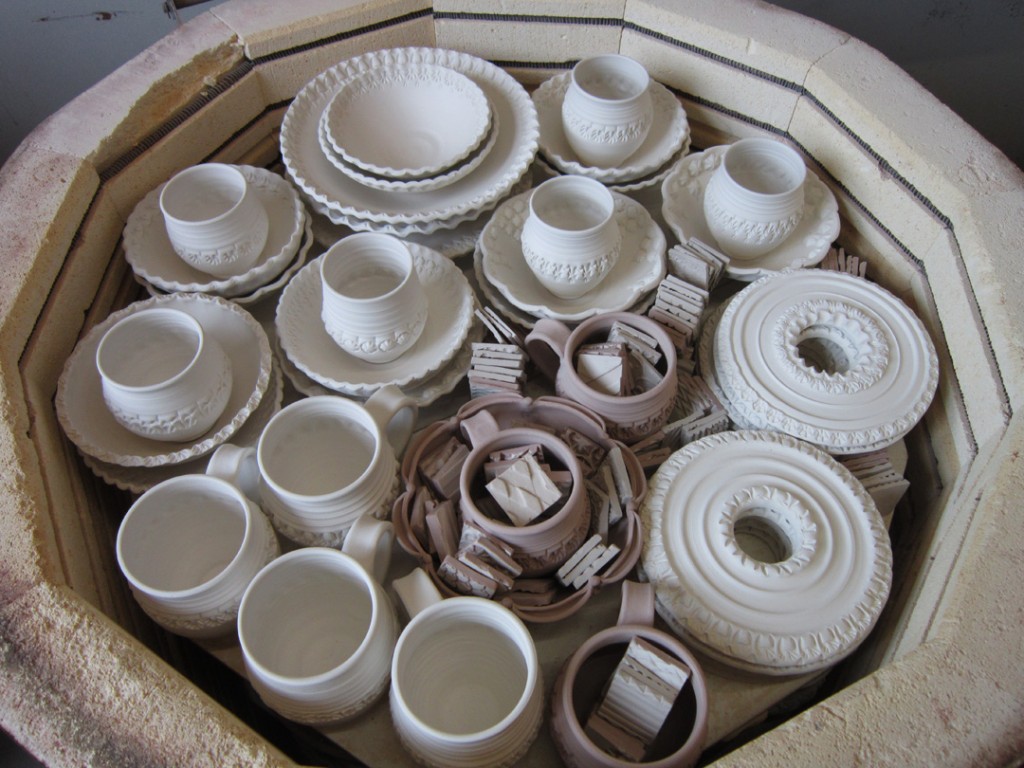
Kiln Layer #4 – More mugs, some small teabowls, tiles and ikebana rounds.

It amazes me every time – how FAST the kiln fills up!!!
I still have about a half a kiln’s worth of greenware that DIDN’T fit in?! Next time…

Categories: kiln firing, tiles

When there’s space in a kiln, I’m always more than willing to help fill it.
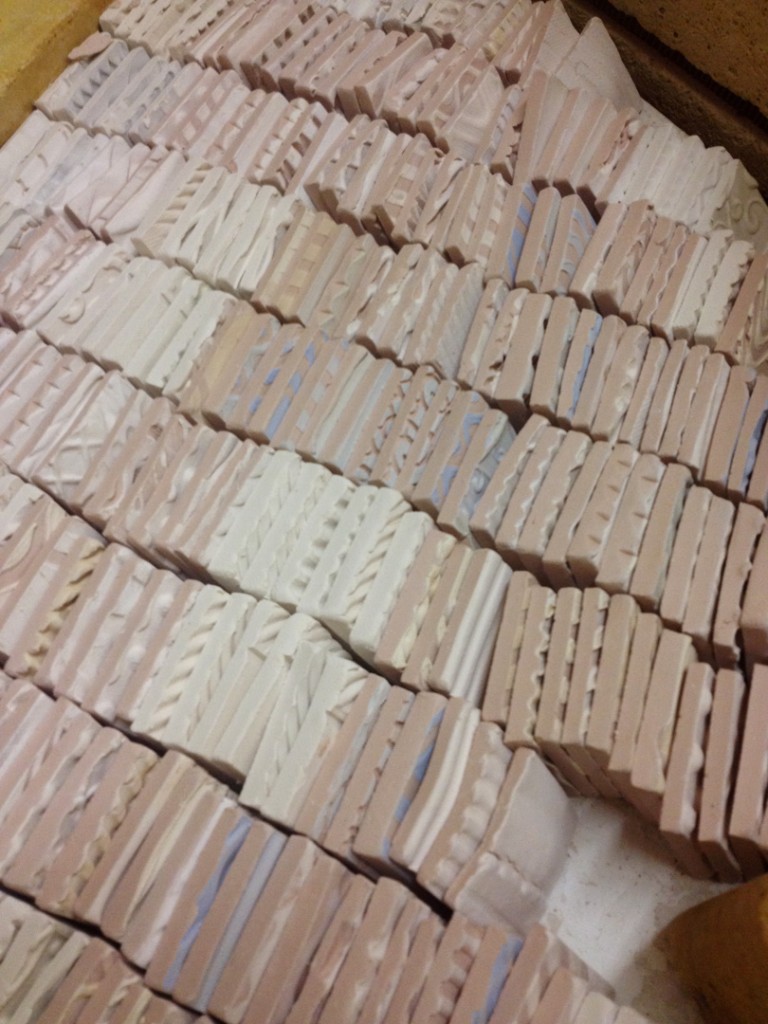
Even if it’s just one short shelf of tiles in an electric bisque kiln!

Categories: kiln firing, tiles

Stopped in the studio VERY early this morning to unload one last kiln. This time it was a cone 6 glaze kiln with  lot of tiles and a few flat ikebana vases. Gotta get ’em home and start gluing things in place!

Categories: kiln firing, ornaments

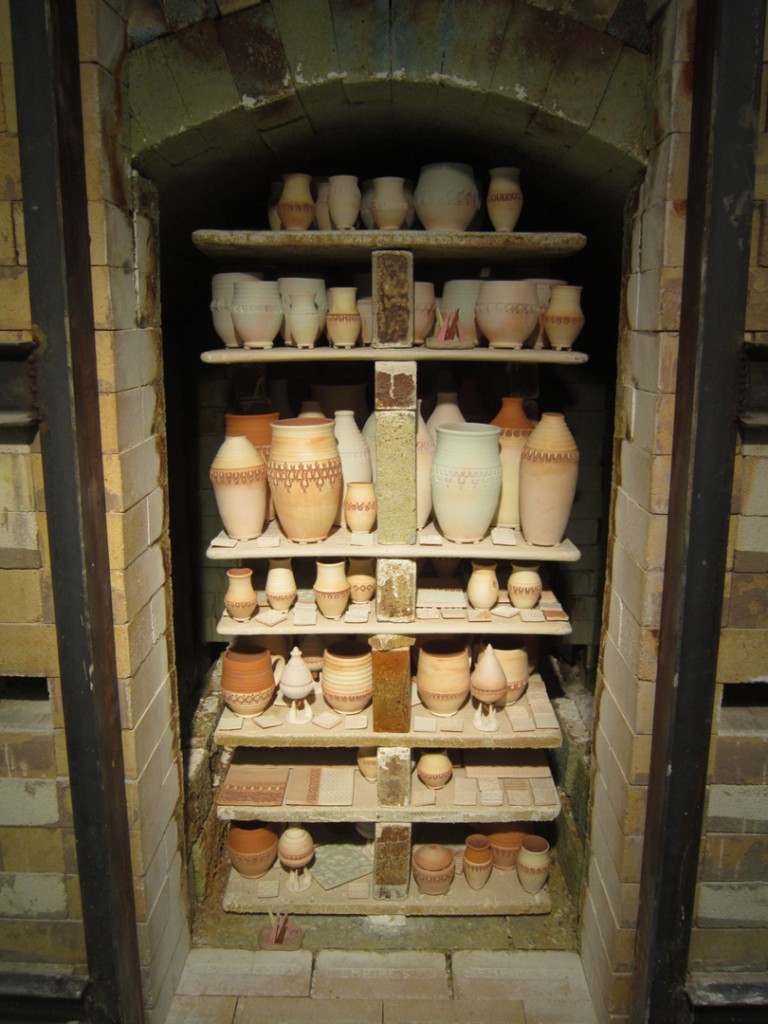
The back stack of the soda kiln gets loaded first. I tried putting the bottles a little lower than normal. Usually the taller pieces go on the top shelf. But I don’t want them to get “blasted” with soda, so I’m experimenting by putting them a layer lower… and leaving 1-1/5 shelves of tiles on the top.

Once it’s all the way up to the arch, then you can start the two front shelves which typically load together. Again, trying to keep the bottles a little more “protected” than the top shelf “blast zone.”

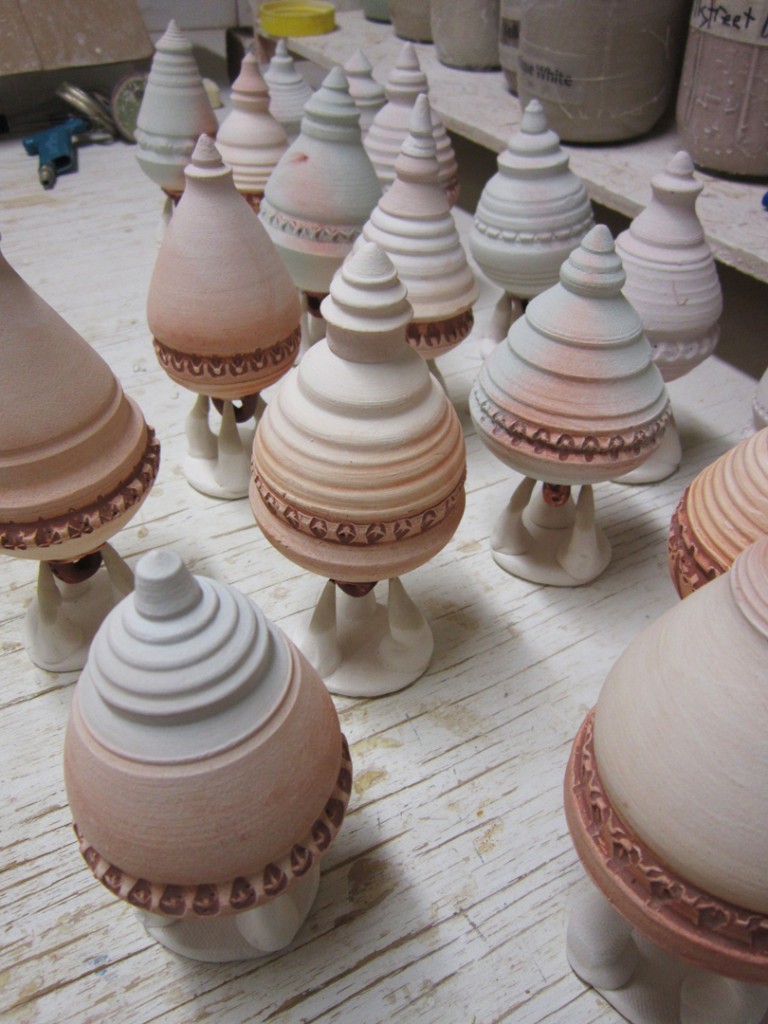
And some of you have asked how I fire my Christmas ornaments. Well, I make a little tripod and then balance them upside down. This is what they looked like as they were waiting to be loaded in with the rest of the pots.

Once completed, the front of the kiln is closed up with bricks. One by one, all the way to the top. Burners on for about 15 minutes as I clean up. Then its OFF for the evening as I rush home for a few hours of sleep – and then back again early tomorrow to get it started!!!

Categories: kiln firing, process, production

Well, I finally finished glazing & wadding and made the big trek downstairs with my studio glaze cart. It seems to work pretty well – an almost full cart makes a full soda kiln.

Safe downstairs with my “really-should-be-patented” brilliant use of masking tape as “seat belts” for the pots during their bumpy ride downstairs on the freight elevator. It has saved many a pot over the years as they tip over & try to roll away. Saved by the masking tape!!!

Now for the loading to commence…

Categories: kiln firing

Now THAT’s better…
At least now we’re one step closer to having a new Ghoul at The Barn. Still over twelve-hundred degrees hot!!! Gotta cool quickly…

Categories: kiln firing

So the latest Ghouls made it into the kiln last night around 2:30am.
Loaded carefully. Layer by layer. Closed the lid. Pushed start.
Watched the numbers turn on, and raise with the temperature for about a half hour.

Imagine my surprise tonight when luckily I just stopped in to check the kiln…
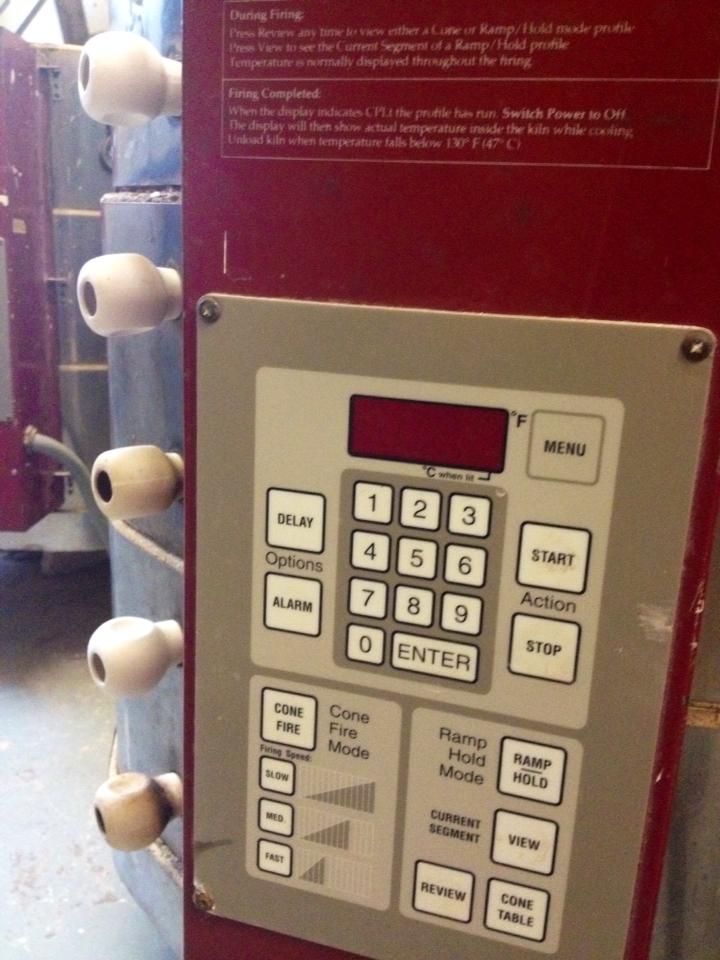
only to find that it NEVER fired?!!! What the?… Front panel totally dead.
No red flashing CPLT as there should have been.

So I had to do a quick unload-reload into different kiln to try again.
Good thing I stopped in to check, huh?

Looks like we may have some warm Ghouls coming out to The Barn on Saturday?
Fingers crossed… again!!!

Categories: glaze, kiln firing, production

With “Art In The Barn” just a week away, I’m working extra hard to make plenty of new work. So while I’m firing a soda kiln full of new work, I decided to glaze & load another kiln. Why not do two kilns at the same time?!!! I’m stuck in the studio all day firing… why not tackle another project?! I had already cleaned my studio… so more is more. And the more I have in Barrington next weekend, the more I can sell right?

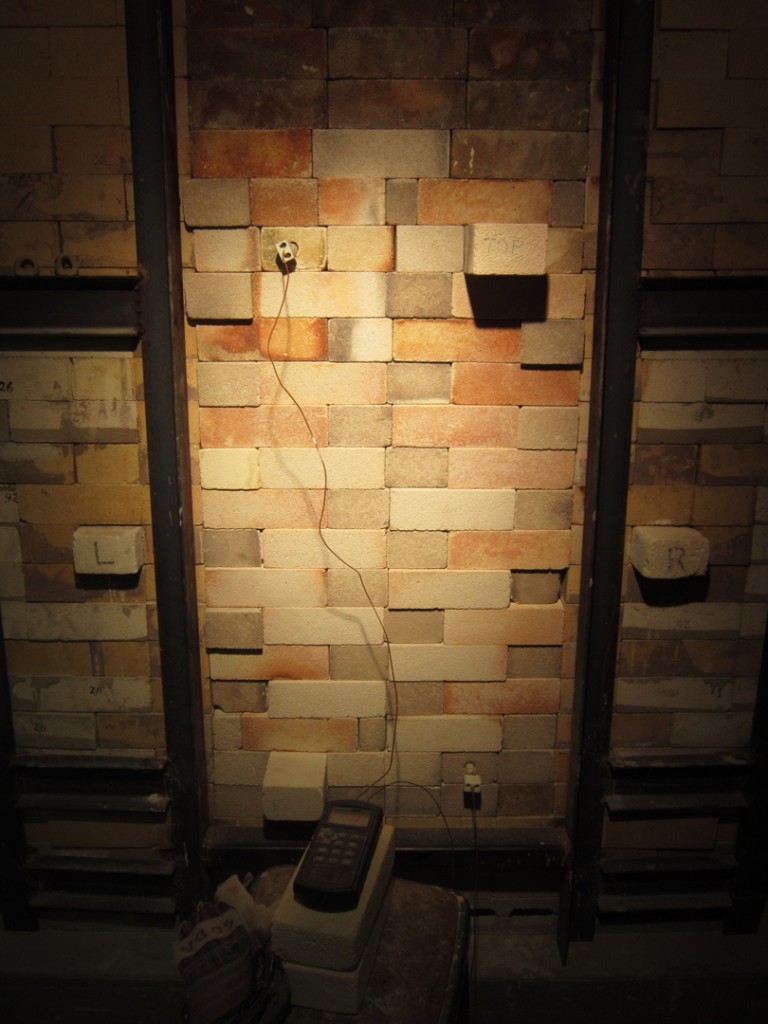
My past couple Cone 6 firings have had mixed results. More pinholing & shivering that I would like. I was hoping that Cone 6 would be an easy firing with quick, colorful results. Not so far… still trying to find the right solution. So this time, I’ve added pyrometric cones top & bottom to double-check that the kiln is reaching temperature evenly. I’ve also put on a much thinner “sprayed” layer of glaze on most of the pieces. And one dipped to see if that makes a difference. Fingers crossed that something turns out okay. And that we might find some “answers” along the way!

Kiln Layer #1 – spoon rests, tiles… and a serving bowl that I’m re-firing!
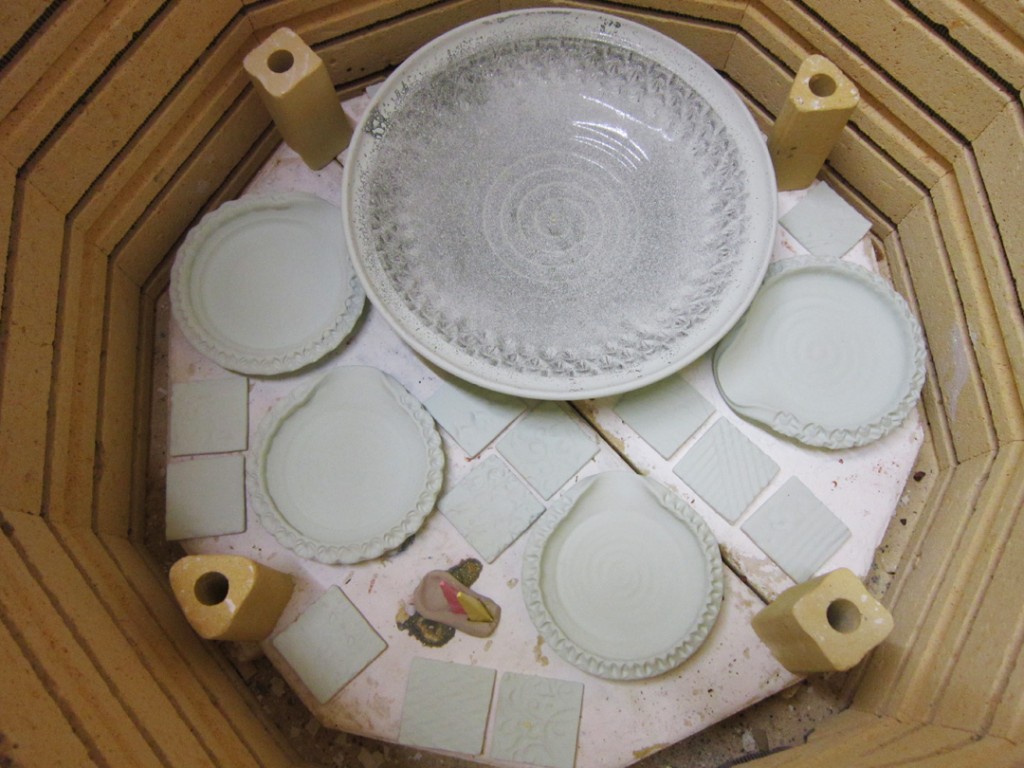
Kiln Layer #2 – two bowls, mugs and more tiles.
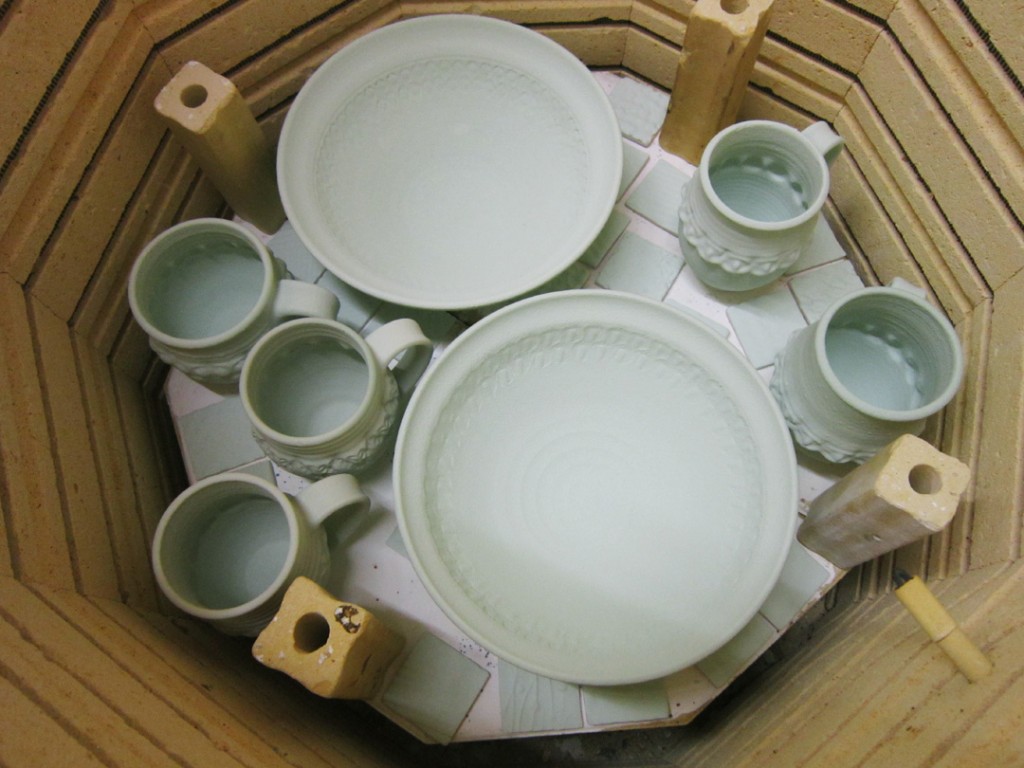
Kiln Layer #3 – two more bowls, spoon rests , mugs & tiles.

Kiln Layer #4 – bowls, tiles and more of my “Relic Rattles.”
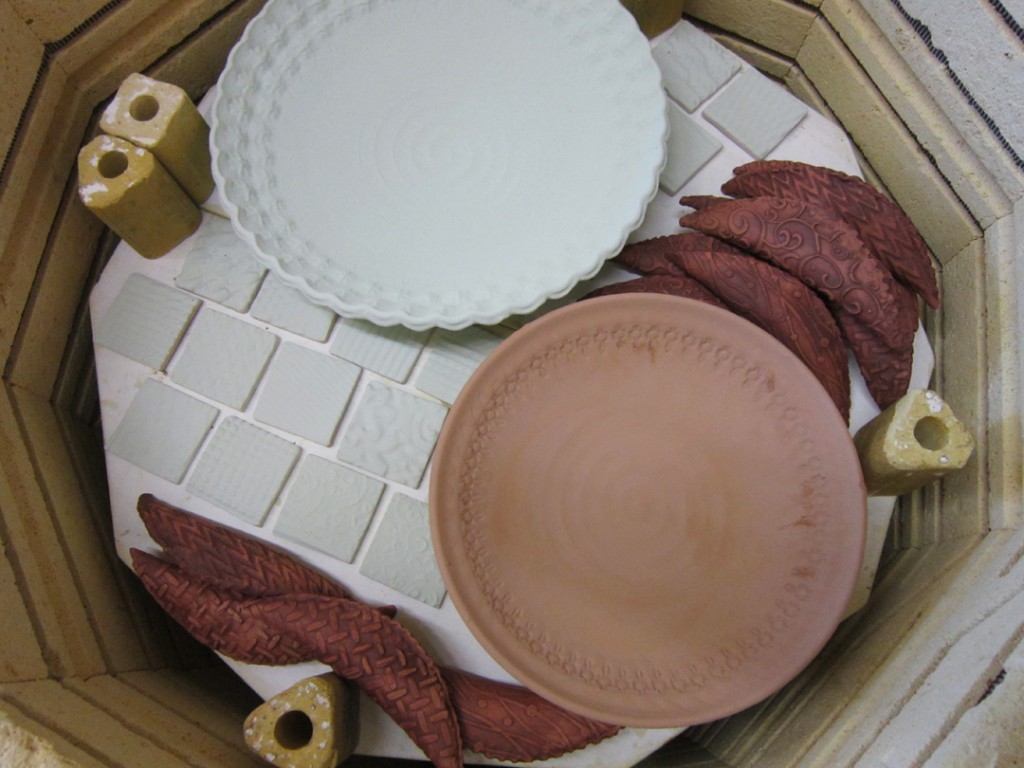
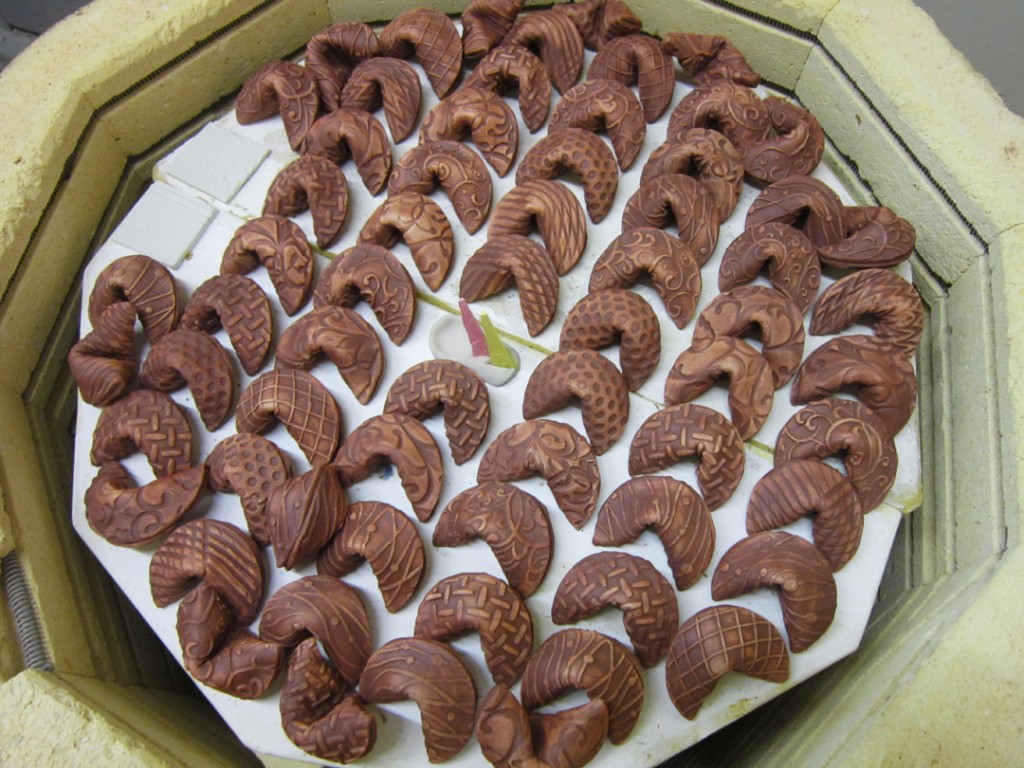
Kiln Layer #5 – textured fortune cookies.. and two tiles that didn’t fit on the layer below!