Gary Jackson: Fire When Ready Pottery
A Chicago potter’s somewhat slanted view of clay & play
Categories: kiln firing

So I finished loading the soda kiln late last night… and decided to pull an “all-nighter” and fire it right then & there. Now let’s just say, I don’t think I’ve done an “all-nighter” since college. But it is pretty great to have finished firing the kiln already… and it’s still beautiful & sunny outside!!! Who knows… I might be onto something here?!

Okay, so I’m a little tired… but then again what else is new?

Save

Save

Save

Save

Categories: kiln firing

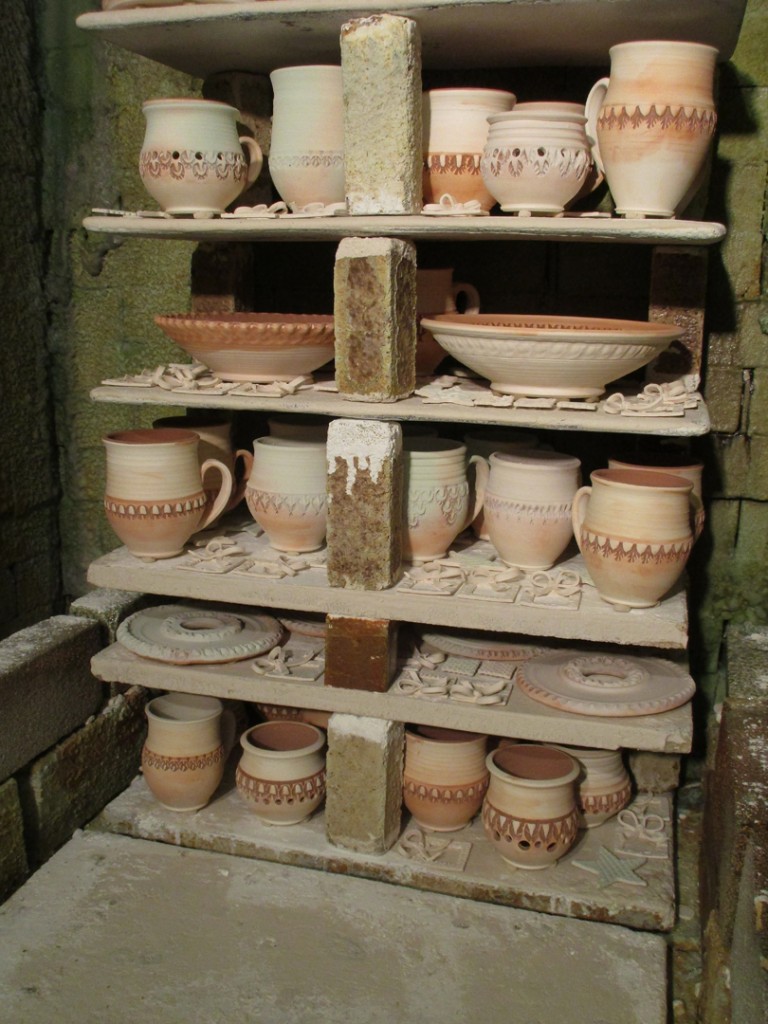
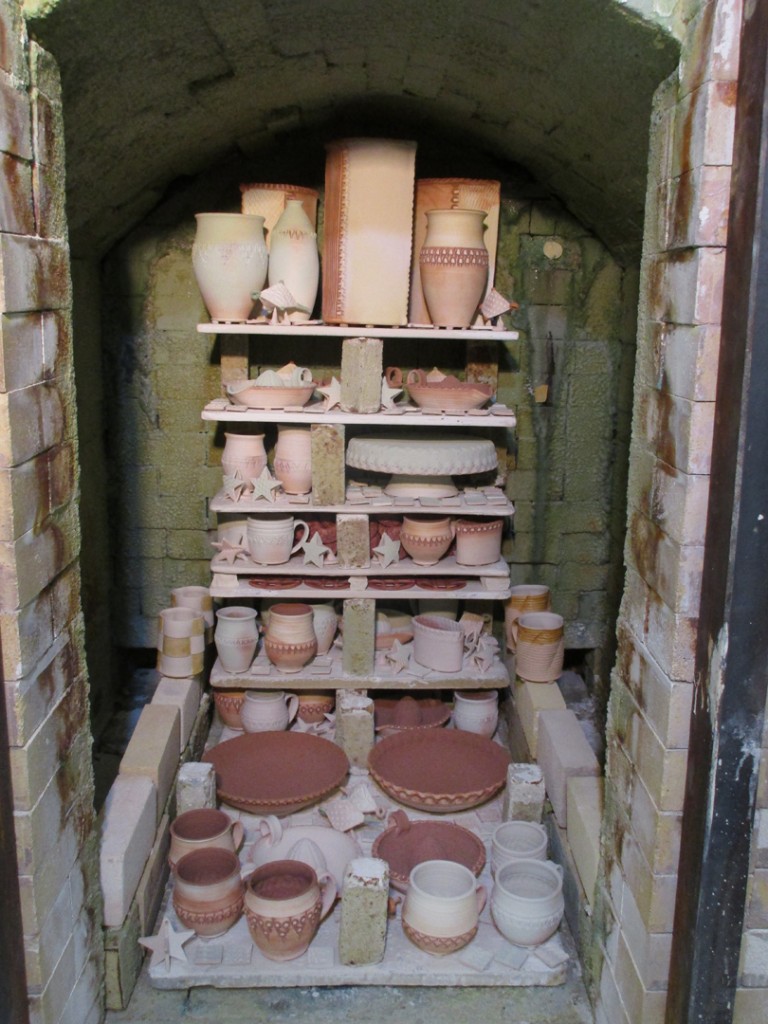
Think of it as three-dimensional TETRIS with pots! Packing as many pieces in as you can. Shelf by shelf. Post by post. Building it up from the bottom. Layer by layer. All the while pacing yourself to spread pots all through the kiln. WHile packing it tight, but not too tight. Remember, for a good soda firing you want a good amount of open air for good air movement during the firing.

The back stack is loaded first… one shelf all the way up.

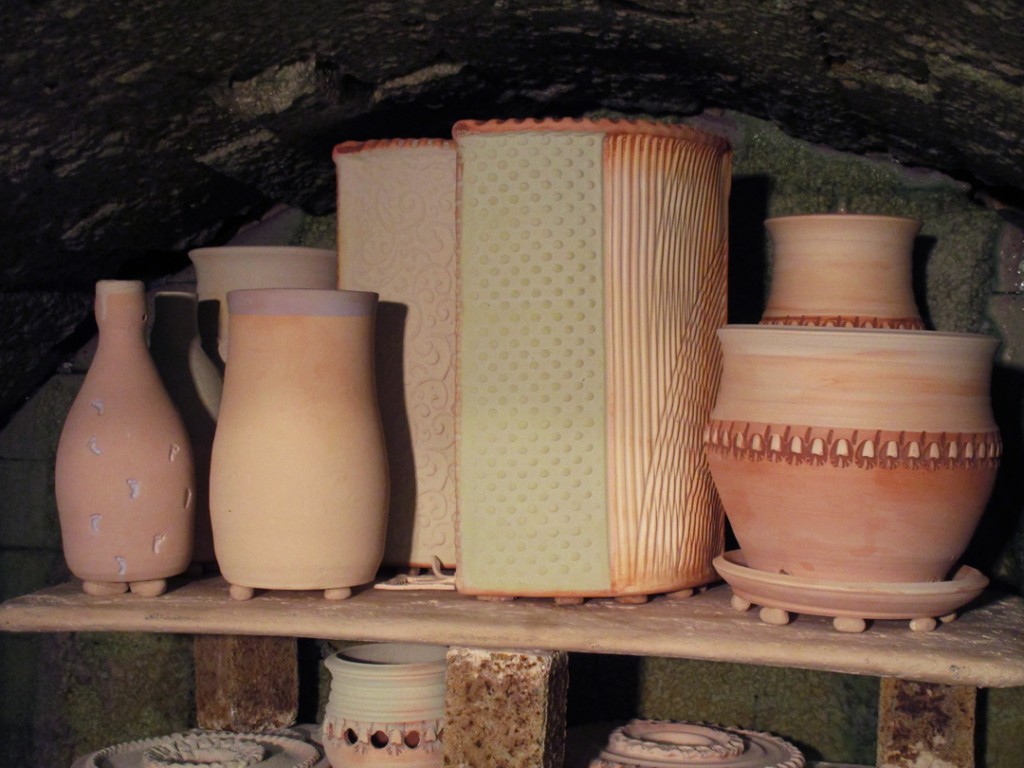
And always trying to get pots as close as possible to the curved roof of the kiln. Gotta use every possible space. I even threw in a couple student pieces to fill the shelf as I had run out of tall pieces for the left side of the shelf.

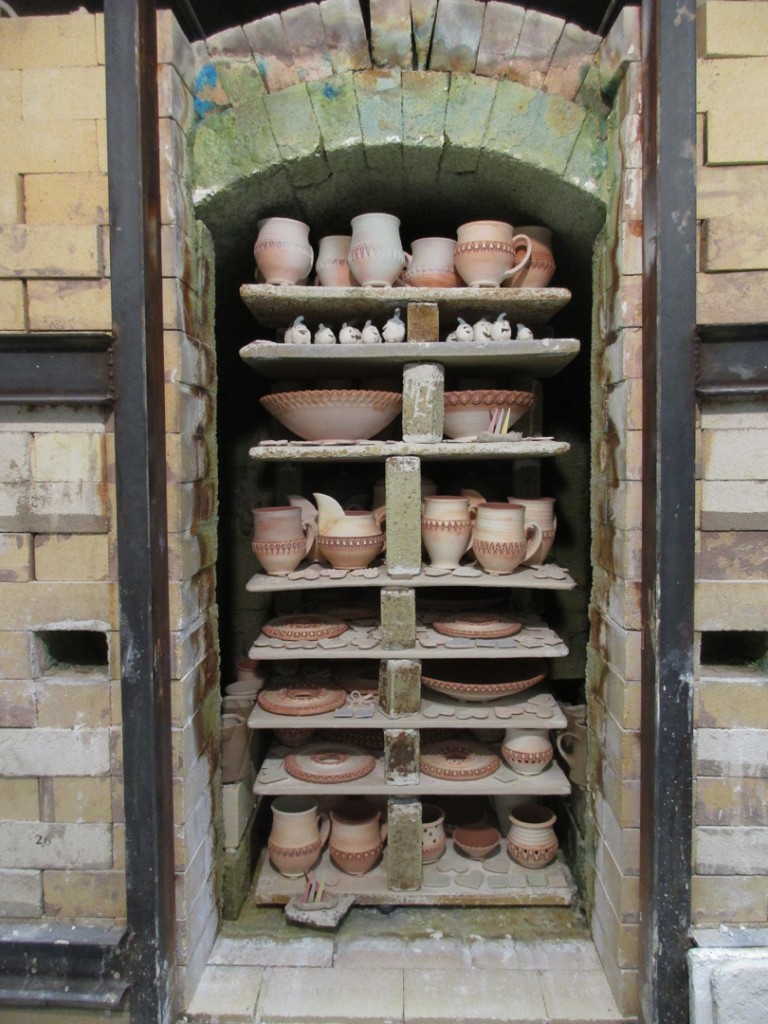
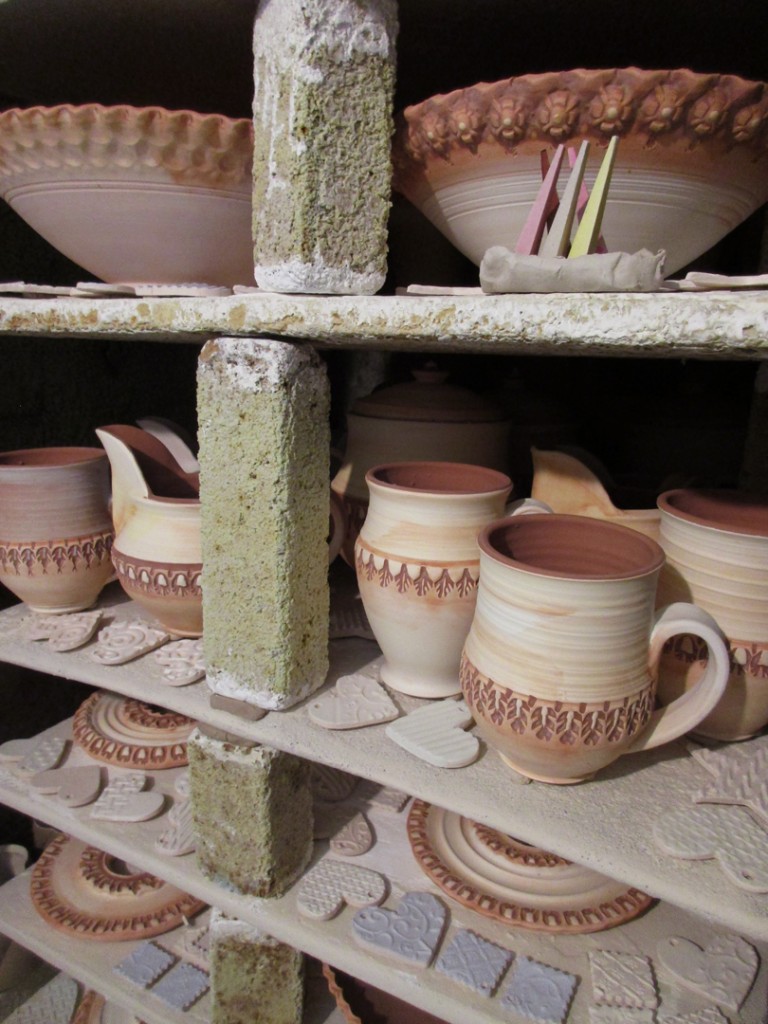
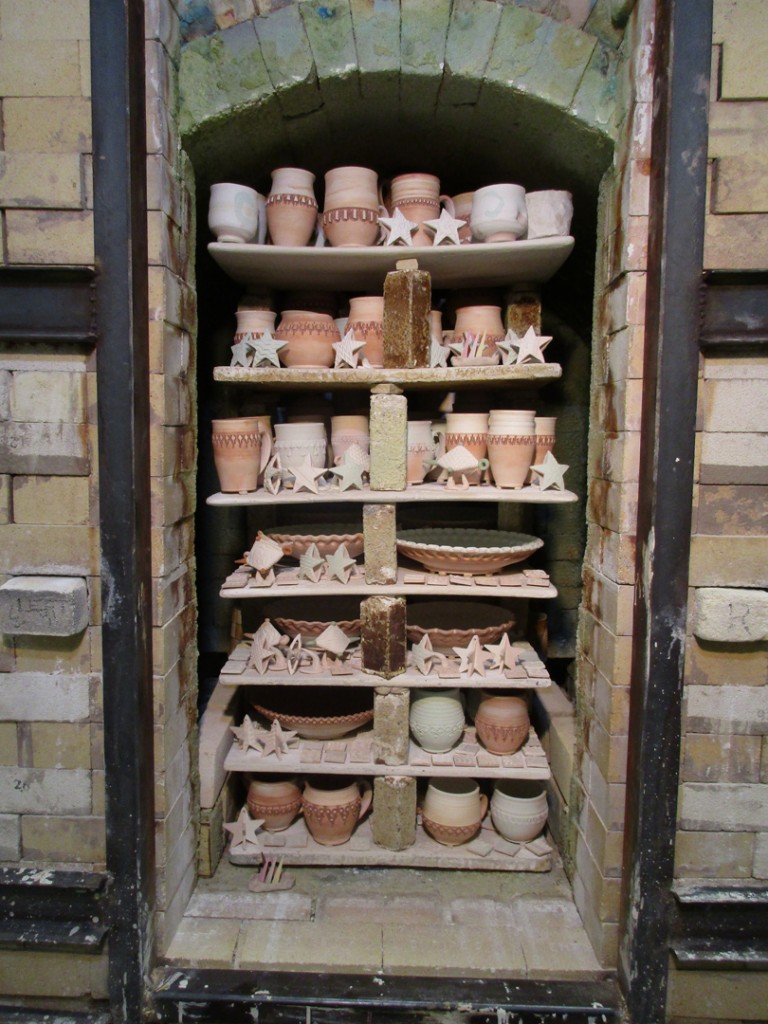
The front stack is two shelves deep. Again, pacing yourself trying to get is as many as possible. But restraining yourself from packing it too tightly. I think I did pretty well. All of the pieces I had glazed & wadded fit… okay, so two mugs are sitting on the bag wall, but… and I even had some space for a few student pieces. Like the little row of pumpkins second shelf from the top!

Cone packs have been put in top and bottom. And now the kiln door has been all bricked up. Packed with pots. Ready to be fired!!!

Save

Save

Categories: kiln firing

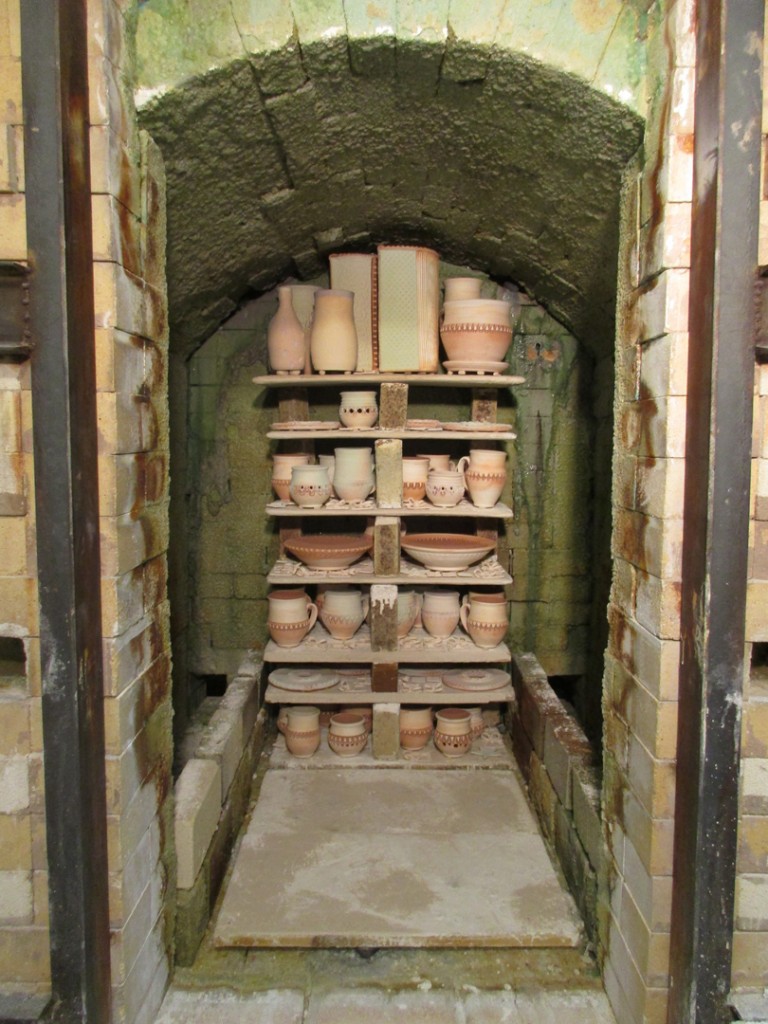
An empty soda kiln full of potential. Kiln bricks with a beautiful soda-fired build-up.
Soon to be packed with a LOT of pots!!!

Categories: kiln firing, process, production

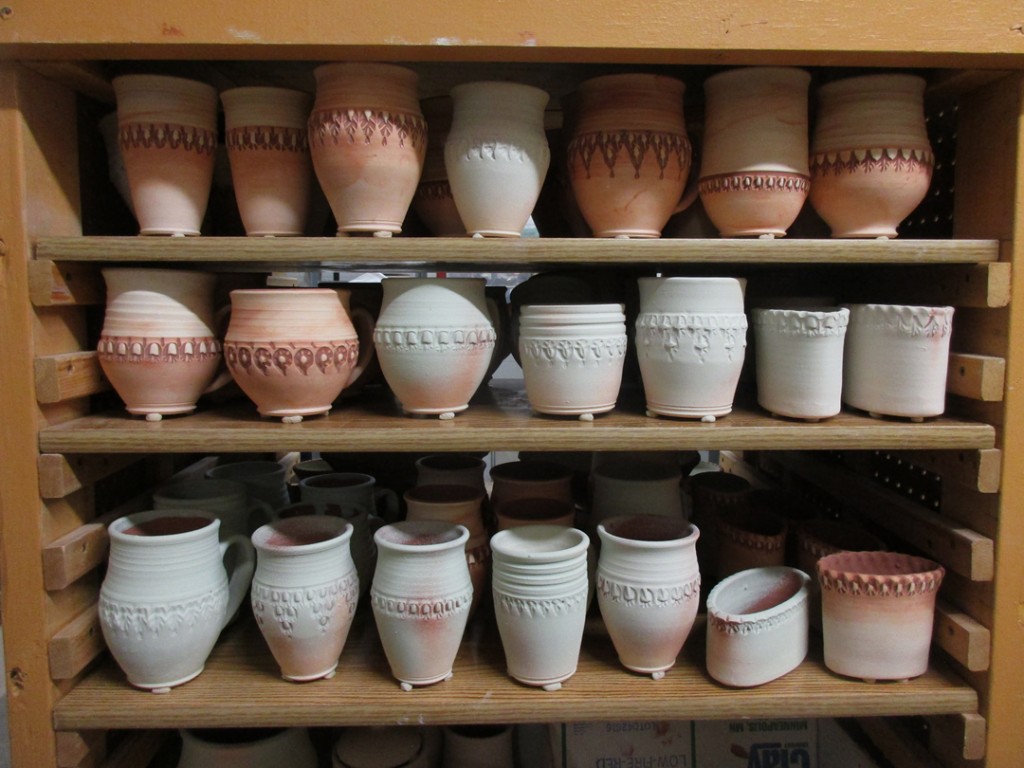
With my soda kiln scheduled for this coming Saturday, I knew that I needed to crank out some last minute work… and squeeze it all into one last bisque kiln. Sure, it might not be my finest job of packing a tight kiln, but all of the little “filler” pieces went into the bisque kiln a couple days ago! So for now, I just knew that I had to get things bisqued quickly so I had some time to glaze & wad before Friday night’s soda kiln loading.

Kiln Layer #1 – lidded jars, small pitchers, mugs and some ornaments.

Kiln Layer #2 – two stamped platters, two bowls… and some more ornaments!

Kiln Layer #3 – half of the third layer was filled with stacked stamped bowls.

Kiln Layer #4 – porcelain mugs, bowls and some stacked pieces to fill the height.

But, oh wait… there’s a gaping space on the top of the kiln!!! We can’t have that.
You know how much I LOVE a well-packed kiln. I wouldn’t be able to sleep if I left that empty space like that!

Gotta make something quick to fill that space!!!

Save

Save

Save

Categories: kiln firing, process, production

Started this morning with a quick kiln loading. I kind of surprised myself by having enough work to fill the kiln. I’ve been trying to make a lot of work quick… guess it’s been working?! As I have a full soda kiln firing scheduled for next Saturday. So all of these pieces will need to be glazed & wadded before then!!!

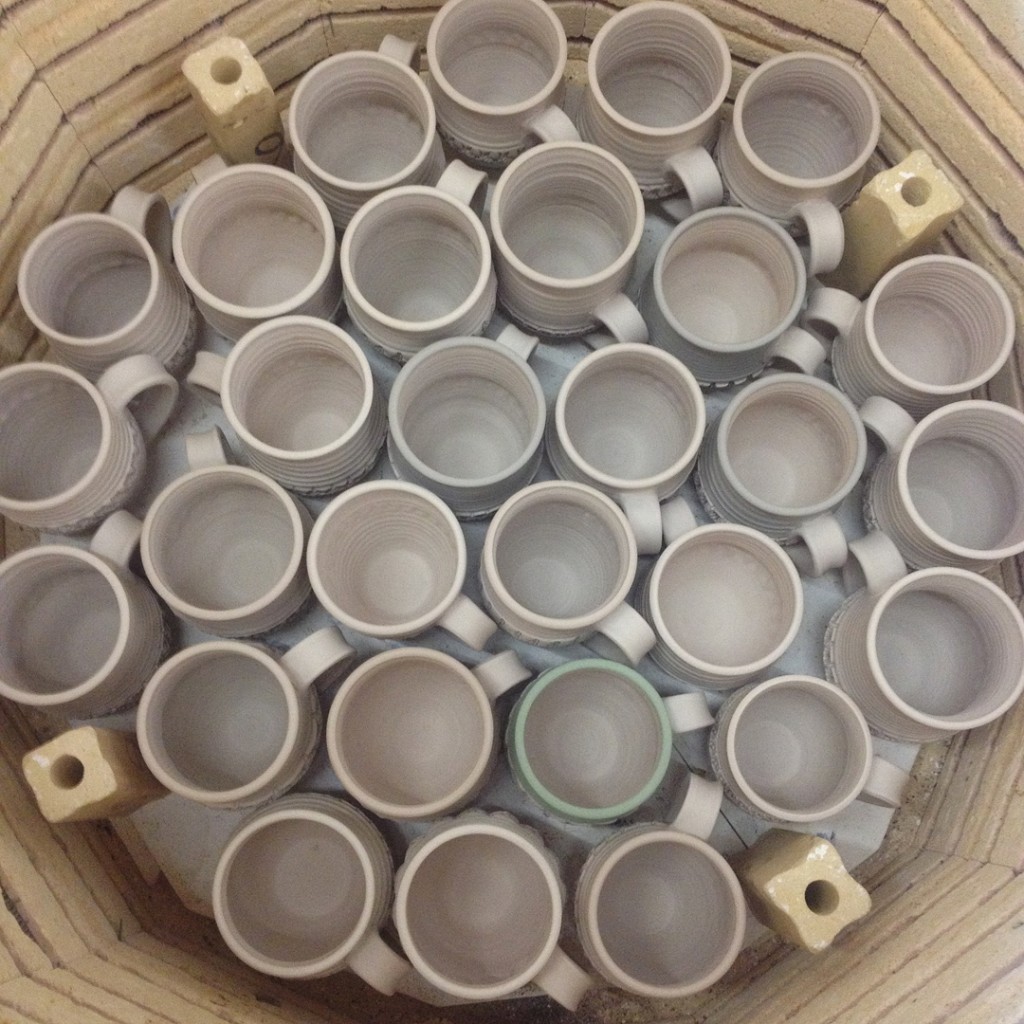
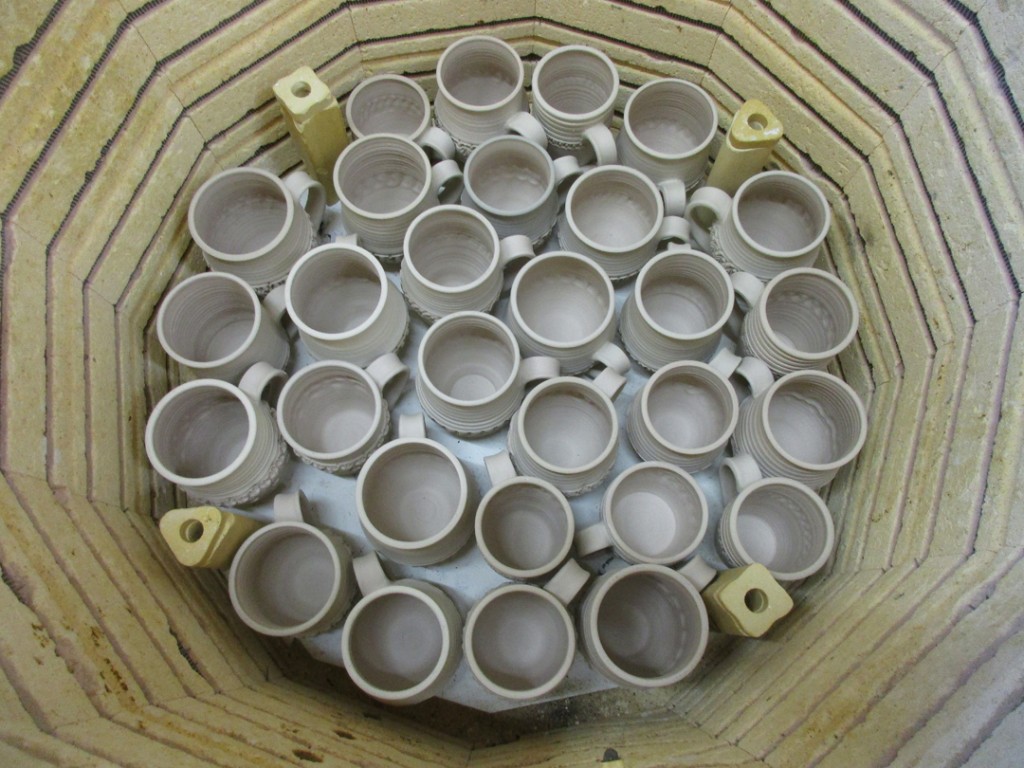
Bisque kiln layer #1 – Mugs, mugs and more mugs!!!

Bisque kiln layer #2 – More mugs, votives and ikebana discs…
with some ornaments tossed in too!

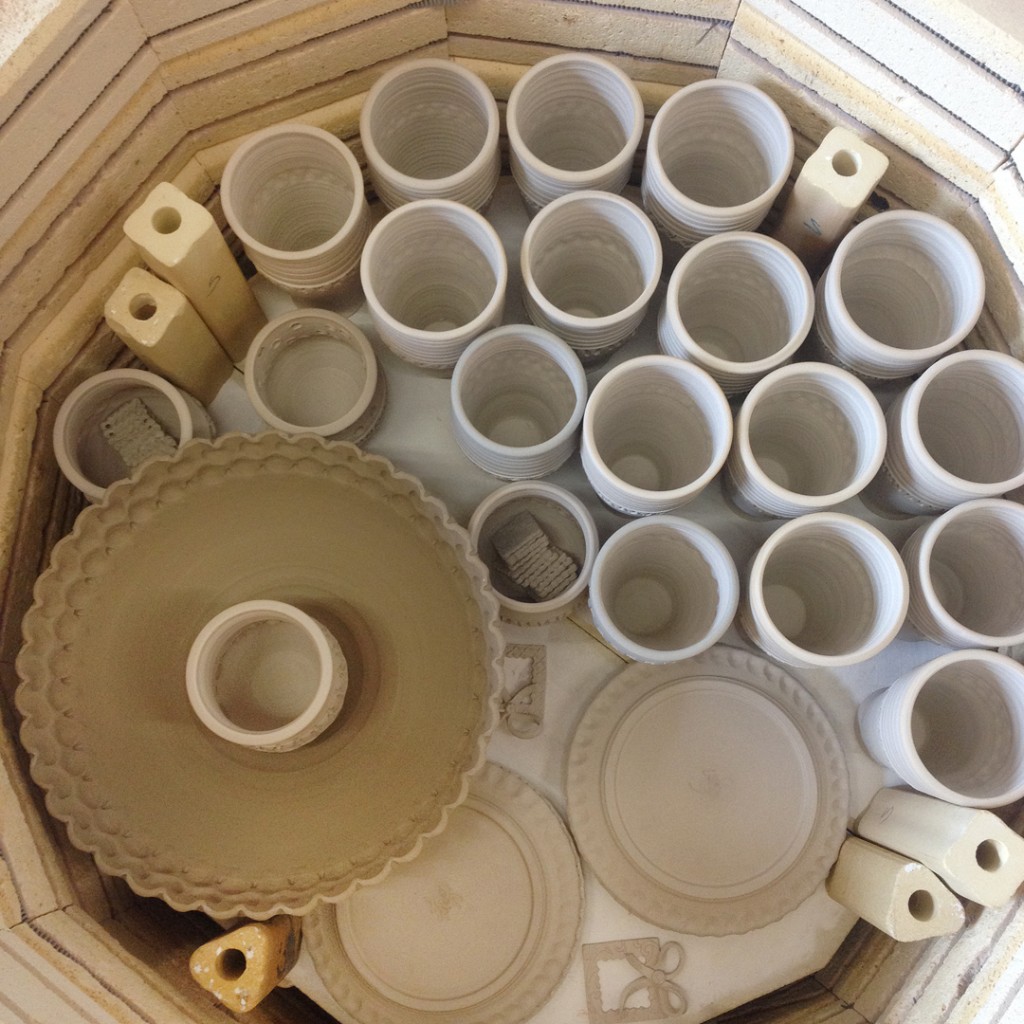
Bisque kiln layer #3 – Tumblers, plates and a large stamped bowl.

Bisque kiln layer #4 – Dessert plates and ornaments.

Bisque kiln layer #5 – More dessert plates and more ornaments.
DOn’t panic… the cracked shards aren’t mine. No harm. No foul. They are my studio neighbor Karen’s piece that she uses for glaze testing. I had a little extra space… and you know how I LOVE a well-packed kiln!!!

Packed tight all the way to the top. The lid of the kiln
will lower down to within a 1/4″ of the bows!!!

Save

Save

Categories: glaze, kiln firing, mugs, porcelain

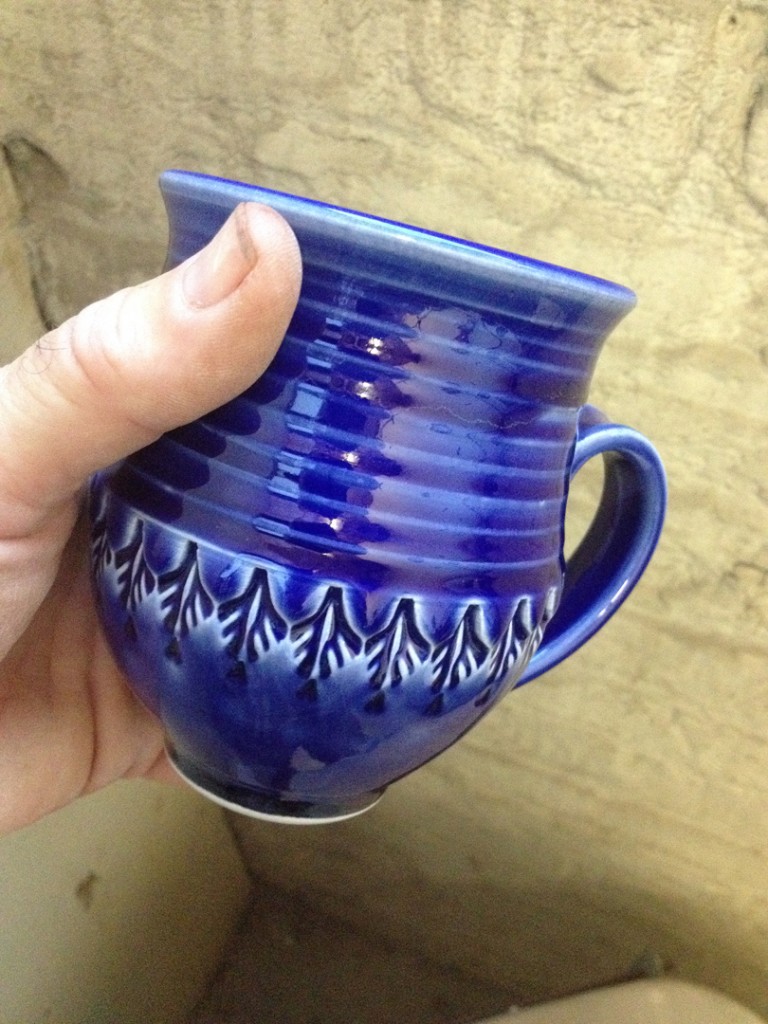
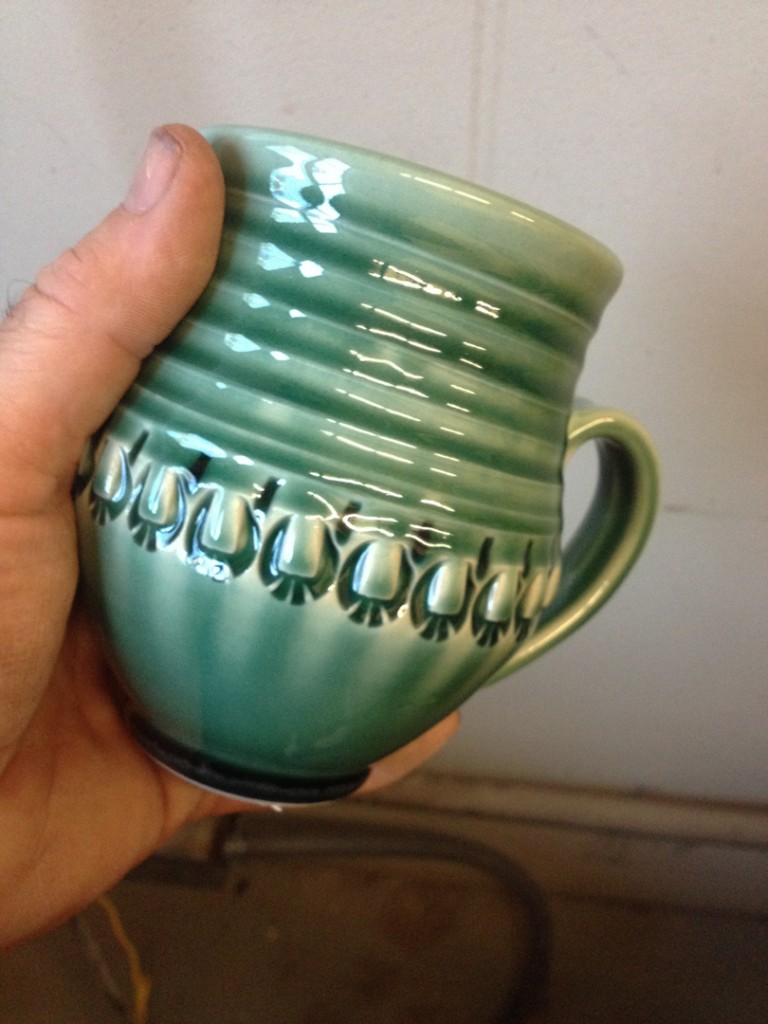
Happy Mugshot Monday… as I’m pulling some warm porcelain mugs out of my cone six glaze firing. Loving the new colors. Can’t wait to show them off this weekend!!!

Save

Save

Categories: kiln firing, pottery, soda-fired

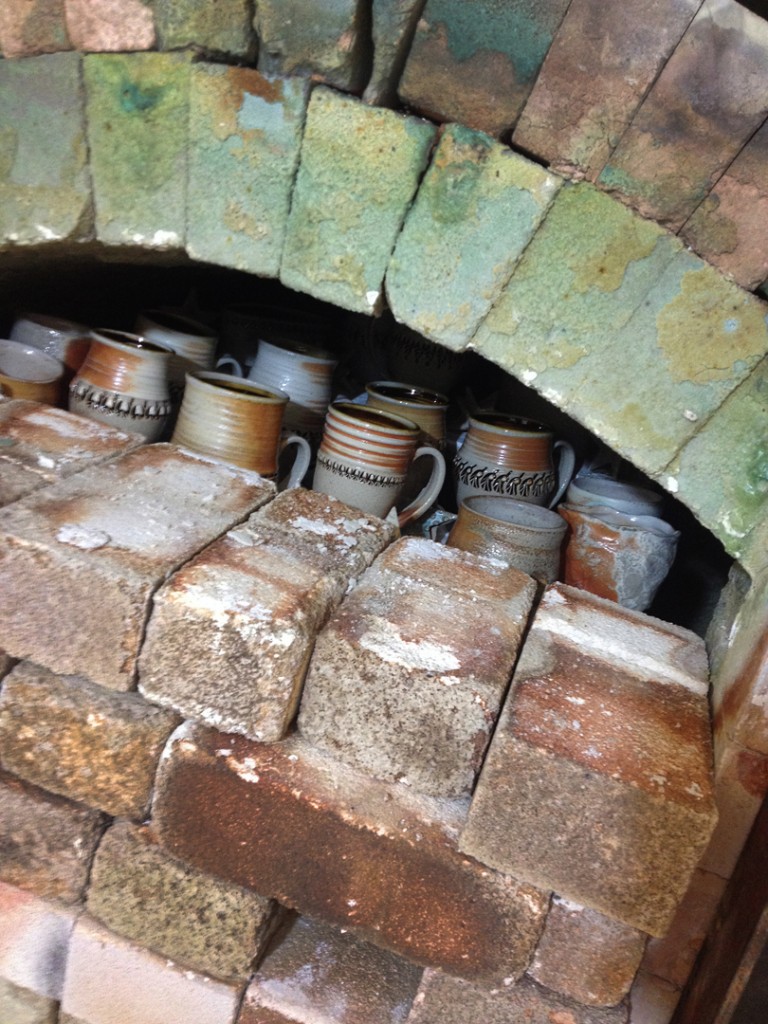
Early morning peek into the soda kiln. Looks good so far. Took out the top rows of brick to help with cooling. Unloading this evening… with everything heading to ART IN THE BARN this weekend in Barrington.

Categories: kiln firing, process, production

It was late last night when I finished loading the soda kiln. It’s packed with a LOT of pots!!! Firing is already underway today. Lots of new work headed to ART IN THE BARN next weekend in Barrington!!!

Categories: kiln firing

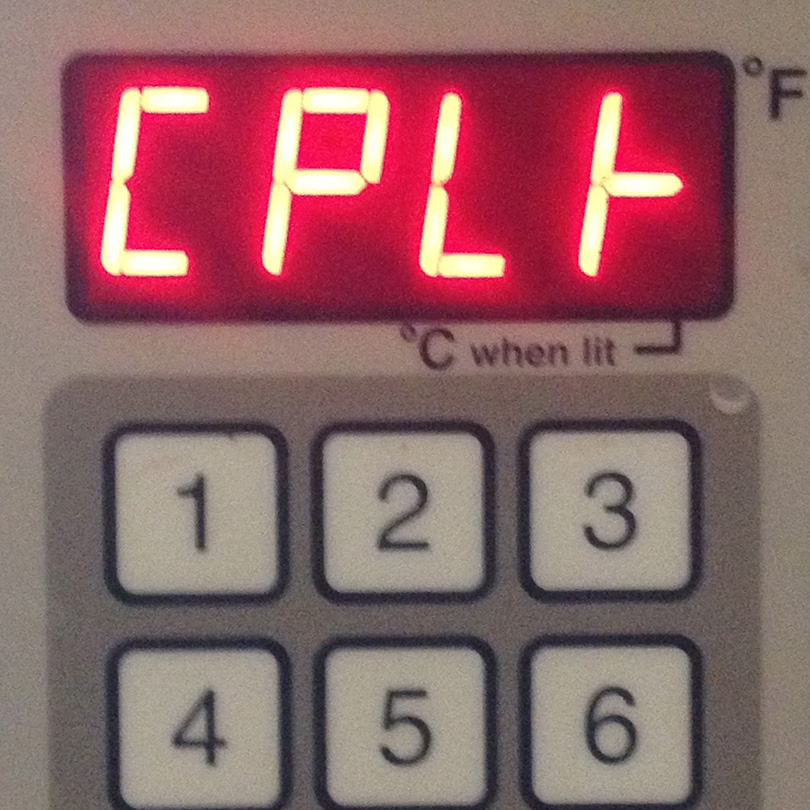
Always a relief. So nice to see that the bisque kiln you packed tight and turned on last night fired without fail. And is now COMPLETE!!! Let the cooling begin…

Save

Categories: kiln firing, mugs, process, production

So many pots. Cranking out as much as I can getting ready for ART IN THE BARN. It’s two weeks from today and I still have so much work to do. Including a couple more kiln firings. My plan is to get all of these pieces into glaze kilns next week. I have a full soda kiln scheduled for net Saturday. So even though I’m in “the middle” of ART IN THE GARDEN this weekend, I still had to go into the studio to unload this bisque kiln. No rest for the weary.

Kiln Layer #1 – Mugs. Mugs. Mugs… ALL MUGS!!! My favorite!

Kiln Layer #2 – My mostly porcelain layer. Mugs, cups and a couple bowls.

Kiln Layer #3 – Stars. Stars. And more stars!!! And a few bowls, ovals & cups!

Kiln Layer #3.5 – Stamped platter, spoon rests… and some fortune cookies!

Kiln Layer #4 – Bowls, mugs, ornaments and a LOT of tiles!!!

And you know how I like to get close to the top…