Gary Jackson: Fire When Ready Pottery
A Chicago potter’s somewhat slanted view of clay & play
Categories: bowls, classes, process, surface decoration

Last night in my Beginner’s wheel class, we glazed for the first half of the class. Followed by a quick not-so-basic-bowls demo! Not enough time for the full-blown bowl demo we’re used to… but we did tackle how to throw “a bowl on purpose” instead of a cylinder gone bad. Followed by some quick decorative techniques to make each one a little more special!

Categories: classes, surface decoration, textures

This week in my SURFACE DECORATIONS class, we tackled the fun crackled slip effect using sodium silicate. This was my second demo piece… the first didn’t work out so well… not enough slip, plus I rushed the drying a bit. Not so crackly. So we all “learned” together… and this second one was so much better!!!

After my class demo, the students tried their version of crackled slip as well… throwing in some colored slip too! Some multiple colors & some bowl shapes! The excitement happens when you “bulge” the pot out from the inside – and the expanding of the clay makes the “quick-dried” slip crackled as the clay expands! So much fun!!!

Categories: bowls, classes, process, production, stamped, stamps, surface decoration

So last night after stamping, my SURFACE DECORATIONS class switched to using sprig molds for their textured decorations. We just pressed clay into the molds, popped them out and then “scored & slipped” them into place! I don’t do a lot of sprig work, so it was kind of fun to watch my demo bowl evolve one layer at a time… a row of sprigs…some stamps… maybe a scalloped edge… some more stamps… and maybe some holes… wait, what?!

I always have trouble knowing when to stop… as MORE IS MORE.
But I do think it’s done – after a bit more cleaning up!

Categories: classes, stamped, stamps, surface decoration, textures

After my quick stamping demo, my SURFACE DECORATION students set-off to start stamping their own pieces & the bowls I gave them. So much fun to see them getting their groove on… and adding grooves & textures into the clay! So much fun for all of us… as MORE IS MORE!

Categories: bowls, stamped, stamps, textures

Last night in my SURFACE DECORATION class, we tackled stamping textured patterns into clay… go figure! I did my first demo bowl explaining the process along the way… and then let them set-off on their own stamping adventure on the plain bowls I provided for them… along with a few of my handmade stamps!

Categories: bowls, clay, color

Another example of cool marbled clay after trimming! Lots of layers of colored clay all mixed together!!! Works well as long as all of your clay bodies have the same shrinkage rate!

Categories: classes, clay, color, process

Did some trimming of my marbled clay pieces from class last week. When you’re done throwing, the outer skin is all kinda blurred from the clays mixing & blending while throwing. But when you trim off the exterior surface, the crisp marbled effect reveals itself in striking ways!

Categories: classes, clay, color, wheelthrowing

Once I had finished my class demos with marbled clay, my students got all colorful and started throwing their own marbled pieces! So much fun… as it’s kinda magical when the colors appear!!!

Categories: classes, clay, color, porcelain, wheelthrowing

Just for fun, I followed up the first marbled clay demo with a simple two-color piece. Kinda looks right for the season… as the color reminded me of a yummy Shamrock Shake!!!

Categories: classes, clay, color, vases, wheelthrowing

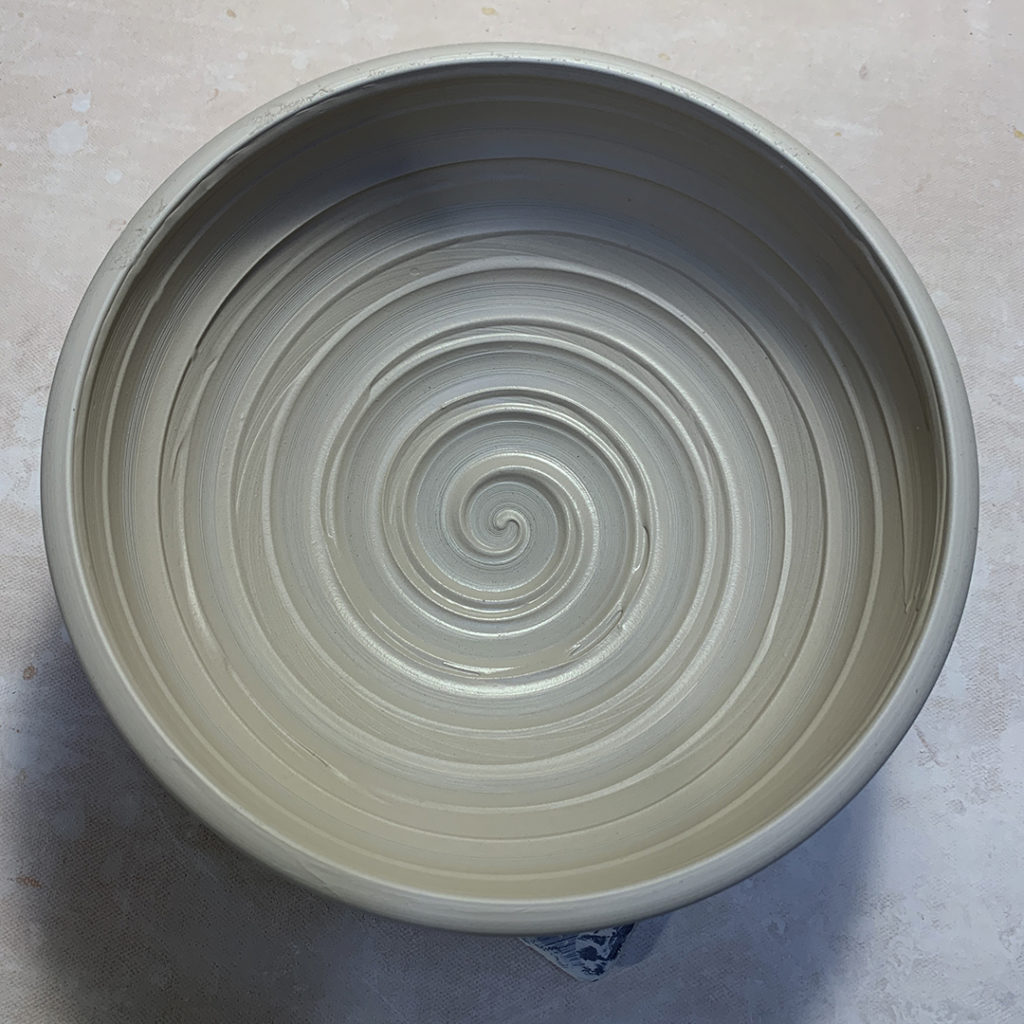
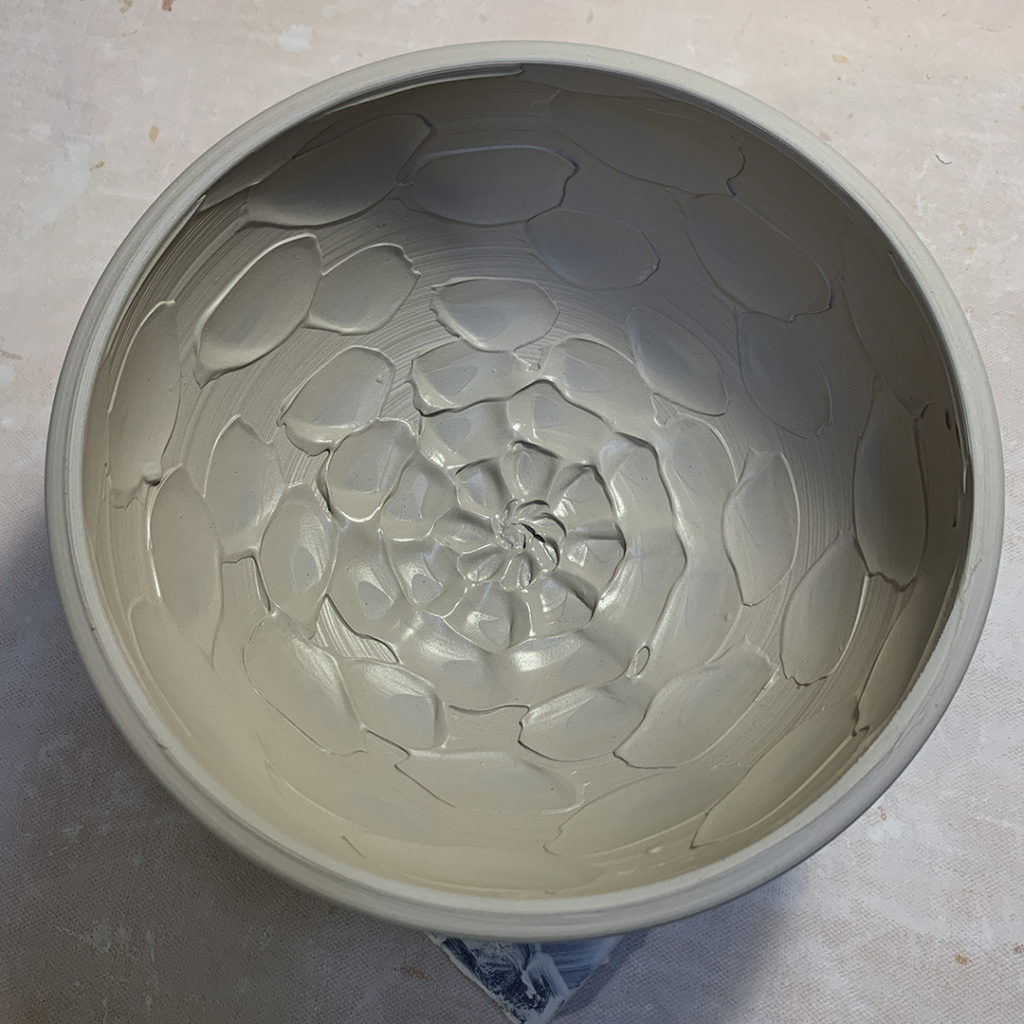
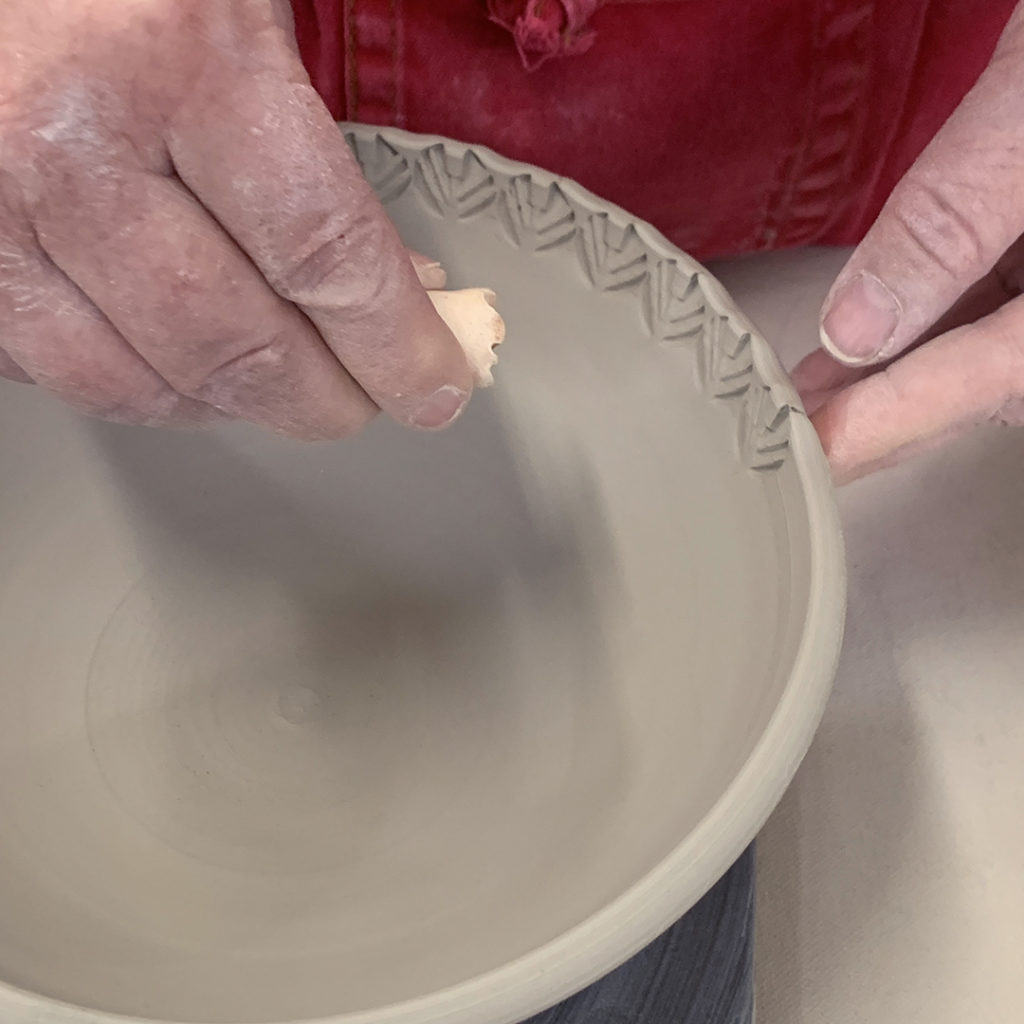
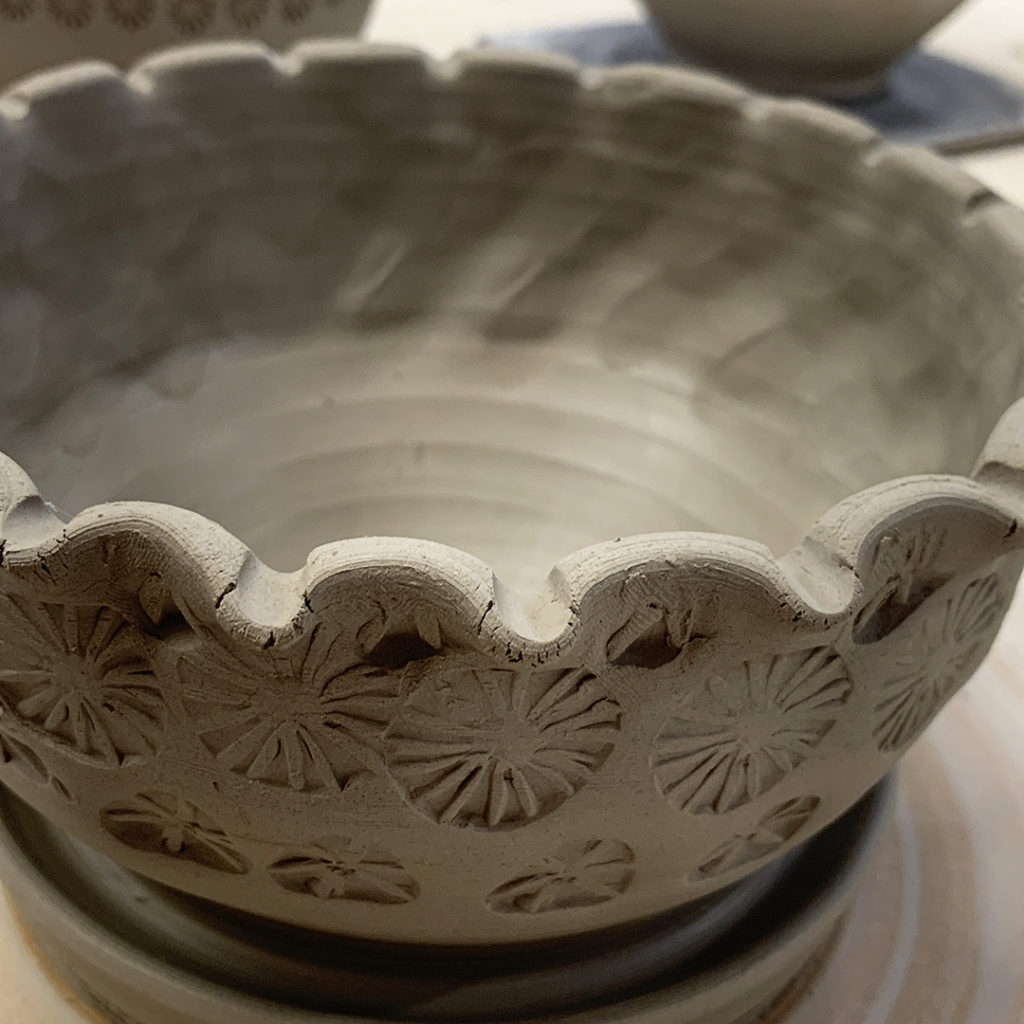
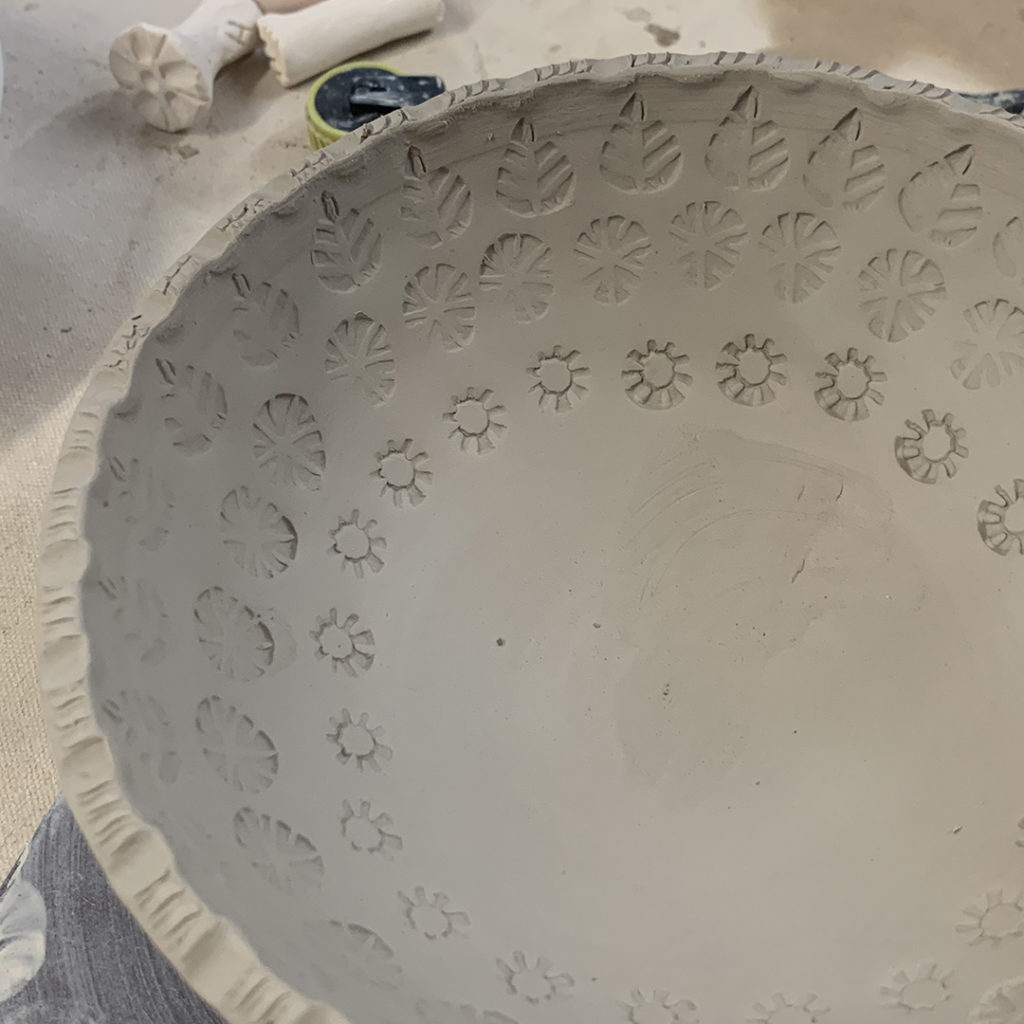
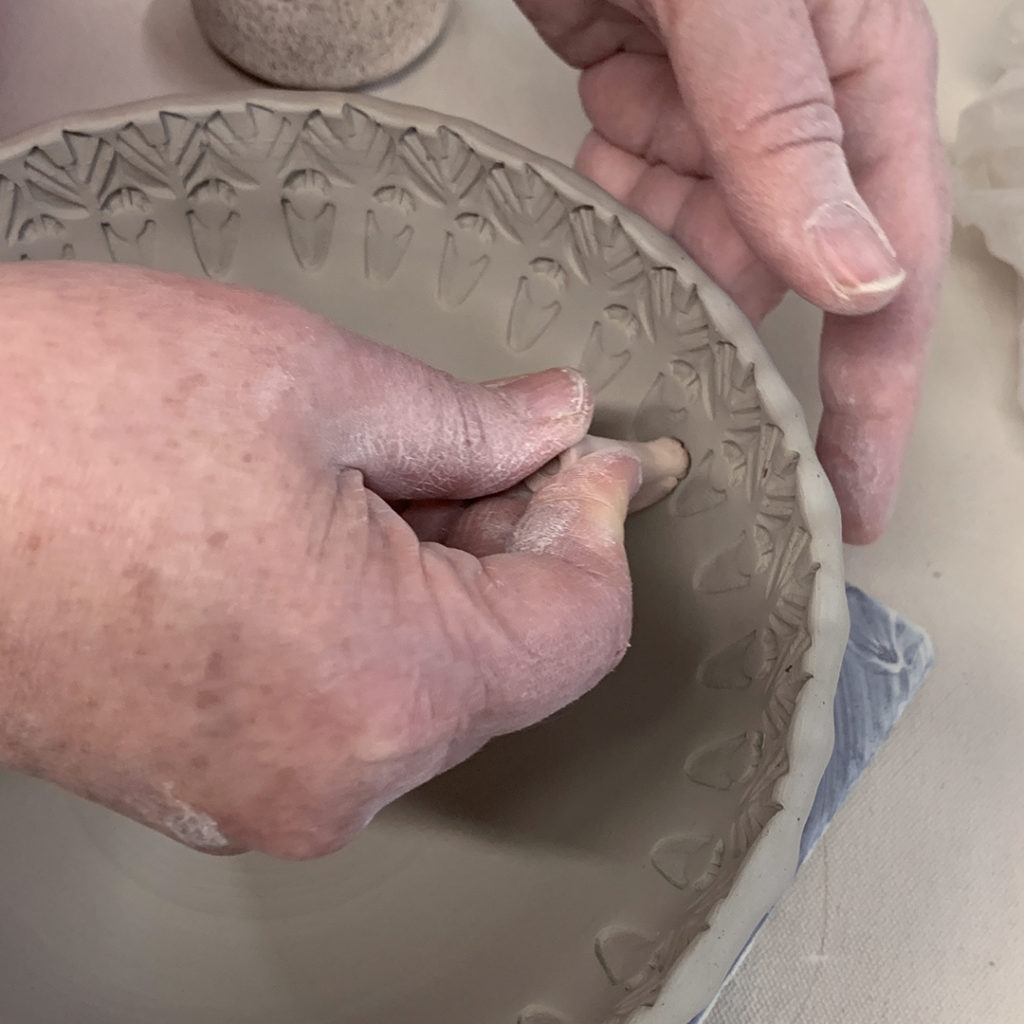
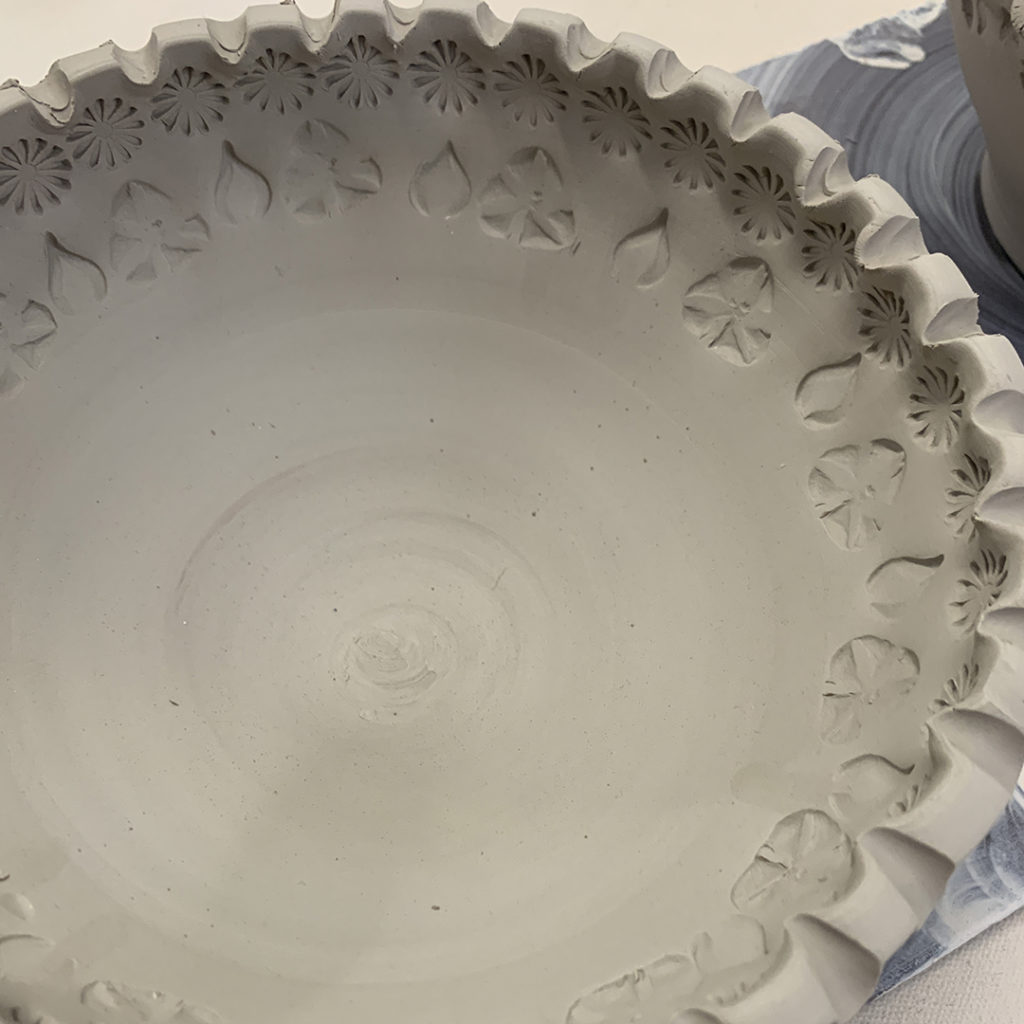
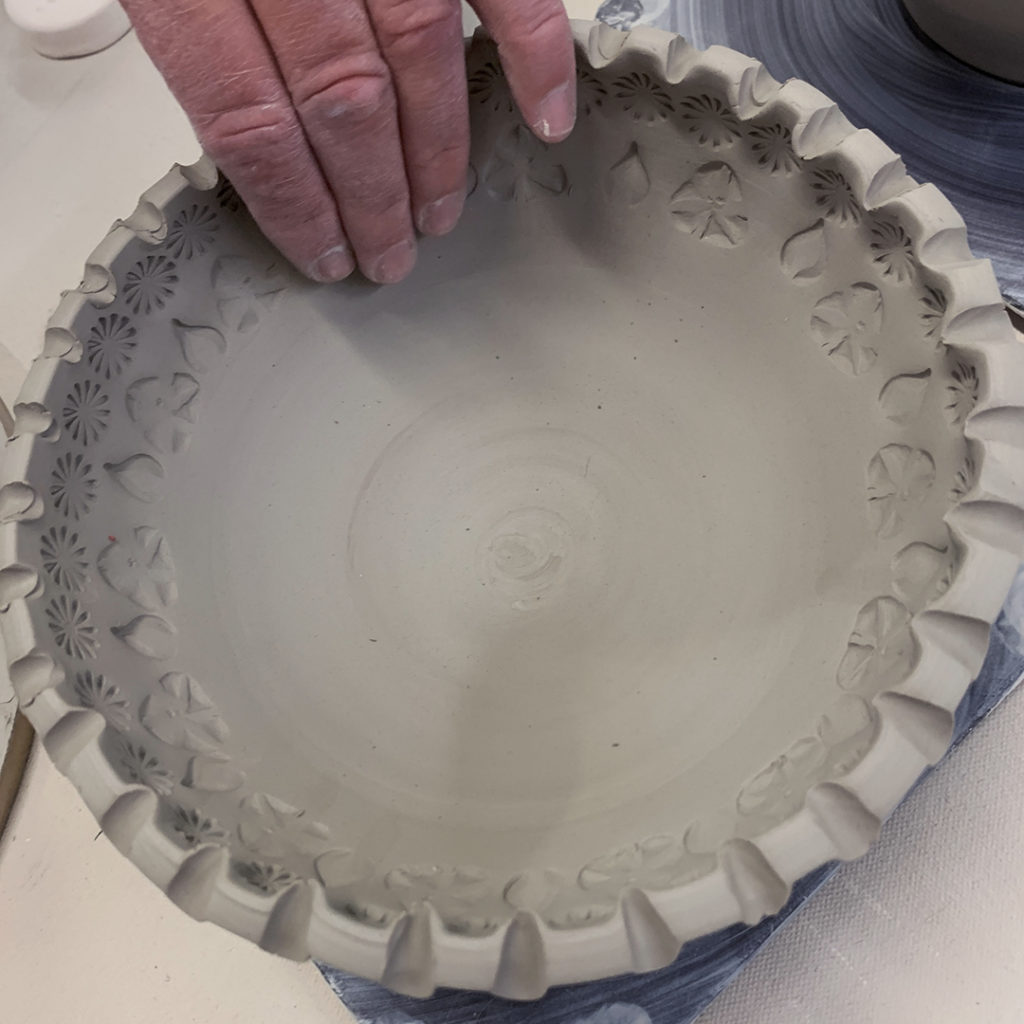
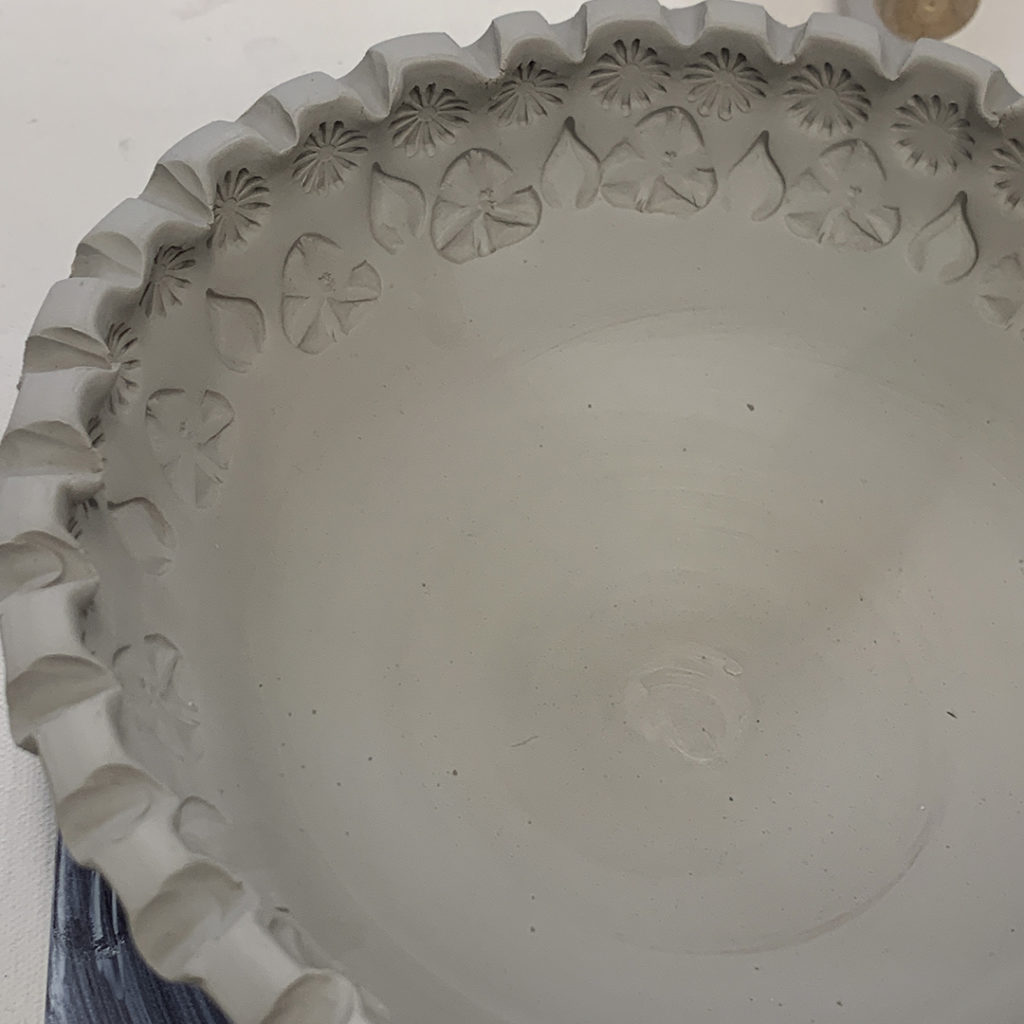
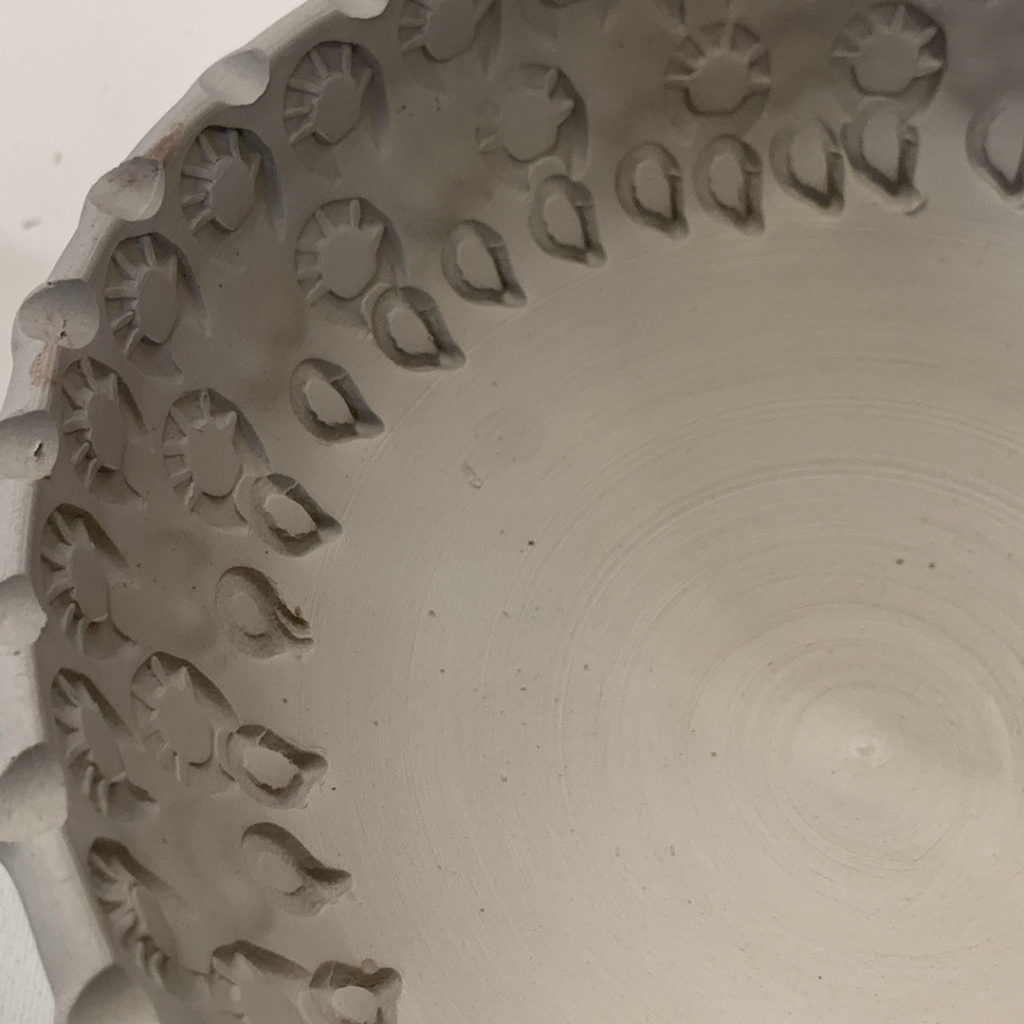
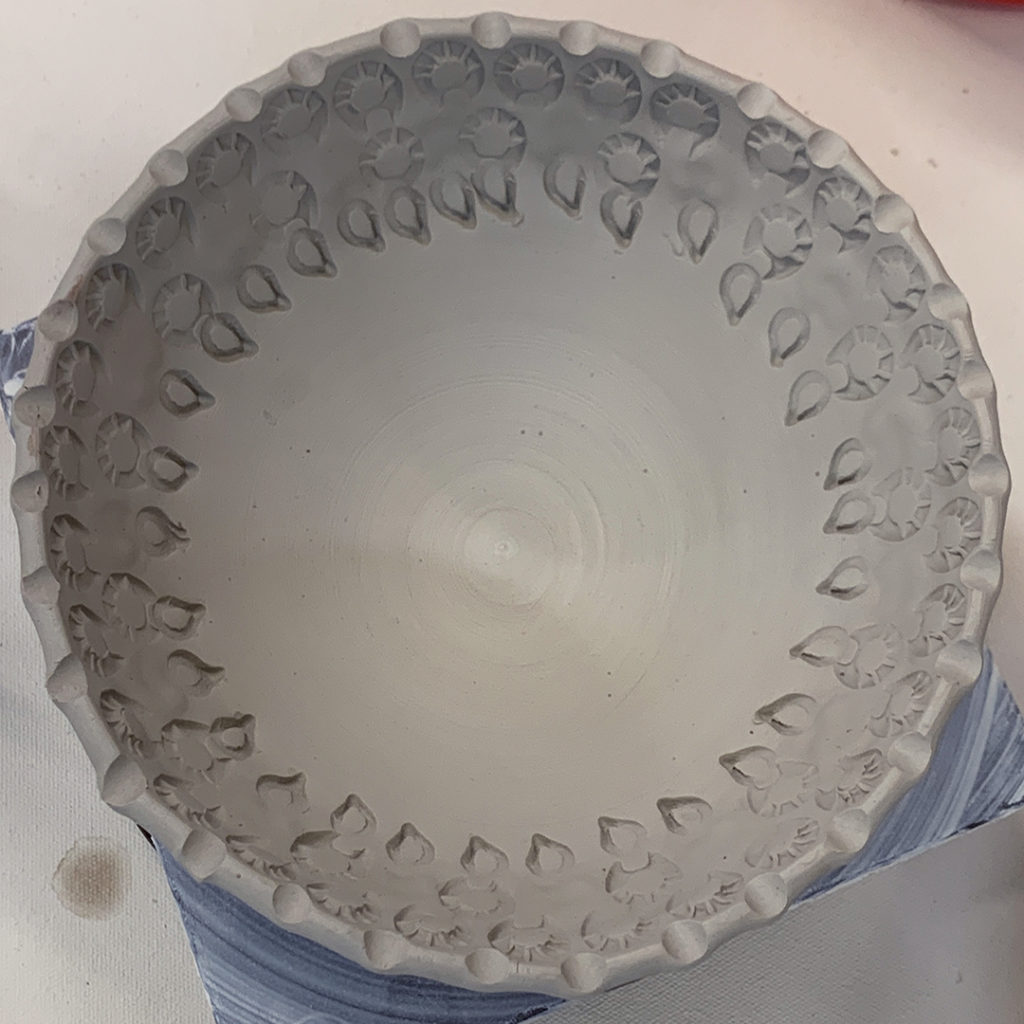
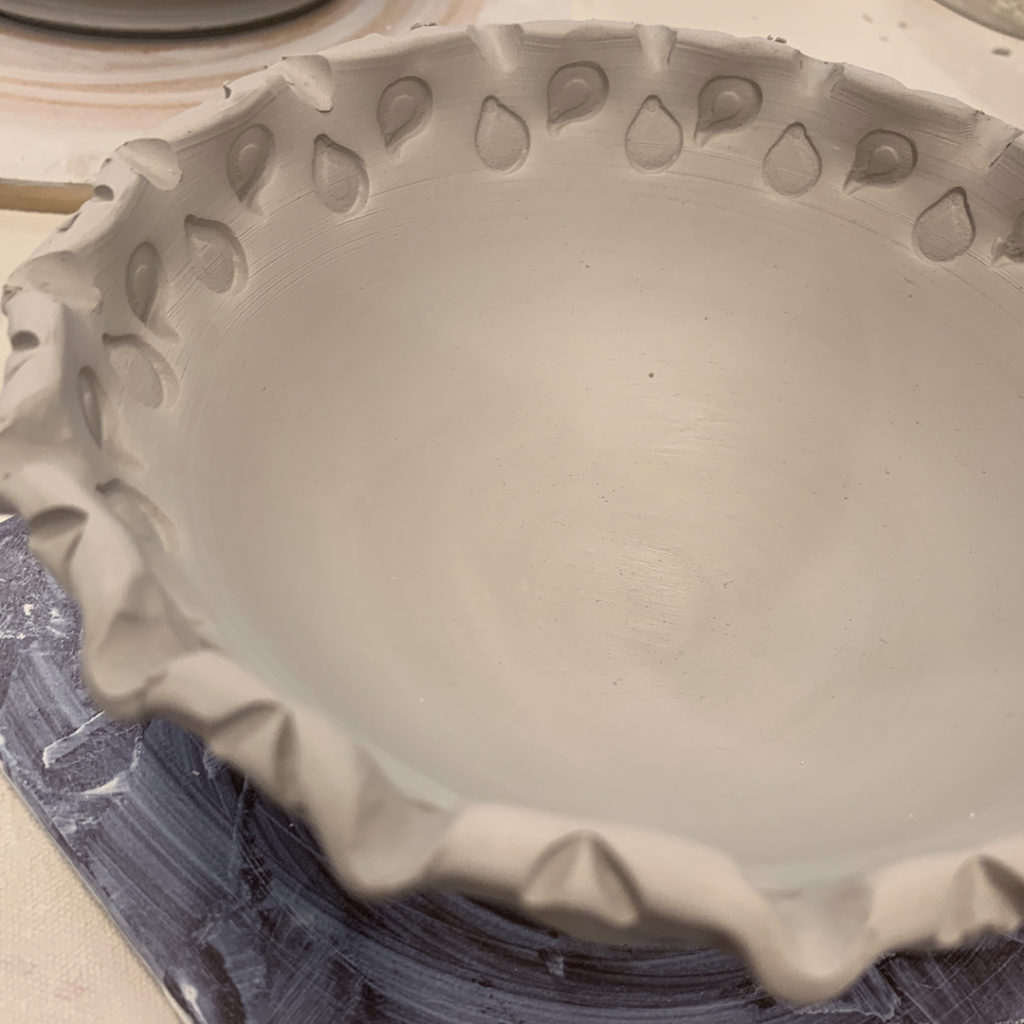
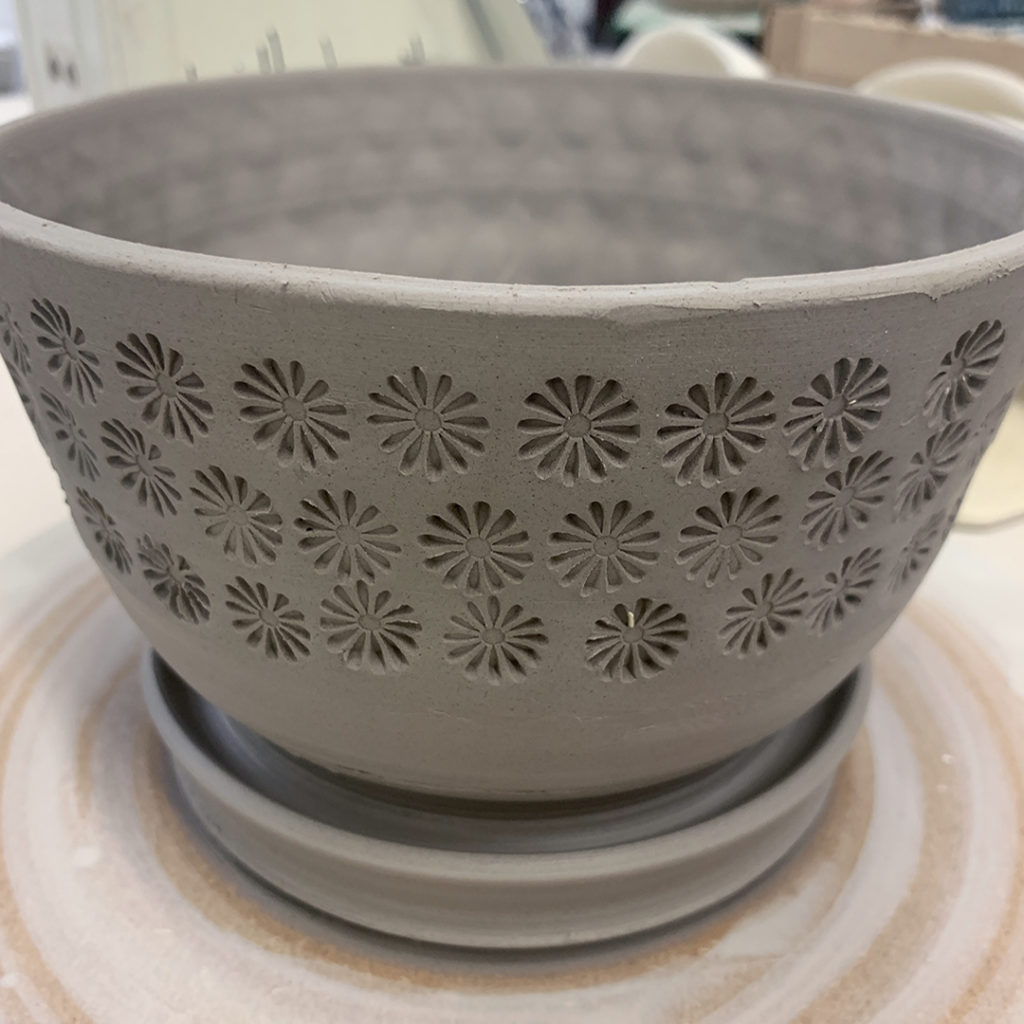
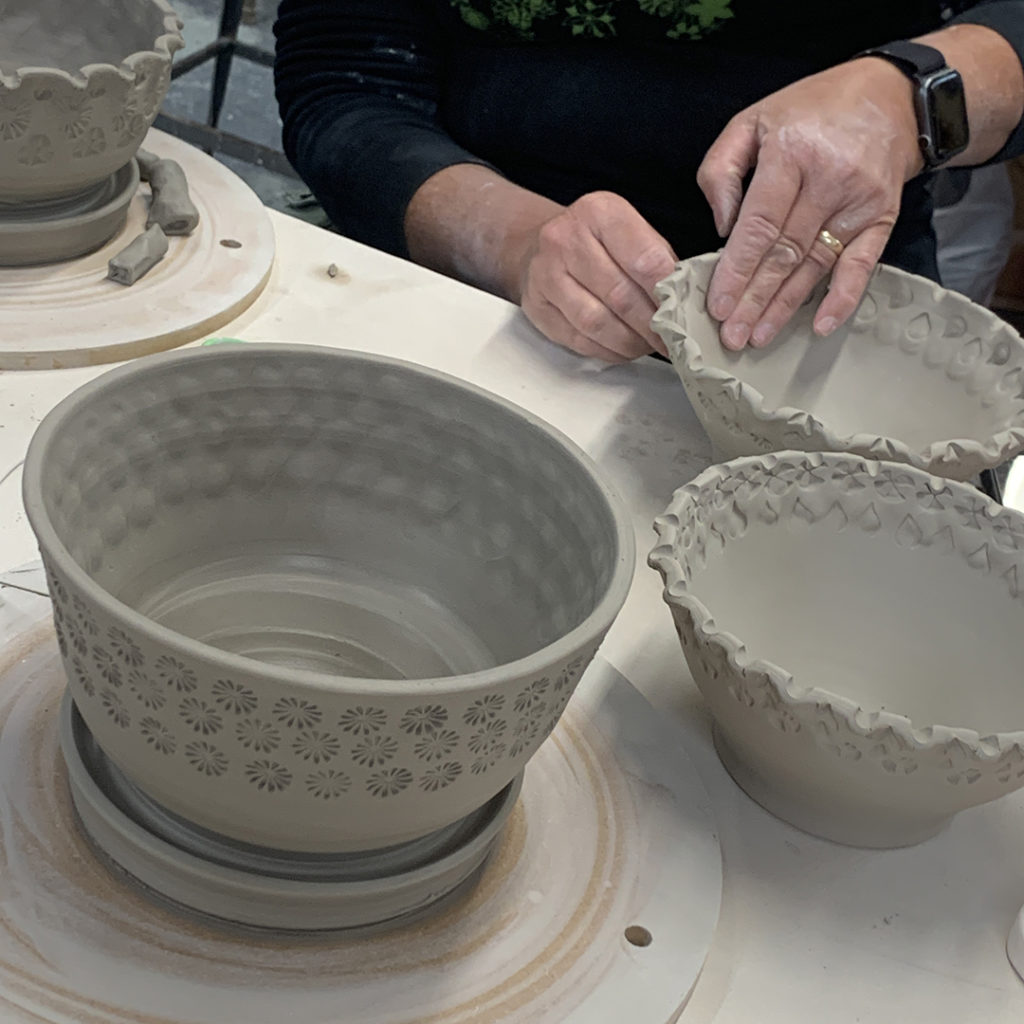
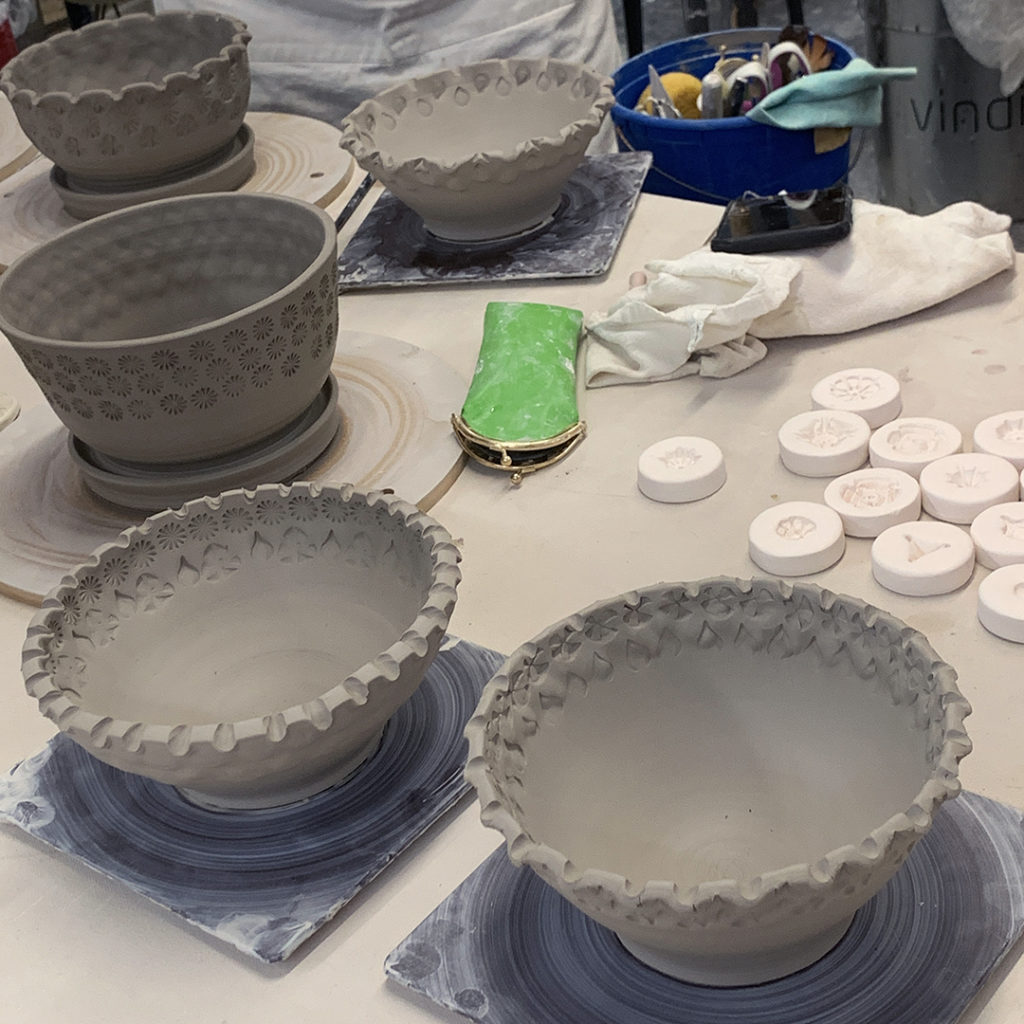
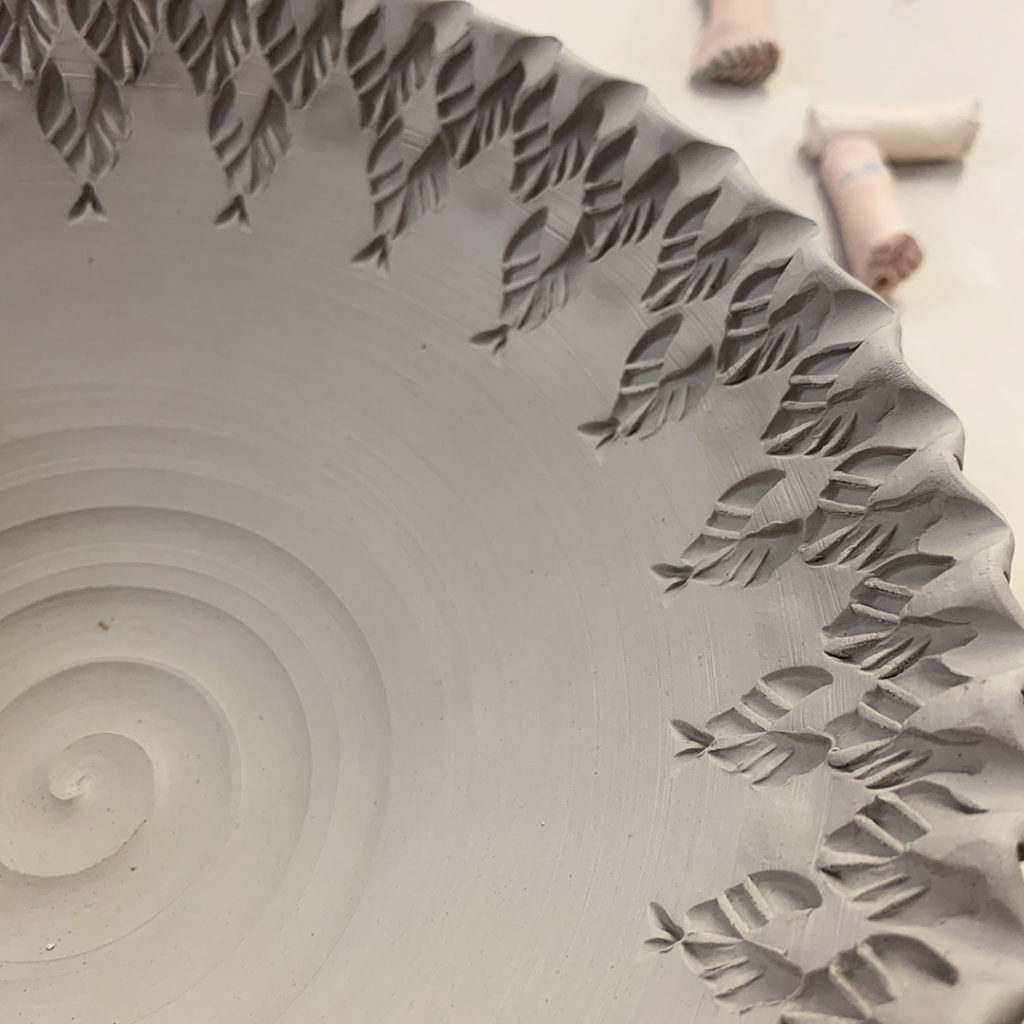
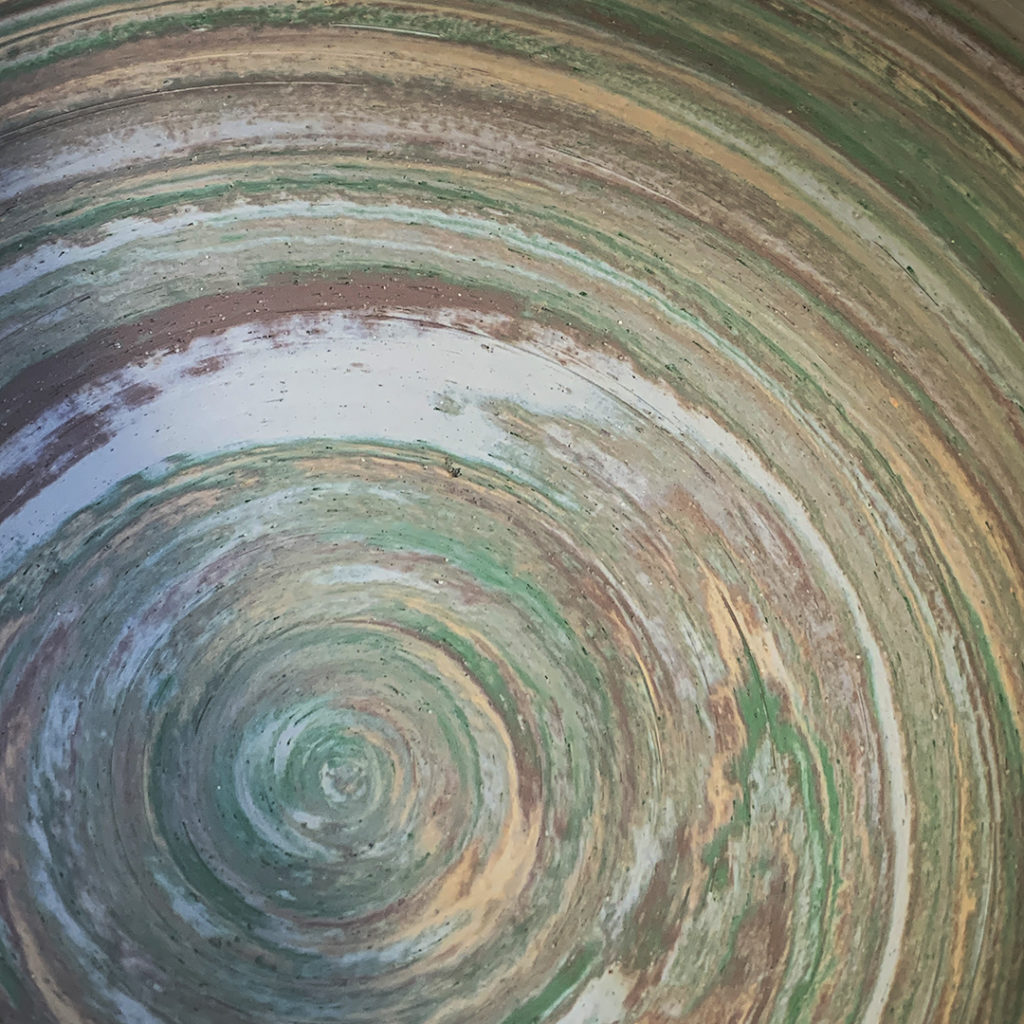
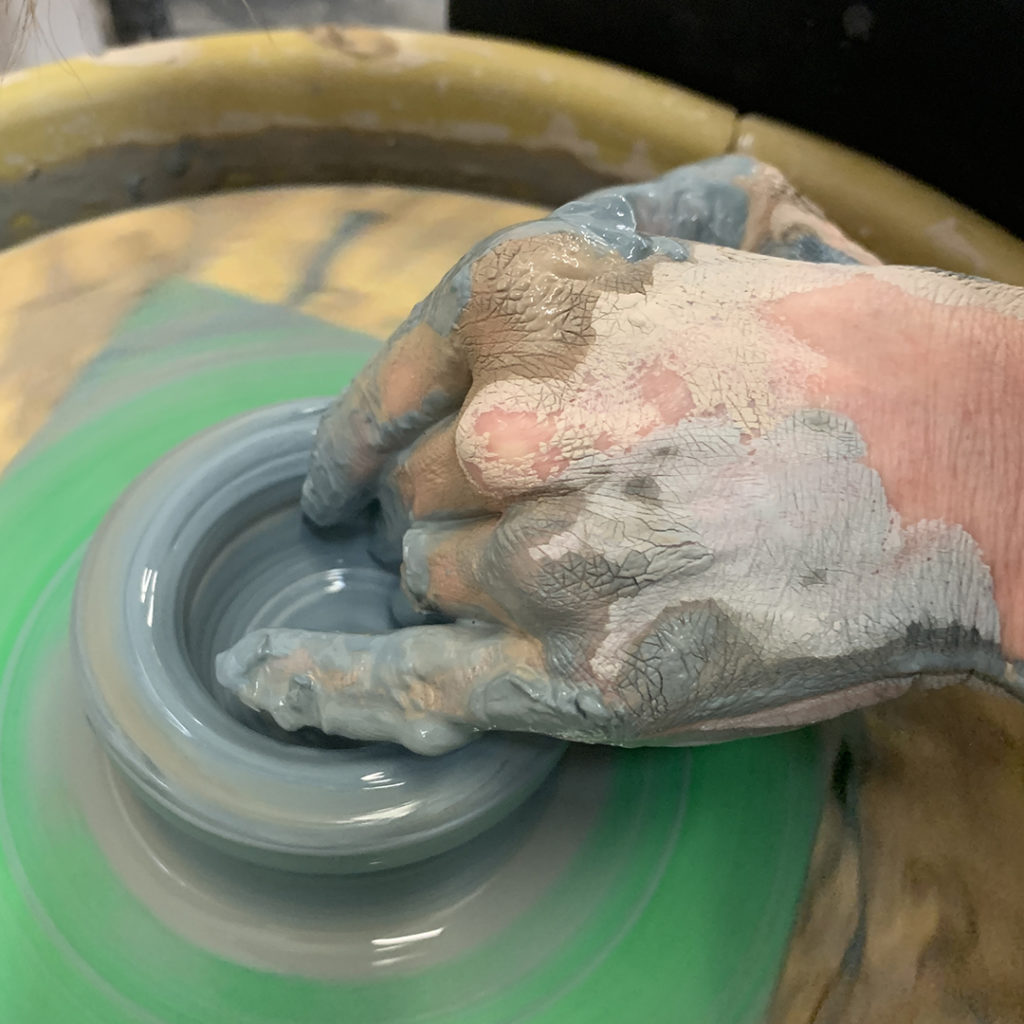
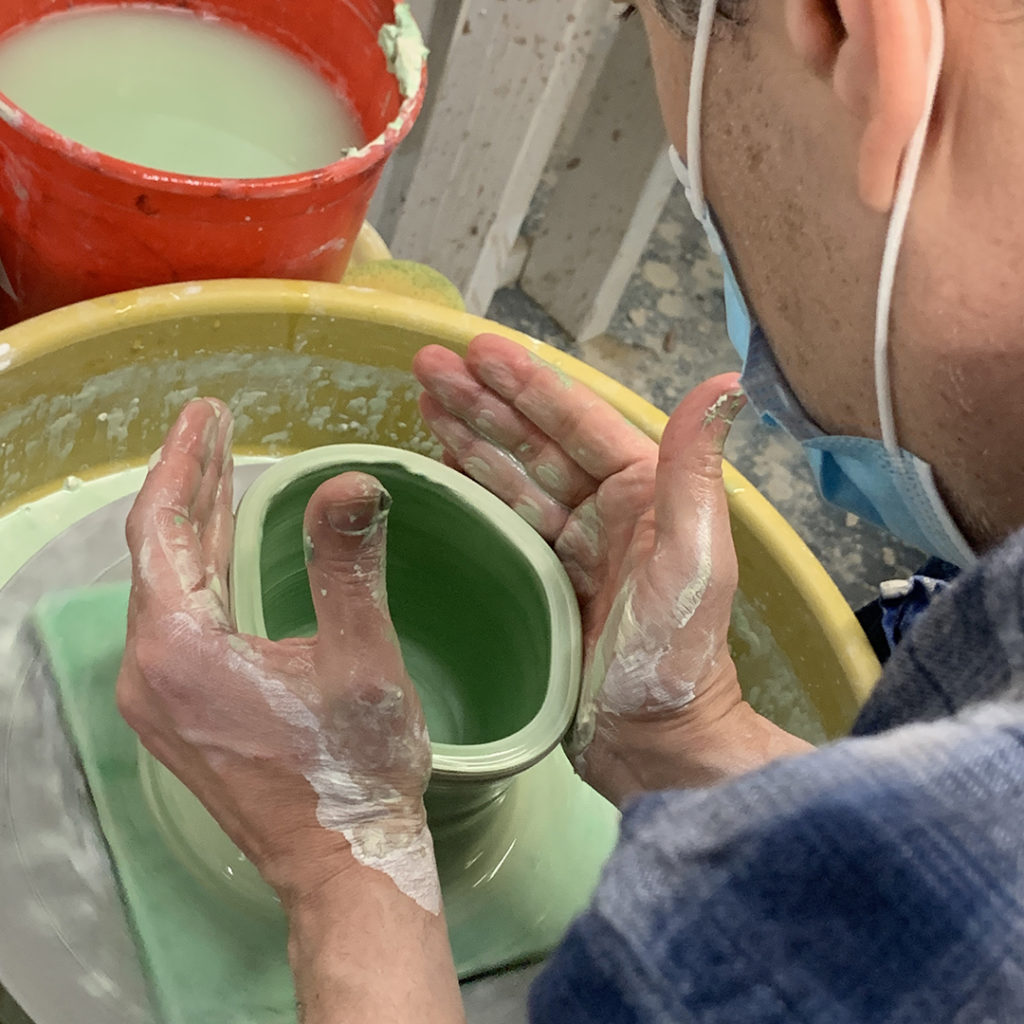
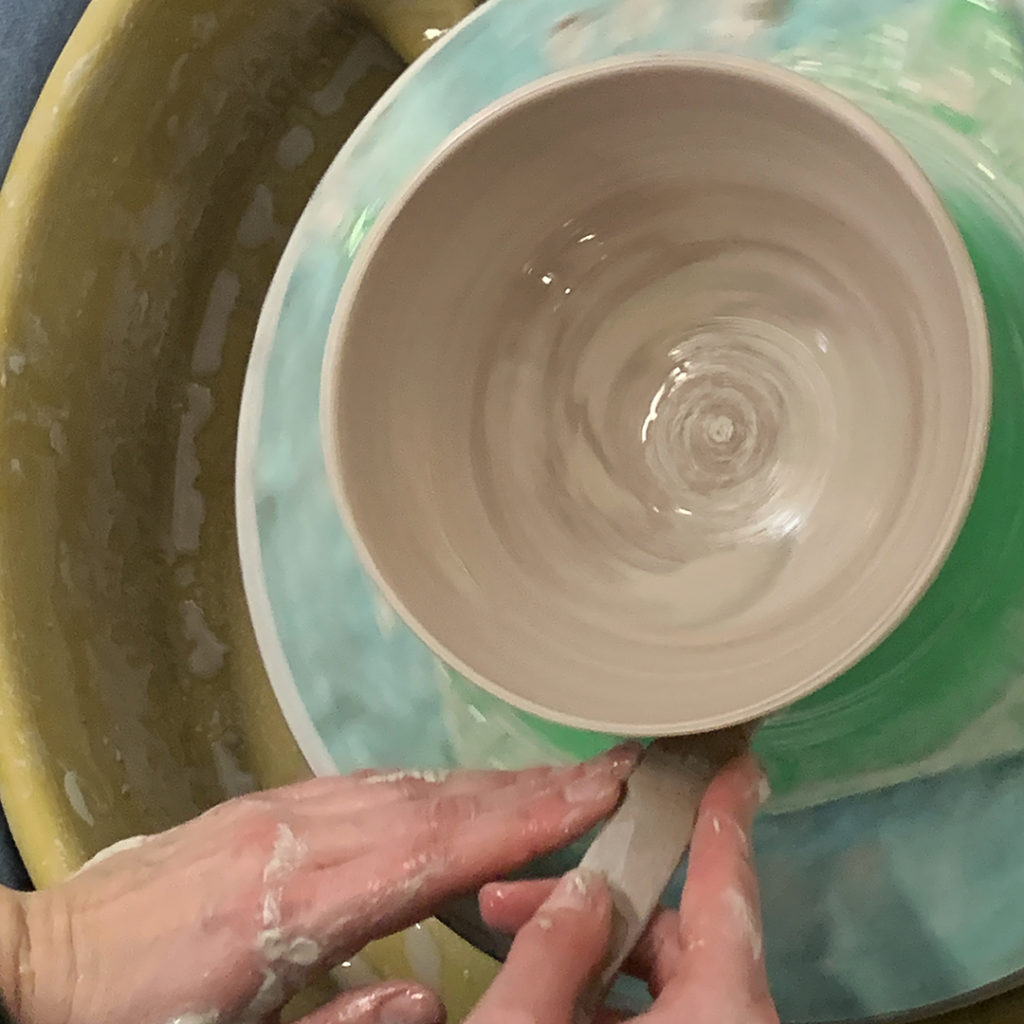
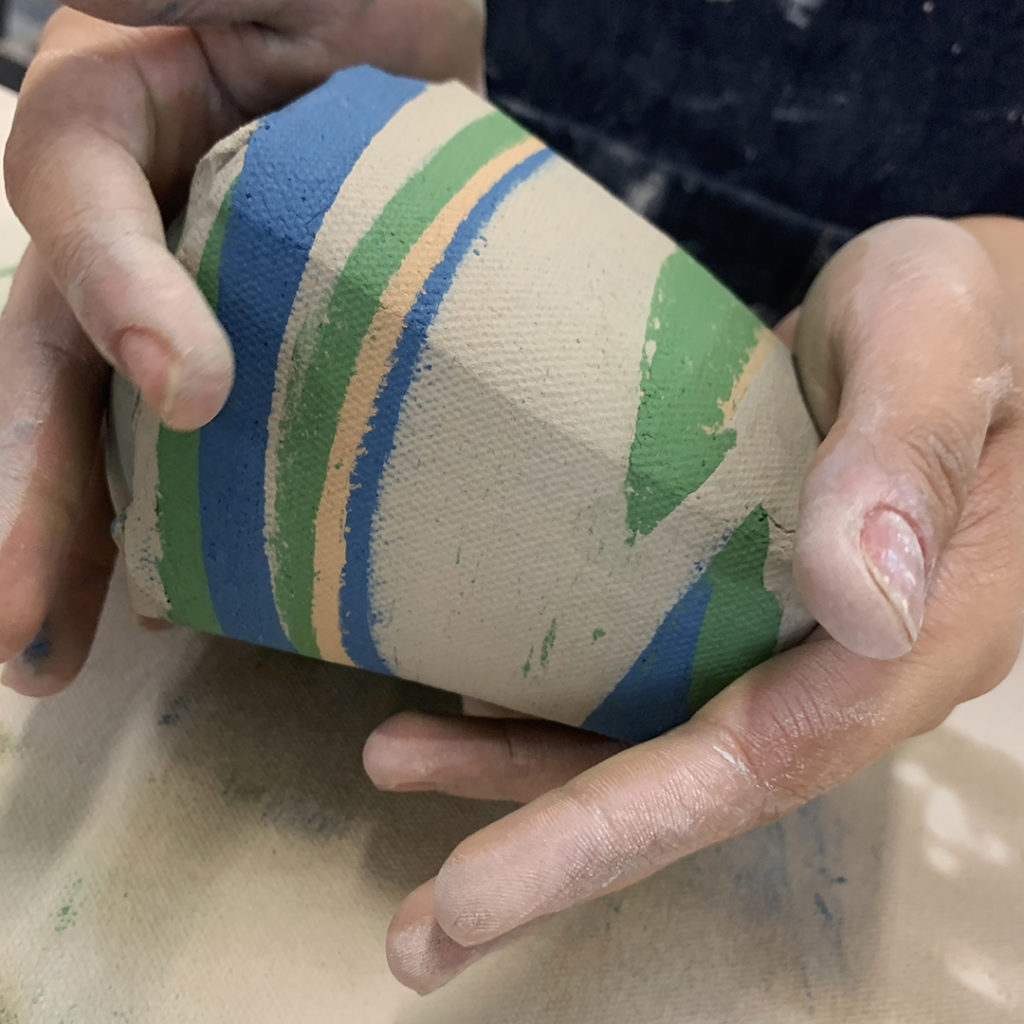
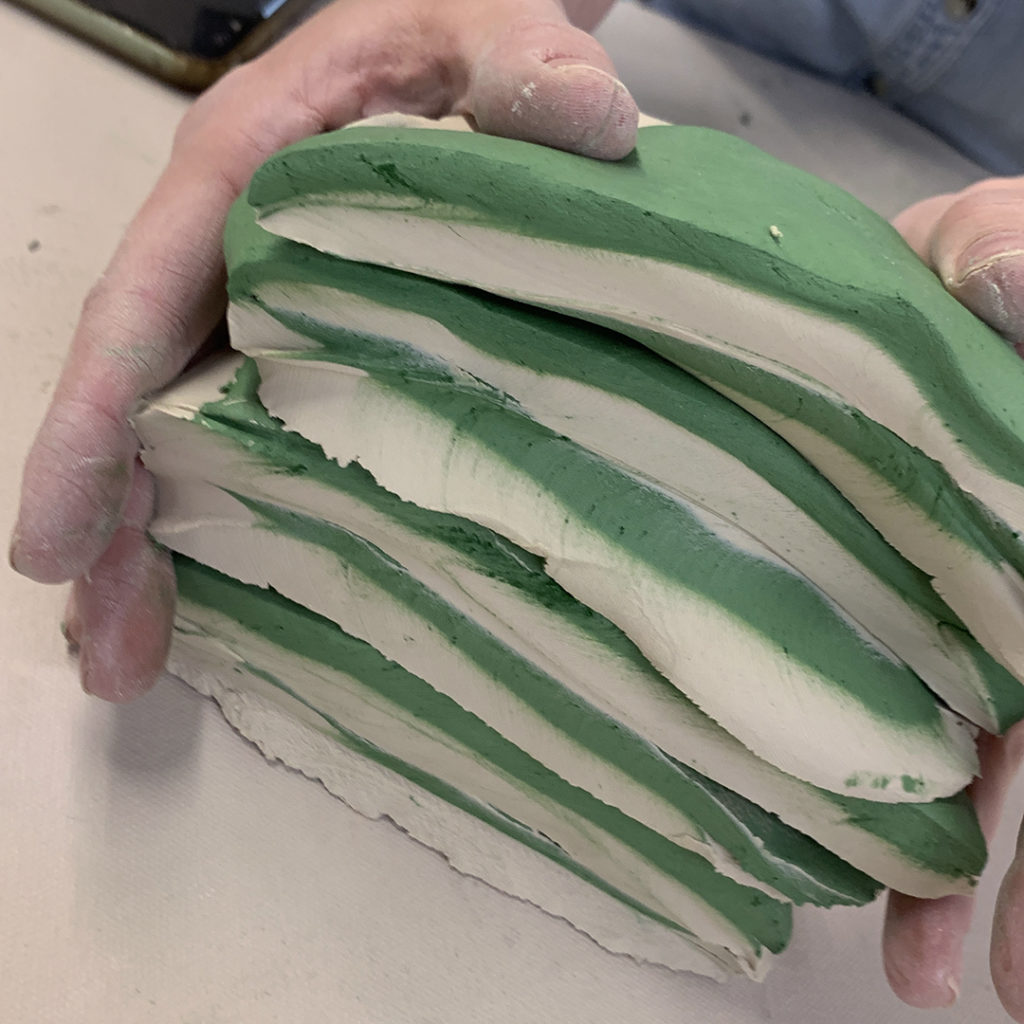
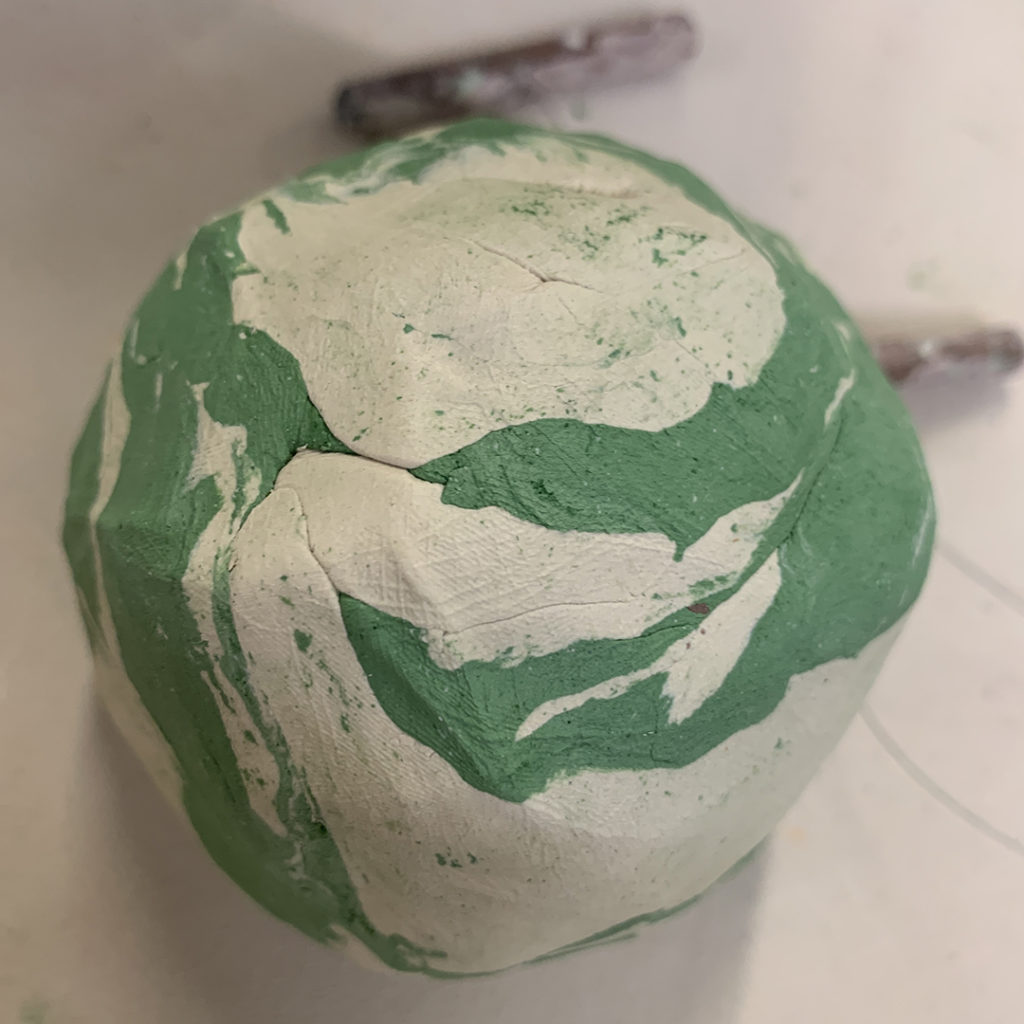
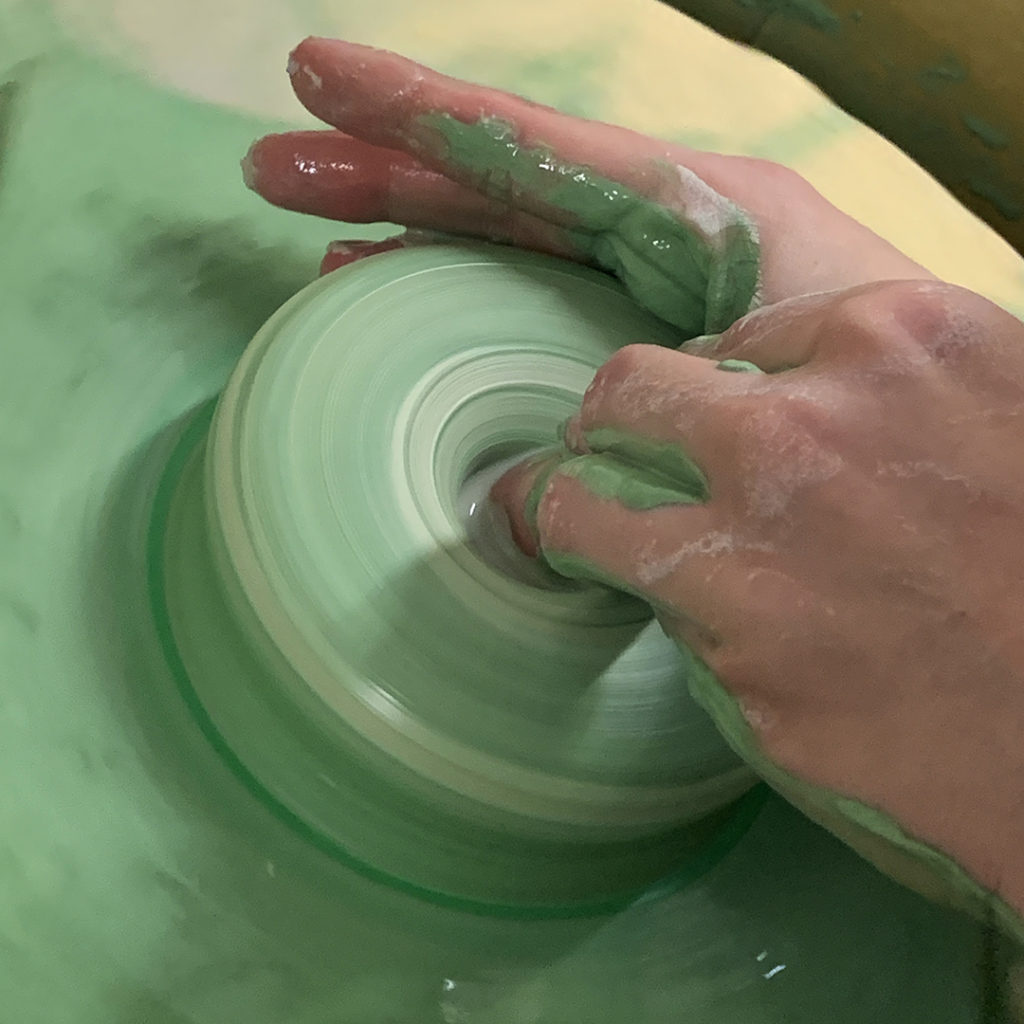
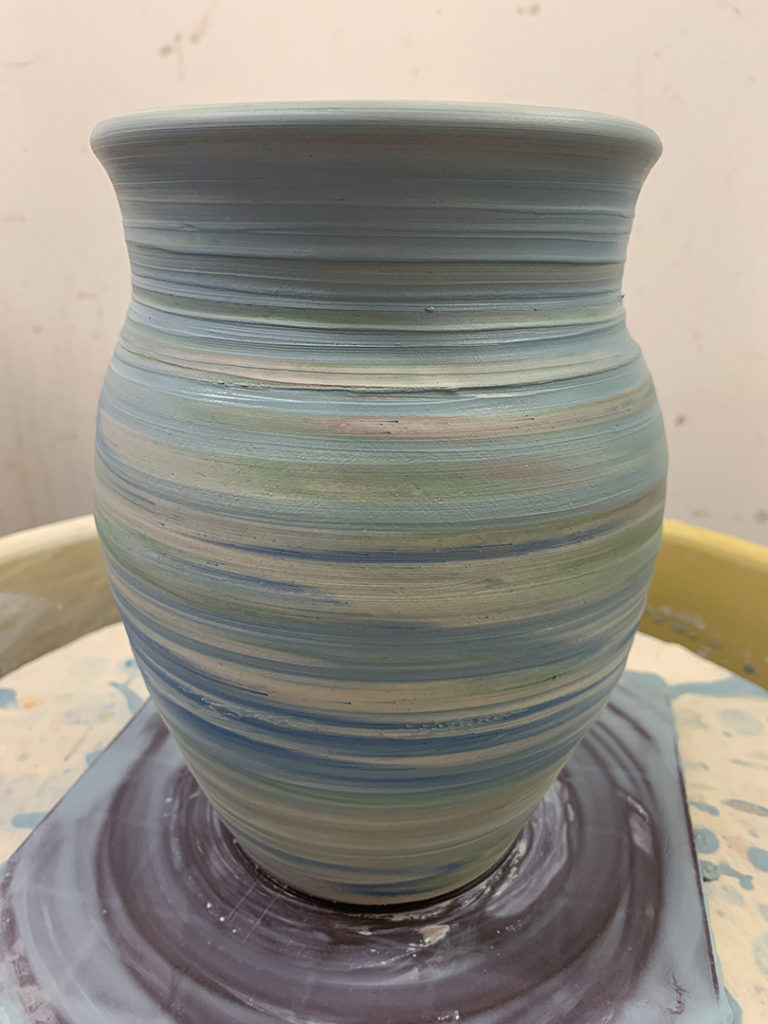
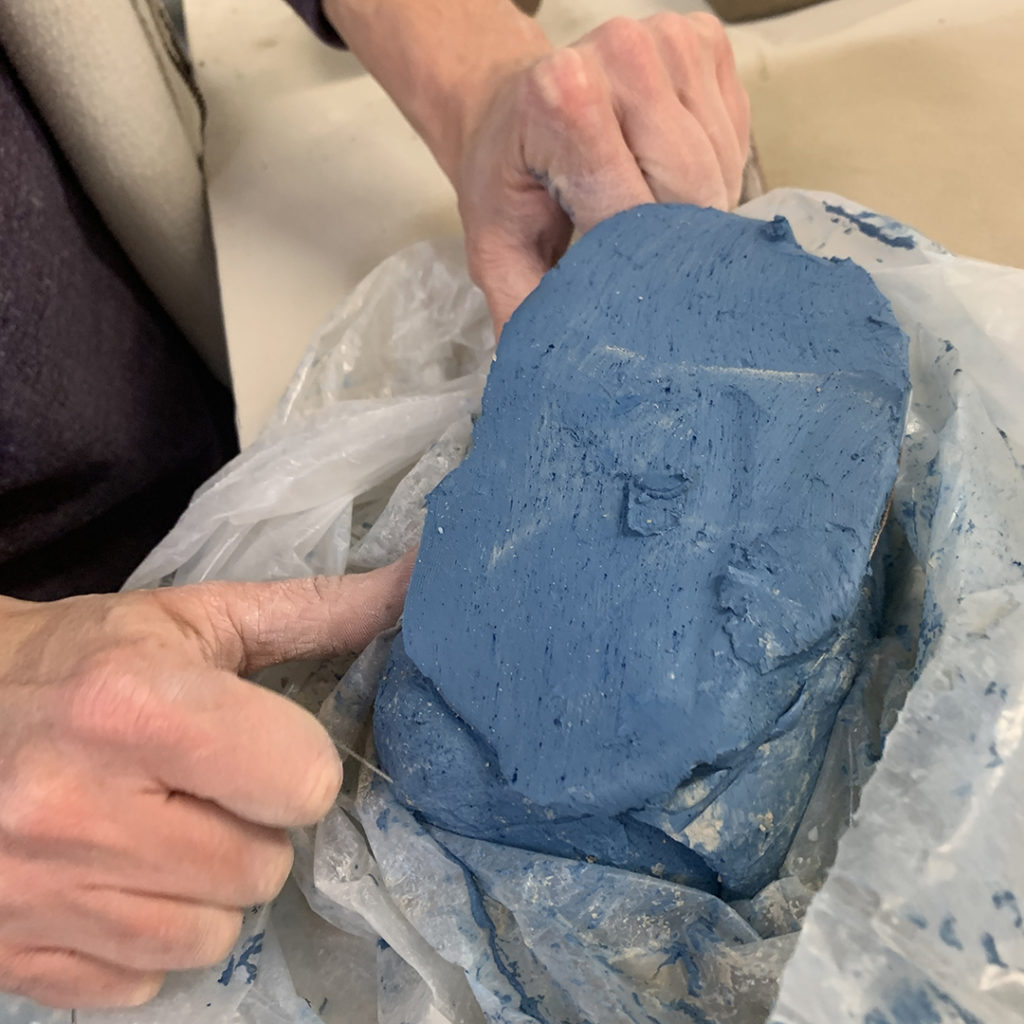
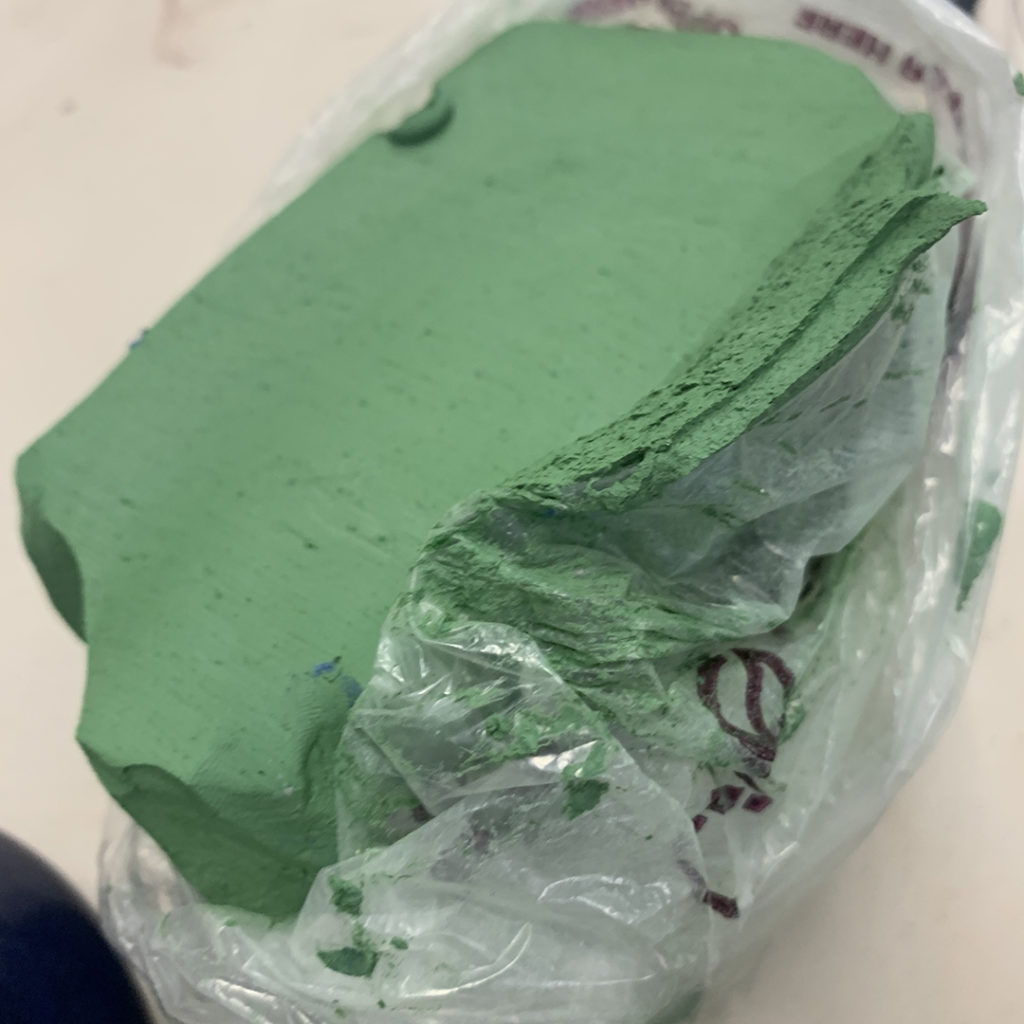
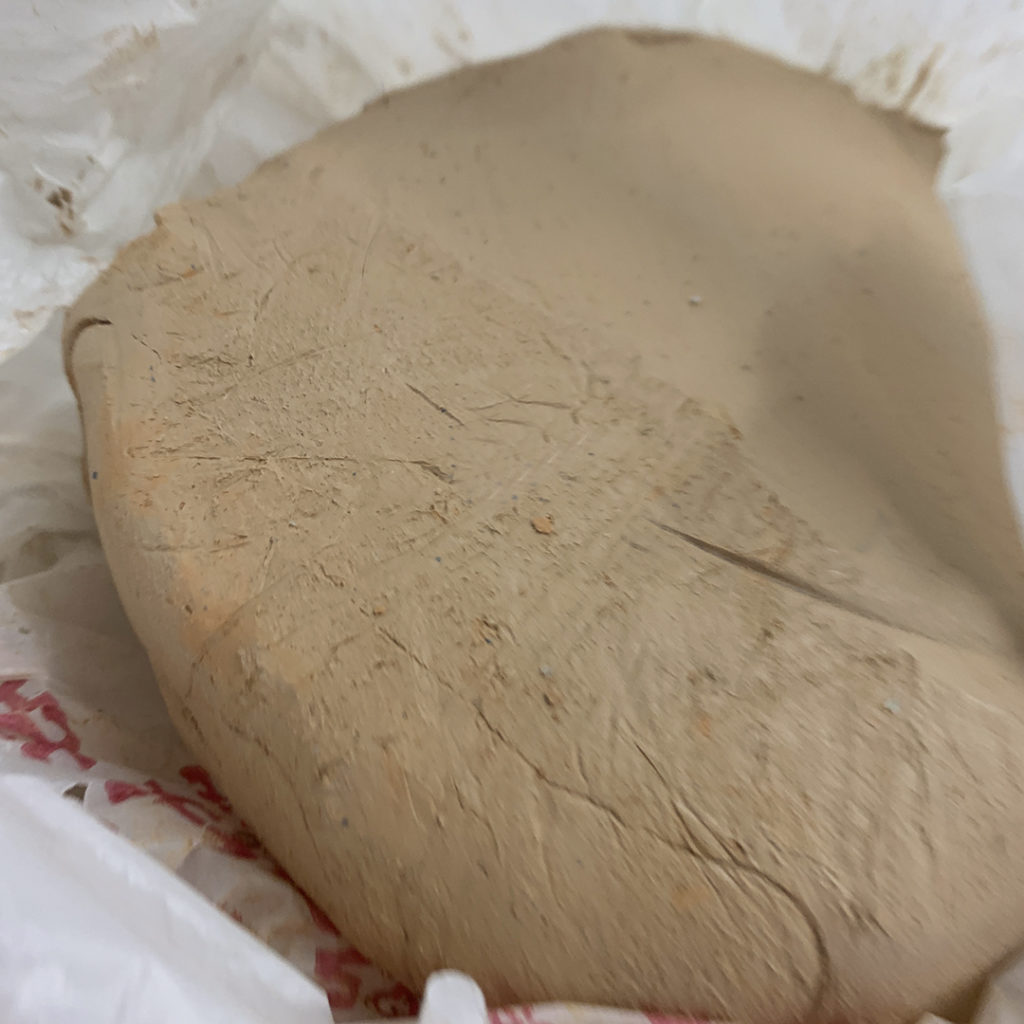
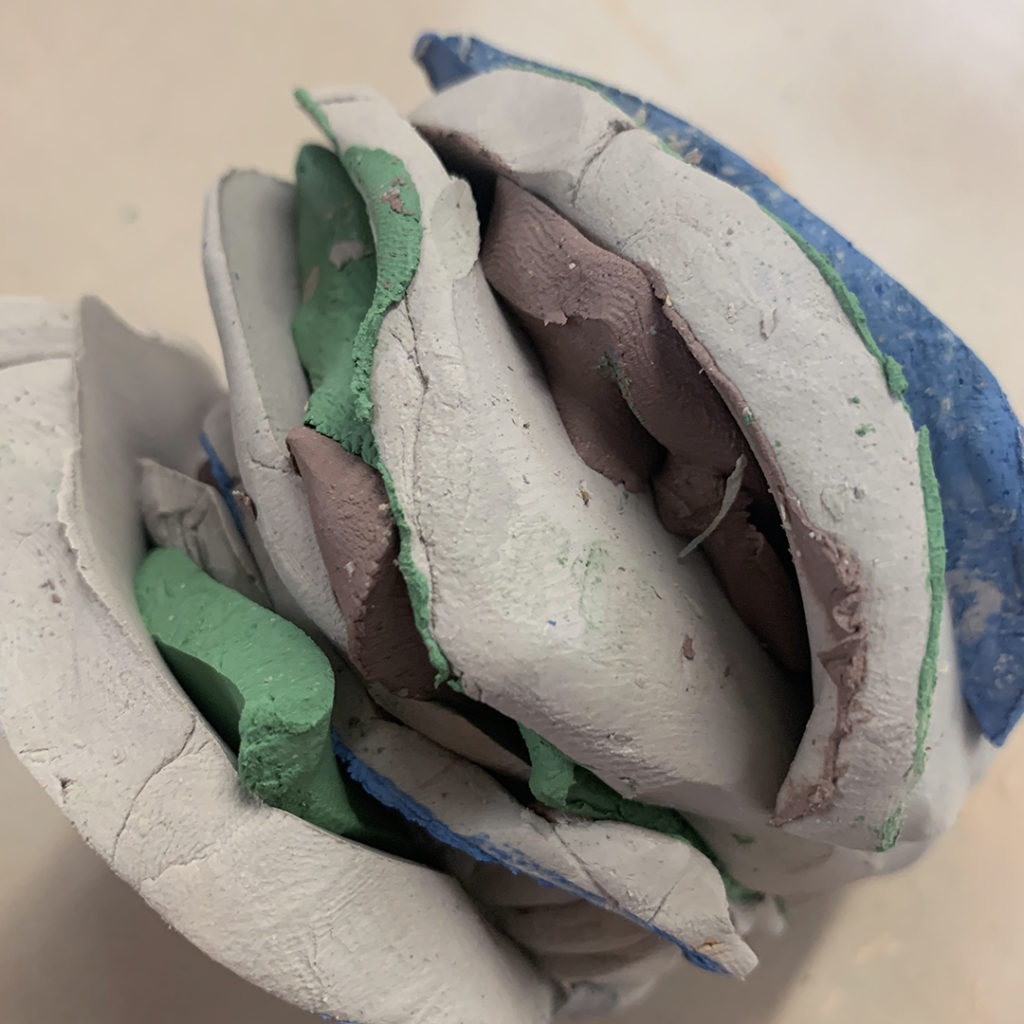
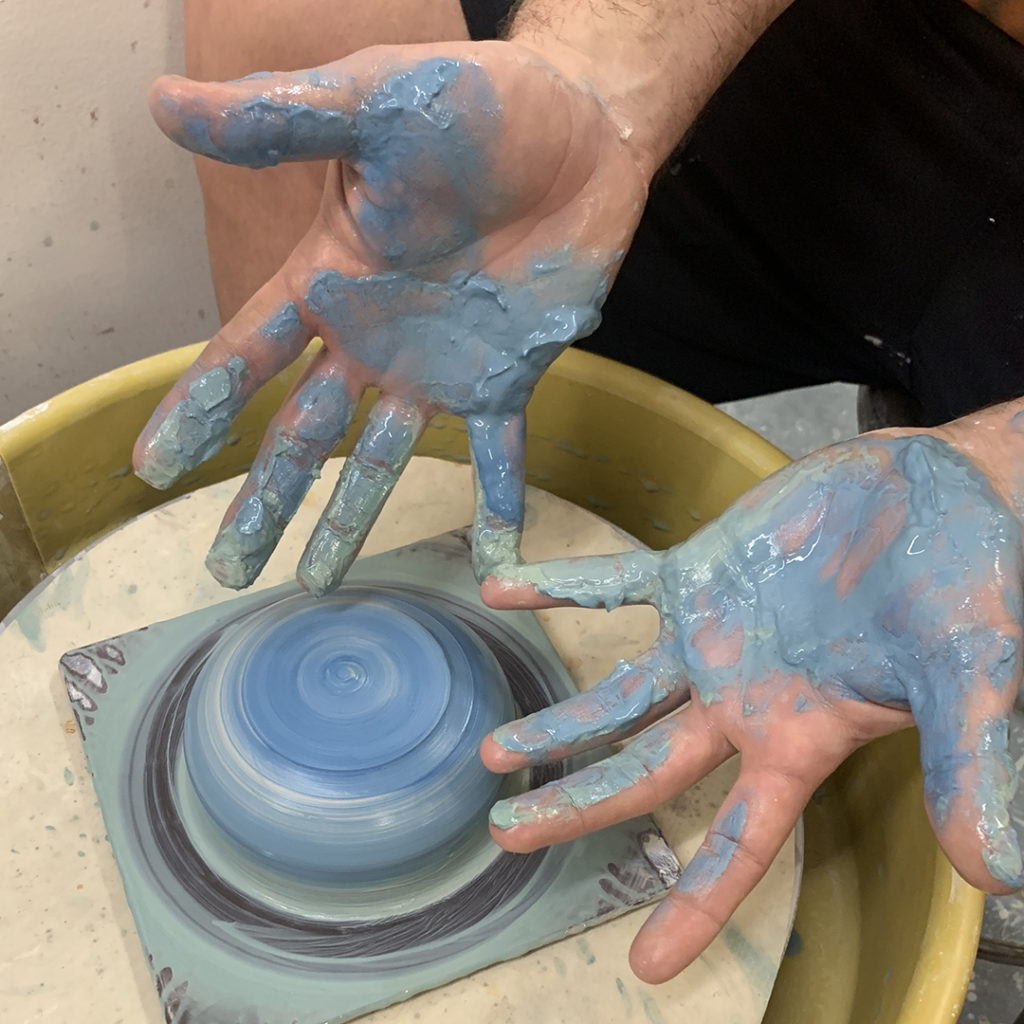
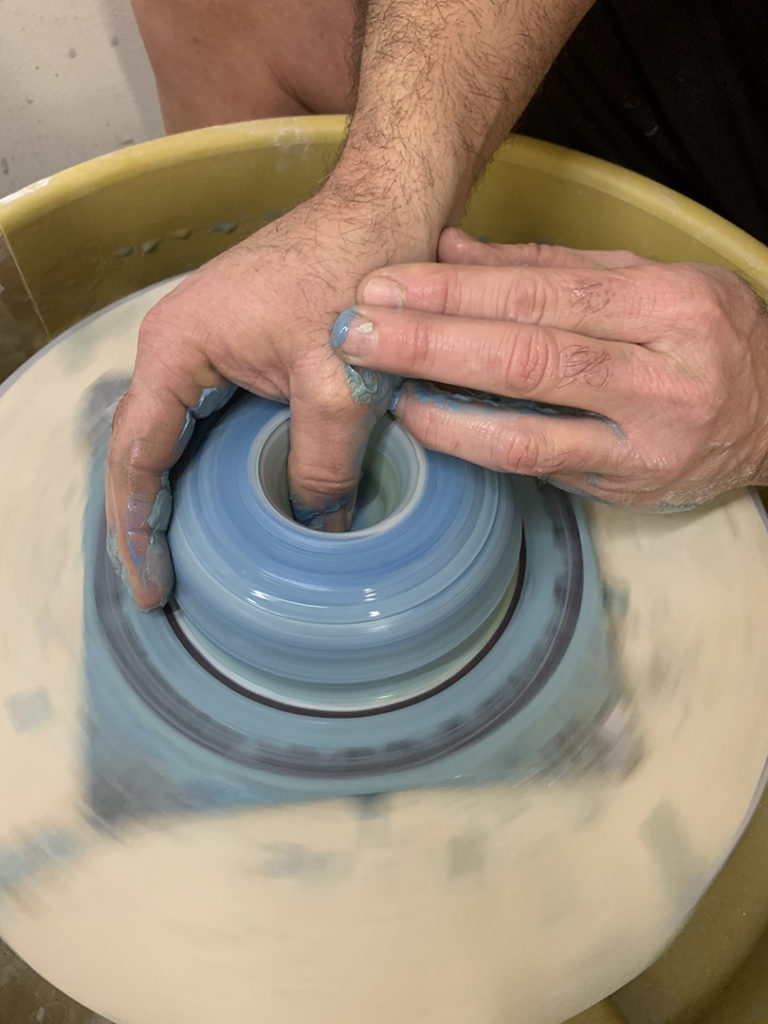
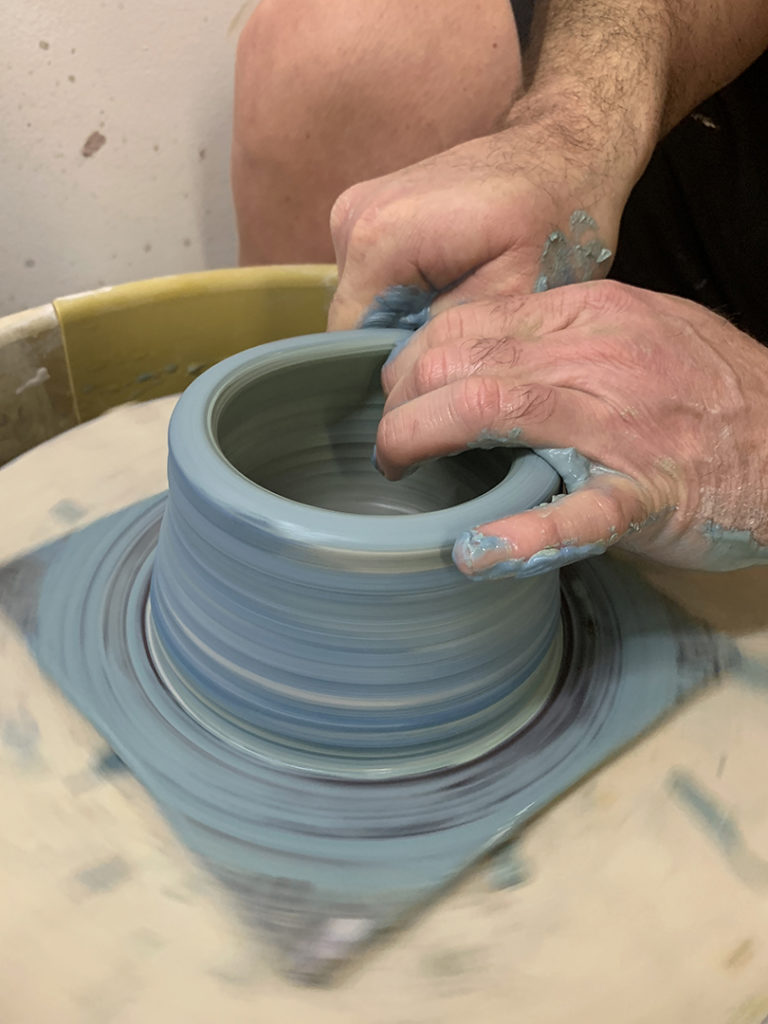
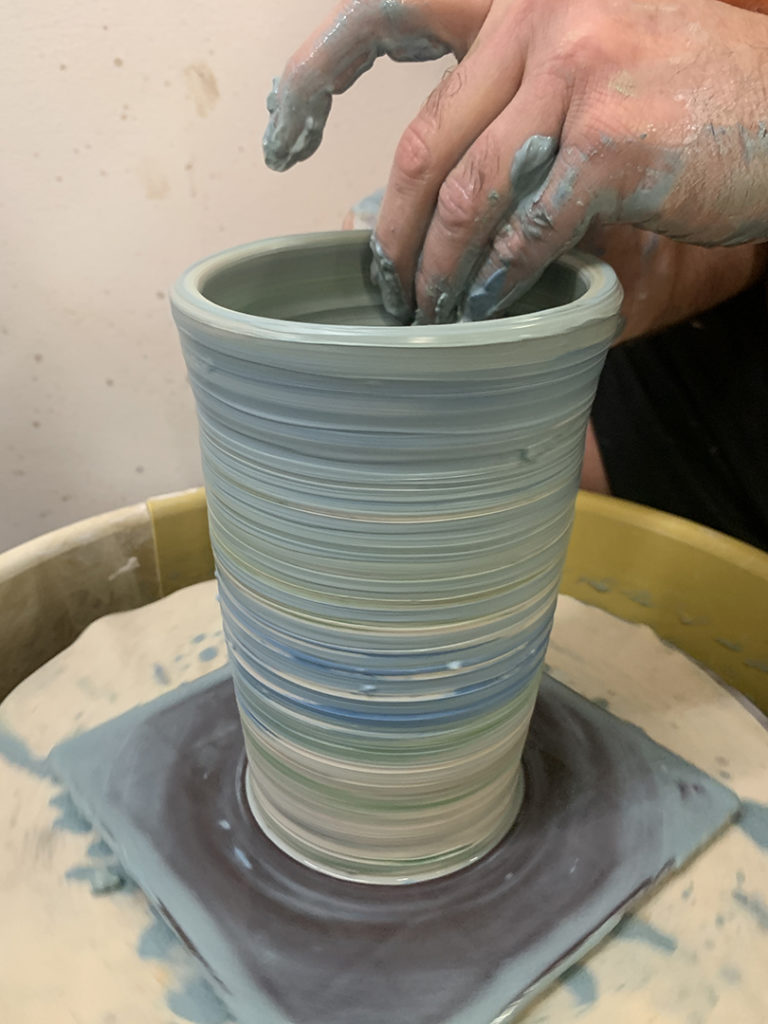
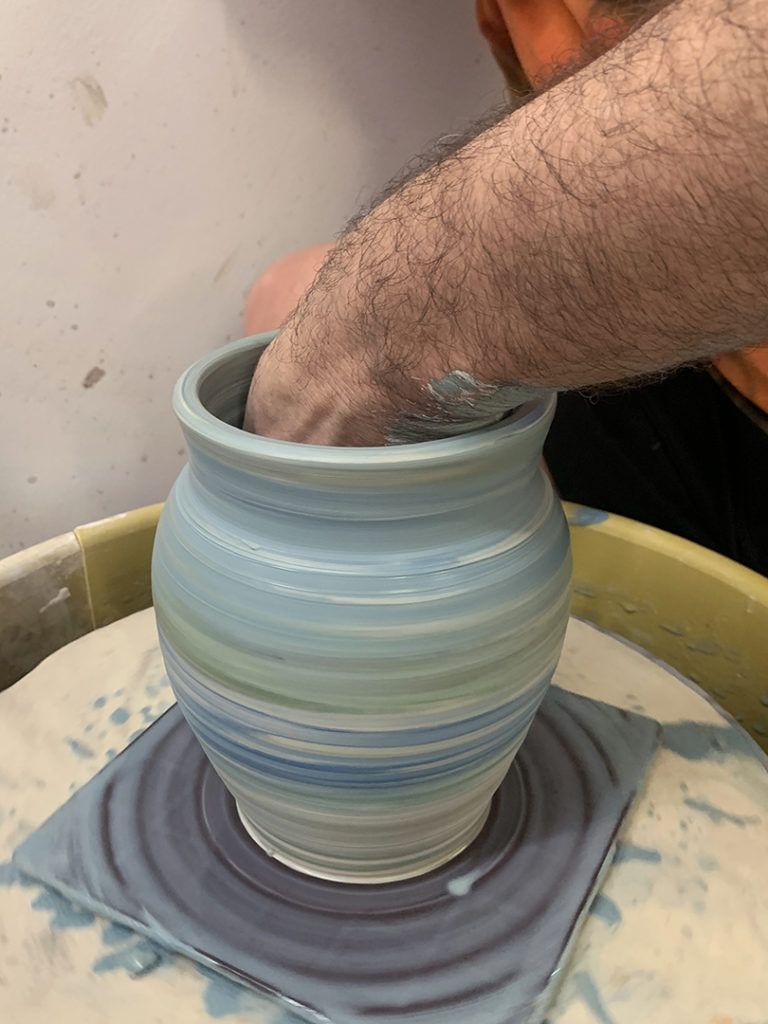
This week in my Beginning Wheel class we played with colored clay for “marbled” pots! I started by coloring some clay ahead of time for them with mason stains layered & wedged into B-Clay. We then layered regular B-Clay and/or Brown Stoneware with the colored clays… and then gave it two simple wedges to start the marbling. So much fun to see the colors presenting themselves as you’re throwing. When we were done, the pieces still have a “smudgy” layer of mixed clays like a dirty skin on the pot. When they get to leatherhard, we will carefully trim the entire surface off to reveal the clean lines of layered & marbled clays.

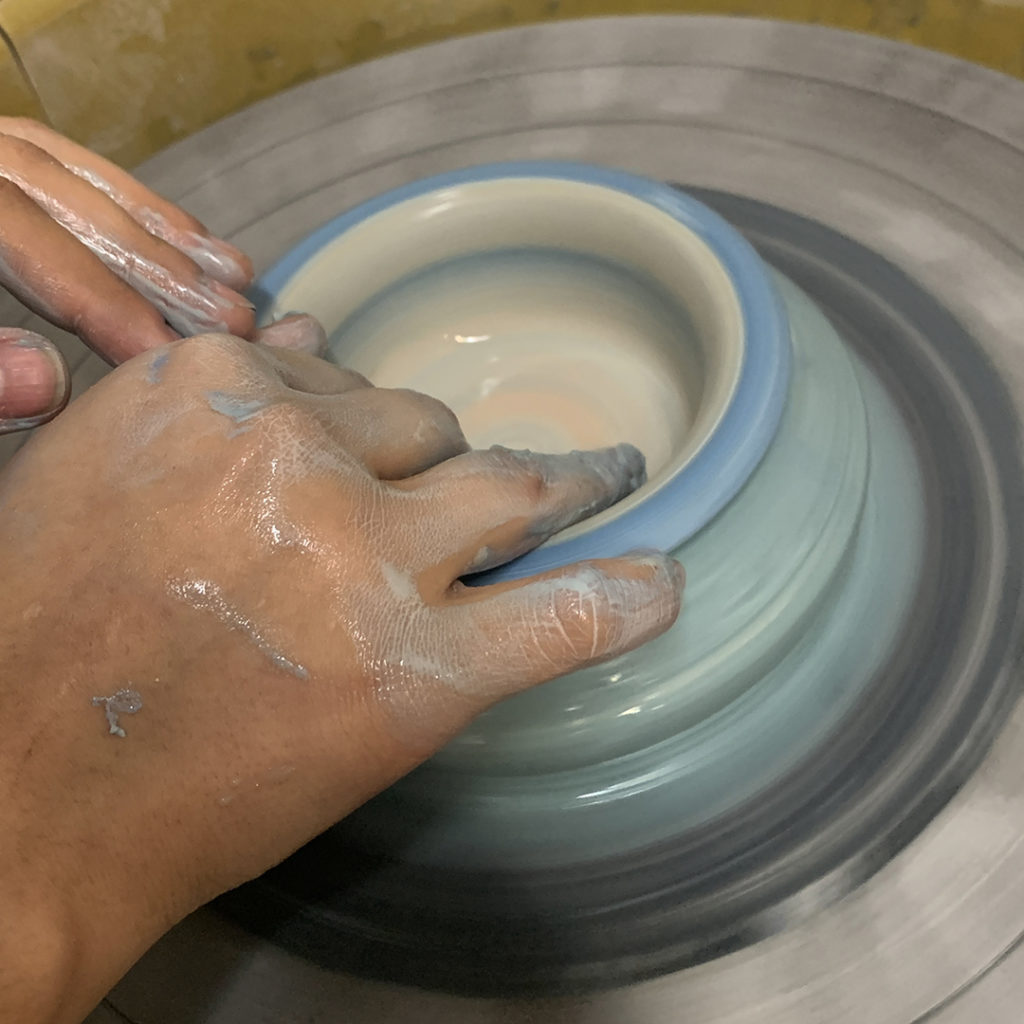
And yes, if we were doing more than one or two pots, I would have definitely used rubber gloves. But since this was a “quickie” demo and not a long-term pottery career of marbled clay… I figured it was tough enough for my students to throw their own forms, let alone to do it with gloves on!