Gary Jackson: Fire When Ready Pottery
A Chicago potter’s somewhat slanted view of clay & play
Categories: classes, glaze

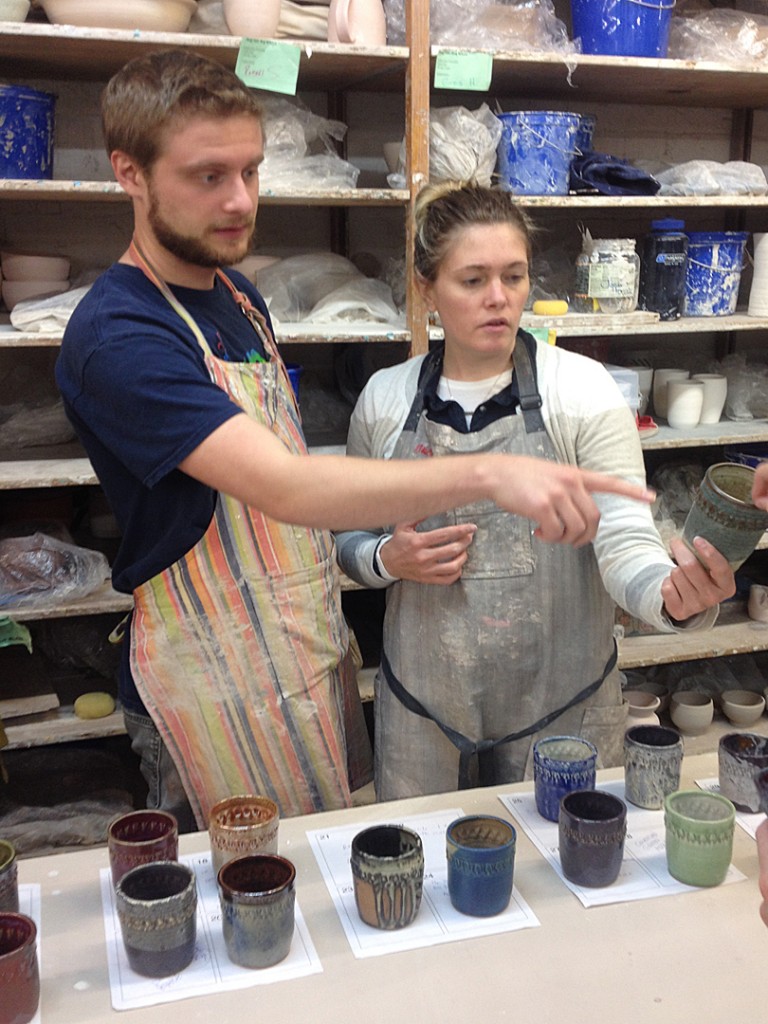
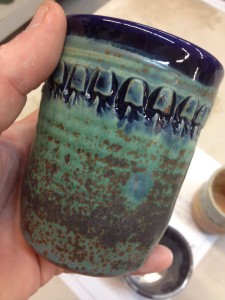
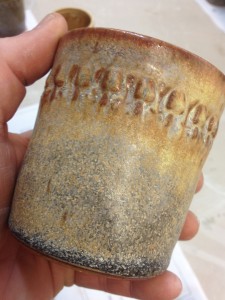
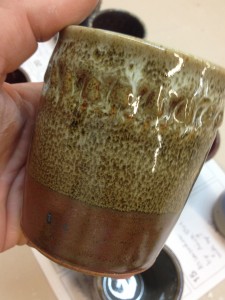
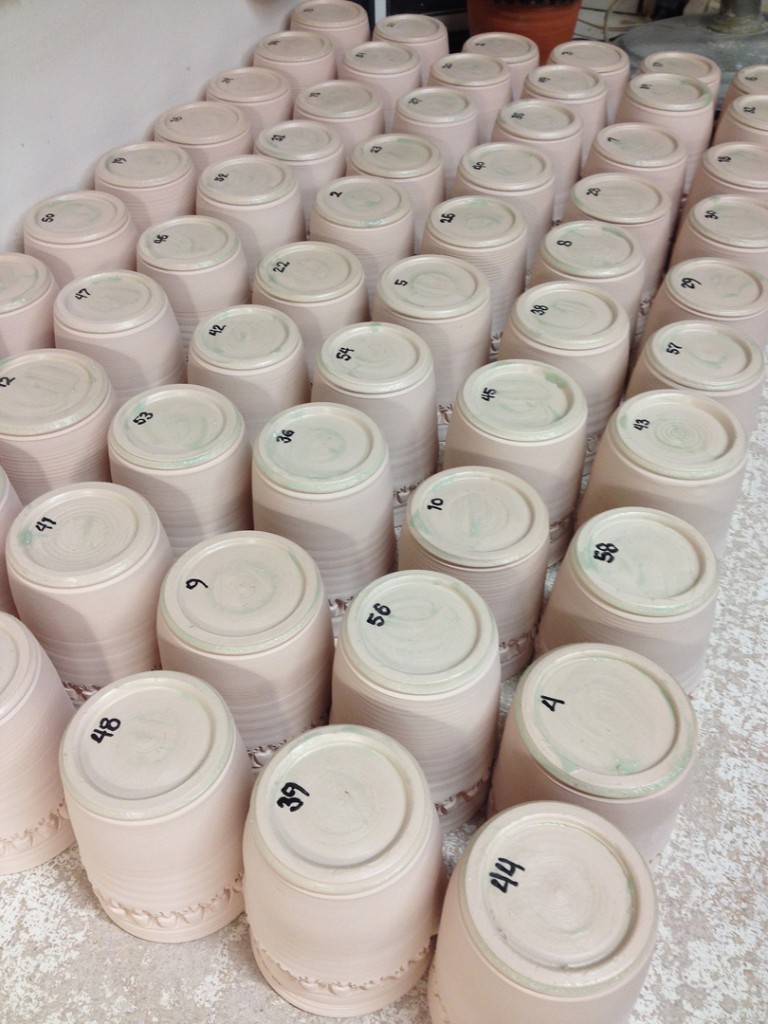
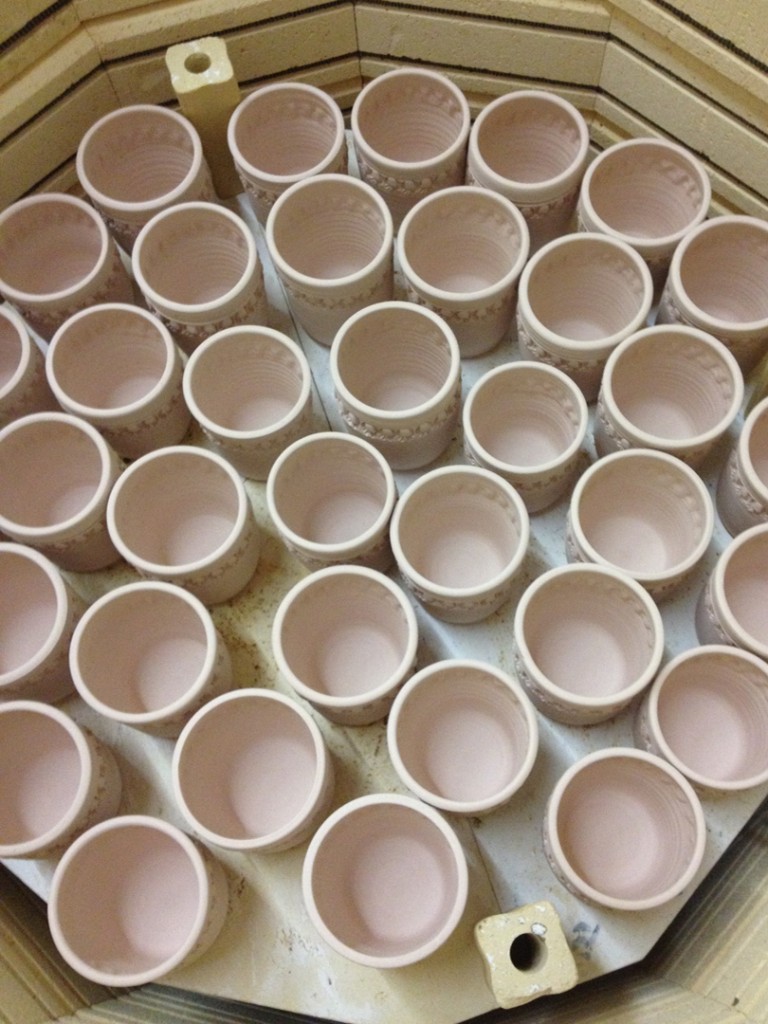
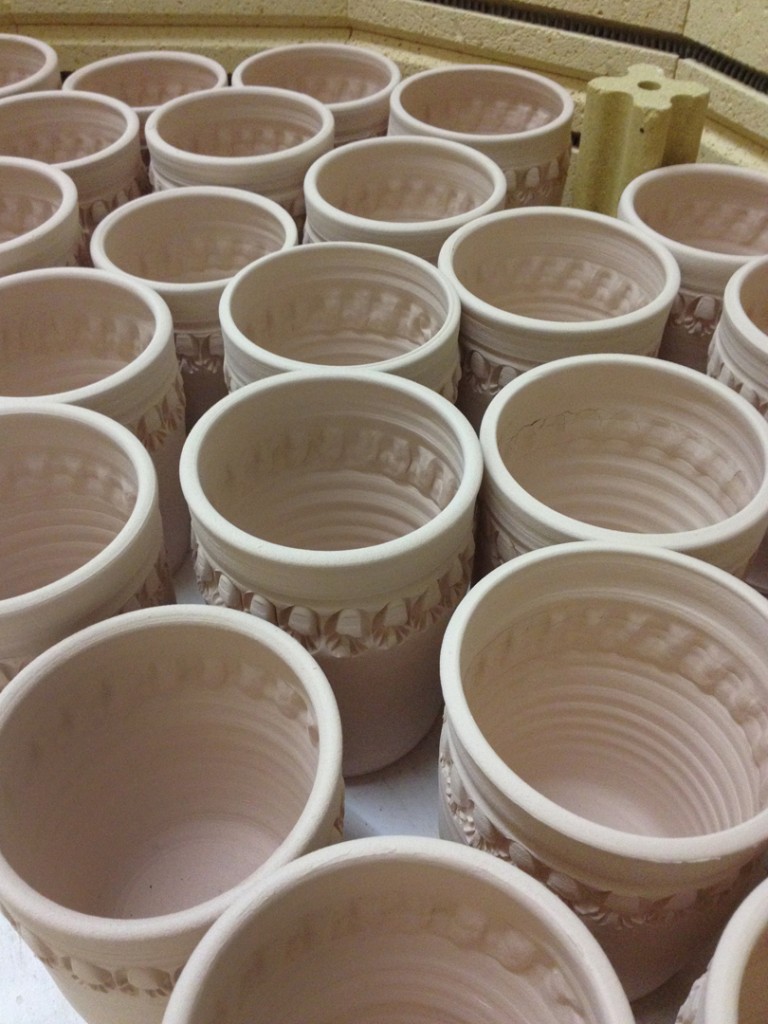
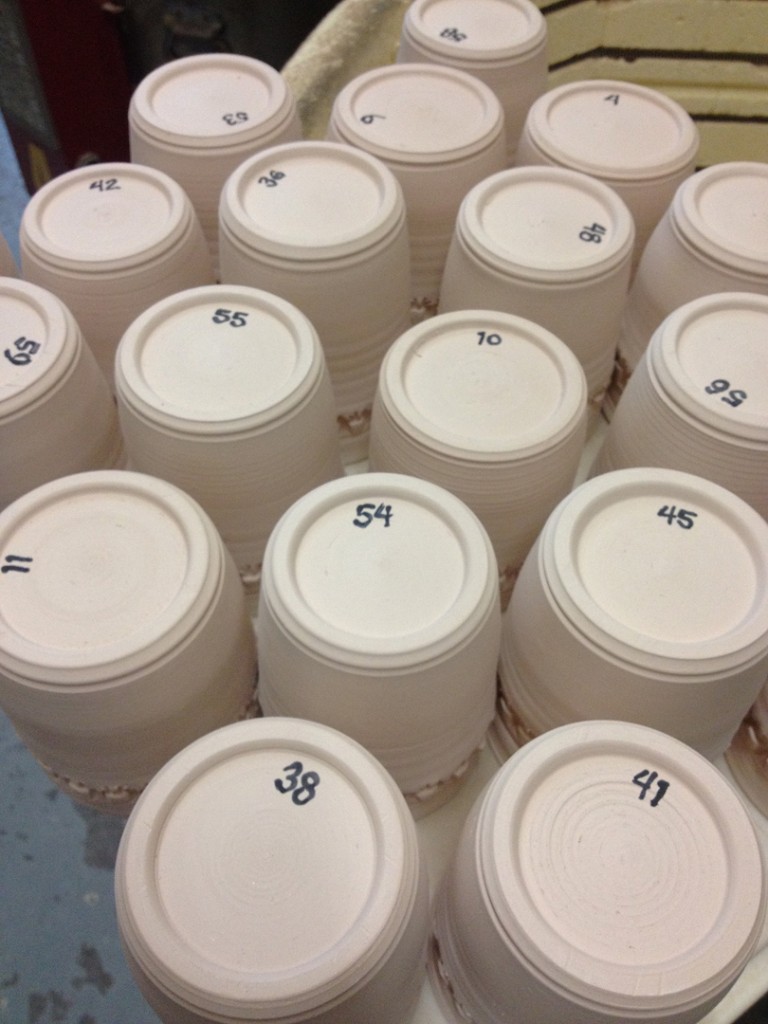
This week in my pottery class we had a LOT of glazed cups to look at… as the week before we had glazed sixty cylinders as part of our second glazing demo. So much fun to have so many different combos & results… some good, some not.

But either way, a LOT of great information for my students to share.

Here’s a quick glimpse… more to come…
and thanks to Tracey & Steve for getting them fired so fast for us!!!

Save

Save

Save

Categories: classes, glaze

It’s going to be a BIG glazing “demo” tonight in my beginner’s wheelthrowing class…
let’s hope they’re all up for some interactive glazing fun!!!

Save

Categories: kiln firing, stamped

Unloaded my latest bisque kiln early this morning.
Looks like another fun “project” well under way! Details to come…

Categories: bowls, classes, production, wheelthrowing

My class Tuesday night was great fun… and always my favorite demo of the session. My new beginners have nbeen working on their centering & throwing skills on cylinders. And of course they’ve “found” a few bowls along the way. Well this week we focused on throwing a good bowl on purpose instead of a cylinder gone bad.

So the way the demo goes is I first sit down to tshow them out to make the basic bowl with a nice rounded interior. No beginner bulges here! After the demo & questions, I set them free to go make their own bowls…. while I continue to throw a full bag of clay into bowls! Once all sixteen bowls were thrown, we re-grouped at my wheel to do some quick tricks & techniques for altering the bowls. I’m a big fan of putting your own twist or design on a bowl… instead of just leaving it round. Anyone can do that. So here are the sixteen tricks I showed the,….

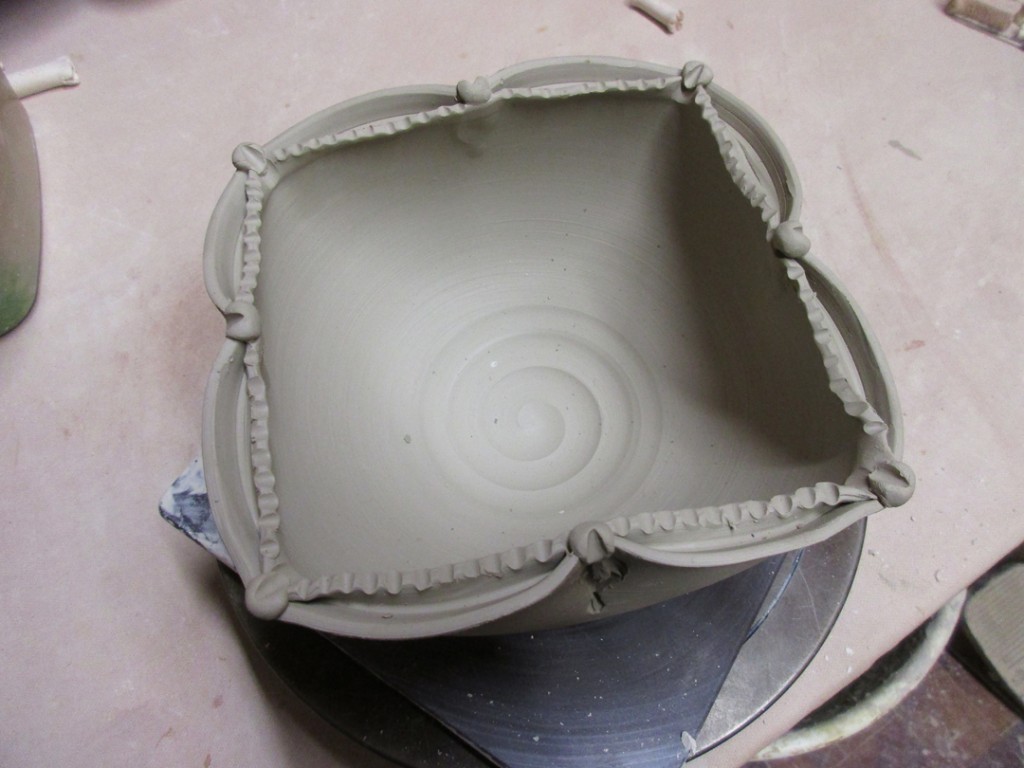
Bowl 1 – a simple bowl with four fluted points and a nice spiral in the bottom.

Bowl 2 – And if four fluted spots are good, maybe eight would be better?

Bowl 3 – Then we flared out the rim to create a nice flanged rim. A perfect sot to do some decorating later. Carving, stamping, slip, glazing, whatever… you now have a nice “canvas” there on the rim.

Bowl 4 – And if “some” flange is good… “more” flange might be better???

Bowl 5 – And then we combined the fluted rim with the flared flange rim.
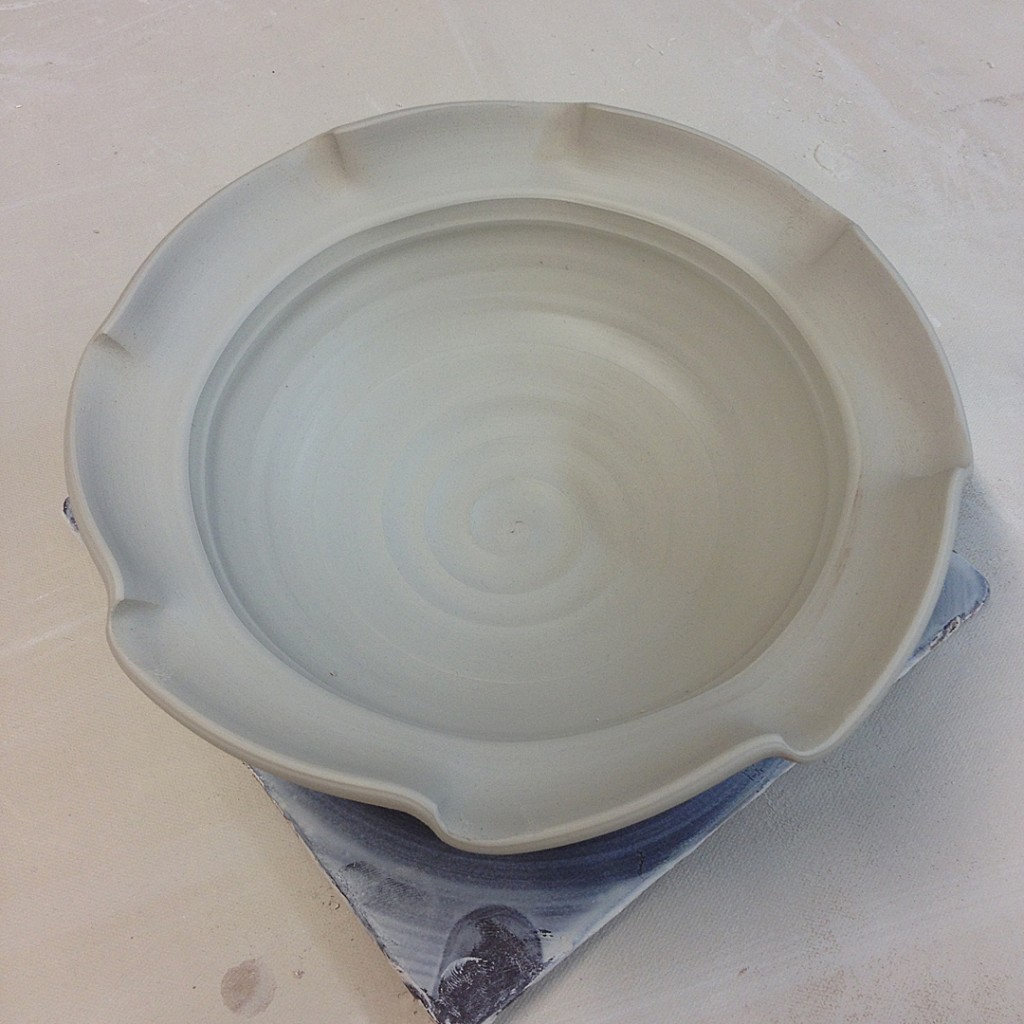
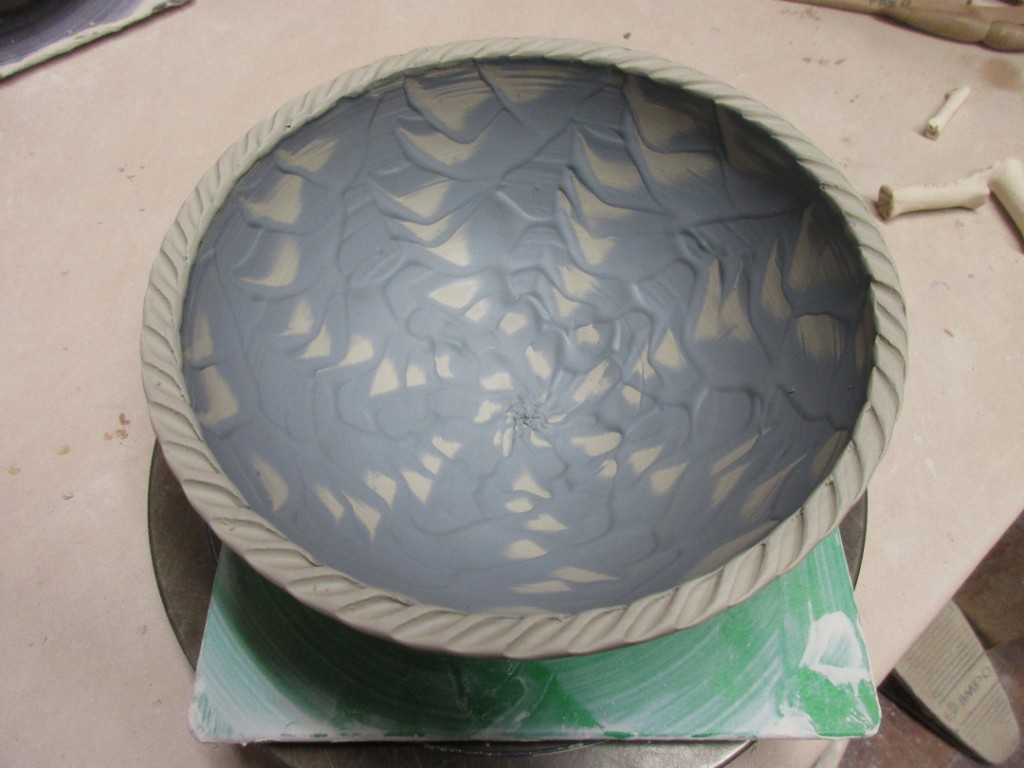
Bowl 6 – A simple texture pressed into the bottom with a metal dragonscaling tool.

Bowl 7 – And who says bowls need to stay round?… not me…
as we dented in four points to make a clover-ish shape.

Bowl 8 – Next we decided to split the rim with the point of a wooden knife. I then pinched it into four even spaces… and then two more on opposite sides. They all loved that… but the gasps were audible when I stretched it out of shape to an oval. I don’t think they like this one too much…. but I’m sure they’ll come around when they see it with a strap handle to turn it more into a basket later.

Bowl 9 – Again with the split rim, this time four flares out and four flares in…
denting it with the curved side of my wooden knife.

Bowl 10 – Next I introduced them to colored slip. And showed them how easily they can create a two-tone pot faster & cleaner with slip than they would be able to with two buckets of glaze. This is a simple black slip… which I believe I’ll be carving into for a little sgrafitto demo next week.

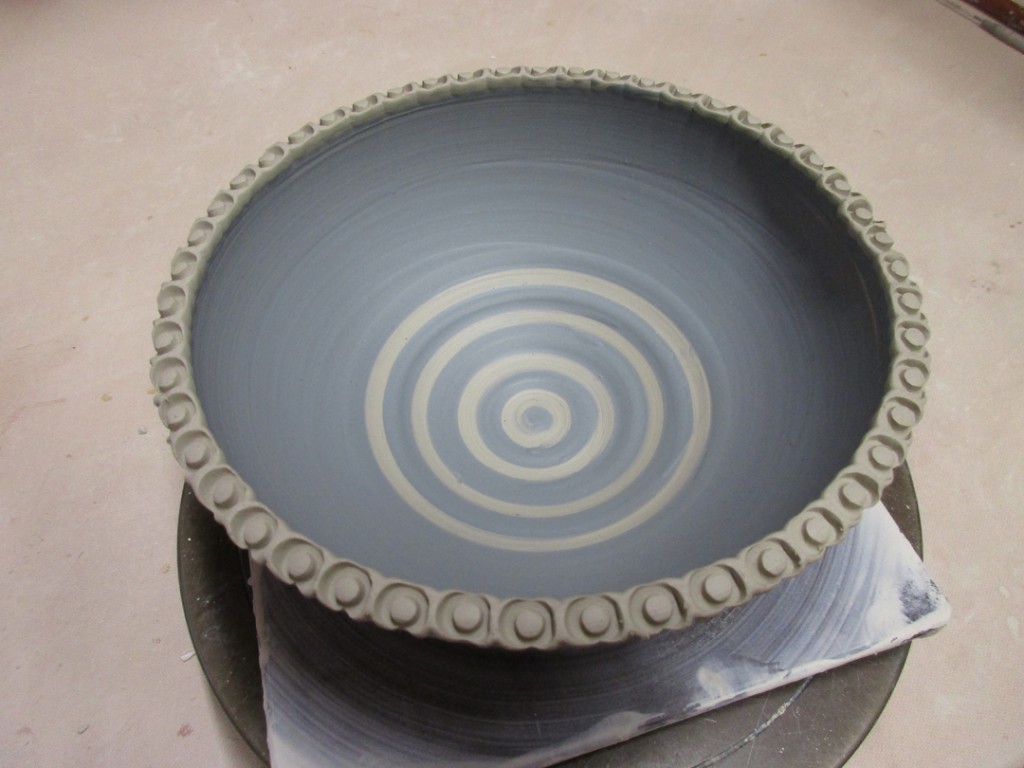
Bowl 11 – For this one I coated the interior with a thick white slip, and then dragged the rounded end of my wooden knife through to reveal the clay color while the bowl was turning on the wheel.

Bowl 12 – The same coating of thick white slip inside the bowl… but this time some squiggly finger-painting & dragging through the bowl while it was spinning.

Bowl 13 – Again with the thick white slip interior, this time chattered with a rhythmic tapping of my green rubber rib… up & down through the slip, and out towards the rim as the bowl is sinning. This design is slightly different every time based on the speed of your tapping and the speed of the wheel rotating.

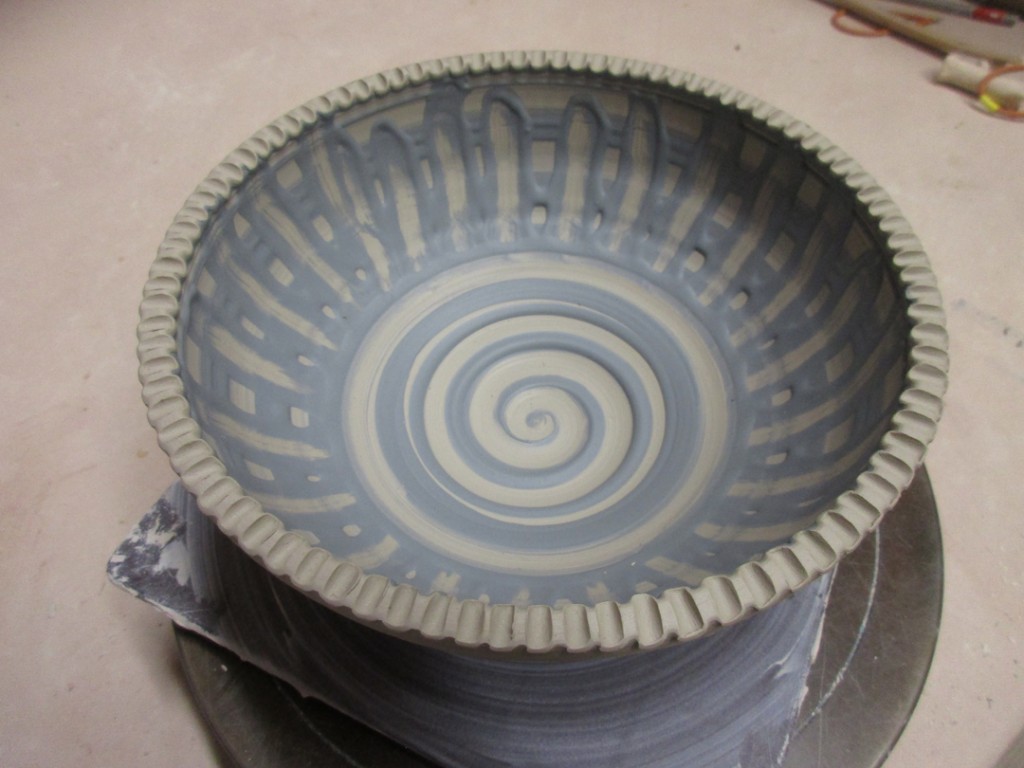
Bowl 14 – A simple spiral of black slip as squirted from a small bottle… and a small fluted edge using the side of a medium Sharpie marker!!!

Bowl 15 – A simple lesson on how easy it is to make bands of color… just hold the paint brush still and spin the wheel. My guess is that these bands of green slip will be carved through at some point.

Bowl 16 – An ombre blend of white to green slip… and I’m loving the tight spiral of thick slip in the bottom of the bowl.

So for now… all sixteen bowls are up in my studio under plastic. I’m “pretty sure” that there will be some stamping, decorating & refining of these before I get around to trimming. Just a hunch.

Save

Categories: mugs

Always fun to see one of your mugs pop up on Instagram…
even if it is just a small blue class-demo mug!
Oh wait, there ARE some things out there without stamps! Ha!!!
Thanks for sharing George.

Categories: bowls, classes

While tonight’s class demo was throwing bowls, altering & decorating them, and I would LOVE to show you more photos of them right now… “someone” still needs to finish his taxes!!! One hour until the deadline… bowl photos & descriptions will have to wait. Sorry… trust me, I’d MUCH rather be talking about bowls!!!

Categories: classes, mugs, stamped

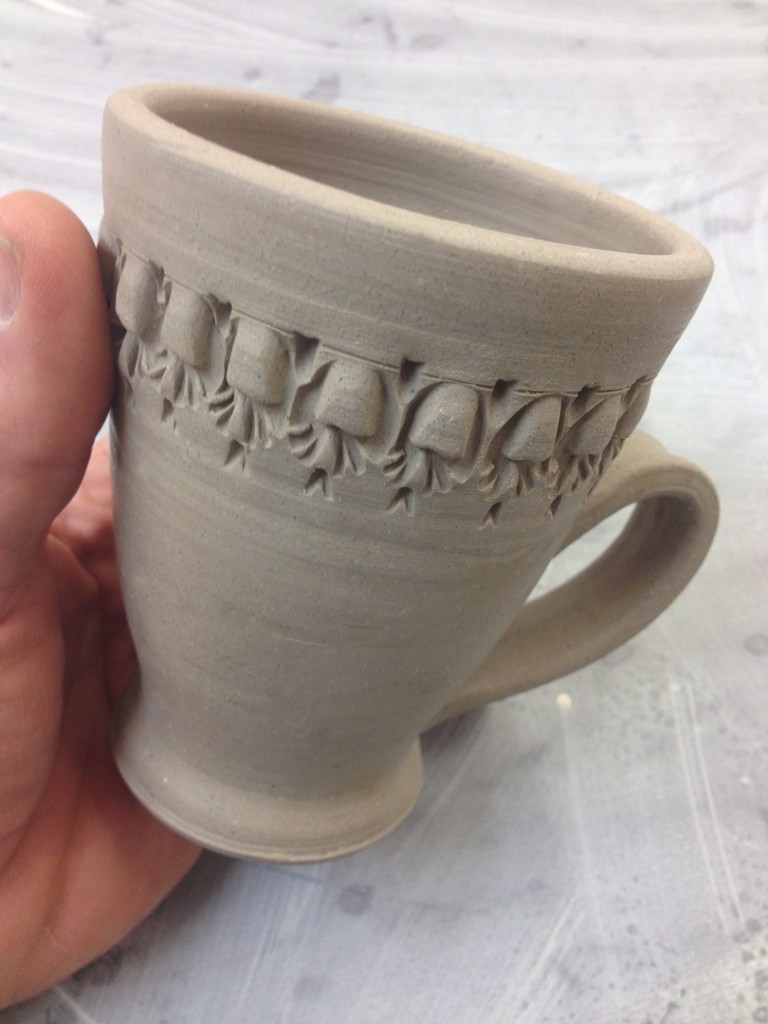
Tonight was the second night for my new Wheelthrowing Class. We tackled cylinder trimming & pulling handles tonight so they could finish their first mugs of the session! This was my demo mug… that “just happened” to get some stamped details along the way between last week and tonight!

Categories: bowls, classes, patterns, textures

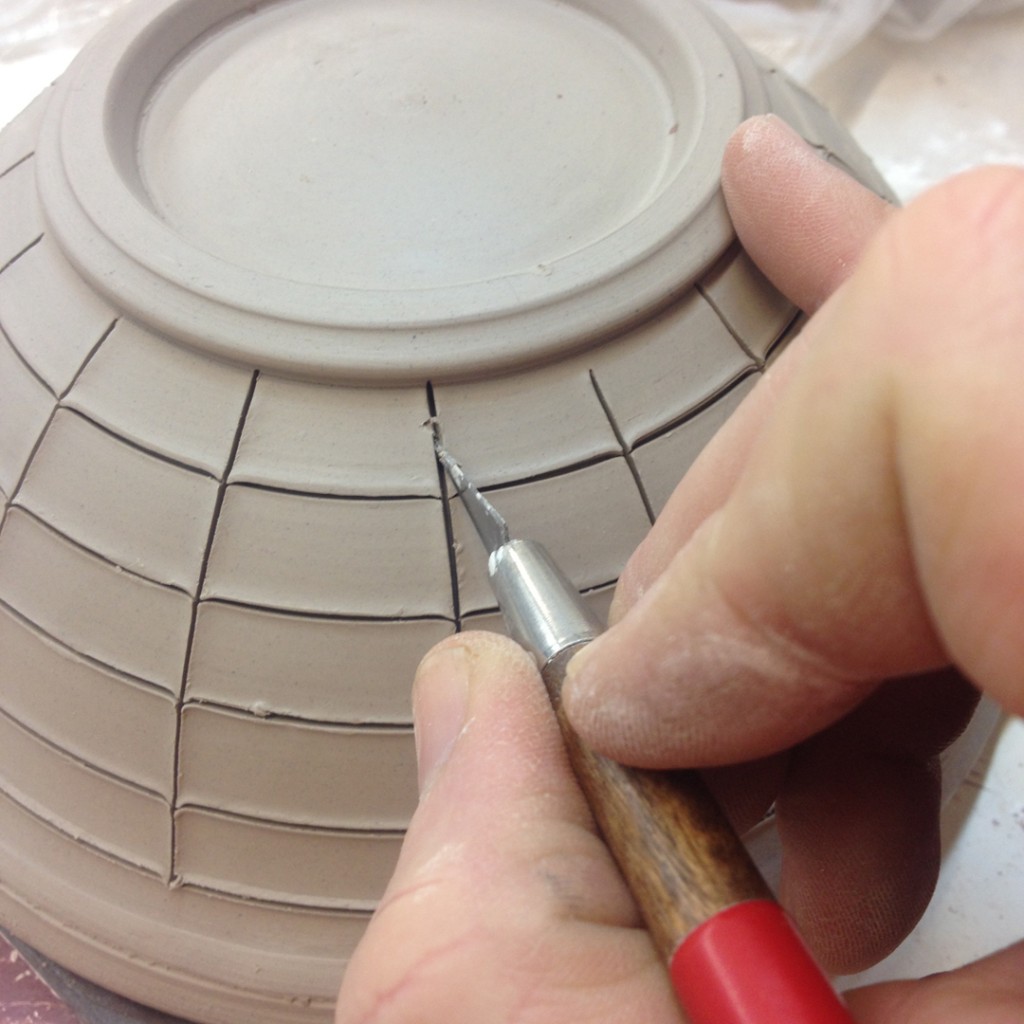
I started this “beveled bowl” carving project as a demo for my class a couple weeks back. It has taken a “little longer” than expected… a little bit here, a little bit there… and I feel like I could keep “cleaning it up” forever. But tonight I finally called it “done.” Of course I had to keep telling myself “It’s just a demo, it’s just a demo…” I started by throwing a bowl with slightly thicker walls than usual. And let it stiffen up a soft leatherhard so I could trim a nice foot. Then I brought the bowl to class to start the demo. I used my Xacto knife to incise horizontal lines while the bowl was on the wheel. Then I moved it over to a banding wheel and incised vertical lines. Hopefully evenly spaced… I eye-balled it, so who knows… but it created sixteen sections. The incising is to establish “sections” that will be carved, as well as cut lines so the bevels “pop out” better later. Do NOT carve all the way through the bowl!!!

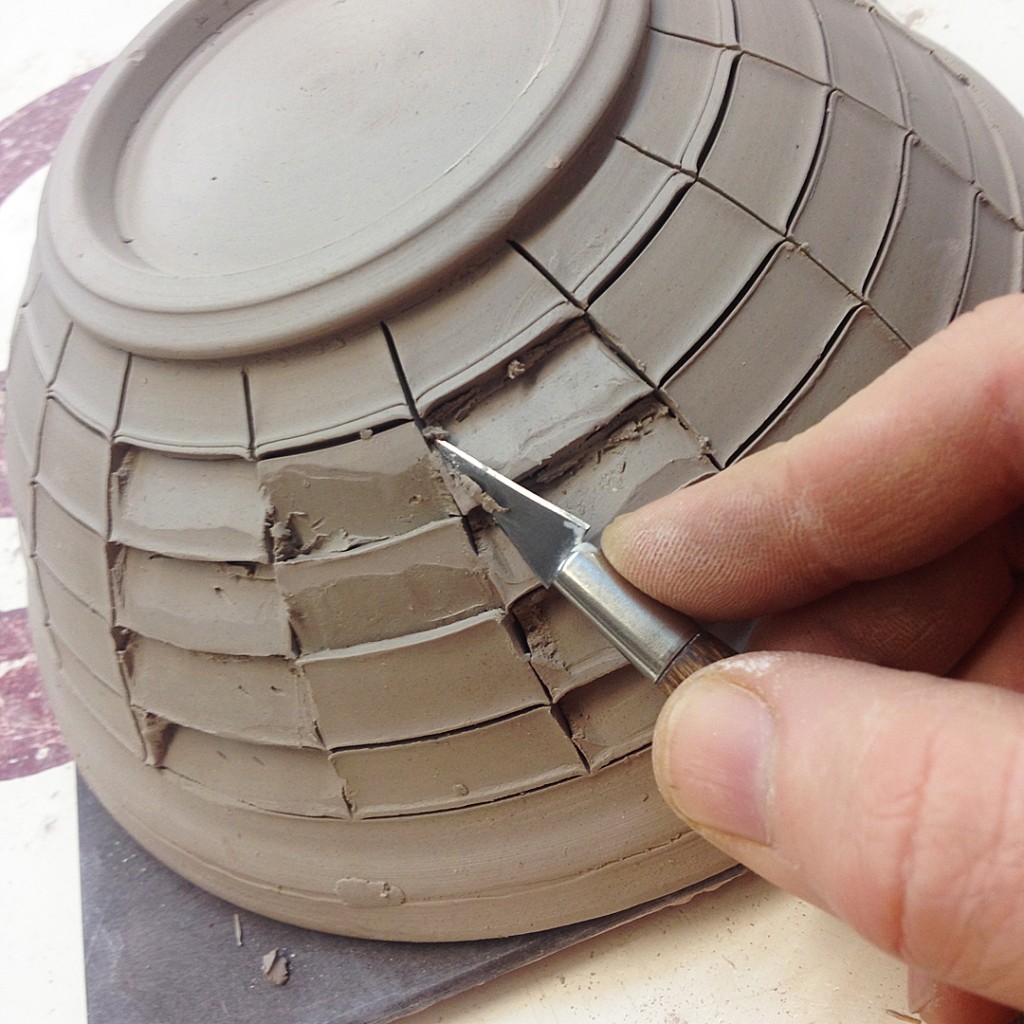
Then it’s time to start carving… I attack one square at a time. Beveling the section from top to bottom in one row, and then bottom to top in the adjacent rows. The effect is alternating bevel directions all the way around the bowl. Yes, this is going to take awhile… sixteen vertical sections and five horizontal bands. That makes 80 squares to carve!!!

One by one. All the way around. Trying to keep it clean and consistent. Of course you’ll need to go over each section a couple times. Some come out cleaner than others… some will be a struggle. I would also recommend not doing this trick with clay that has a loft of grog in it. The smoother the clay the cleaner the carving will be without revealing a lot of rough grog chunks.

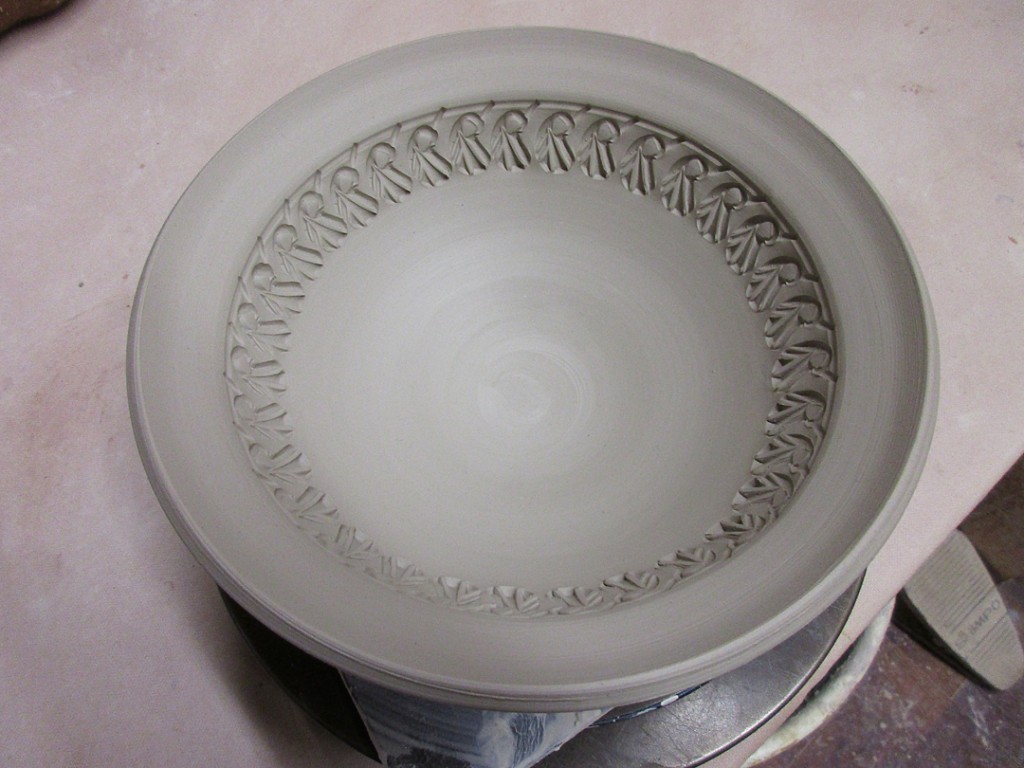
Of course I could keep going.. keep carving… keep cleaning. The smoother the lines the better, but seriously, at some point I just had to call this one done. It’s JUST a class demo after all. A lot of work to show off a fun carving “trick.” Hopefully the glaze will cover up the parts that I “gave up” on!!! And maybe a little Dremel sanding before glazing if worse comes to worse… and my OCD kicks in before it gets glazed. I could work on this one forever…

Save

Save

Save

Save

Categories: classes, process

During last week’s bottle demo, I mentioned how difficult it was sometimes for me to determine how to stamp a bottle like this. Then one of my students actually called me out and “challenged” me NOT to stamp a piece of mine. What?! No stamps? What to do?

So I ended up adding a textured slip detail running down one side of the bottle instead. I used masking tape to block out the rectangle, layered on some thick orange flashing slip, and then carefully pulled off the tape.

Now hoping that the colored slip rectangle turns out great after soda firing.

Save

Categories: bowls, process, stamped, studio

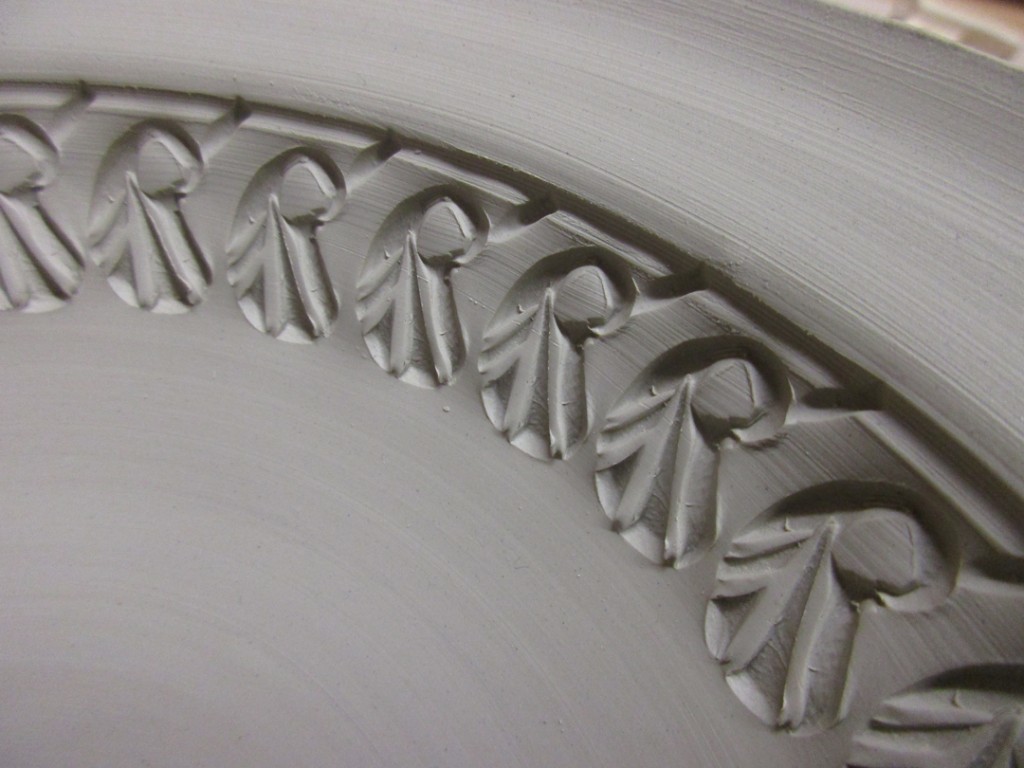
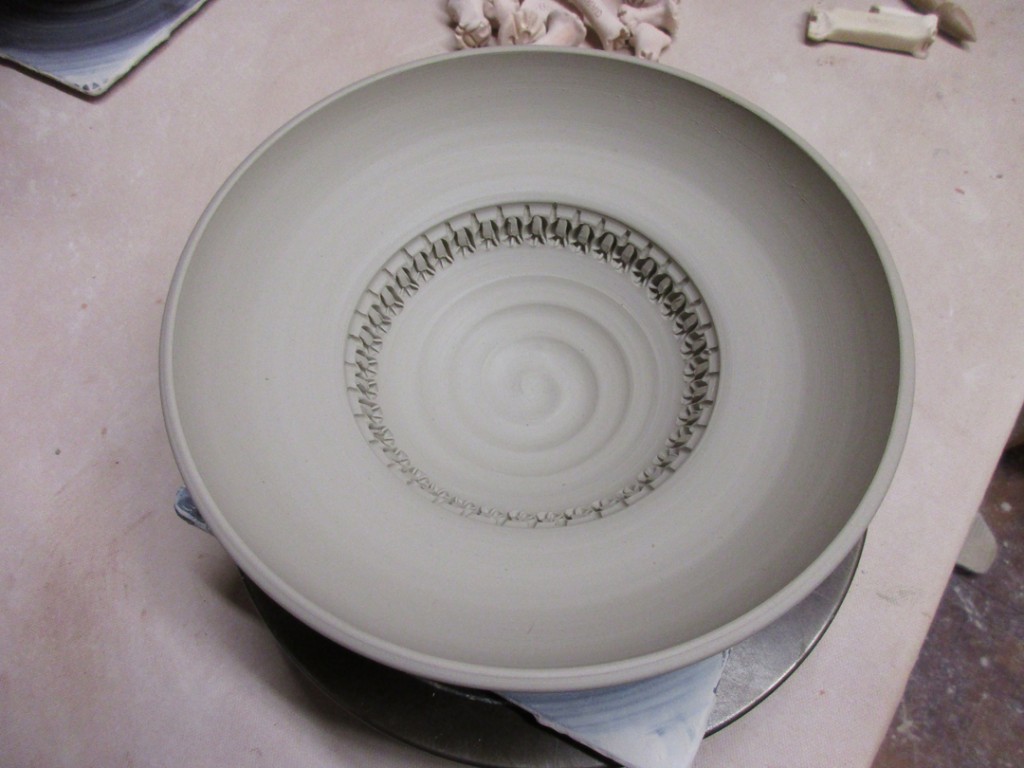
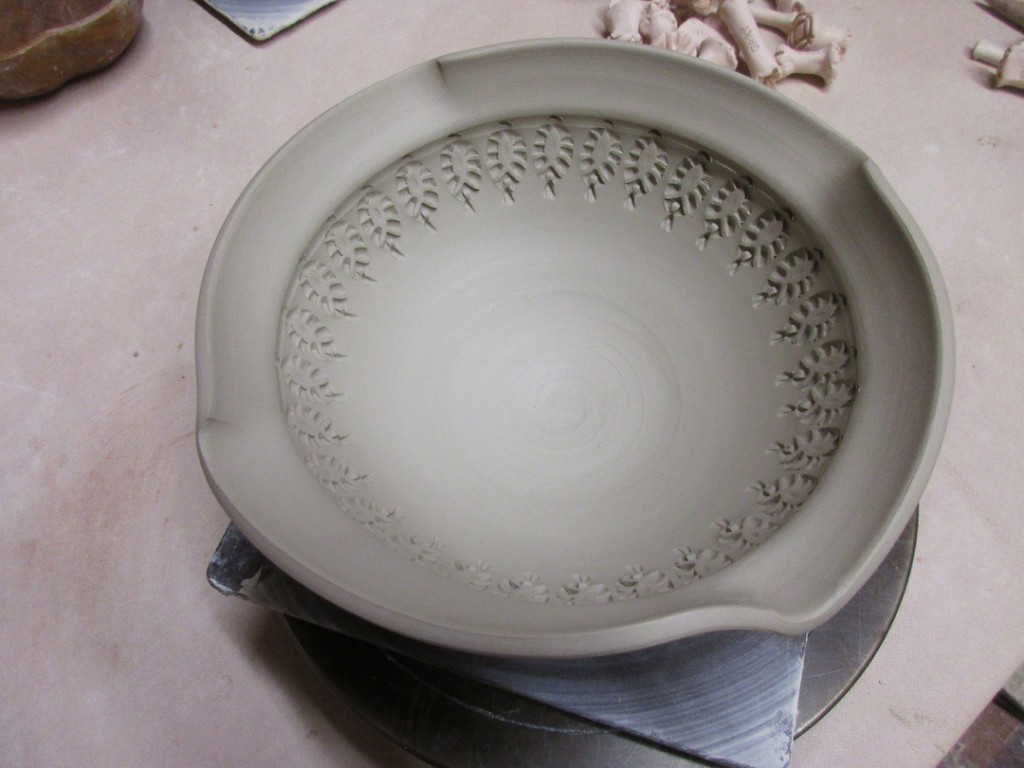
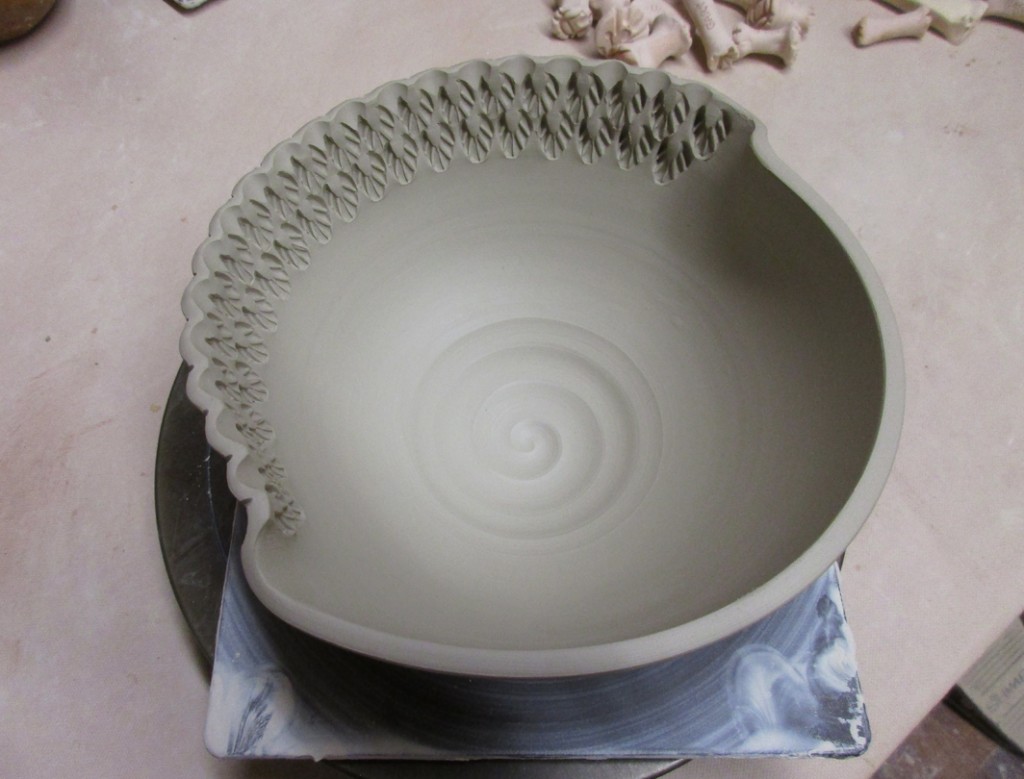
So the class demo bowls have been “under wraps” in my studio for a few days. But I finally got around to do doing some stamping & detailing. Making the “not-so-basic” bowl demo even MORE not so basic!!!

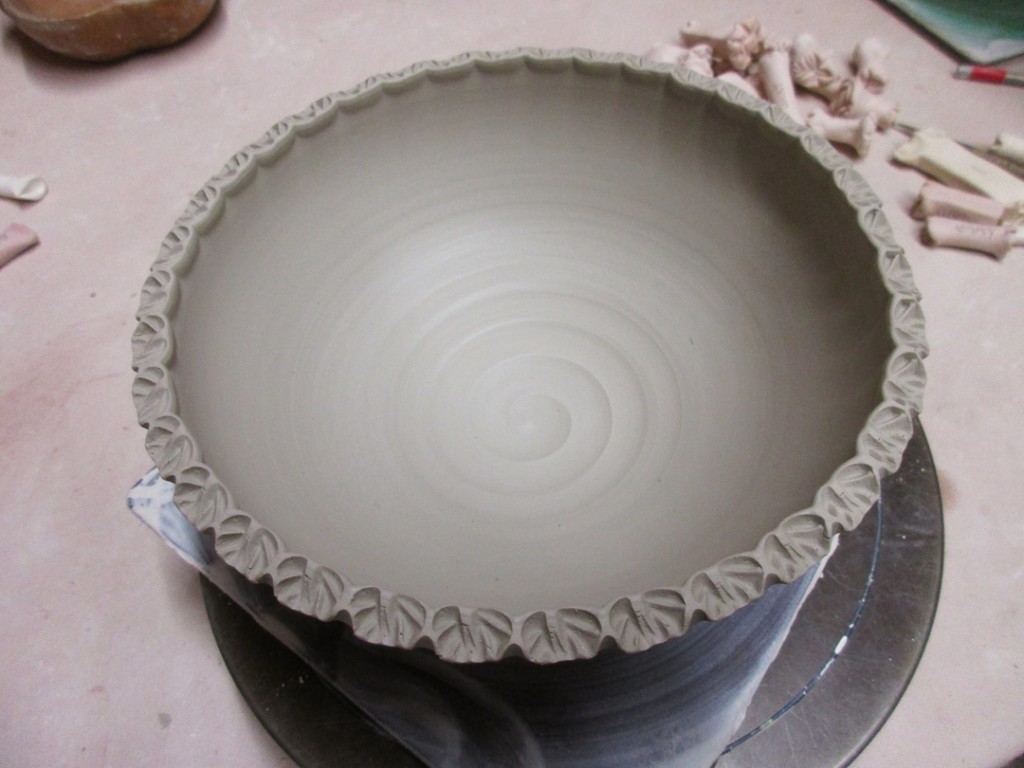
A quick row of stamps around the edge of a thin flared rim.

A thinner row of stamping on the smaller section of the bowl.

Another row of stamps around the interior of this bowl with a fluted flange.

This bowl had two finger-twists… so I decided to stamp HALF, and only half!!!

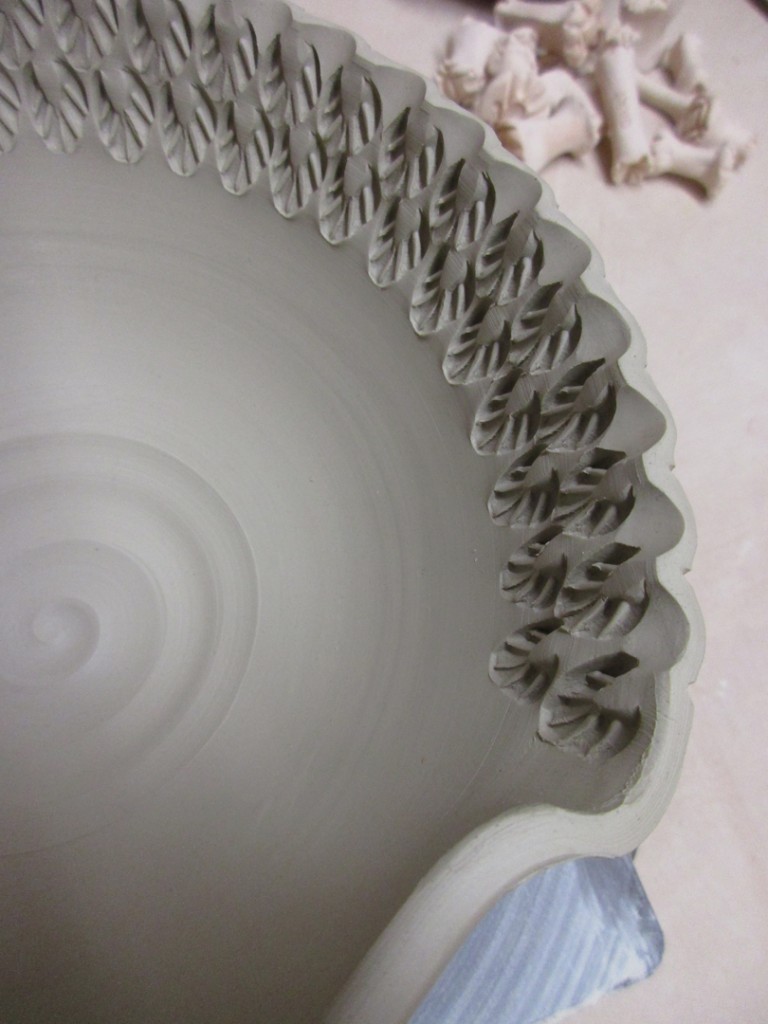
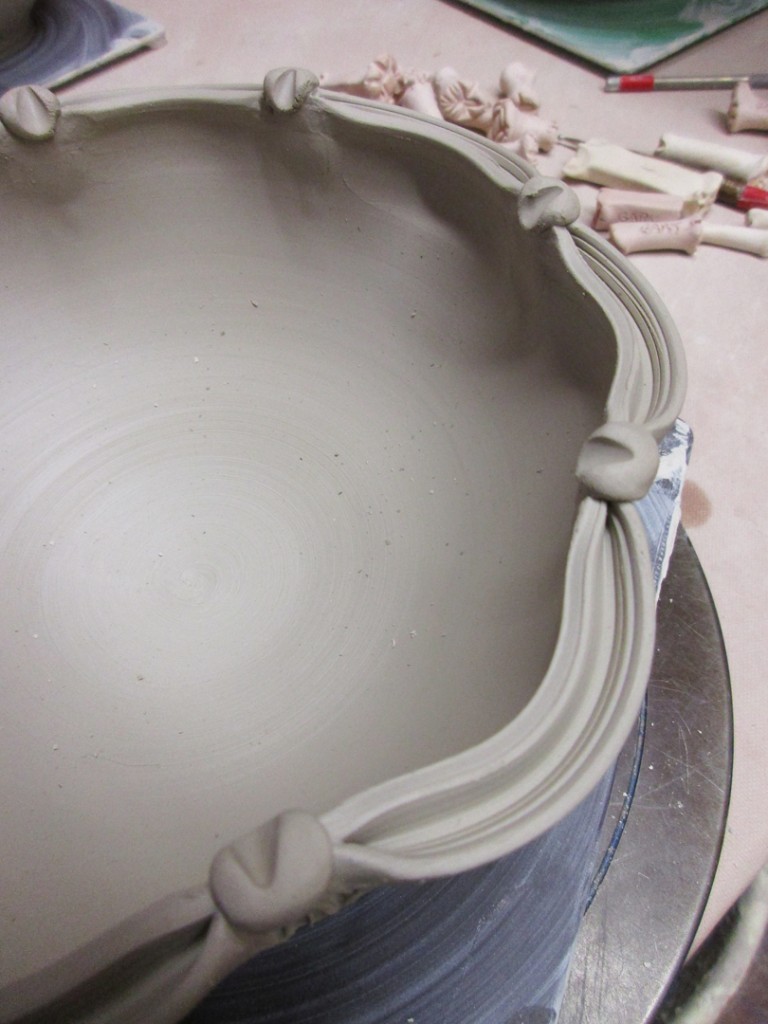
Eight fluted accents… now with angled stamps & little button accents.

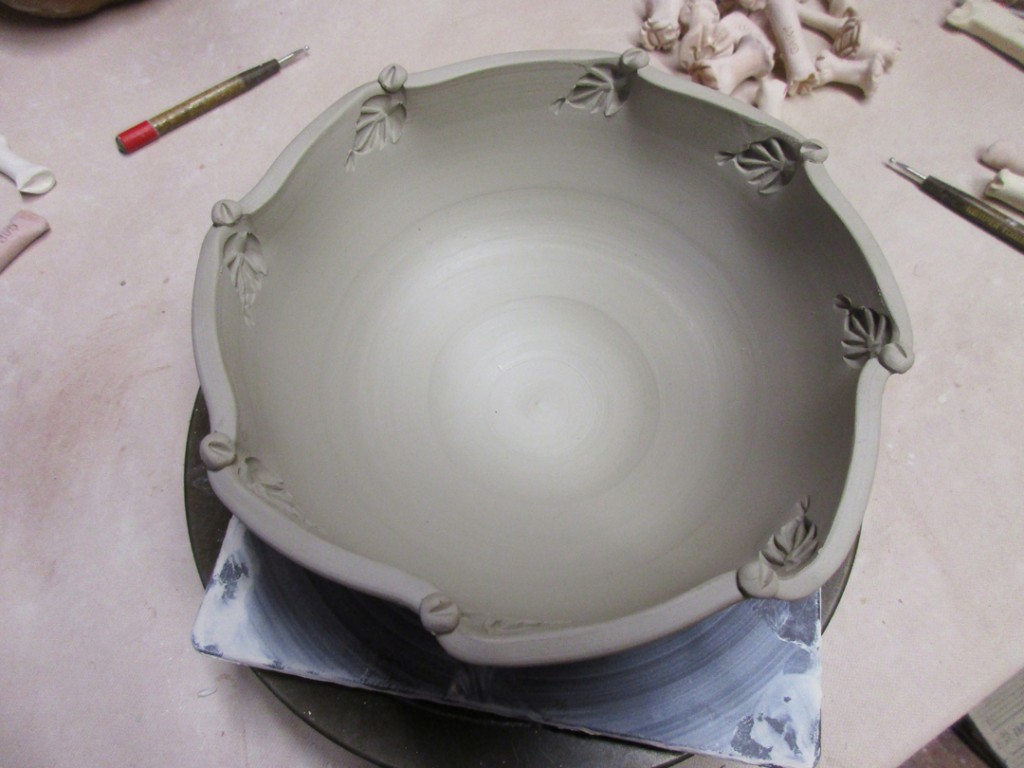
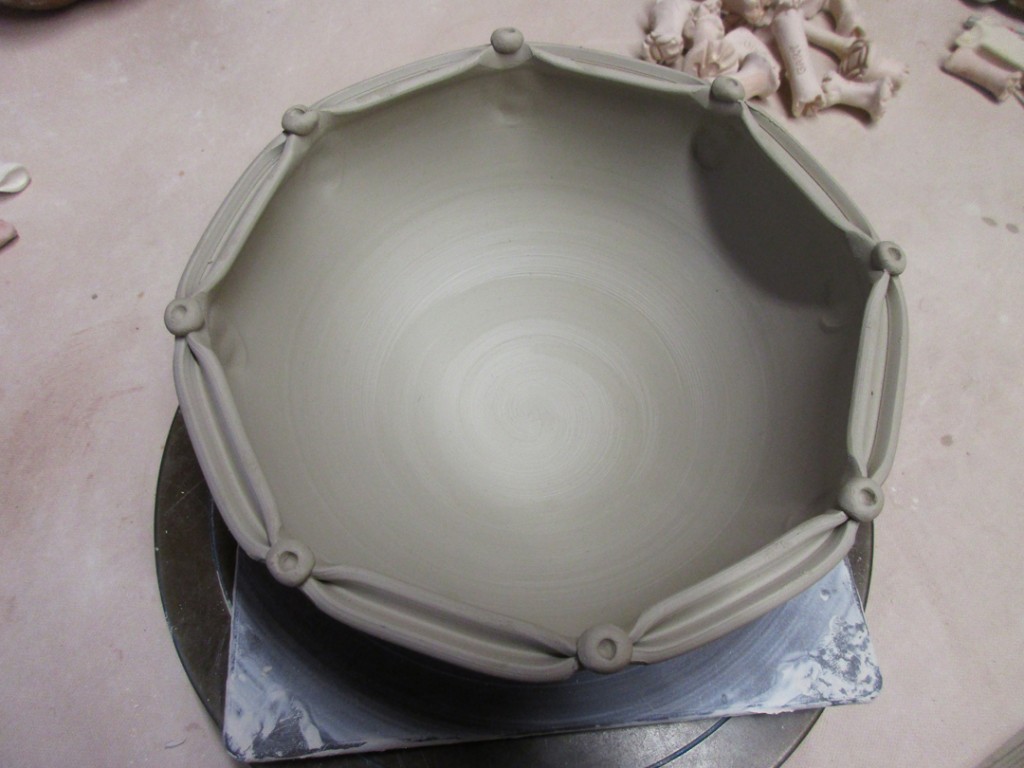
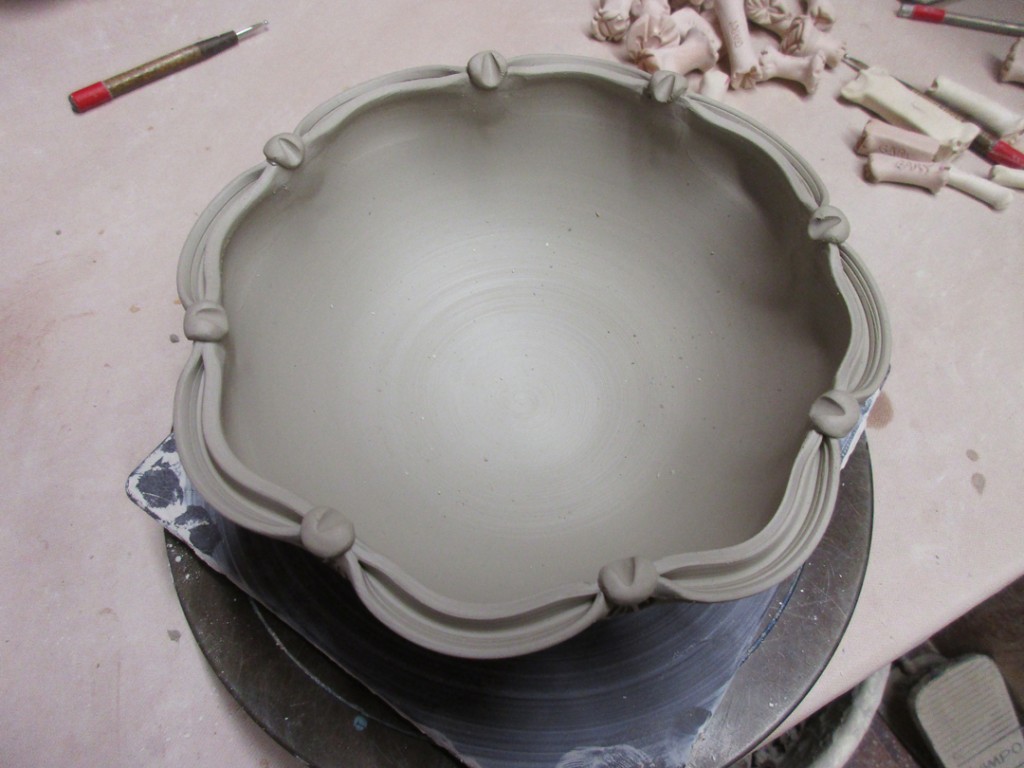
The basic split-rim bowl now has little “buttons” attached where it was pinched back together. You can’t really see it, but there’s also a stamp on the exterior just below each pinch point.

Same deal here… a small stamp on the exterior and “buttons” added at the pinch points.

The bowl with the dragonscale “flower” got a simple “grooved” rim.

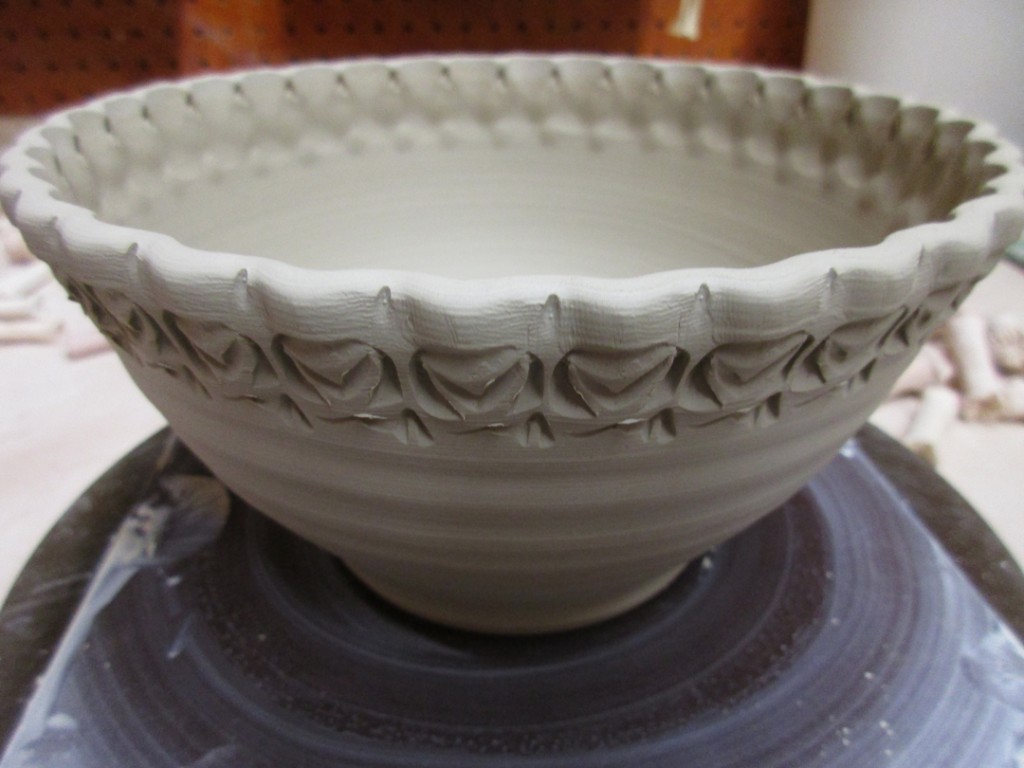
The basic bowl with solid white slip inside got a simple row of stamps along the top exterior.

A simple bowl… a simple rim… no longer so simple with a row of stamps!

Grooved rim should catch & hold some glazes in a pretty cool way.

The split rim square has been detailed… but only on the inside is the rims!

With some concentric circles in the bottom, I though circular dot stamps were perfect!

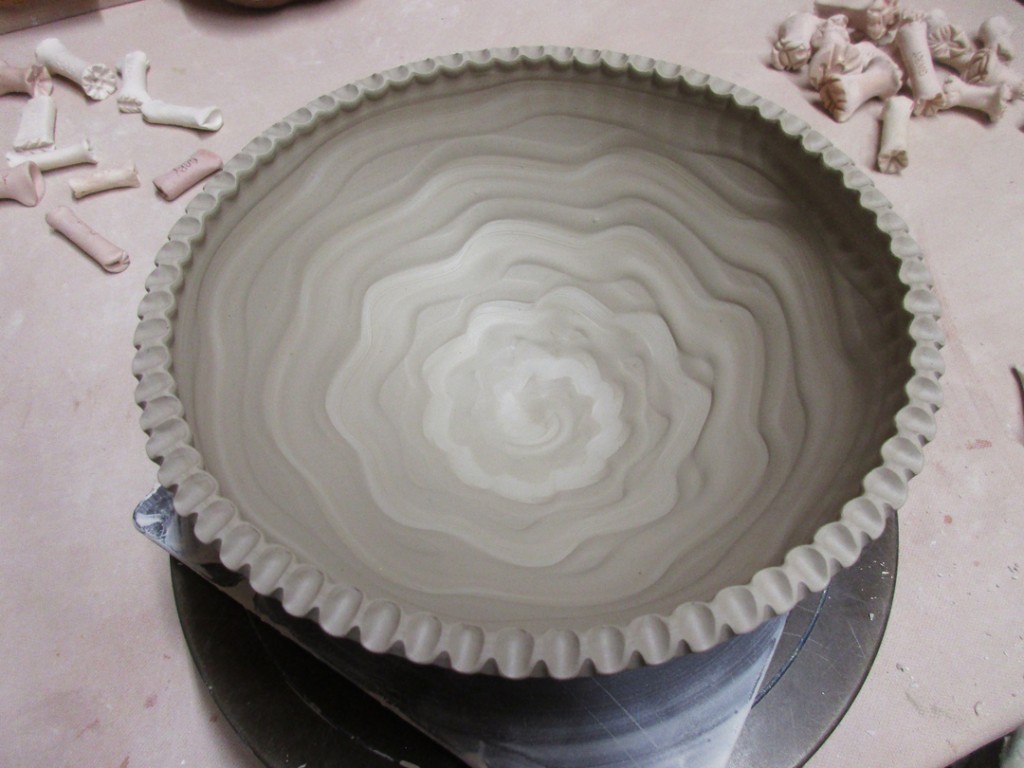
The chattering pattern has a certain “motion” to it… so I tried to accentuate the movement with some angled grooves around the rim.

Vertical stripes dragged through the slip are mimicked with the grooved rim.

So now they’re drying and waiting to be trimmed. One step closer to done.