Looks like there was some yummy Christmas morning brunch happening down in central Illinois yesterday. Yummy monkey bread with fruit & coffee… all in some fun holiday pottery!!! Thanks for sharing your morning moments with us Allyn!

Gary Jackson: Fire When Ready Pottery
A Chicago potter’s somewhat slanted view of clay & play |
Looks like there was some yummy Christmas morning brunch happening down in central Illinois yesterday. Yummy monkey bread with fruit & coffee… all in some fun holiday pottery!!! Thanks for sharing your morning moments with us Allyn!

And just in case somebody didn’t want cheesecake yesterday… I also made a batch of Pumpkin Cake Bars. A childhood flashback from my Mom’s recipe! I mean… no such thing as too many desserts, right?!
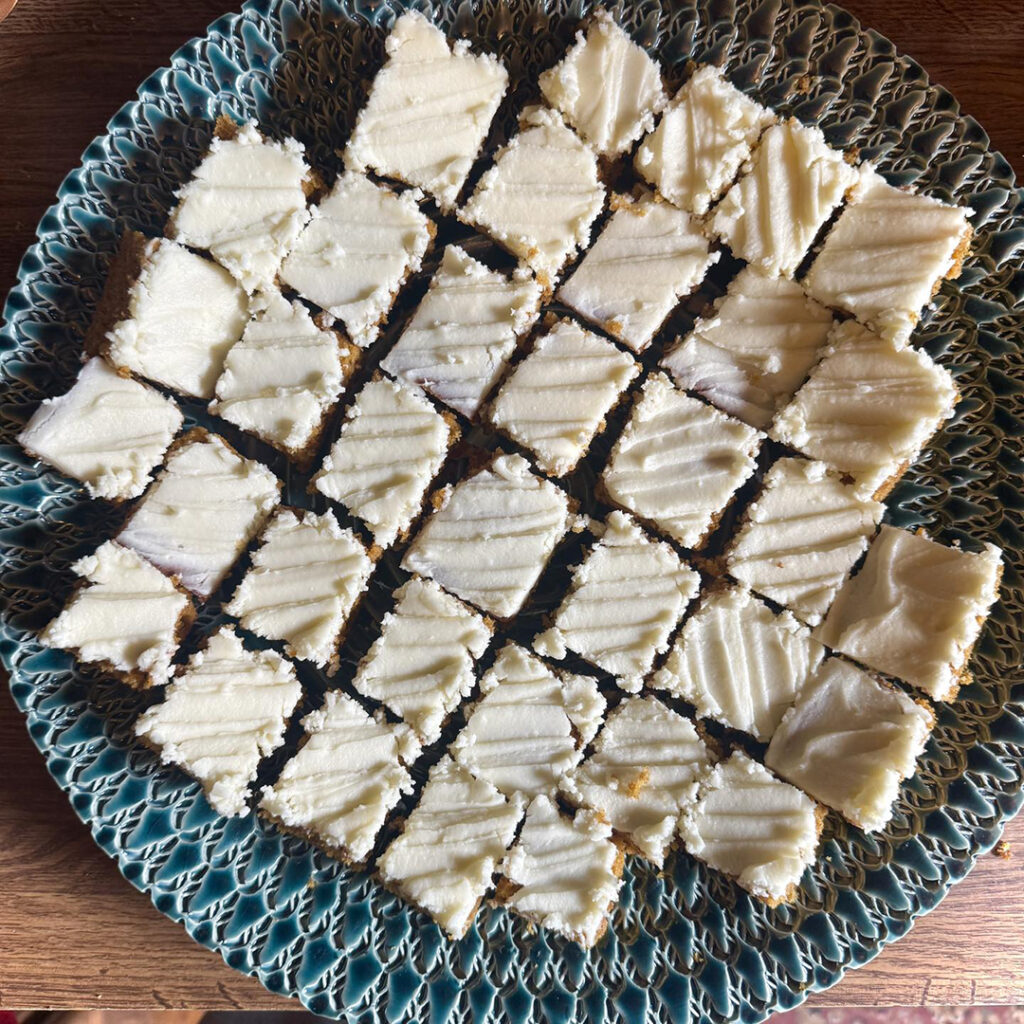

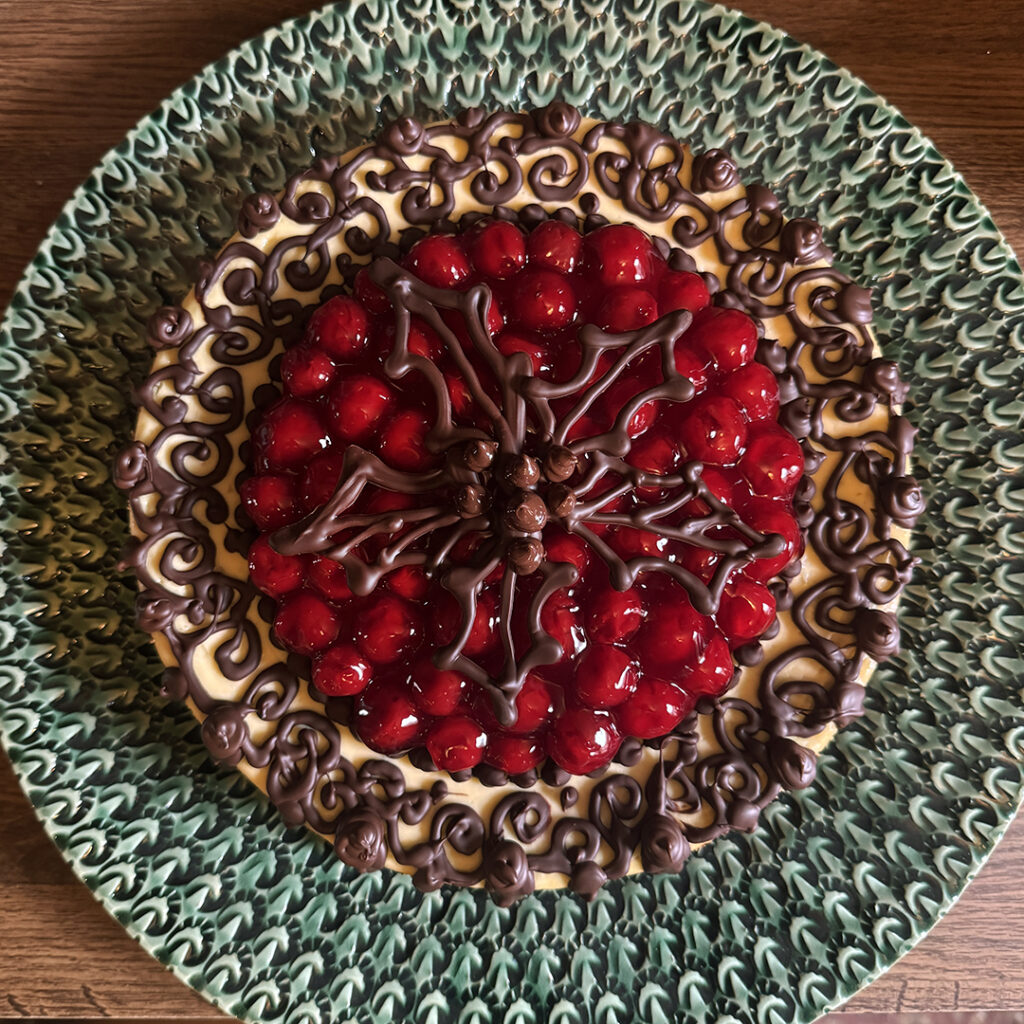
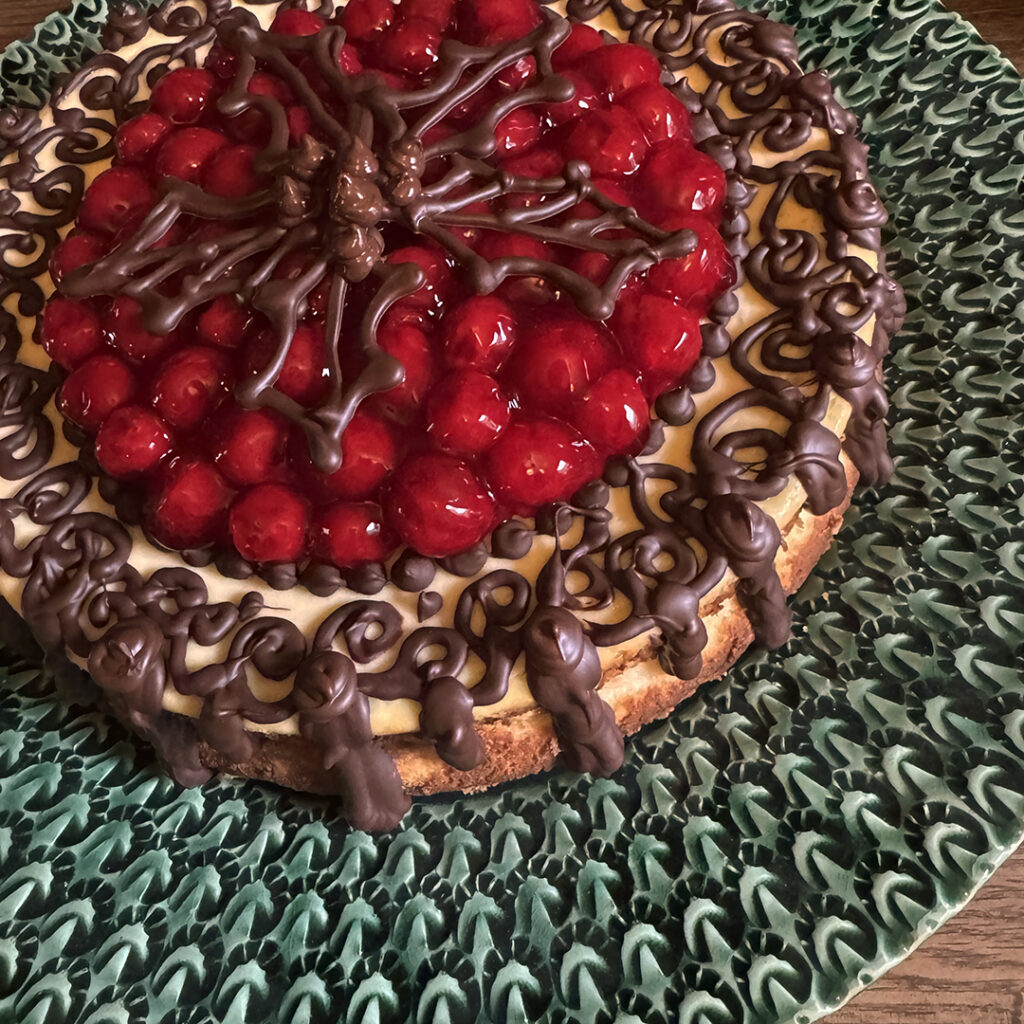
Just a little something-something for our family Christmas get-together.
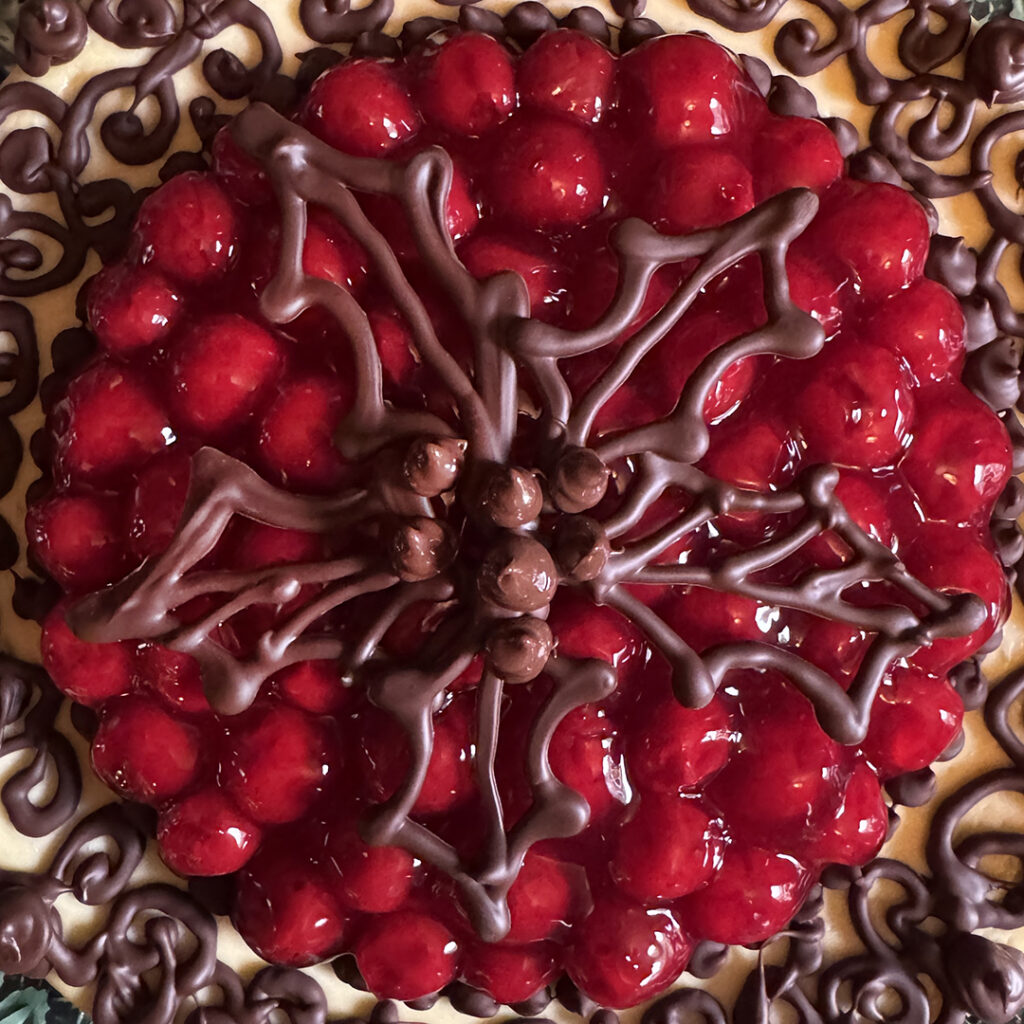
A little chocolate, a few cherries & a lot of cheesecake!
Homemade food always tastes better on handmade pottery!
Merry Christmas everyone… hope you’re enjoying your festivities today!
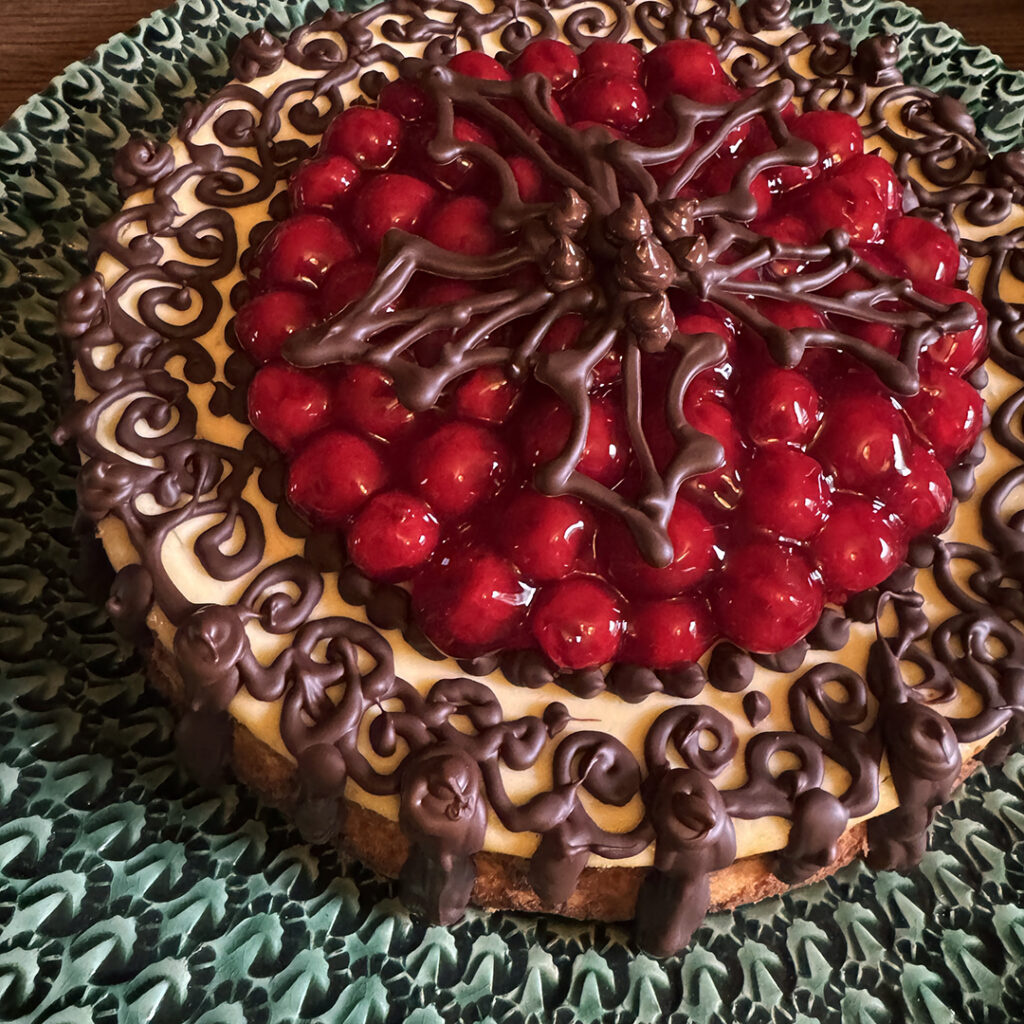
Wishing you all a wonderful holiday season…. filled with family, friends & festivities!
A great time to relax & appreciate all of your “gifts” the whole year through.
A huge Thank You to all of you for being so faithful, encouraging & supportive
throughout the year. You guys are the BEST!!!
Merry Christmas to you ALL!!!

Looks like Bethany’s newest Christmas Tree arrived just in time…
making her wonderful & ever-growing tree collection even more special
for today’s festivities! Looks like someone might need a bigger table next year?!!!
Just sayin’…
Thanks for sharing Bethany… have a happy holiday!

Last minute touches… cheery cherries being added one-at-a-time
to today’s dessert headed to our family Christmas get-together!

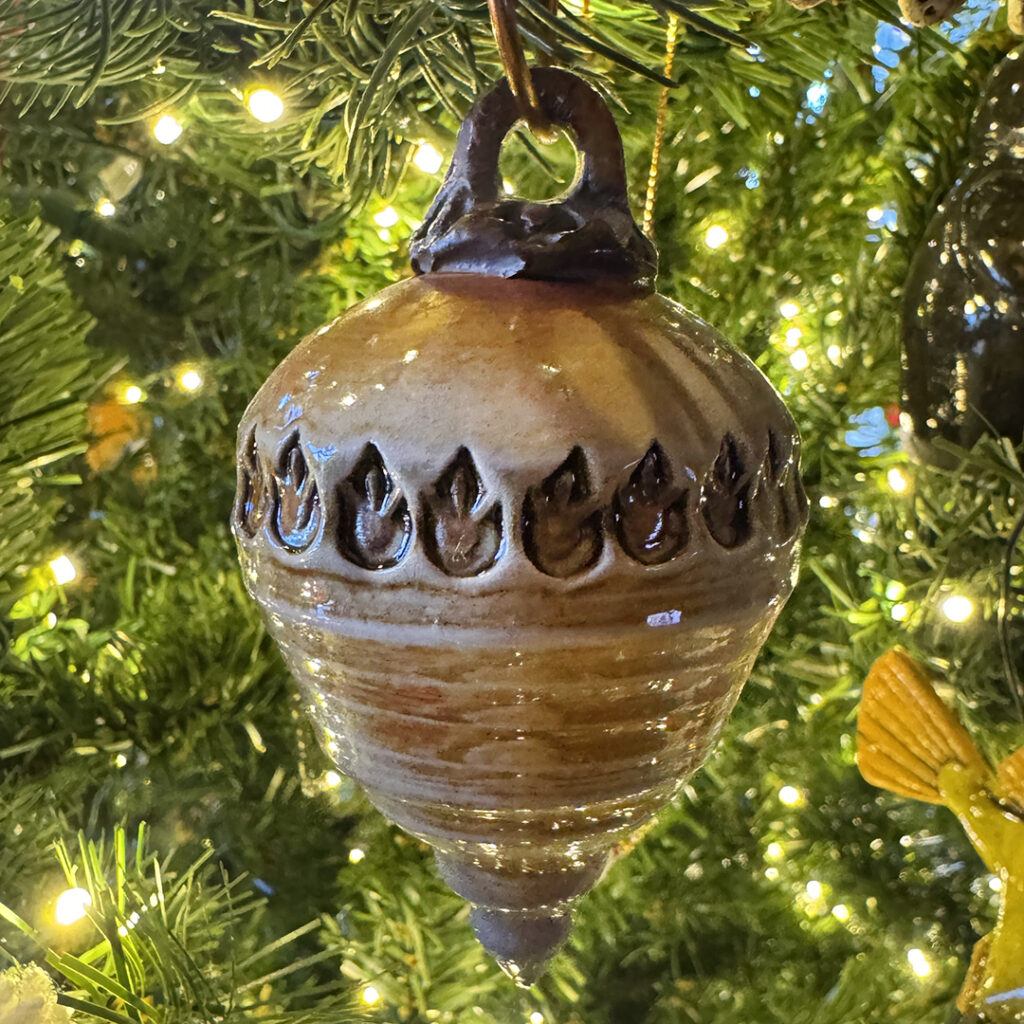
‘Twas the Night Before Christmas… and all through the house…
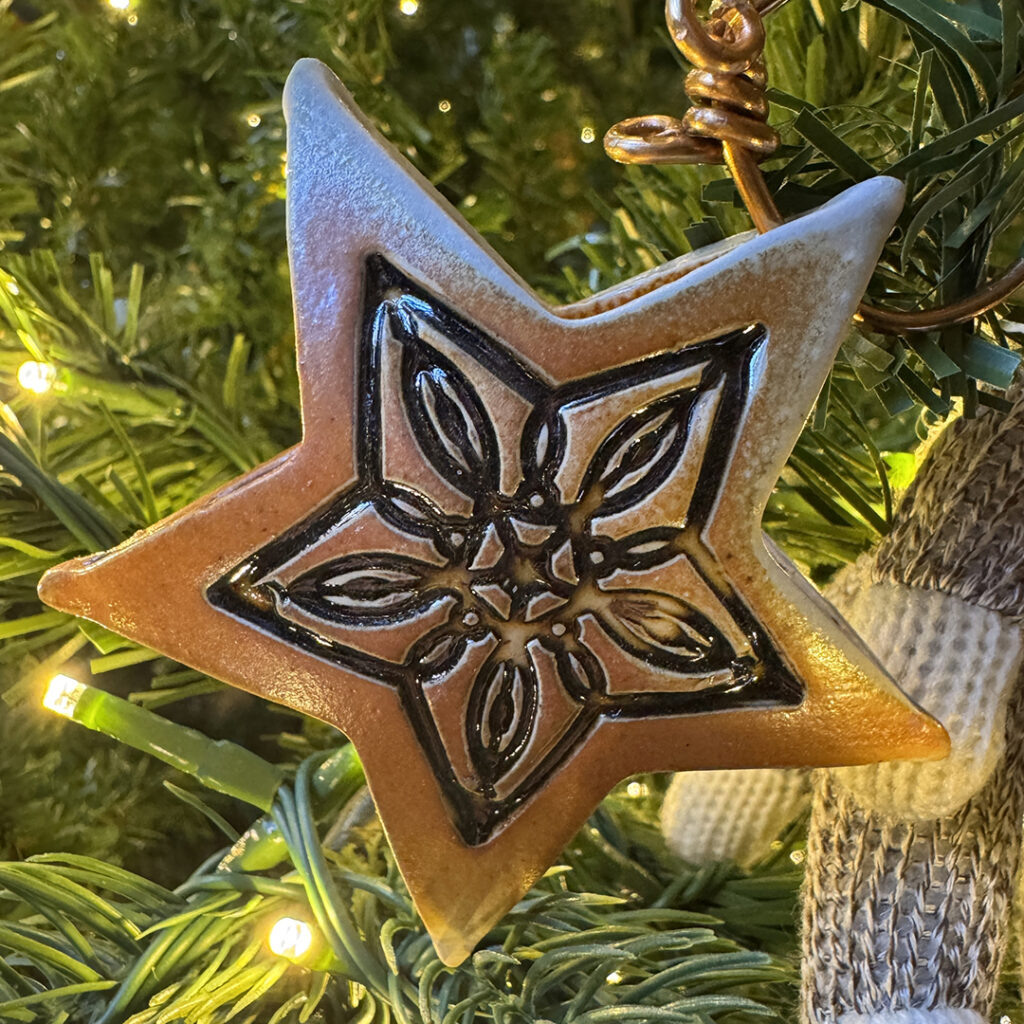
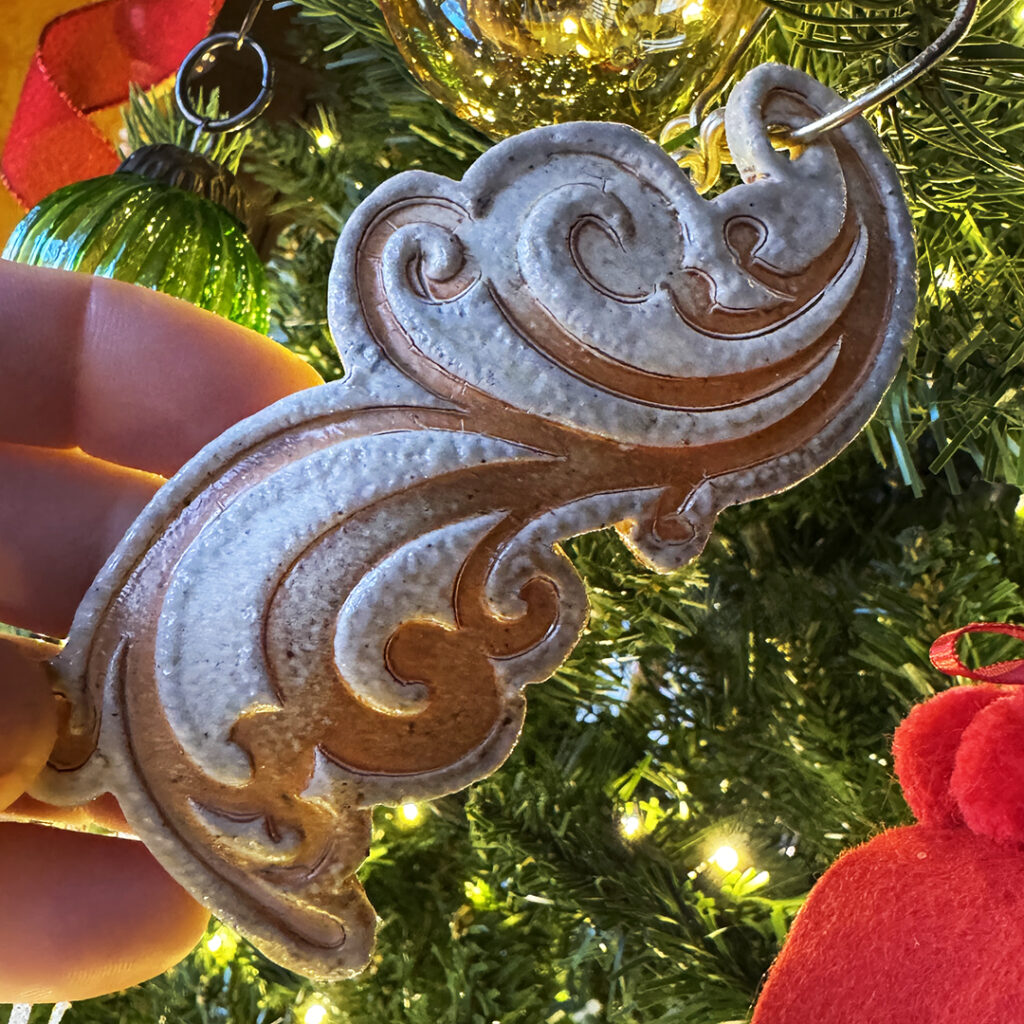
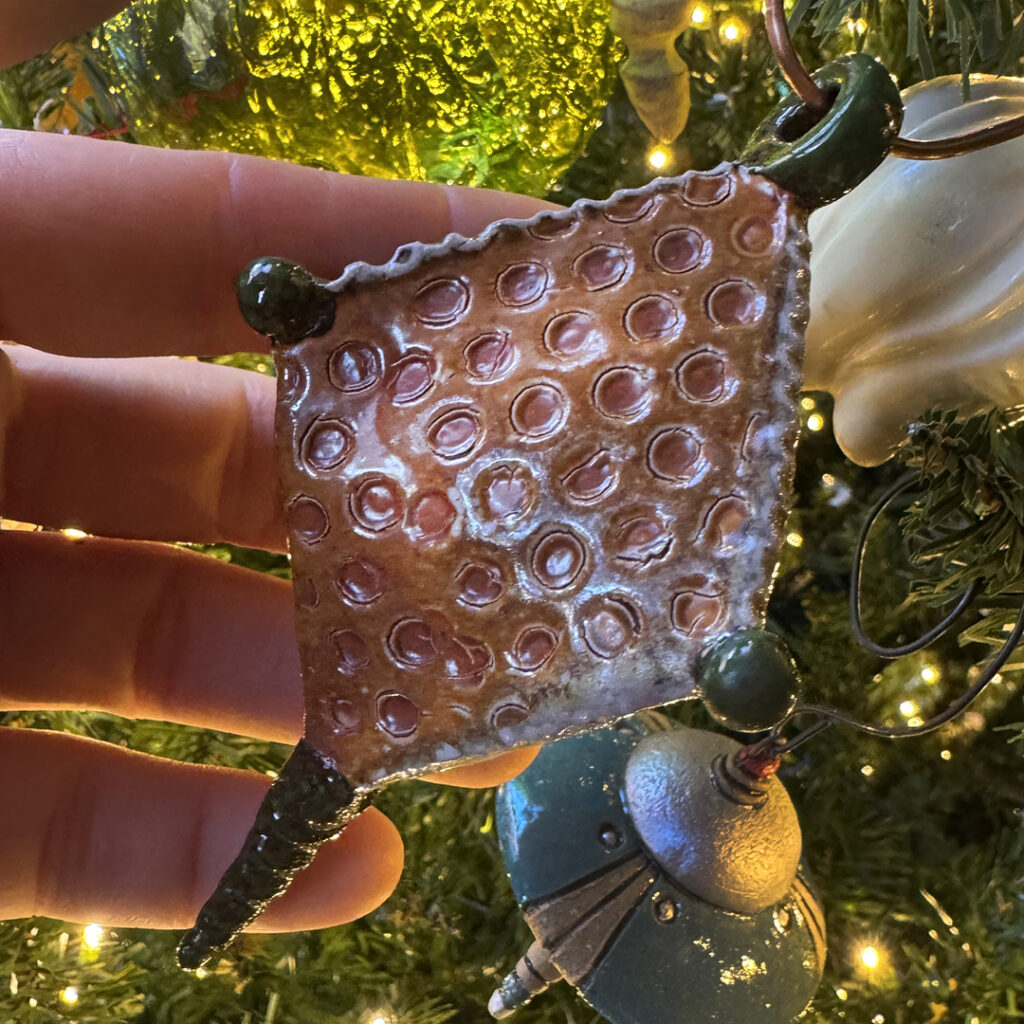
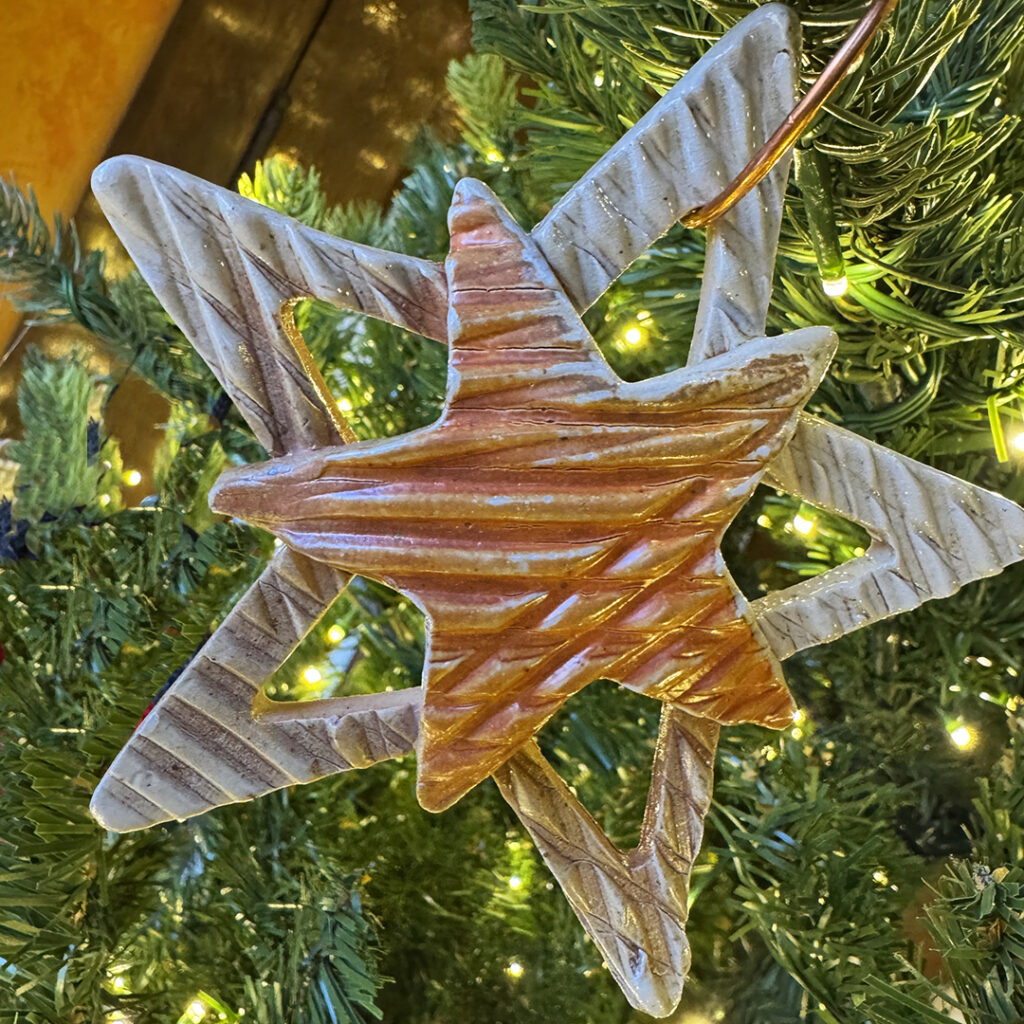
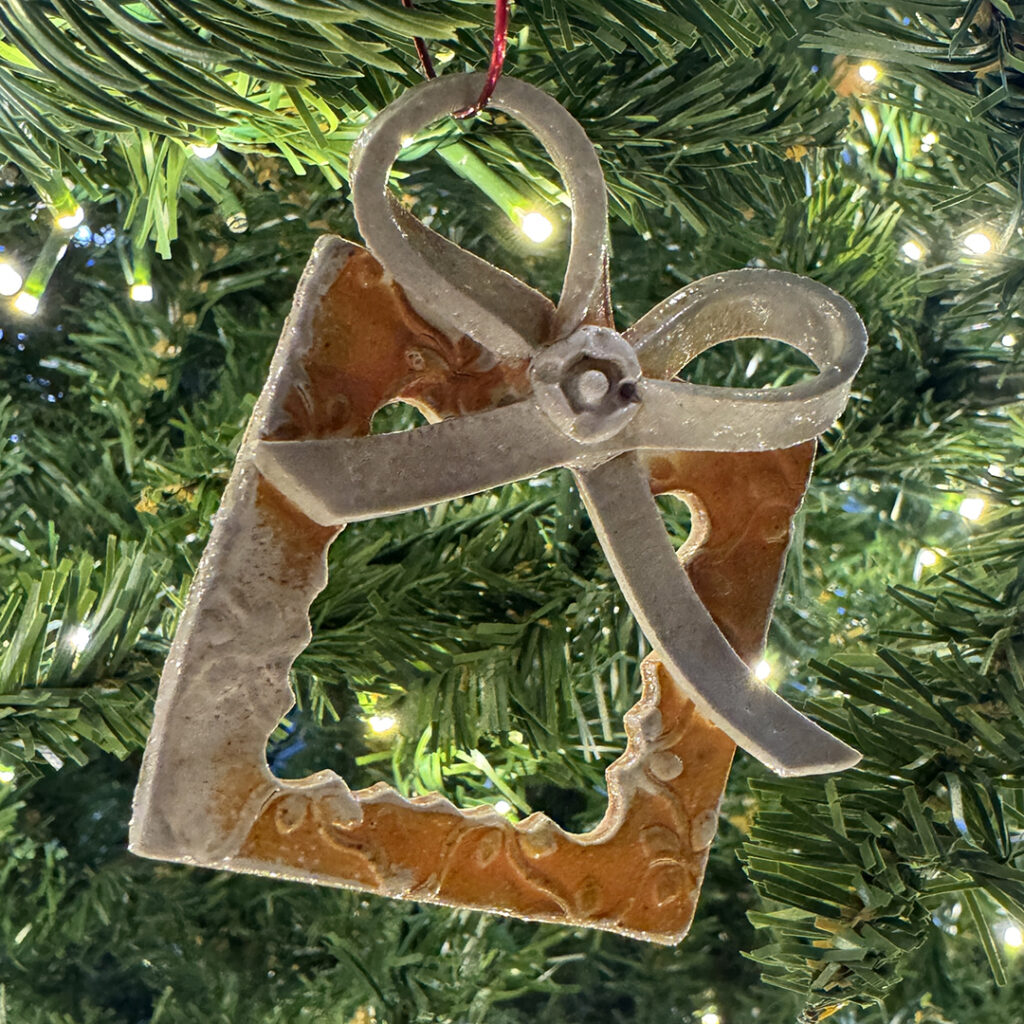
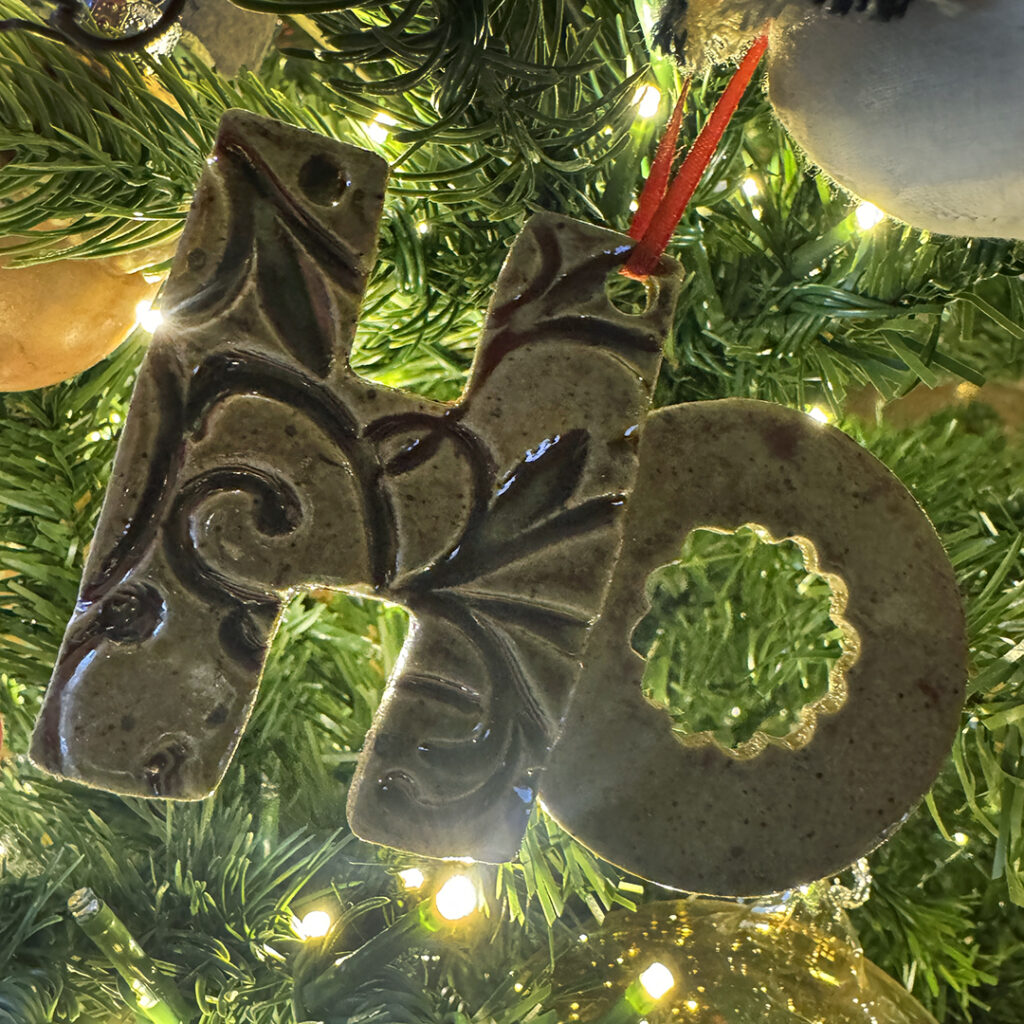
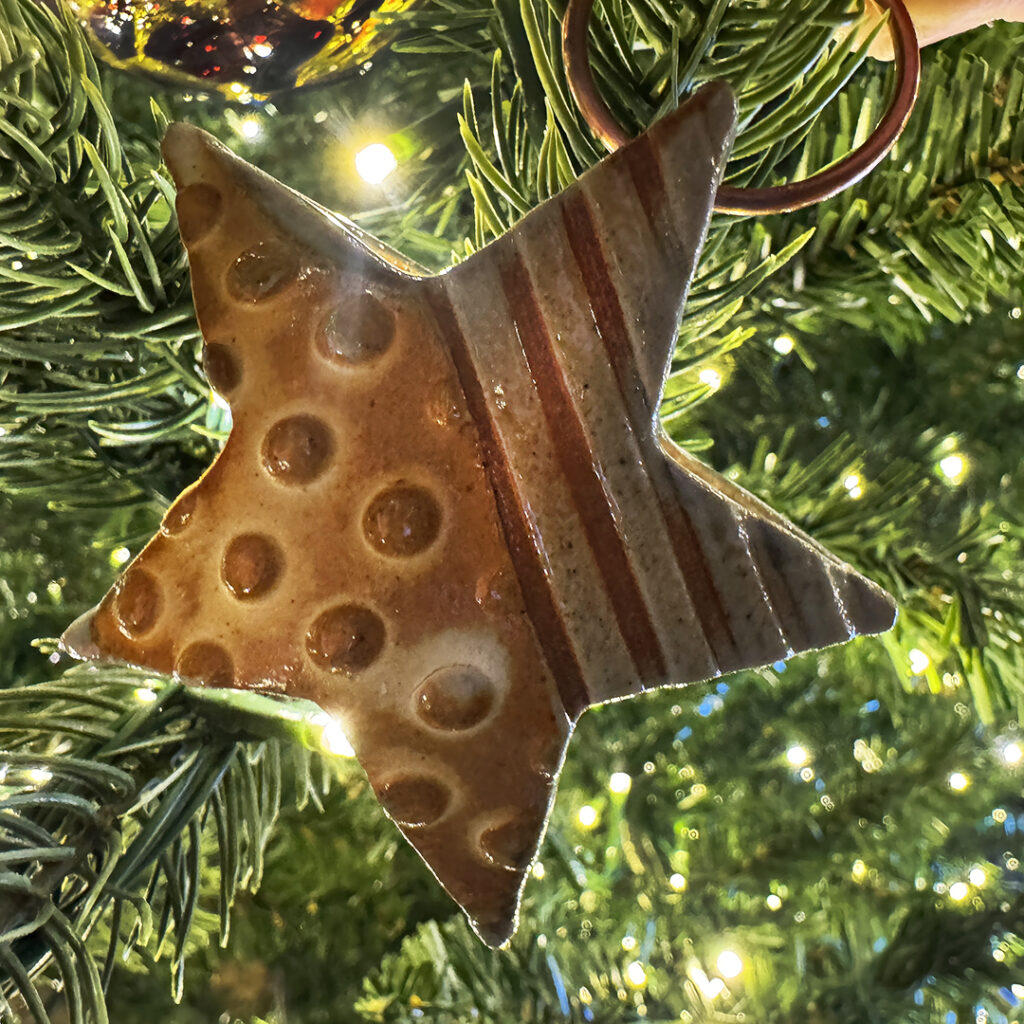
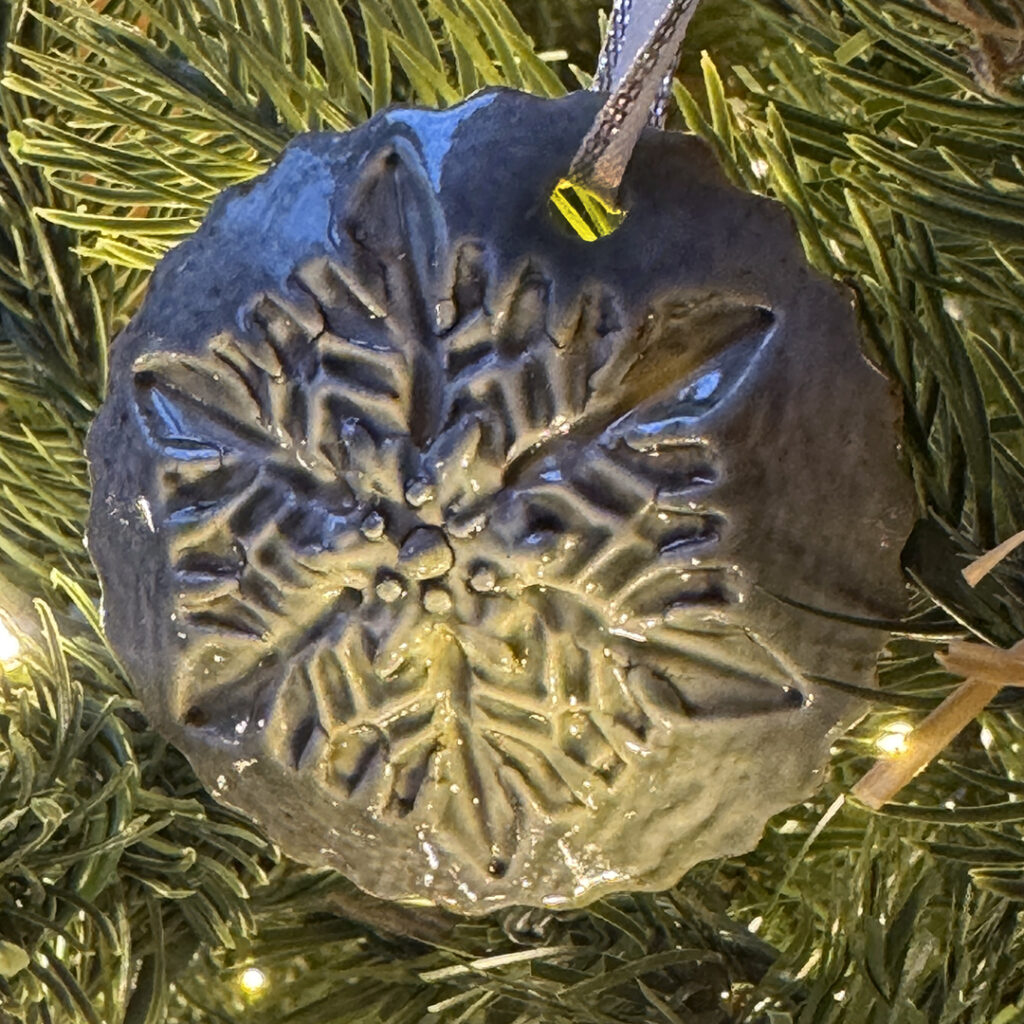
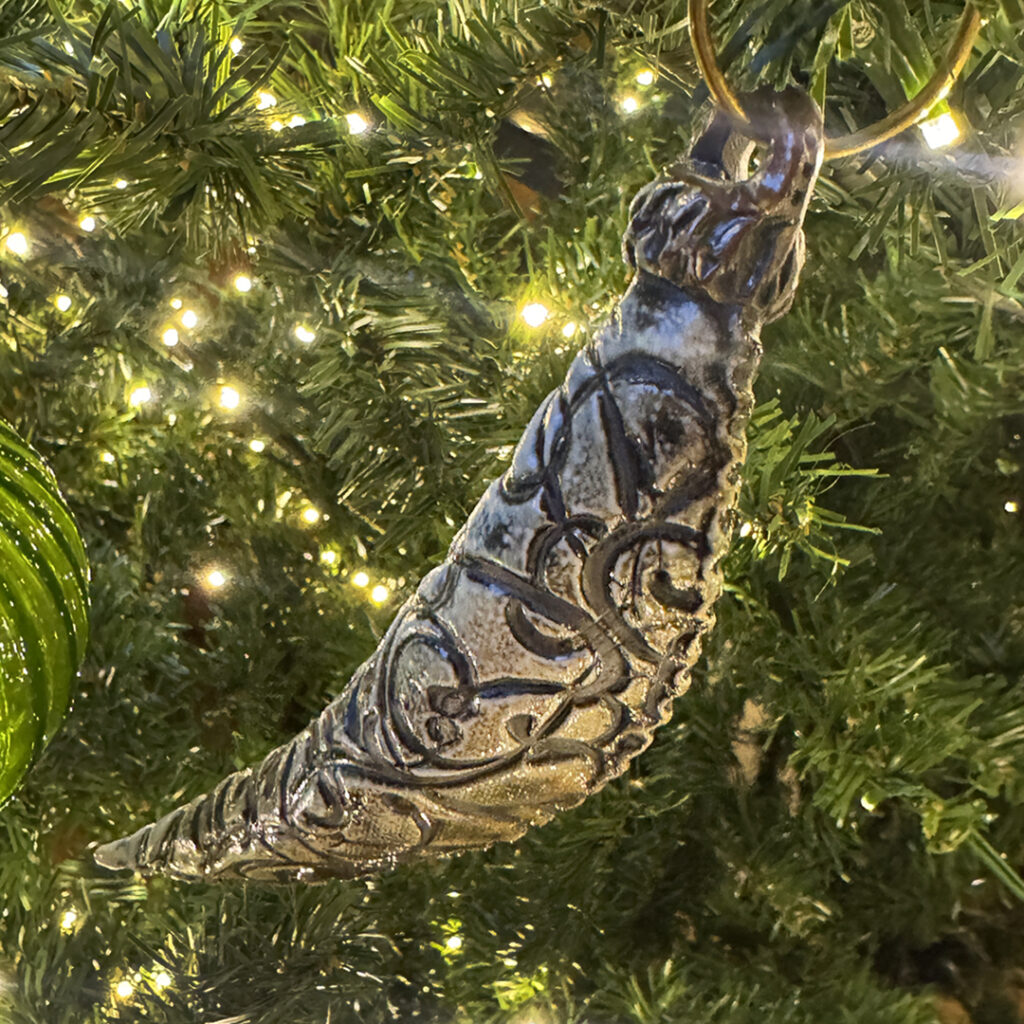
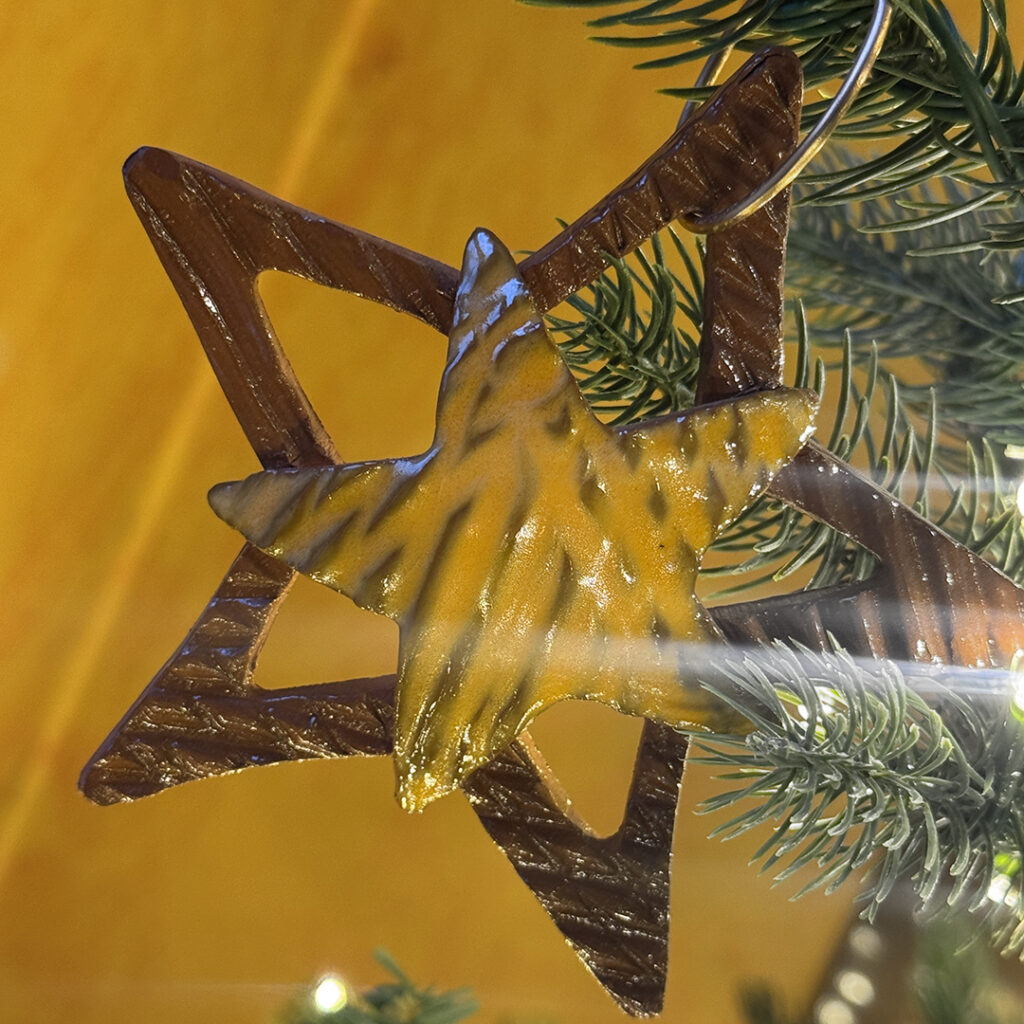
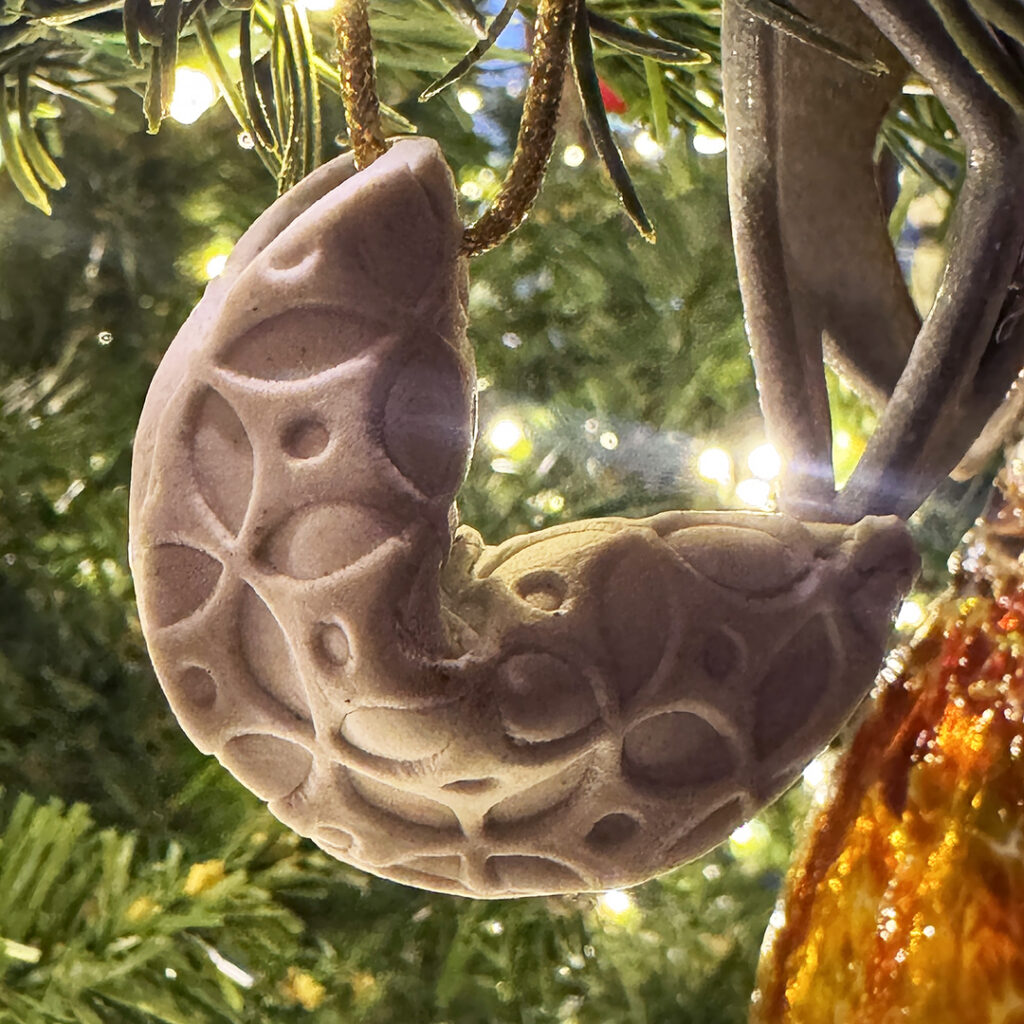
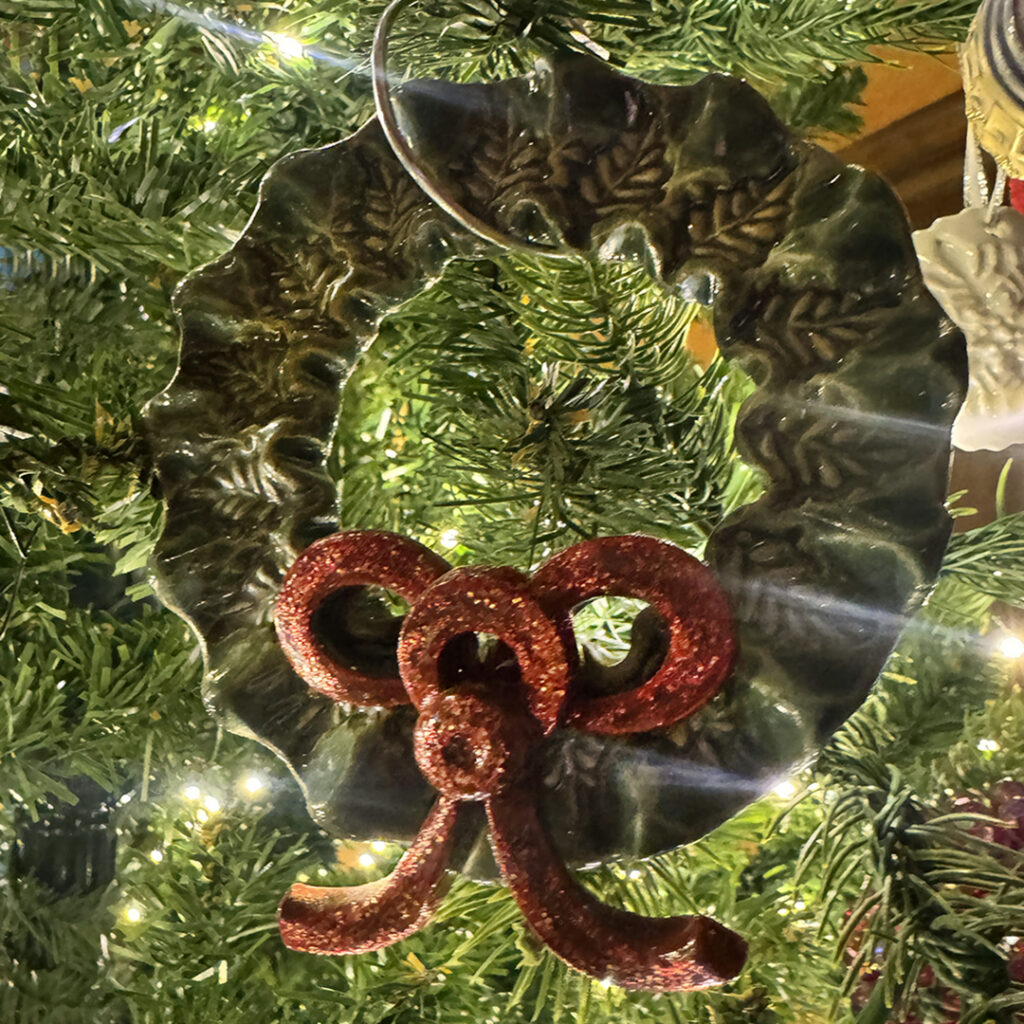
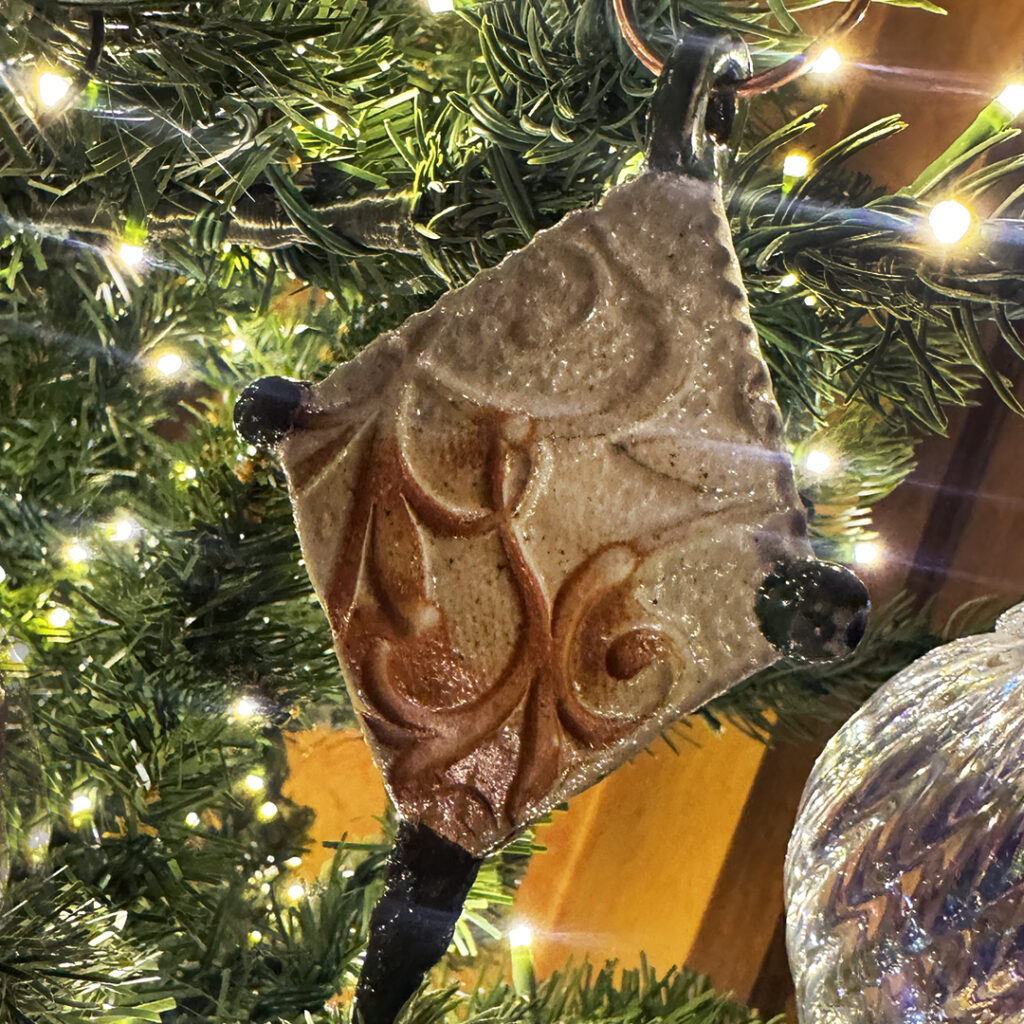
I’m wrapping, packing & baking… and trying to take time to relax & enjoy my own holiday decorations. Appreciating a wide assortment of ceramic ornaments I’ve made over the years… and realizing I might “need” to make some NEW ornaments for new year. Keeping the “standard ornaments” of course… let’s not get crazy!
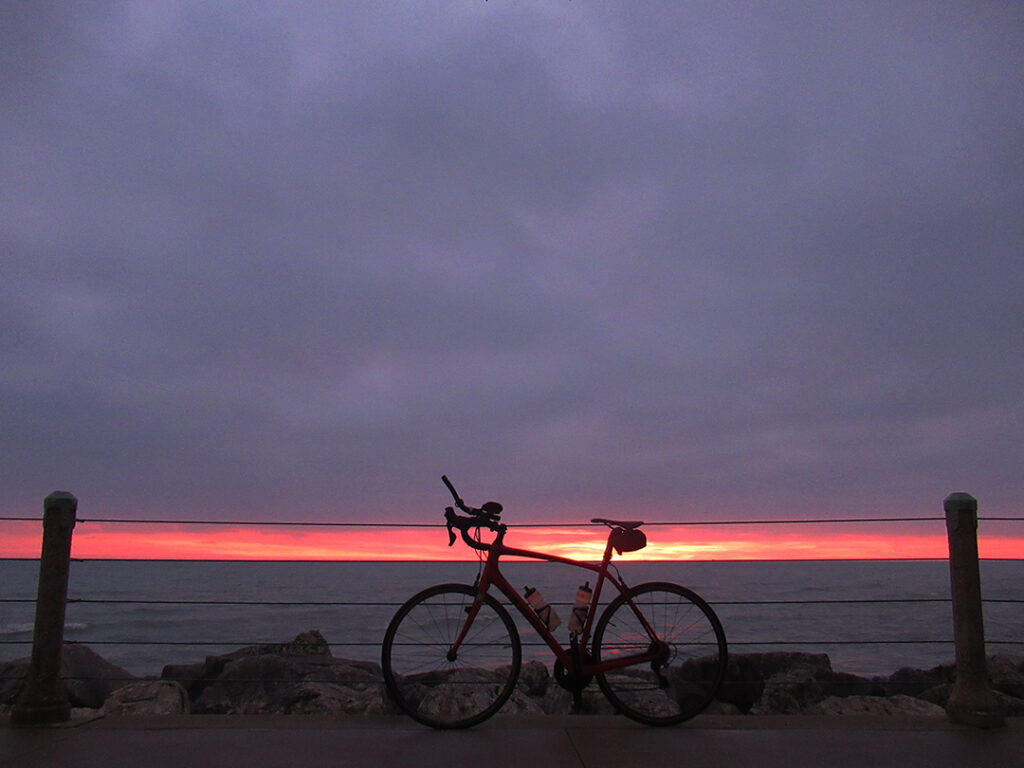
Finally a morning where the roads weren’t wet or shiny… and the clouds gave us a chance for a colorful morning. Well, the clouds had potential…. but the “cloud-ness” won out over a colorful skyshow. We got a brief splash of color… and then back to gray clouds. And it felt great to be back out on my bike… even if it was gray & cloudy!











And for those who might need a little more clarification of the main FESTIVUS festivities…. here’s some clarification from one of our favorites Frank Costanza… the “Father of Festivus.” So get your aluminum pole ready…
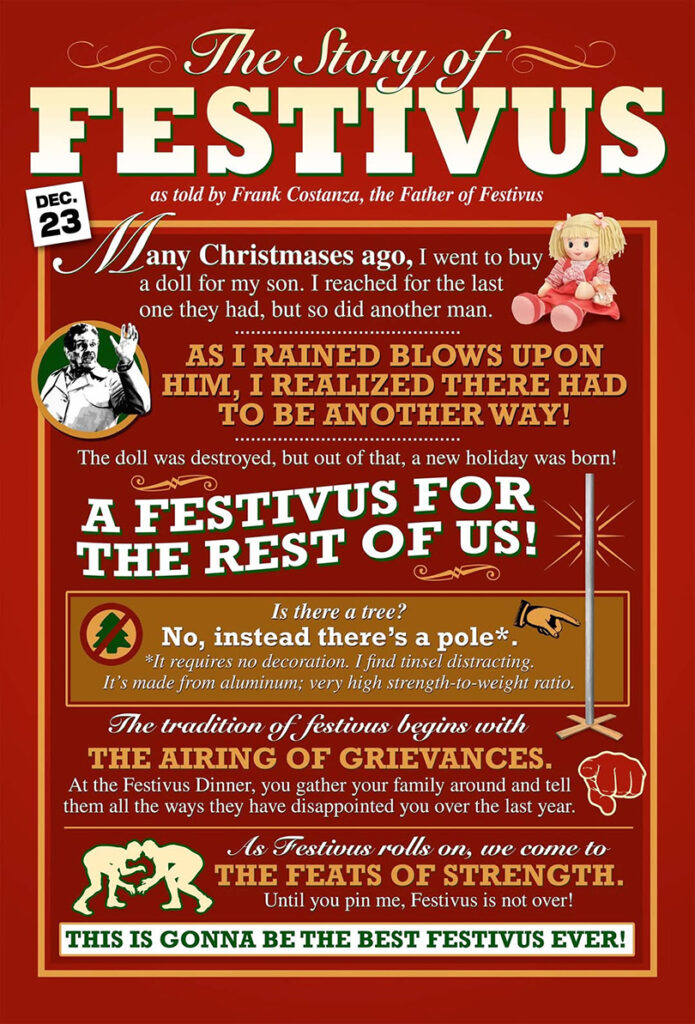

While everyone is frantically shopping, wrapping & cooking for Christmas…
don’t forget to take time out of your day to celebrate today
with a “FESTIVUS FOR THE REST OF US.” Today’s your day to let it out!!!

|
Gary Jackson: Fire When Ready Pottery
Lillstreet Studios ∙ 4401 North Ravenswood, Chicago, Illinois 60640 ∙ 773-307-8664 gary@firewhenreadypottery.com |