05.13.2025
Categories: challenge, wheelthrowing
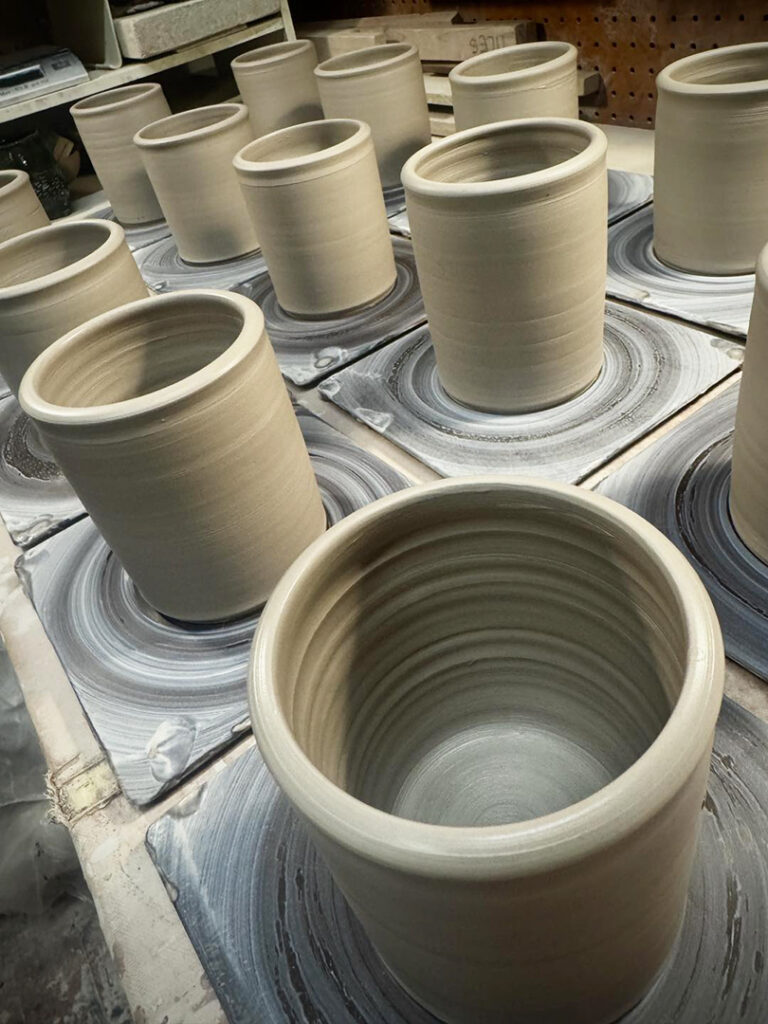
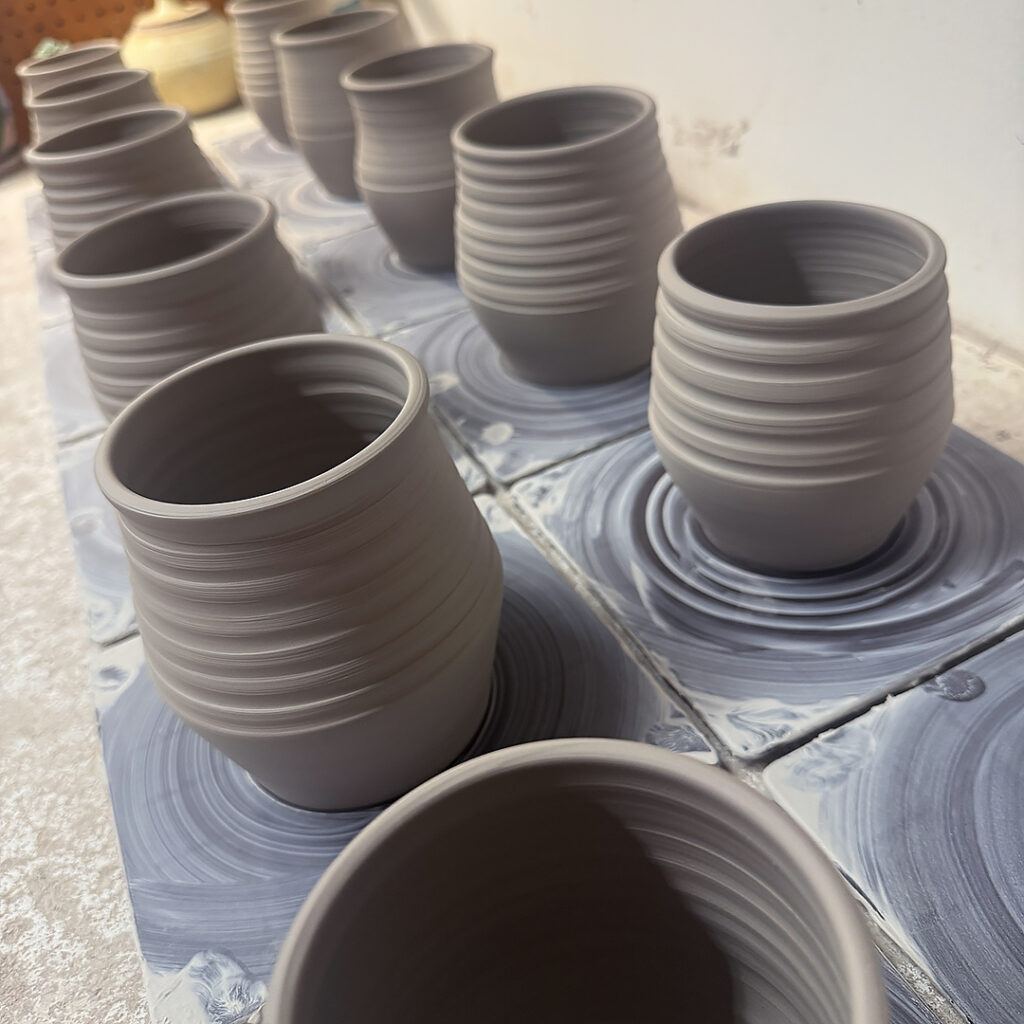
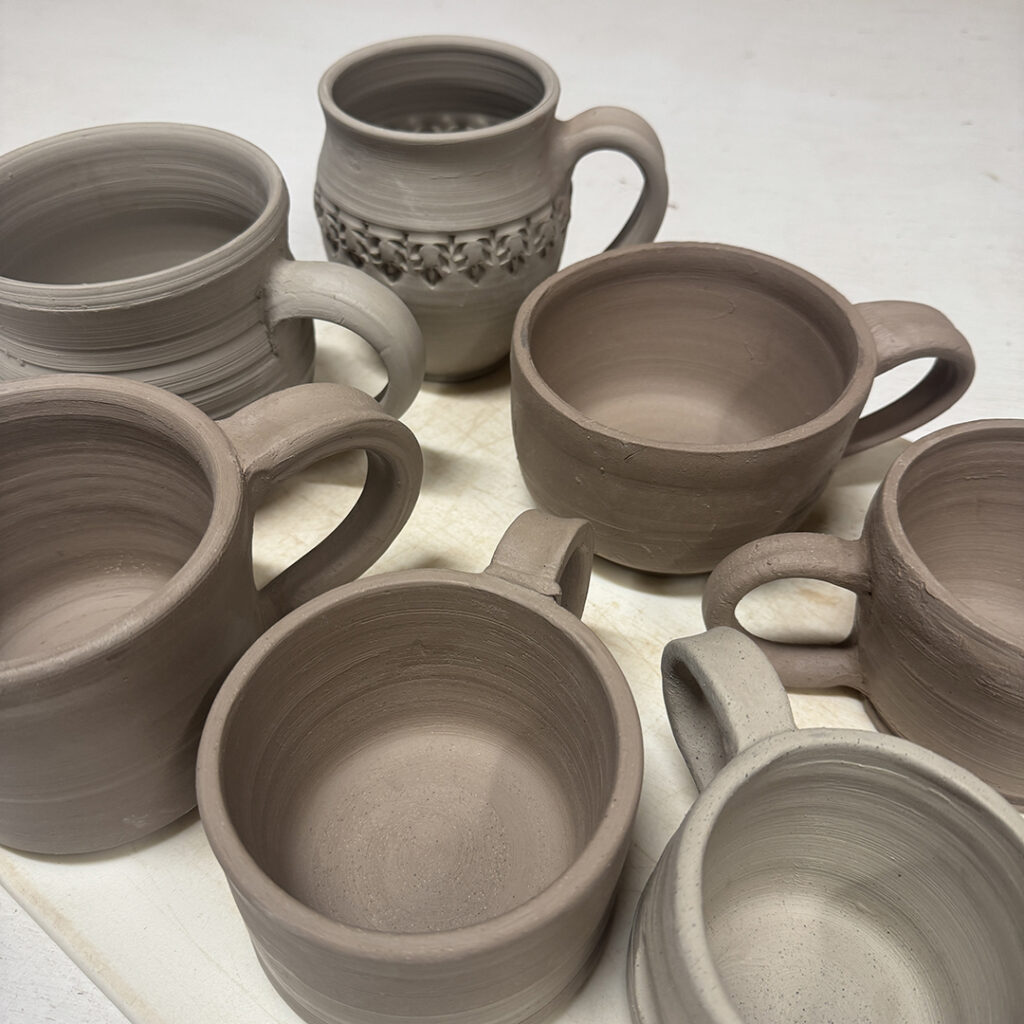
A little early morning throwing. Just a few quick cylinders with a plan in mind.
Another 10×10 challenge… more than ten pieces thrown before 10:00am!!!
Gary Jackson: Fire When Ready Pottery
A Chicago potter’s somewhat slanted view of clay & play |
A little early morning throwing. Just a few quick cylinders with a plan in mind.
Another 10×10 challenge… more than ten pieces thrown before 10:00am!!!
For tonight’s SURFACE DECORATION class, I told my students to have some leatherhard pieces ready to play with. Looks like “someone”… me… might not have done their homework on time. Any wagers on whether I can get these freshly-thrown pieces to leatherhard in time for class??? You know I love a good challenge!!!

Thrown ten spoon rests before 10:00am!!! Just replenishing some of the “basics” for the kick-off of art fair season… which is coming a lot faster than expected.

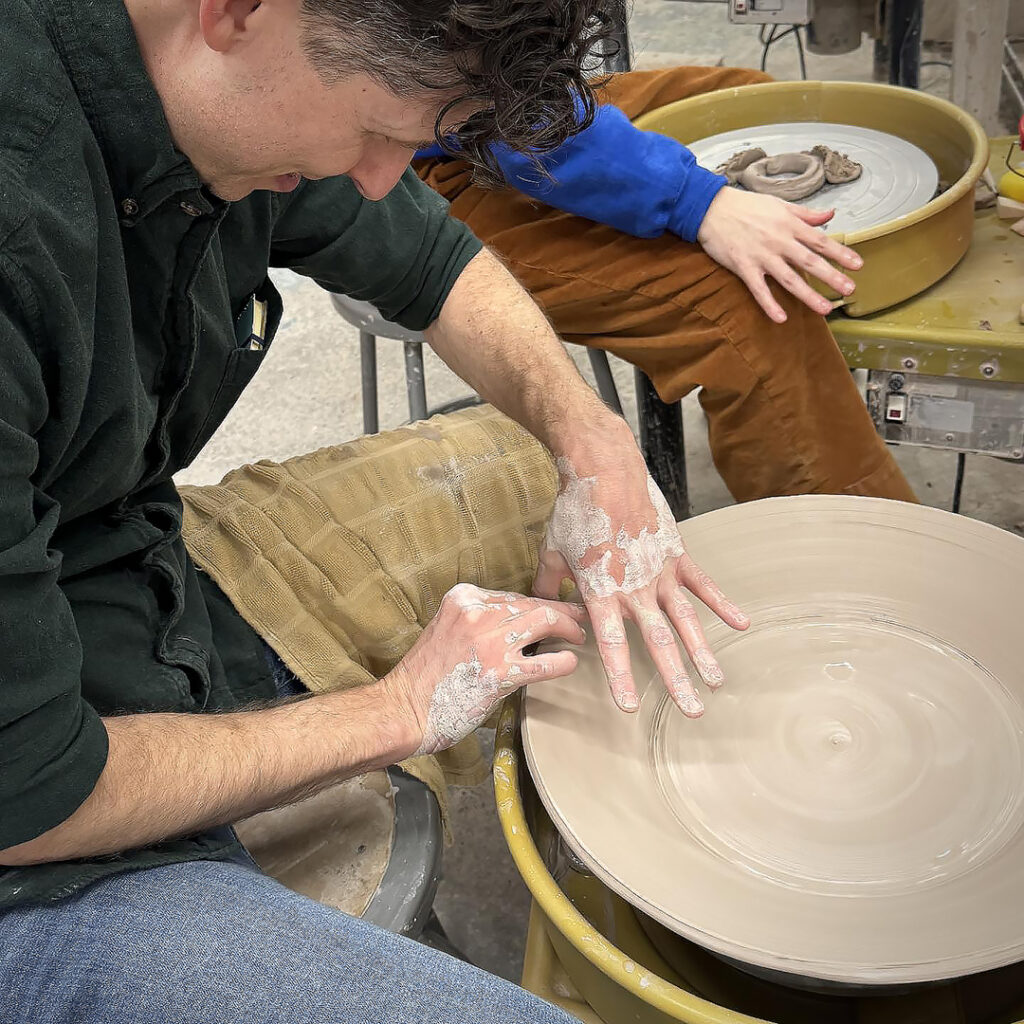
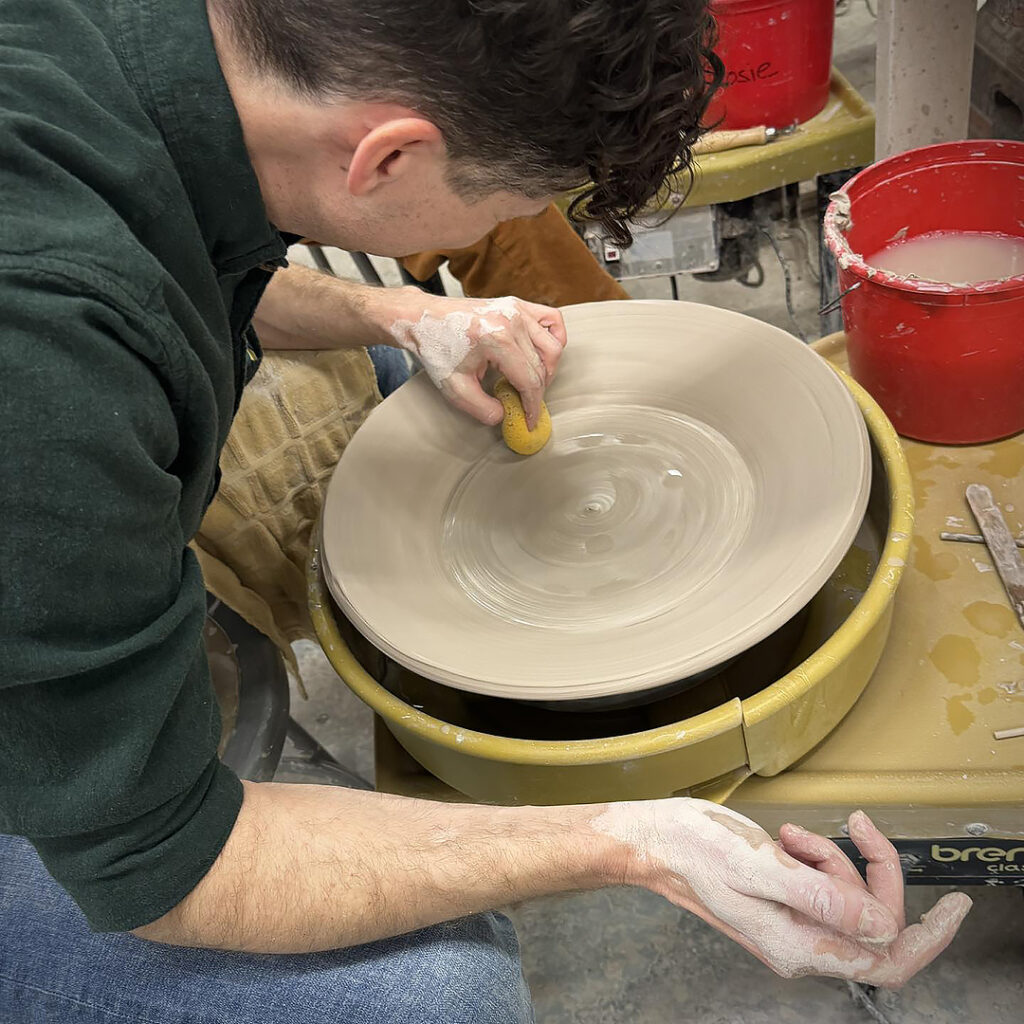
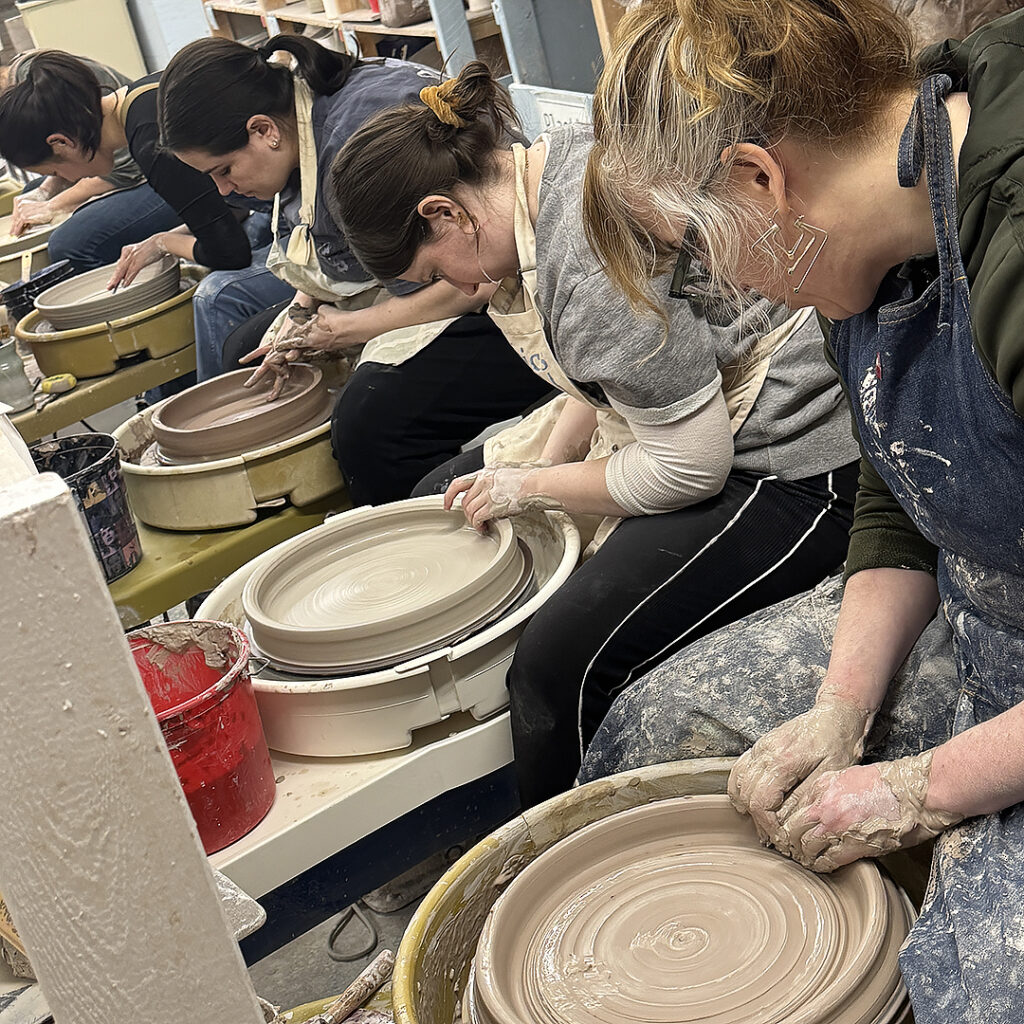
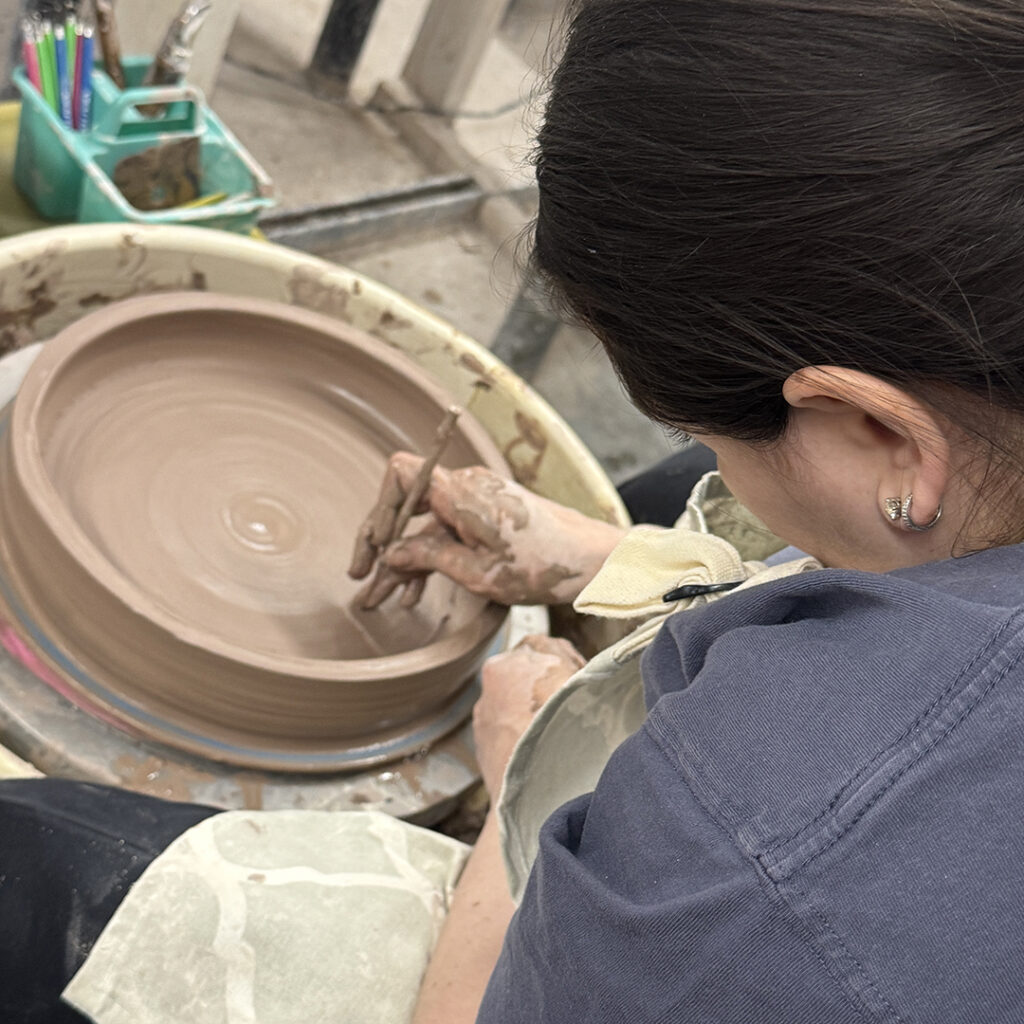
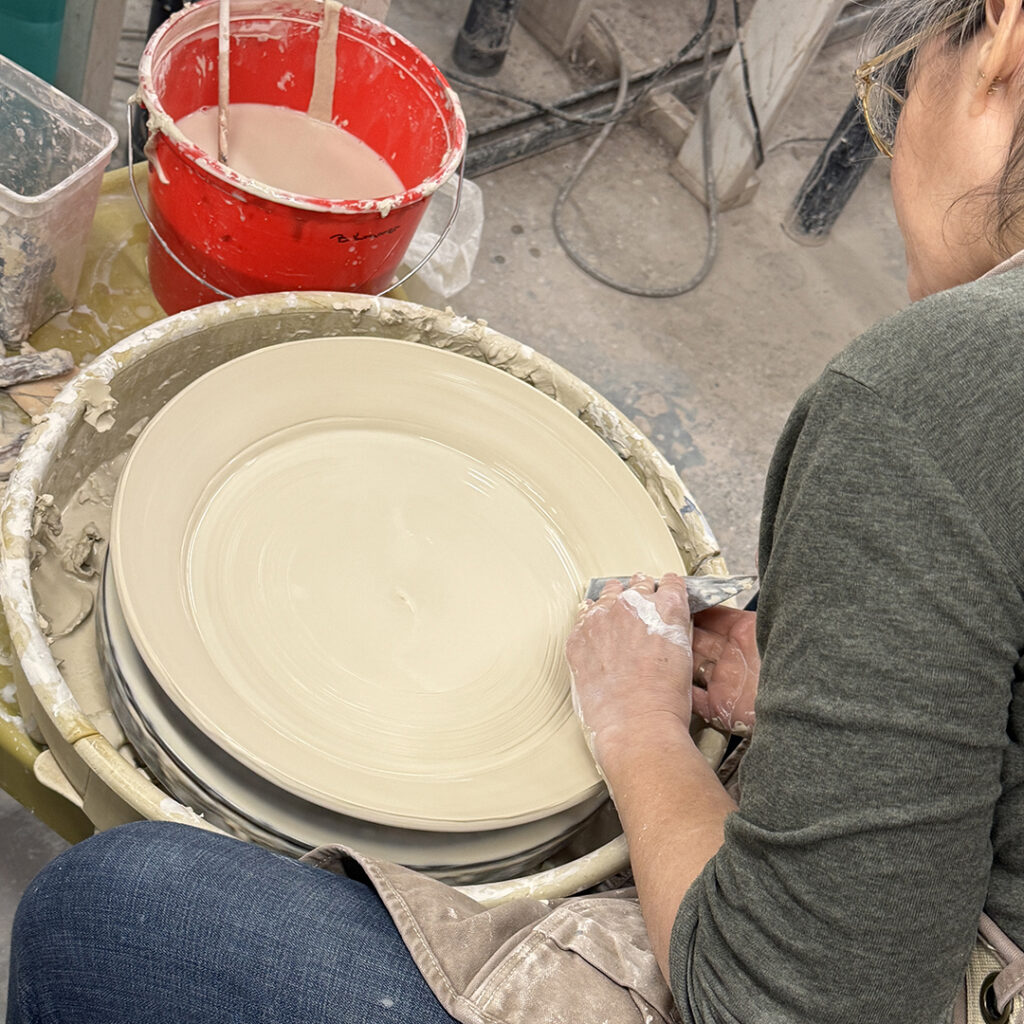
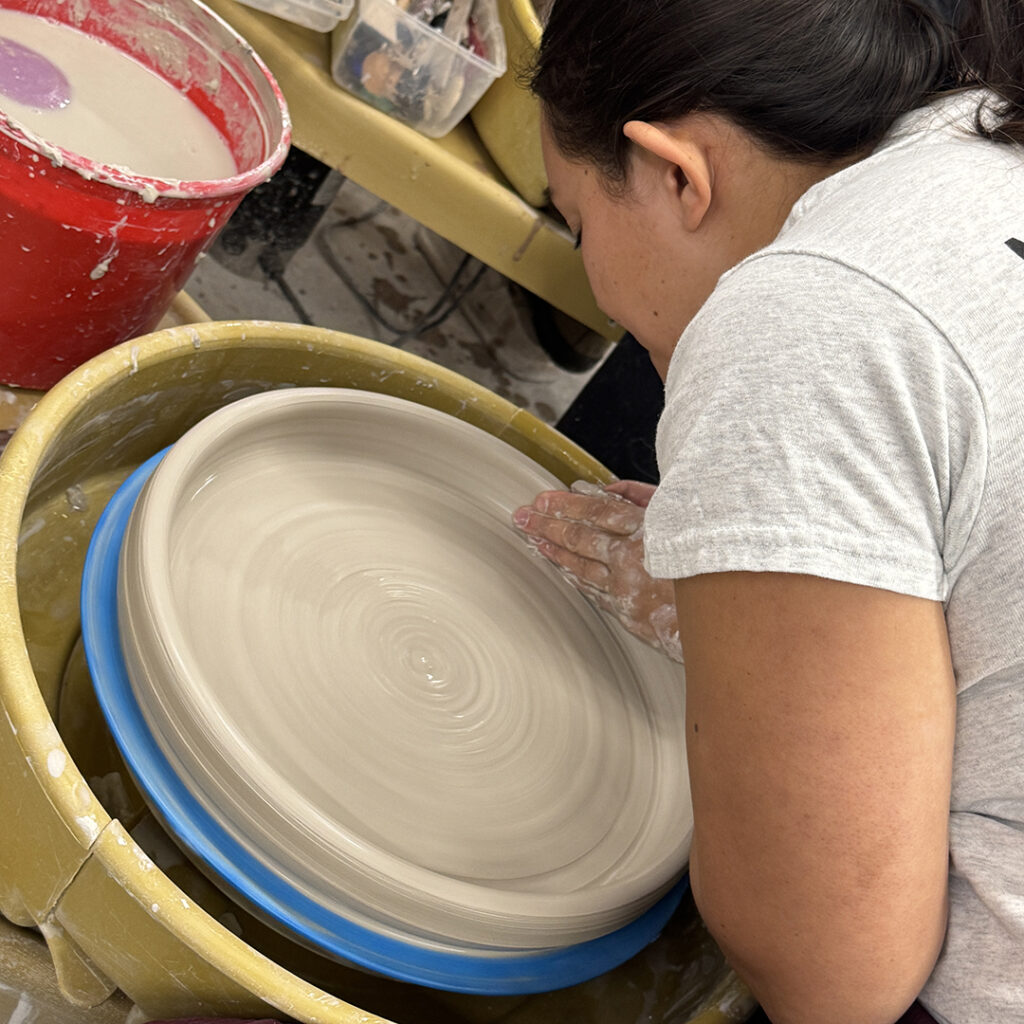
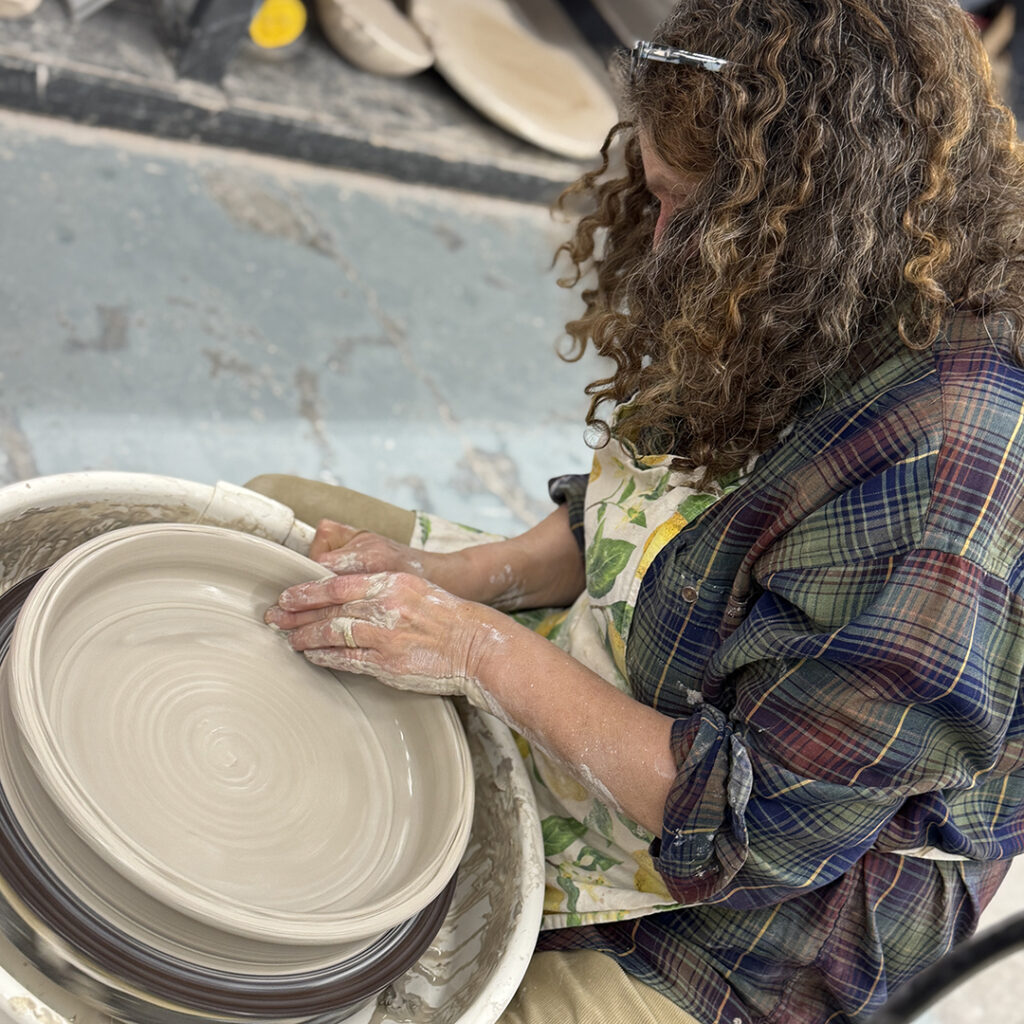
We’re nearing the end of the Winter Session at Lillstreet, and I love when it all starts to “click” with my beginners, the proverbial “light bulb” goes off… and they start making some really great pots with intention. Like last night when Nick made this great platter… his biggest piece EVER!!!

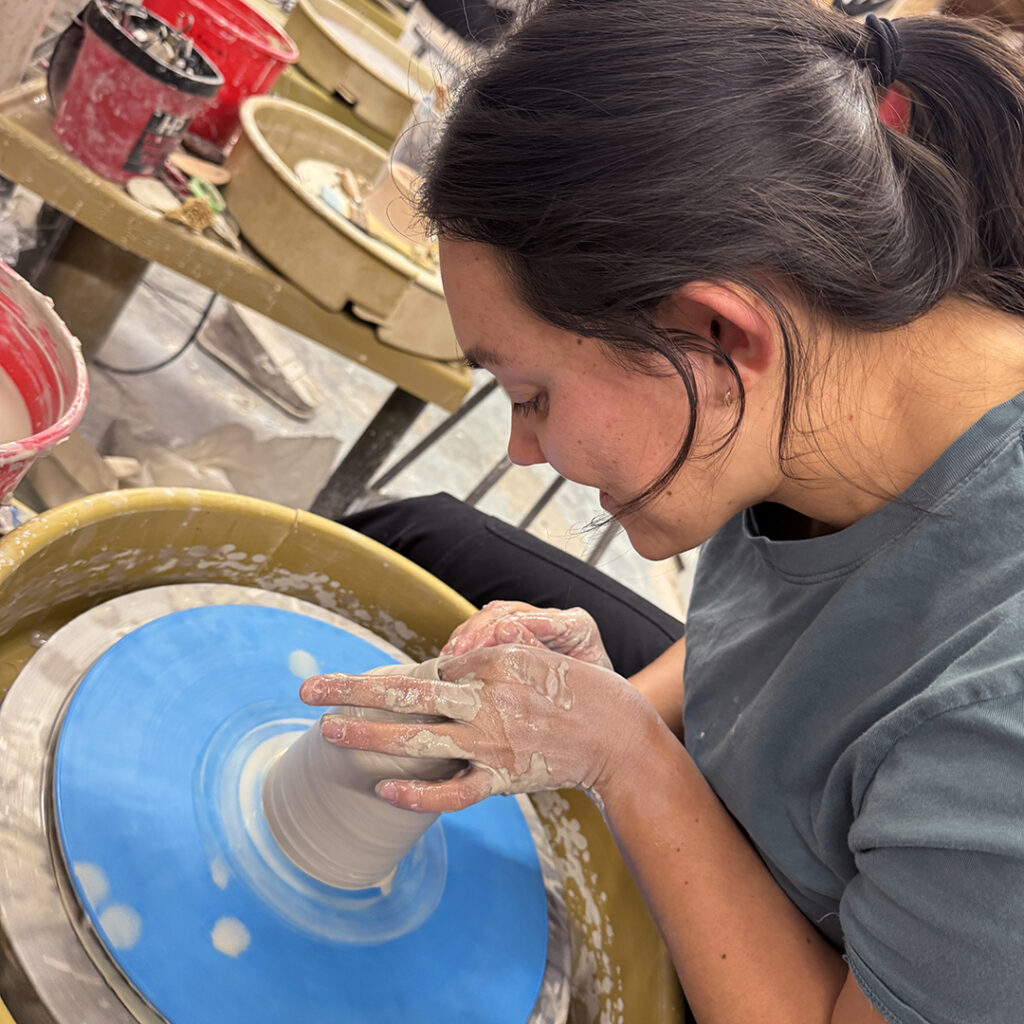
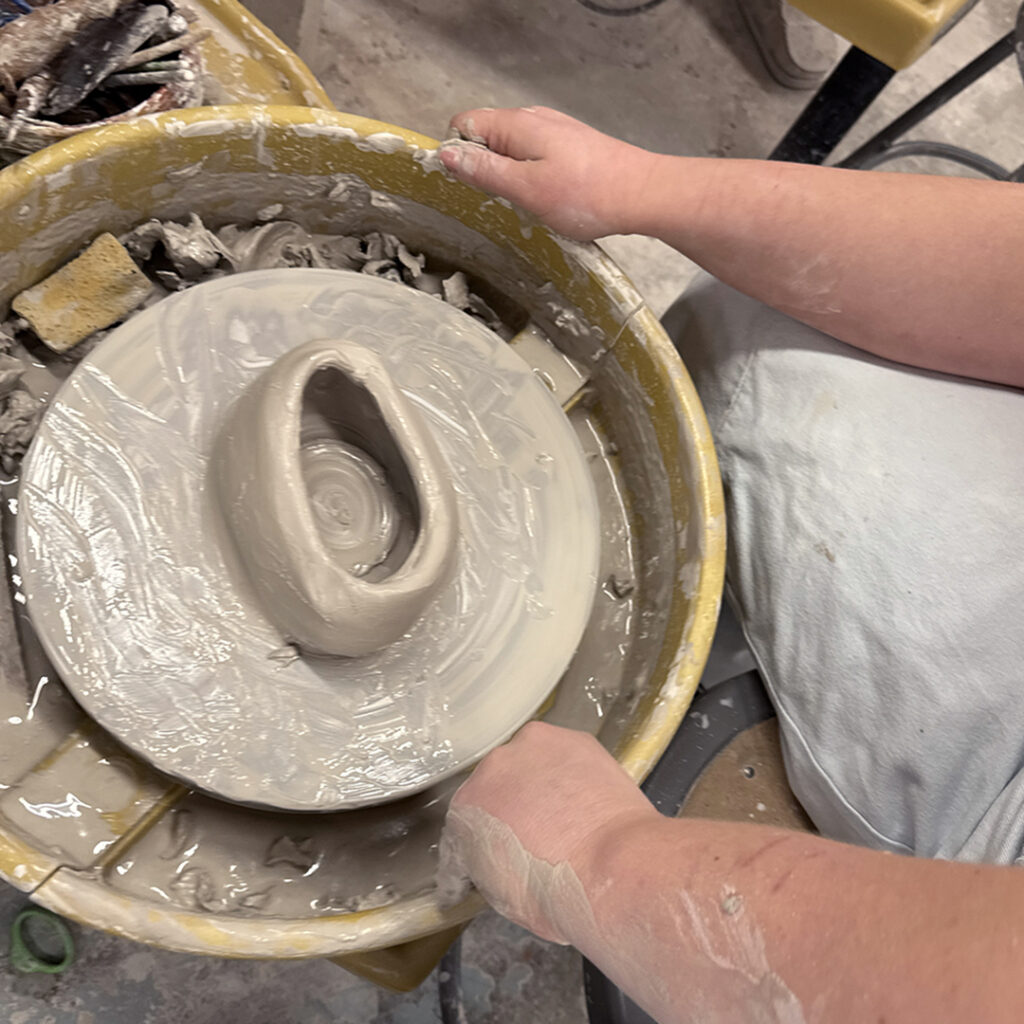
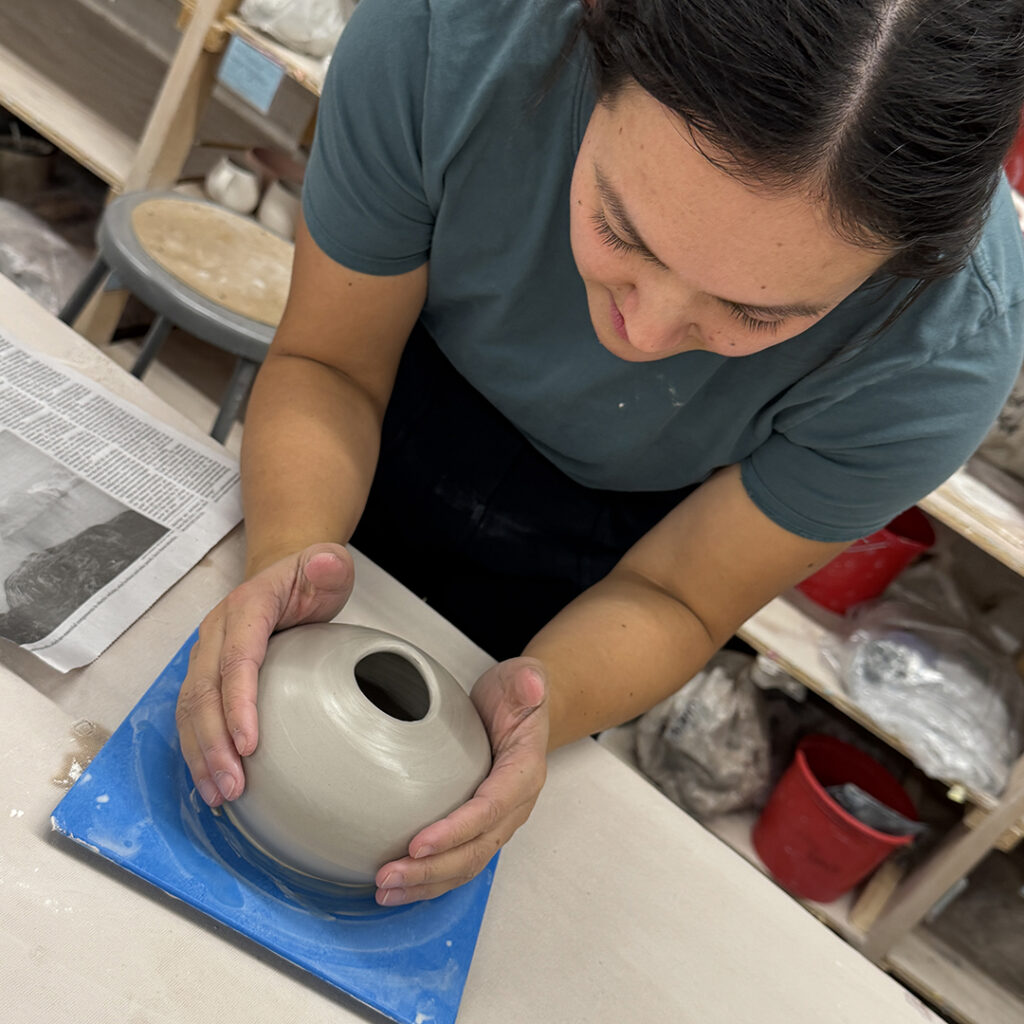
This week in our LILLSTREET THROWDOWN class, I challenged my students to replicate three distinct forms in one hour. They had sixty minutes to make all three. And they couldn’t move the examples off the table. With very little guidance, it was fun for me to watch how each of them approached the task differently. Most quickly jumped on the wheel… one handbuilt them all… yet size & shape were still a challenge for everyone. But it was the “oval” vase that proved to be the real challenge. With a wide range of “success”… some used the wheel while others handbuilt the shape. It was a great challenge for everyone.


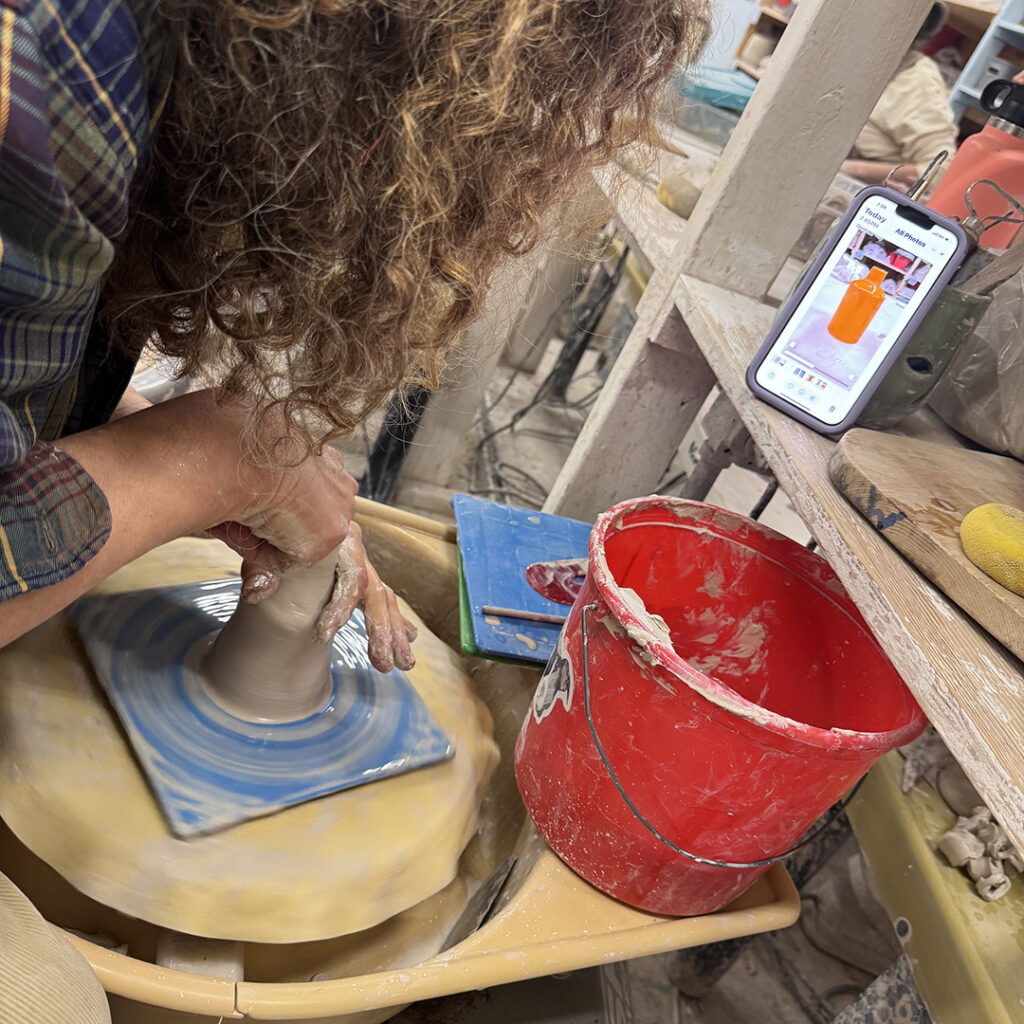

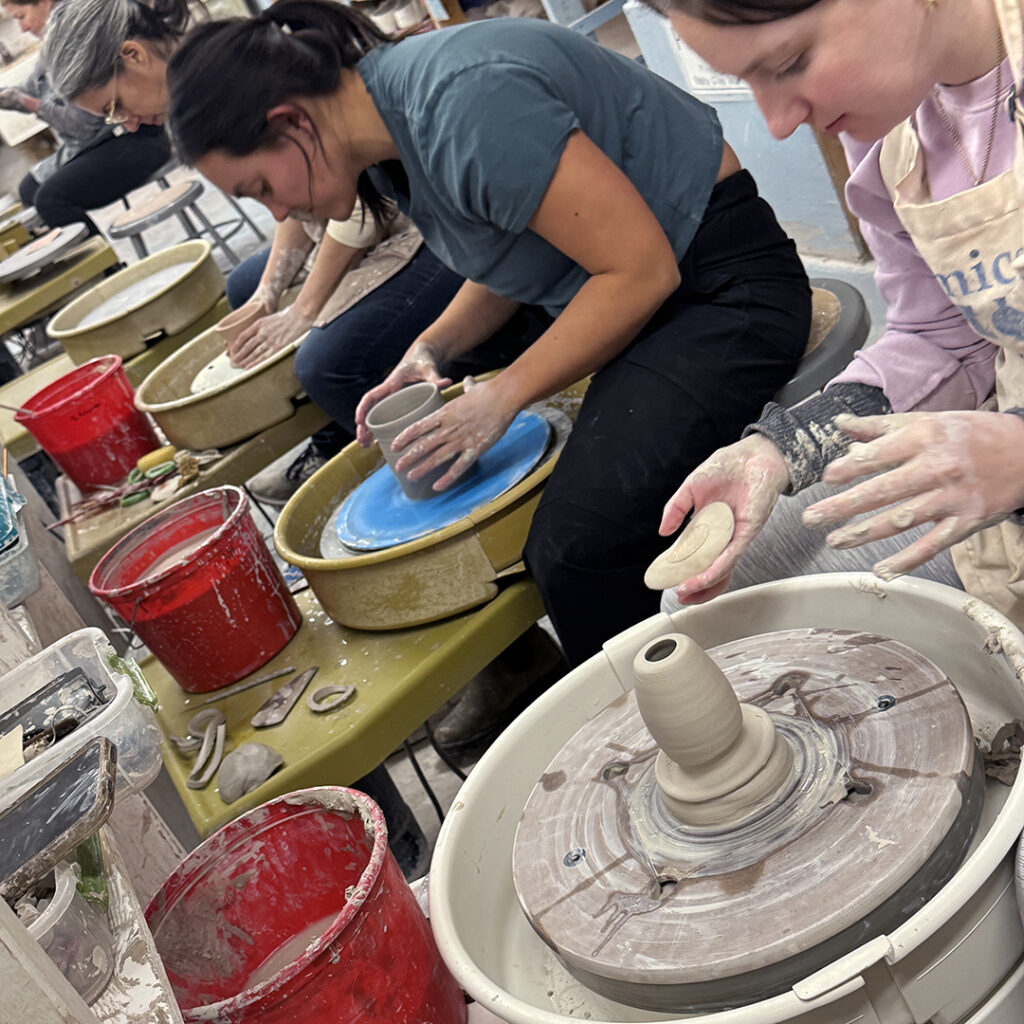


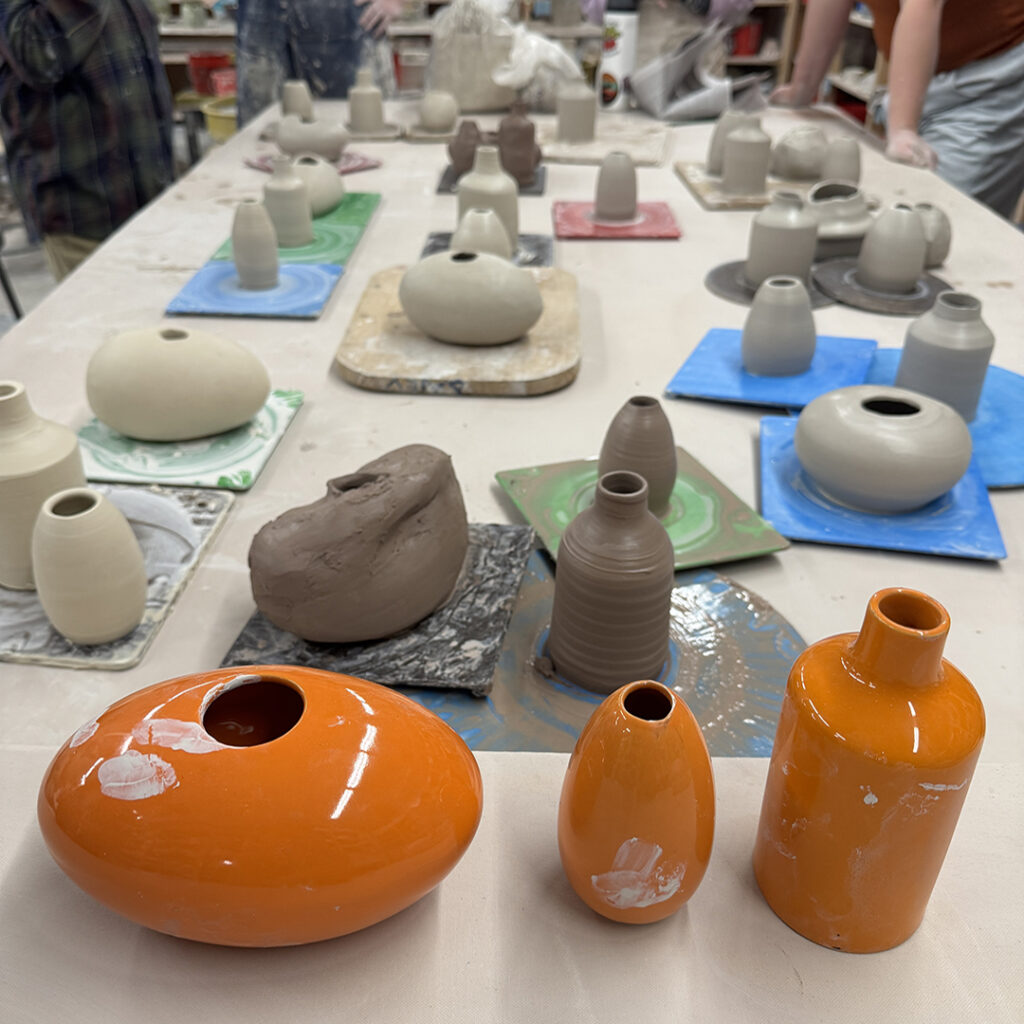
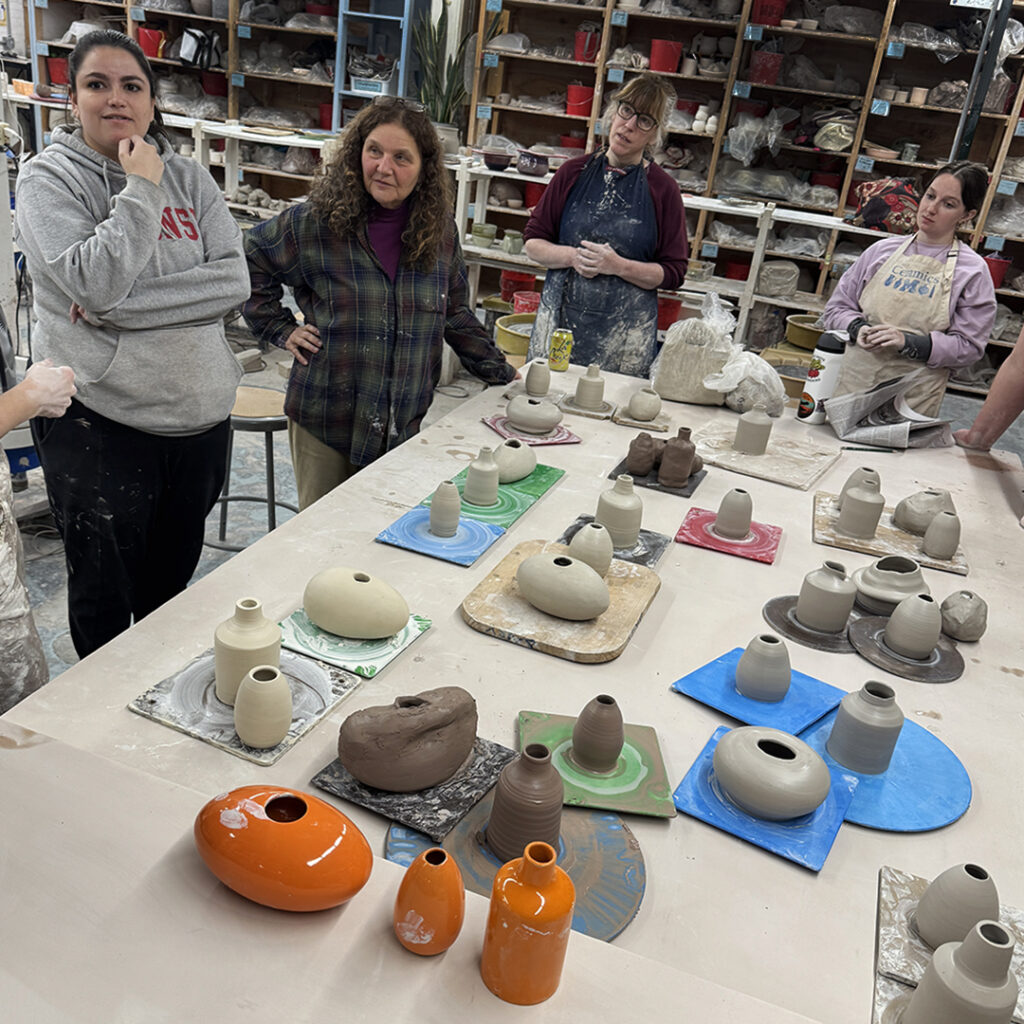

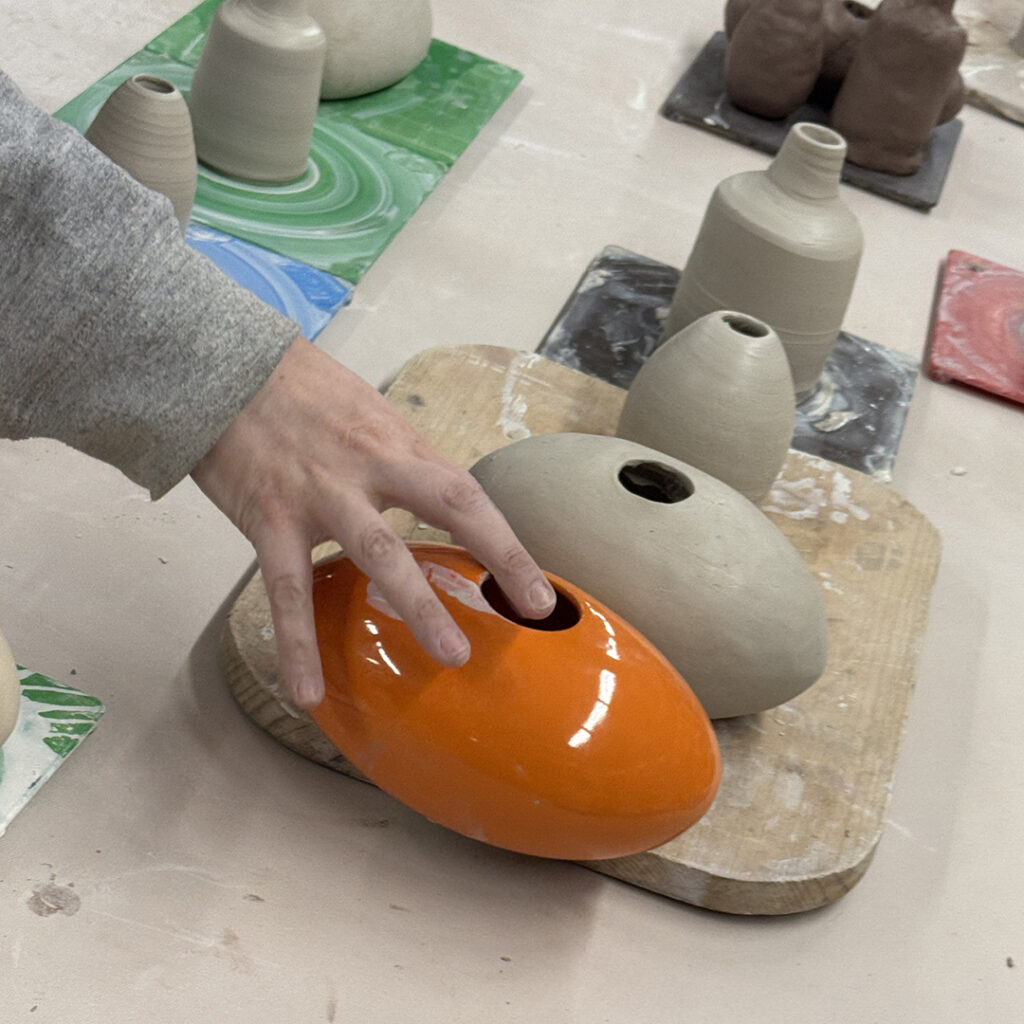
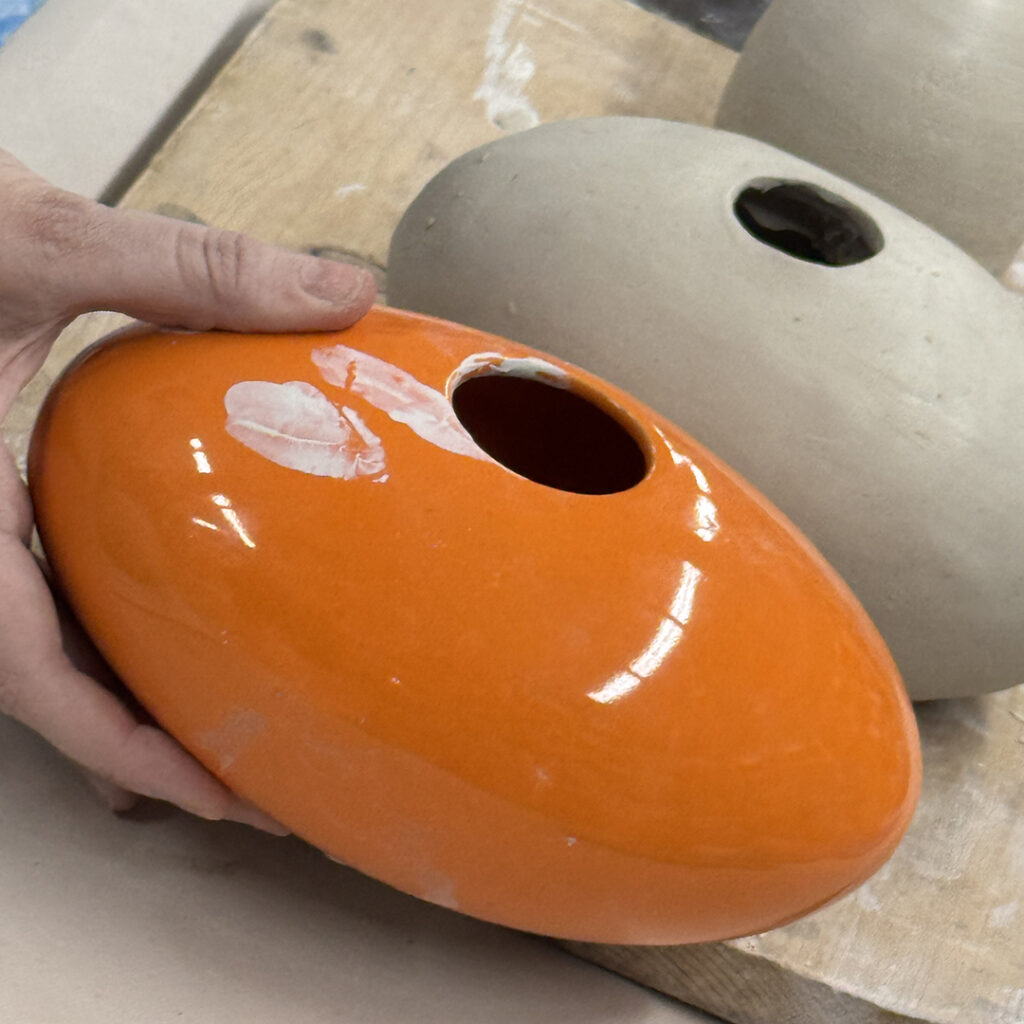
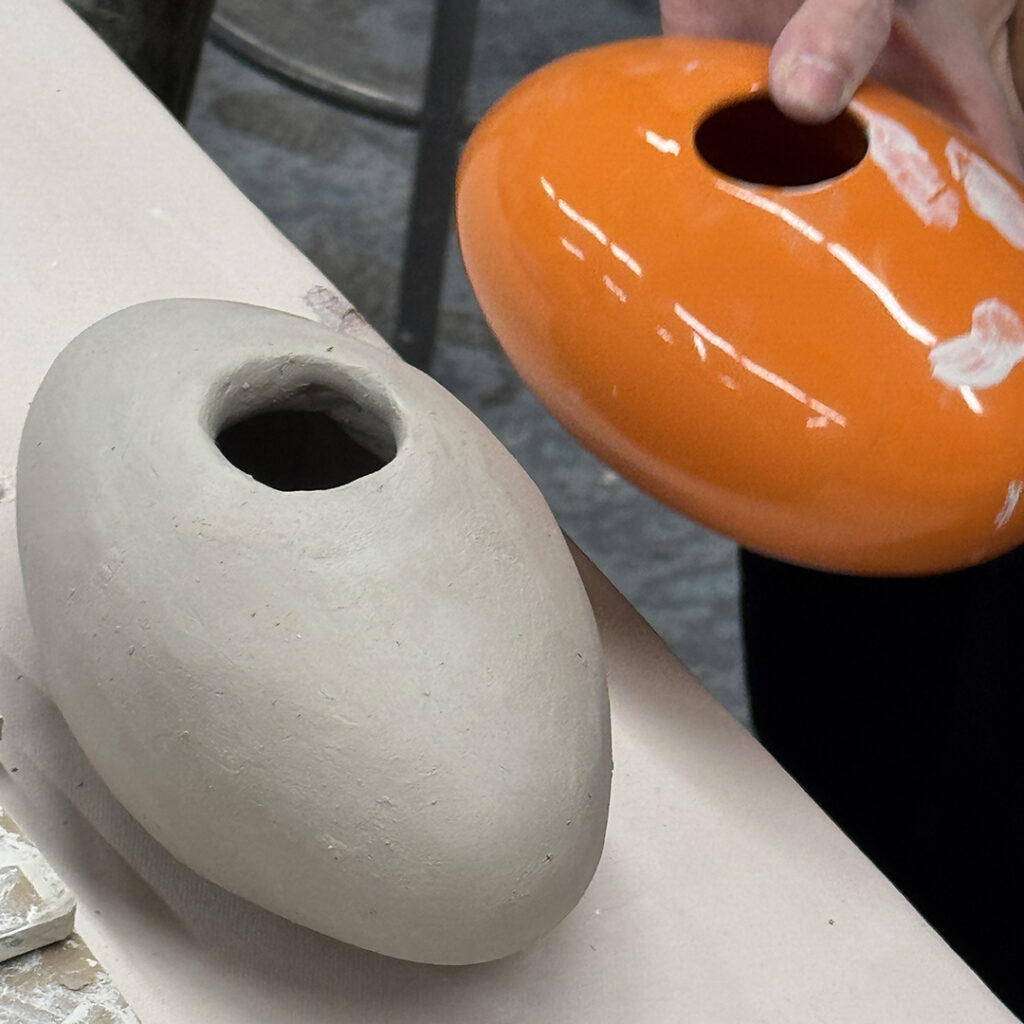

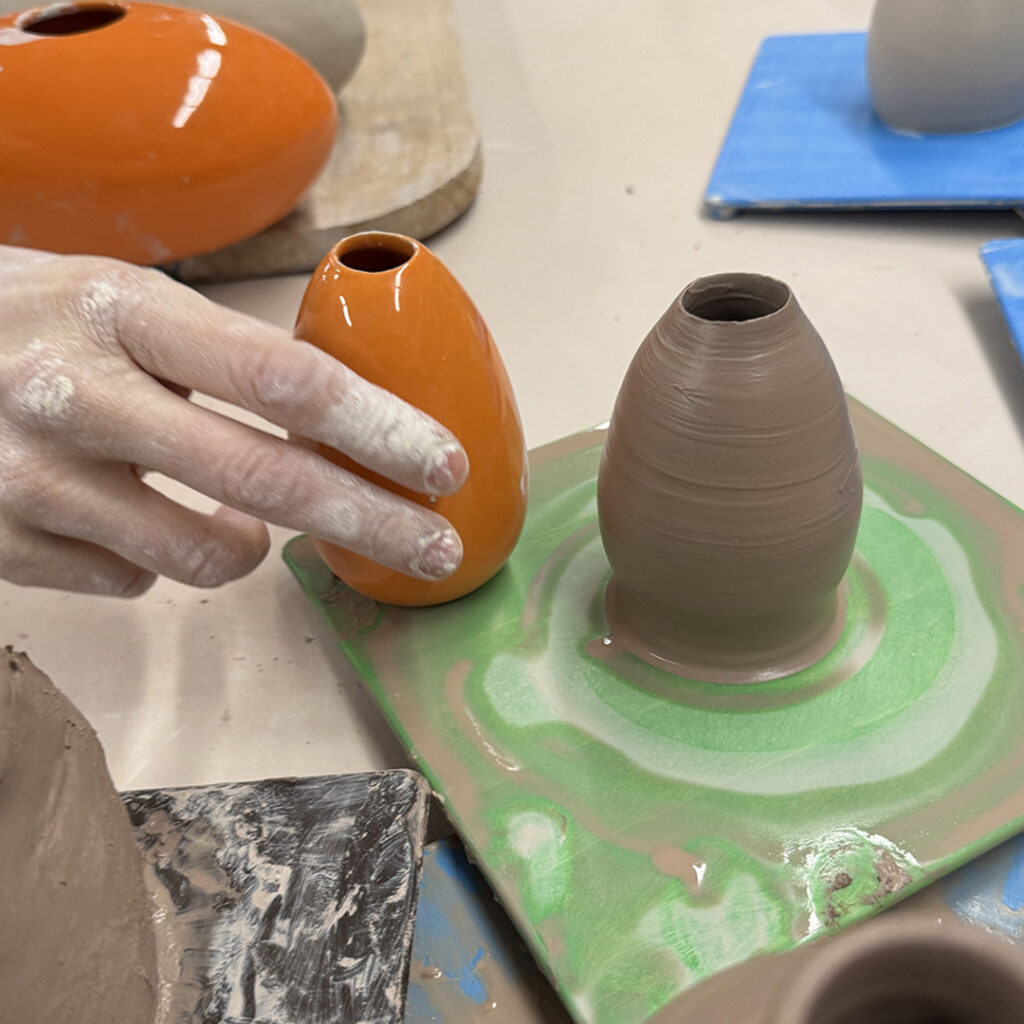


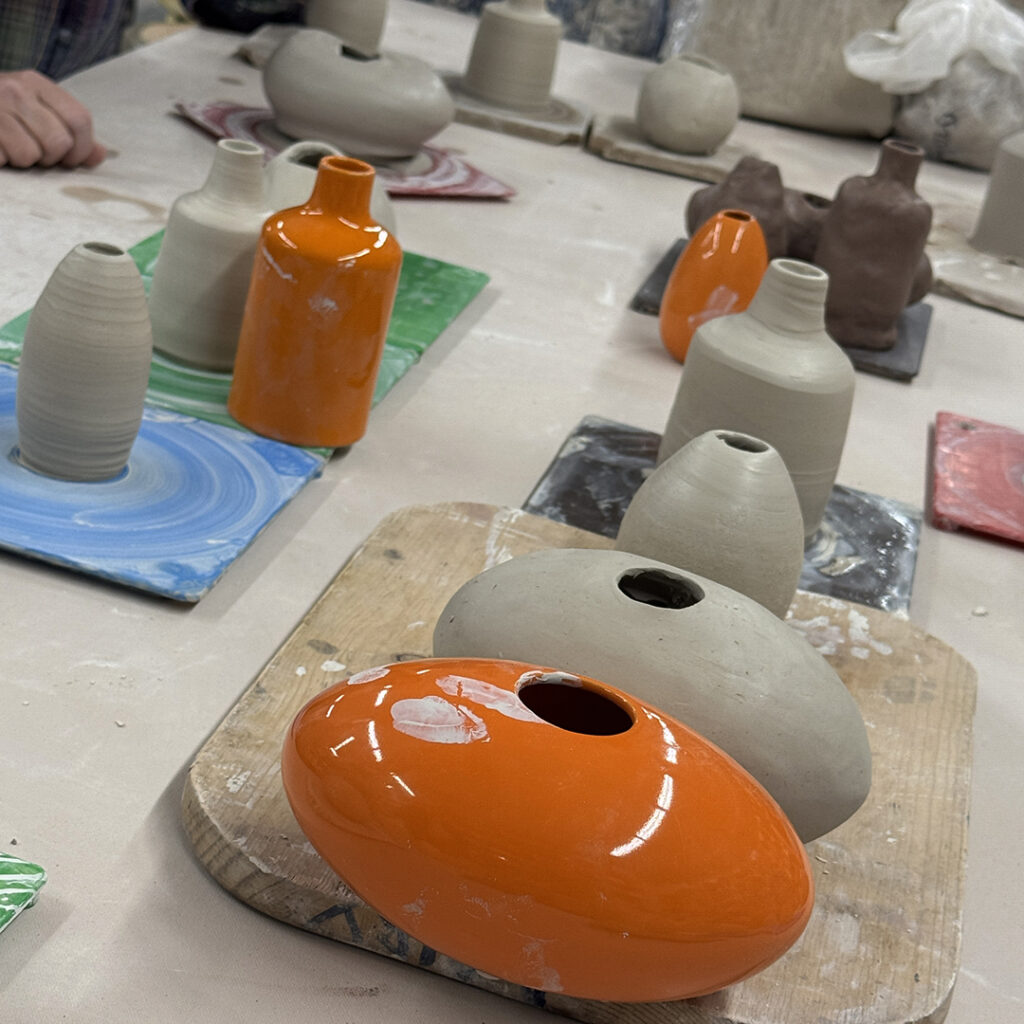
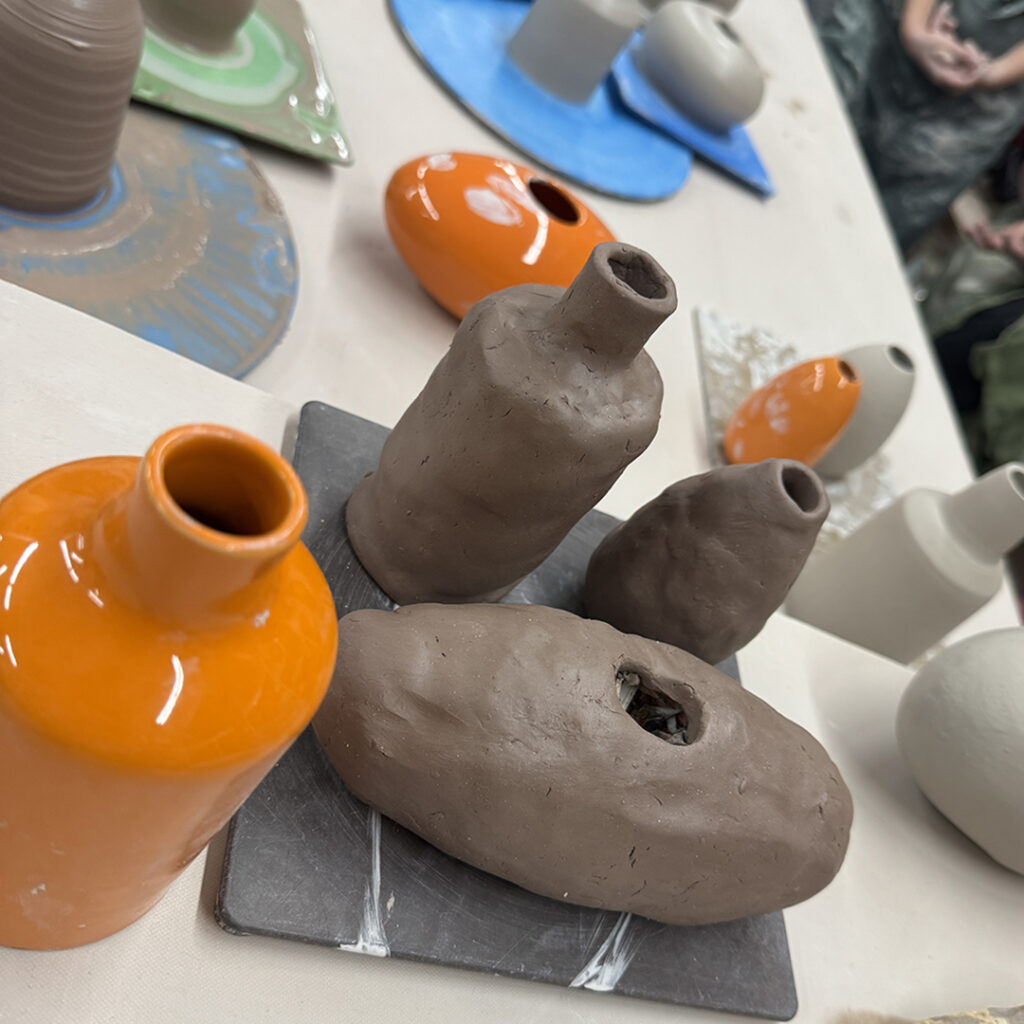
Although I will say, I was a little “disappointed” that no one thought to paint them all with the new orange slip we have in the classrooms now! Given another five or ten minutes, maybe someone would have gotten there?! I mean… the examples were ORANGE, right?!
More than ten pieces thrown before 10:00am.
Making more mugs… but this time with a holiday theme to come!

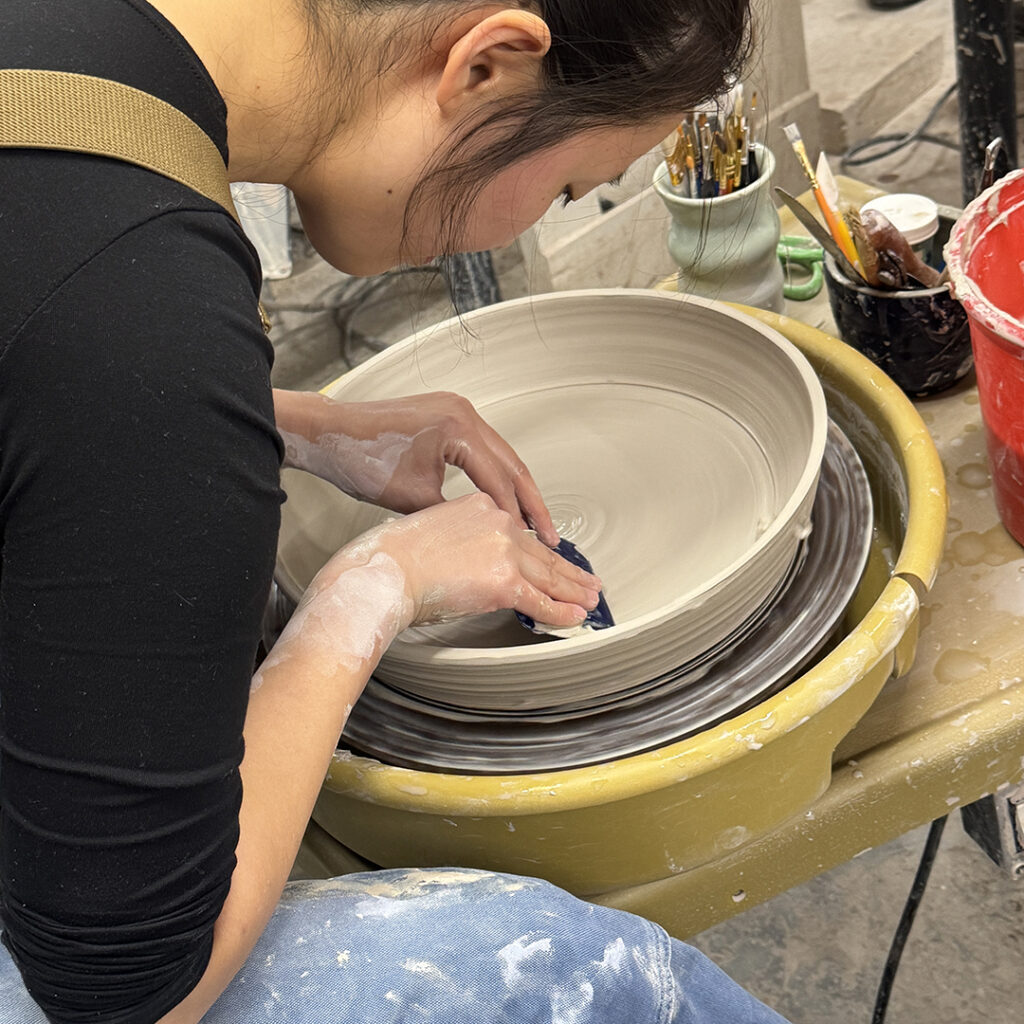
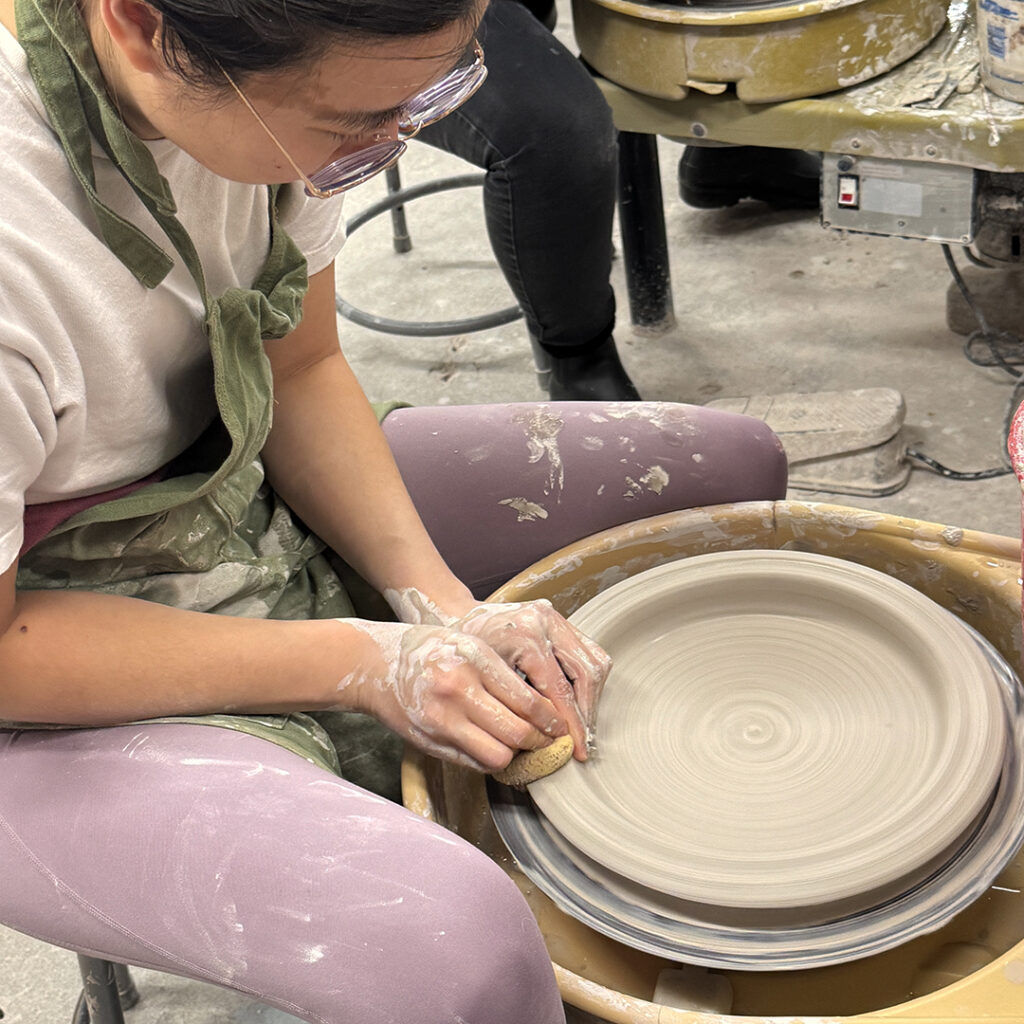
After throwing their “perfect” dinner plate… my LILLSTREET THROWDOWNER’s were then challenged to make the largest platter they could with 6-pounds of clay! Remember, some of them had never made a plate… let alone a huge platter… let alone handling six pounds on a wheel!!! I did a quick demo for them… which they fully appreciated… and then I let them loose!!! And they all did AMAZING!!! Even surprising themselves with their newly-found platter-making skills!


So this week in my beginning Wheel class we discussed making “bowls on purpose, and not cylinders gone bad.” I did a demo… and then sent them off to make their own. Then I made “a few more” so we could start talking about alterations & surface decorations in an effort to make their basic bowls “not-so-basic”!

A quick batch of mug cylinders this morning… fulfilling another 10×10 challenge. Ten pieces thrown before 10:00am! Next up… stamping, trimming & handles!
Last night in my pottery class, my Beginners tackled trimming, pulling & attaching handles… thus finishing their first mugs. And it’s only Week Two!!
|
Gary Jackson: Fire When Ready Pottery
Lillstreet Studios ∙ 4401 North Ravenswood, Chicago, Illinois 60640 ∙ 773-307-8664 gary@firewhenreadypottery.com |