Gary Jackson: Fire When Ready Pottery
A Chicago potter’s somewhat slanted view of clay & play
Categories: soda-fired, textures, tiles

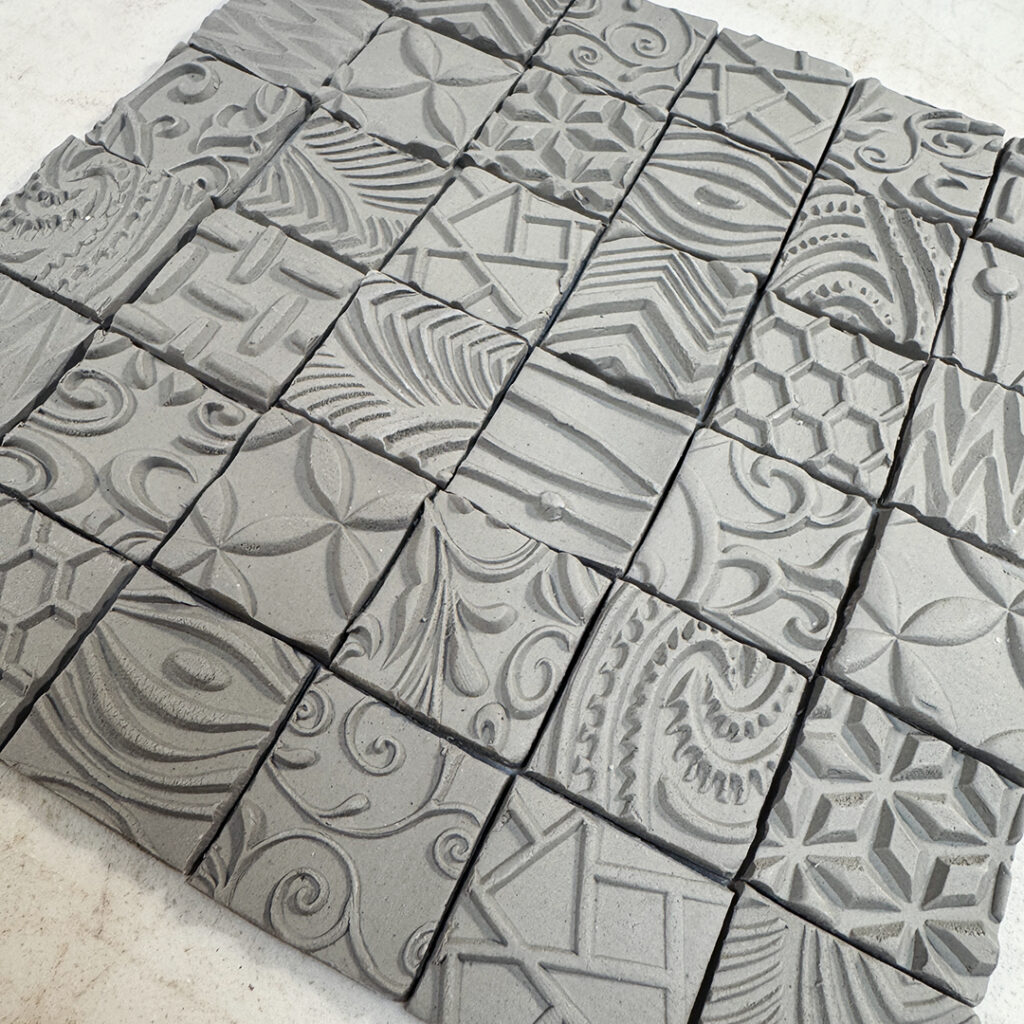
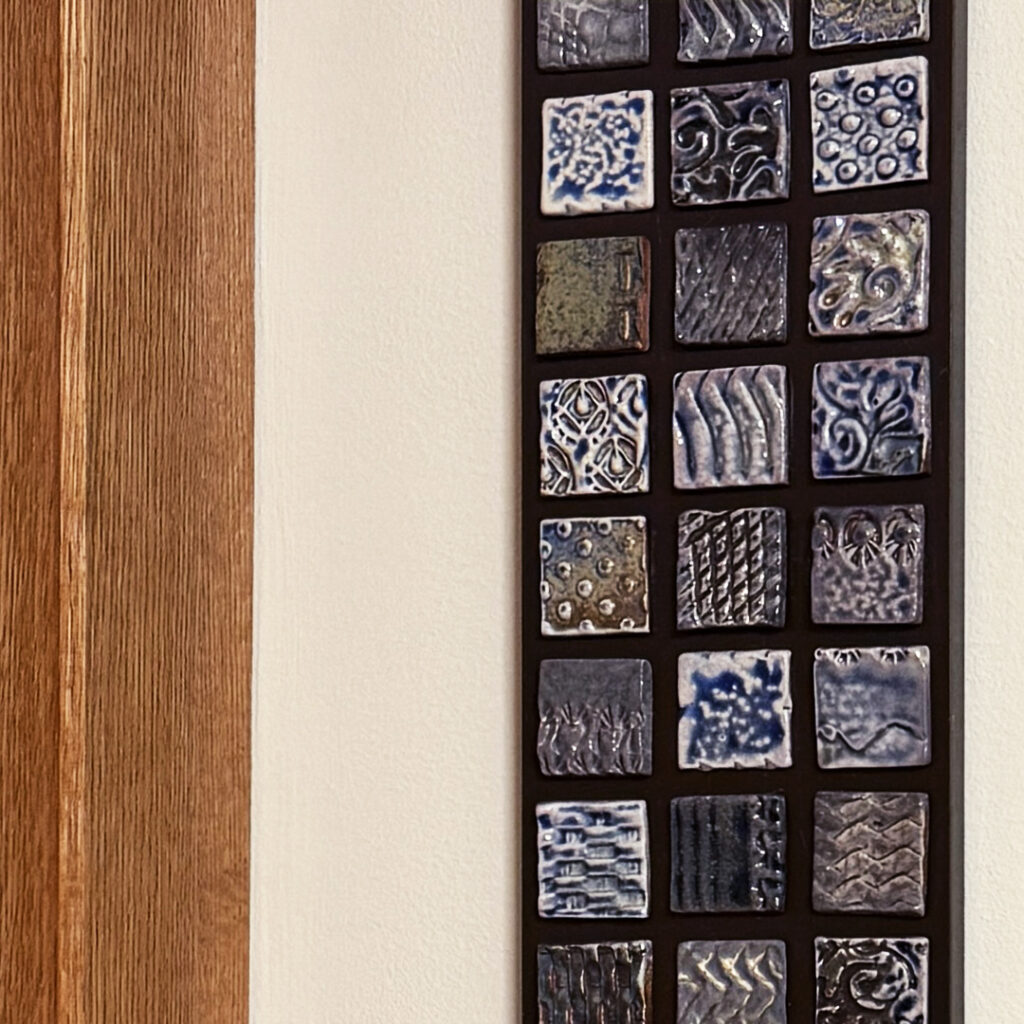
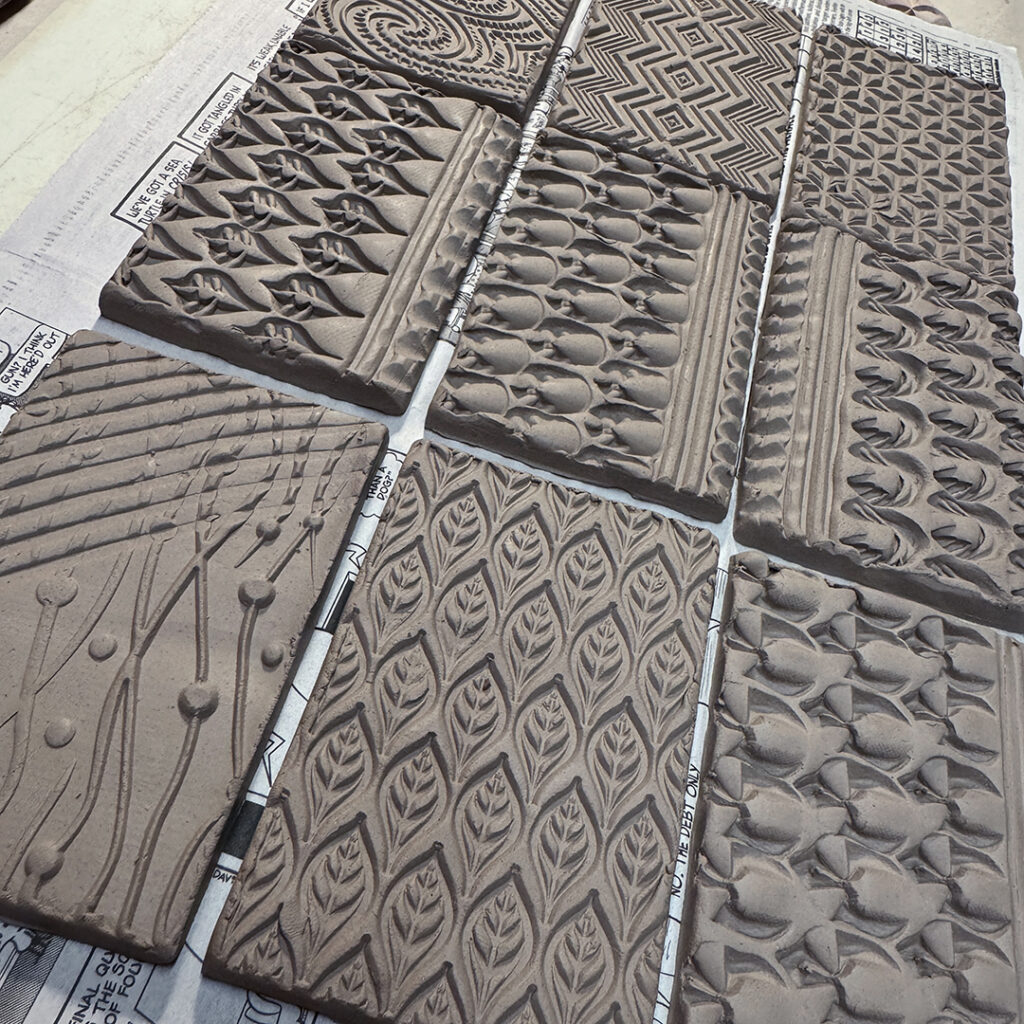
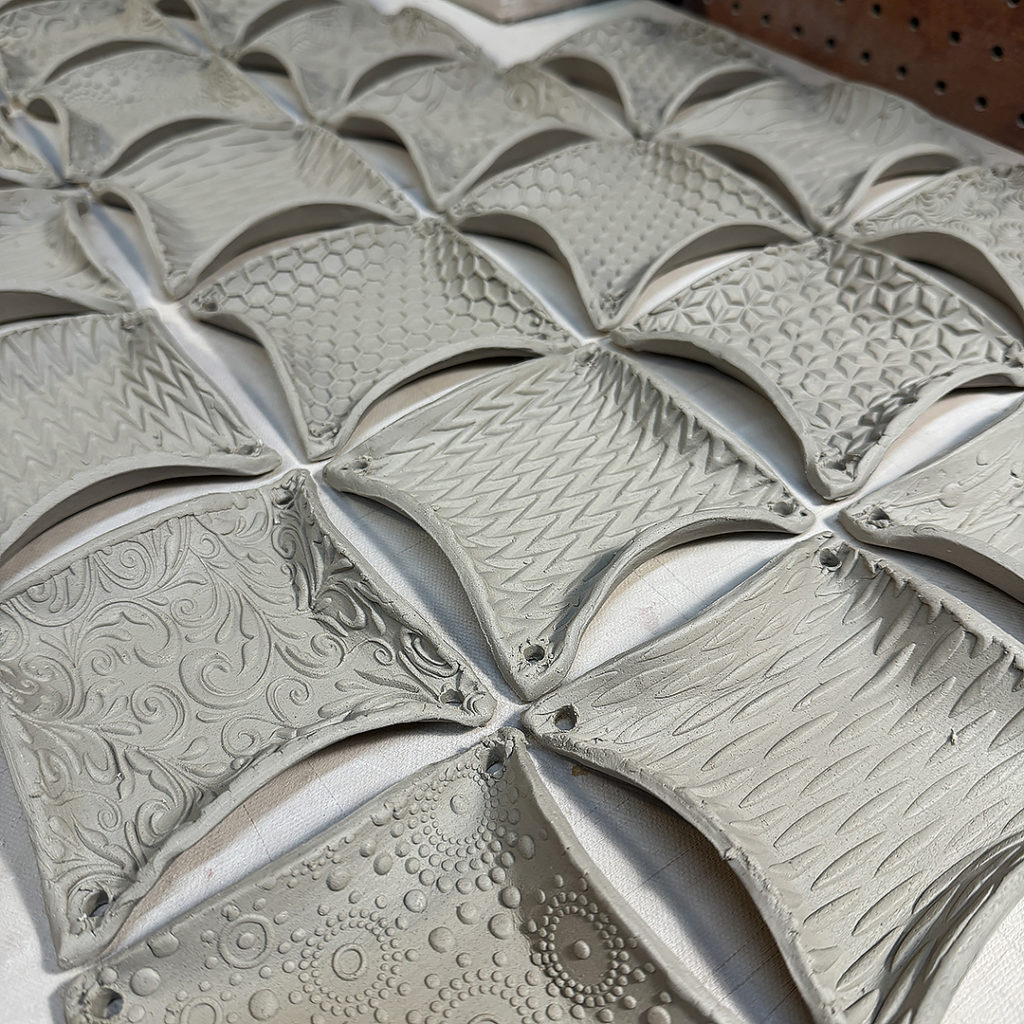
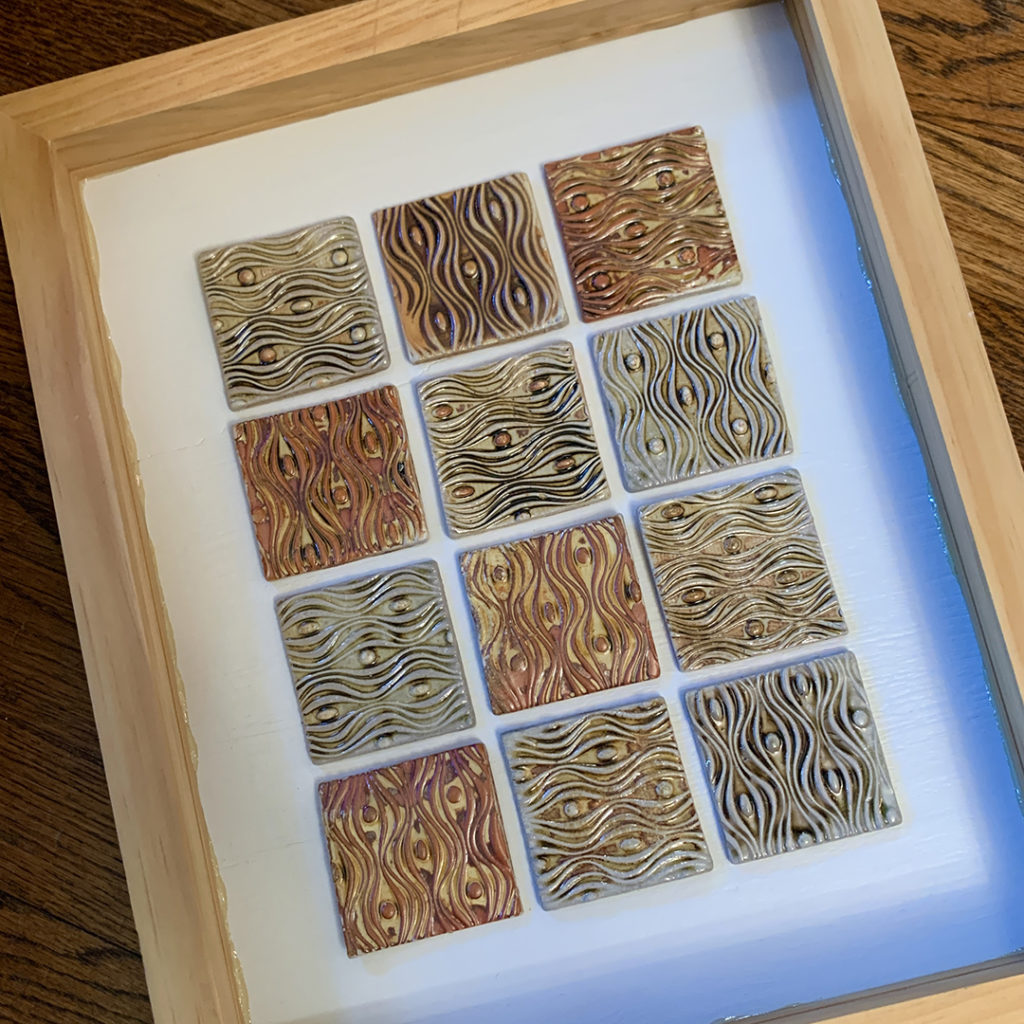
It might be freezing cold outside, but the bright winter sun is making things “striking” inside! Especially as the sun is highlighting textures & striking great shadows across some of my textured tiles! Thanks Ann for sharing your tiled trivets with us… now pass on some of that candy too!!!

Categories: textures, tiles

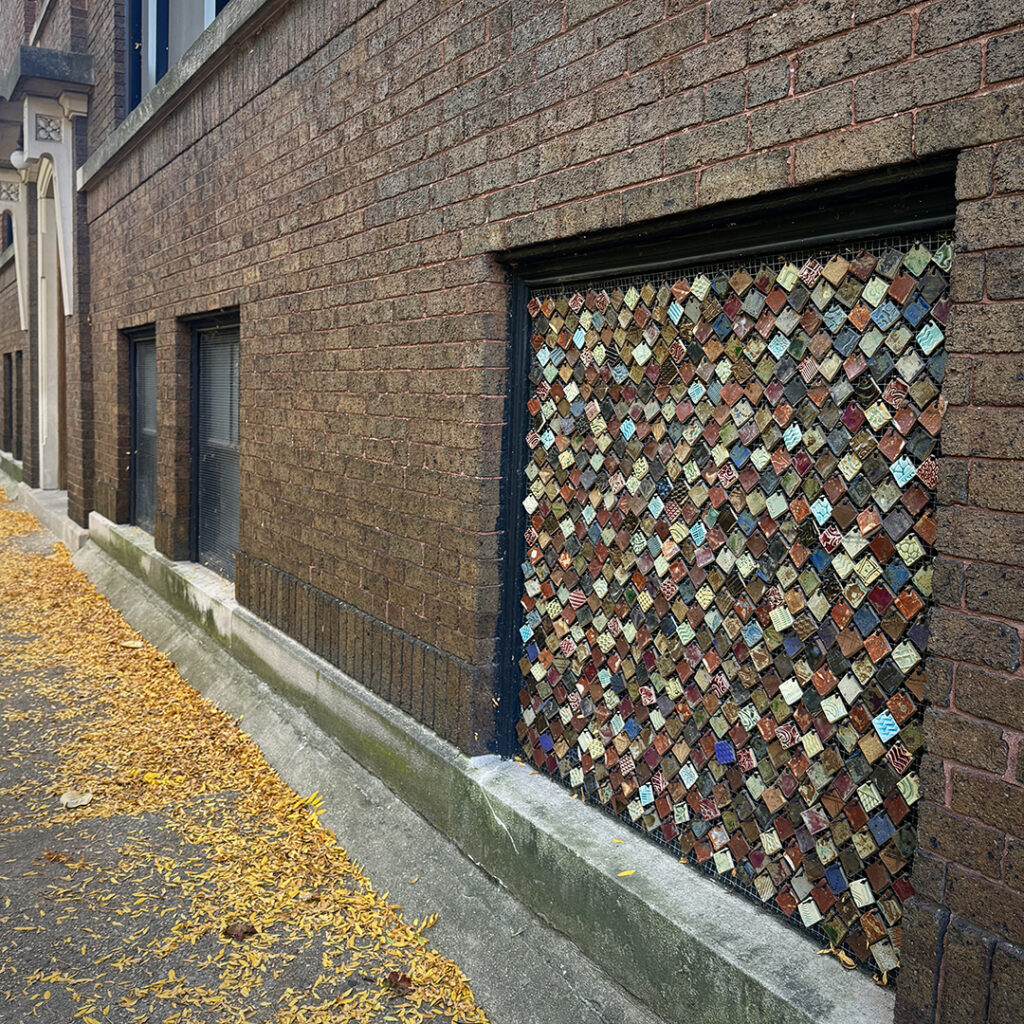
Just a little “tile temptation” for those of you trying to decide if you can come to MY HOLIDAY HOME SHOW today. Well if you do, you’ll see my tiled wall installation with close to 3,000 handmade tiles on the wall… 2,894 to be exact, but who’s counting?! Just a little textural incentive to come see it in person… with your mask!!!

Categories: stamped, textures, tiles

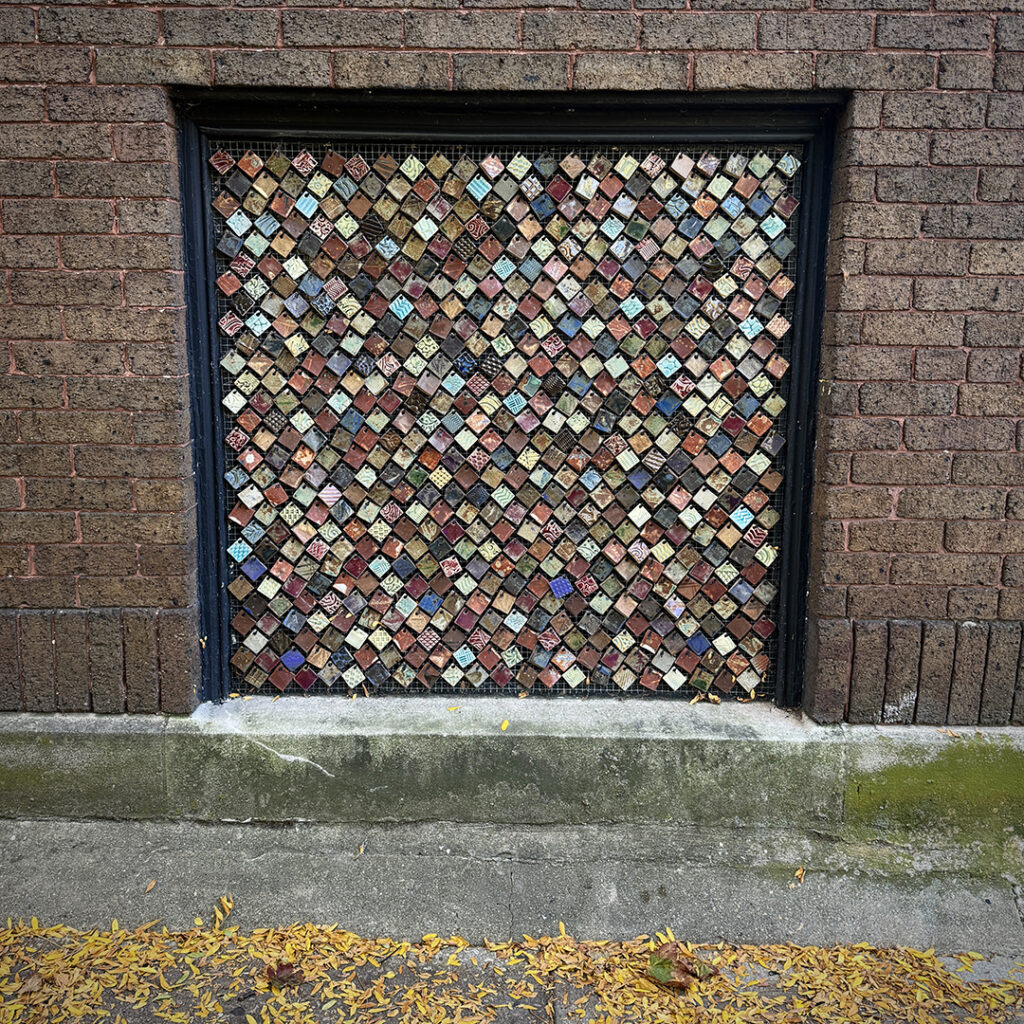
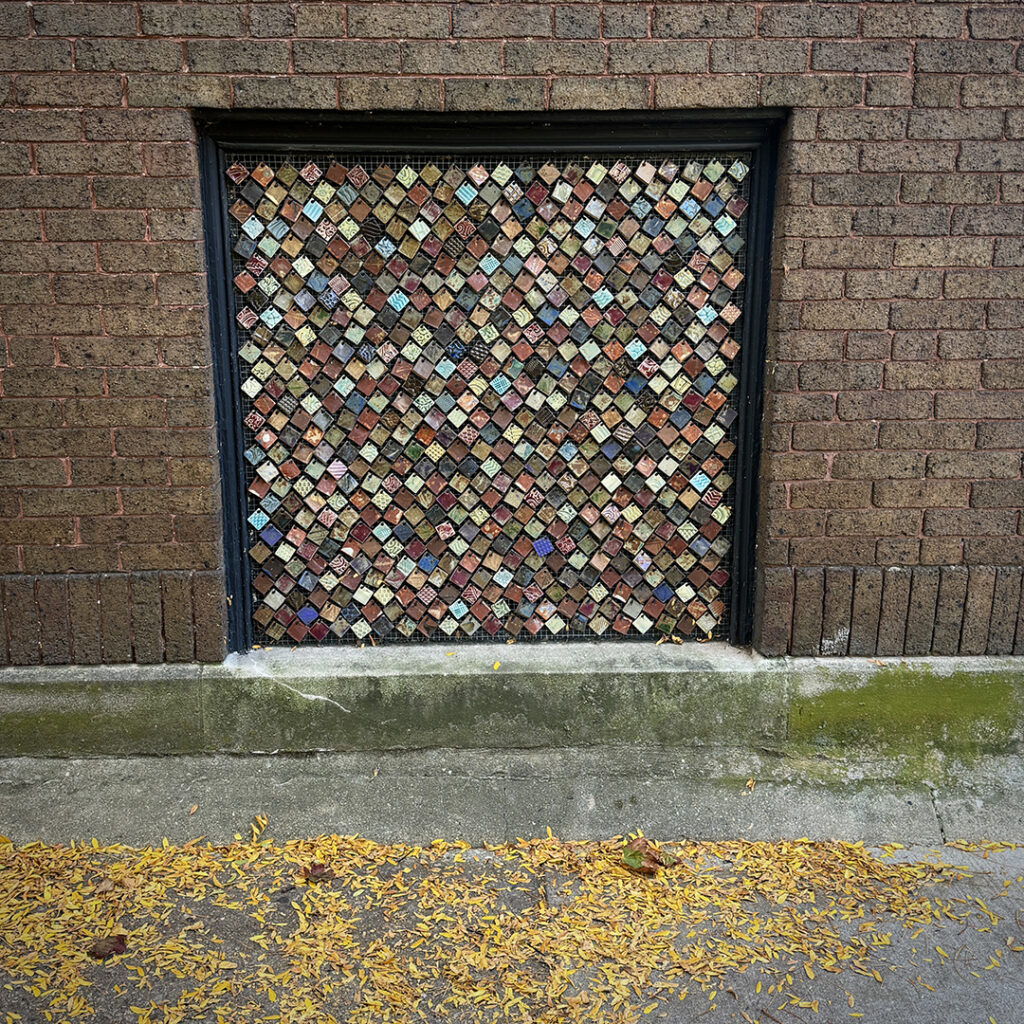
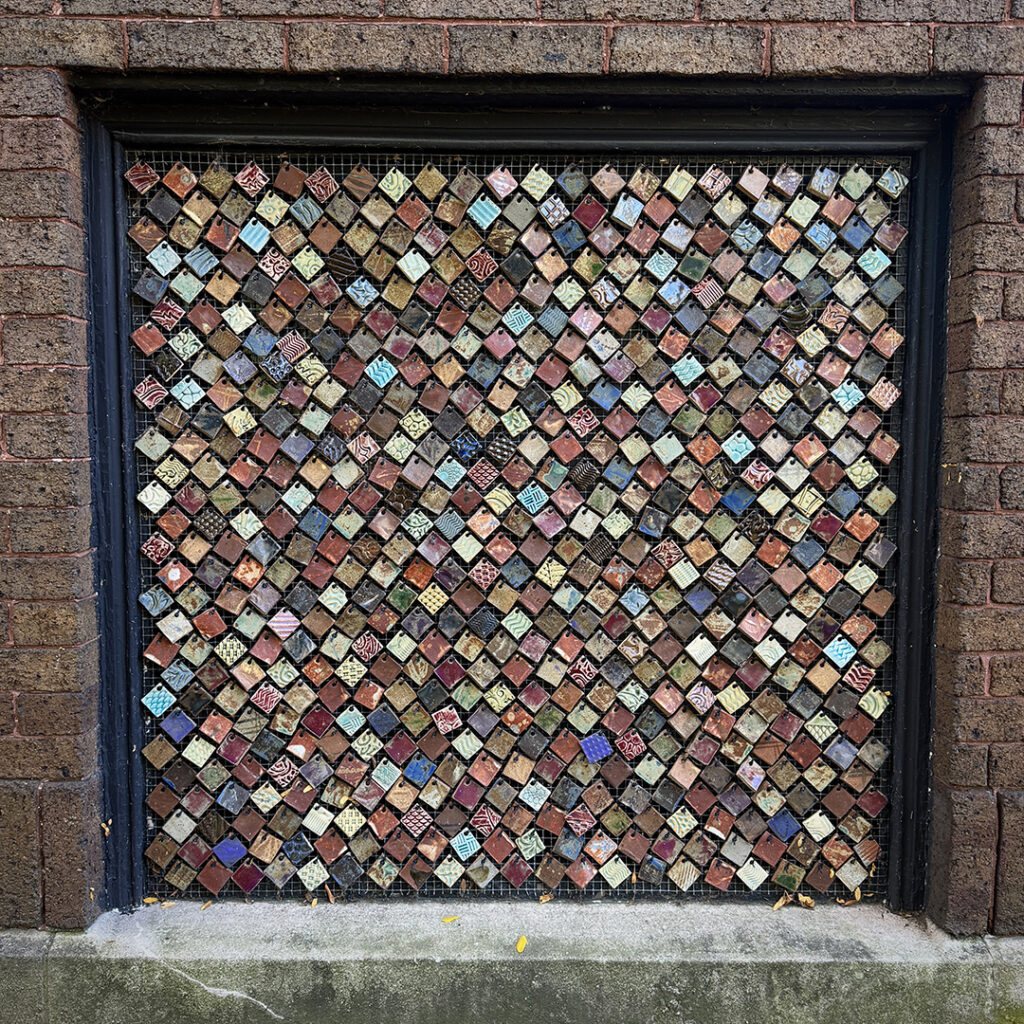
See what happens when it rains…
I keep sharing pictures while I’m stuck at home!!!

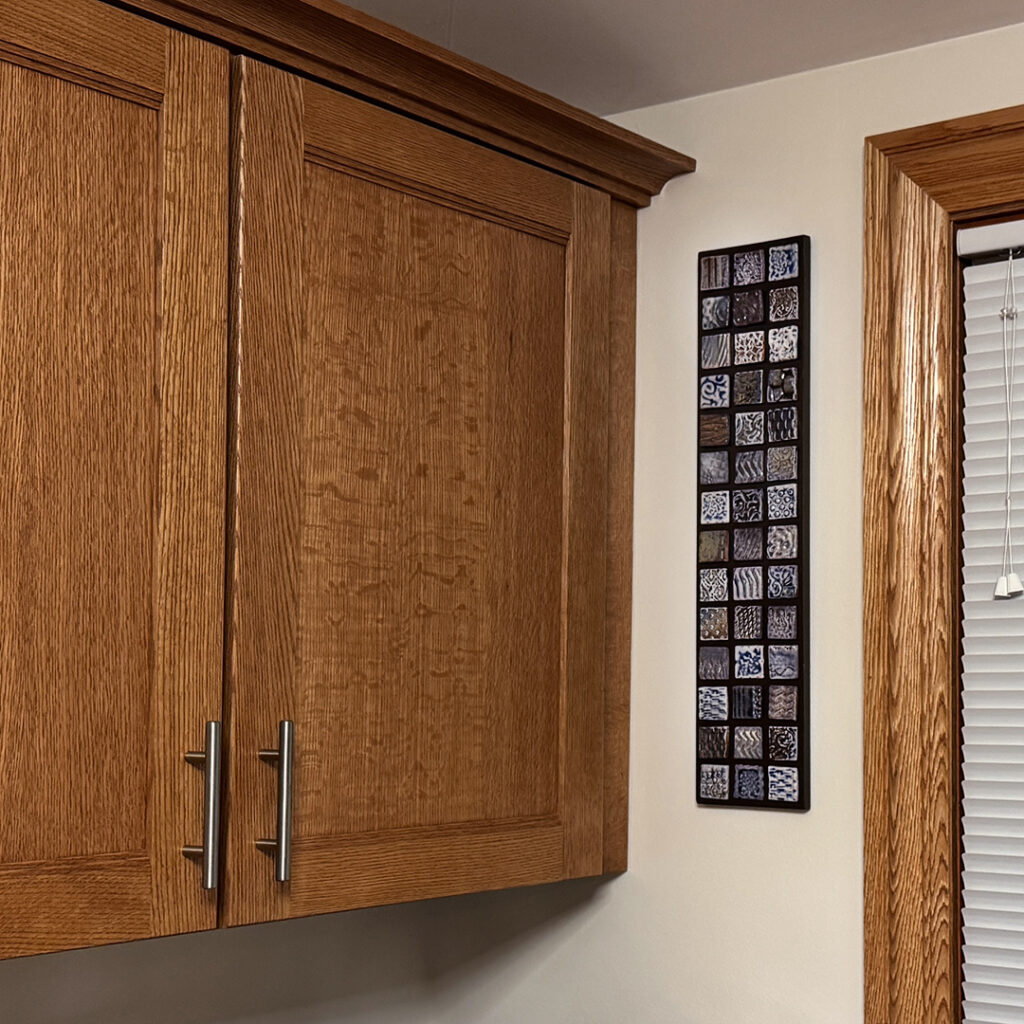
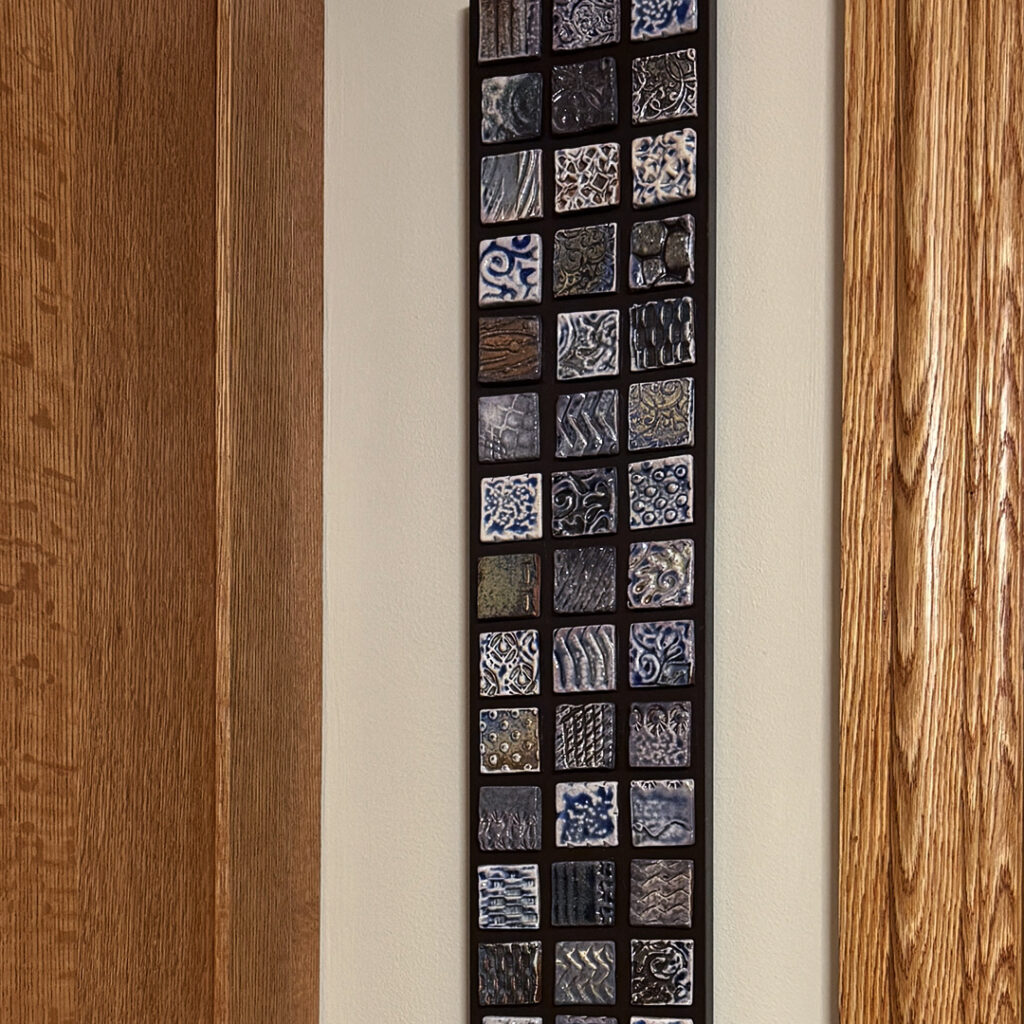
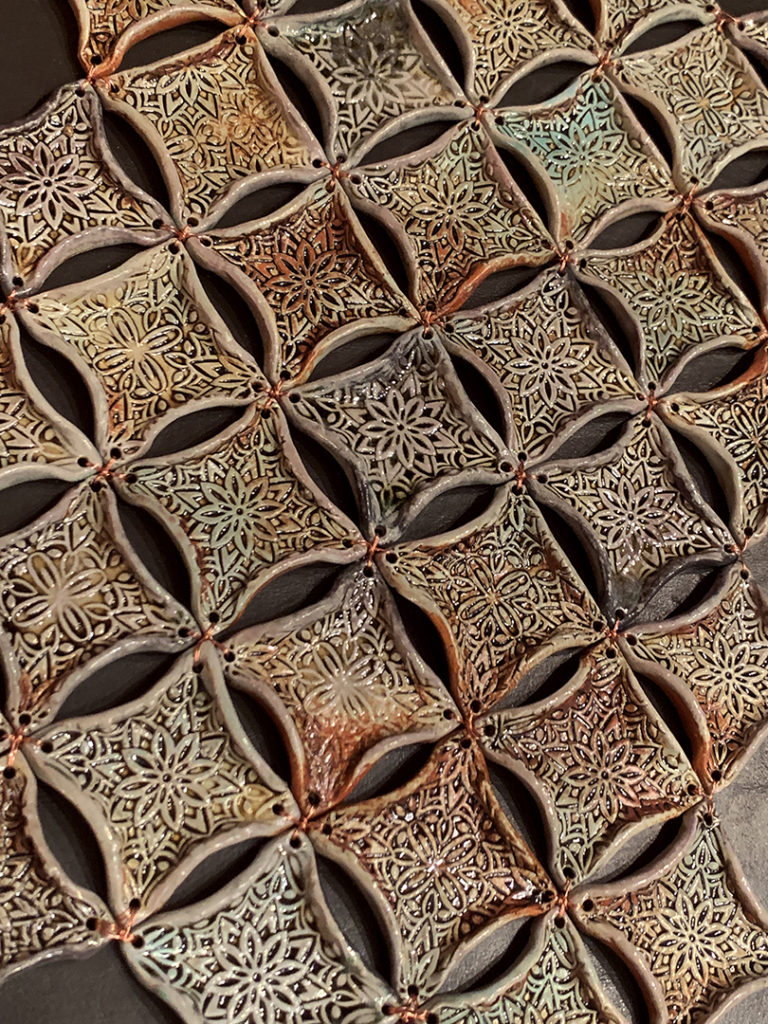
Okay, so a lot of you have already been to my place for “My Holiday Home Show” and have seen, touched & loved my tiled wall installation. It’s a small wall between bedroom & bathroom with just under 3,000 handmade tiles on the wall…. 2,894 but who’s counting?! All stamped, textured & soda-fired. It took awhile to install, but I LOVE the final piece… especially with my hardwood accents & overhead track lighting for added drama & shadows!

Categories: friends, garden, soda-fired, tiles

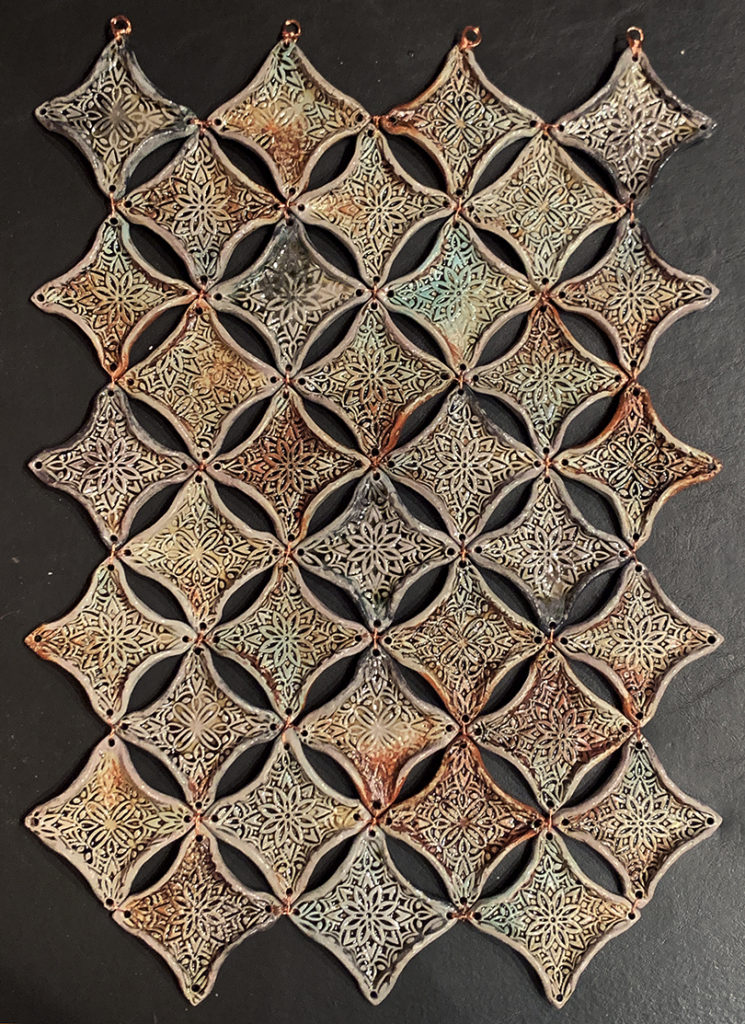
Looks like my friend & master gardener Rosene has accepted my coleus challenge. Every year she propagates hundreds of coleus starts and shares them with everyone. But now that she’s quarantines with all these coleus plants, I though she could use a new challenge… of growing a COLEUS TOPIARY!!! And it looks like she’s well on her way! With a beautiful tiled ClayQuilt in the back ground… which kinda looks familiar!!!

And here’s the picture of the challenge inspiration I saw on Instagram… looks like she’s got a ways to go!!!

Categories: friends, soda-fired, stamped, tiles

While everyone is still sheltered-in-place, it’s good to see my friends are keeping up with their Disney Trivia… all the while “fireplace surround-ed” by some handmade, stamped, textured & soda-fired tiles! A little Throwback Thursday to a project I installed a few years ago out in the suburbs!

Categories: friends, mugs, tiles

Looks like one on this week’s MUG-SHOP MONDAY mugs has arrived safe & sound! Just in time to brighten another Saturday of “sheltering-at-home”!!! Thanks again Julie!

Categories: handbuilding, television, tiles

This week on the British TV show “The Great Pottery Throwdown”, the contestants were tasked with making 40 handmade tiles in two hours. Their goal was to make enough tiles to tile a small fireplace surround… with a twist of the tiles needing to have some 3-dimensional designs on it. They did the project in two parts… first making the tiles, then they let the tiles stiffen up a bit.. and then back to add the details. Some people struggled with smooth, flat tiles… while others succeeded… and others decided to make their challenge even harder by going to hexagon or triangle tiles! So instead of forty squares, Claire had to make 80 triangles, while Matt went for 102 hexagons!

To watch the episode on YouTube… click here.

While their tiles were set aside to dry for awhile to stiffen up, they did a quick Throwdown Challenge… where they had to throw a large terra cotta chimney… by assembling two large cylinders together for the large chimney cylinder.

The contestants received their glazed & finished tiles back from the kiln guy, they had to assemble, install & gorut their fireplace surrounds… and then stand there for judging!!!

Categories: classes, tiles

This week in my Lillstreet Throwdown class, they all returned with their “blindfold-thrown bowls” as they had to refine & trim them a bit. I think most of them thought we would be working on decorating them in class as “part two” of the assignment. Instead, I had them spray their bowls with water and wrap them up with plastic. We “might” decorate them… but not right away!

Instead we switched to tile-making!!!
They were tasked with making nine 4″x 4″ tiles in twenty minutes. The goal was even thickness, clean edges & good corners. So they started by wedging their clay, throwing slabs and then cutting them into flat tiles. It was fun to see them approach the task… most with rulers… none of them considering the slab roller… and Melanie making a template to use to cut them all nice & square!

After we critiqued & judged the tiles, they began to decorate them with colored slips. They had 45 minutes to finish all nine tiles… which sounds like plenty of time, until you start figuring out how many minutes per tile that works out to be! The challenge for this project was that their group of tiles should coordinate with a common color palette. Their tiles should NOT match as they had to utilize a different slip application technique on each tile. We were looking for creativity, technique, style, cleanliness and overall impression. Basically I was looking for people to embrace the spirit of the challenge… and have a good time exploring different slip possibilities!

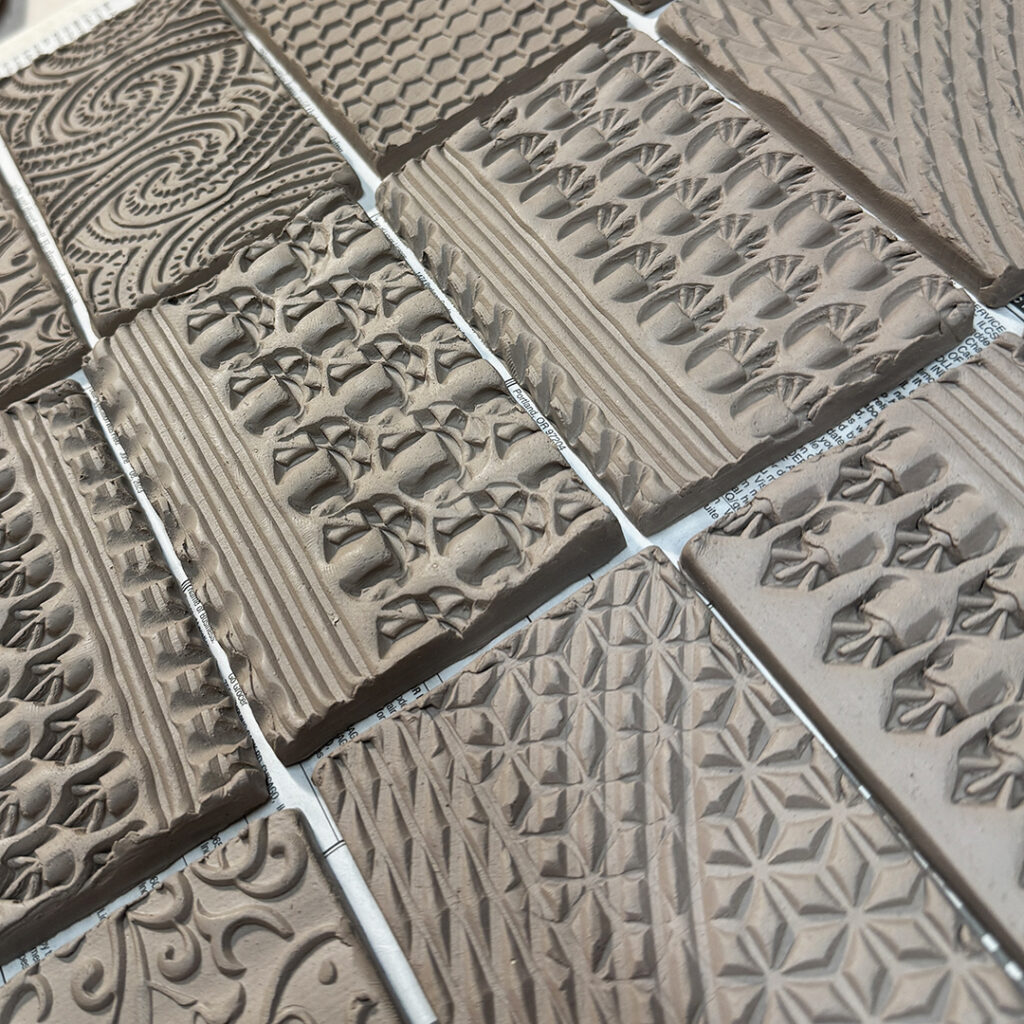
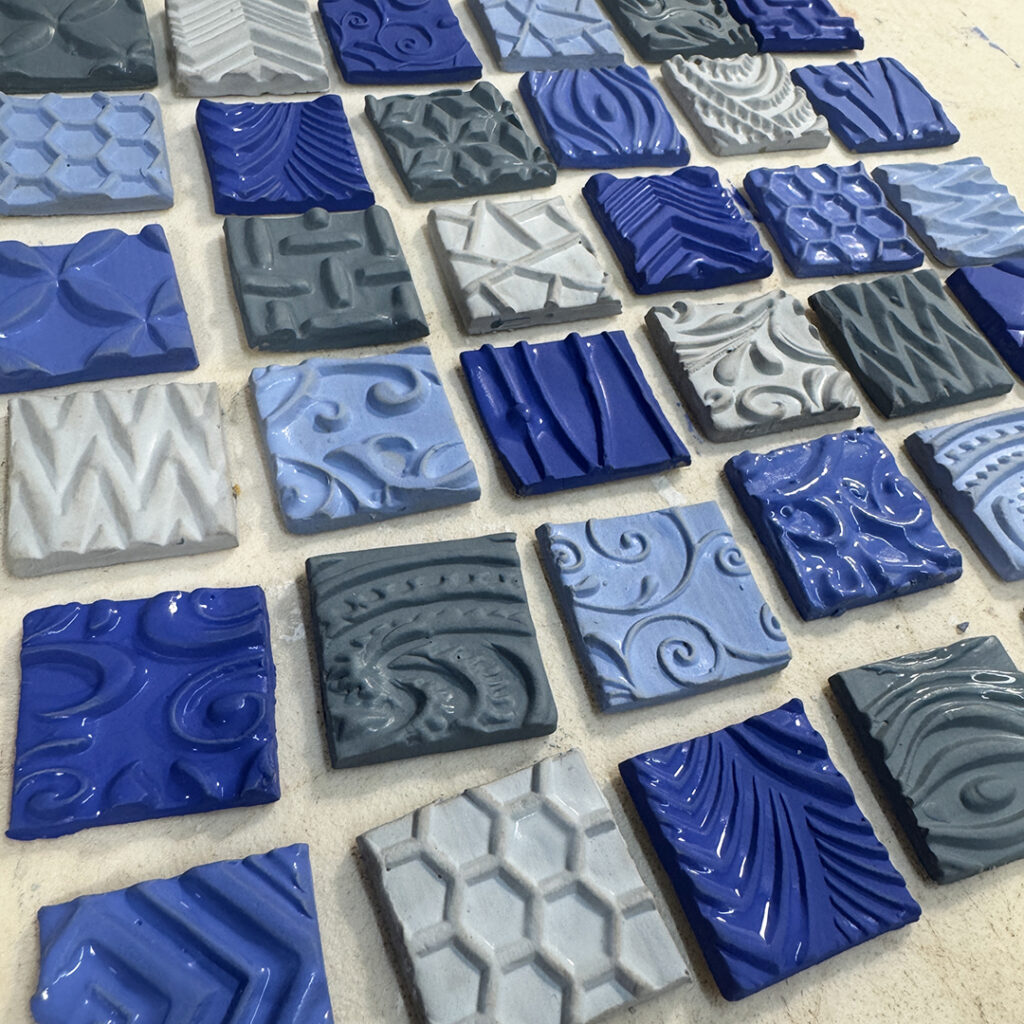
Just a couple tile close-ups… loving the textures, patterns and techniques!

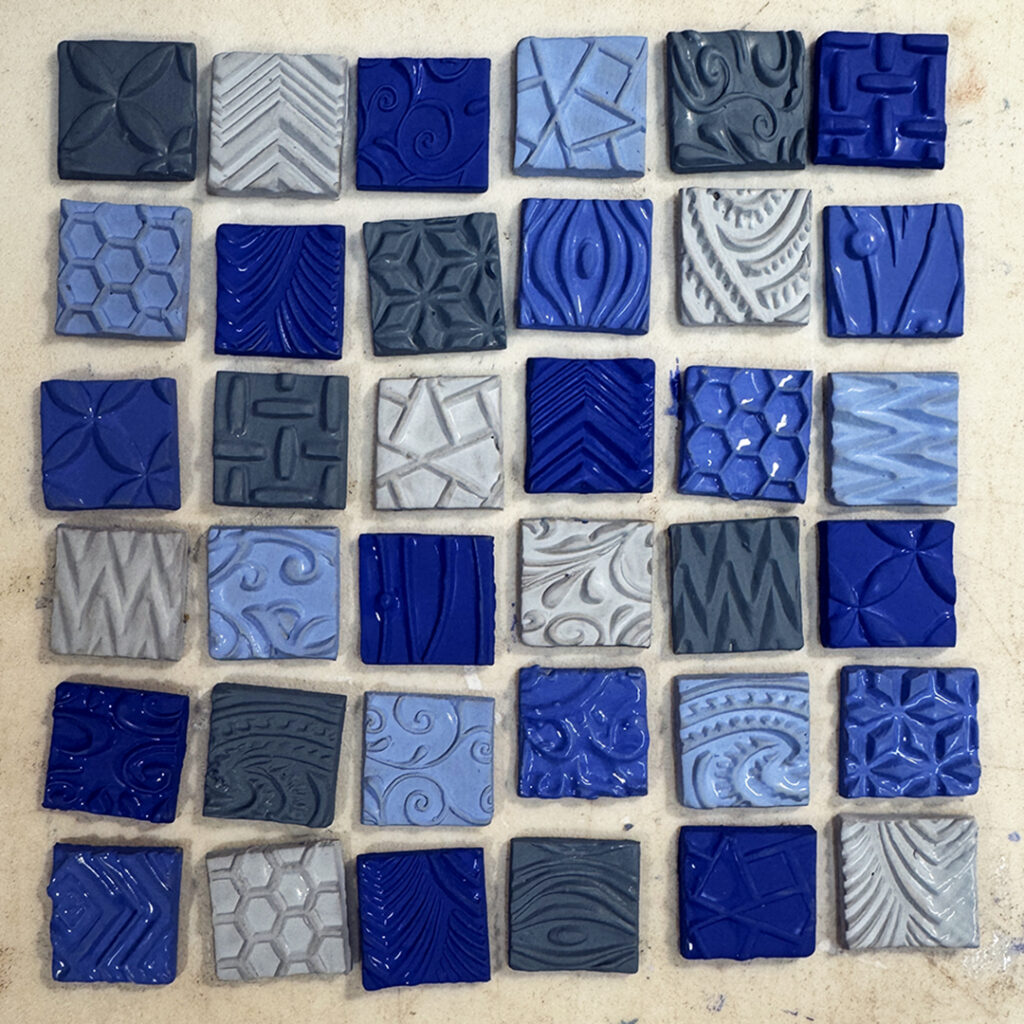
At the end of their time, we went around and looked at all of the sets of nine. Some people kept it simple with one color, some went for multiple colors. Some when over-the-top while others kept it minimal. Some kept exploring a common pattern in different ways, while others went for deconstructed versions of the same!

Alwasy fun to see how they all approach the project… and then what they come up with. And with a bit of a time-restraint, they also had to work a bit faster and not over-think things too much. Maybe have a little more fun… and trip upon some new, fun decorative techniques!

Save

Save

Categories: classes, stamped, textures, tiles

This week I challenged my LILLSTREET THROWDOWN students to make a set of tiles. They needed to throw a slab and cute nine perfect 4″x4″ tiles.Many of them have never made tiles before, so it was fun to see their thought process as they only had twenty minutes!

A few of them thought THAT was the challenge… but the smart ones knew there would be a twist! So I challenged them again with textures & tools…. err, well ONE TOOL!

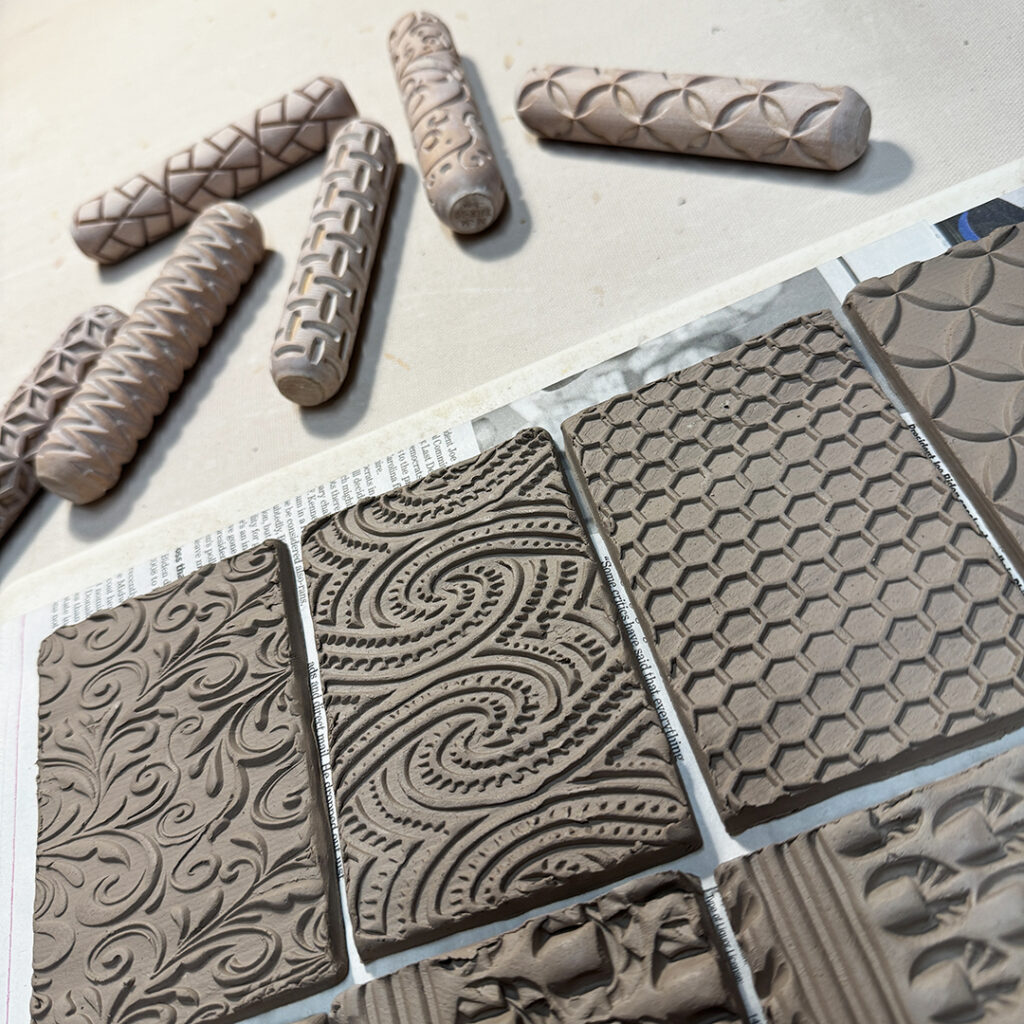
They each chose randomly to see which of these tools was going to be theirs
Some were excited.. .some were scared. And then I gave them the challenge guidelines…

They had to decorate all nine tiles with that ONE new tool.
All of the tiles should go together as a set, but none of them could be the same!
And for this challenge they had thirty minutes! And GO!!!

And there we have them… a fun collection of textured tiles. And a LOT of fun & camaraderie along the way. They were very entertaining… some times frustrated… and very ingenious about how to use that ONE tool. Some used both ends.. some took them apart… some broke them in half… and some pulled out the small wire from inside!!!

Jacob

David

Susan

Donna

Taylor

Ryan

Claire

Molly

Tatiana

Save

Save

Categories: Taylor, tiles

After we finished installing the textured tile wall in the family room… Taylor was emboldened by her skills and decided to install a few tiles in her bedroom! As she’s still a teenager, we wanted to make it “somewhat removable” in case she changes her mind and decides to remodel her bedroom somewhere down the road. We had a partial box full of tiles, so she chose the ones she wanted to use and laid them out in her own design.

We started installing them with Seal & Peel adhesive… but that proved to be too slippery. The tiles kept sliding down the wall, and popping off “of their own free will” whenever they wanted to. We only got a dozen tiles on at the bottom… and they kept falling off. So we stopped to reconsider the options. Scott decided that they could use 3M Command Velcro Tabs to put them up. And so they did…

Save