05.10.2020
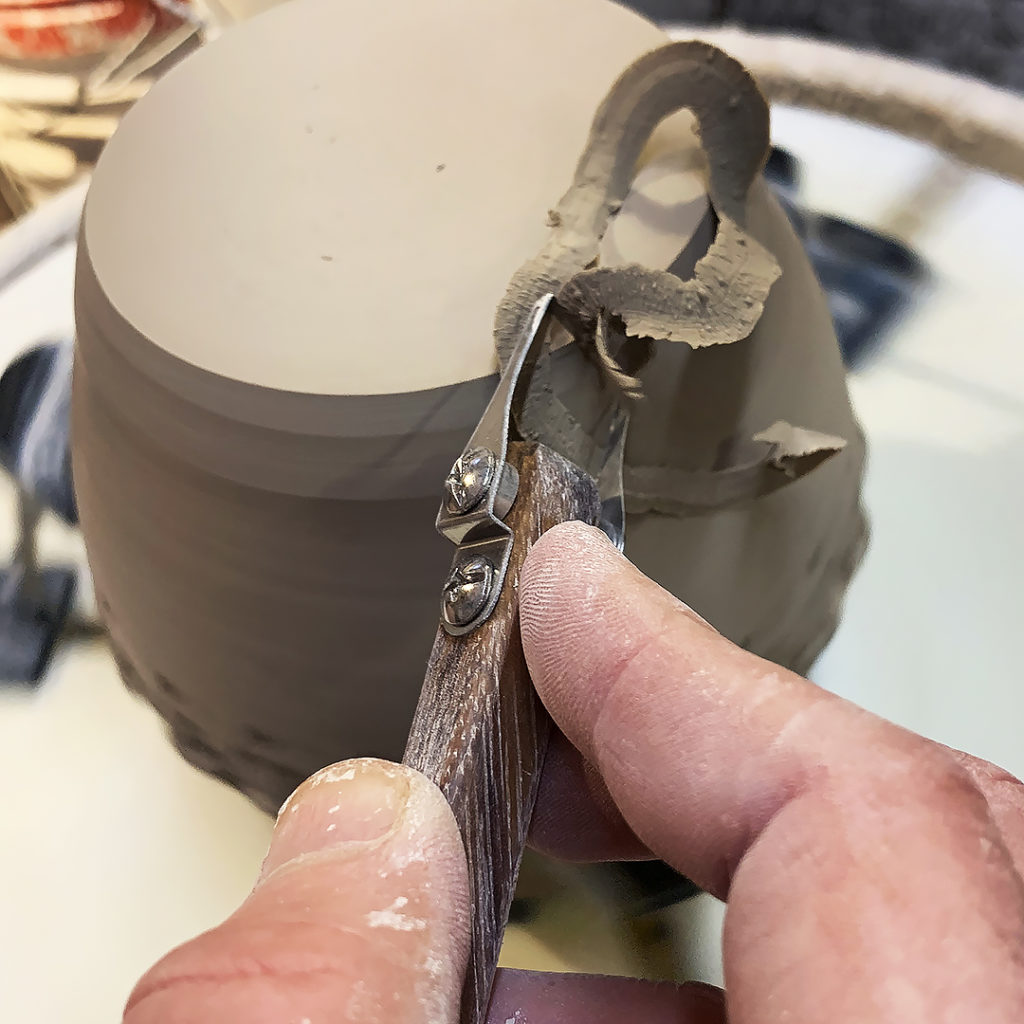
Another night of trimming. Spinning fast in the studio. Enjoying my new trimming tools from DiamondCore Tools. Nice & sharp, making wonderful ribbons just peel right off!


Gary Jackson: Fire When Ready Pottery
A Chicago potter’s somewhat slanted view of clay & play |
Another night of trimming. Spinning fast in the studio. Enjoying my new trimming tools from DiamondCore Tools. Nice & sharp, making wonderful ribbons just peel right off!
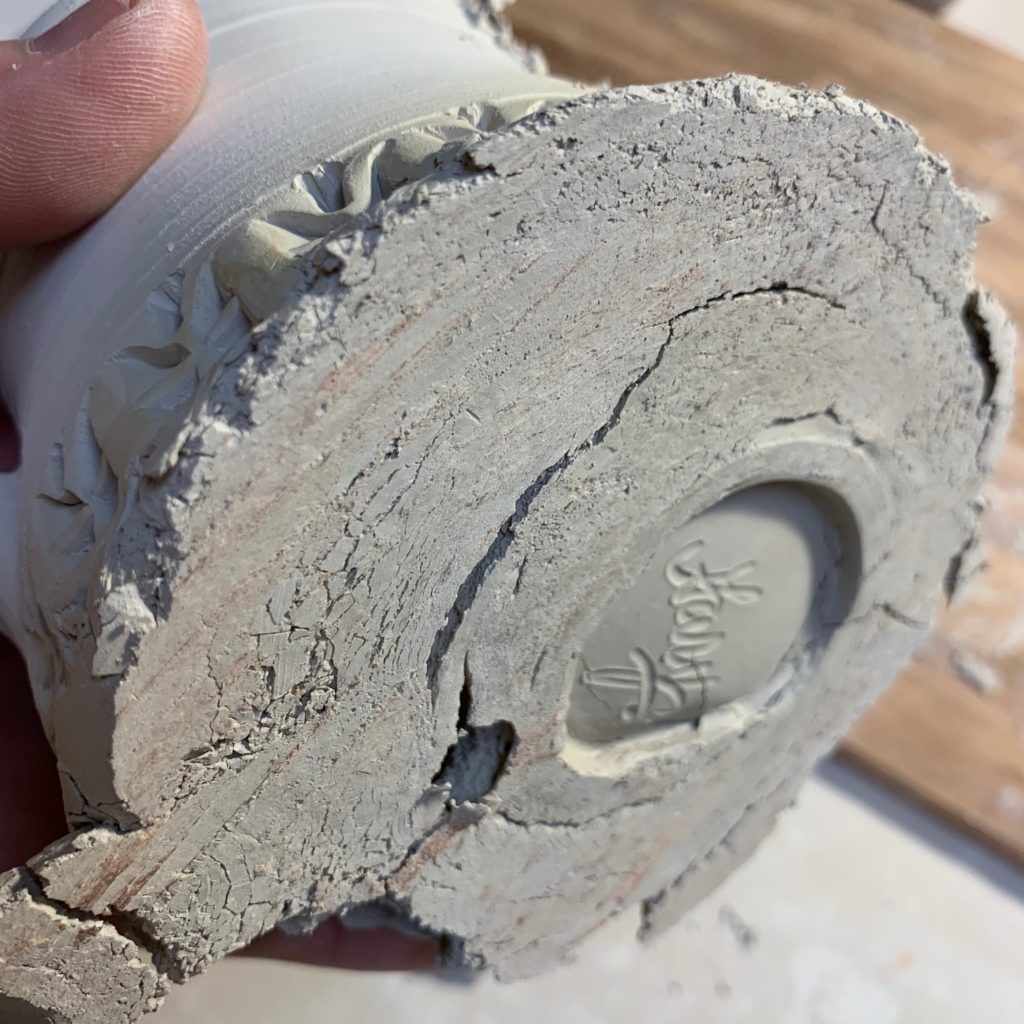
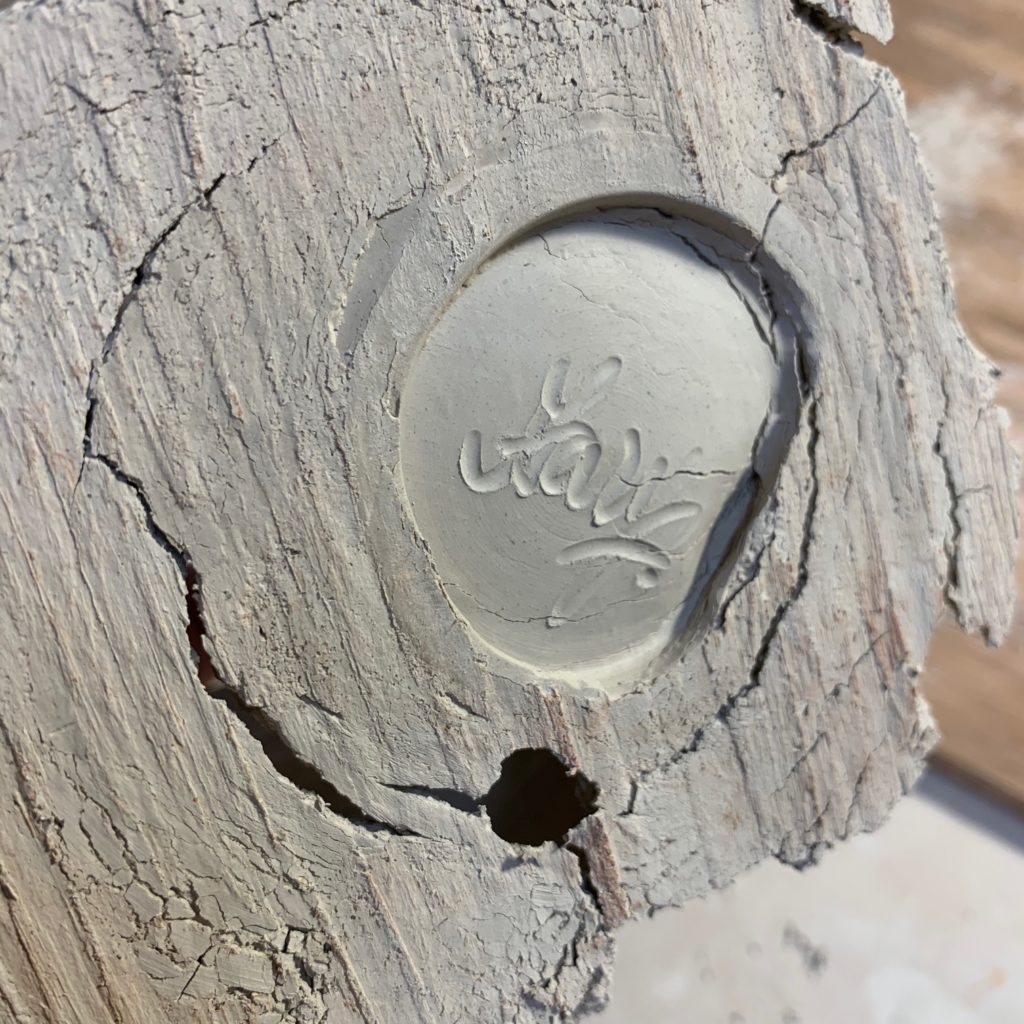
Always a good sign to see…
four little letters that make me VERY happy!!

Just like something out of “The Wizard Of Oz”…
a bucket of water takes down the Wicked Witch of the West!!!
Well, it didn’t take a bucket… and there wasn’t a witch…
but there was a lot of MELTING!!!
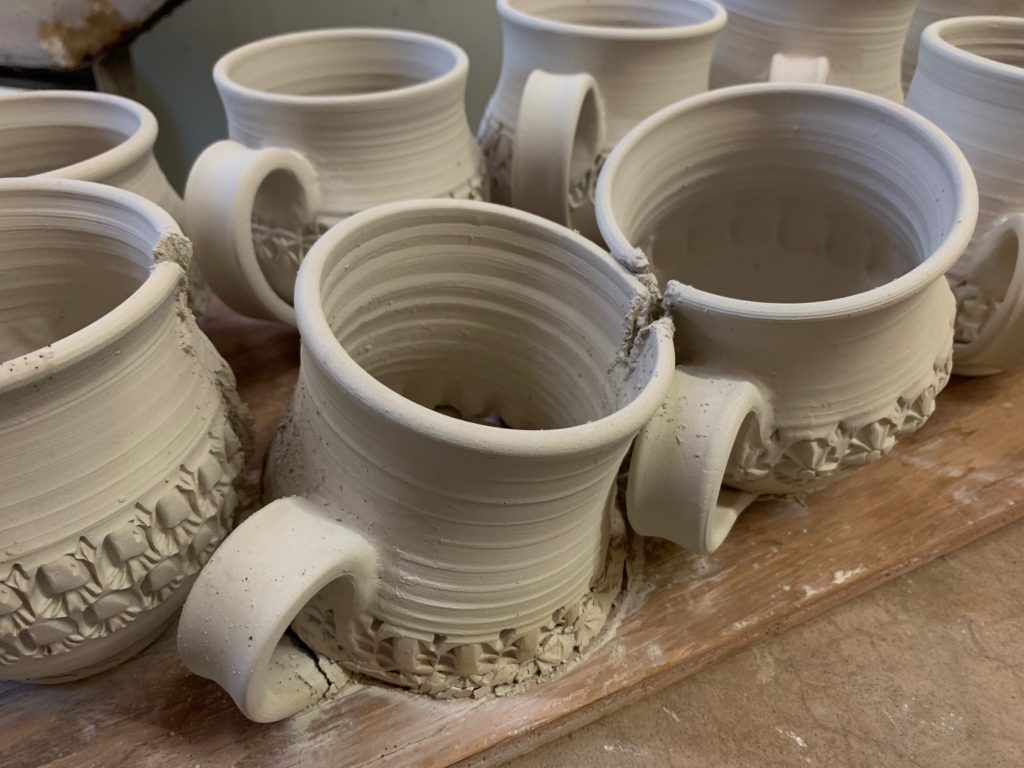
So when I was loading my bisque kiln, I was loading boards full of pieces into the kiln. Many of the boards had been stored in the kiln room for a couple weeks… to dry out… as well as to get them out of my small studio space! Some of them have been there for a couple days… some for a couple weeks.
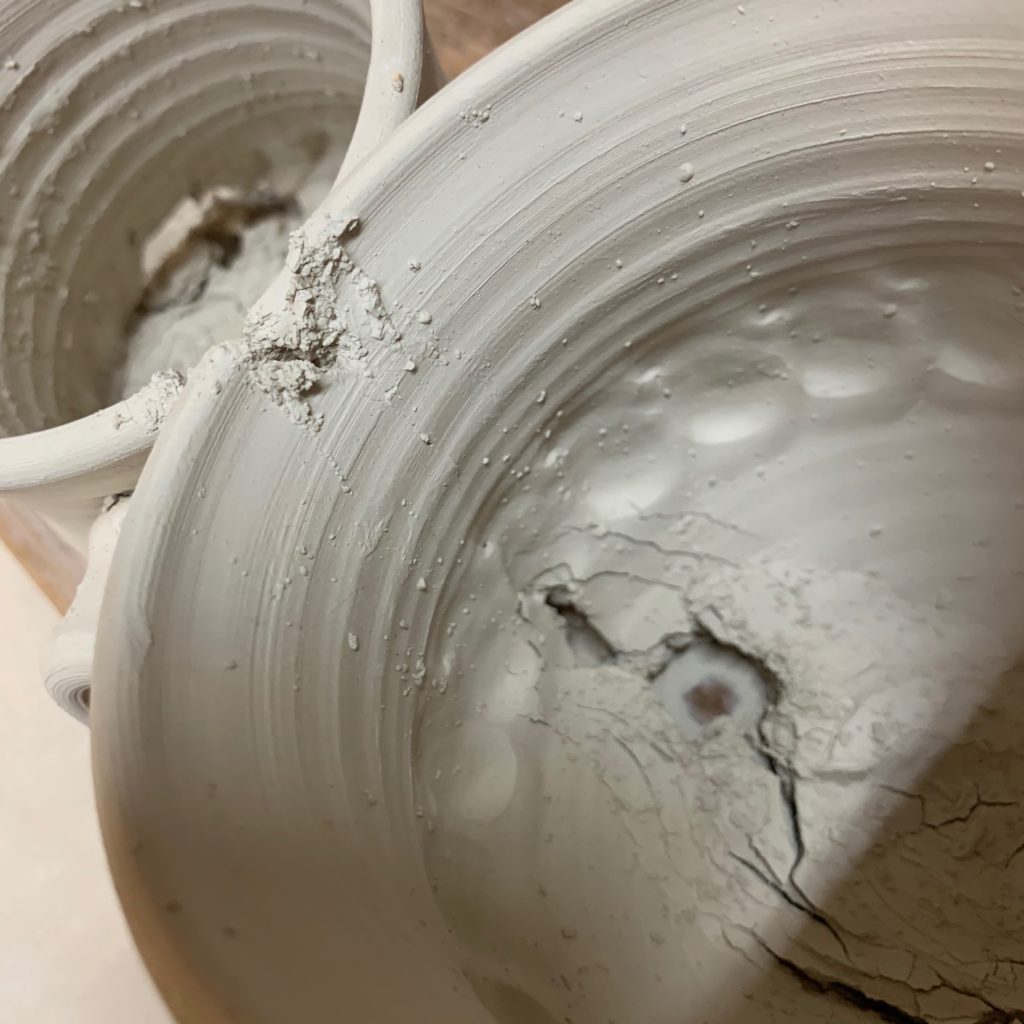
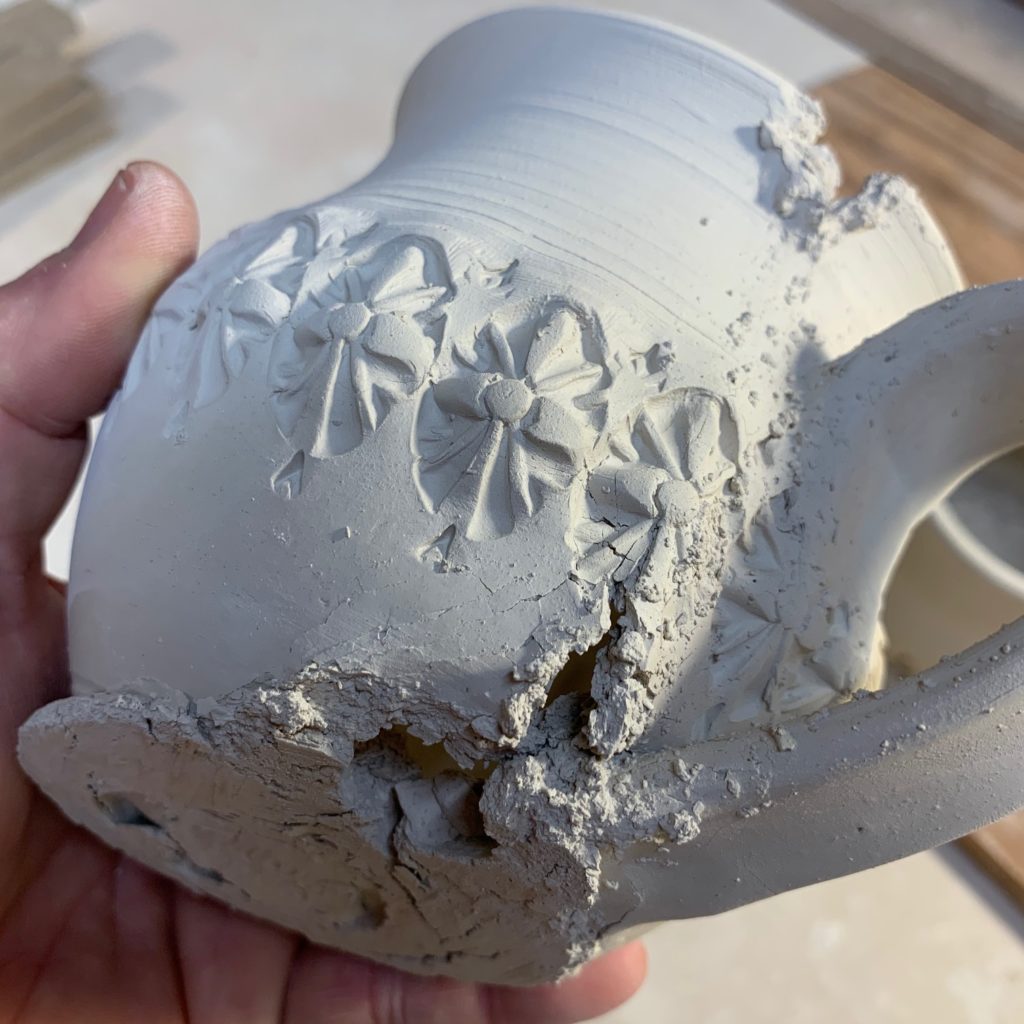
To my surprise… when I took down a board of twelve mugs from the top shelf… and found that “something” had happened to a few of them. They looked weird, and it took some time for me to process what had occured.
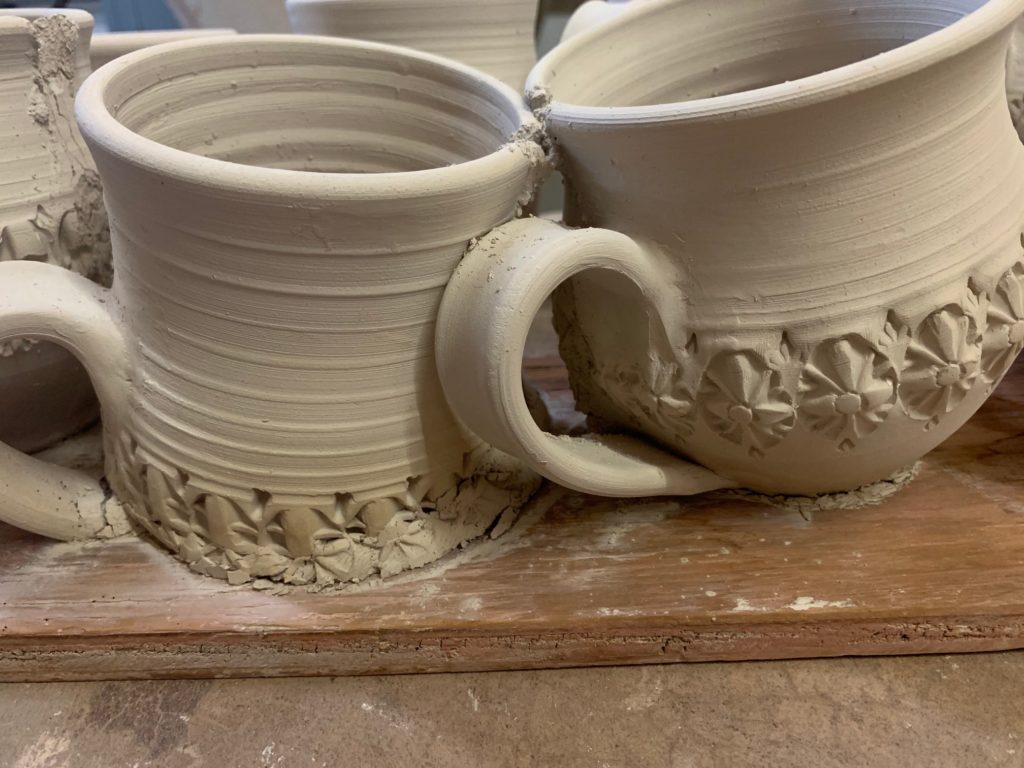
Apparently, there was some sort of water dripping down onto them over time. That’s the best solution I’ve come up with. There’s a electrical pipe running along the ceiling about an inch from the corner. Which I think would lineup with the drip marks on the mugs. Yes… if you look closely… I believe this is “erosion” from repeated water drips falling on them!

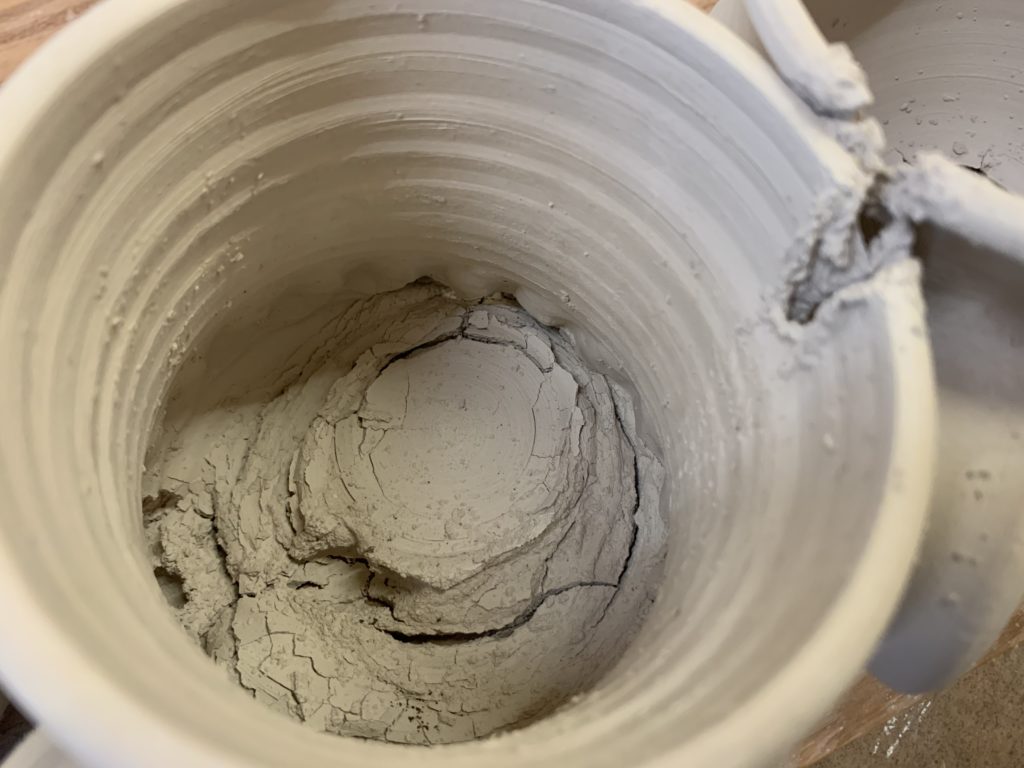
It had to be happening for awhile… as you can also see drips on the wall! And the amount of “melting” is kinda crazy… I think this must have been going on for quite some time! And since it was on the top shelf and out of eye-sight… who knew?!

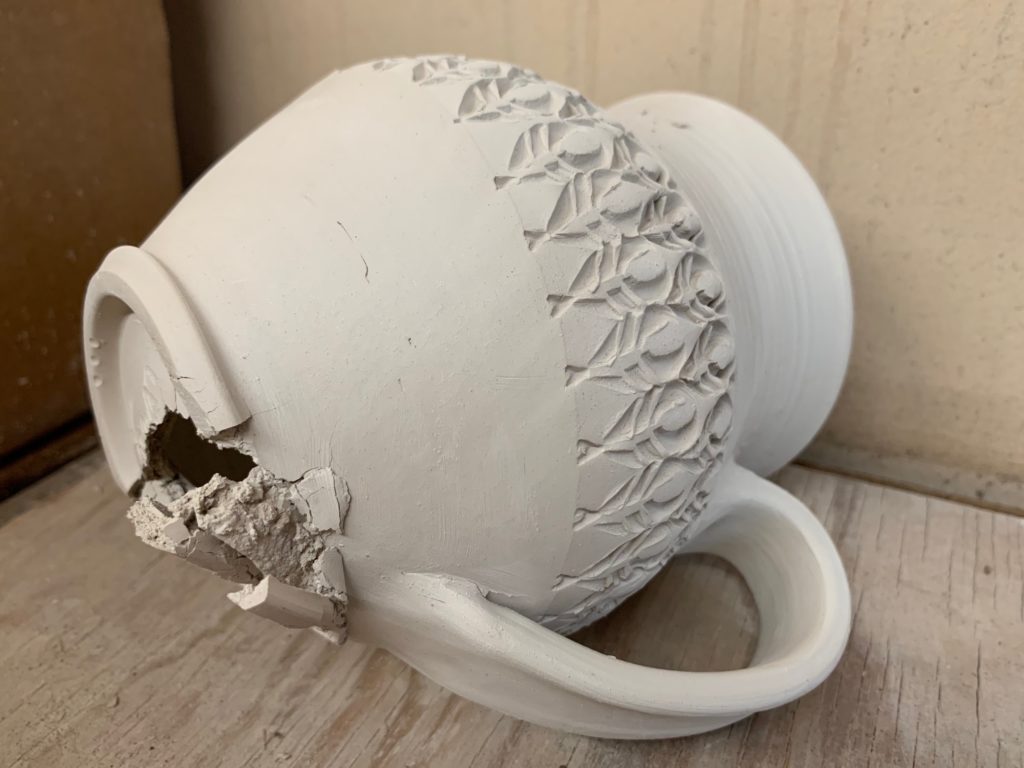
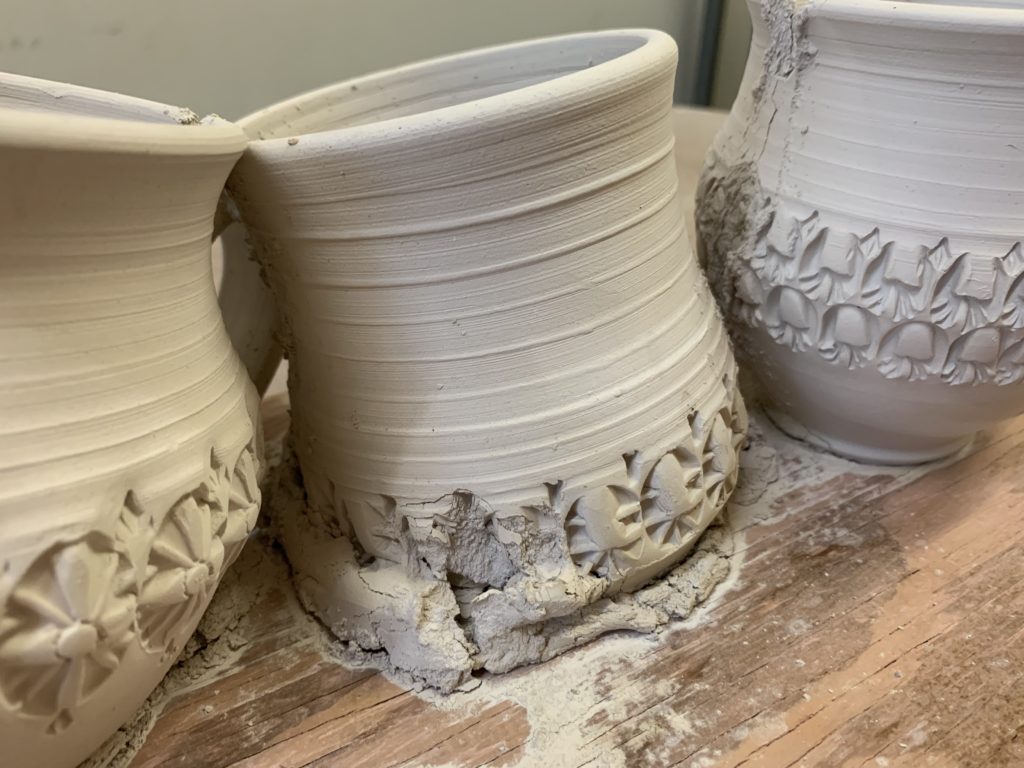
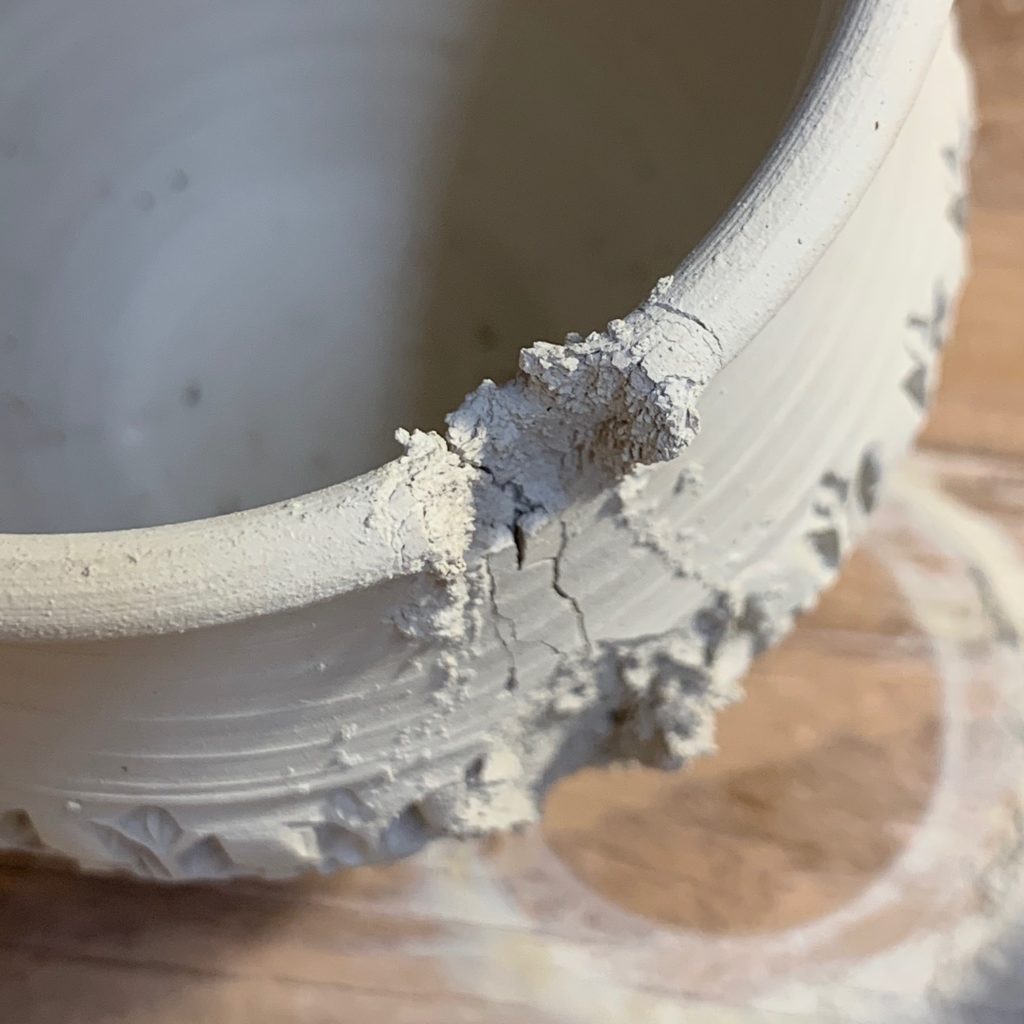
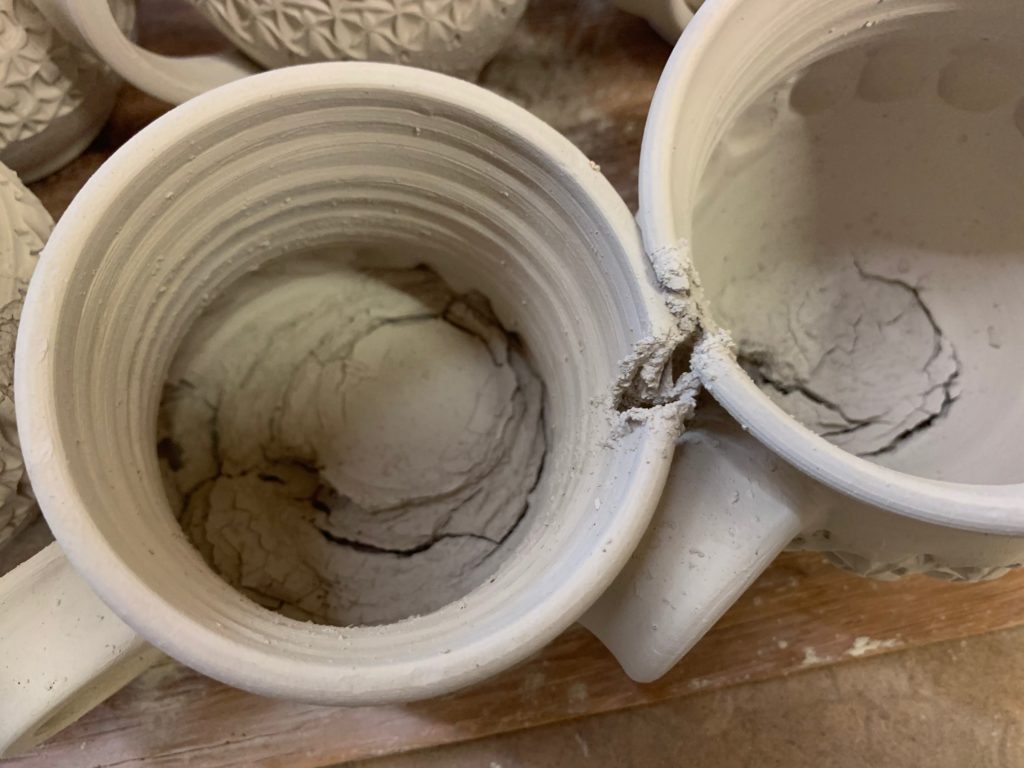
You can actually see where there’s an actual hole all the way RIGHT THRU the bottom of the mug!!!… drip… drip… drip… kinda like Chinese Water Torture during the War!!!
Luckily, the mugs can just be broken up and reclaimed again… IT’S JUST CLAY, right?! And I’ve learned a valuable lesson… no more greenware storage on the top shelf… at least not pushed all the way back… until we find out why water might be dripping from an electrical pipe?! Now THAT doesn’t sound good either, right?!

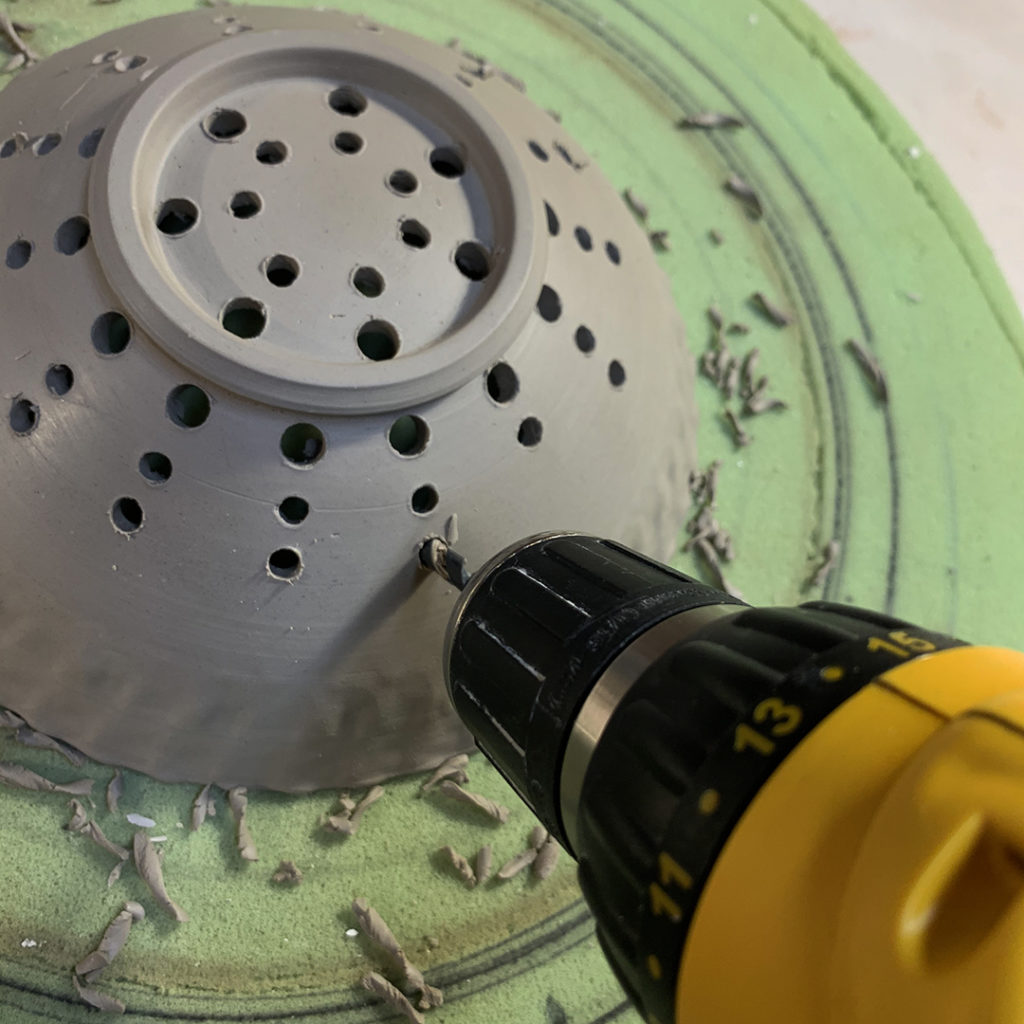
So I’ve often said the best thing in the pottery studio is POWER TOOLS!
Especially when “drilling” lots of drainage holes into the bottoms of a bunch of berry bowls?!
So why not use a POWER DRILL to drill the holes?!

So I’ve already trimmed the bowls, and let them stiffen up to the “drier-side” of leatherhard. Not squishy. Not tacky. But definitely NOT bone dry yet. And then I start by making the first ring of holes just inside the footring… and then continue on the outside of the footring, between… staggered… lined-up… all different patterns!


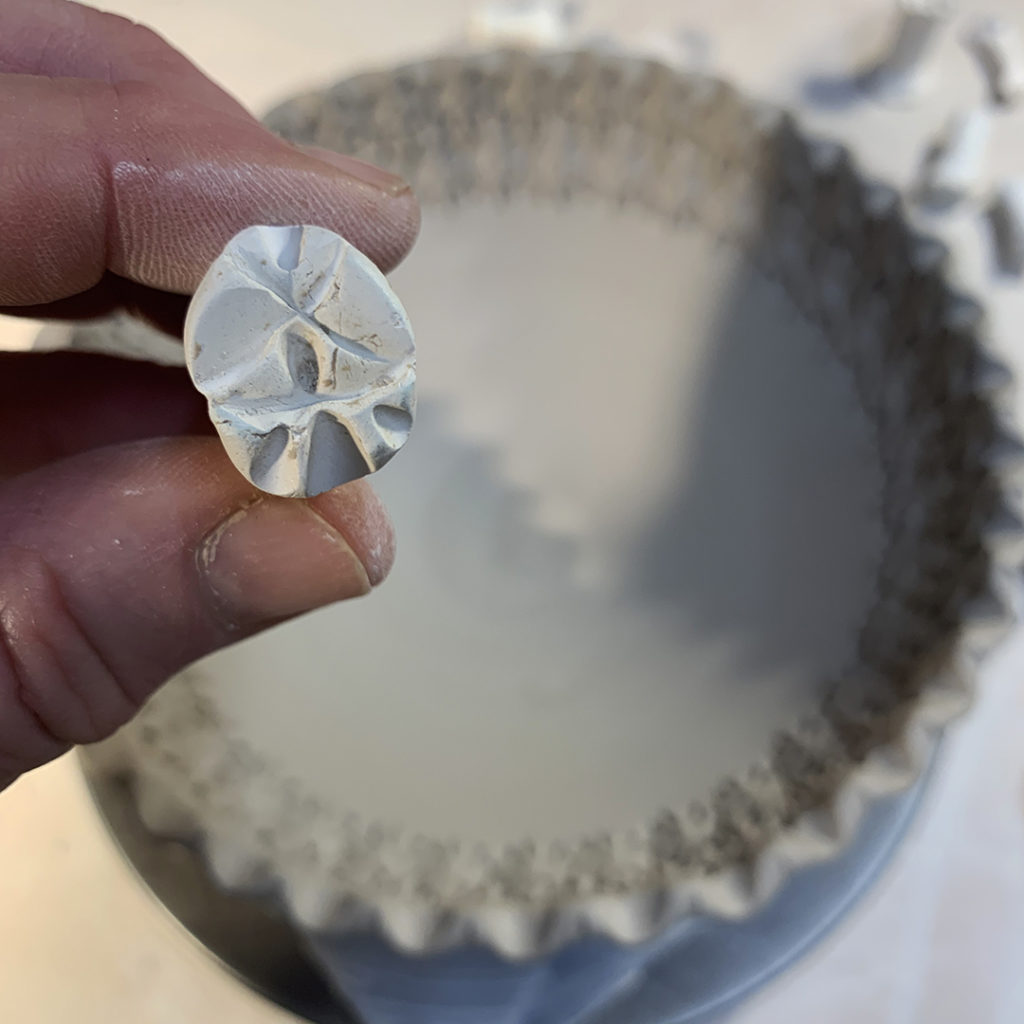
And then I let them sit out a bit longer so the drilled “burrs” will brush off easily. Once the shredded debris stiffens up, I use a stiff paint brush to wipe all of those extra pieces off both inside & out! It’s always fun to see the drilled pattern after cleaning out the debris!


Now that they’re drilled full of drainage holes, I’ll let them dry to bone dry. And then I’ll take a green scrubby 3M pad to smooth out some of the rough edges before bisque firing.
Next up?… throwing a bunch of small plates to work as the drainage catch plate!
Okay, so you all know I watch far too much TV,
and a lot of Netflix movies & TV show binges in my studio…
but with all of the COVID stuff going around these days…
maybe these two weren’t my best choices?!

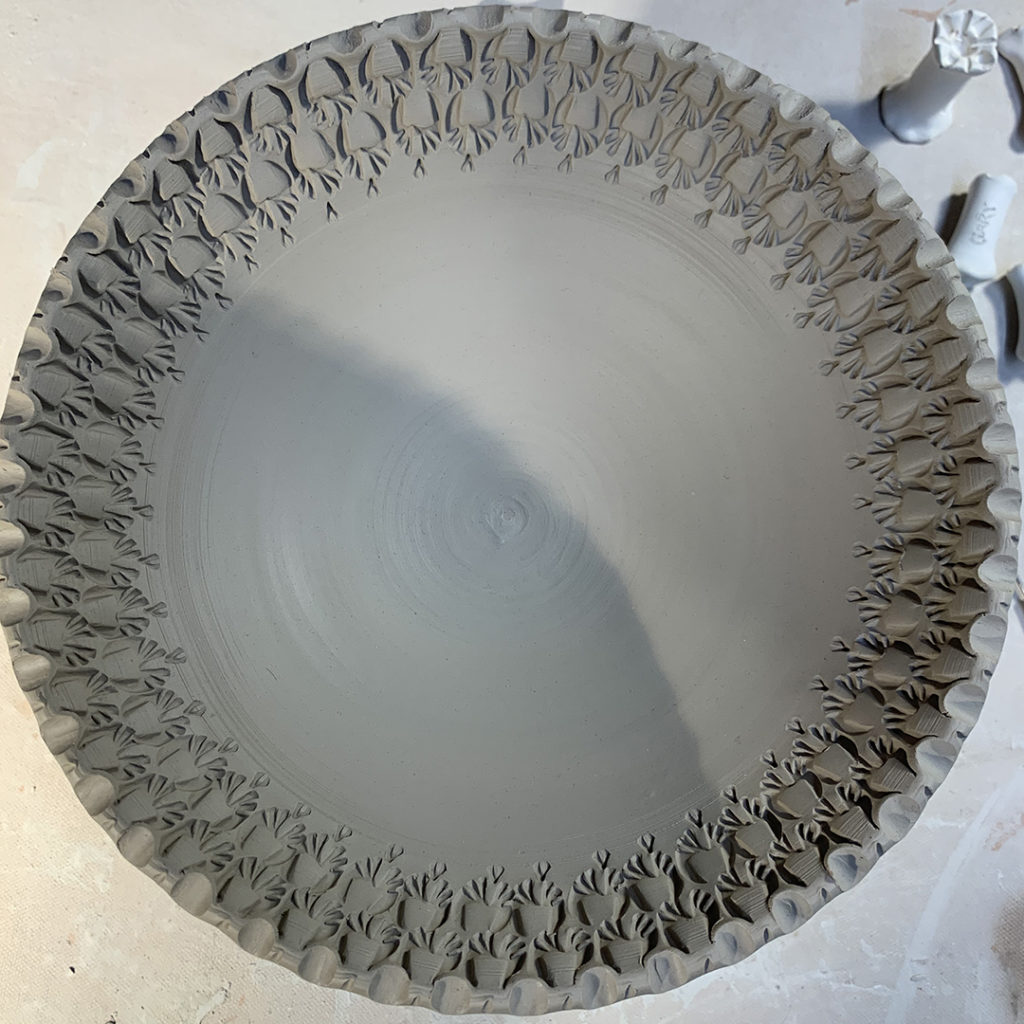
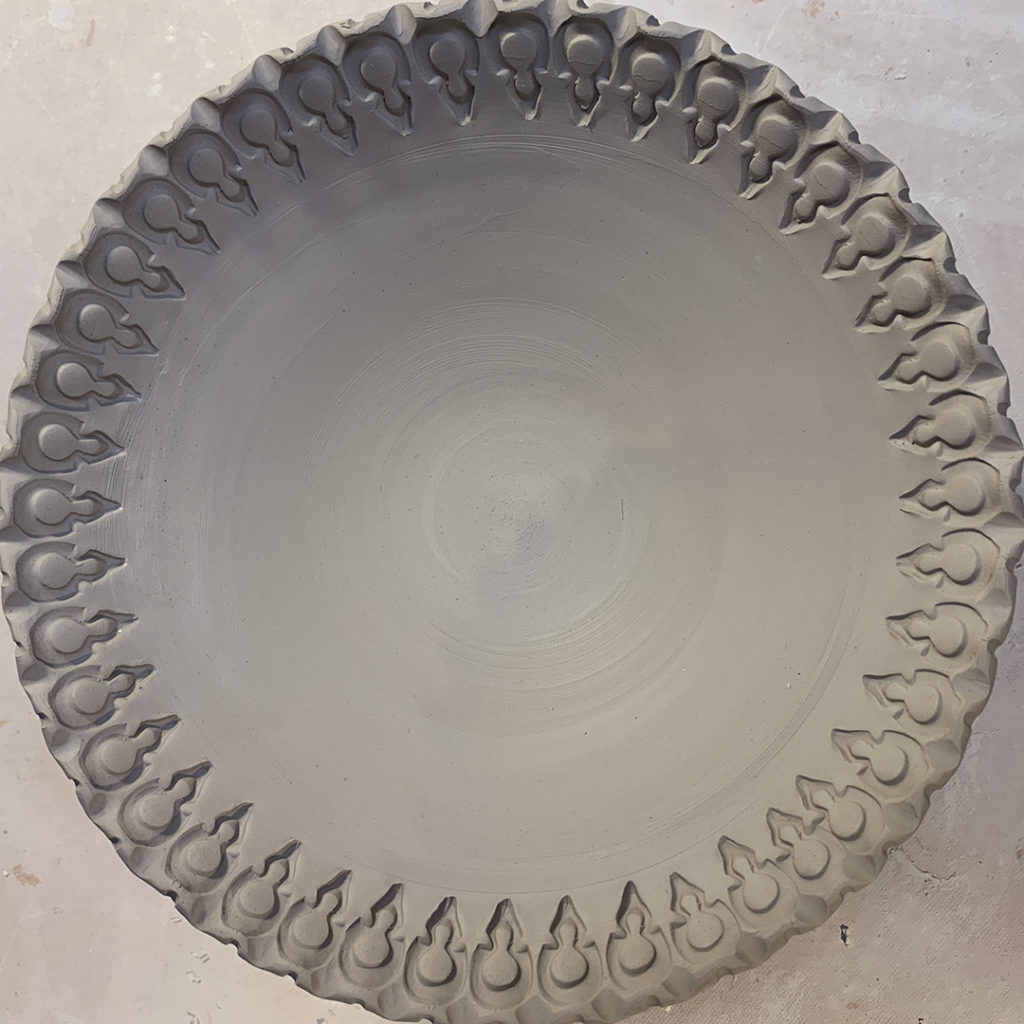
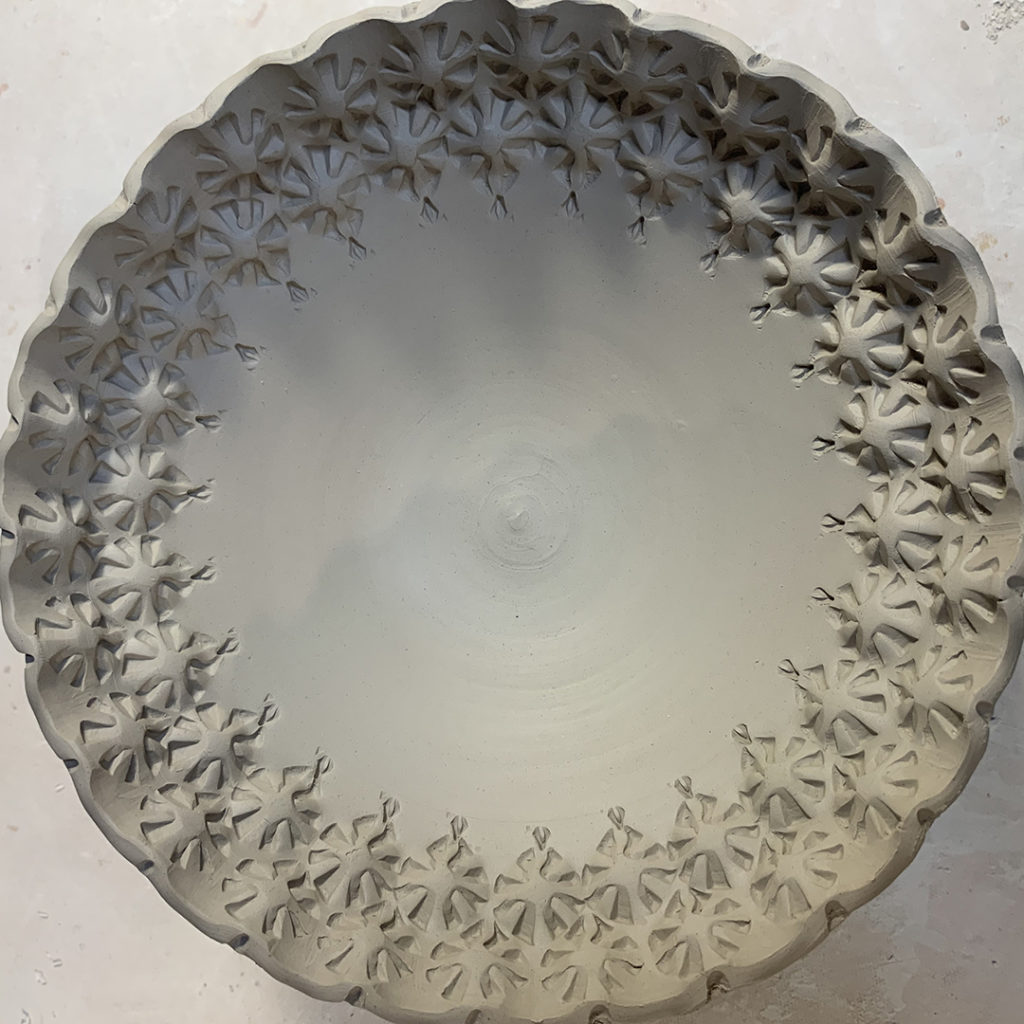
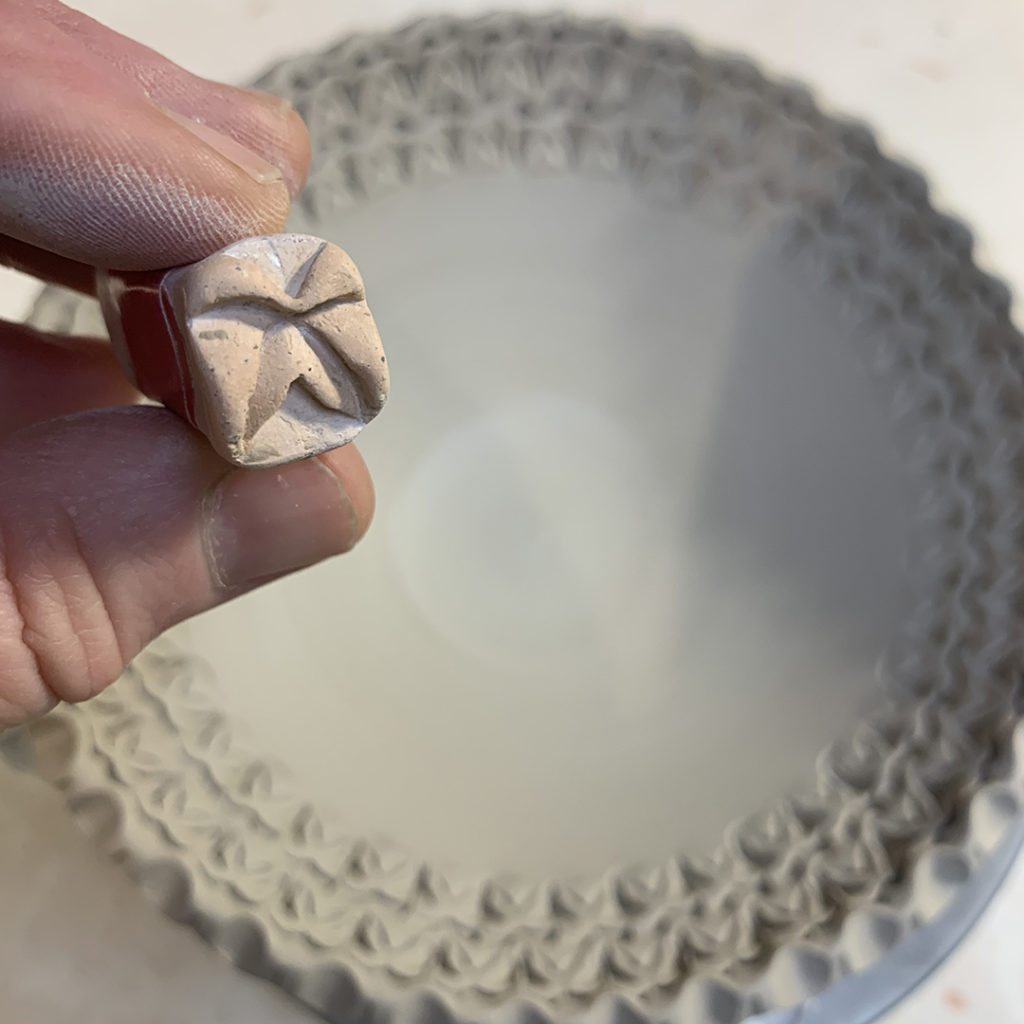
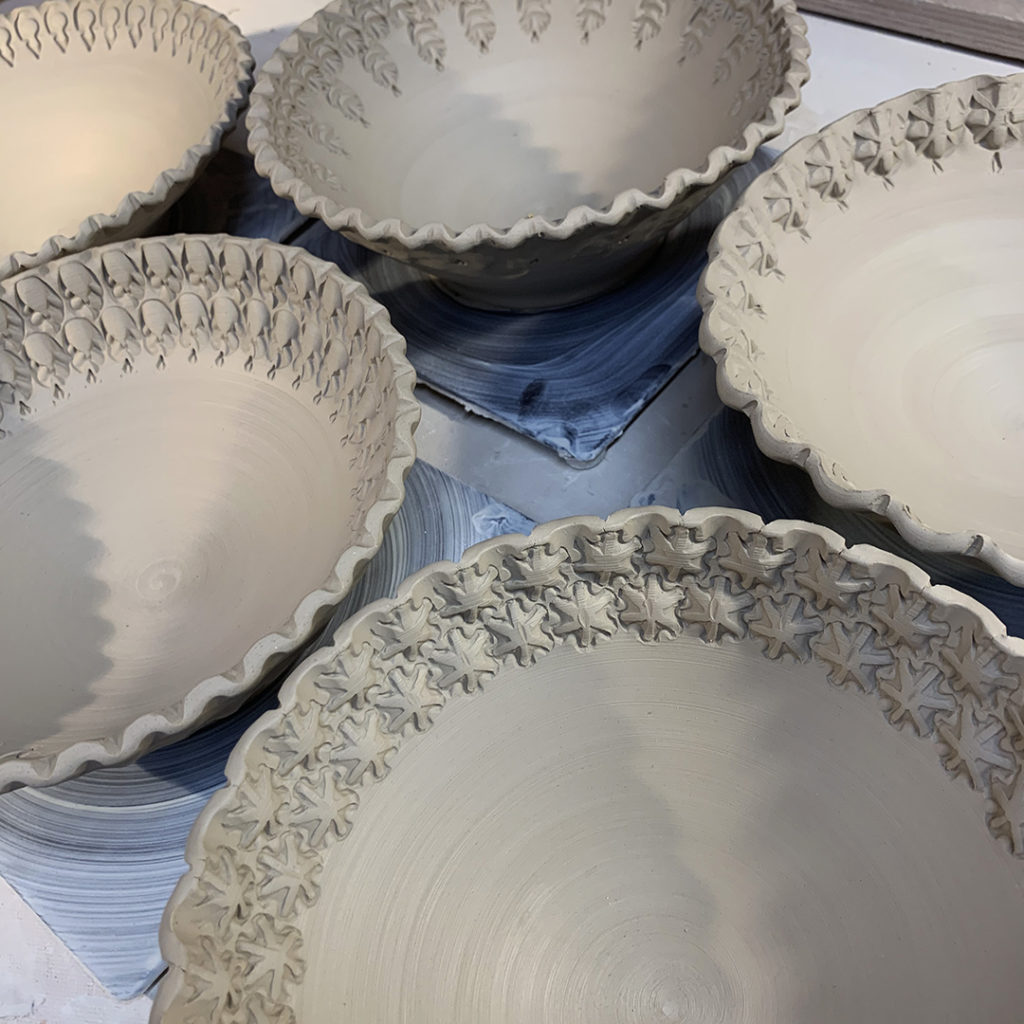
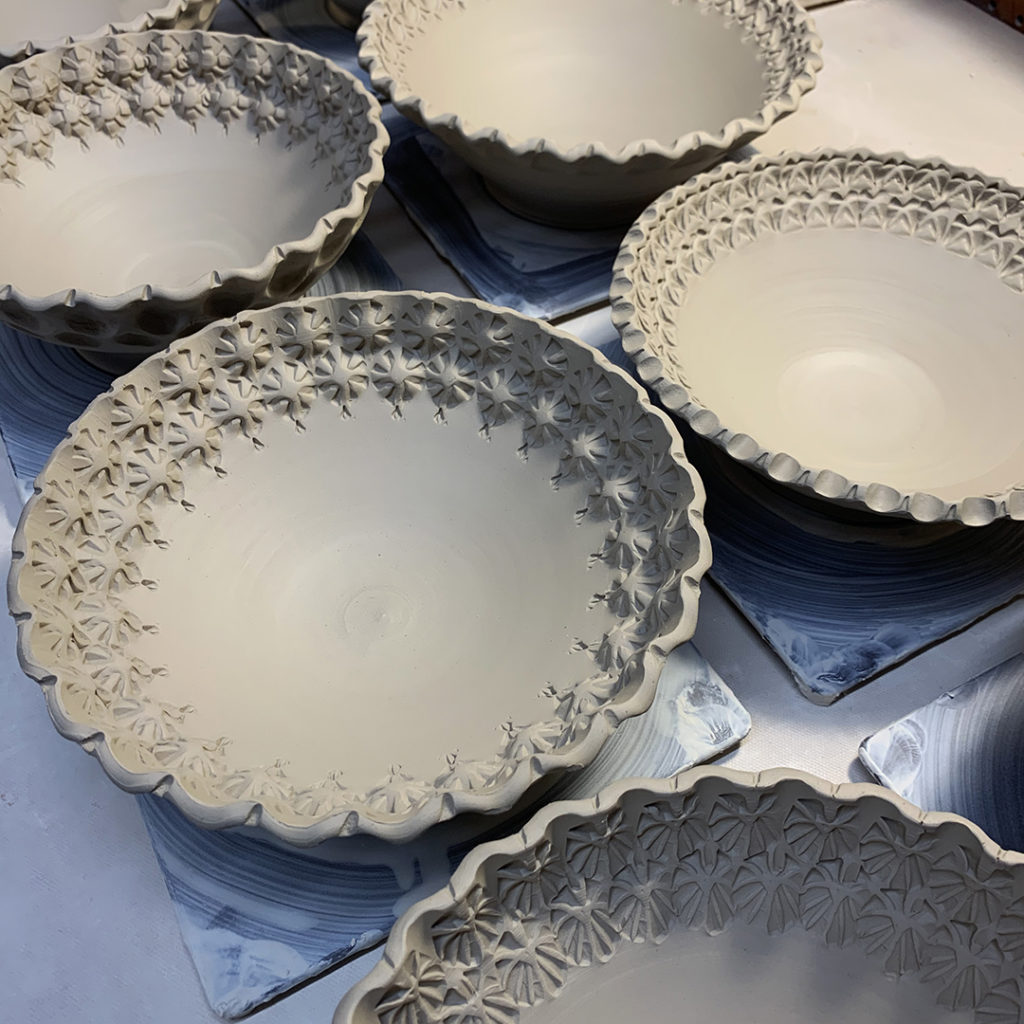
Another productive studio night with a lot of stamping. The bowls were thrown (against my natural instinct) without a spiral… and you know how much I LOVE a good spiral!!! But these are going to become berry bowls, and I didn’t want the spiral to “get in the way” of the drainage holes I’ll be drilling through the bottom later.
Bowl #1 –


Bowl #2 –

Bowl #3 –


Bowl #4 –
Bowl #5 –


Bowl #6 –


Bowl #7 –


Bowl #8 –


Bowl #9 –

Bowl #10 –

Bowl #11 –


Bowl #13 –

Bowl #14 –


Bowl #15 –
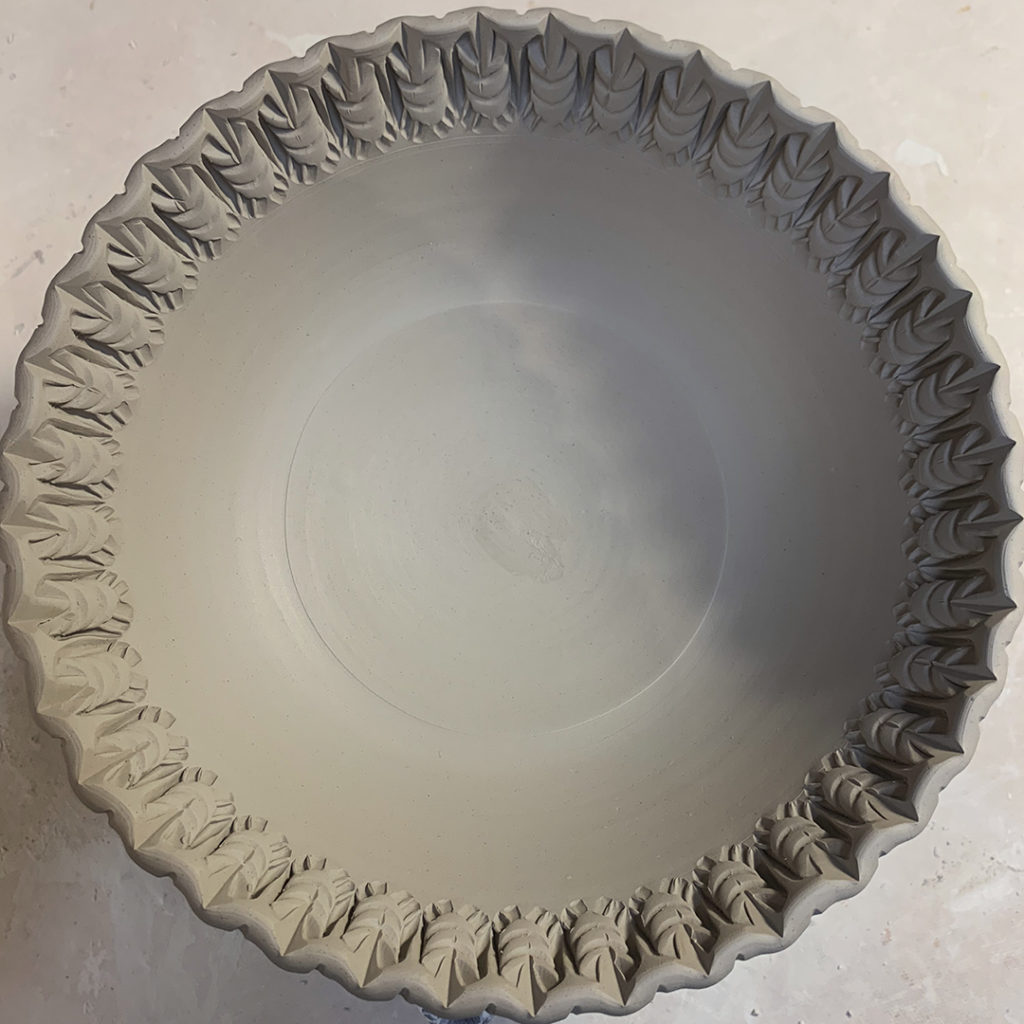

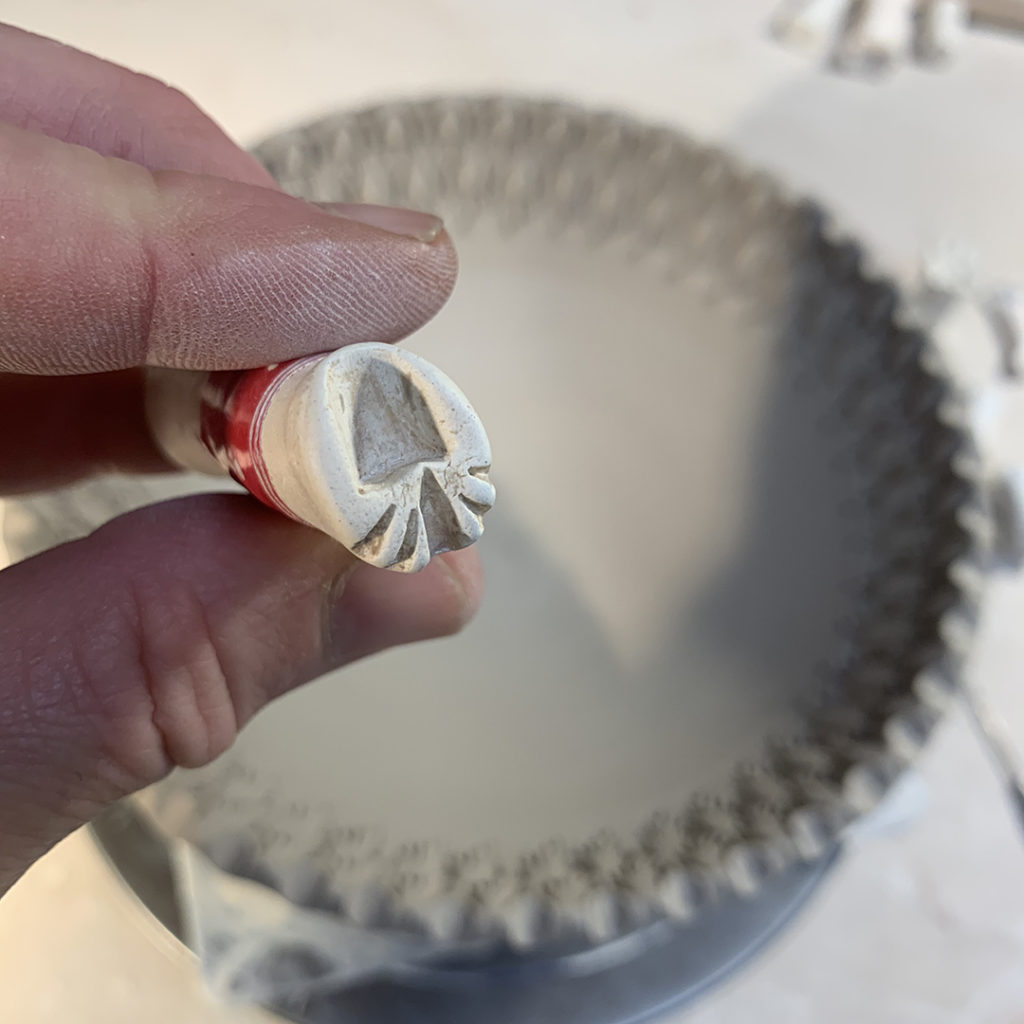
So for now they’re all stamped and back under plastic for the night. I’ll tackle trimming the bottom to add a foot ring tomorrow… and then drainage holes after that. Once trimmed & drilled, then I’ll throw a batch of small plates to fit… drainage catch plates for the berry bowls!

When making lidded jars, I always make a few extra lids so I have options in finding the “best fitting†lid for each jar. The “extra†lids each got a little stamping… and now we have some sweet little sauce dishes. A little set of nesting bowls… had I known, I would have stamped the large one to match better!!!


Still working on a bunch of lidded jars in the studio. Good news that the lids all seem to fit!!! Sure, I’ve got a lot of trimming & finishing to do. The lids were thrown off-the-hump… so I still need to pull off that extra “cookie†of clay before trimming.


Did a bit more throwing last night… working on a few lidded jars that are part of a commission project. The final plan is still a bit hazy, but this part I’m sure of. I need to do a few doodles to figure out the finishing & customizing part! Just a teaser… birds are involved.


|
Gary Jackson: Fire When Ready Pottery
Lillstreet Studios ∙ 4401 North Ravenswood, Chicago, Illinois 60640 ∙ 773-307-8664 gary@firewhenreadypottery.com |
