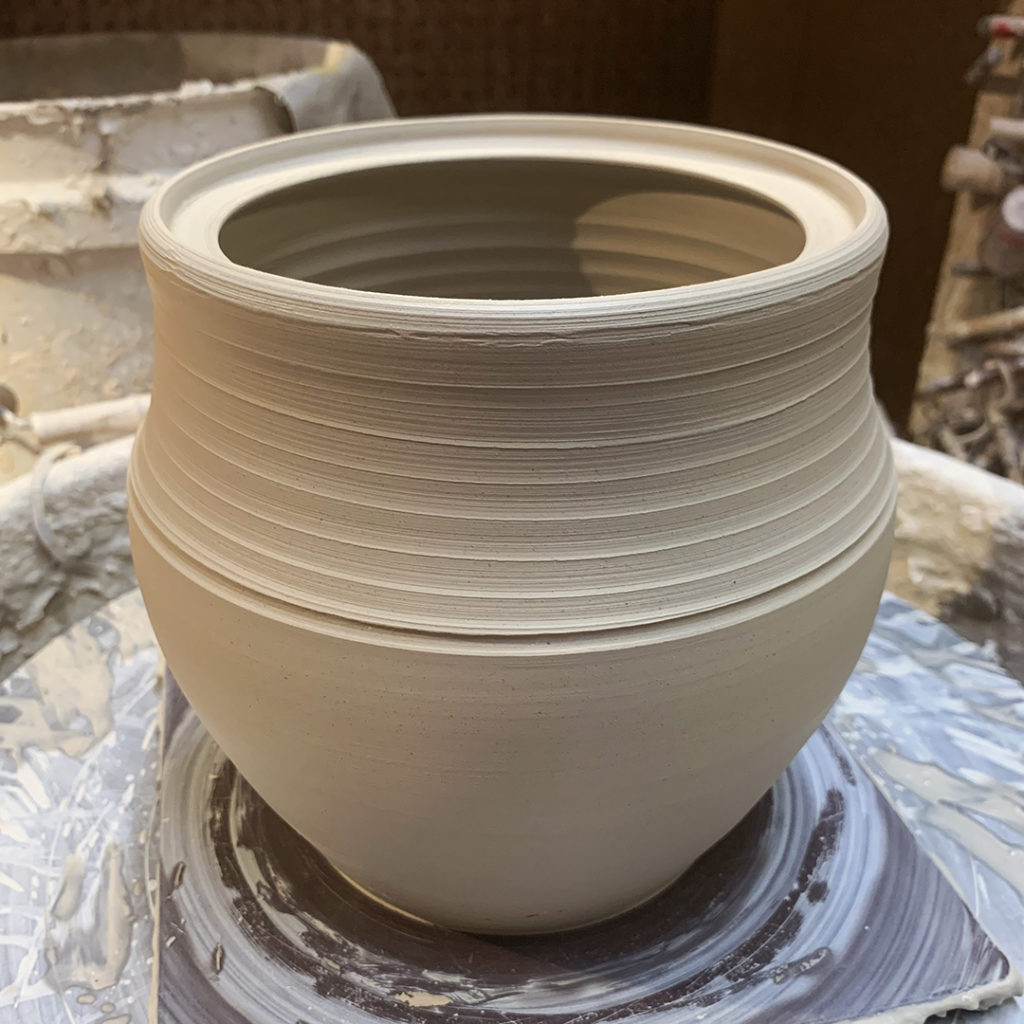
Working in the studio this afternoon finishing up a few things, doing a bit of stamping, and making another batch of bowls… while soaking up as much FREE air conditioning as possible!!!
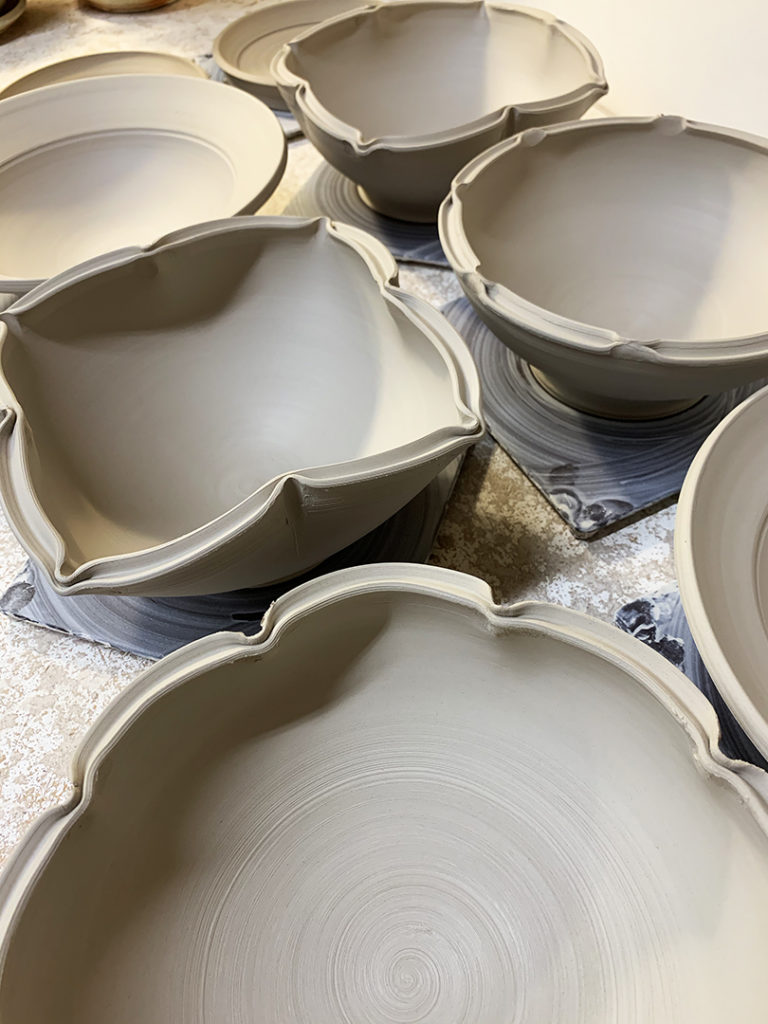
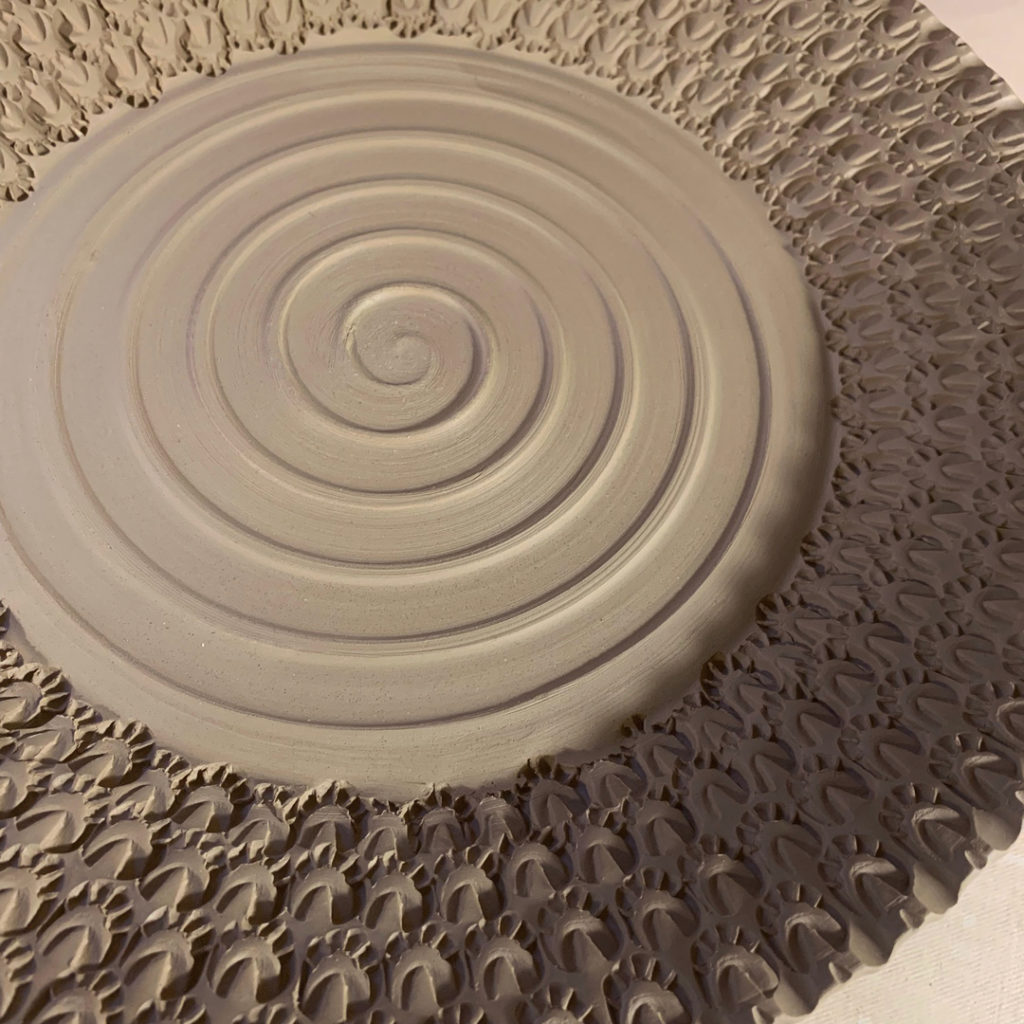
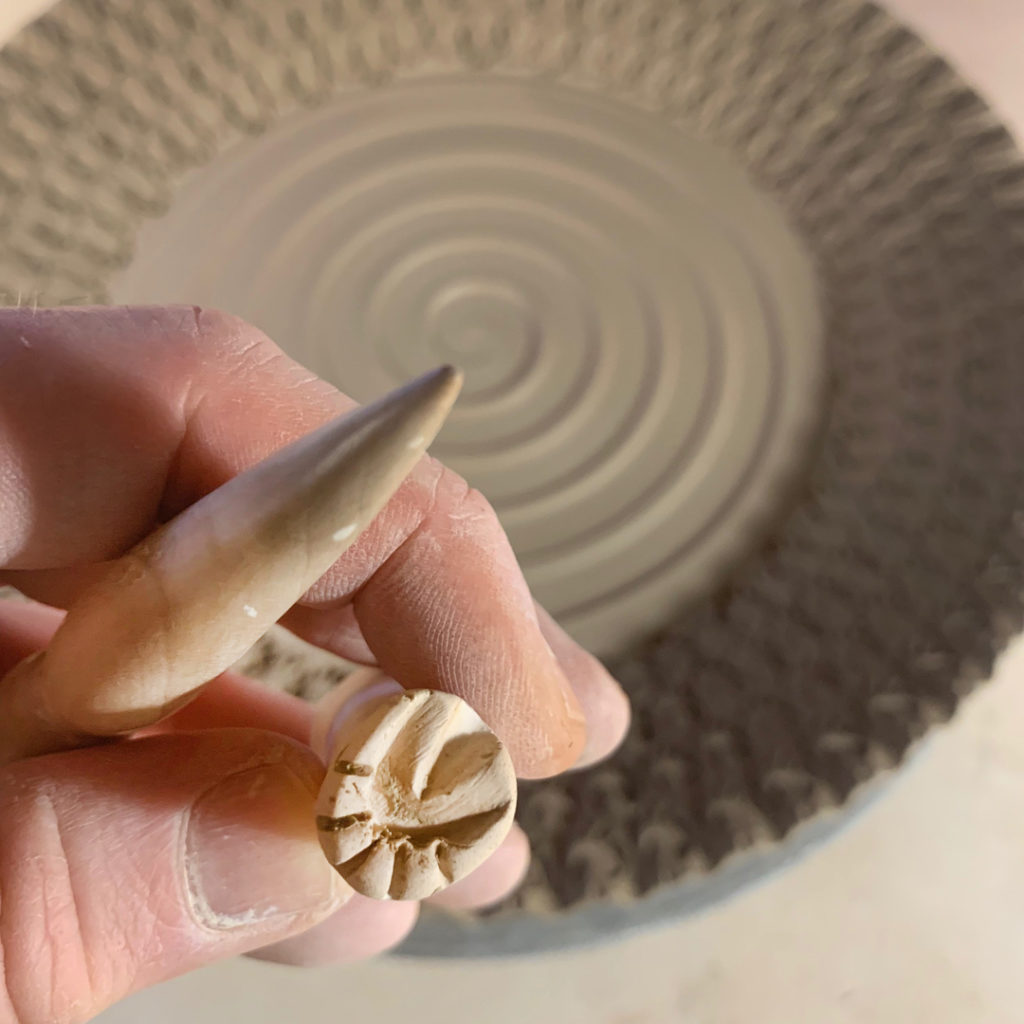
Doing a little more stamping in the studio. It’s been awhile since I’ve done a full platter like this… what with the pandemic and all… but it does feel good to be re-focused, back to teaching, and back on track!
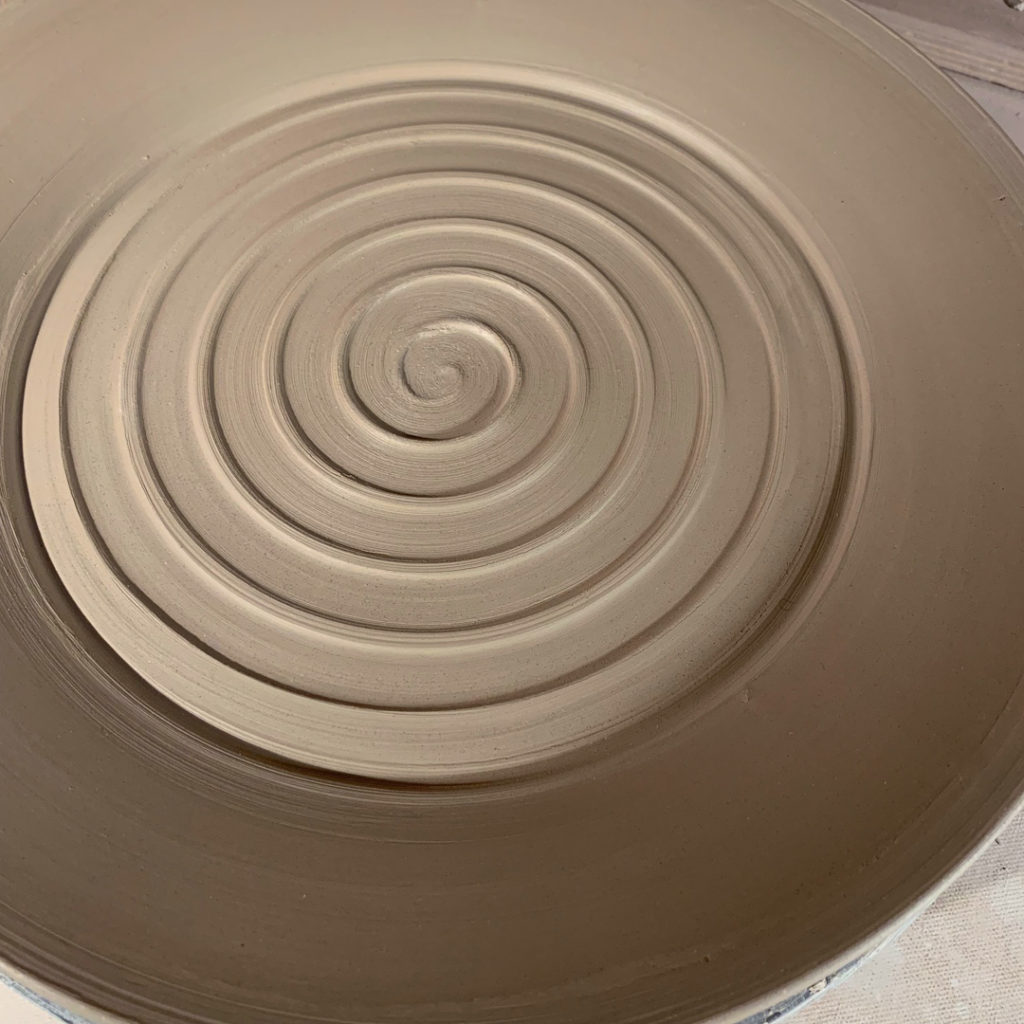
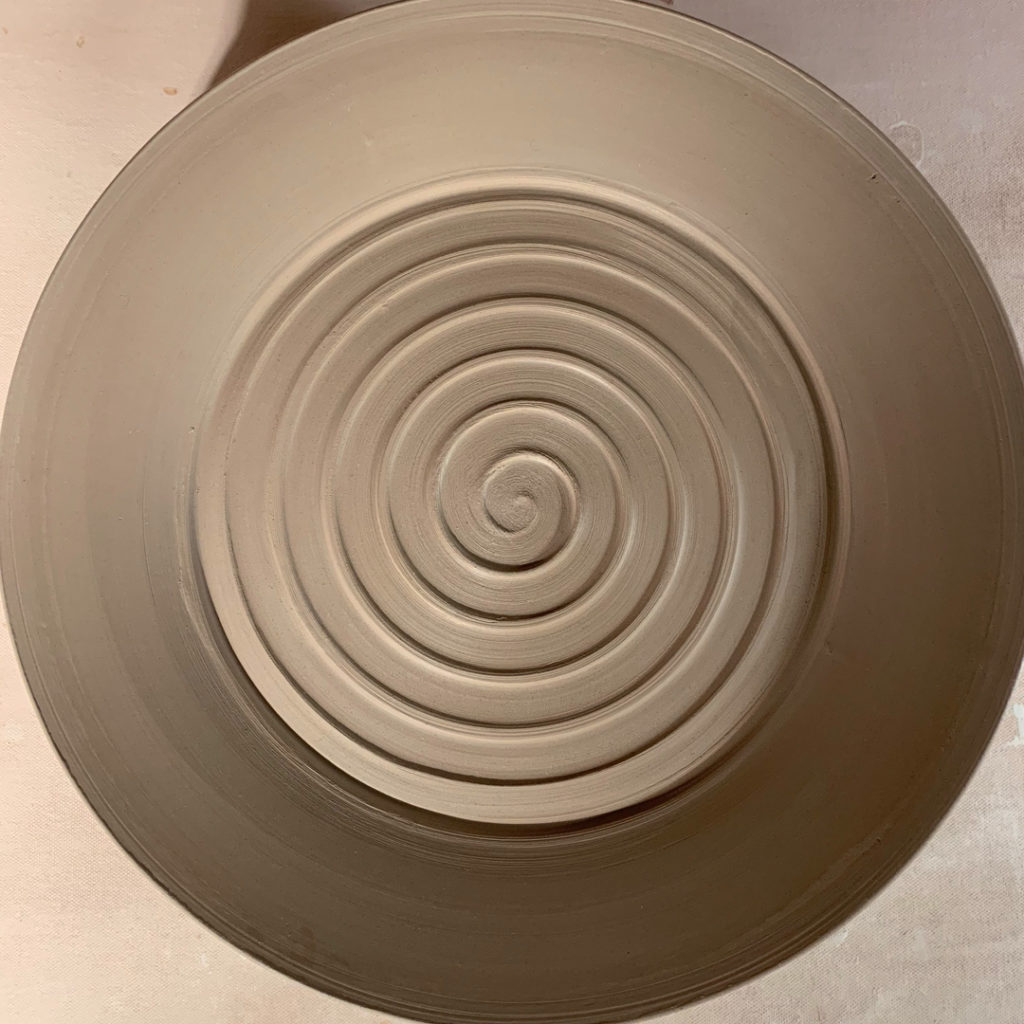


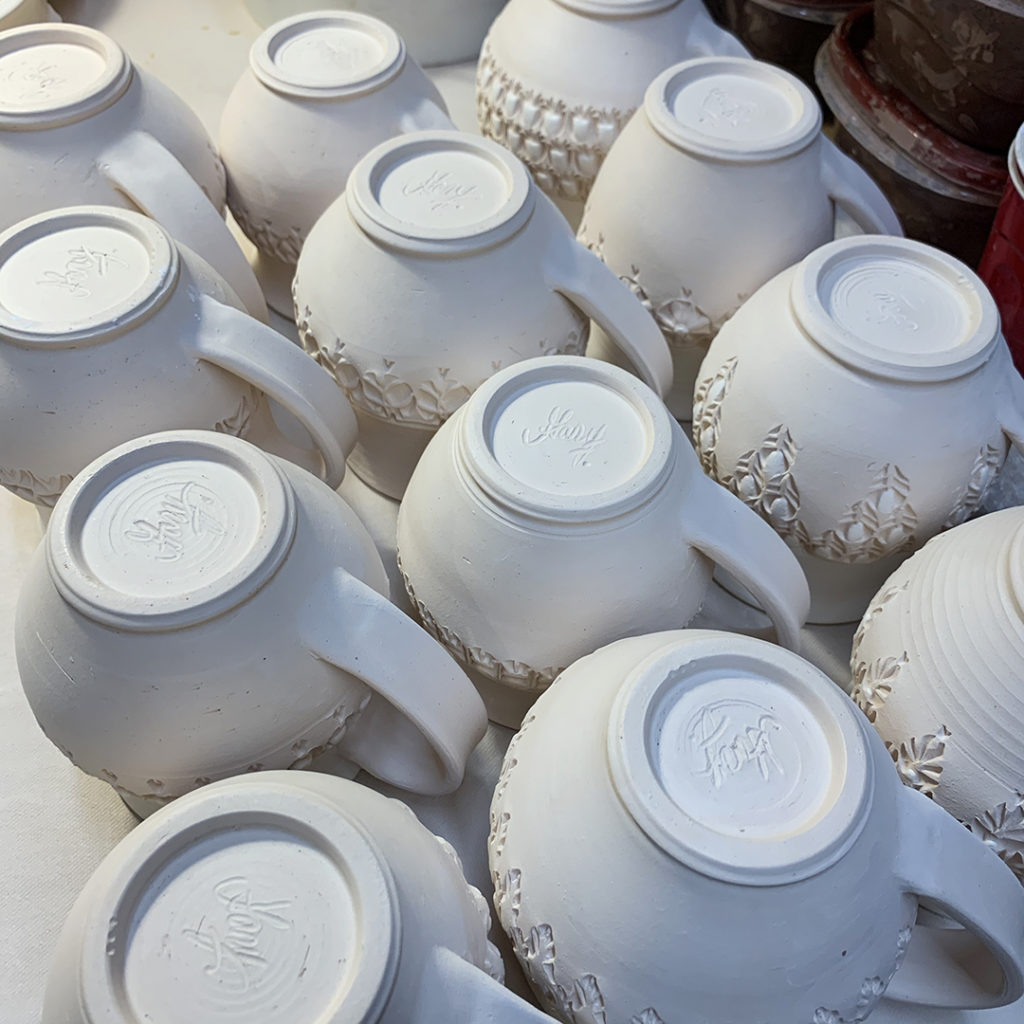
Just a few more pieces fresh from my bisque kiln to glaze quickly…
as I load the soda kiln tomorrow night after Summer Camp!
I fire all-day Saturday… so I’ve got to stay focused and get this done!!! Inlay glazes into the stamped impressions, liner glazes, clean, wad & ready to go!


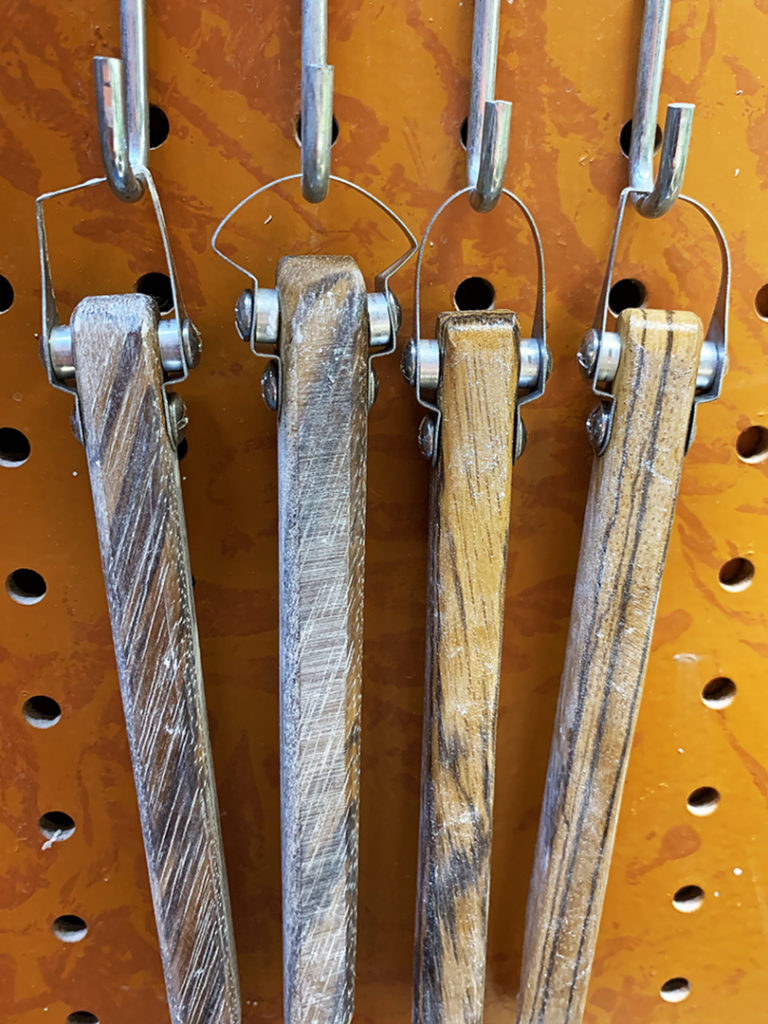
Spent the evening in the studio doing some more trimming with my new DiamondCore Tools! Their new trimming tools are pretty sweet… nice & sharp as you would expect, a comfortable wooden handle, and a bonus “carved shape” on the end of each one! Looks like they’ve just found their “new home” in my studio. Gotta LOVE some good pegboard!!!
So I spent part of the night “processing” my clay… taking bags of kinda-wet reclaim, kinda-dry stoneware, and some random scraps of clay left over in a few bags sitting around my studio. It’s always nice to work them all together to make a “new” clay that is all evenly blended… and to get rid of a bunch of random clay bags lying around my studio!
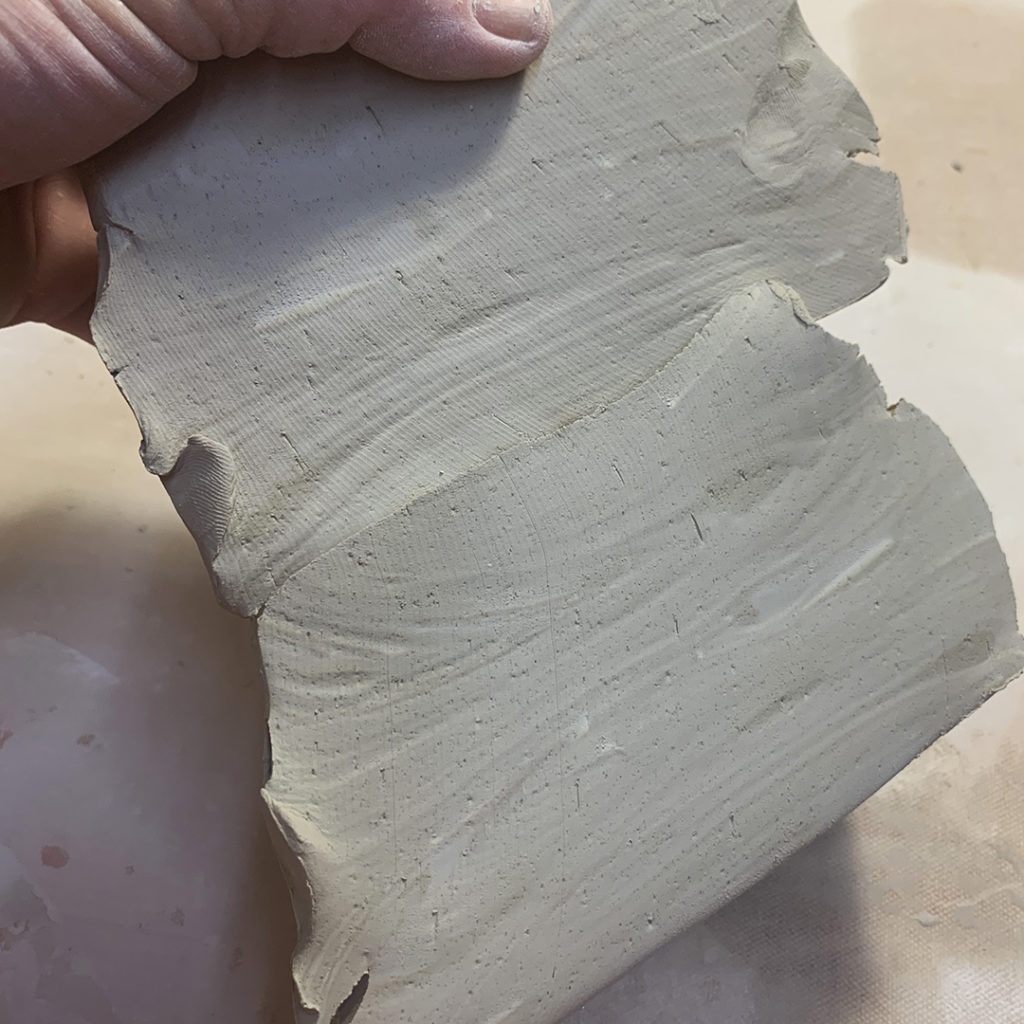
Instead of wedging them all together, I like to alternate thinly sliced layers of each clay. Then I take the stack and cut it in half vertically… stacking one half on top of the other half. A little slam on the table, and then I repeat the slicing, stacking & slamming. Time after time. Eventually the clay layers thin out enough that the clay appears to be blended.
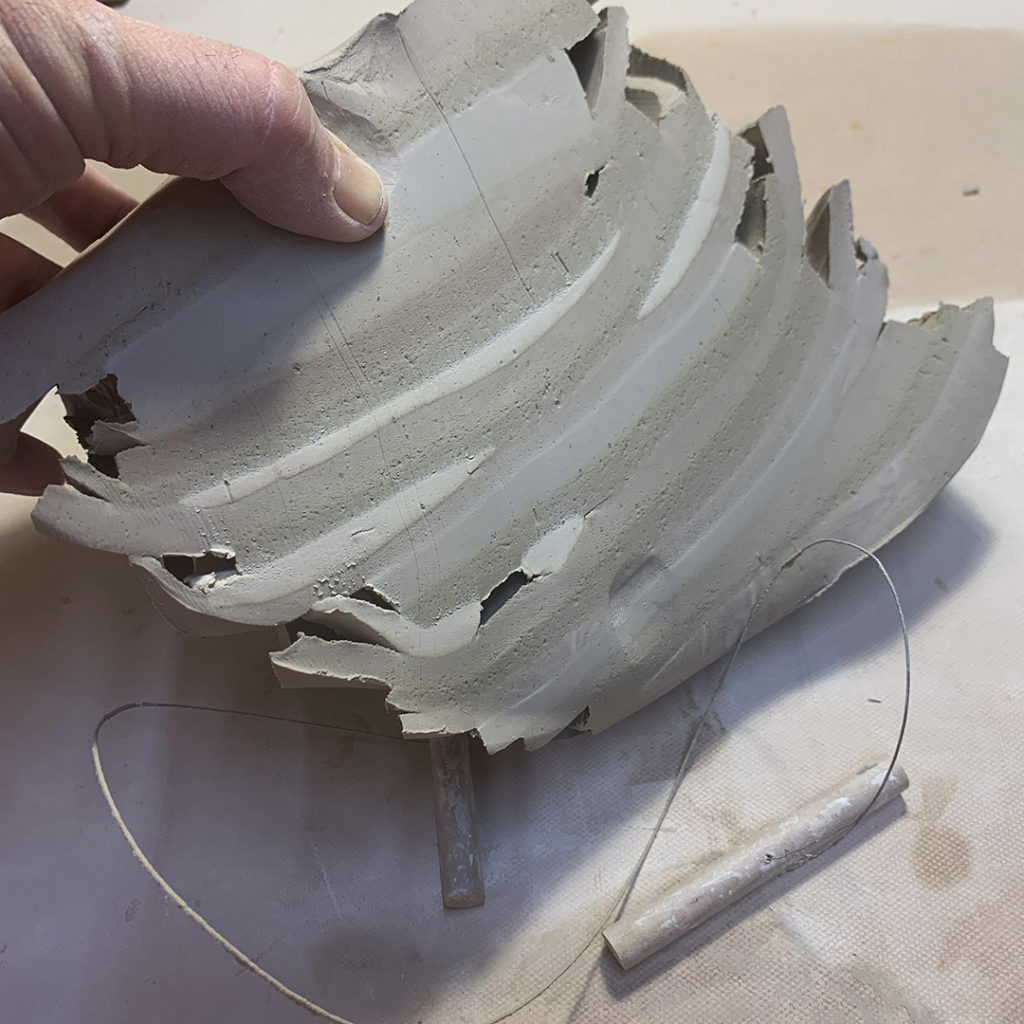
You can see that every time you slice and stack, the layers are getting thinner & thinner…

Sure, it still needs a little bit of wedging… but this is so much easier than wedging all of the clays together from the start!
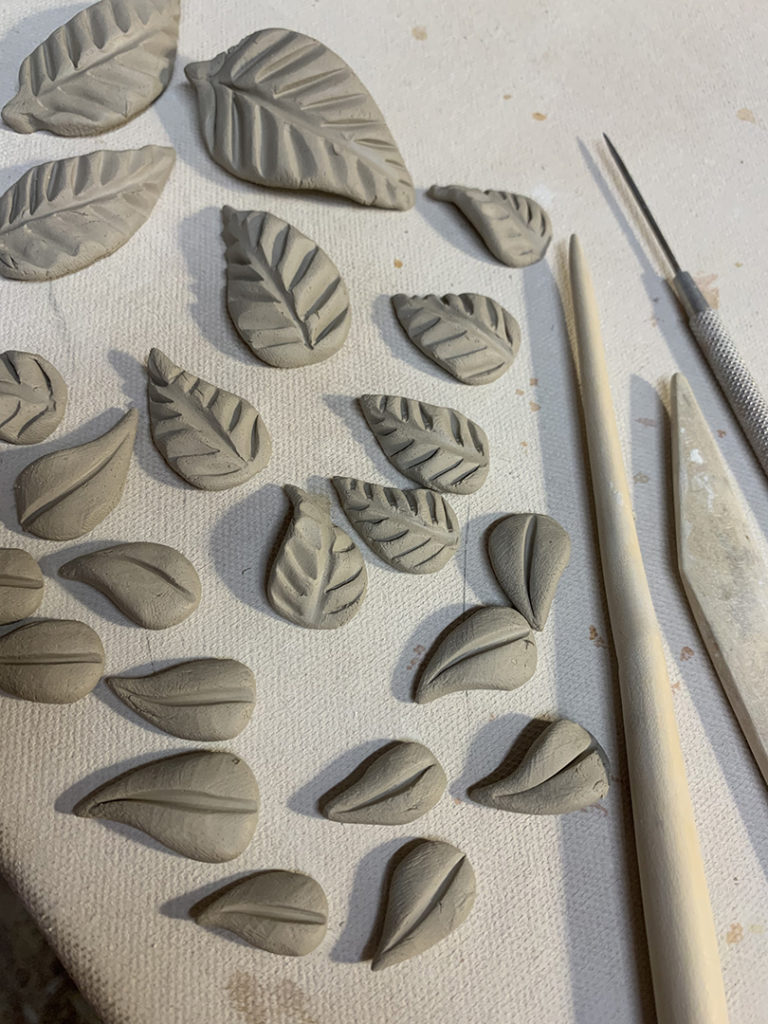
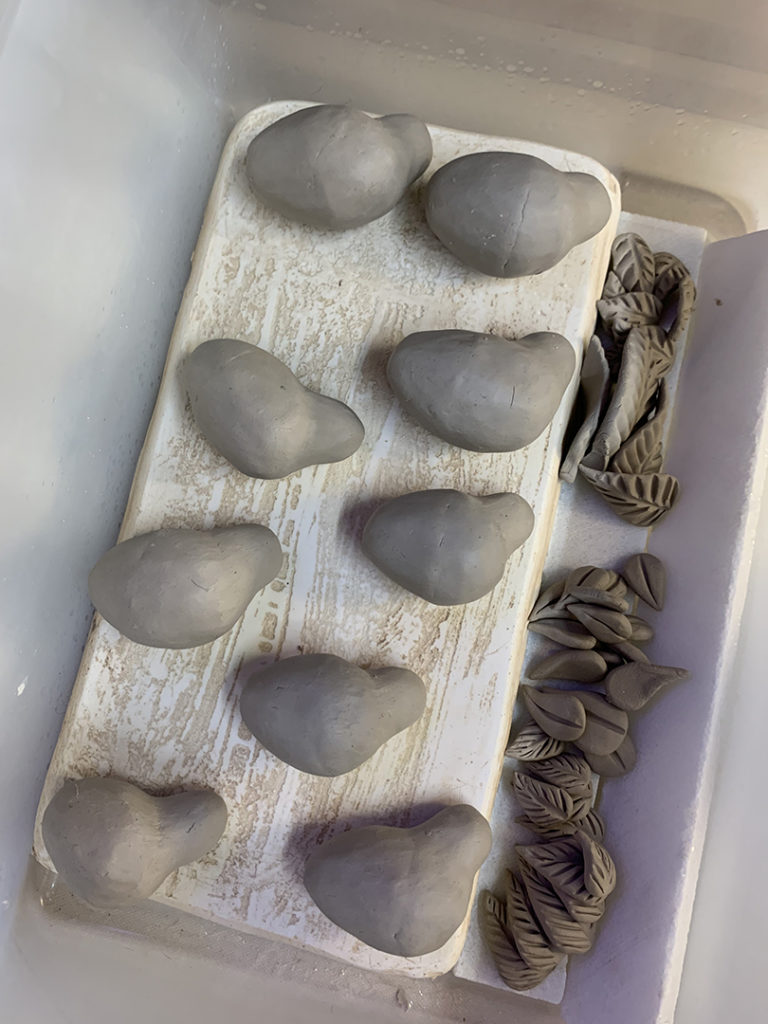
Making leaves & adding heads… and loving the damp box!
Keeping everything in one place and at the right wetness to keep working with things!
Still under wraps… procrastinating as usual these days… but gotta focus and get these moving along! Using some photo references to formulate my plan. This project is gonna be “for the birds.”

And no… this is NOT an episode of “Portlandia.”

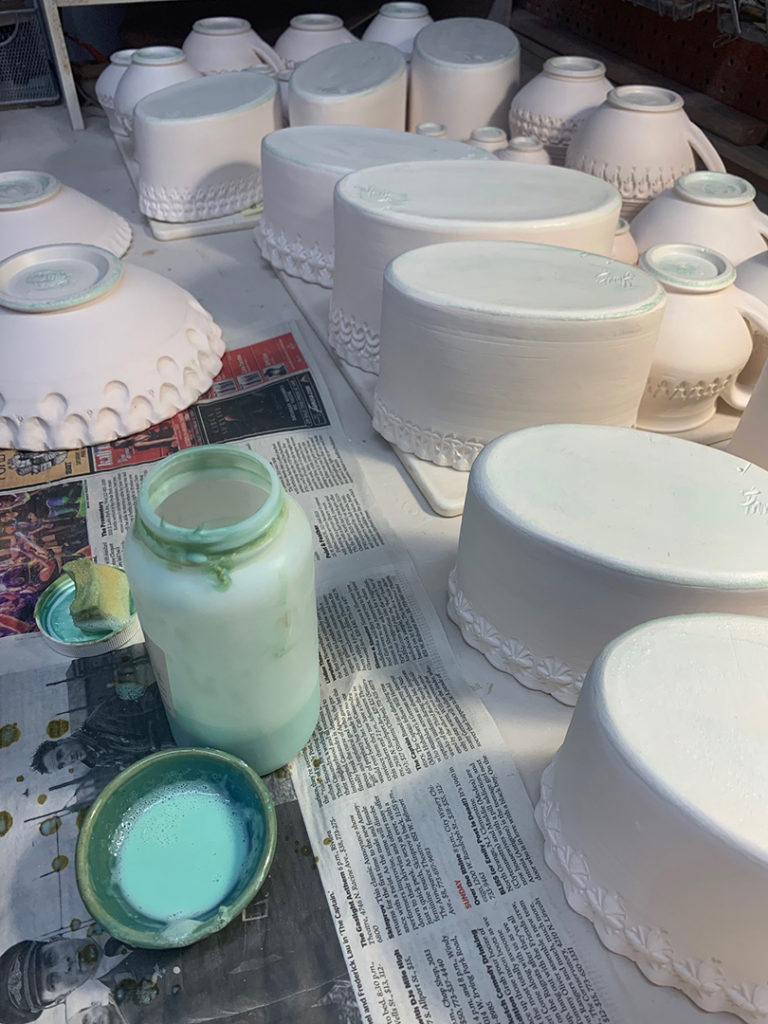
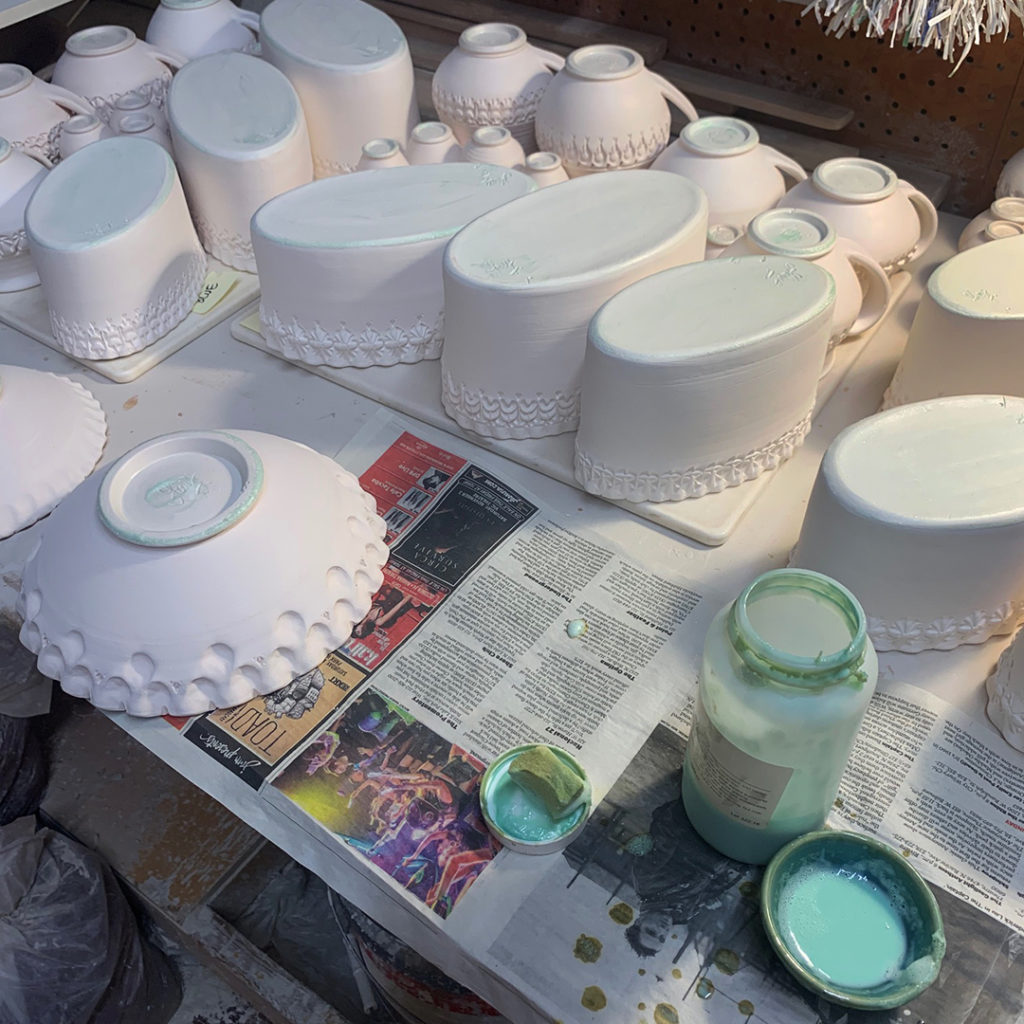
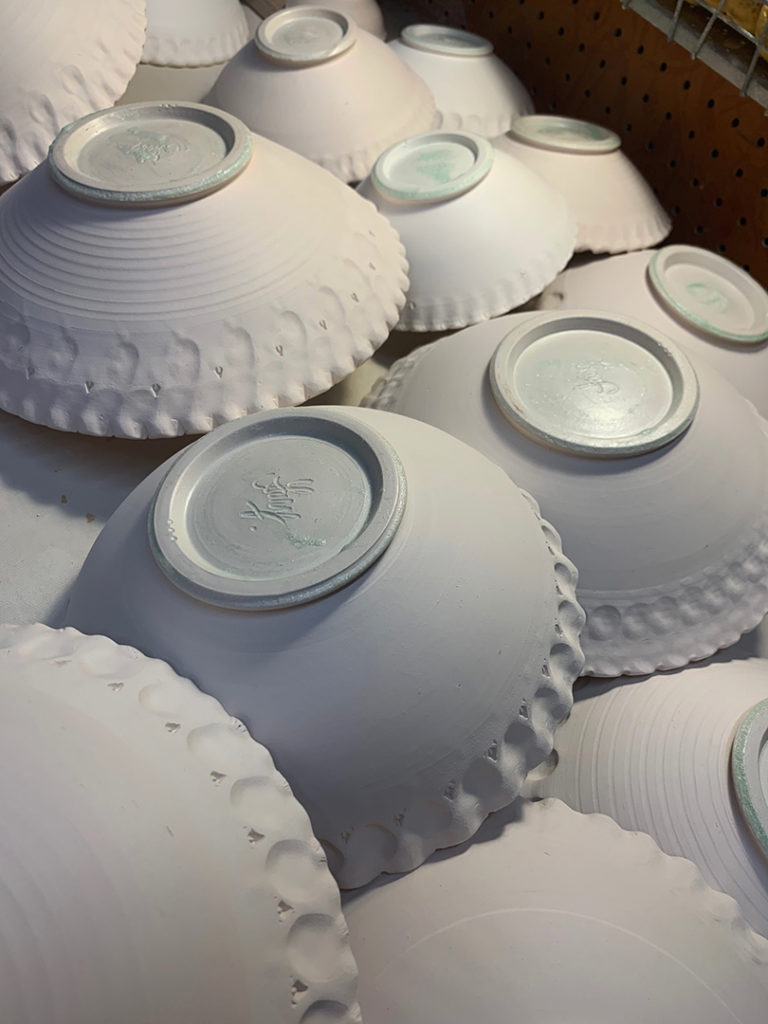
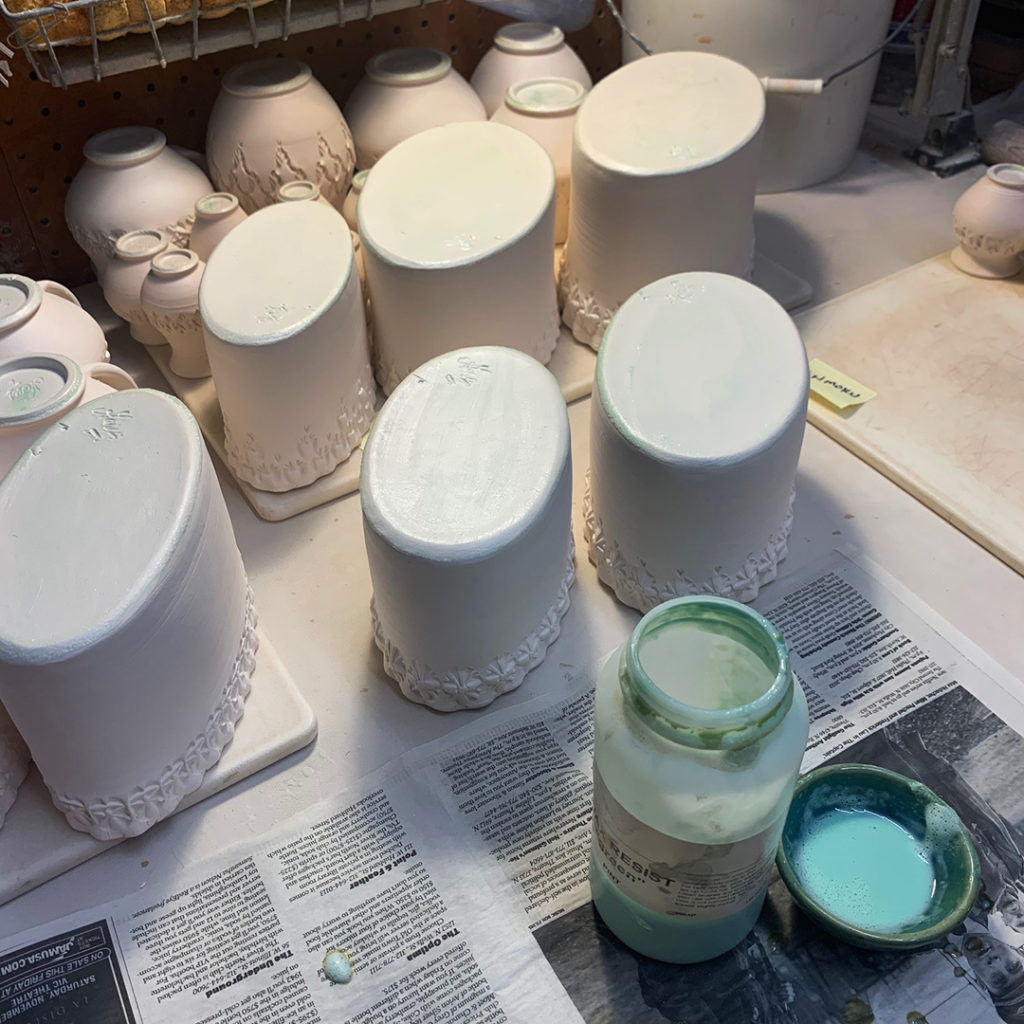
So I finally got “focused” tonight in the studio and started waxing the bottoms of a bunch of pots. I was kinda surprised… there were a lot more than I remembered making?! But they all look like mine…. so… I’ll keep waxing in preparation for a couple LONG glazing sessions to come!

So then THIS happened!!!
I was in the middle of a ZOOM chat with my sister & niece Taylor. They were waiting forever in line waiting for carry-out food while brainstorming for Taylor’s homework assignment. I was doing some trimming and then moved on to adding a pedestal to the bottom. I had even turned the camera around so that they could watch. A little pottery demo for them while they waited!
So I had explained trimming, scored & slipped & added a lump of clay to the bottom and was throwing a pedestal foot on the bottom. We even talked about my Giffin Grip and how well it held everything in place. We were chatting. Talking… and I couldn’t find my small red rib to smooth it out?! So I stood up to reach across my table to grab a new rib from the tool wall. You can see it coming, right?…
Well, the wheel was still spinning. I stood up. My shorts got caught on the wet & sticky freshly-thrown pedestal, stuck on and spun around a few times… effectively yanking the whole piece right out of the Giffin Grip… hurling it to the floor!!! With Jen & Taylor still on the ZOOM!!! ugh.
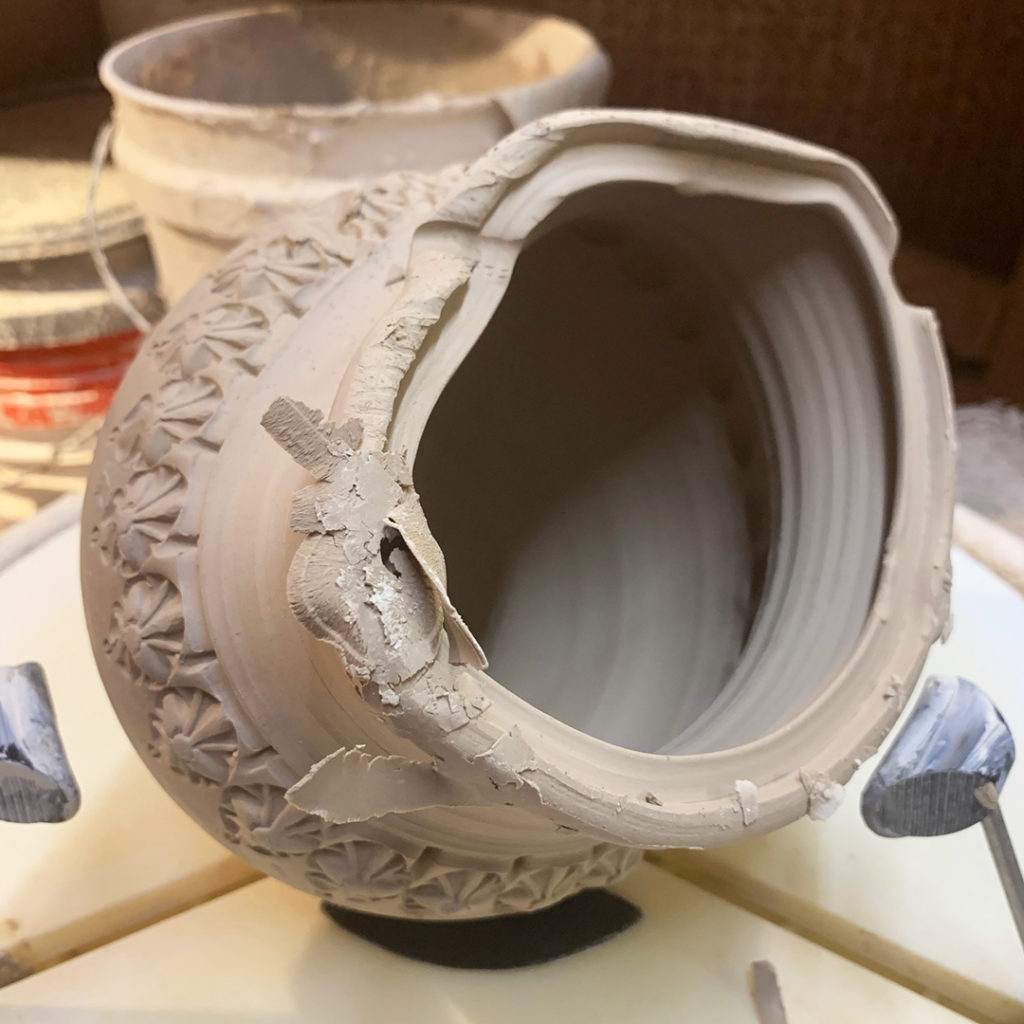
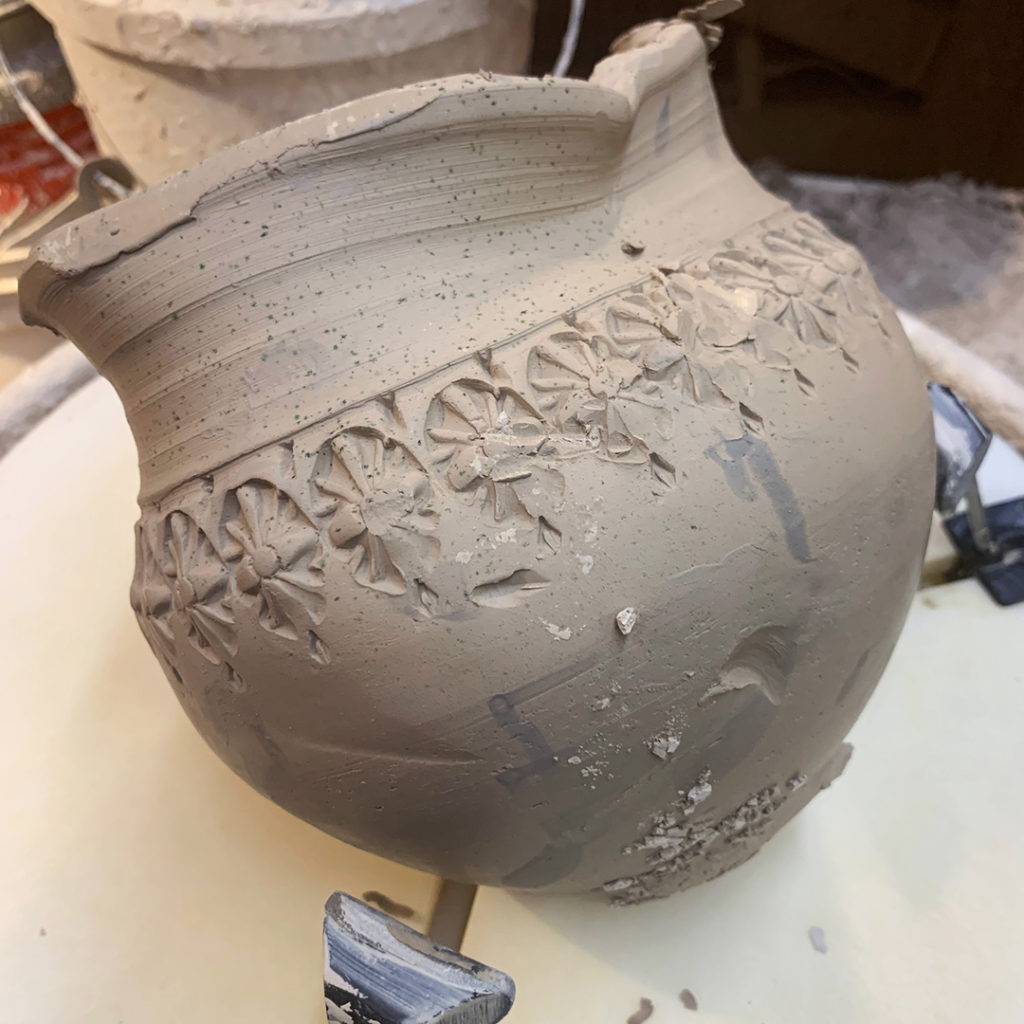
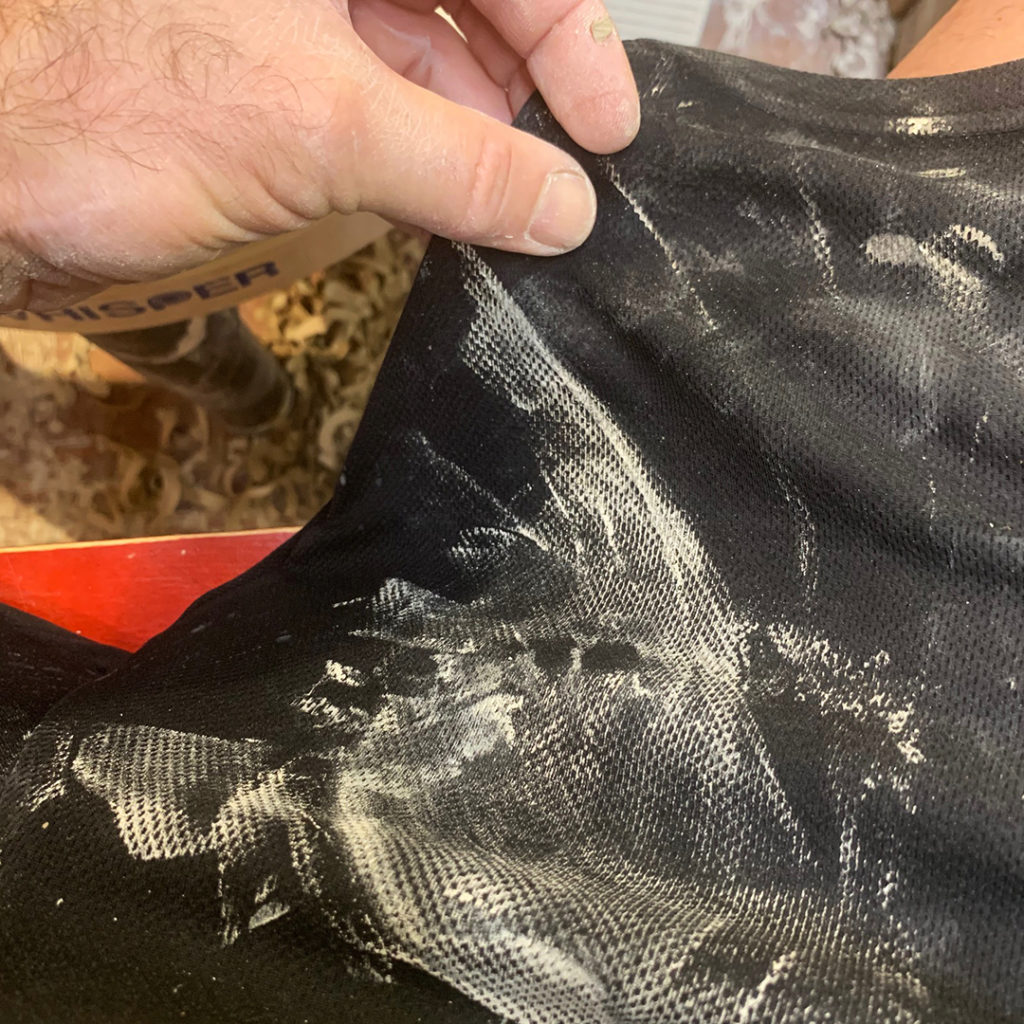
Luckily, the piece is part of a commission and I had made an extra one!!! But I didn’t feel quite safe “giving up” on the extra one so soon in the process… so I threw another one just in case. Just gotta stamp it, trim it, add a pedestal… and hope that the original lid might possibly still fit?!!! Fingers crossed… and another great ZOOM story!!! Eventually I’ll figure it out…
