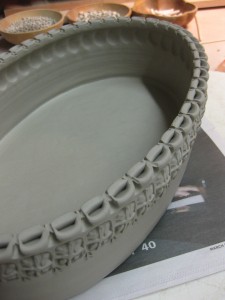
I had several comments on Facebook when I posted a picture of a class demo oval
that I made with a stamped & fluted rim. So I thought I would go ahead and re-create
the demo in a photo version for those who couldn’t make it into my class!!!
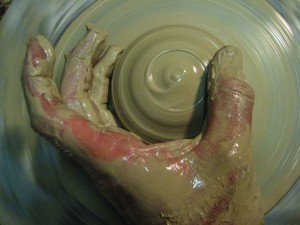
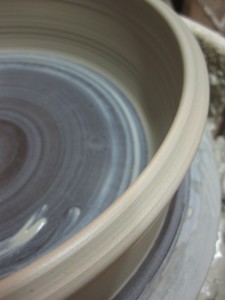
The first thing you need to make a simple oval is to throw a bottomless cylinder.
The the choice is yours… a decorative fluted rim or plain?! For this demo, I chose fluted.
So just before finishing it off, I take a pointed wood tool and literally split the rim
into two equal sides. These two “sides” of the rim will be converted to the fluting.
Once the bottomless cylinders are thrown, they need to set-up a bit before stamping.
These ones I wrapped in plastic overnight, and they were still just a bit stickier than
I would have liked. When I came back the next night, I carefully re-wired them off the bat
and formed them into the oval shape I was looking for. In this case, a nice oval casserole.
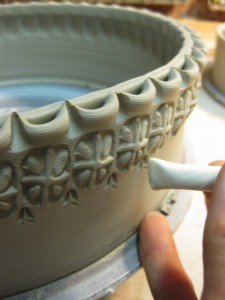
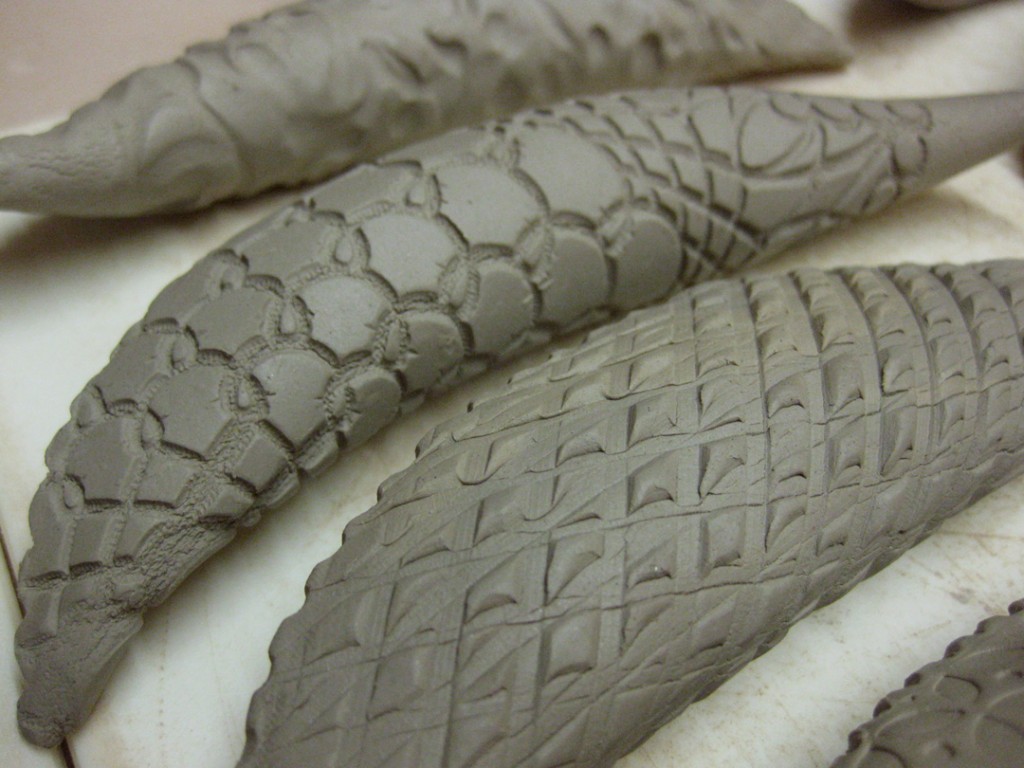
Still a little too sticky, but I went ahead… and stamped away with reckless abandon!!!
I then use the spacing of the stamped pattern to determine where the fluting will occur.
I take another stamp with a smoothed edge and literally press it into the outer rim until
it meets and attaches to the inner rim. It’s that easy, as long as your cylinder is still wet
and sticky enough for them to join back together. Make sure your cylinder is still on the
“wetter” side of leatherhard so that when you press the two rims together they will stick.
And if a few stamps are nice, even more stamps are better. So I went even further and
added another row of stamps, this time smaller, to add another nuance to the pattern.
And then, just for fun… I used the same little stamp to create a little interior stamp detail
where each of the fluted sections connected. Feel free to stop stamping anywhere along
the way… if you can. It’s kind of addicting…
So now, you’ve got a decorated oval or two… without a bottom! Set them aside
and let them stiffen up a little more while you move on to the next step.
While your ovals are open to the air and stiffening up, throw a slab of the same clay
and the same thickness as your oval. Then carefully place your decorated oval-cylinder
on top of the slab and “trace” around it with a needle tool. The remove the cylinder.
With a metal fork, I go around and score deeply just inside of the traced line. I also flip
the cylinder over and very carefully score the bottom of the cylinder too. Then it’s a row
of slip on top of the slab scoring. Gently place the oval on top and line up your scoring.
Gently press them together until some of the slip squishes out. I then carefully flip them
back over again and use a thin wooden spoon to “paddle” them together… creating a little
angle on the edge, as well as sealing the seam very tightly.
Once you have the bottom & edge all cleaned up, you can carefully flip it back over again
and smooth out the interior seam. Hopefully you’ve got a tight connection and a clean line
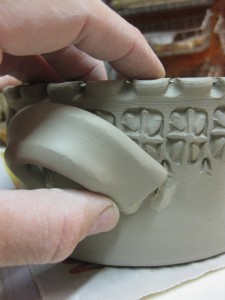
to smooth together inside. As this is a larger oval, I decided to add a handle on each of the
ends of the oval. If someone is going to actually cook in this casserole dish, the handles
will make it more functional and easier to pull in & out of the oven. Again, be sure to
score & slip, press it together and smooth out your edges.
And there it is! A finished oval ready to start drying slowly. I want all of the parts to find
a sort of “moisture-equilibrium” before I let it start drying. So I keep it wrapped under
plastic overnight. Then, I unwrap the plastic loosely for the next couple days. Then it’s
fully unwrapped, drying and ready to go into the bisque kiln.
Good luck with your ovals… and if you have any questions, please let me know!
And remember, the same decorative technique can also be used on other shapes.
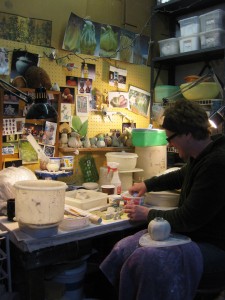
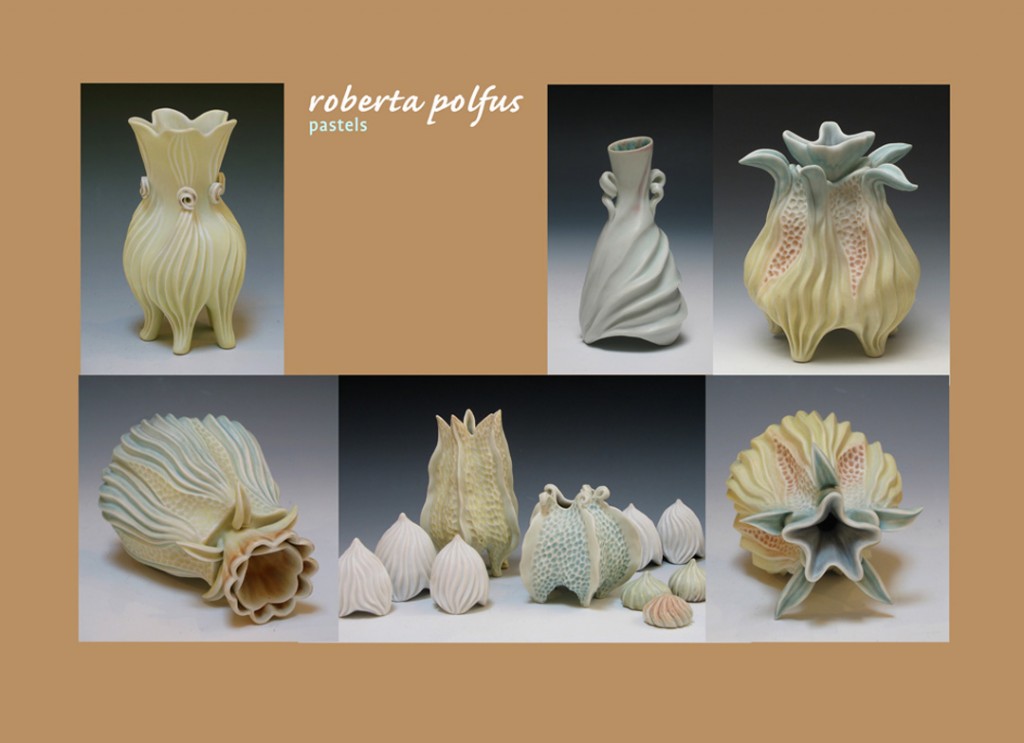
While I was at Terra Incognito today, I stopped off in back to visit with one
of the studio artists there. Roberta Polfus. And there she was, tucked away back
in her little corner of the world working away on her little treasures! It’s always so much
fun to see an artist at work in their normal surroundings. Generally everyone sees their
work at an art fair, in a store, or in a gallery somewhere. Never really taking time to think
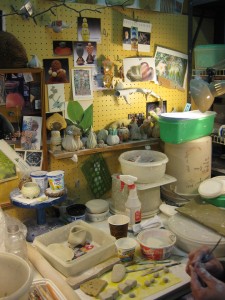
about where the work is actually being produced. I love Roberta’s space… complete with
a lot of inspirational images, knick-knacks, postcards, tools and a lot of Tupperware!
If you’re lucky enough to run across Roberta at an art fair, take some time to admire
the fine details & glazing effects. There’s a lot of work going into these tiny treasures!
For more about Roberta Polfus and her work, click on her website here.
You know I can’t stand when things get thrown away when they can still be used.
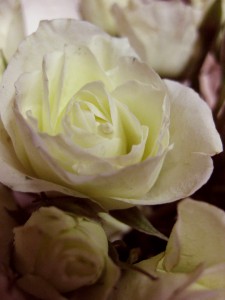
The same holds true for flowers. And I collected a whole lot of roses today from a dumpster!
They came back from a special event and still have some life left in them!
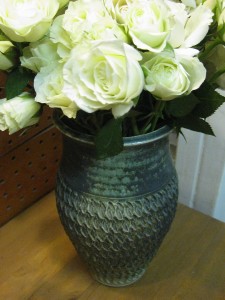
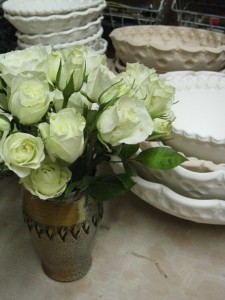
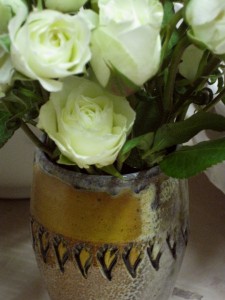
So I brought the white spray roses into the studio, filled a few vases & tumblers…
sort of fulfilling the destiny of every good vase by putting flowers in it as intended!
I still had lots to share with my studio neighbors Karen & Lisa! They weren’t there,
so it should be a good surprise when they find them tomorrow!
Over the years, I have frequently mentioned one of my “studio neighbors” at Lillstreet
Karen Patinkin. The two of us are frequently there – we used to play Jeopardy! over the walls
everyday at 3:30pm. Lately, we’ve been overlapping for about an hour… so as I’m coming in
she’s getting ready to leave. A metaphorical “high-five” and it’s the changing of the guard.
But tonight, she stayed a little bit later as she was working on a set of bowls for a commission.
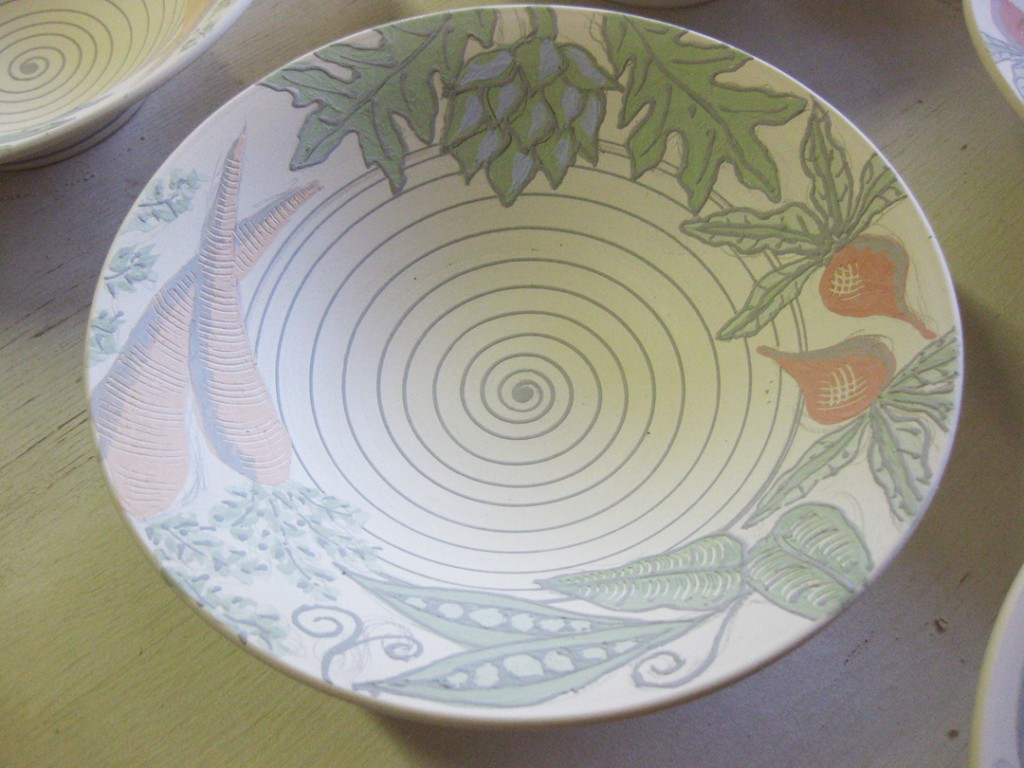
For those that may not have seen her work, Karen makes these incredible porcelain pieces
that have a insane amount of elaborate glaze decoration. Hours & hours of details.
Beautiful… even though these are still just a “work in progress.”
Imagine how pretty they are after the final glaze firing!
And the original “example” that she’s trying to replicate for her commission clients…
It’s good to know that I’m not the only insane one around the studio these days…
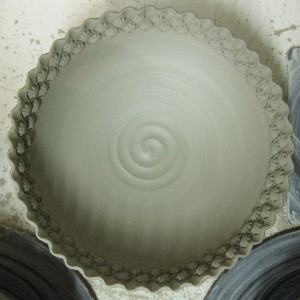
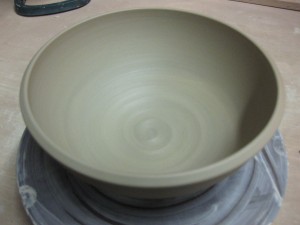
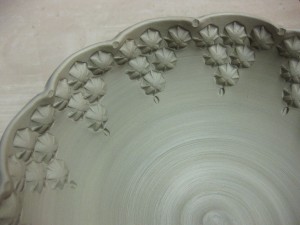
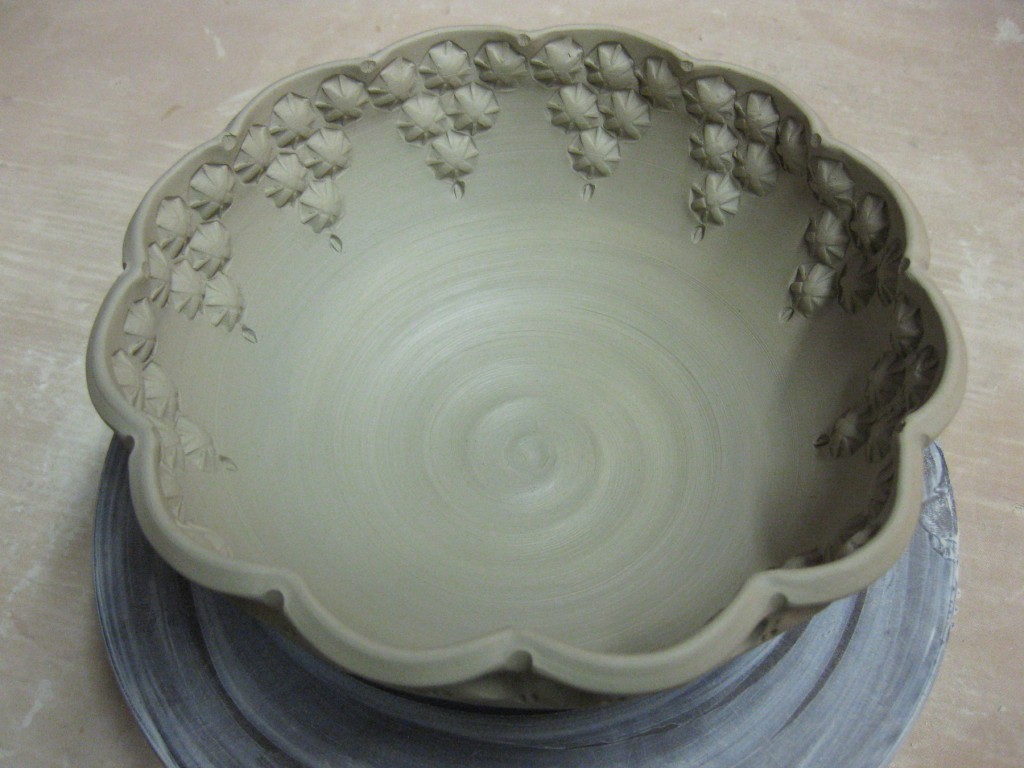
Perfect timing… I went back into the studio today hoping to stamp the bowls I threw yesterday.
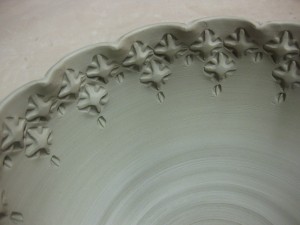
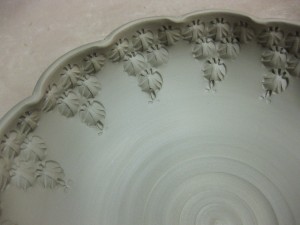
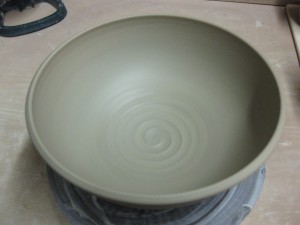
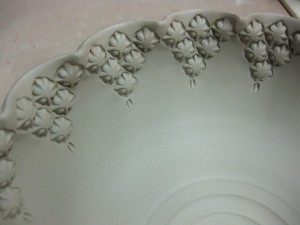
Luckily for me, they were at just the right “stiffness” for some good stamping! So I did..
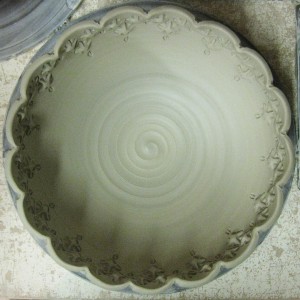
Bowl #1 : before, during & after…
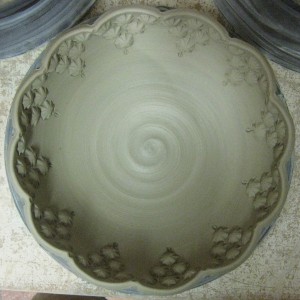
Bowl #2 : before, during & after…
Bowl #3 : before, during & after…
Bowl #4 : before, during & after…
Bowl #5 : before, during & after…
Bowl #6 : before, during & after…
Bowl #7 : before, during & after…
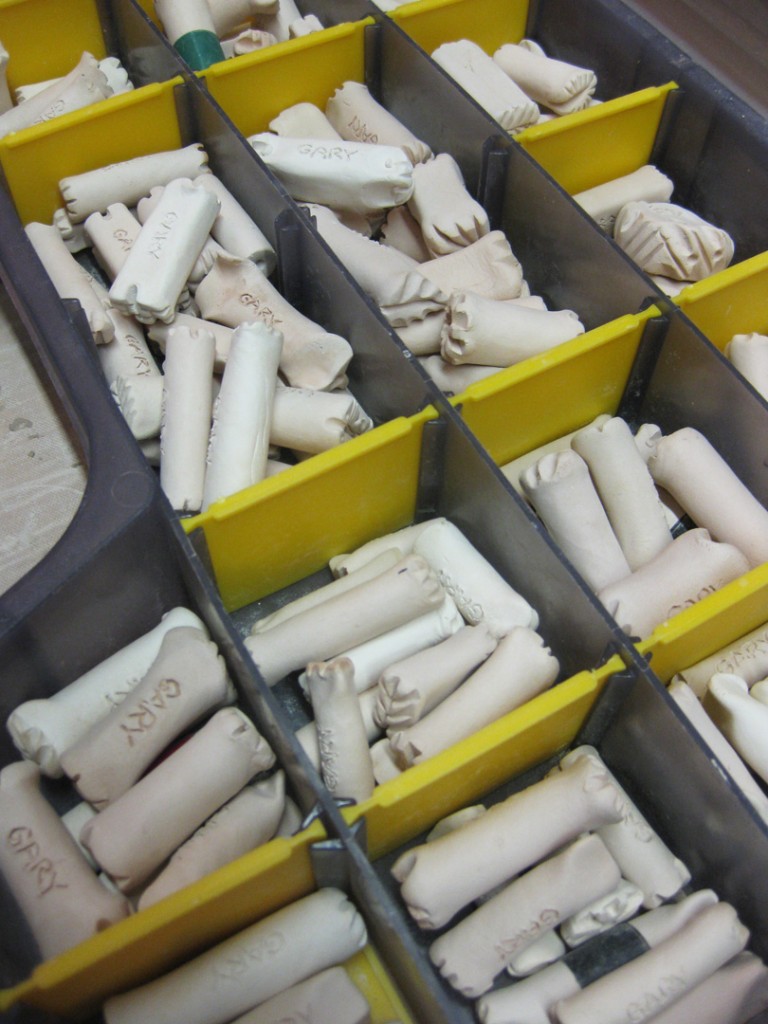
And the tools of the trade… my banding wheel, a couple of my handmade stamps,
a needle tool, bamboo skewer, chopstick & and a dowel rod. That’s it… voila’.
With “Empty Bowls” in full swing downstairs, I opted to be productive upstairs in my studio.
I ran downstairs to see what all the commotion was about… and it was great to see hundreds
of bowls all over the place & plenty of customers picking them up and donating to the cause!
I especially liked when I saw people carrying one of my bowls as their final choice! After all,
there were a dozen of my donated bowls to choose from!
Back upstairs, I started throwing some new pieces. Having received my “acceptance” letter
today for the Schaumburg Prairie Fine Arts Festival on Memorial Day Weekend, I thought I
better start making more flower pots for the Spring art fair selection! So I threw some more
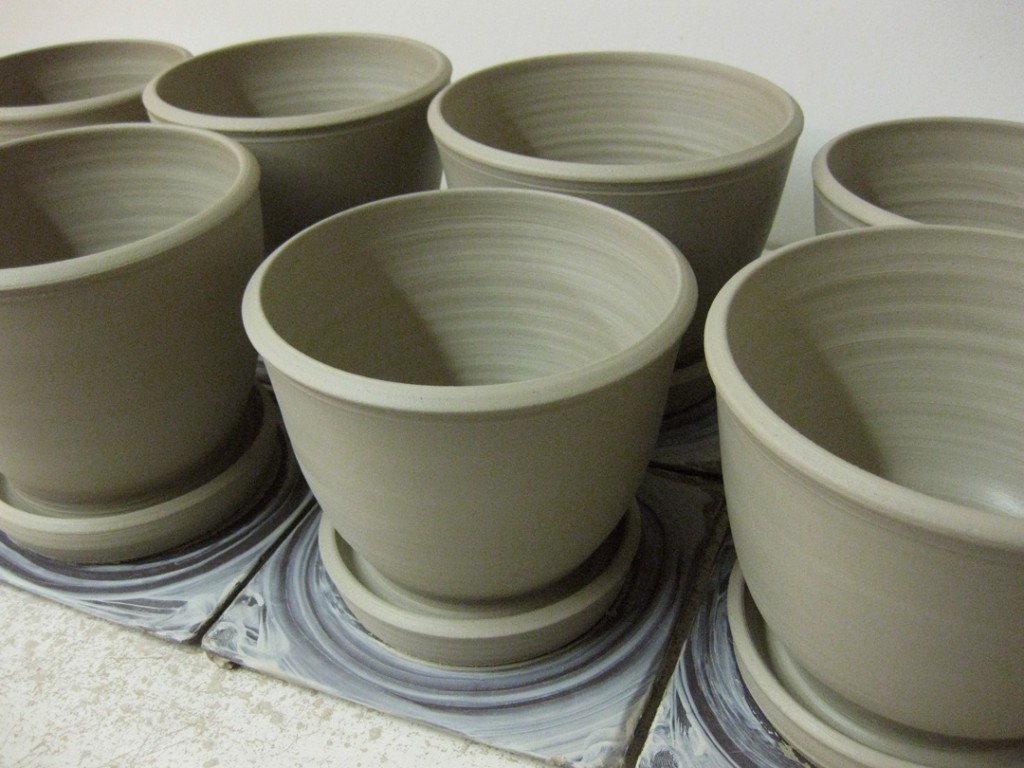
traditional-style flower pots with the water dish attached.
What to do next?… well, there’s never enough bowls, right? So I decided to throw a batch
of bowls with B-Clay. Plan being that I will be ready for another soda kiln fairly soon,
and B-Clay turns out really nice in the back stack of the kiln… where most other clays
turn out “dry” after soda firing.
With my tables filling up quickly with freshly thrown pots, I had to make some room.
Luckily, the new batch of kitchen utensil crocks was already stamped and ready to be
trimmed. So I finished them off… and added decorative slip to a couple of them.
By the time I finished trimming the utensil crocks,
and made another trip downstairs to check out more “Empty Bowls”…
the new flowerpots were already stiff enough to start stamping! Giddy-up!
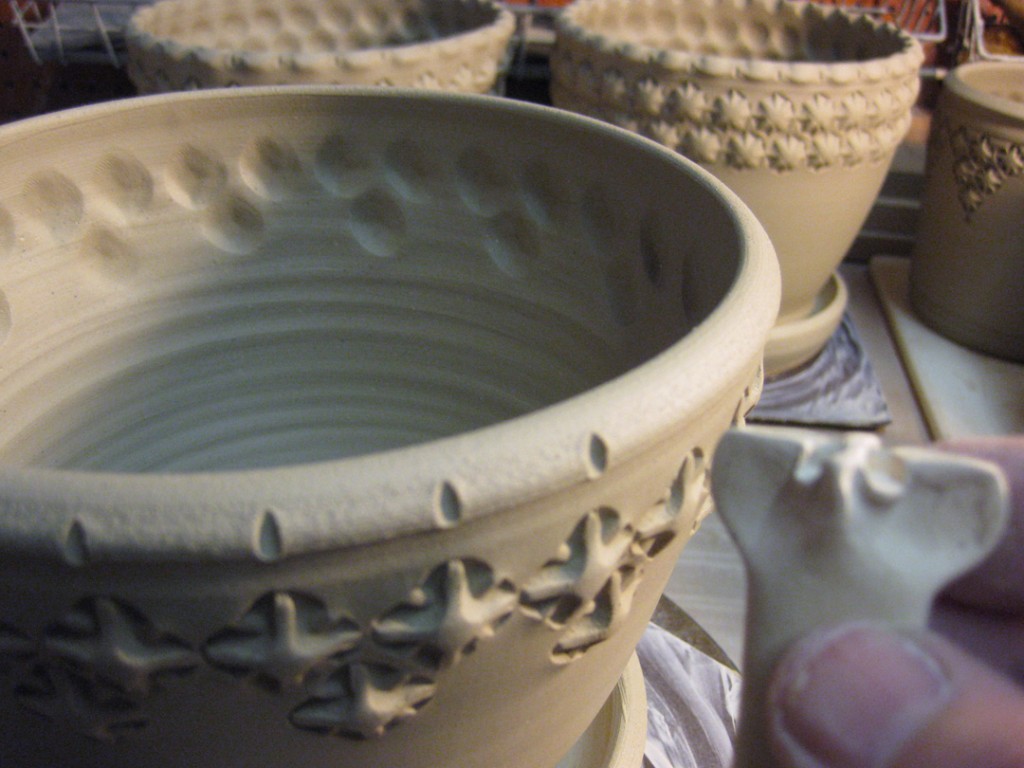
First with a single stamp pressed repetitively around the sides of the pot.
Then a small divot added around the rim to help with spacing.
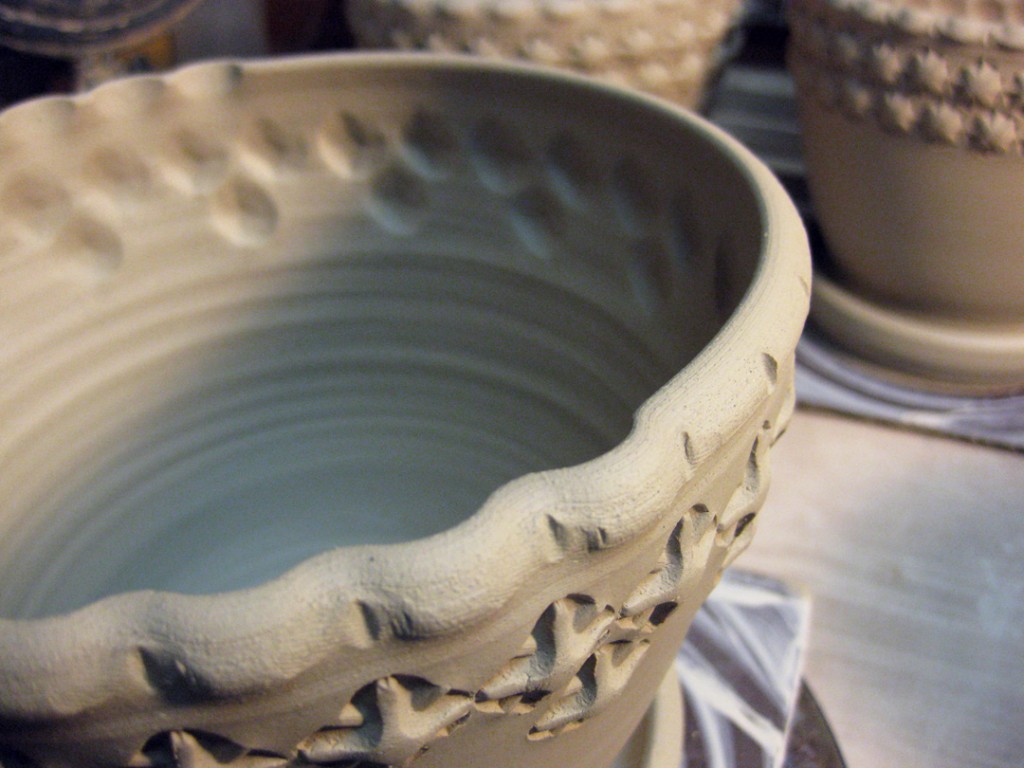
With the proper spacing “indicators”… it is then pretty easy to “flute” the rim
all the way around. Consistently pressing the wet clay – enough to move the shape,
but not enough to squish or smoosh the shape of the pot… trying to avoid
an “ovalled-by-accident” flower pot!
After a few stamps… the new flower pots are decorated and ready to stiffen up to
leather-hard. They are now covered with plastic, as are the bowls. Tomorrow I plan to
head back to stamp the bowls. Maybe they’ll all be ready to trim on the next couple days.
And then I can make more!!!
