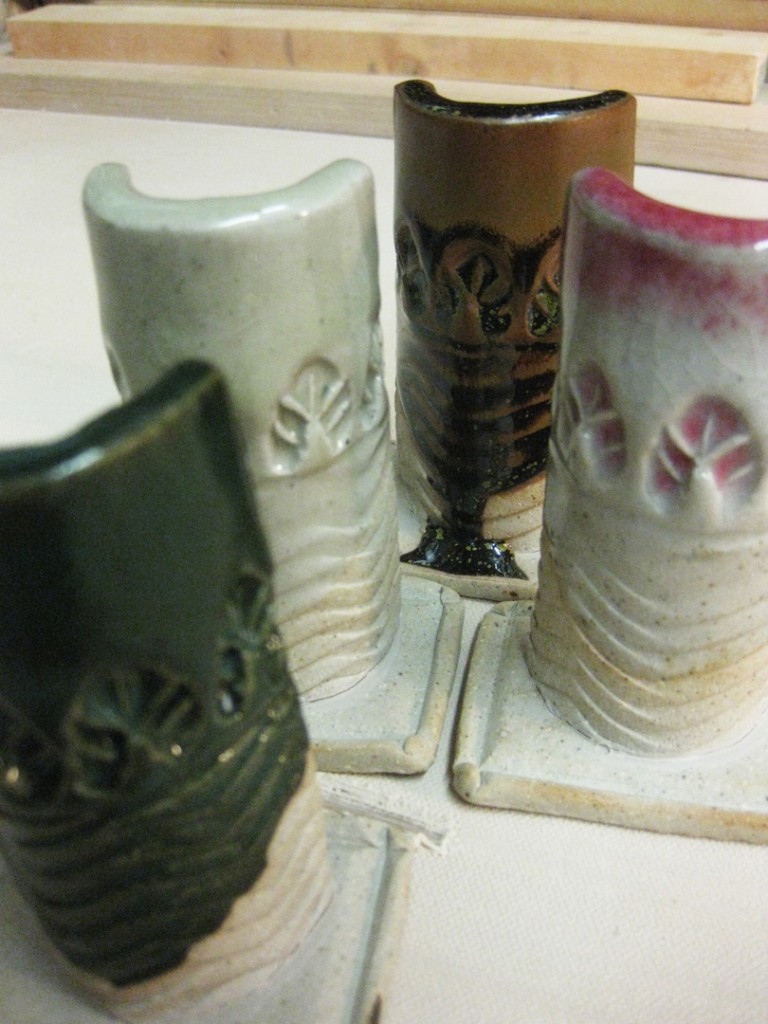
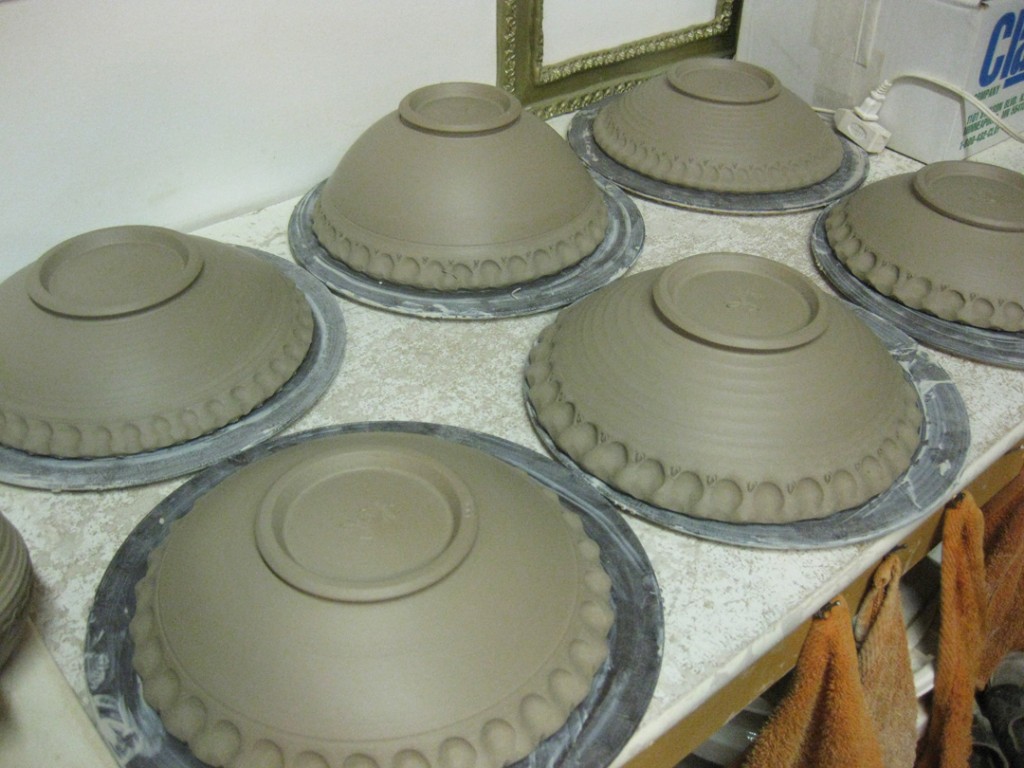
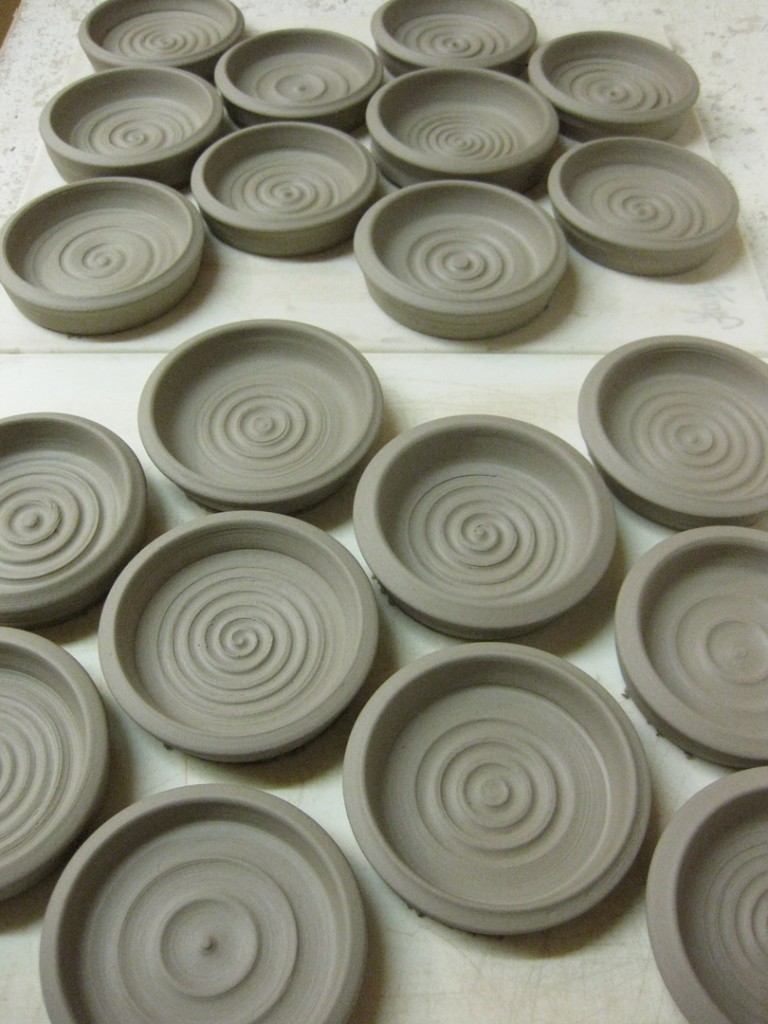
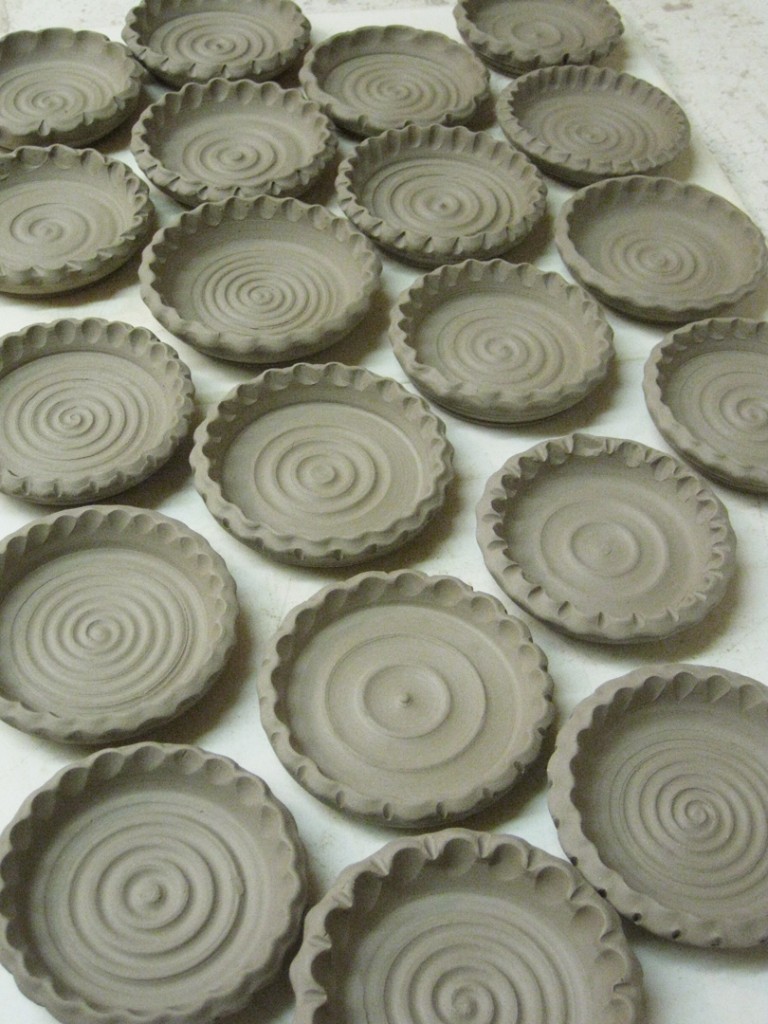
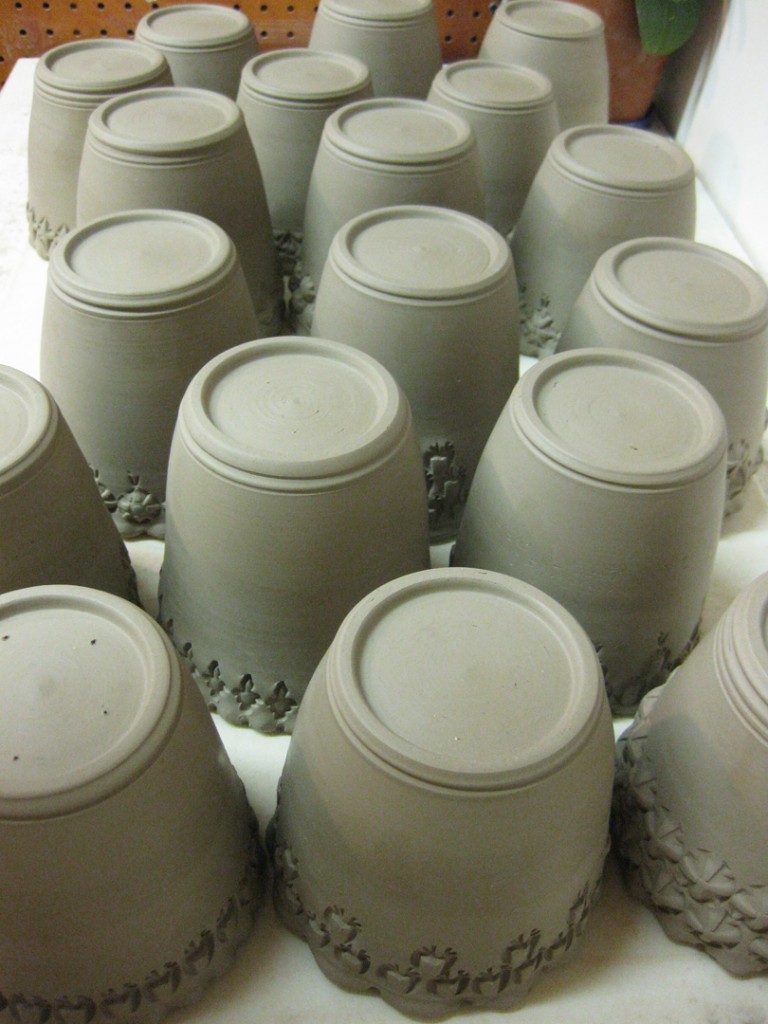
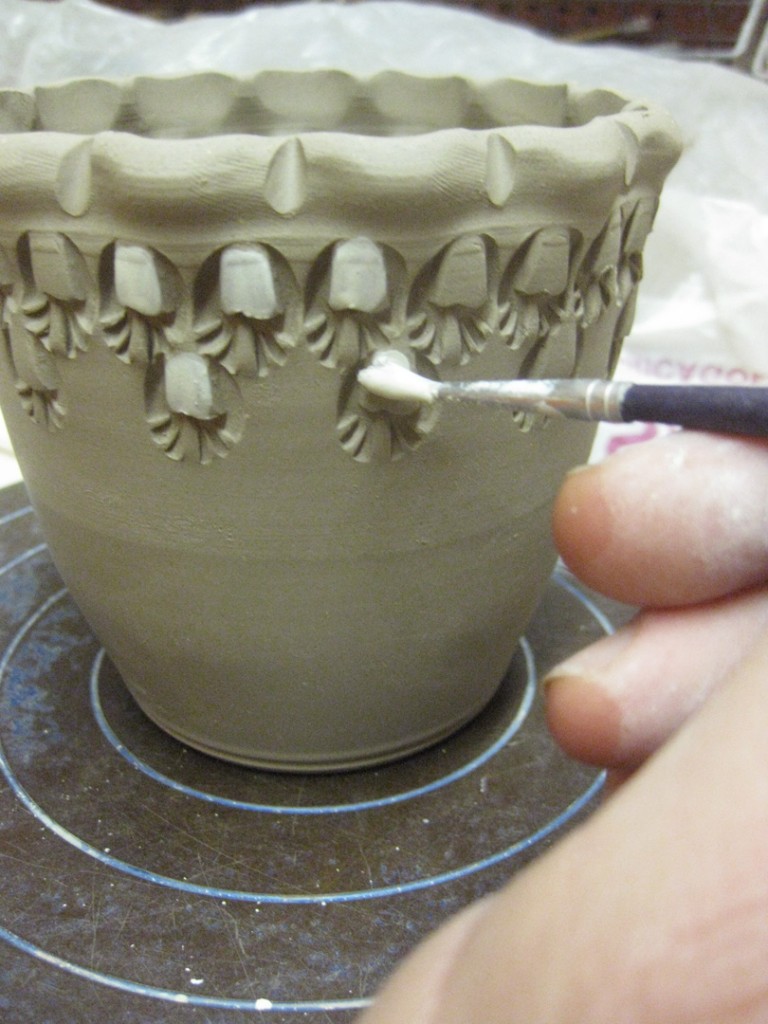
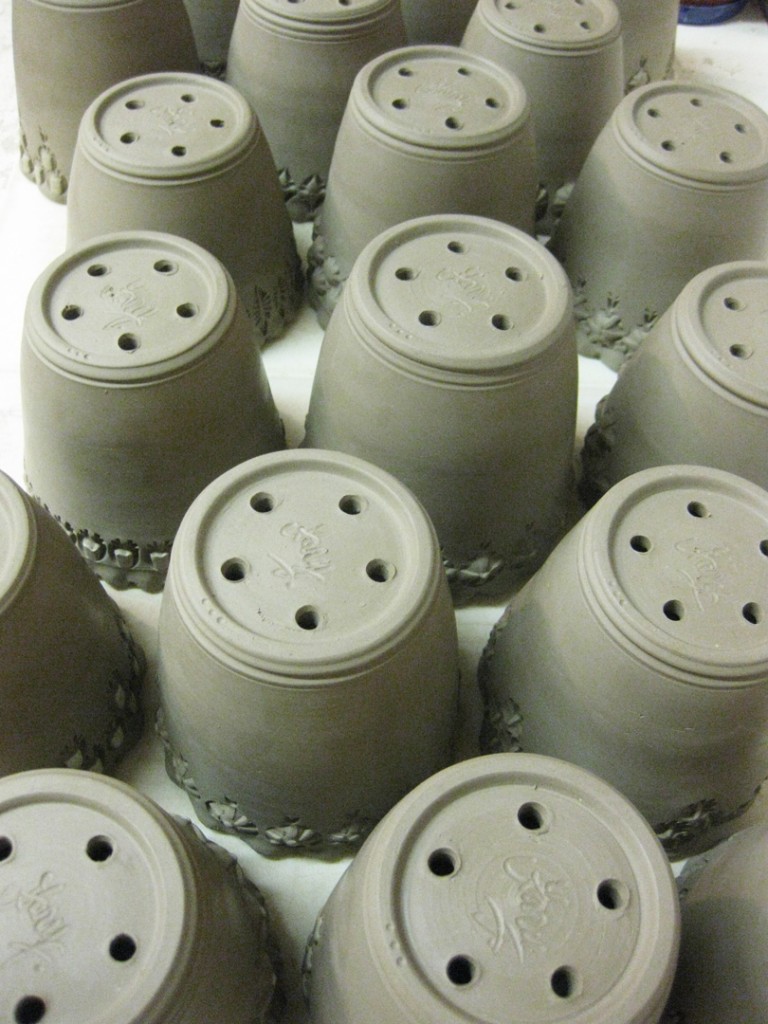
Well… when you make small herb flower pots, you need to make water trays.
Don’t want water leaking all over your windowsills. Since the pots have already
been thrown, stamped, trimmed & drying… I had to make the trays.
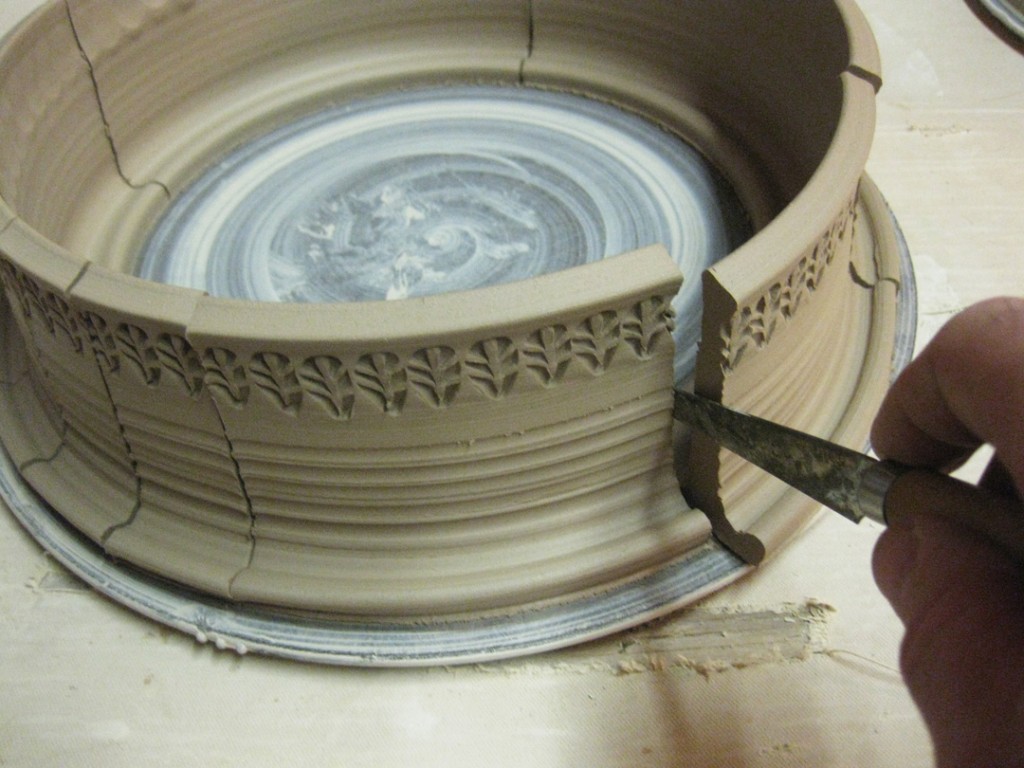
I threw these last night… and today they needed a little somethin’-somethin’…
so I did a little stamping, fluting and some other detailing. Followed by a bit of
trimming and now they’re all done & drying!
And now that they’re all done…. I sure hope my calipers were still set
at the right size?! They do look a little small… we’ll see…
Tonight I started with trimmed pots… trimmed, smoothed, refined… still leatherhard.
But if these little cylinders are going to become the little herb flowerpots as planned…
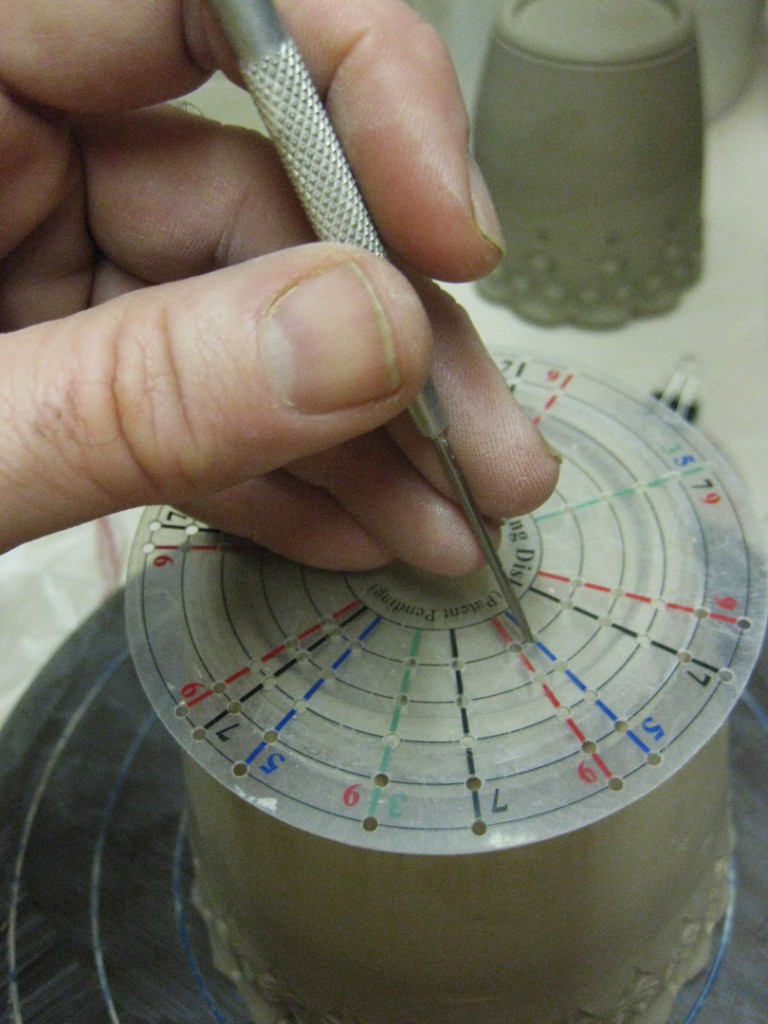
they still need some drainage holes. So I started by marking the placement of where
the drainage holes will be placed. Sure, I could do it freehand… but why?!
When you’ve got some great little tools which practically do it for you?!
These great little disks from MKM Pottery Tools are a huge help when trying to divide into
equal segments. And here’s the cool part, they give you two disks. One for an even number
of segments, and another for an odd number of segments. Plus little holes on the disks that
you can poke through to mark your pots. I’ve got the smaller 4″ disks, but they also sell a
larger 15″ disk for larger pots & platters. Click here for more info on MKM Pottery Tools.
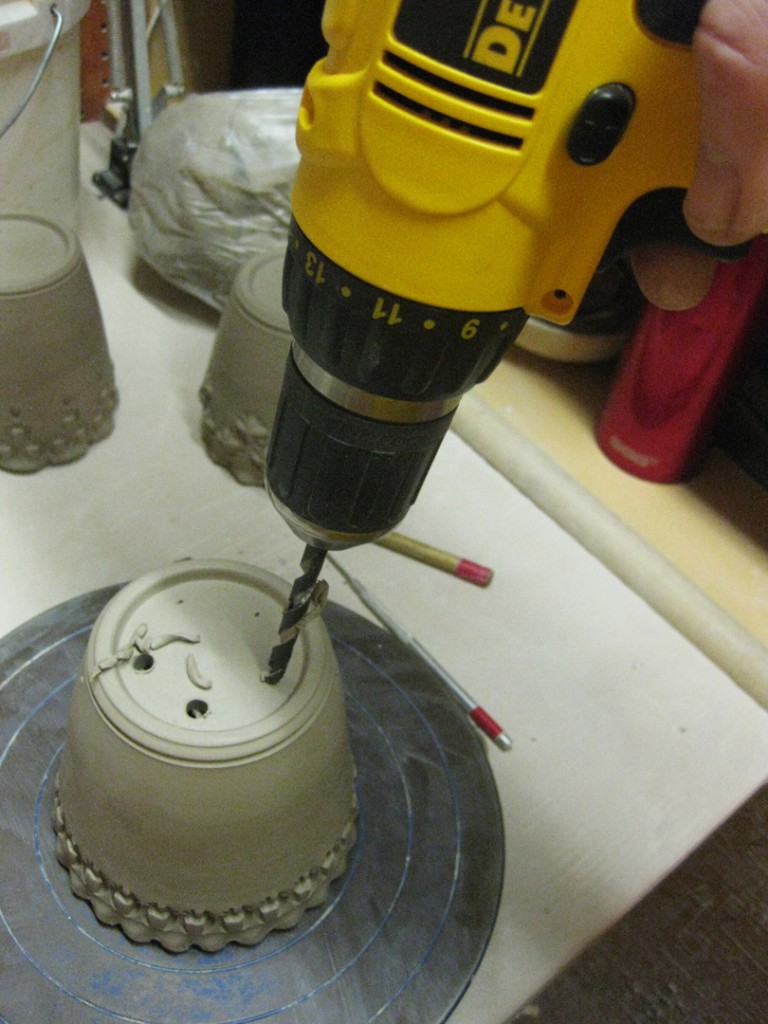
Once the hole placements are marked… it’s time for the power tools!
Sure, I could use a small manual hole punch. Sure, I could carve through by hand.
But why do all that when an electric drill can do the trick much quicker & cleaner?!
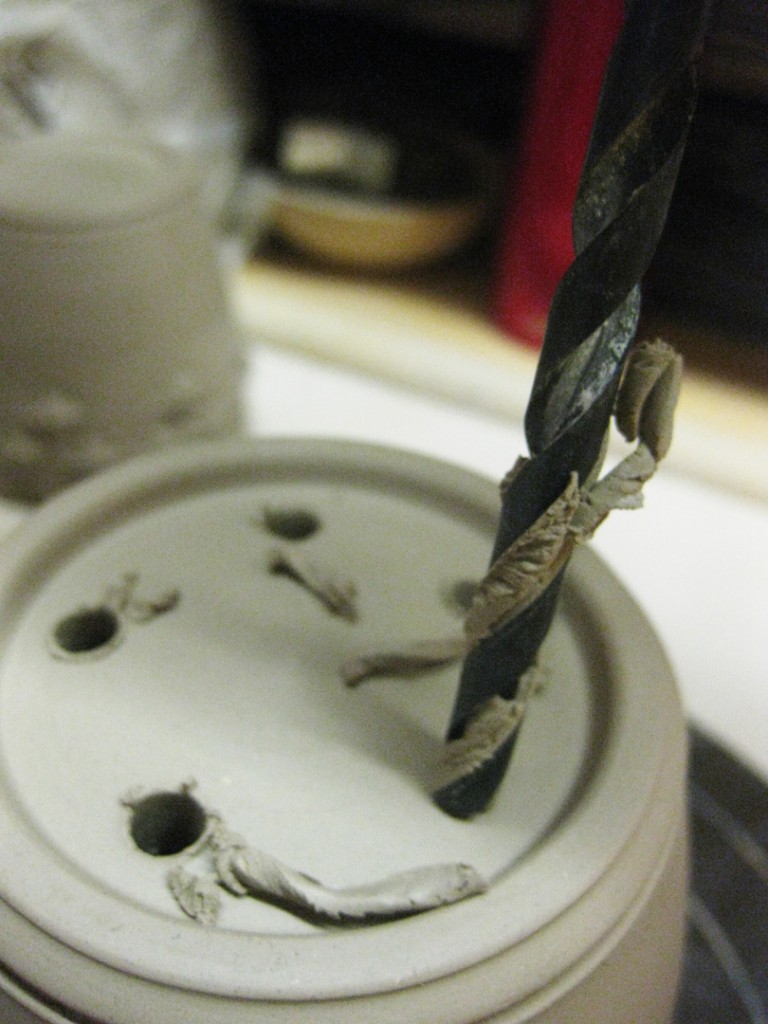
Just insert the drill bit of your chosen diameter and drill away… carefully!
Of course you need to make sure your pots are still a good stiff leatherhard. If they are
too dry there’s more of a risk of cracking the pot. If you clay is too wet, it will just kind
of gunk-up the drill bit. Go for stiffer-leatherhard. You’ll be glad you did.
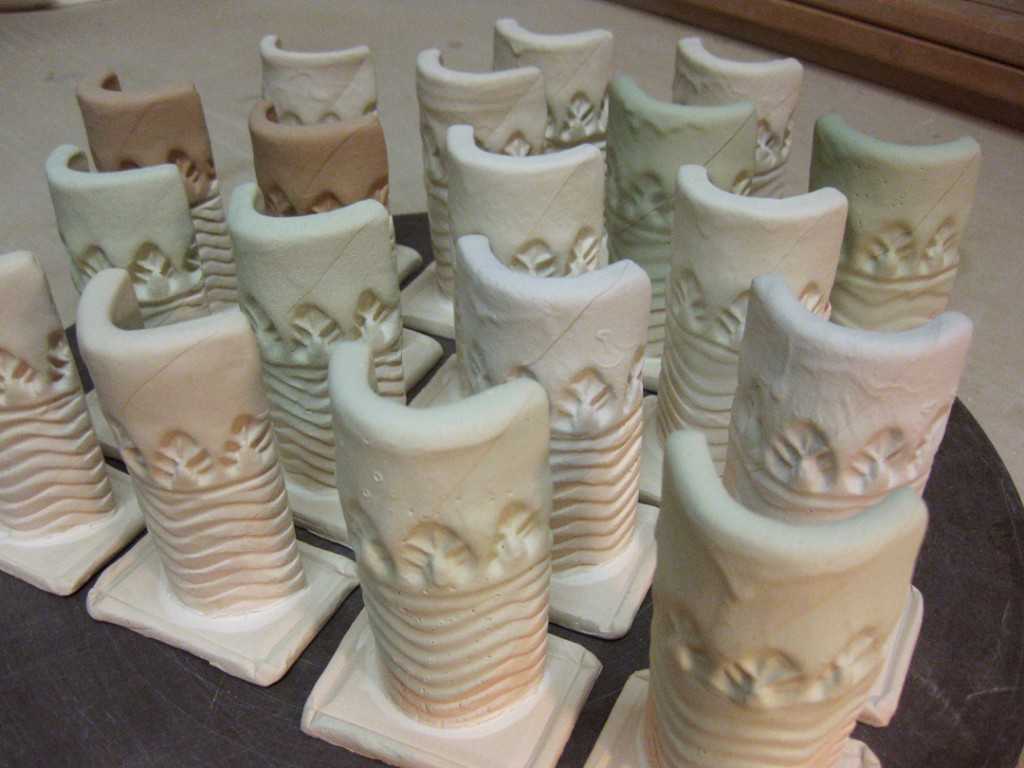
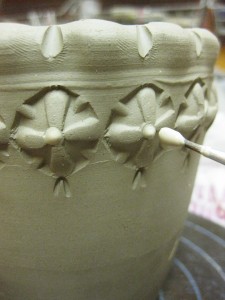
So once the drainage holes were done, I added some colored slip accents into a few of the
stamped impressions. And since these little herb flower pots are going to be soda-fired, I
used a couple different colors of flashing slips. These slips may appear to be whites & beiges
now, but when they’re fired the slip will hopefully turn into shades of oranges & yellows!
So now they’re all drilled… slip decorated… signed…
And drying…Â Next up?… I still need to throw the water saucers that will go under them!
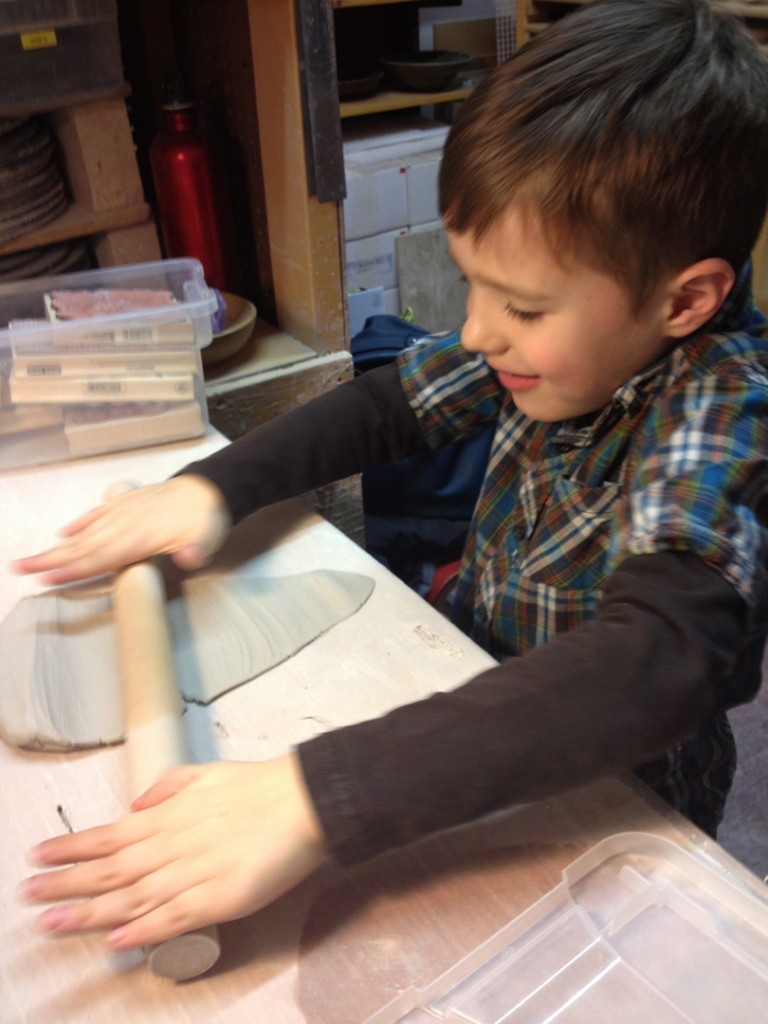
My friend Kristen brought her son AJ to Lillstreet today for a kid’s birthday party.
Kristen and I went for ice cream, hot fudge & more hot fudge while he played at his
party. Afterwards, AJ came up to my studio and made a few holiday star ornaments
of his own! So adorable. So much fun to have a little studio “apprentice” today!
Rolling the clay… pressing in textures… and cutting out stars. Instant ornaments!!!
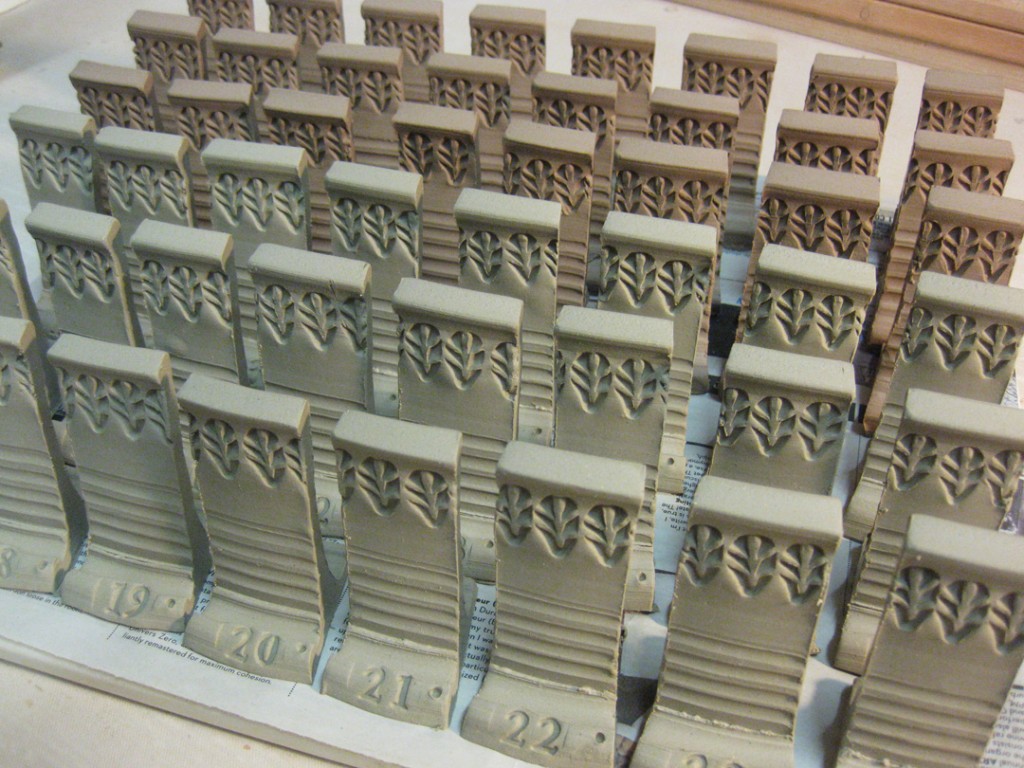
Mission accomplished… All nineteen small ovals that I threw last night are now stamped
& assembled. They’re under wraps overnight so their moisture levels can balance out a bit.
Tomorrow they’ll get some colored slip details & start drying. But for today…
they’re done… with plenty of time for tonight’s Academy Awards!!!
At one point this evening, I found myself “done” and in between projects.
My wall pocket vases were done and wrapped up for the night. I had finished
making some more of my “February” ornaments and the props I’ll use to fire
them in the kiln. My work tables were full… but it was still early in the evening.
Oh, what to do?… I know, go downstairs to chat in the Lillstreet classrooms!
So after discussing movies and tomorrow’s Academy Awards, I was still
questioning what I was going to do. Go home early, or stay and throw some more stuff?!
I knew that if I didn’t throw more tonight, I would have pieces to work with tomorrow.
So I decided to stay, with the encouragement of Terry Hogan who was still making some
of her precious pierced porcelain pieces. So I went back upstairs and started throwing…
and lucky for me, my studio neighbor Karen Patinkin’s work table was empty so I put it
to use! I moved a few things to her space “temporarily” to make room for my new pieces!
I’ve made ovals in many sizes. This time I decided to go a little smaller. So I wedged up
some small pieces of clay… each one a 1/2-pound of clay. Smaller than I’m accustomed to.
But fun & challenging… especially the wedging was a challenge! Tomorrow I hope to
come back to stamp ’em, floor ’em, colored slip ’em and start ’em dryin’!
After throwing 19 of these bottomless cylinders, I went back downstairs to tell Terry
that I took her advice and stayed. Only to find out that she had already packed up
& gone home….. slacker!